
Doom Eternal Nekravol Part II collectables: all secrets and techniques within the eleventh mission

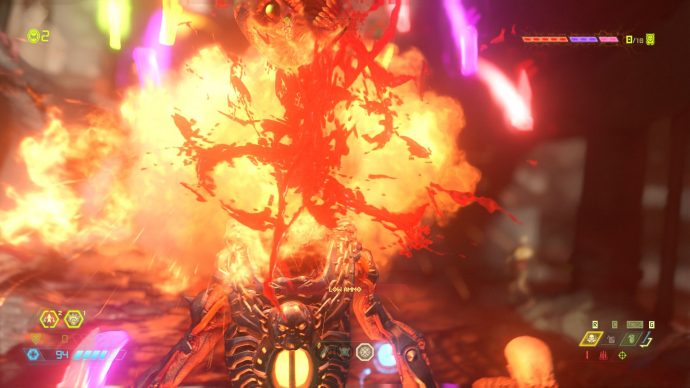
Plodding on via the second a part of Nekravol in Doom Eternal, you’ll be dealing with much more brutal assaults from the demons of hell. There are loads of collectables to nab throughout this stage, so this information will let you know the place to seek out them.
Doom Eternal Nekravol Part II collectables information
This mission of Doom Eternal has 15 collectable secrets and techniques to be discovered. Slayer Keys are a distant reminiscence, however there are many different encounters and gadgets to seek out alongside the way in which. Don’t get this confused with Nekravol, as that could be a complete separate mission.
As all the time, it’s value noting that on the finish of the extent, you’ll unlock the flexibility to Fast Travel to particular factors within the stage. If you miss any collectables, that would be the time to seek out them unhindered. There’s an Automap right here too and also you’ll discover it if you revery the highest of the fiery pillars and bounce throughout the hole.
Contents
Here are the entire places for each hidden secret within the eleventh mission.
Nekravol Part II collectable places
- Mastery Token #1: You want the Overdrive cheat disk energetic to get this Mastery Token. From the beginning, kill the enemies, then double bounce and sprint to leap to the left pillar. From there, bounce to the following one and declare the coin.
- Record #1: Jump to the climbable wall close to the Mastery Token to seek out the document and a secret encounter. This additionally wants the Overdrive cheat disk.
- Sentinel Crystal #1: After climbing into the ability, you’ll discover it on the primary path.
- Codex Entry #1: After clearing the massive room that has a Doom Hunter in it, head in direction of the waypoint marker to the left for the entry web page.
- Toy #1: From the Codex Entry, stroll down the ramp and punch the wall. You’ll discover a toy and a secret encounter right here.
- Cheat Disk #1: From the toy and secret encounter, there’s a chasm that you want to fall into to progress. Jump to the platform on the left and switch round. You ought to see a wall to punch. Jump and punch it, earlier than double leaping to achieve the opening. Climb as much as discover the disk.
- Codex Entry #2: After defeating all of the demons within the soul syphoning space, climb up the wall to progress via the mission. The Codex is alongside the way in which.
- Record #2: Punch the wall to the left of the earlier Codex Entry for the document.
- Toy #2: When you come to the fiery pillars, bounce to the one on both facet of the primary pillar. Then, flip again to face the place you jumped from and bounce in direction of the darkened space. You’ll must sprint to achieve the platform the place the toy is.
- Praetor Suit Point #1: At the highest of the raise, there are three spiked doorways that open and shut. Double bounce and sprint to the left one, timing it rigorously to get there earlier than it shuts. I like to recommend leaping because it closes. Punch the wall and declare the coin from the knight.
- Codex Entry #3: From the left door, bounce throughout to the center door and discover the Codex Entry inside.
- Toy #3: After the Codex Entry, you’ll see a booster. Jump onto it and punch the wall behind you to disclose the toy.
- Praetor Suit Point #2: You’ll quickly come to some sort of properly of souls after a precarious bounce throughout a giant hole. Go across the again to seek out the knight.
- Cheat Disk #2: After opening the portal to Urdak, flip round and climb up the steps to the open doorway. Drop down, however be sure to attain the hidden pathway. You’ll first come throughout a cheat disk.
- Praetor Suit Point #3: Carry on the trail after getting the disk to get the Praetor Suit Point.
Secret encounters
- Secret encounter #1: It’s discovered subsequent to Record #1 and desires the Overdrive talent to achieve it.
- Secret encounter #2: It’s discovered subsequent to Toy #1.
Challenges
- Punched by Blood: Kill a couple of enemy with Blood Punch, 5 occasions.
- Cut Down To Size: Perform a “back” Glory Kill on a Tyrant. There is just one Tyrant within the stage and it seems proper on the finish.
- Resurrect No More: Perform a “left” Glory Kill on an Archvile. There is just one Archvile within the stage and it’s about midway via. Make positive you’re on Archvile’s left, fairly than having Archvile in your left.
It’s off to the realm of Urdal subsequent mission and that is the ultimate mission with a number of collectables. We’ll clarify the place to seek out the collectables for that mission, and all the opposite collectables in Doom Eternal within the following guides:
Doom Eternal collectables
- Hell On Earth
- Exultia
- Cultist Base
- Doom Hunter Base
- Super Gore Nest
- Arc Complex
- Mars Core
- Sentinel Prime
- Taras Nabad
- Nekravol
- Urdak
- Final Sin and Fortress Of Doom
Doom Eternal guides collection
- Doom Eternal guide – Return to our major information for the highest 20 suggestions and methods.
- Doom Eternal weapons – All the improve prices and weapon mastery challenges for each weapon.
- Doom Eternal upgrades – What to spend Praetor Coins, Sentinel Shards, and Weapon Points on.
- How to unlock Doom Eternal secrets – Doom Eternal has a number of hidden stuff, right here’s the way to get it.
- Doom Eternal PC performance – How to get the perfect settings.
Related articles
 Creating and Utilizing a Synthesized ‘Personal Voice’ on Your iPhone
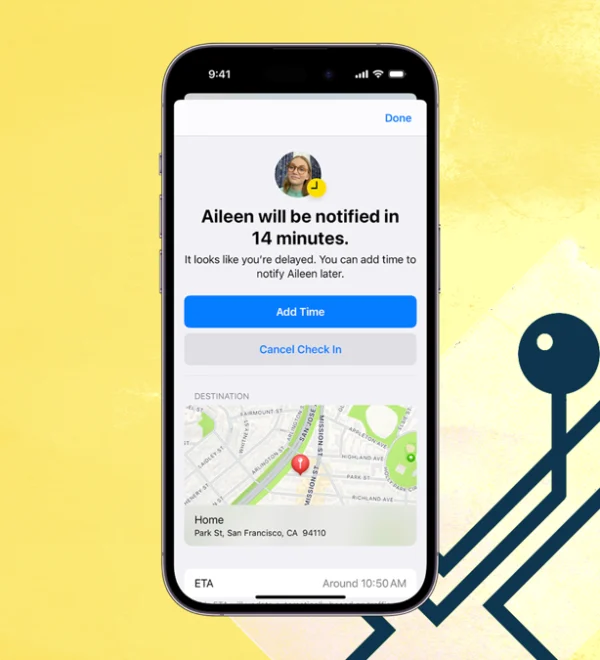 How to Use Your iPhone to Track the Live Location of Family and Friends
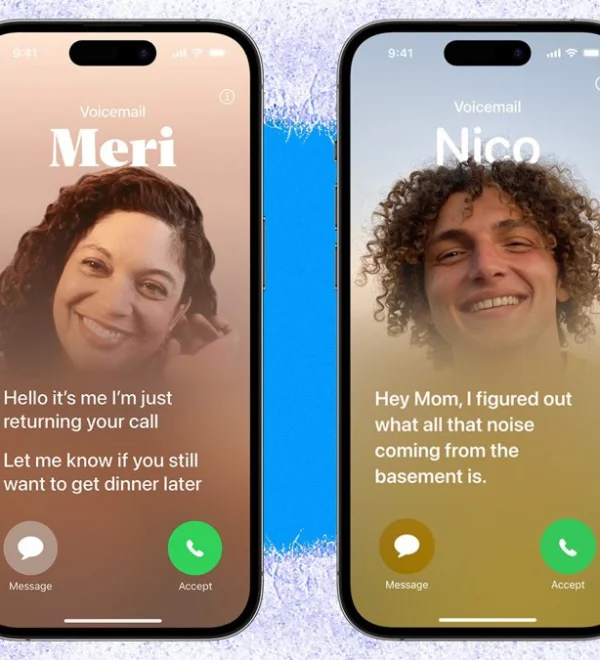 Utilize Live Voicemail on the iPhone With iOS 17: A Guide to Screening Your Calls
 Using Apple’s Journal App in iOS 17: A Guide to Writing It Out
 Creating Stickers for Apple Messages from Your iPhone Photos
 Wirelessly Sharing Contact Information on iPhones and Apple Watches Using NameDrop
 Creating and Personalizing a Contact Poster in iOS 17: Unleash Your Unique Identity
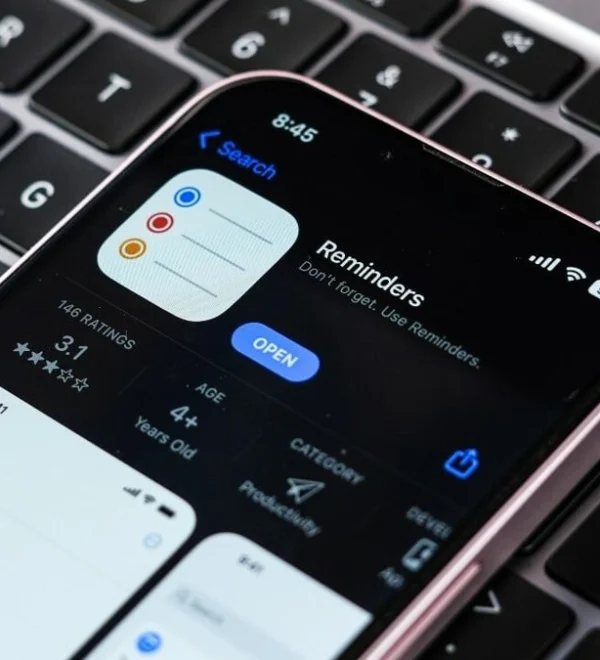 Discover How Apple’s Reminders App Enhances Productivity with 15 Essential Features