Doom Eternal Super Gore Nest collectables: all secrets in the fifth mission
How to complete the challenges in mission five

With the fifth mission of Doom Eternal, the number of collectables has gone up rather significantly. It's very easy to miss them as well, since there may be multiple items in one secret location. But don't worry, I've found all of them and have put together this list of their locations.
Doom Eternal Super Gore Nest collectables guide
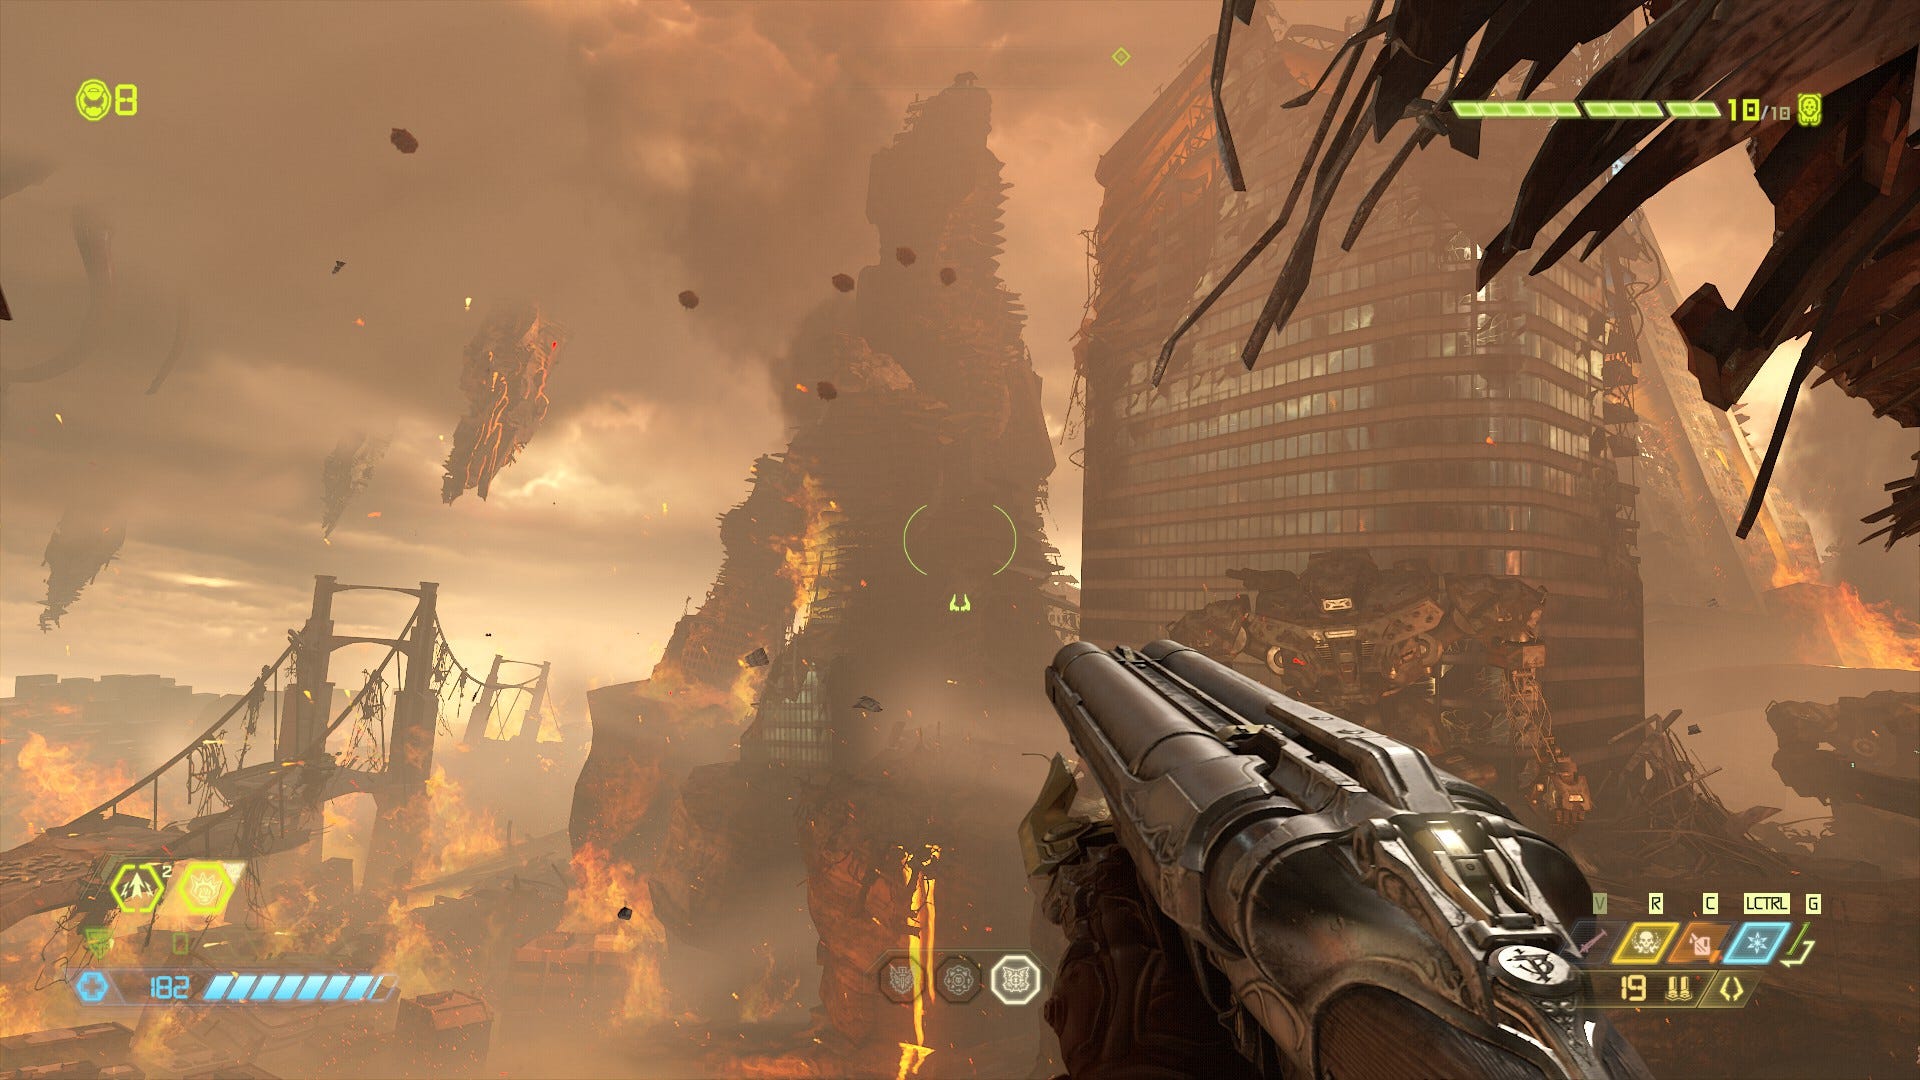
The fifth mission of Doom Eternal has a large number of collectable items, 23 to be exact. You'll also need to find the various secret encounter locations and the Slayer Key.
As always, it's worth noting that getting to the end of the mission enables Fast Travel so you can pick up collectables that you missed. The automap also helps here and the location of the full automap is just after activating 50% of power to the generators to kill the gore heart. Follow the main path and it should be in the next room.
Contents
Here are the locations of the collectables hidden in the fifth mission of Doom Eternal.
Super Gore Nest collectable locations
- Codex Entry #1: Jump onto the first train, then jump to the crumbling ledge you can see before you. It’s on the ledge.
- Toy #1: In the room with the fleshy column, there are some monkey bars at the back. Swing up both and you should have enough height to get to the toy.
- Weapon mod #1: After climbing the wall in the next room, there is a hologram. Around the corner is the weapon mod. If you see the Star Mall map board, turn around and jump over the gap to the other side.
- Toy #2: In the arena where there is a rather disgusting looking crusher with teeth, look to the monkey bars on either side. Swing upwards, then turn around and jump into the top of the room. Circle around this cramped room for the toy.
- Praetor Suit point #1: One of the teleporters in the room where you need to destroy the buff totem has a knight hidden in the corner. This is not the centre teleporter.
- Rune #1: After using the yellow key in the door, turn right and use the booster to get to the rune.
- Cheat Disk #1: In the room with the three key sockets, head to the left side of the room and look at the platform with the keys. You should see a small hole in the side of the fleshy part of the ledge. It’s most easily seen if you use the climbable wall and look back at it. Jump into the hole and follow it to the cheat disk.
- Codex Entry #2: From the climbable wall on the left side of the room with the three key sockets, climb up and enter the building with “Ivan” on it. It leads to the Codex. The room leads back to the giant flesh column room.
- Sentinel Crystal #1: After going down the lift shaft, kill the enemies you see and turn left. You’ll find the crystal in the corner.
- Codex Entry #3: In the room where you see the chaingun behind glass, go around it to find the Codex Entry.
- Sentinel Battery #1: Once you have the radiation suit, go down the right path and follow the acid all the way until you get to a wall. Jump up the ledge to claim the battery.
- Toy #3: From the battery, drop down all the way to the bottom of the radioactive pit below. Follow the path to the right for the toy and a portal back to where Sentinel Battery #1 is.
- Praetor Suit point #2: After getting the red key, go through back to the room where you first got the radiation suit and this time turn left. You’ll find the knight at the end of the path.
- Weapon mod #2: Before taking the teleporter in the fleshy room close to the generator, push the button, then follow the left wall to the weapon mod.
- Praetor Suit point #3: After dealing with the second buff totem, jump across the monkey bar rotating to the left path. Dash to the wall and climb up to the next area. It’s just to the left of the punchable block.
- Sentinel Battery #2: Once you’ve climbed up to the next room with the hologram, after the Super Mario Bros. flame pillars, you’ll find the battery on your left.
- Record #2: Before punching the wall by the hologram, look straight past the hologram and dash jump through the window frame to a second pair of rotating monkey bars. You’ll barely land on the platform with the record.
- Rune #2: Punch the wall after the hologram and follow the path to the rune.
- Praetor Suit point #4: After pushing the button in the radioactive pit, go back to the now open teeth door to find another radioactive pit. Carefully navigate the walls and while on the third wall, veer to the right wall, then leap straight across to the wall in front of you. A leap up should get you to the knight.
- Record #1: Once you have the blue key, go through the doors and carry on the path until you get the reward. The next blue door takes you out into the giant fleshy column room.
- Praetor Suit point #5: After opening the blue door, go to the centre and use the blue key on the giant fleshy column. This should reveal a wall back where the 1-Up pillar is. Go through it, then use the monkey bars to get to the floor above. Punch the wall to get the 1-Up, but this also unlocks the doors protecting the Praetor Suit point nearby. It also releases a Pinky monster that you will need to deal with.
- Sentinel Battery #3: Use the blue key to access the booster in the giant fleshy column room to leap high into the air. Climb the climbable wall to your side and follow the path. Open the door and drop down the hole, dealing with the monster ahead. Keep going to find the battery.
- Empyrean Key: In the same room as the third Sentinel Battery is the Slayer Key. Nab it, then drop down and follow the horizontal pipes you can see directly ahead to the Slayer Door. Open it, defeat the monsters inside and claim the key.
Secret encounters
- Secret Encounter #1: One of the teleporters in the room where you need to find the buff totem has the secret encounter. This is not the centre teleporter.
- Secret Encounter #2: In the area where you find the radiation suit, once you’ve punched a hole in the vent from the monkey bars, you’ll find an area where blasters are spitting fireballs. Jump to the ledge on the right, then climb the wall and jump to the upper floor. You’ll find the secret encounter here.
Challenges
- Weaponslave: Acquire a weapon mod.
- A Bloody Secret: Complete both secret encounters.
- War Pinkies: Perform three different Glory Kills on Pinkies. Approach from either the front, left side, right side, back, or jumping for different Glory Kills.
If you think that 23 collectables was a lot, the next mission has an eye watering amount of stuff hidden everywhere. To make sure you don't miss out on any of them, have a look at our guides for all the other collectables in Doom Eternal:
Doom Eternal collectables
- Hell On Earth
- Exultia
- Cultist Base
- Doom Hunter Base
- Arc Complex
- Mars Core
- Sentinel Prime
- Taras Nabad
- Nekravol
- Nekravol Part II
- Urdak
- Final Sin and Fortress Of Doom
Doom Eternal guides series
- Doom Eternal guide - Return to our main guide for the top 20 tips and tricks.
- Doom Eternal weapons - All the upgrade costs and weapon mastery challenges for every weapon.
- Doom Eternal upgrades - What to spend Praetor Coins, Sentinel Shards, and Weapon Points on.
- How to unlock Doom Eternal secrets - Doom Eternal has a lot of hidden stuff, here's how to get it.
- Doom Eternal PC performance - How to get the best settings.