Doom Eternal Nekravol Part II collectables: all secrets in the eleventh mission
How to complete the eleventh mission's challenges
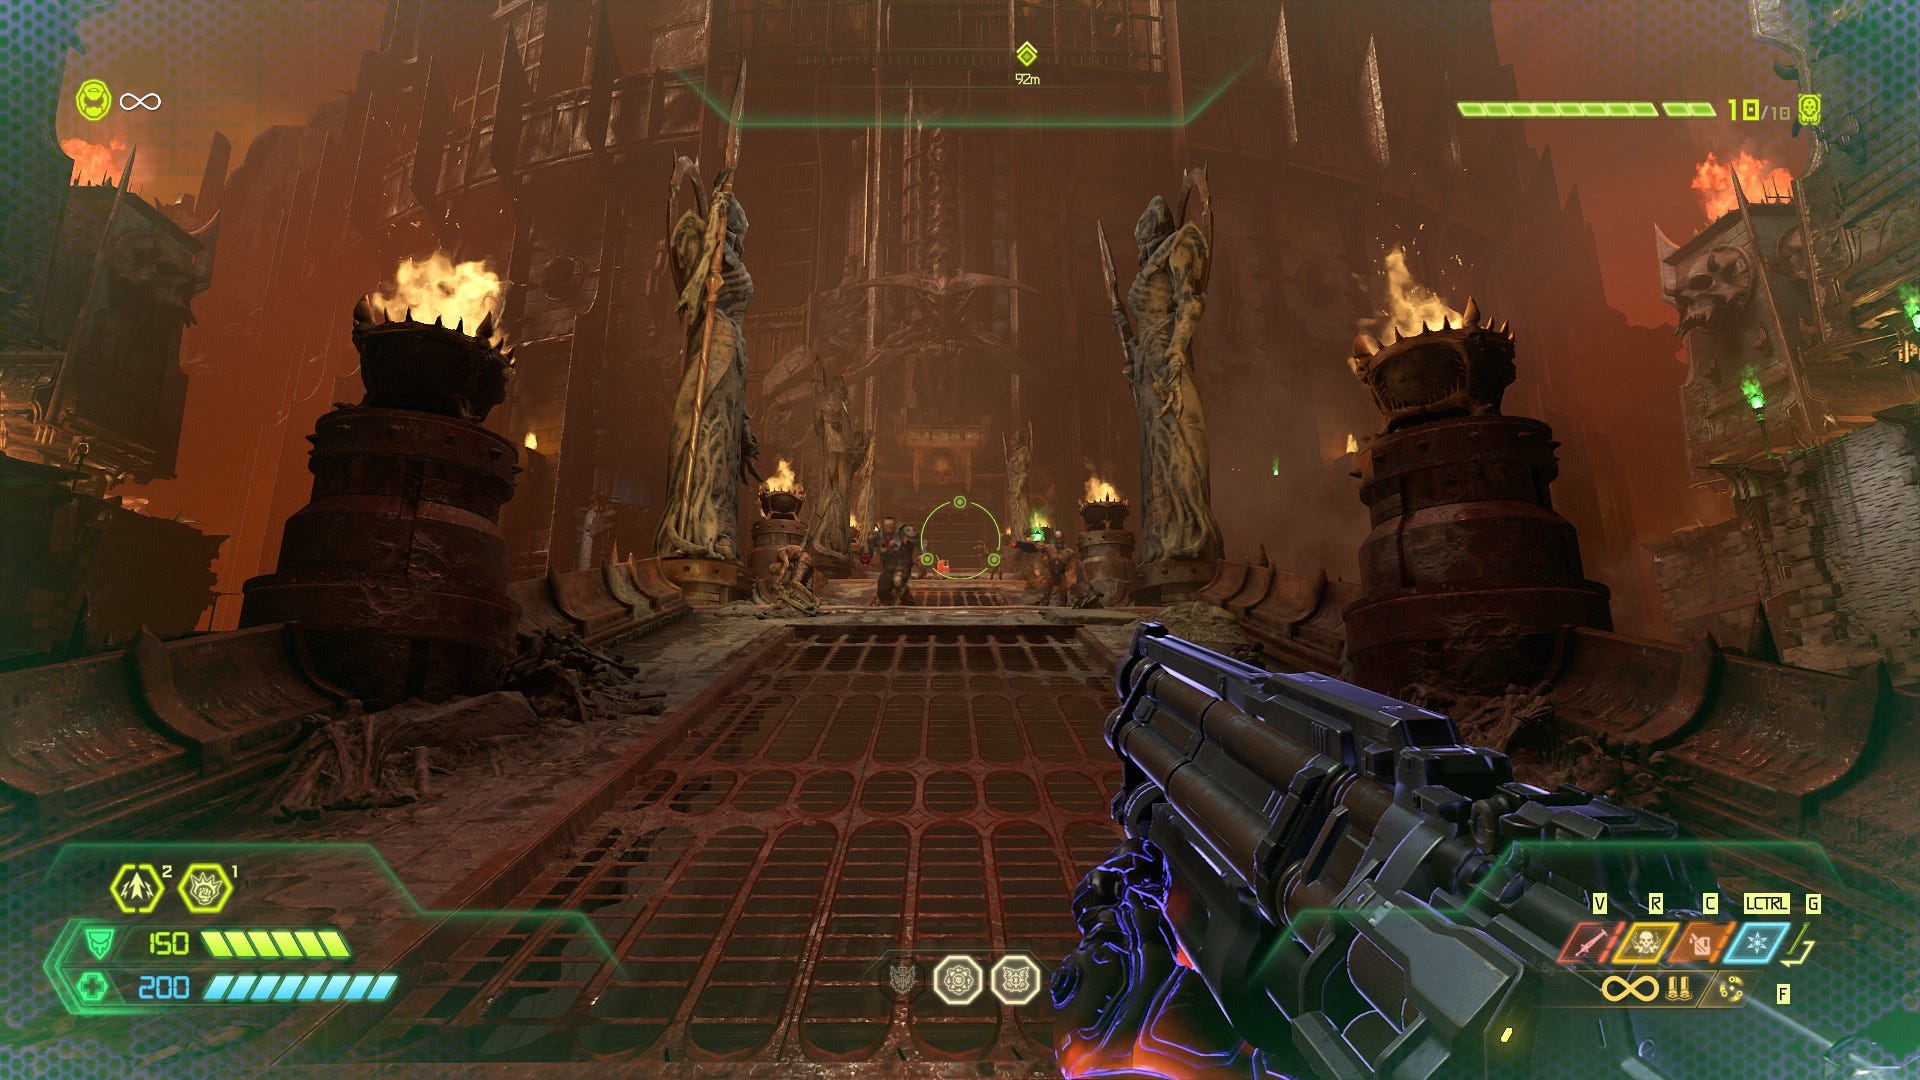

Plodding on through the second part of Nekravol in Doom Eternal, you'll be facing even more brutal assaults from the demons of hell. There are plenty of collectables to nab across this level, so this guide will tell you where to find them.
Doom Eternal Nekravol Part II collectables guide
This mission of Doom Eternal has 15 collectable secrets to be found. Slayer Keys are a distant memory, but there are plenty of other encounters and items to find along the way. Don't get this confused with Nekravol, as that is a whole separate mission.
As always, it's worth noting that at the end of the level, you'll unlock the ability to Fast Travel to specific points in the level. If you miss any collectables, that will be the time to find them unhindered. There's an Automap here too and you'll find it when you reach the top of the fiery pillars and jump across the gap.
Contents
Here are all of the locations for every hidden secret in the eleventh mission.
Nekravol Part II collectable locations
- Mastery Token #1: The safest way is to use the Overdrive cheat disk active to get this Mastery Token. From the start, kill the enemies, then double jump and dash to leap to the left pillar. From there, jump to the next one and claim the coin. If you don't want to cheat, the pillar has a boost pad that's very well hidden on its underside, so use that to leap over to the left pillar (thanks to Mathieu Hallam for the tip).
- Record #1: Jump to the climbable wall near the Mastery Token to find the record and a secret encounter. This doesn't need the Overdrive cheat disk.
- Sentinel Crystal #1: After climbing into the facility, you’ll find it on the main path.
- Codex Entry #1: After clearing the big room that has a Doom Hunter in it, head towards the waypoint marker to the left for the entry page.
- Toy #1: From the Codex Entry, walk down the ramp and punch the wall. You’ll find a toy and a secret encounter here.
- Cheat Disk #1: From the toy and secret encounter, there is a chasm that you need to fall into to progress. Jump to the platform on the left and turn around. You should see a wall to punch. Jump and punch it, before double jumping to reach the hole. Climb up to find the disk.
- Codex Entry #2: After defeating all the demons in the soul syphoning area, climb up the wall to progress through the mission. The Codex is along the way.
- Record #2: Punch the wall to the left of the previous Codex Entry for the record.
- Toy #2: When you come to the fiery pillars, jump to the one on either side of the main pillar. Then, turn back to face where you jumped from and jump towards the darkened area. You’ll need to dash to reach the platform where the toy is.
- Praetor Suit Point #1: At the top of the lift, there are three spiked doors that open and close. Double jump and dash to the left one, timing it carefully to get there before it shuts. I recommend jumping as it closes. Punch the wall and claim the coin from the knight.
- Codex Entry #3: From the left door, jump across to the middle door and find the Codex Entry inside.
- Toy #3: After the Codex Entry, you’ll see a booster. Jump onto it and punch the wall behind you to reveal the toy.
- Praetor Suit Point #2: You’ll soon come to some kind of well of souls after a precarious jump across a big gap. Go around the back to find the knight.
- Cheat Disk #2: After opening the portal to Urdak, turn around and climb up the stairs to the open doorway. Drop down, but make sure you reach the hidden pathway. You’ll first come across a cheat disk.
- Praetor Suit Point #3: Carry on the path after getting the disk to get the Praetor Suit Point.
Secret encounters
- Secret encounter #1: It’s found next to Record #1 and needs the Overdrive skill to reach it.
- Secret encounter #2: It’s found next to Toy #1.
Challenges
- Punched by Blood: Kill more than one enemy with Blood Punch, five times.
- Cut Down To Size: Perform a “back” Glory Kill on a Tyrant. There is only one Tyrant in the level and it appears right at the end.
- Resurrect No More: Perform a “left” Glory Kill on an Archvile. There is only one Archvile in the level and it’s about halfway through. Make sure you’re on Archvile’s left, rather than having Archvile on your left.
It's off to the realm of Urdal next mission and this is the final mission with lots of collectables. We'll explain where to find the collectables for that mission, and all the other collectables in Doom Eternal in the following guides:
Doom Eternal collectables
- Hell On Earth
- Exultia
- Cultist Base
- Doom Hunter Base
- Super Gore Nest
- Arc Complex
- Mars Core
- Sentinel Prime
- Taras Nabad
- Nekravol
- Urdak
- Final Sin and Fortress Of Doom
Doom Eternal guides series
- Doom Eternal guide - Return to our main guide for the top 20 tips and tricks.
- Doom Eternal weapons - All the upgrade costs and weapon mastery challenges for every weapon.
- Doom Eternal upgrades - What to spend Praetor Coins, Sentinel Shards, and Weapon Points on.
- How to unlock Doom Eternal secrets - Doom Eternal has a lot of hidden stuff, here's how to get it.
- Doom Eternal PC performance - How to get the best settings.