Doom Eternal Taras Nabad collectables: all secrets in the ninth mission
How to complete the ninth mission's challenges

Some missions in Doom Eternal have a large number of collectables, but Taras Nabad has some real stinkers that are really tricky to locate. They can be behind switches hidden quite far from where the actual collectable is. After what felt like hours, I've put together a list of where to find them.
Doom Eternal Taras Nabad collectables guide
This mission of Doom Eternal has a whopping 25 collectable secrets to be found. This is the last mission with a Slayer Key, but there are plenty of other encounters and items to find along the way.
As always, it's worth noting that at the end of the level, you'll unlock the ability to Fast Travel to specific points in the level. If you miss any collectables, that will be the time to find them unhindered. The Automap here is found on the main route so shouldn't be too hard to find.
Contents
Here are all of the locations for every hidden secret in the ninth mission.
Taras Nabad collectable locations
- Codex Entry #1: Jump from the start to the large platform. You’ll see it on the left.
- Sentinel Battery #1: From the Codex Entry, drop down the platform towards the edge. Punch the wall for the battery.
- Record #1: Go through the big doors, then drop over the edge and dash back the way you came. You’ll find the record on the platform below the big doors.
- Praetor Suit point #1: After climbing the wall but before dropping down the hole on the right to the big courtyard, the knight is to the left.
- Sentinel Battery #2: In the big courtyard where you fight the Archvile, walk up the back stairs and head to the right. There is a statue against the wall with a broken leg. Punch it to reveal a button. Open the door and smash the weakness in the weight by jumping off the climbable wall. Descend to find the battery.
- Mastery Token #1: After clearing out the big courtyard, go to the Secret Encounter hidden nearby but don’t activate it yet. Turn left and push the green button. A gate will open containing this token that can be used to bypass a Mastery mod.
- Praetor Suit Point #2: After swimming through the radioactive water, you should find the knight close to where you surfaced.
- Codex Entry #2: After swimming through the radioactive water, kill the enemies in the next courtyard. You’ll find the codex in this area.
- Toy #1: In the same area as the codex above, there is another statue with a broken knee. Punch him and push the button. The plate-like contraption up the stairs will glow. Jump onto it and stay there for a couple of seconds. The secret door will open and give you access to the toy.
- Codex Entry #3: After the cutscene, follow the path to find the next Codex.
- Empyreal Key: After getting out of the radioactive water with the block you must push, turn left at the crossroads. You’ll find the Slayer Key before the gate.
- Cheat Disk #1: After the next big room after the radioactive water pit, go up the stairs and punch the wall on the left. You’ll find a cheat disk and the second Secret Encounter.
- Sentinel Battery #2: Before removing the Crucible blade, turn around. You’ll see the battery at the back and to the right.
- Codex Entry #4: Before removing the Crucible blade, turn around. You’ll see the Codex at the back and to the left.
- Praetor Suit point #3: Hop over the legs of the giant dead demon to find the Praetor Suit Point.
- Toy #2: Punch the wall to the right of the above Praetor Suit point to find the toy.
- Praetor Suit point #4: After taking the lift upwards and fighting demons in the narrow balcony, circle around to find the Praetor Suit point.
- Codex Entry #5: Drop down from the balcony, but don’t jump to the next one. Instead, turn around. The codex is on the right.
- Sentinel Crystal #1: Drop down from the balcony, but don’t jump to the next one. Instead, turn around. The crystal is on the left.
- Codex Entry #6: Unlock the vault and look for the Codex Entry in the main room.
- Praetor Suit point #5: After smashing the weight down to the ground in the throne room, follow it and go down the lift. The knight is in the circular room.
- Toy #3: This one is a major pain in the arse. Behind the knight in the circular room is a big drop down to some radioactive water. You need to punch a wall in the metal grating just above the but because you move so fast, it can be difficult to know when to punch. We've dedicated an entire section to this particular toy because it's that tough to get.
- Codex Entry #7: Go up the second wall after getting rid of the radioactive water. Defeat the demons and progress onward. You’ll see it along the way.
- Mastery Token #2: Drop to the last room to find the token in plain sight.
Secret encounters
- Secret encounter #1: It's in the big courtyard area, hidden in the cloisters.
- Secret encounter #2: It’s in the same room as the cheat disk
Challenges
- Man Made Wiki: Acquire six Codex Entries
- Keeping Cool: Use the Ice Bomb to freeze 10 demons
- Painkiller: Perform three different Glory Kills on Pain Elementals
Toy #3
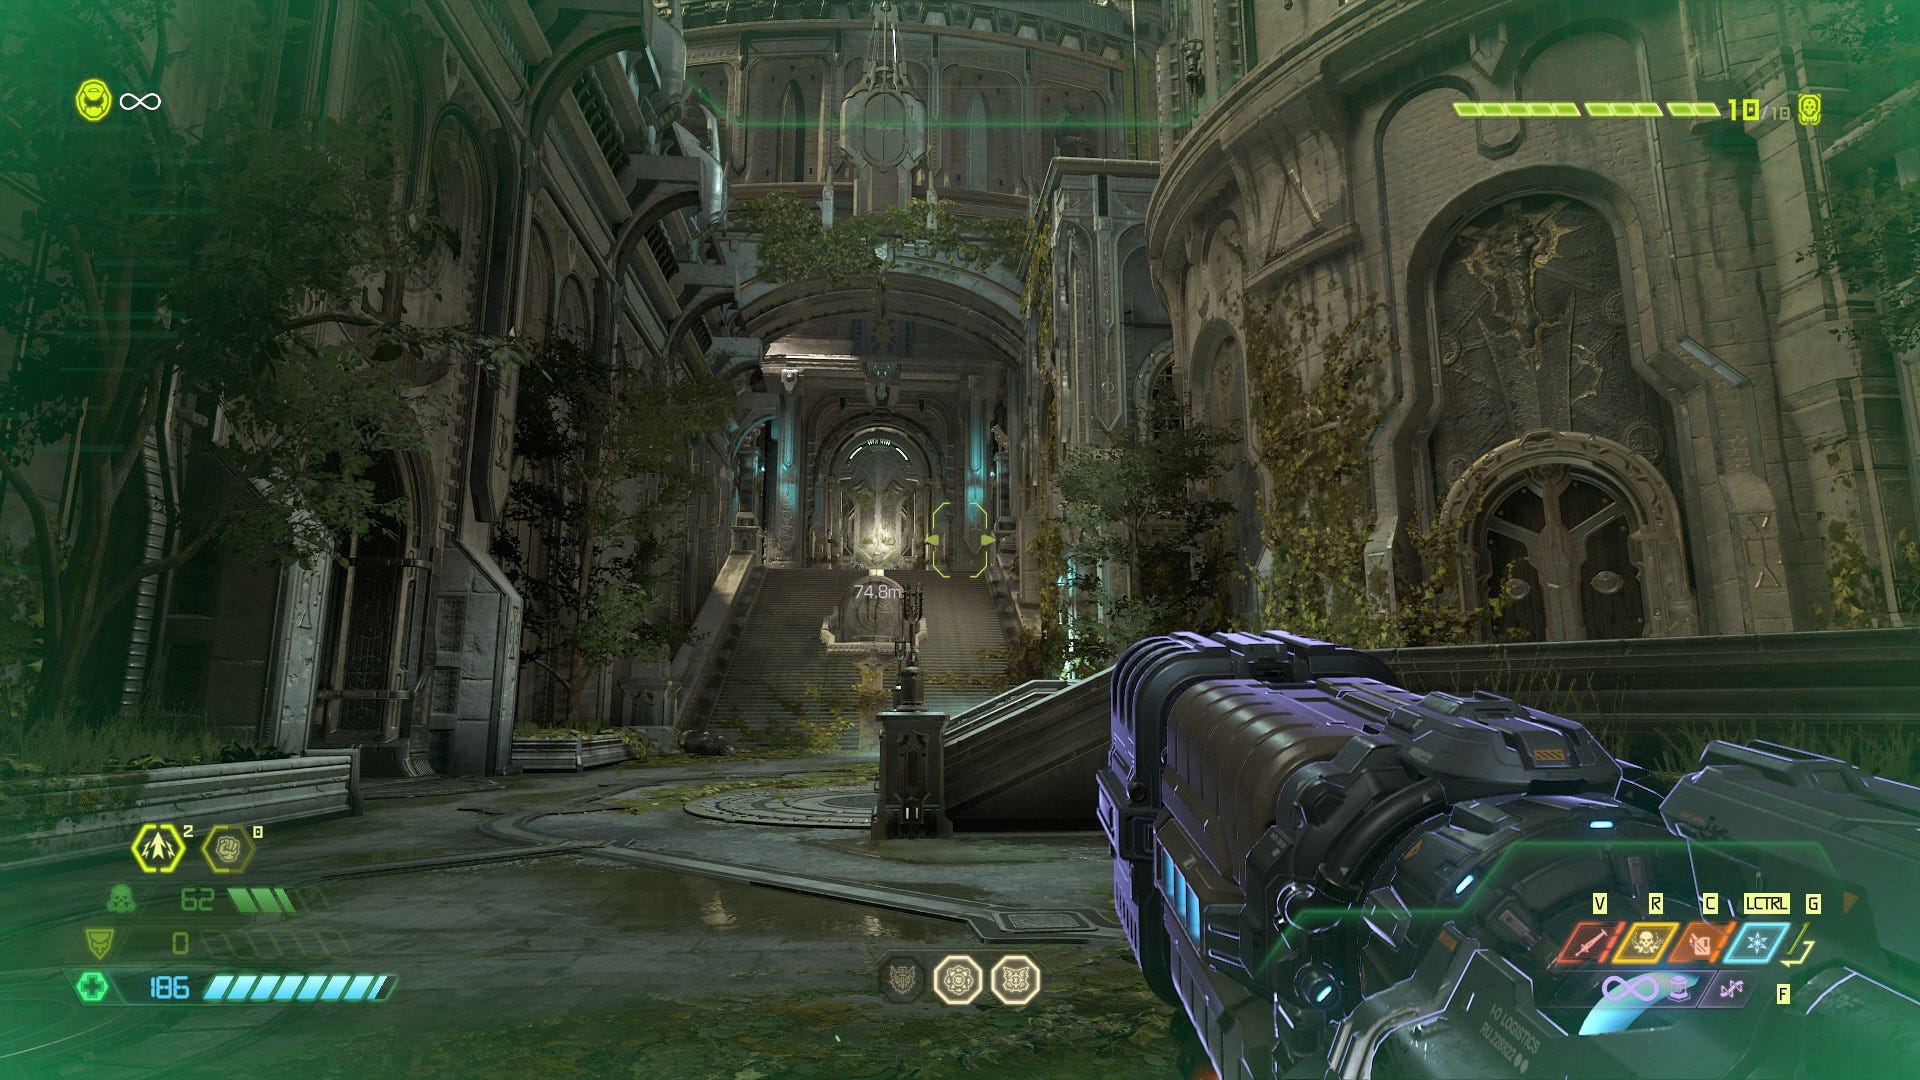
The reason why I have dedicated an entire section to finding this toy is because it requires a visual aid to know exactly where to punch. I recommend attempting getting this toy when fast travel is enabled. Go to the Throne Room checkpoint and progress until you find the well going downwards. Go clockwise and use the gap after passing the first mossy knight statue on your right.
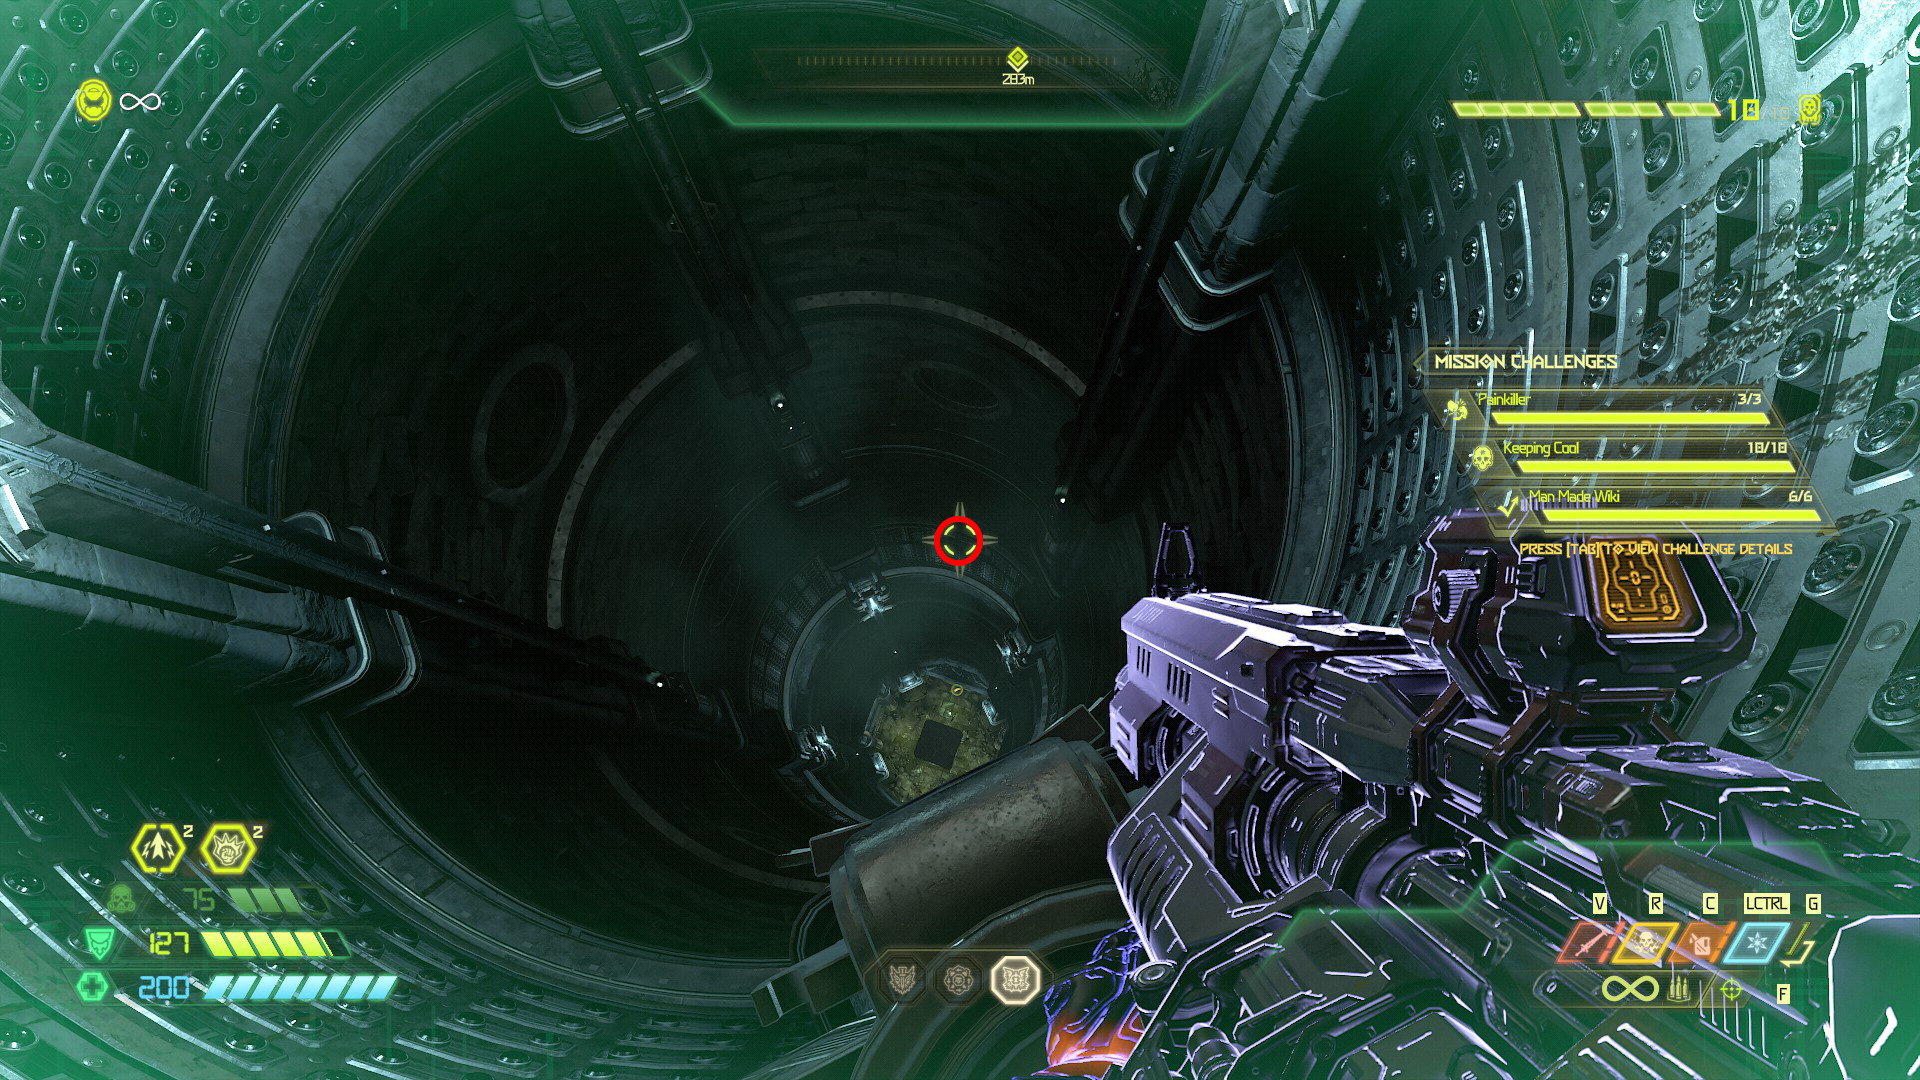
From that point on, look at the automap and angle it so that you're looking down. The easiest way to spot it is to drop slightly onto the top of the girders, as seen in the picture above. If you use the Precision Rifle to zoom in, you won't be able to make out the wall you need to hit, but you can at least get an idea of how far down it is.

The area you need to punch is where the metal part begins, just before the second set of lights. If you angle so you're above the radiation icon, then you're roughly in the right place. Hug the wall and just before you get to the second lights, punch the wall. If you did it right, you'll stop abruptly as you'll have landed on the secret area.
Collect the toy and never worry about doing this ever again. This will take several attempts. For me, it took at least two dozen attempts to not only find it, but get the timing right. Hopefully it won't take you anywhere near as long to crack it open.

With the sword obtained, it's off to Nekravol. The next few missions are rather long but have nowhere near as many collectables. We'll explain where to find the collectables for both parts of Nekravol, and all the other collectables in Doom Eternal in the following guides:
Doom Eternal collectables
- Hell On Earth
- Exultia
- Cultist Base
- Doom Hunter Base
- Super Gore Nest
- Arc Complex
- Mars Core
- Sentinel Prime
- Nekravol
- Nekravol Part II
- Urdak
- Final Sin and Fortress Of Doom
Doom Eternal guides series
- Doom Eternal guide - Return to our main guide for the top 20 tips and tricks.
- Doom Eternal weapons - All the upgrade costs and weapon mastery challenges for every weapon.
- Doom Eternal upgrades - What to spend Praetor Coins, Sentinel Shards, and Weapon Points on.
- How to unlock Doom Eternal secrets - Doom Eternal has a lot of hidden stuff, here's how to get it.
- Doom Eternal PC performance - How to get the best settings.