Doom Eternal Arc Complex collectables: all secrets in the sixth mission
How to complete the challenges in mission six

The sixth mission in Doom Eternal has the most collectables hidden within. On top of that, there are the usual secret encounters, lot of enemies to kill, and even some challenges to finish. This is going to be a long one, so strap yourself in and let's get started.
Doom Eternal Arc Complex collectables guide
The sixth mission of Doom Eternal has a jaw-dropping 25 collectable items. You'll also need to find the various secret encounter locations and the Slayer Key, so it's no mean feat to get everything.
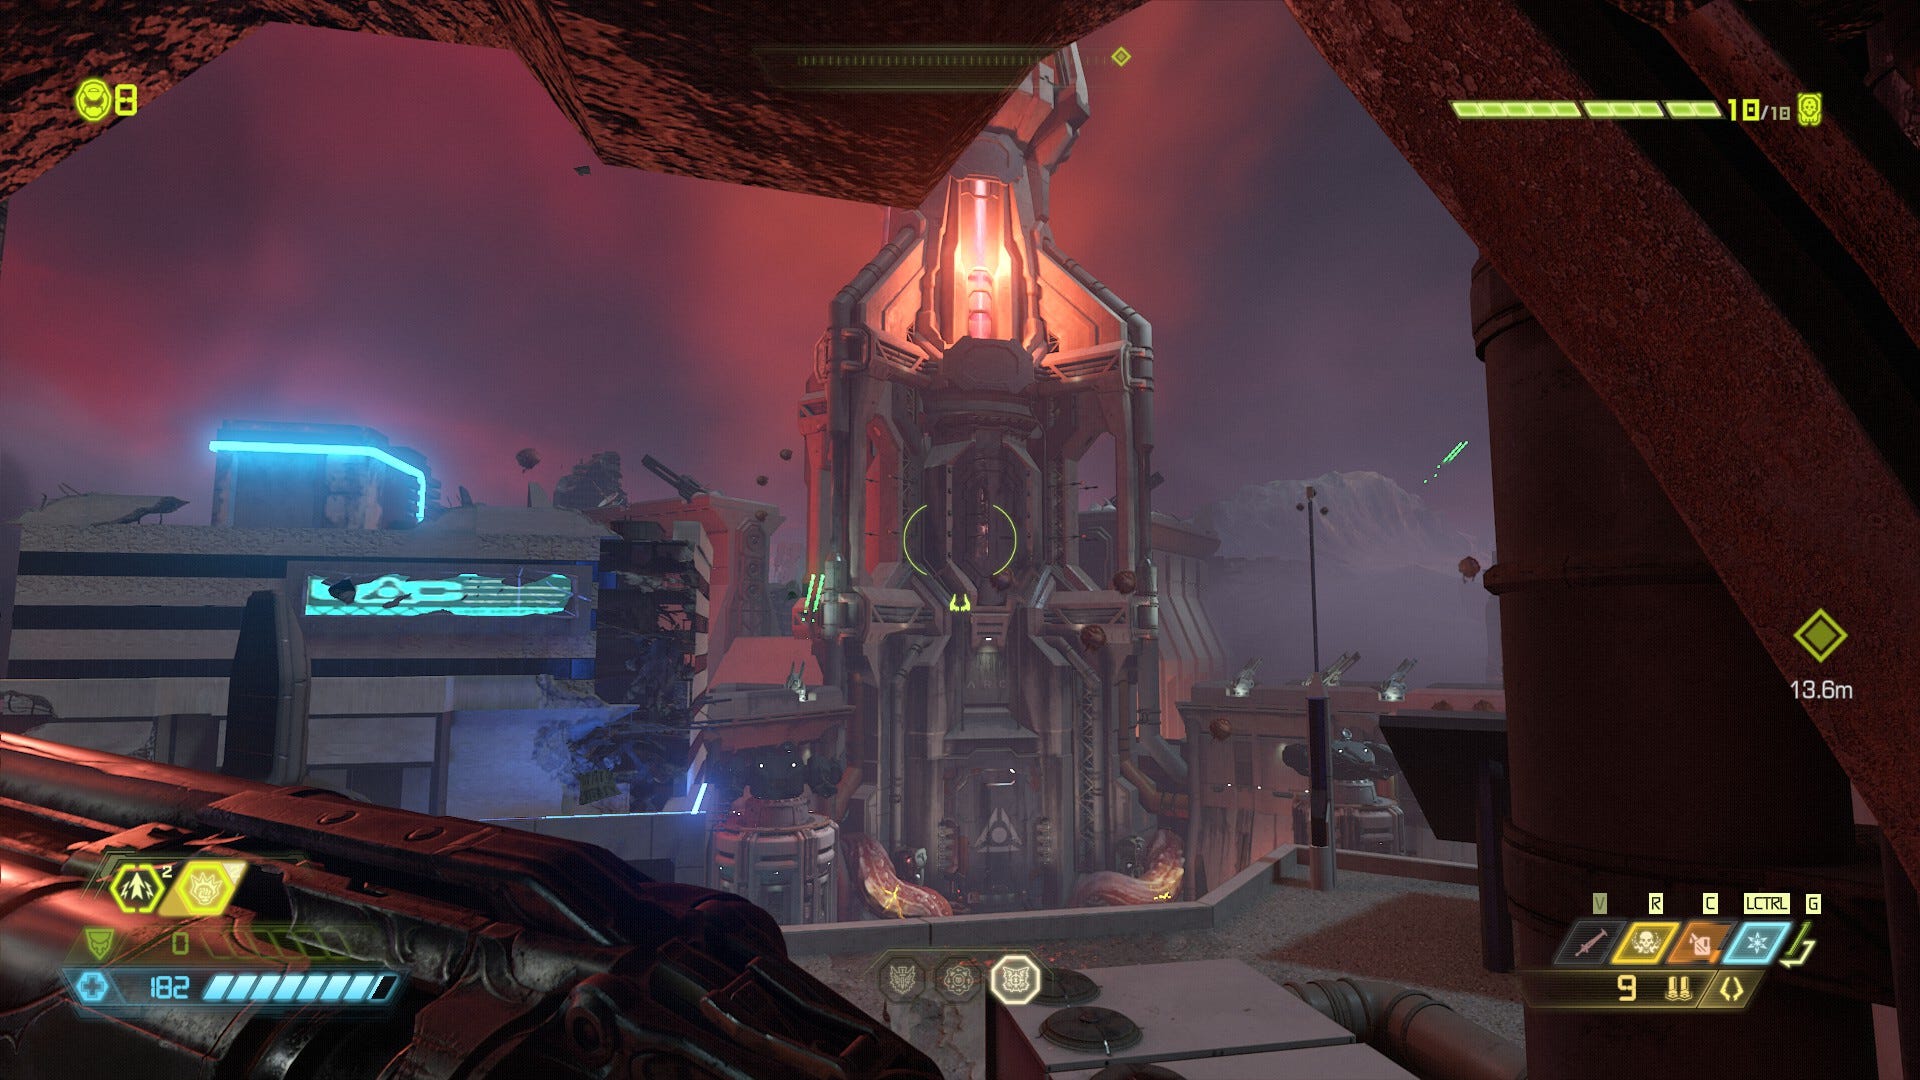
As always, it's worth noting that getting to the end of the mission enables Fast Travel so you can pick up collectables that you missed. The automap also helps here and the location of the full automap is on the way to the first cannon. You’ll begin ascending to the top of a building where lots of enemies come through the glass. The automap is just up some stairs about halfway up.
Contents
Here are the locations of the collectables hidden in the sixth mission of Doom Eternal.
Arc Complex collectable locations
- Toy #1: In the first fight of the level, an enemy will smash through some glass. Through this gap is the toy you seek.
- Praetor Suit point #1: Fight through the two big waves of enemies and descend down the ramp. There is a “Shuz” store on the left as you reach the bottom. Instead, turn right and punch the glass on the right for the Praetor Suit point.
- Empyrean Key: On the way to the first cannon, you’ll begin ascending to the top of a building where lots of enemies come through the glass. Go up the stairs to where the automap is and look to the left. Jump to the climbable wall on your right, then use that wall to boost towards the Slayer Key. Go back to the automap and unlock the Slayer Door. Defeat the horde inside to find the Empyrean Key.
- Toy #2: From the automap, double jump and dash to the other side of the room and look right for the toy.
- Sentinel Battery #1: From the automap, double jump and dash to the other side of the room and look left for the battery.
- Weapon mod #1: Instead of going up the stairs behind you to go to the automap, turn right and you should see the drone carrying the weapon mod.
- Cheat Disk #1: Use the monkey bars to swing to the next building. A hole will appear in the middle of the floor, which contains the cheat disk.
- Weapon mod #2: The second weapon mod drone is to the right as you get to the top of the stairs. Walk past the log pedestal and punch the wall to reveal the room where the drone is.
- Codex Entry #1: After leaping across to the next building, jump over the wreckage on your left and punch the wall. Head to the top of the stairs for the Codex Entry.
- Sentinel Crystal #1: About halfway down the stairs from the last Codex page, there is a hole in the wall. Jump through to claim the crystal.
- Praetor Suit point #2: Make your way up the buildings using the monkey bars, and enemies with the meat hook, until you find the next hologram. The knight is around the corner.
- Codex Entry #2: After jumping through to the airplane cargo bay, carry onwards and upwards until you reach the first floor. Turn left and go to the far end to get the Codex Entry.
- Praetor Suit point #3: From the Codex, double jump and dash over the gap to get to the knight.
- Toy #3: Turn left at the top of the stairs on the second floor to find a gap with the toy in it.
- Rune #1: When you drop down the hole in the burning building, look around for the rune.
- Codex Entry #3: In the foyer of “Mario’s A La Carte Restaurant”, look around the room until you find a computer desk hidden in an alcove. The Codex Entry is there.
- Sentinel Battery #2: After firing the first cannon, go down the lift and in the cubicle at the far end is the battery.
- Codex Entry #4: From the room with the battery cubicle, press onward with the mission. The floor in the room with monsters inside will give way, creating pitfall traps in the floor. Jump back up out of them and look around the machines to find the page.
- Praetor Suit point #4: From the Codex Entry, head around to the hole blown in the wall and turn right to find another knight.
- Rune #2: Continue on from the room where the holes appeared in the floor. The floor at the end of the corridor will also crumble beneath your feet. Turn left and jump over the wreckage for the rune.
- Sentinel Battery #3: In the purple sludge pit, after punching the block, jump on top, then swing on the monkey bars around the corner and dash to the battery.
- Codex Entry #5: After pressing the button in the room that is sparking at the sides, go back the way you came and to the far end, the locked door will now open to reveal the Codex Entry.
- Record #1: Drop down from the Codex Entry and turn right to find some machines. On the other side, there are boxes which are hiding the record.
- Record #2: In the parking lot, as you enter, turn left to find an audio log. There is a room to the right that has the second record.
- Praetor Suit point #5: In the parking lot, there is a Mancubus that bursts through a door on the lower floor. The knight is through that door.
Secret encounters
- Secret Encounter #1: From the second Codex, double jump and dash over the gap to get to the secret encounter.
- Secret Encounter #2: Drop down from the fifth Codex Entry and turn right to find some machines. On the other side, there is a secret encounter.
Challenges
- Rune Assemble: Acquire two runes
- External Combustion: Overload a shield with plasma rifle to kill six demons. This just means kill six demons with overloaded shield explosions.
- Rocket Removal: Destroy four shoulder launcher Weak Points on Revenants. I recommend the Precision Bolt mod for the Heavy Cannon for this.
While the next mission has fewer collectables to find, there's still an awful lot of them. To make sure you don't miss out on any of them, have a look at our guides for all the other collectables in Doom Eternal:

Doom Eternal collectables
- Hell On Earth
- Exultia
- Cultist Base
- Doom Hunter Base
- Super Gore Nest
- Mars Core
- Sentinel Prime
- Taras Nabad
- Nekravol
- Nekravol Part II
- Urdak
- Final Sin and Fortress Of Doom
Doom Eternal guides series
- Doom Eternal guide - Return to our main guide for the top 20 tips and tricks.
- Doom Eternal weapons - All the upgrade costs and weapon mastery challenges for every weapon.
- Doom Eternal upgrades - What to spend Praetor Coins, Sentinel Shards, and Weapon Points on.
- How to unlock Doom Eternal secrets - Doom Eternal has a lot of hidden stuff, here's how to get it.
- Doom Eternal PC performance - How to get the best settings.