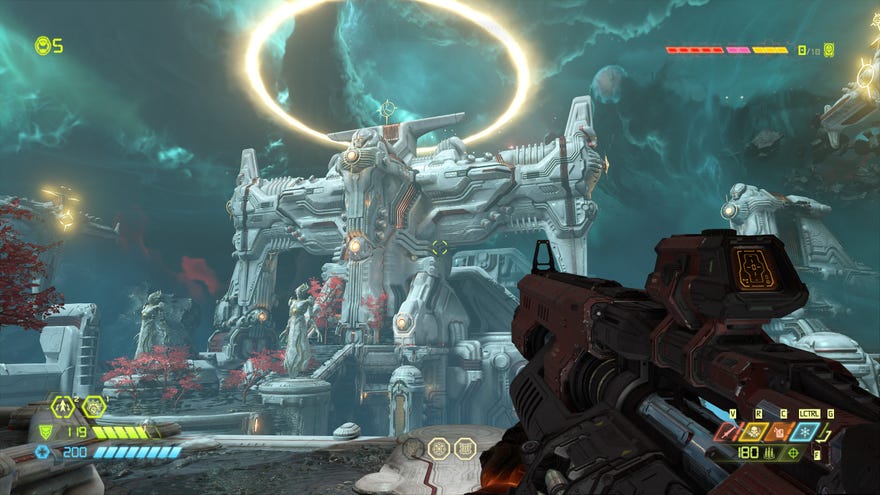
Doom Eternal Urdak collectables: all secrets in the twelfth mission
How to complete the twelfth mission's challenges
This is the final level in Doom Eternal where hunting for collectables is a major part of the game. While they're nowhere near as difficult to get to as some missions, these last few items are at least well hidden. We will uncover their locations, so you can complete your collection for most items.
Doom Eternal Urdak collectables guide
This mission of Doom Eternal has 14 collectable items to be found. Slayer Keys are a distant memory, but there are plenty of other encounters and items to find along the way through the final major mission where collectables are found.
As always, it's worth noting that at the end of the level, you'll unlock the ability to Fast Travel to specific points in the level. If you miss any collectables, that will be the time to find them unhindered. The Automap here is found after using the boosters. Open the door by shooting the panel and leap through. The map is around the back of this room.
Contents
Here are all of the locations for every hidden item in the twelfth mission of Doom Eternal.
Urdak collectable locations
- Codex Entry #1: Enter through the door and turn left to find the Codex.
- Mastery Token #1: After using the boosters, open the door by shooting the panel and leap through. Turn around and shoot the green panel you can see here. A platform will descend to within jumping distance. Ride it to the top, grab onto the wall and climb up. Jump off the wall onto the walkway and double jump to the Mastery Token.
- Codex Entry #2: There is a part where you climb ledges after hanging off coffins. The Codex Entry is on the way up.
- Record #1: From the previous Codex Entry, turn around and jump the gap to the ledge above. Punch the wall for the record.
- Record #2: After punching the statue, climb up to the vent. When you reach the vent, turn around and use the pole to swing to the record on the other side.
- Mastery Token #2: After punching the statue and climbing up to the vent, jump up the ledge and turn around to find the Mastery Token on the ledge behind you.
- Codex Entry #3: After dealing with the Doom Hunter, there is a pole you can swing yourself up to the switch you can punch. The Codex is next to the switch.
- Toy #1: When you are told to align the rings, look to the right of the platform edge and drop off facing backwards. You can just about make it to the hole in the cliff where the toy is. There is a portal behind it to get back to where you were.
- Praetor Suit point #1: After dealing with the Marauder, look to the back of the area you are in. In the right corner is a mass of rocks. Jump on top, then jump and dash to the ledge around the corner from you to the right. Punch the wall to find the knight.
- Toy #2: After jumping from the left booster after uploading VEGA to the ring console, kill the demons, then head along the path. Pass under the ledge, then turn around to see rocks on the left. Use those to reach the top and get the toy.
- Codex Entry #4: Drop back down from the ledge and continue onward. You should find the Codex Entry in plain sight.
- Toy #3: After activating the second ring, head up the lift and walk around to the door outside. Turn left and jump around the corner to find the toy.
- Praetor Suit point #2: Using the left booster to go for the third ring. After dealing with the Tyrant and the rest of the demons, enter the door and find the knight at the back of the room.
- Cheat Disk #1: After activating the third button, exit the door to the left. Go down towards the booster, but don’t take it yet. Instead, turn around and look to the right. It’s a bit hard to see, but the wall is punchable.
Secret encounters
- Secret Encounter #1: After walking through some air vents, you’ll find a bunch of zombies below, as well as a Cacodemon, Pain Elemental, and some of those Makyr folk. Once they’re dead, head back towards the vent you came through to find a block. Punch it and climb up to the opposite vent.
- Secret Encounter #2: After getting the fourth codex entry, use the right booster to make it to the next building. Clear the demons, then look to the open window at the back. Punch the breakable wall you can see to the right of the monkey bars. There is a bug in that you need to push the button in the room to enable the wall to break.
Challenges
- Die By The Sword: Kill two demons with the Crucible
- Tricks And Traps: Kill eight demons using crusher traps. You shoot the buttons to activate crushers. Use the regular zombies or even other enemies to count towards this.
- The Doom Hunt: Perform a “left-side” Glory Kill on the Doom Hunter.
Once you've collected everything up until the last mission, there is just one more collectable left in the entire game outside the hub area. So for the last part, we will combine both the final mission and the Fortress of Doom collectables into one place. We'll explain where to find the collectables for that, and all the other collectables in Doom Eternal in the following guides:
Doom Eternal collectables
- Hell On Earth
- Exultia
- Cultist Base
- Doom Hunter Base
- Super Gore Nest
- Arc Complex
- Mars Core
- Sentinel Prime
- Taras Nabad
- Nekravol
- Nekravol Part II
- Final Sin and Fortress Of Doom
Doom Eternal guides series
- Doom Eternal guide - Return to our main guide for the top 20 tips and tricks.
- Doom Eternal weapons - All the upgrade costs and weapon mastery challenges for every weapon.
- Doom Eternal upgrades - What to spend Praetor Coins, Sentinel Shards, and Weapon Points on.
- How to unlock Doom Eternal secrets - Doom Eternal has a lot of hidden stuff, here's how to get it.
- Doom Eternal PC performance - How to get the best settings.
