After escaping the Police Station via the passage beneath the Main Hall, Claire finds herself secure – for now – in a richly adorned secret room. But with nowhere else to go, she has no option to press on into the underground complicated under.
Into the Underground Facility
Make use of the merchandise field and save typewriter within the Secret Room, and acquire all the provides dotted across the cabinets.
Put the STARS Badge in your pouch because it’s used quickly, then fill up your stock so that you’ve bought your greatest weapons and a pile of ammo – you’re going to wish it.
When you’re prepared, head off down the elevator to the appropriate of the room.

You’ll come out on a set of business stairs. Follow all of them the way in which to the underside and also you’ll discover the “Special Weapons Case” on the far finish of the room. Use the STARS Badge – which you get again in your stock by analyzing and retracting the USB from the Dongle – on the case, and also you’ll get the Suppressor on your MQ11.

This is a really helpful and highly effective attachment – now you may kill zombies with out alerting others or tipping Mr X off to your location.
Combine it together with your SMG, then head again up the steps one stage and undergo the door subsequent to the hydrant.

Follow the galley round till you get to the big open room, then bear proper.
Try to raise the locker and also you’ll set off a cutscene, which on conclusion triggers the primary William boss battle.
This performs out similar to your first run: shoot him within the head to stun him – or blast him together with your launcher – then shoot the attention on his arm.
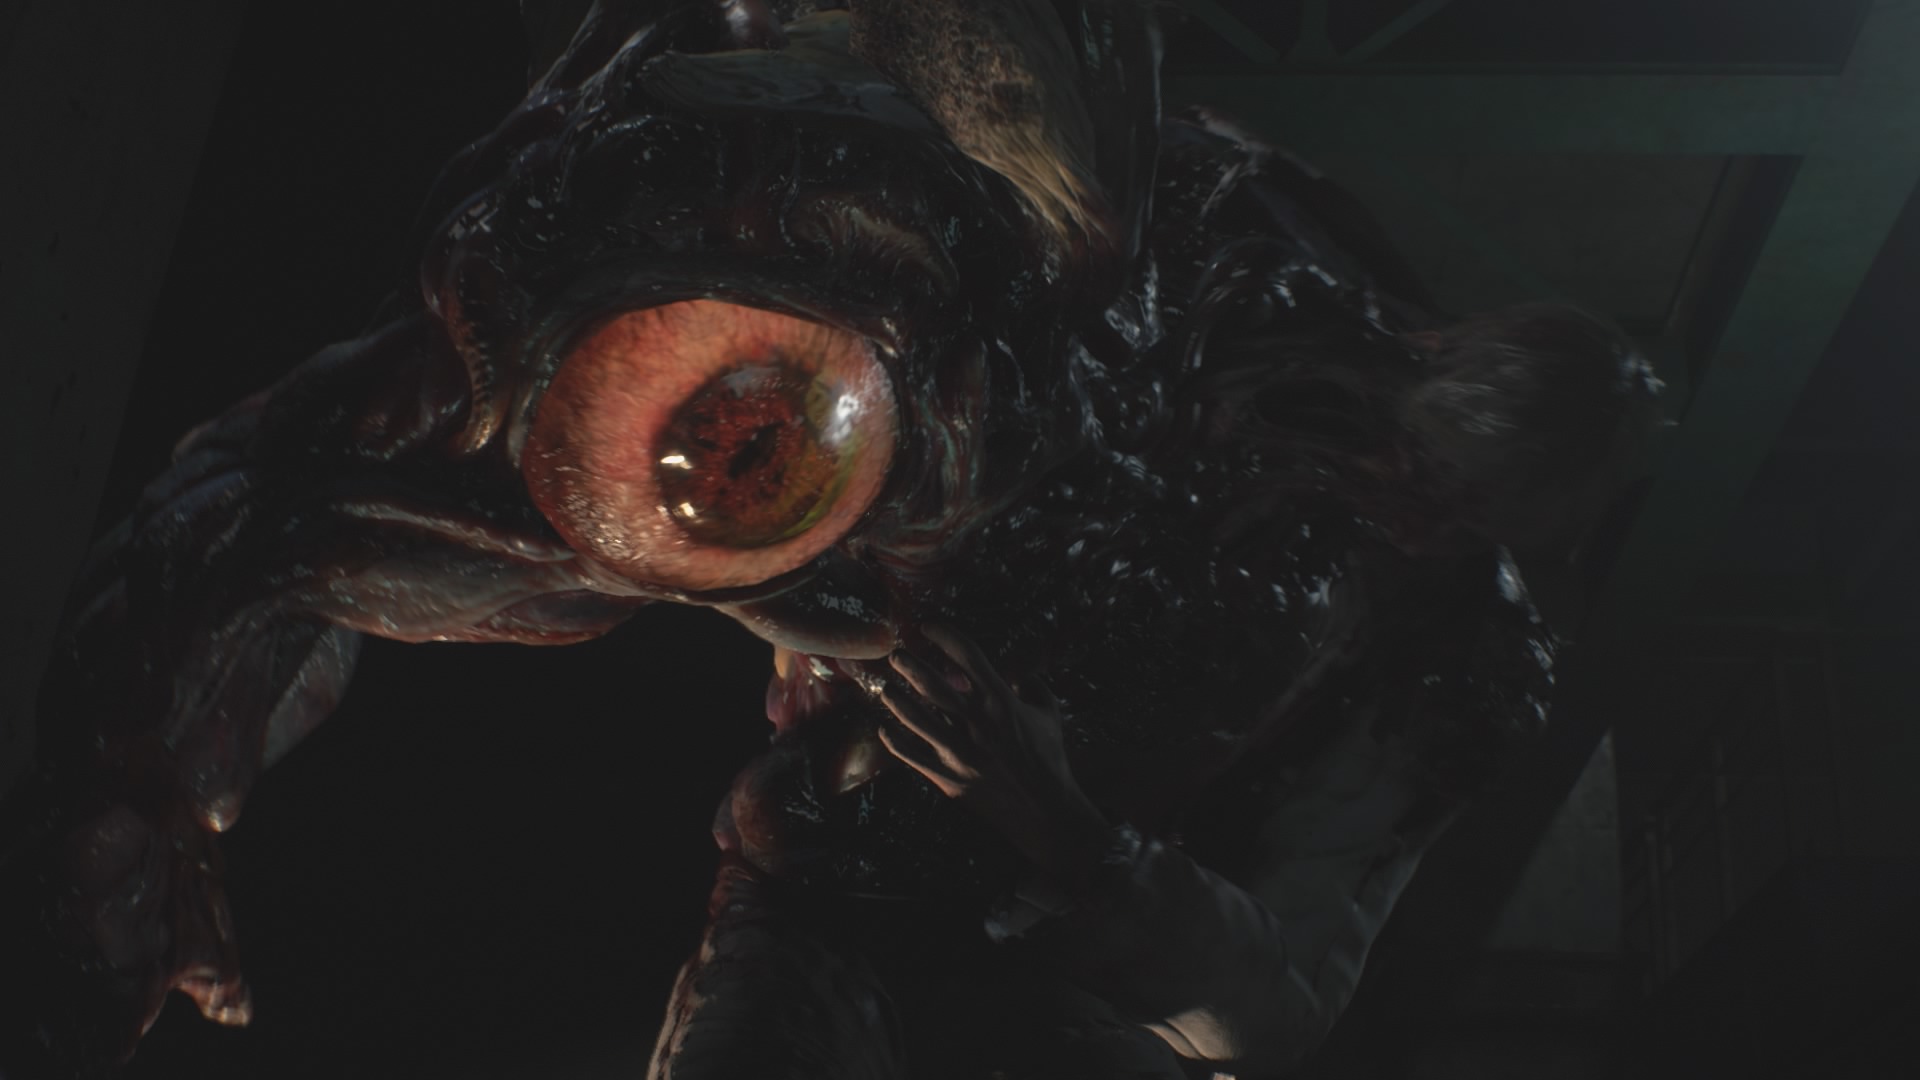
After a few repetitions, he’ll fall off the aspect of the railings and the little woman will throw a ladder down for you.
Before you proceed, scout across the boss battle space. There are numerous provides littered across the corners of the room.
Next, go up the ladder. Turn proper on the high to collect some provides within the workplace there, then accompany Sherry round to the left. Now pull the lever to maneuver the entry bridge.

Go throughout the bridge you opened up, and comply with the trail to the top. There’s a secure room and merchandise field right here, so retailer something that’s gumming up your stock.
Make positive to seize the hip pouch that’s within the locker in your proper to release some more room too.

When you’re completed, go up the ladder behind you on the appropriate and also you’ll get one other cutscene.
Follow Sherry to the gate, then attempt to work together with the ticket machine to the appropriate.

After the cutscene, head over to the open door on the appropriate.

Follow the hall round and take the map out of the holder in your proper.
You can’t get into the room behind you but, so return out to the storage.
Head over to the door in your left, which ends up in the Firing Range, Kennel, and Morgue.
As you come into this darkish and spooky new space, flip proper and comply with the hall. Yes, that may be a Licker on the wall once more.
Keep strolling ahead, flip left, and also you’ll come to the Kennel door. During your Leon playthrough this was filled with zombie canines, this time it’s filled with Lickers. Get your Grenade Launcher prepared for motion, then open the door.

There’s one Licker feasting on a canine corpse in entrance of you.
A very good technique right here is to shoot it with a hearth spherical, reload because it rolls round, then end it off with bursts out of your SMG.
The racket will alert one other Licker across the nook. When it comes to affix the social gathering, shoot it with one other hearth spherical then end it together with your small arms.
If you’ve bought any stun grenades, now’s a superb time to make use of them. It’ll stun the Lickers and also you’ll get a Trophy for it too.
After that ordeal, stroll via the kennel round to the appropriate and undergo the door.
Turn left, and undergo the door in entrance of you. This is the Morgue.
In right here, go over to the left aspect of the room and open the gurney that’s second from the left.

Kill the zombie that you just’ve simply launched, then take the Diamond Key off the gurney.

This wakes a zombie up that’s slumped by the door, so sit him again down.
Retrace your steps again via the kennel, however watch out for the Licker that’s appeared within the hall. Kill it such as you did the others, then preserve strolling again round to the Firing Range.

Inside the Firing Range, take the yellow field that’s on the aspect desk. Open it up and also you’ll get a key for a squad automobile within the storage.

Keep strolling ahead within the Firing Range and also you’ll see a diamond door. Use your key to open it, and inside you’ll discover a roll of movie that provides you the combo for a locker and a blue herb which you’ll want in a bit.
Retrace your steps again out to the Parking Garage and look at the automobile key in your stock. On the again of it you may work together to open the trunk of a squad automobile.
Discard the automobile key, then work together with the truck – this will get you a gun that takes common handgun bullets. It even comes loaded with 13 rounds – very helpful.

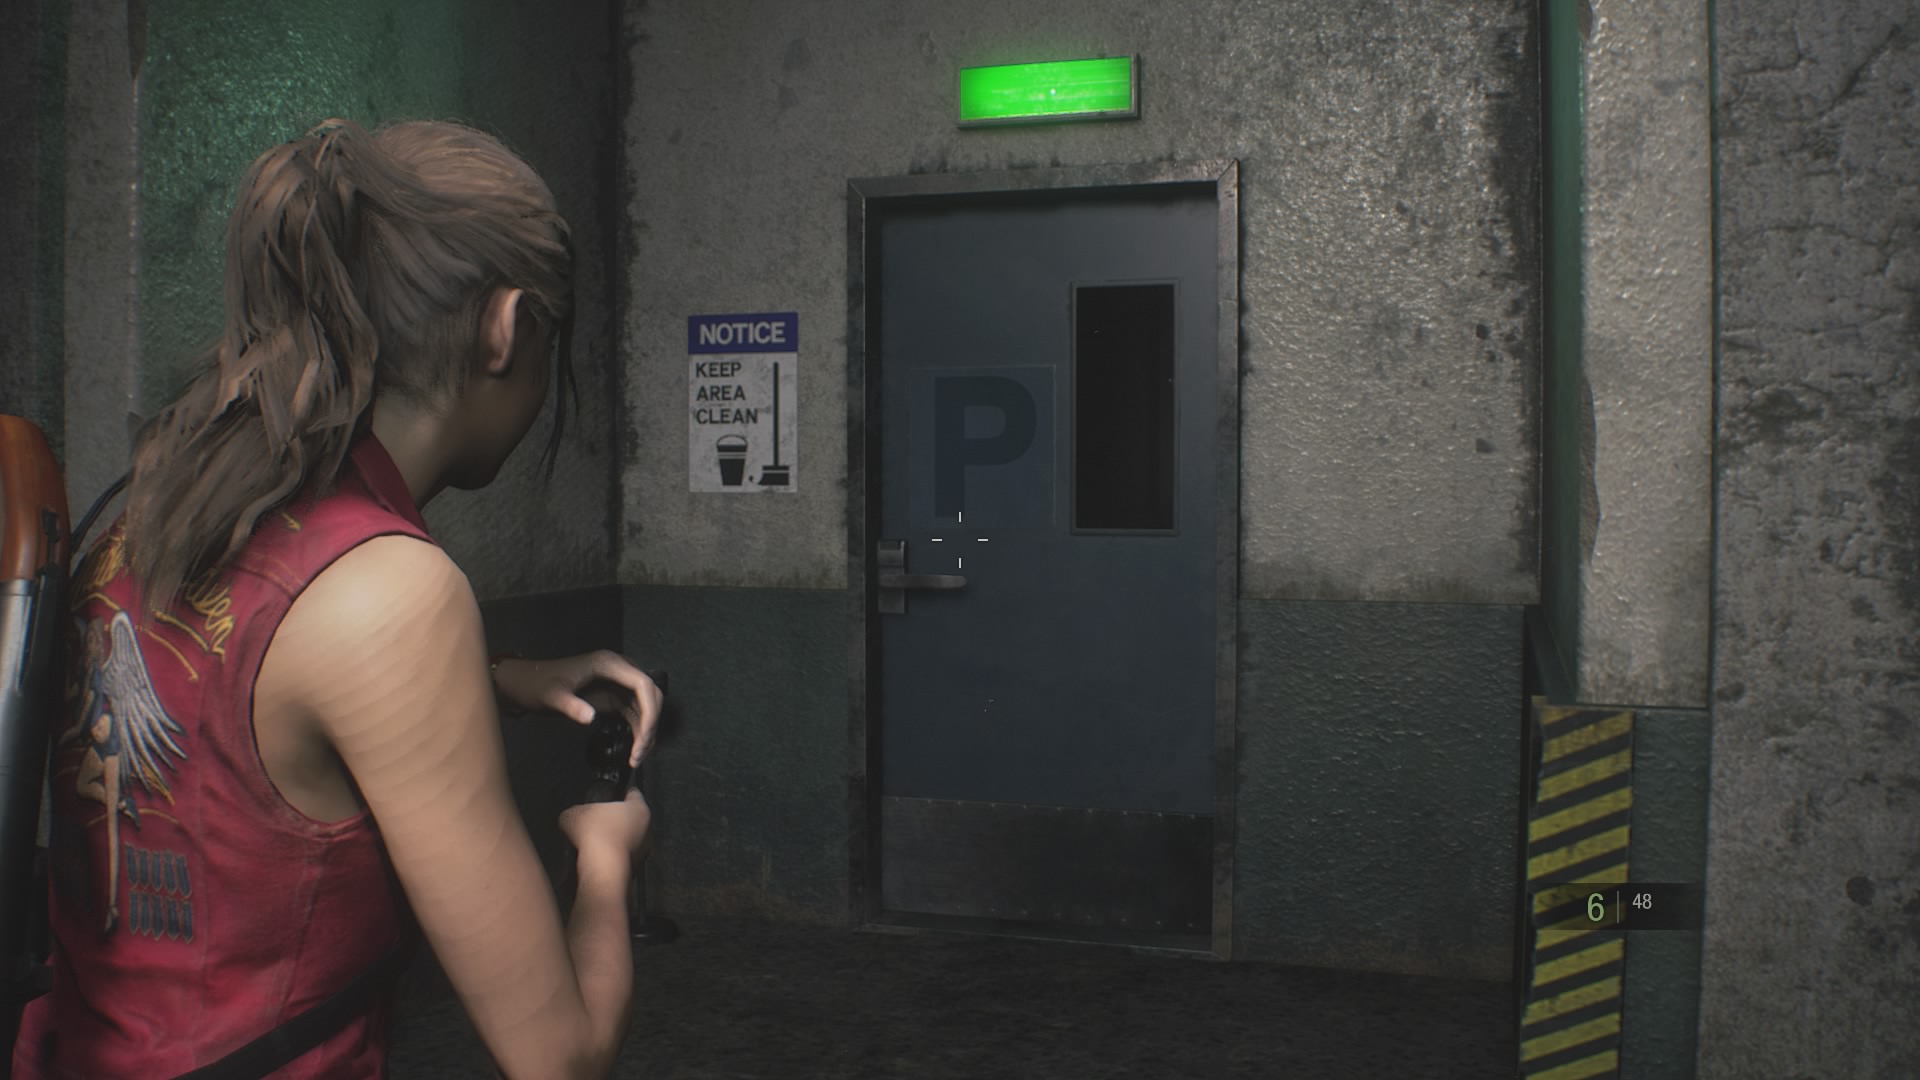
Now head again to the diamond door you couldn’t open earlier via the open door on the north wall.
Inside the workplace you’ll discover an improve on your Grenade Launcher and a blue herb.
Don’t fear in case your stock is getting full, there’s an merchandise field developing. So go away something you may’t carry for now.
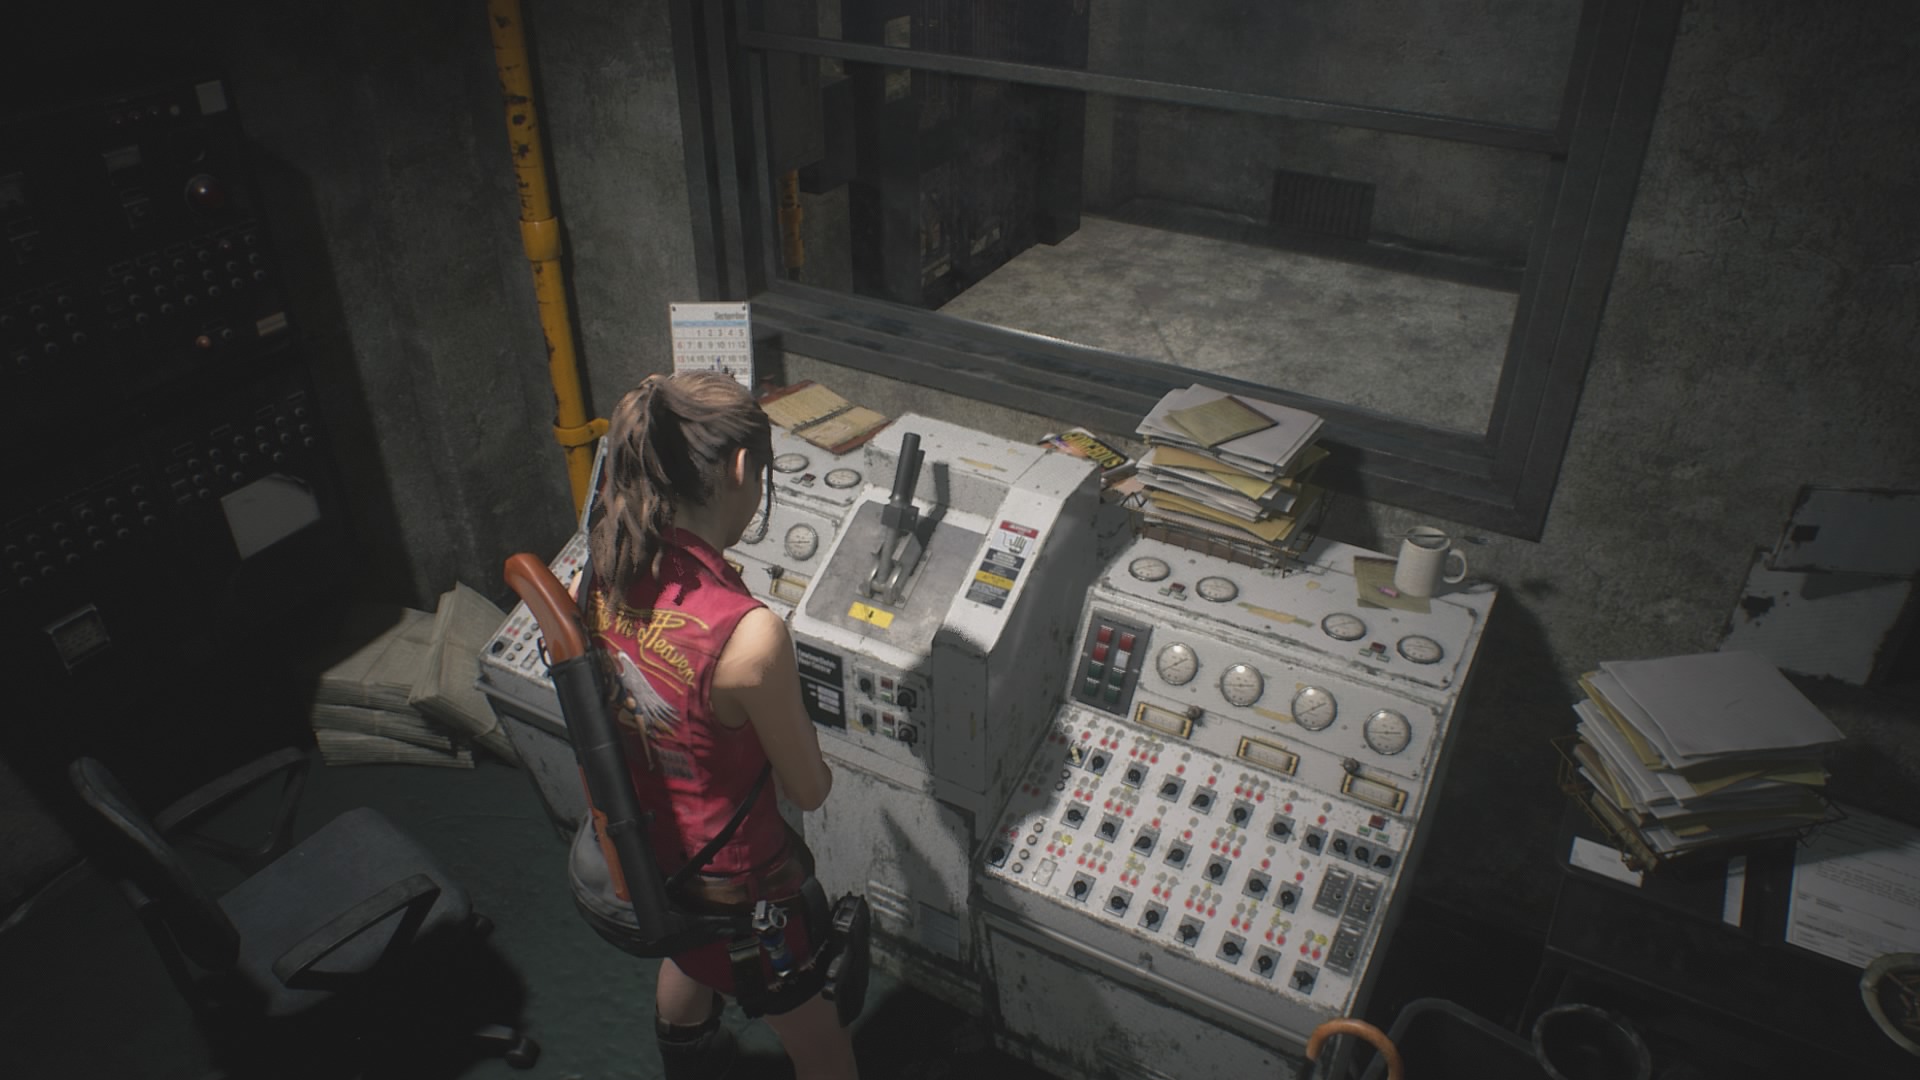
To advance pull the lever on the console, then work together with the elevator outdoors.
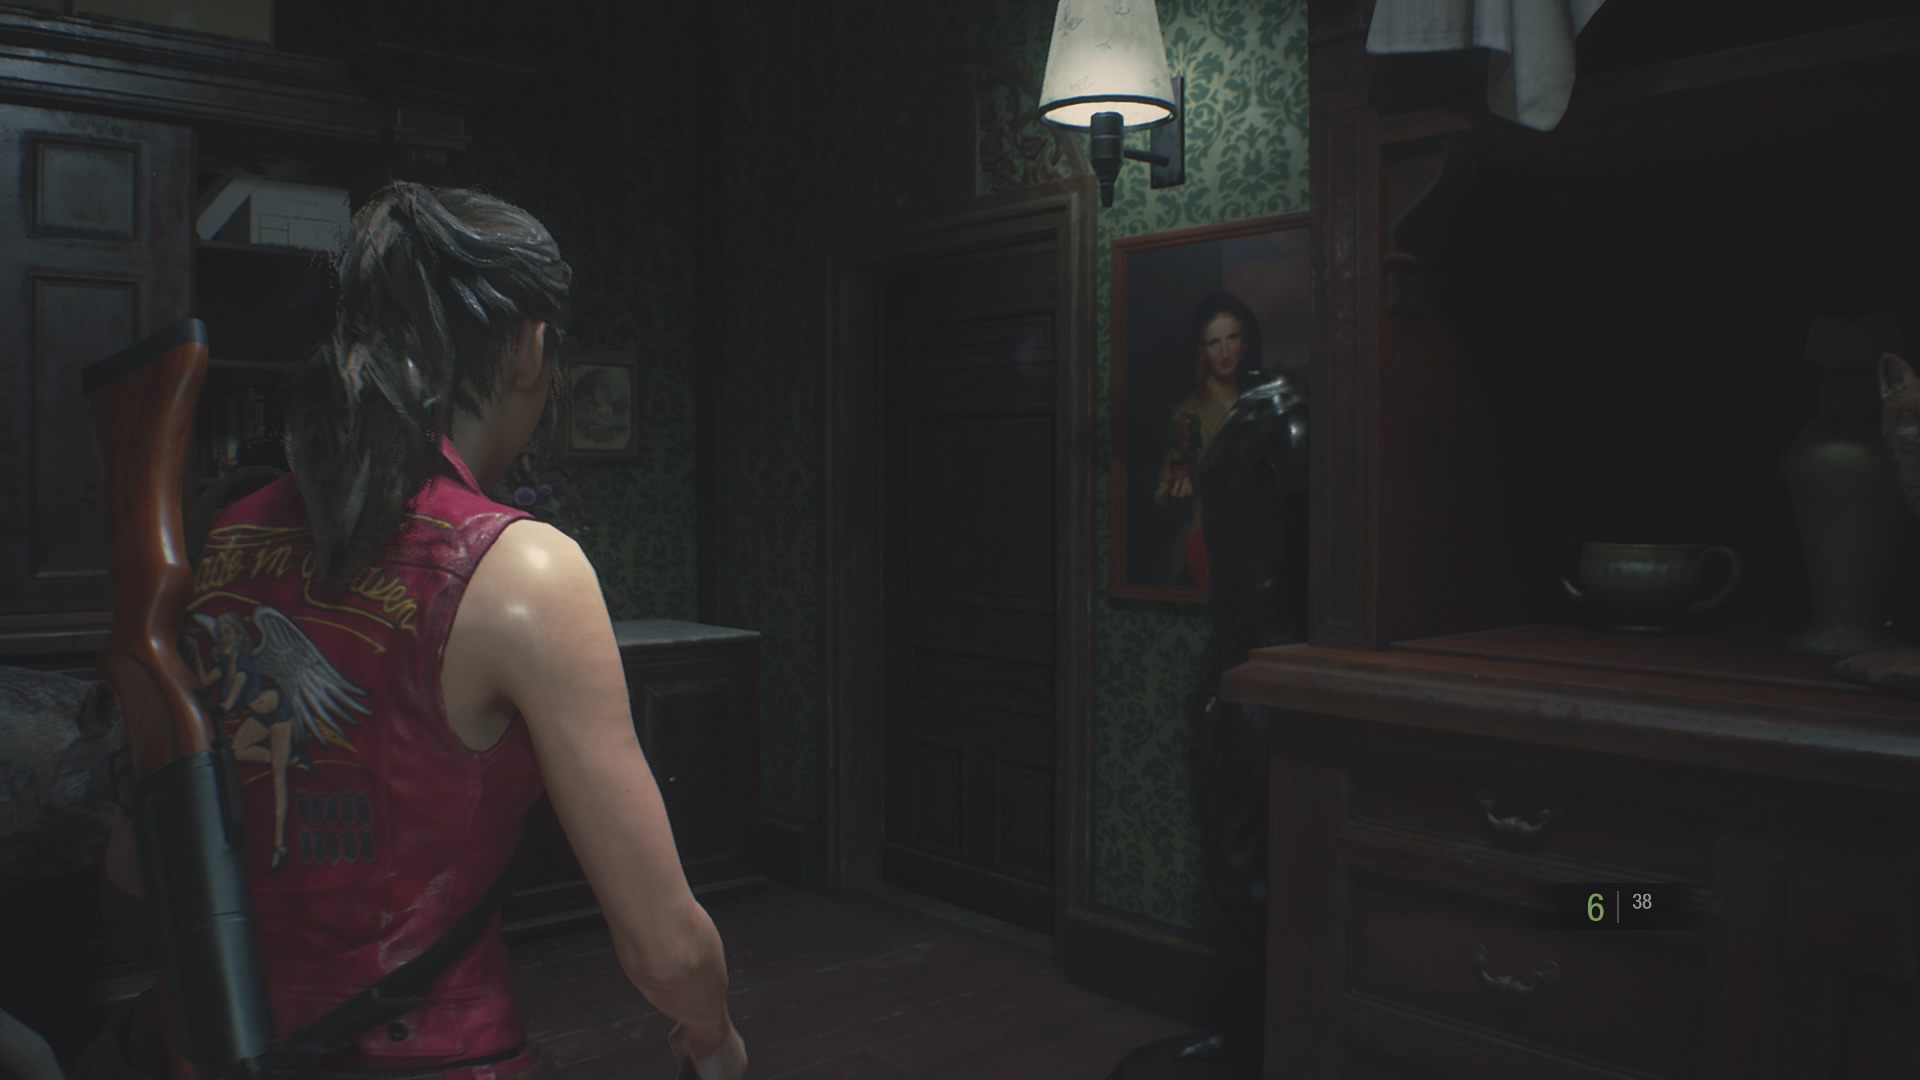
The Chief’s Office
The elevator takes you an unsettling new space: The Chief’s workplace. Store something you don’t want within the merchandise field in your left, then return down the elevator to seize something you wanted to depart behind within the storage space.

To advance, undergo the door to the appropriate of the wolf and subsequent to the portrait of a woman. Follow the hall round and also you’ll end up within the Private Collection Room.
Interact with the circuit board in your left, and your main mission will change. Your new process is to trace down two digital elements to open the gate and escape with the automobile park keycard.
You solely selection now’s to return into the Police Station you simply left, which we’ll stroll you thru within the subsequent half.
Source


