After combating by way of the Underground Facility and Kennels, Claire now has to trace again by way of the RCPD Station in the hunt for a keycard to open the parking storage. With the merchandise she wants locked behind an electronically sealed gate, she should first seek out the elements to open the door.
This a part of the game takes you thru a brand new space of the RCPD Station and, at its conclusion, ends with Claire’s equal of the Ada Wong part in Leon’s playthrough.
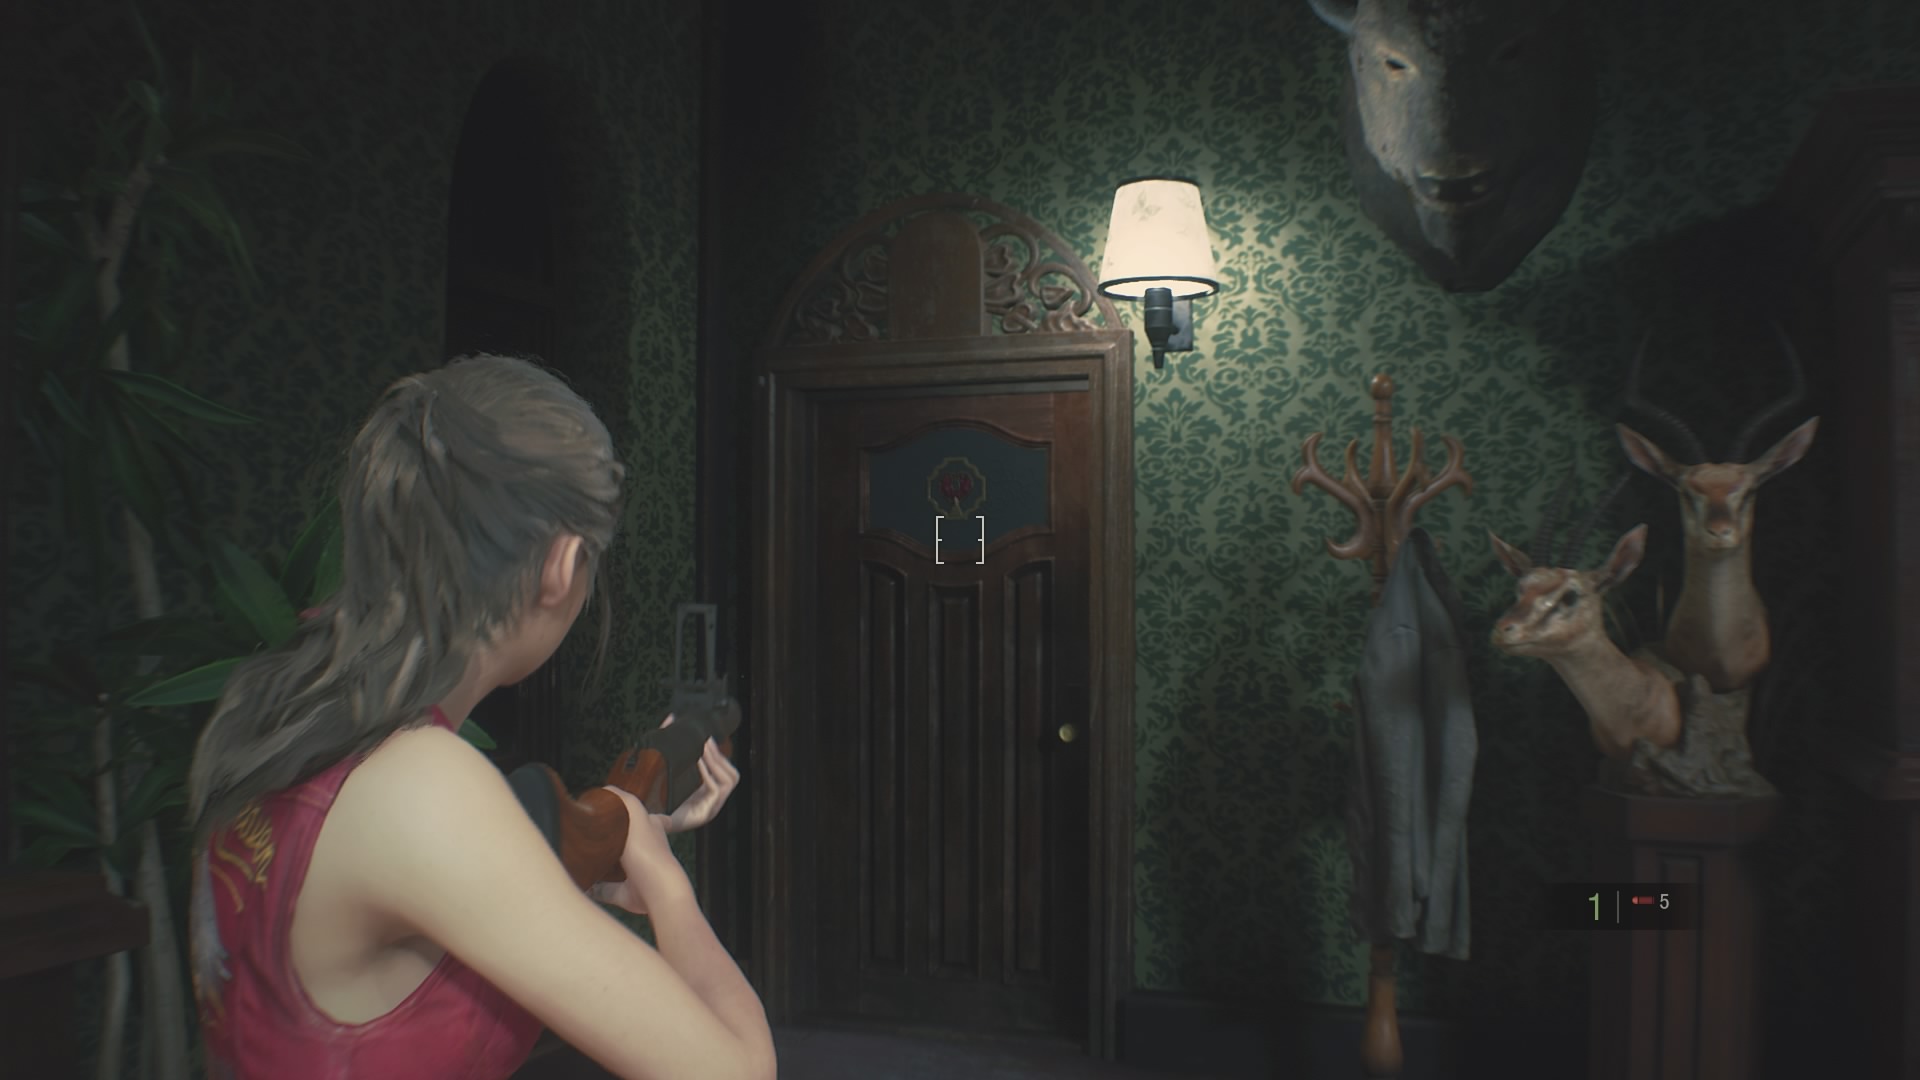
The Electronic Door Panel
We final left Claire within the Private Collection Room subsequent to the Chief’s Office.
Once you’ve interacted with the door panel, flip round and comply with the cabinets previous the stuffed Dodo. Pick up the observe to the proper of the Dodo and your main goal will change.
Next, look additional to your proper and choose up the image body that’s subsequent to the stuffed owl on the cupboard.

Examine the body in your stock, flip it round and work together with it to get your self the Heart Key.

Now return to the Chief’s Office and open up the Heart Door there.
Open the door, then go down the steps in entrance of you.
At the underside, flip proper and watch out for the zombie making an attempt to crash in by way of the window.
Turn left at this window, comply with the hall down and open the Heart Door on the finish.

You’re now within the Interrogation Room. Go over to the far aspect and take the Portable Safe off the cabinets.

Once you do, a Licker will crash by way of the one-way glass as you attempt to go away the room, so have your grenade launcher out prepared.
When it’s down, hop by way of the damaged window. Inside this room you’ll discover some gunpowder and the mixture for the Waiting Room Safe.
Now study the Portable Safe in your inventory and solve it – referring to our guide if you’re stuck.
This offers you a spare key for the keypad within the Safety Deposit Room.
Next head again to the Chief’s Office and make some room in your stock.
You’ll want the diamond and coronary heart keys, however not that spare key for now. Make positive you could have at the least three spare slots for objects. I’d advocate taking your silenced SMG with you, since there are zombies that want killing and also you don’t actually need to entice Mr X up right here.
Now return to the steps subsequent to the Chief’s Office and go up one ground. Walk throughout the touchdown and enter the East Storage Room.
As you enter the room, stroll ahead. You’ll see a Blue Herb all the way down to your left. Turn left simply after the herb and take the Large Gear from the highest of the packing containers in entrance of you.

Now retrace your steps again in direction of the door, however flip proper if you get there.
In entrance of you, on the again wall of the storage room, is a Heart Door. A zombie will try to soar scare you as you stroll in direction of it, however take it out with a burst out of your SMG.

Go by way of the Heart Door and take the orange field from the aspect desk.
Examine the field and work together with one of many aspect tabs to open it. Inside is your first energy panel half!

Now, return downstairs to the Chief’s Office and financial institution the facility panel half within the merchandise field. Keep maintain of the Large Gear although.
Next return up the steps, however this time, undergo to the balcony. When you’re outdoors, go down the ladder to your left.

This results in the Roof, the place the blazing helicopter nonetheless blocks your path to the remainder of the Station.
From the ladder, stroll ahead a bit and switch left, then go down the metallic staircase in entrance of you.

Deal with the zombies on the backside, then hold strolling ahead in direction of the Boiler Room. To the left of the Boiler Room although, you’ll see a water management panel. Interact with the panel to show it to the left.

Now return to the roof and pull the lever to the proper of the helicopter – this douses the flames.

Then undergo the door to the left of the helicopter and comply with the hallway round.
Our previous pal Mr X is there to greet you, so instantly flip round and head again out onto the Roof.
There are two methods to try to get round him again into the station. Either high-tail it again up the roof ladder, then down the steps to cover within the Chief’s Office till you’ve obtained a transparent run to dash all the best way previous him by way of the newly unblocked hallway.
The different approach is to try to kite him on the Roof. To do that, run again onto the roof and stand roughly within the northwest nook. Let Mr X stroll a way in direction of you so he’s out of the best way of the door, then dash round him in an arc to keep away from his attain.

Once you’re round him, return by way of the helicopter hallway and also you’ll be subsequent to the Waiting Room. Run by way of right here into the Main Hall, then head over to the opposite aspect to the Library. Now run by way of the Library to the Lounge, then undergo the door on the opposite aspect of the Lounge so that you’re within the STARTS Office hall.
You ought to now be subsequent to the Linen Room. Open it together with your Diamond Key, then seize the Portable Safe on high of the washing machines. You can now discard the Diamond Key.

Open the Safe and also you’ll get the second spare key for the Safety Deposit Room keypad.
Now return out into the STARS hallway and comply with it round again to the bathe room on the finish.

Go by way of the showers, flip left and go down the steps to the Dark Room.
Pick up your different spare key from the Dark Room merchandise field, then go across the nook in direction of the Safety Deposit Room. Be cautious although, there’s now a Licker subsequent to the West Office, so try to take it without warning and shoot it to hell.
Once it’s handled, go into the Deposit Room and use your two spare keys on the pad. Now you’ll be capable of open lockers 102, 103, 203, and 208.
203 is the primary one you need, because it has one other Hip Pouch inside.

Leave the Safety Deposit Room, flip proper, and go into the door in entrance of you.
Then use your Heart Key to open the door in your left – that is the Records Room.
Grab the Jack Tool off of the desk subsequent to you, then discard the Heart Key out of your stock.

Your encounter with the Licker may need attracted the undesirable consideration of Mr X, so for those who hear his footsteps, keep within the Records Room till he bursts in then use the cabinets to dam and run round him.
Your subsequent vacation spot is the Library. So return out into the hallway and thru the West Office to the Main Hall.
Then go up the Main Hall stairs and into the Library on the west aspect.
There are quite a lot of energetic zombies within the Library, so have your SMG prepared.
Once you’ve obtained some respiration room, use the Jack Handle on the pink and yellow jack on the north aspect of the Library close to the bookshelves.

Then you want work together with all the bookshelves on this row and push them so far as you may to the proper. This creates a bridge so that you can recover from the damaged balcony.

Run throughout and undergo the door on the opposite aspect. Turn proper and comply with the balcony, shoot the 2 zombies on the finish, then go into the door in your proper. This is the Clock Tower.

As you come into the Clock Tower, you’ll see an enormous machine in your proper, use your Large Gear on this machine.

This opens a staircase on the opposite aspect of the room. Go up the steps, after which all the best way round to the again of this ground.

There’s one other machine right here; work together with it to get the Small Gear.

Now return down the steps and use the Small Gear on a 3rd machine that you just handed close to the foot of the steps.

Go again to the primary machine and take again your Large Gear, then head upstairs and apply it to the machine you took the Small Gear from.
This rings the bell and makes the ultimate half you want drop down.
Go and choose up the orange field, then study it to get the second digital half.

Now return out onto the 3F balcony of the Main Hall, however as an alternative of turning left to return to the Library, run ahead to the opposite aspect and switch left. At the top of the balcony there’s a locked door in your proper which you could now entry.

This results in the East Storage Room, which you’ll be able to run straight by way of to get again to the steps subsequent to the Chief’s Office.
Go down these stairs and into the Chief’s Office. Collect your second half from the merchandise field, then head to the Private Collection Room.
Use the elements on the panel and it’ll set off a bit puzzle.
Your aim right here is to flip all the elements so each mild is lit up.

Once that’s performed, open the gate and take the parking storage key.
After the cutscene, you’ll be in a brand new gameplay part.
Sherry Section and block puzzle
As Sherry, choose up the world’s creepiest stuffed doll in your proper. Examine the Doll, and take the block out of it’s again.
Then stroll over to the blocks within the nook of the room and use the additional block on it.
Now you need to line up each the highest and backside shapes throughout the toy.
First deal with matching the shapes which might be carved into the wooden on the aspect, since they’ll’t change, then match the center shapes.

The blocks can slot in a number of places, so for those who simply can’t appear to make it match verify different blocks to see in the event that they match the edges of the toy too.
Solving this will get you the scissors, which you’ll be able to then use on the cardboard on the opposite aspect of the room to flee.
Crouch below the wall, then exit of the door to your left. Turn proper, stroll to the top of the corridor, then flip left.
Pull the drawers out in entrance of your to climb up, then crawl by way of the window.
Walk by way of the room in direction of the door on the proper, crouching to get beneath the toy archway.

Then stroll by way of the door to get out onto the balcony.
Walk down the steps and check out the entrance door. Then flip round and undergo the door in your left.
Follow the hallway round, then undergo the door on the finish.
Save on the typewriter on the finish right here if you want, then flip left to look out into the room.
Walk across the desk with the lifeless lady, then take the keys from the field above the aspect desk. You have to face to seize them.

After the cutscene, run again the best way you got here, up the steps and into the room with the toy archway.
First off, conceal behind the white field simply after the toy archway. The chief will are available and lock the door.

He’ll begin searching for you, however shouldn’t see you in that hiding place. As he begins to stroll in direction of the place you might be, transfer slowly across the white drawers in a circle, holding out of the beam of the torch.
Once he goes previous your he’ll transfer a crib, opening a brand new path, earlier than coming again in direction of the door.
When he’s previous you, crouch stroll by way of the brand new opening to get to the opposite aspect of the room. Now conceal on the opposite aspect of the room as he strikes again down.

Then when he friends over the drawers on the opposite aspect, transfer additional up the room so that you’re parallel with the door on the opposite wall (see screenshot).

Now keep crouched right here. After the cutscene, stroll as much as the lavatory door and take the Orphanage key out of the lock.

Then run out of the room – utilizing the orphanage key on the door – and again down the steps to the entrance door.
It’s chained from the opposite aspect, so now run again by way of the door behind you to the place you first tried to take the keys.
After the grim cutscene, you are taking again management of Claire.
Return to the Chief’s Office and take the elevator again all the way down to the Parking Garage. Bring some weapons and therapeutic objects with you too.
Insert the keycard into the machine and the gate will open. Mr X simply received’t provide you with a break although, so dash out from the gate as quickly as you may.
Run up the slope out of the storage and switch proper on the high. Run all the best way to the proper hand aspect of the world and also you’ll hit a lifeless finish. This will trigger two zombies to burst by way of a gate behind you.

Shoot or run previous these zombies whereas avoiding Mr X, and undergo the now open gate.
Run all the best way throughout the galley till you get to the steps on the finish. Shoot the zombie on the backside, then climb over the dumpster to your left.

Some zombie canines will seem on the opposite aspect of the gate – shoot them by way of the railings and also you received’t should cope with them later.

Once you undergo the gate, one other canine will seem. Shoot it for those who can, or return by way of the gate and shoot it by way of the railing.
Walk across the row of automobiles and thru the gate to the basketball court docket. Then shoot the 2 extra canines that run as much as the railings.
Leave the court docket by way of the gate and stroll ahead and to the proper. There’s a ruined bus right here that it is advisable to stroll by way of.

Shoot the zombie contained in the bus and make your approach out to the opposite aspect.
There’s one other canine outdoors which doesn’t appear to have the ability to get at you within the bus, kill it then run to the Orphanage gate in your proper.

Go by way of the entrance door of the Orphanage, then by way of the open door on the left.
Follow the hall till you set off the Alien-inspired cutscene, then run by way of the door in your proper into the entrance room.
Walk round to the Chief’s workshop and also you’ll discover a entice door. Spooky.

Climb down and descend the staircase subsequent to you.
At the underside you’ll discover Sherry, run to her and Mr X will flip as much as destroy your day as soon as once more.
Run away and also you’ll make it to an elevator which is able to set off a cutscene.
When you regain management you’ll be within the Sewers, which we’ll stroll you thru within the subsequent half.
Source


