The Leon Must Die Forever DLC for Resident Evil Requiem thrusts you back into the shoes of agent Kennedy, challenging you to survive a grueling roguelike gauntlet. Your ultimate objective is to reach the final floor and conquer the endgame boss before the clock runs out. However, success isn’t just about speed; you’ll need to strategically bolster Leon’s capabilities and armory by scouring familiar locations from the main campaign.
If you’ve been looking for a compelling reason to jump back into the action and test your mastery of agent Kennedy’s combat style, this expansion is tailored for you. To help you hit the ground running, we’ve put together this comprehensive guide covering how the Leon Must Die Forever DLC works, how to launch it, and how to successfully navigate its treacherous maps.
How to play the Leon Must Die Forever DLC in RE9
Leon Must Die Forever is a free expansion that becomes available only after you have completed the main story campaign. To access this mode, navigate to the Extra Games menu and select the Leon Must Die Forever entry.
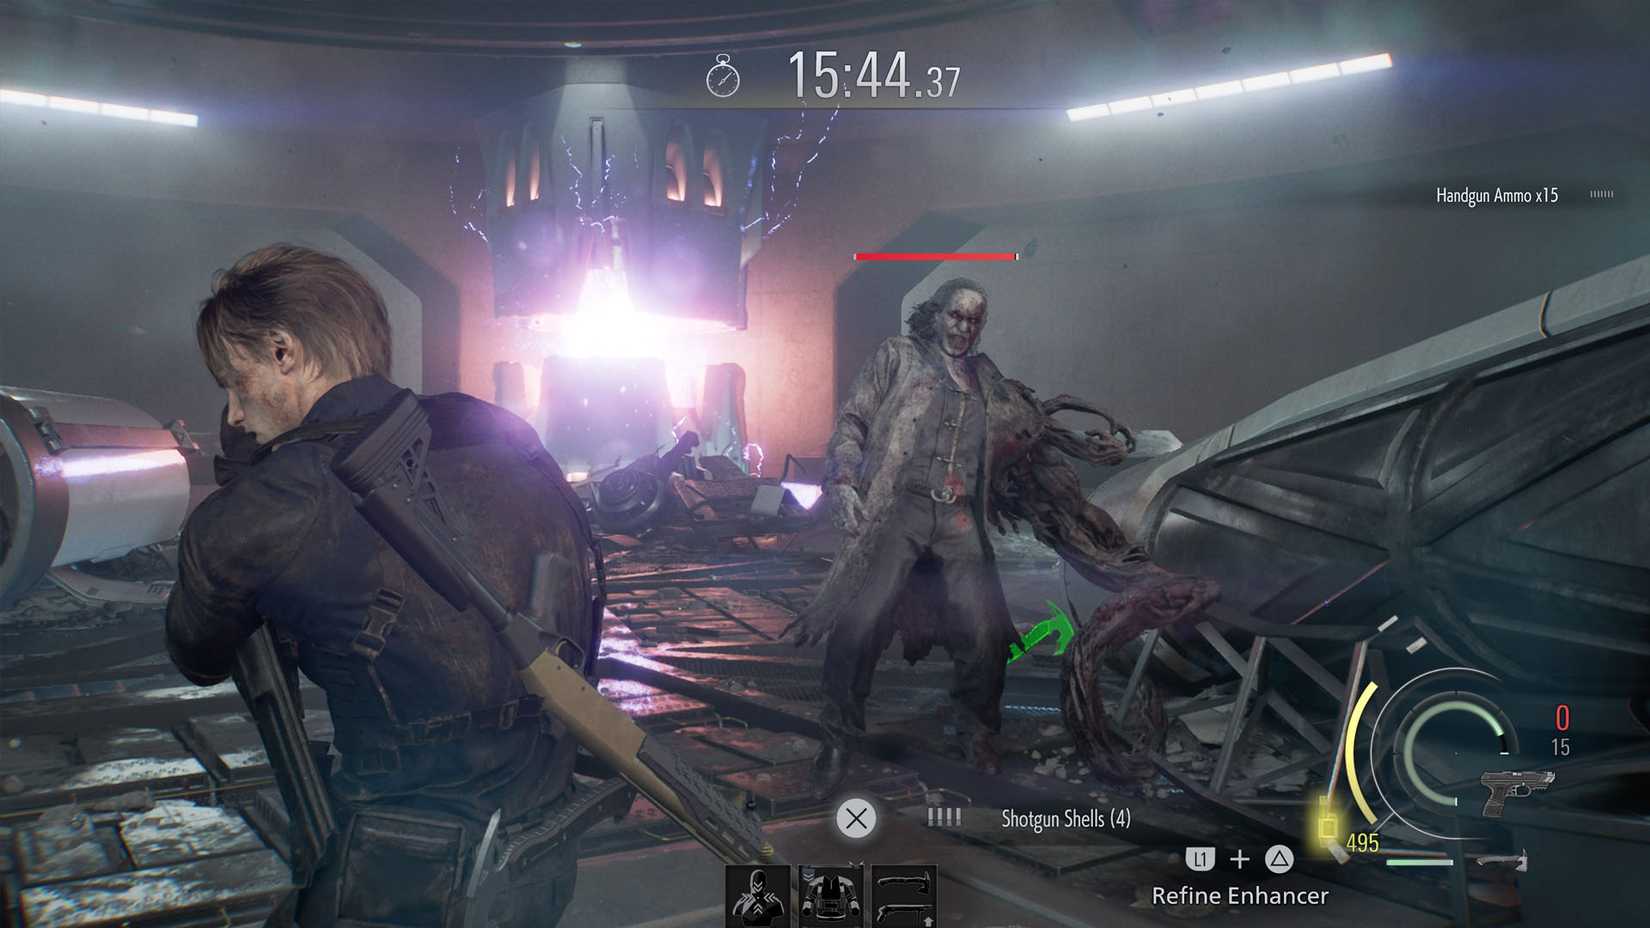 Image: Capcom
Once you are in the mode’s main menu, select “Ready to die” to initiate your run. You can also explore the “Special Content” tab to review challenges, unlockables, and character traits.
Leon Must Die Forever DLC, explained
Leon Must Die Forever is a roguelike survival mode. You play as Leon, navigating a series of increasingly difficult scenarios against a ticking clock. To successfully finish a run, you must reach the final level and triumph over Victor. Be warned: if you perish at any point during your run, it is game over, and you will lose all accumulated weaponry and upgrades.
 Image: Capcom via Polygon
Every run begins on Main Street. From there, you choose your trajectory by entering fixed red doors scattered throughout the environment. Each area is assigned a level, which dictates the intensity of the undead opposition and the quality of loot available. Since paths often branch into three distinct directions, you have the agency to decide between a safer route or a higher-risk, higher-reward challenge.
 Image: Capcom via Polygon
While the maps mirror those from the campaign, they operate under different rules. Occasional story-driven objectives—such as retrieving the chainsaw at the Care Center: Rehabilitation Ward—are necessary to proceed, but generally speaking, there are no strict prerequisites for completing a map other than successfully locating and entering the exit door.
As you traverse these dangerous areas, keep two primary objectives in mind. First, prioritize gathering ammunition and superior weaponry. While supplies can be scavenged from defeated enemies and breakable crates, the most potent firepower is found in fixed weapon boxes throughout the stages. Furthermore, hunting down high-value targets—such as elite zombies or recurring mini-bosses like the chef or the singers—will often yield top-tier gear.
 Image: Capcom via Polygon
Your second priority is to accumulate points by downing zombies. These points fuel Leon’s enhancer meter. Once you have banked at least 100 points, the “Refine enhancer” prompt will trigger, allowing you to select one of three randomized abilities. These buffs offer a variety of benefits, ranging from improved weapon damage to life-saving perks during intense combat.
All maps in Leon Must Die Forever DLC
“Leon Must Die Forever” features nine distinct maps, four of which serve exclusively as boss arenas. Consult the table below for a breakdown of these maps, their level difficulty, and the exit paths they provide:
| Map | Level | Door locations |
|---|---|---|
| Main Street | 1 | Care Center: Rehabilitation Ward Care Center East Raccoon City: Streets |
| Care Center: Rehabilitation Ward | 2 | East Raccoon City: Central Camp East Raccoon City: Streets |
| Care Center | 5 | East Raccoon City: Central Camp East Raccoon City: Streets The Commander |
| East Raccoon City: Central Camp | 9 | Blister Borne The Commander Victor |
| East Raccoon City: Streets | 9 | Blister Borne Super Tyrant Victor |
| Blister Borne | 10 | Victor |
| The Commander | 11 | Victor |
| Super Tyrant | 12 | Victor |
| Victor | 20 | – |
For those just starting out, we recommend opting for a more cautious path: begin on Main Street, proceed to the Care Center: Rehabilitation Ward, and then push into East Raccoon City: Central Camp. From there, aim to battle the “Blister Borne” mini-boss, as it is generally the most manageable of the three available encounters before your final confrontation with Victor.
Source: Polygon


