Inside the Mountain is a protracted and arduous quest, taking many twists and turns as Kratos and Atreus attempt to make their option to the summit. Along the best way there are lots of lethal traps and ferocious enemies, in addition to a number of brainteasers. Here’s learn how to full the Inside the Mount quest in God of War, full with options for the Deer Head statue puzzle and Claw puzzle.
God of War Inside the Mountain quest information:
After they’ve collected the sunshine of Alfheim to gas the Bifrost and return to Midgard, Kratos and Atreus strategy the mountain and attempt to dispel the Black Breath. They succeed, and the hunt begins.
Walk via the Breath utilizing the Bifrost as your mild, and climb the craggy rock face. When you’re on the high, press Circle to make use of the Bifrost once more and dispel the darkness.
[align=”alignnone” width=”1920″]
You’ll come to a door bearing the symbol of Jotunheim – open it and undergo.
[align=”alignnone” width=”1920″]
Deer Head Statue puzzle:
You’ll now be confronted by the primary main puzzle on this quest, the Deer Head Statue.

To get began, ask Atreus to learn the sand bowl in the midst of the room by urgent Square.
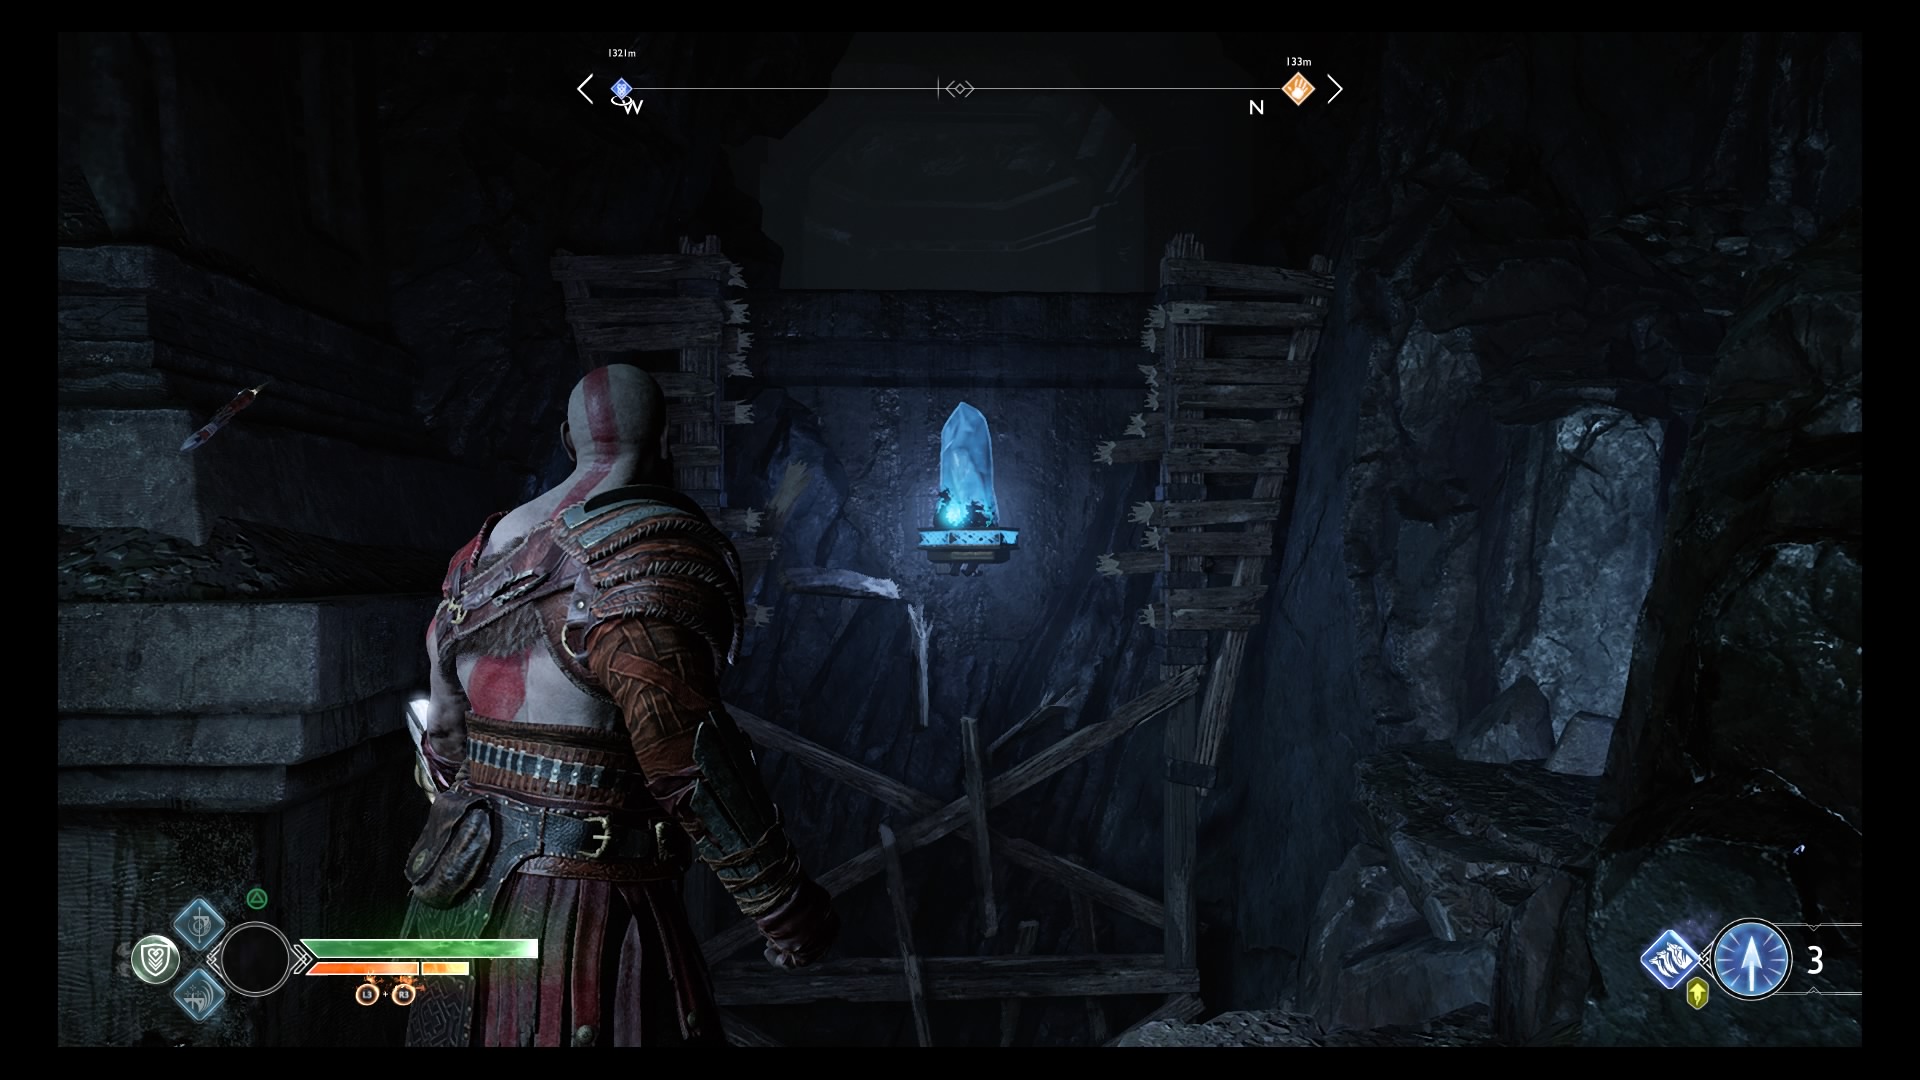
Then flip to the left and enter to open room there. Kill any Draugr that stand in your approach, earlier than turning round to look above you. Over the door the place you got here in is one other crystal, goal it with Atreus’ arrows and fireplace. This will trigger it to fall down so you may decide it up.

Take the fallen crystal again to the centre room and place it within the glowing empty slot within the ground by urgent circle close to it. Then fireplace Atreus’ bow at each of the slotted crystals and pull the lever behind them.
The Statue will open up a door to your proper, so push on via. It’s darkish in these subsequent rooms, so everytime you see one, fireplace Atreus’ bow at crystals lodged within the partitions. These will mild your approach.

Explore the darkish tunnels:
Next, leap down the opening and hop the ledge, following the tunnel and lighting crystals as you go. When you attain a small crevice, crawl via it.

On the opposite facet, take a left up the steps to gather a chest earlier than returning to the underside and lifting the damaged pillar to progress. Kill the enemies that seem and push ahead.
Leave the Nornir rune for now and climb the ledge, then kill the Draugr in entrance of you. If you look down and to the suitable whenever you’ve scaled the ledge, you’ll see a big crystal. Shoot at it, then cross the bridge it creates to gather one other chest.
Then head over to the left and break the boards in entrance of the crystal on the wall. Shoot it, then stroll up the sunshine bridge. This is the place the Nornir chest is. Shoot the crystal subsequent to it and also you’ll see that that you must use runes that seem like a B, N and R to open it.

Go again down the sunshine bridge and also you’ll see a rune to the suitable. Hit this spinner as soon as on the suitable to show it into an R.

Head again up the bridge and take a left. You ought to now be on a bridge will a view of the spinner you noticed earlier and one other excessive on the suitable of the trail. Leave the one you noticed earlier alone, it ought to already seem like an N. Hit the excessive spinner as soon as on the suitable and it ought to flip right into a B. Return to the chest and open it.

Now go to the opposite facet of the room by heading again down the sunshine bridge and bearing left. When you’re over there, crawl via the small tunnel. This will result in the opposite facet of the room you entered in – subsequent to the Deer Headed statue. Be positive to move across the entrance and seize the chest that’s been tantalising you for the reason that starting.

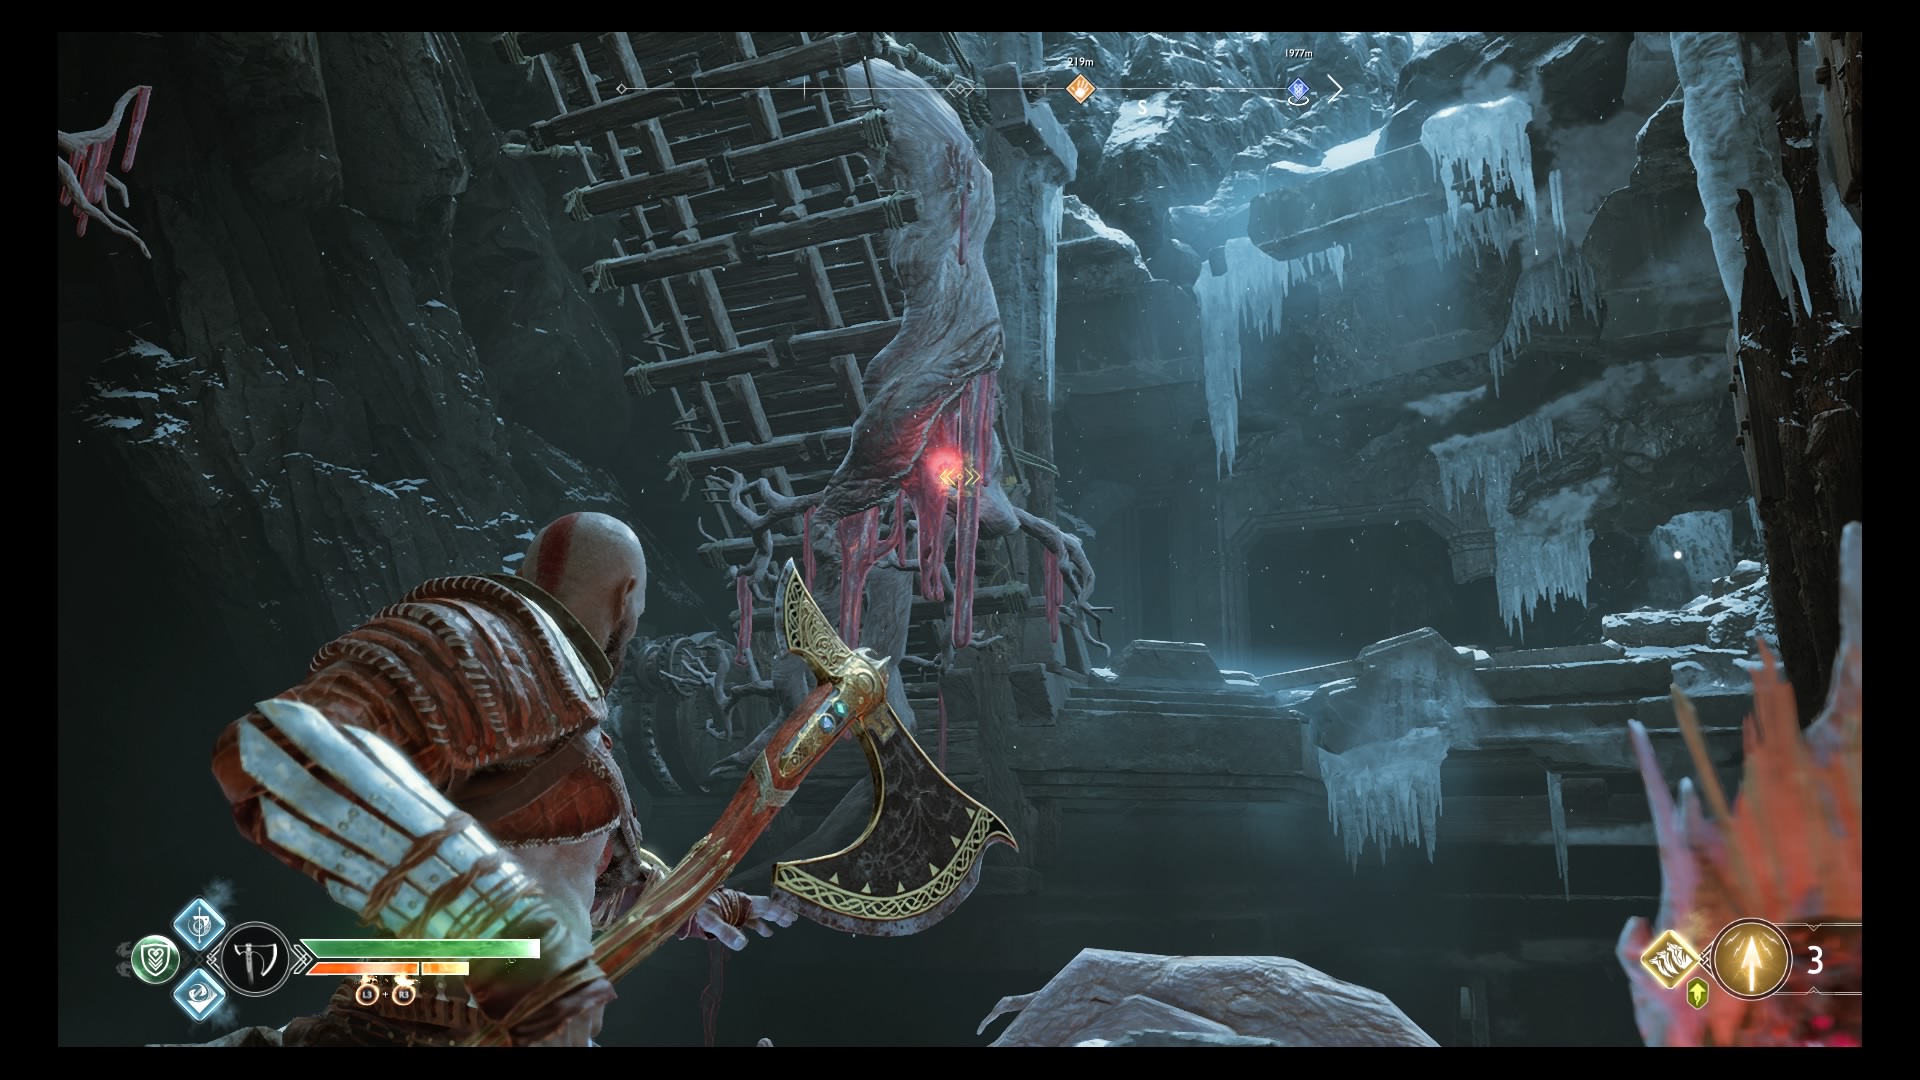
Heart of the Mountain Claw Puzzle
Open the door past the statue and kill the Draugr. Follow the tunnel till you attain a lifeless finish. Climb the rocky wall till you attain the highest, then flip the nook and stroll alongside the illuminated path.
Open the door with the wheel and enter the massive cavern.

When the dialogue ends and also you regain management, bear proper and switch the massive wheel on the ground.
Kill the Draugr that seem, then enter the opening they arrive out of.

Climb up the ledge subsequent to Brok and break the containers on the left. Crawl via the revealed gap and gather the chests on the opposite facet.

Jump all the way down to the place you may see a hall crammed with spikes and throw your axe on the spinning panel three to 4 instances above and to the suitable of the spiked hall to disengage the entice. Run via, the second set of spikes will open as the primary closes. Then whenever you’re out the opposite facet, throw your axe on the high proper of the wall to progress.

You’ll come out in a big room filled with ropes, pulleys and mining gear. Kill the enemies that assault you, paying particular consideration to the fiery lizard that’s all the best way on the suitable hand facet of the room. It’s troublesome to hit, so have your axe able to bash it as quickly because it surfaces, however when it’s lifeless it’ll drop some good loot.
Return to the centre of the room and push the massive block which you could see on the tracks. When it gained’t transfer, break the chain along with your axe. Then push it once more till the highest of it traces up with the white marks on the raised walkway.
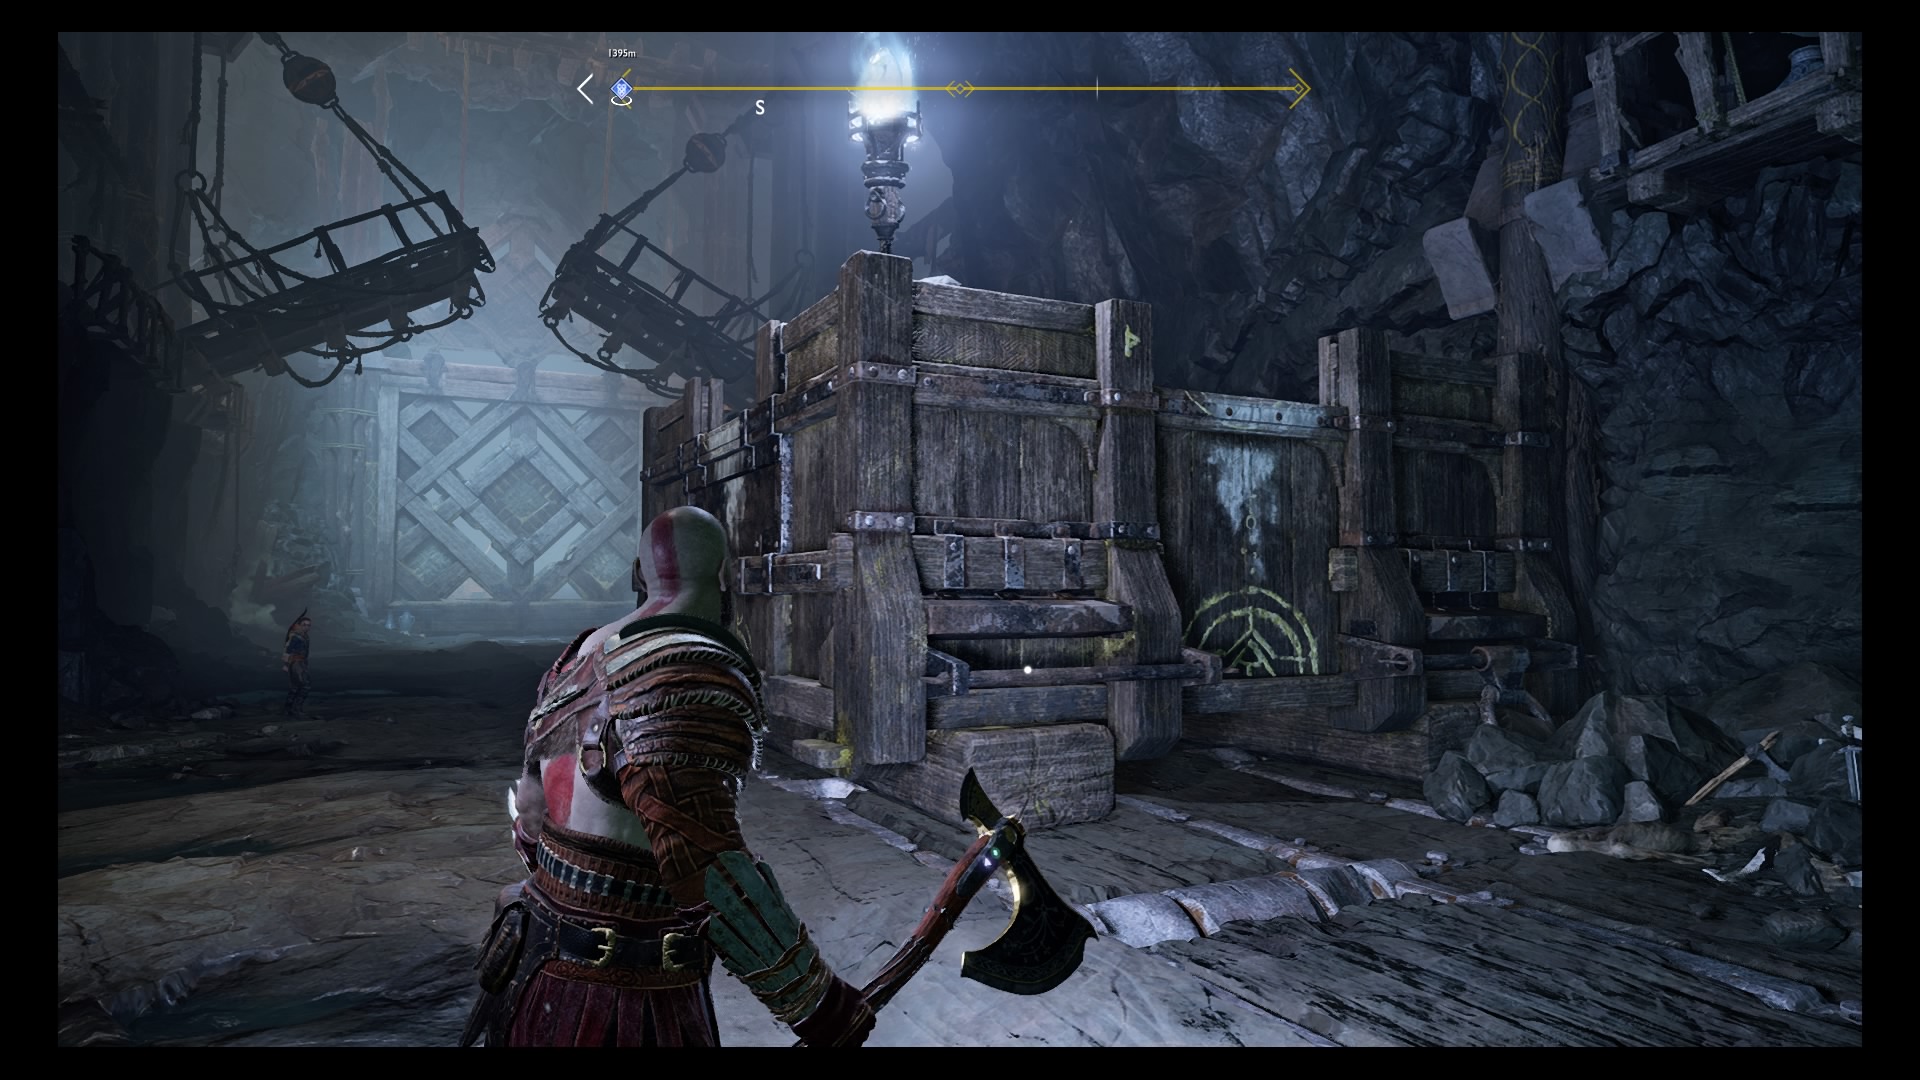
Pushing the block additionally reveals a secret room with an artefact inside.
Climb up on the block and proceed onto the walkway. Turning round right here and throwing your axe on the ropes holding the bridge in place opens up the opposite facet of the walkway right here, which nets you a number of gadgets, Hacksilver and a few armour, in addition to a shot at considered one of Odin’s Ravens.
However to progress, stroll ahead and smash the boards within the tunnel, then observe the trail round. Lift the boulder, pull the massive chain in entrance of you, then open the shortcut gate in your left.

Go again to the block you pushed earlier than and push it additional – till it traces up with the white marks on the ledge to your left.
Climb up once more, then leap throughout the hole to the platform.
Fight the enemies in your approach, open the seen chest and drop the chain to allow easy accessibility, earlier than making your approach over to the large rock and trapped rope on the finish of the platform.
When you’re there, mash Circle to carry the burden.

Troll Mini boss – Jarn Fotr:
When you’ve freed the rope, a troll will emerge and assault. Luckily he’s not too powerful, simply preserve your distance and use your axe throw.

The Precision Throw Combo capability is actually helpful right here, for the reason that troll has a big head to purpose for and the next ice explosion interrupts his assaults.
Defeating him will internet you a Frozen Flame to improve your axe – good!
Once the troll’s performed for, return to the wheel you spun to start out the entire puzzle off.
When this doesn’t work, return to the block you pushed from the opposite room and transfer it a closing time in order that it’s below the claw.

Go again to the wheel, spin it down, then freeze the gears subsequent to you with an R2 throw of your axe.

Climb up on the block, then name your axe again. This will increase you up and completes the Inside the Mountain Claw puzzle.
Get previous the traps:
When you attain the highest of the carry, leap off and observe the trail off.
The flames are fairly straightforward to keep away from, simply wait till the second they shut off and transfer then – this provides you essentially the most time earlier than they begin up once more.
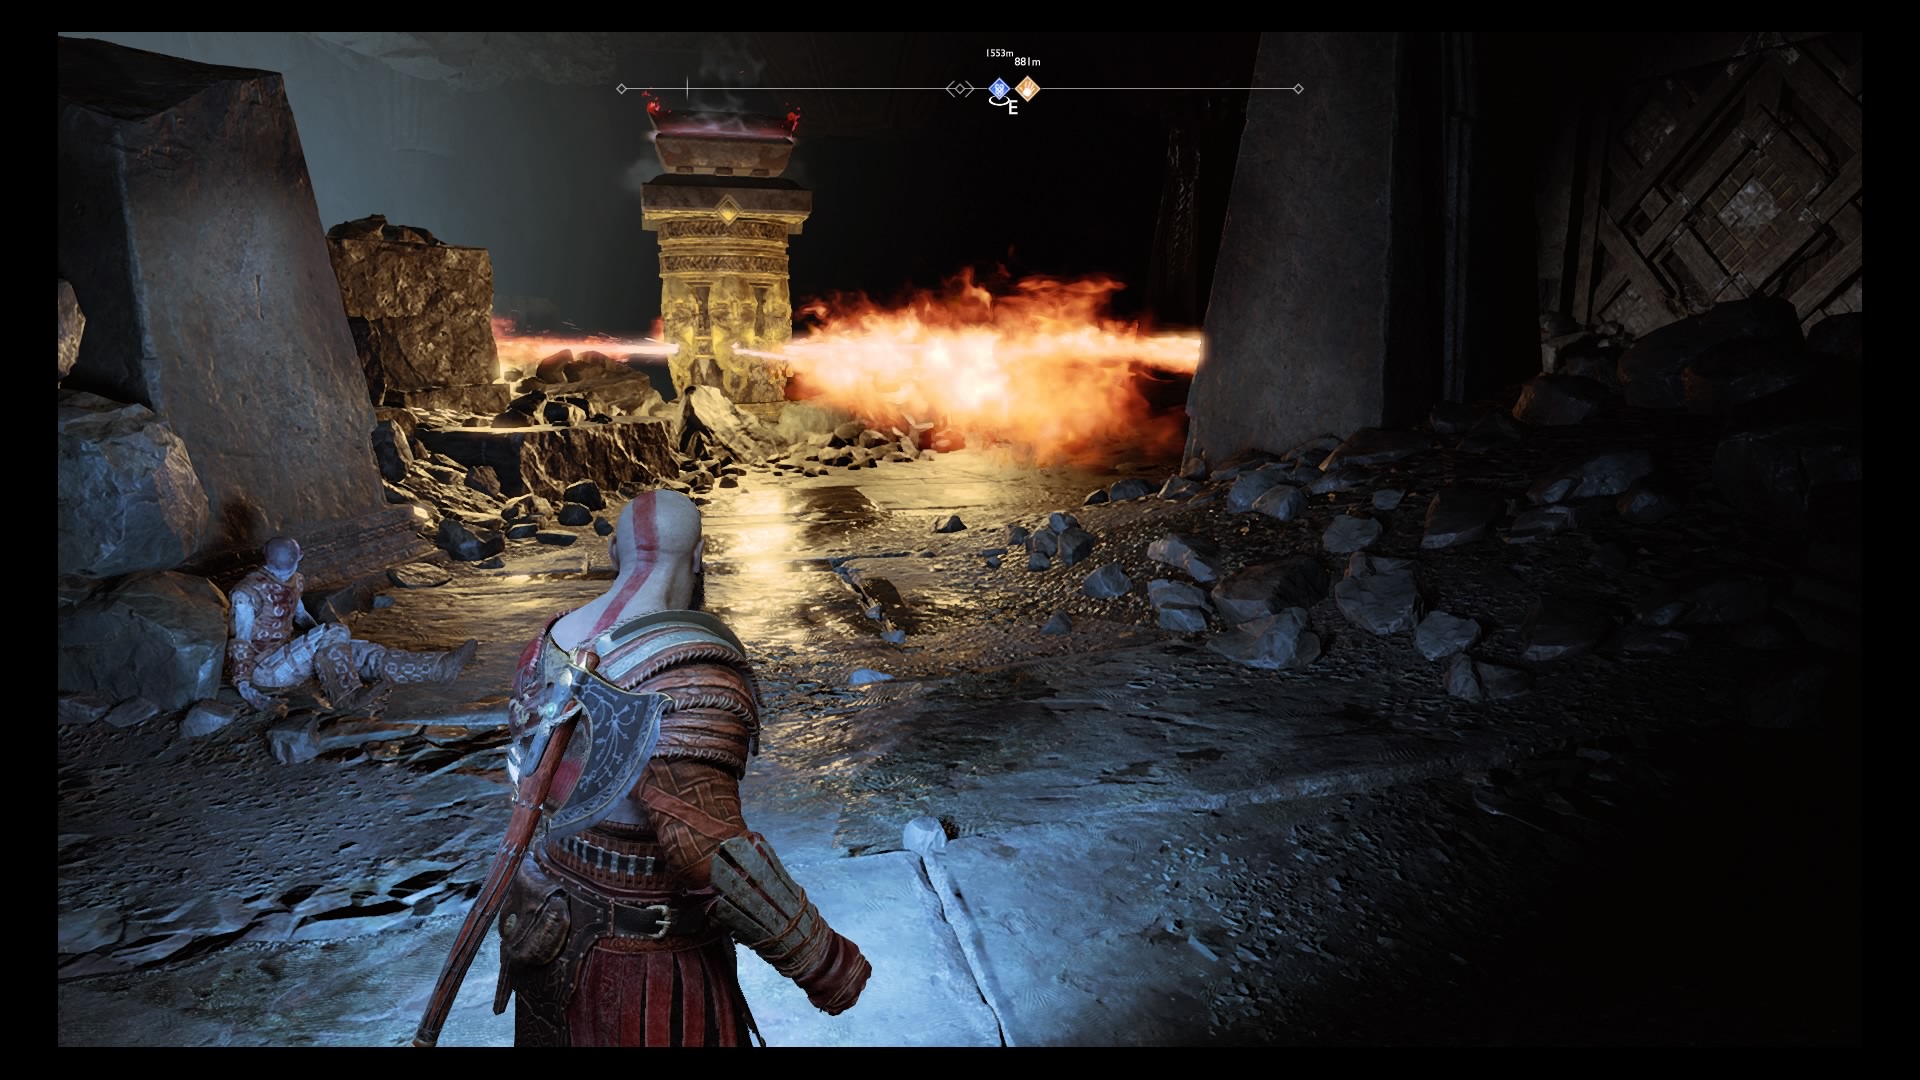
When you get to the second flame entice, place your self in between two jets and stroll round. Use the pillars for canopy whenever you’re attacked, then repeat.
Follow the trail till you attain one other mining carry. Press Circle to maneuver the burden on the suitable to get transferring. Then whenever you get caught, smash the cart in entrance of the second massive weight and transfer that too.

Kill the enemies that drop down, and mash circle whenever you get caught, you’ll ultimately attain the place you’re meant to go. When the ogre enters the fray, focus your assault on it. Once it’s surprised, you may press R3 to mount it and take care of the remainder of the enemies.
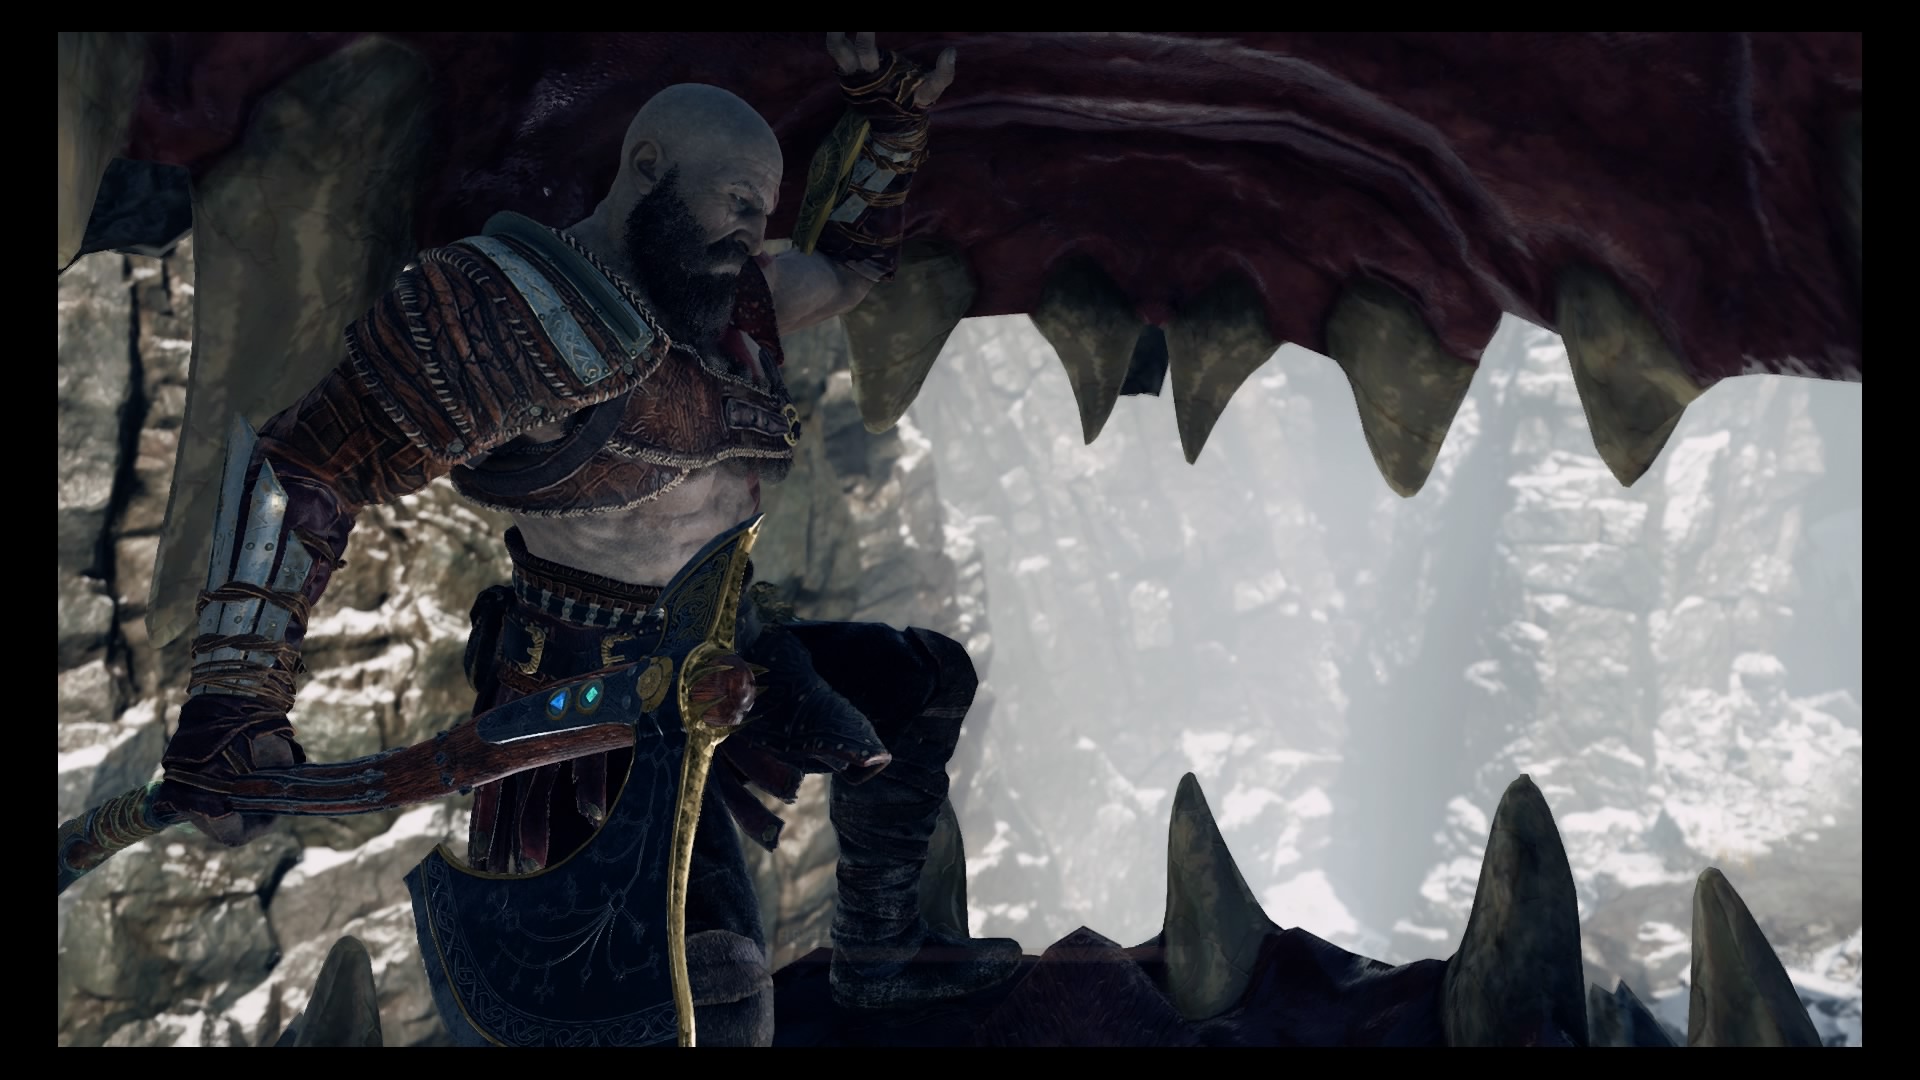
Lightning Dragon Hraezlyr boss combat:
As the carry rises, you’ll be beset by the lightning dragon Hraezlyr.
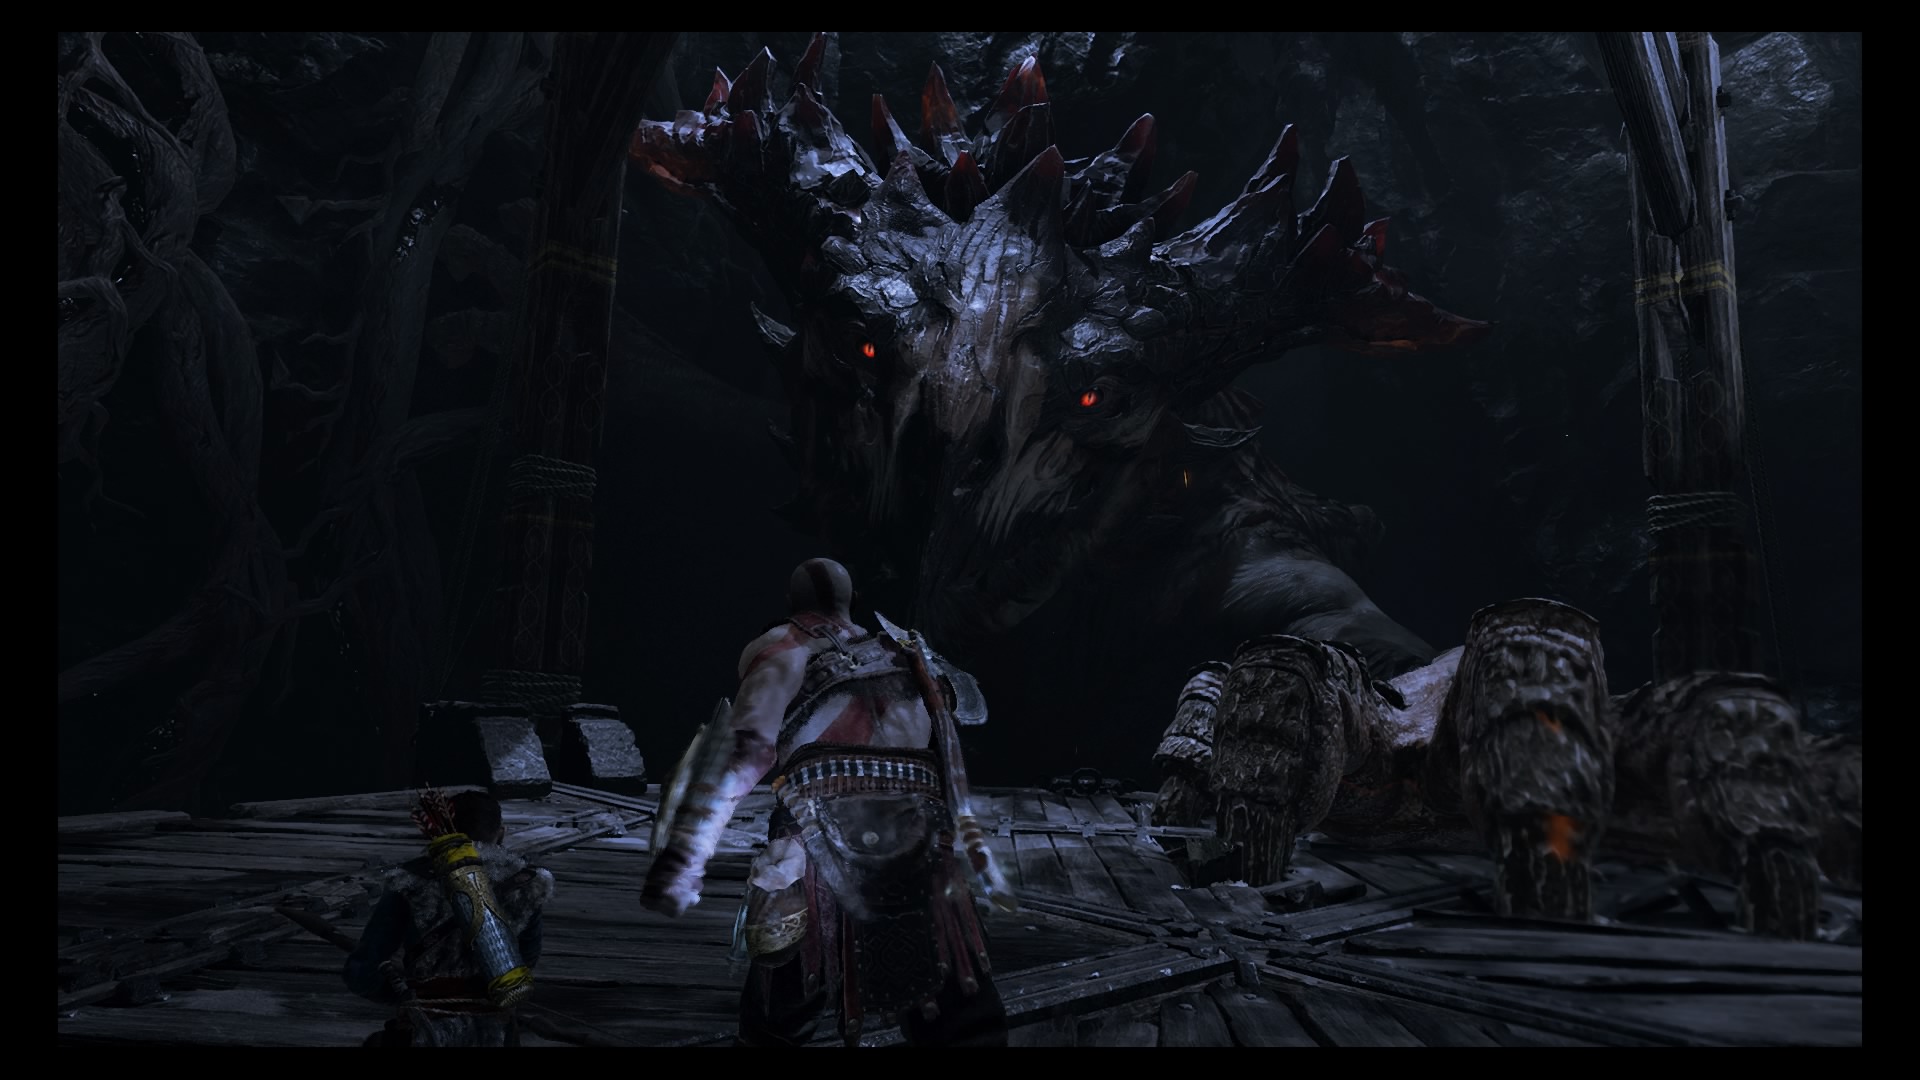
Phase 1:
Stick to the suitable of the platform to try to dodge its biting and swiping assaults, elevating your defend with L1 whenever you seen an assault coming in.
Get in shut and rain as many blows as you may on the dragon’s hand. After a small quantity of harm, you’ll need to free the platform once more by urgent Circle. Repeat the method within the second stage.
When you’re again on strong floor, observe the trail round and transfer via the World Tree sap through the use of the Shatter crystals you decide up on the facet of the trail. The first crystal in on the suitable earlier than the Sap, the second is on the left after you’ve shimmied throughout the ledge.
When you’re previous the Sap, observe the tunnel round and formulate your plan with Atreus.

Once the cutscene is over, run over to the left and press circle on the finish of the ledge to mount Hraezlyr.
Mash R1 and R2 to deal harm to Hraezlyr’s tongue when you have the possibility.
Phase 2:
When you’re on the bottom, Hraezlyr will assault you with lightning. Use double faucet X dodges to keep away from the electrified spots on the bottom and make your approach over to the again proper of the world. There’s a cache of Shatter Crystals right here, so seize one.
You must throw them at Hraezlyr when it’s electrified. That’s when you may see the lightning crackling round its physique. The timing could be a little tough, the perfect time to throw is both throughout its assault – which isn’t at all times potential – or instantly afterward. A method is to expire of the best way simply as Hraezlyr launches an assault, then throw the crystal because it finishes.

Once you’ve hit it with two explosions, the dragon will fall. Run as much as it and spam assaults on the glowing spot on its head.

Phase 3:
Hraezlyr will then swap sides, so now the best cache of crystals in now in your left.
The dragon will begin to swap up its assaults too. When it slams the bottom with two claws, maintain L1 to dam, then when the wave has handed, rush in and hit its arms along with your axe.
When Hraezlyr assaults with one slamming claw, double faucet X to dodge out of the best way, then dive in and hit it along with your axe once more.
After you’ve dealt some harm, the dragon will begin to breathe electrical energy in a beam throughout the bottom.
Using an analogous technique to the primary part, seize a shatter crystal, dodge out of the road of the assault simply because it begins, then throw the crystal whereas Hraezlyr continues to be crackling with electrical energy.
After one other couple of explosions, the dragon will fall once more so leap in and spam assaults.
Hraezlyr will swap sides once more after that, however proceed the identical assaults, so repeat the method.
After one other couple of explosions, the dragon will fall for a 3rd time – which can set off a cutscene.
Phase 4:
Hraezlyr will begin once more will the claw assaults, however now provides within the occasional chew assault too. Dodge or block the claws in the identical approach you have got earlier than, and dodge roll backwards to keep away from the chew.
After you’ve dealt some harm, the electrical assaults will begin once more. But now Hraezlyr will use each beam assaults and ones that spotlight spots on the bottom. Dodge every of those in the identical approach you have got within the earlier phases, seize crystals and throw them on the creature when it’s surrounded by electrical energy – you already know the drill.
When it’s dropped after two explosions, press Square subsequent to the dragon to place your plan into movement.
Mash Circle and revel in as carnage ensues.
Finishing the hunt:
Following the cutscene with Sindri, stroll over to the dragon and gather the tooth and fireplace your new shock arrows on the Sap blocking the best way.
Continue via the tunnel and climb up the wall on the finish.
Kill the Nightmare infused Draugr on the high, then shoot your shock arrow on the sap on the base of the wall in entrance of you.

Then roll the wheel to your proper and unfastened one other shock arrow on the crystal. Kill the Nightmares that seem, then climb up the opening you created.
Follow the tunnel round, killing the enemies on the best way. Then handle the enemies praying to the Nornir chest.
To open the chest, seize a Shatter Crystal from the cache subsequent to the bridge, flip round and throw it on the sap within the hall you used to enter the room. Shoot a shock arrow on the sap and also you open up a room that incorporates a seal and a lore shrine.

Go again to the bridge and use Shatter Crystals and shock arrows to take away the sap at each ends of the bridge. Walk up it, in your proper is the second seal.


Kill the enemies on the high, then flip round. Roll the wheel in your proper, then freeze the gears along with your axe to carry it in place. Run up the bridge and the third seal is on the high.

When you’re performed, proceed via the tunnel and climb the wall on the finish, then open to door in entrance of you.
You’ve lastly reached the summit!

Fight your approach alongside the trail, earlier than climbing up the mountain face because the story continues.
Once you’ve reached the highest, discuss to the person within the tree and the hunt is full.

The put up God of War Inside the Mountain quest: Deer Head Statue, Heart of the Mountain Claw puzzle solutions, Hraezlyr guide appeared first on VG247.
Source


