Establishing a base in Subnautica 2 is a vital survival step that becomes necessary much earlier than you might anticipate. Beyond providing basic shelter, your habitat serves as a respawn point, a hub for advanced crafting, a vehicle construction yard, and your primary operational center for activities outside of exploration. Despite its importance, the game offers little guidance on optimal construction, power management, or site selection. We have compiled this guide to walk you through the essentials of base building in Subnautica 2, ensuring you understand how to power your structures, pick the best locations, and prioritize the right equipment.
Build Sooner Rather Than Later
Your initial Lifepod fabricator is damaged and limited to rudimentary crafting. Once your progress demands sophisticated items like advanced wiring kits or specialized tools, you will be forced to transition to a custom base. Keep your early structures functional and minimalist—essentially a single room with a fabricator and a modest power source—as you will likely outgrow these initial sites quickly.
Strategic Placement Beyond the Lifepod
Once you have investigated the Wander’s Blackbox and secured the nearby Angel Comb, the area surrounding your starting Lifepod loses its utility. Game events naturally push you eastward; building your primary base in that direction saves you from the tedious, time-consuming commute between your storage and the unfolding narrative objectives.
Modular Expansion Tactics

Image: Unknown Worlds/Krafton via Polygon
If you require extra room but want to avoid the material cost of a full new habitat module, use your habitat fabricator to attach extensions directly to your existing walls. This method is significantly more titanium-efficient and eliminates the need for cumbersome connecting corridors.
The Nomadic Building Philosophy
As you venture deeper into the game, you will inevitably leave old sectors behind. Do not become overly sentimental about your early outposts. Prepare to construct new, more efficient bases as you unlock new biomes and progress through the story.
Navigation and Beacons
Always craft and deploy a beacon at your base locations. Without an active signal marker, navigating your way back across the vast ocean—especially at night or in low-visibility zones—can become an unnecessarily frustrating ordeal.
Optimizing Energy Production
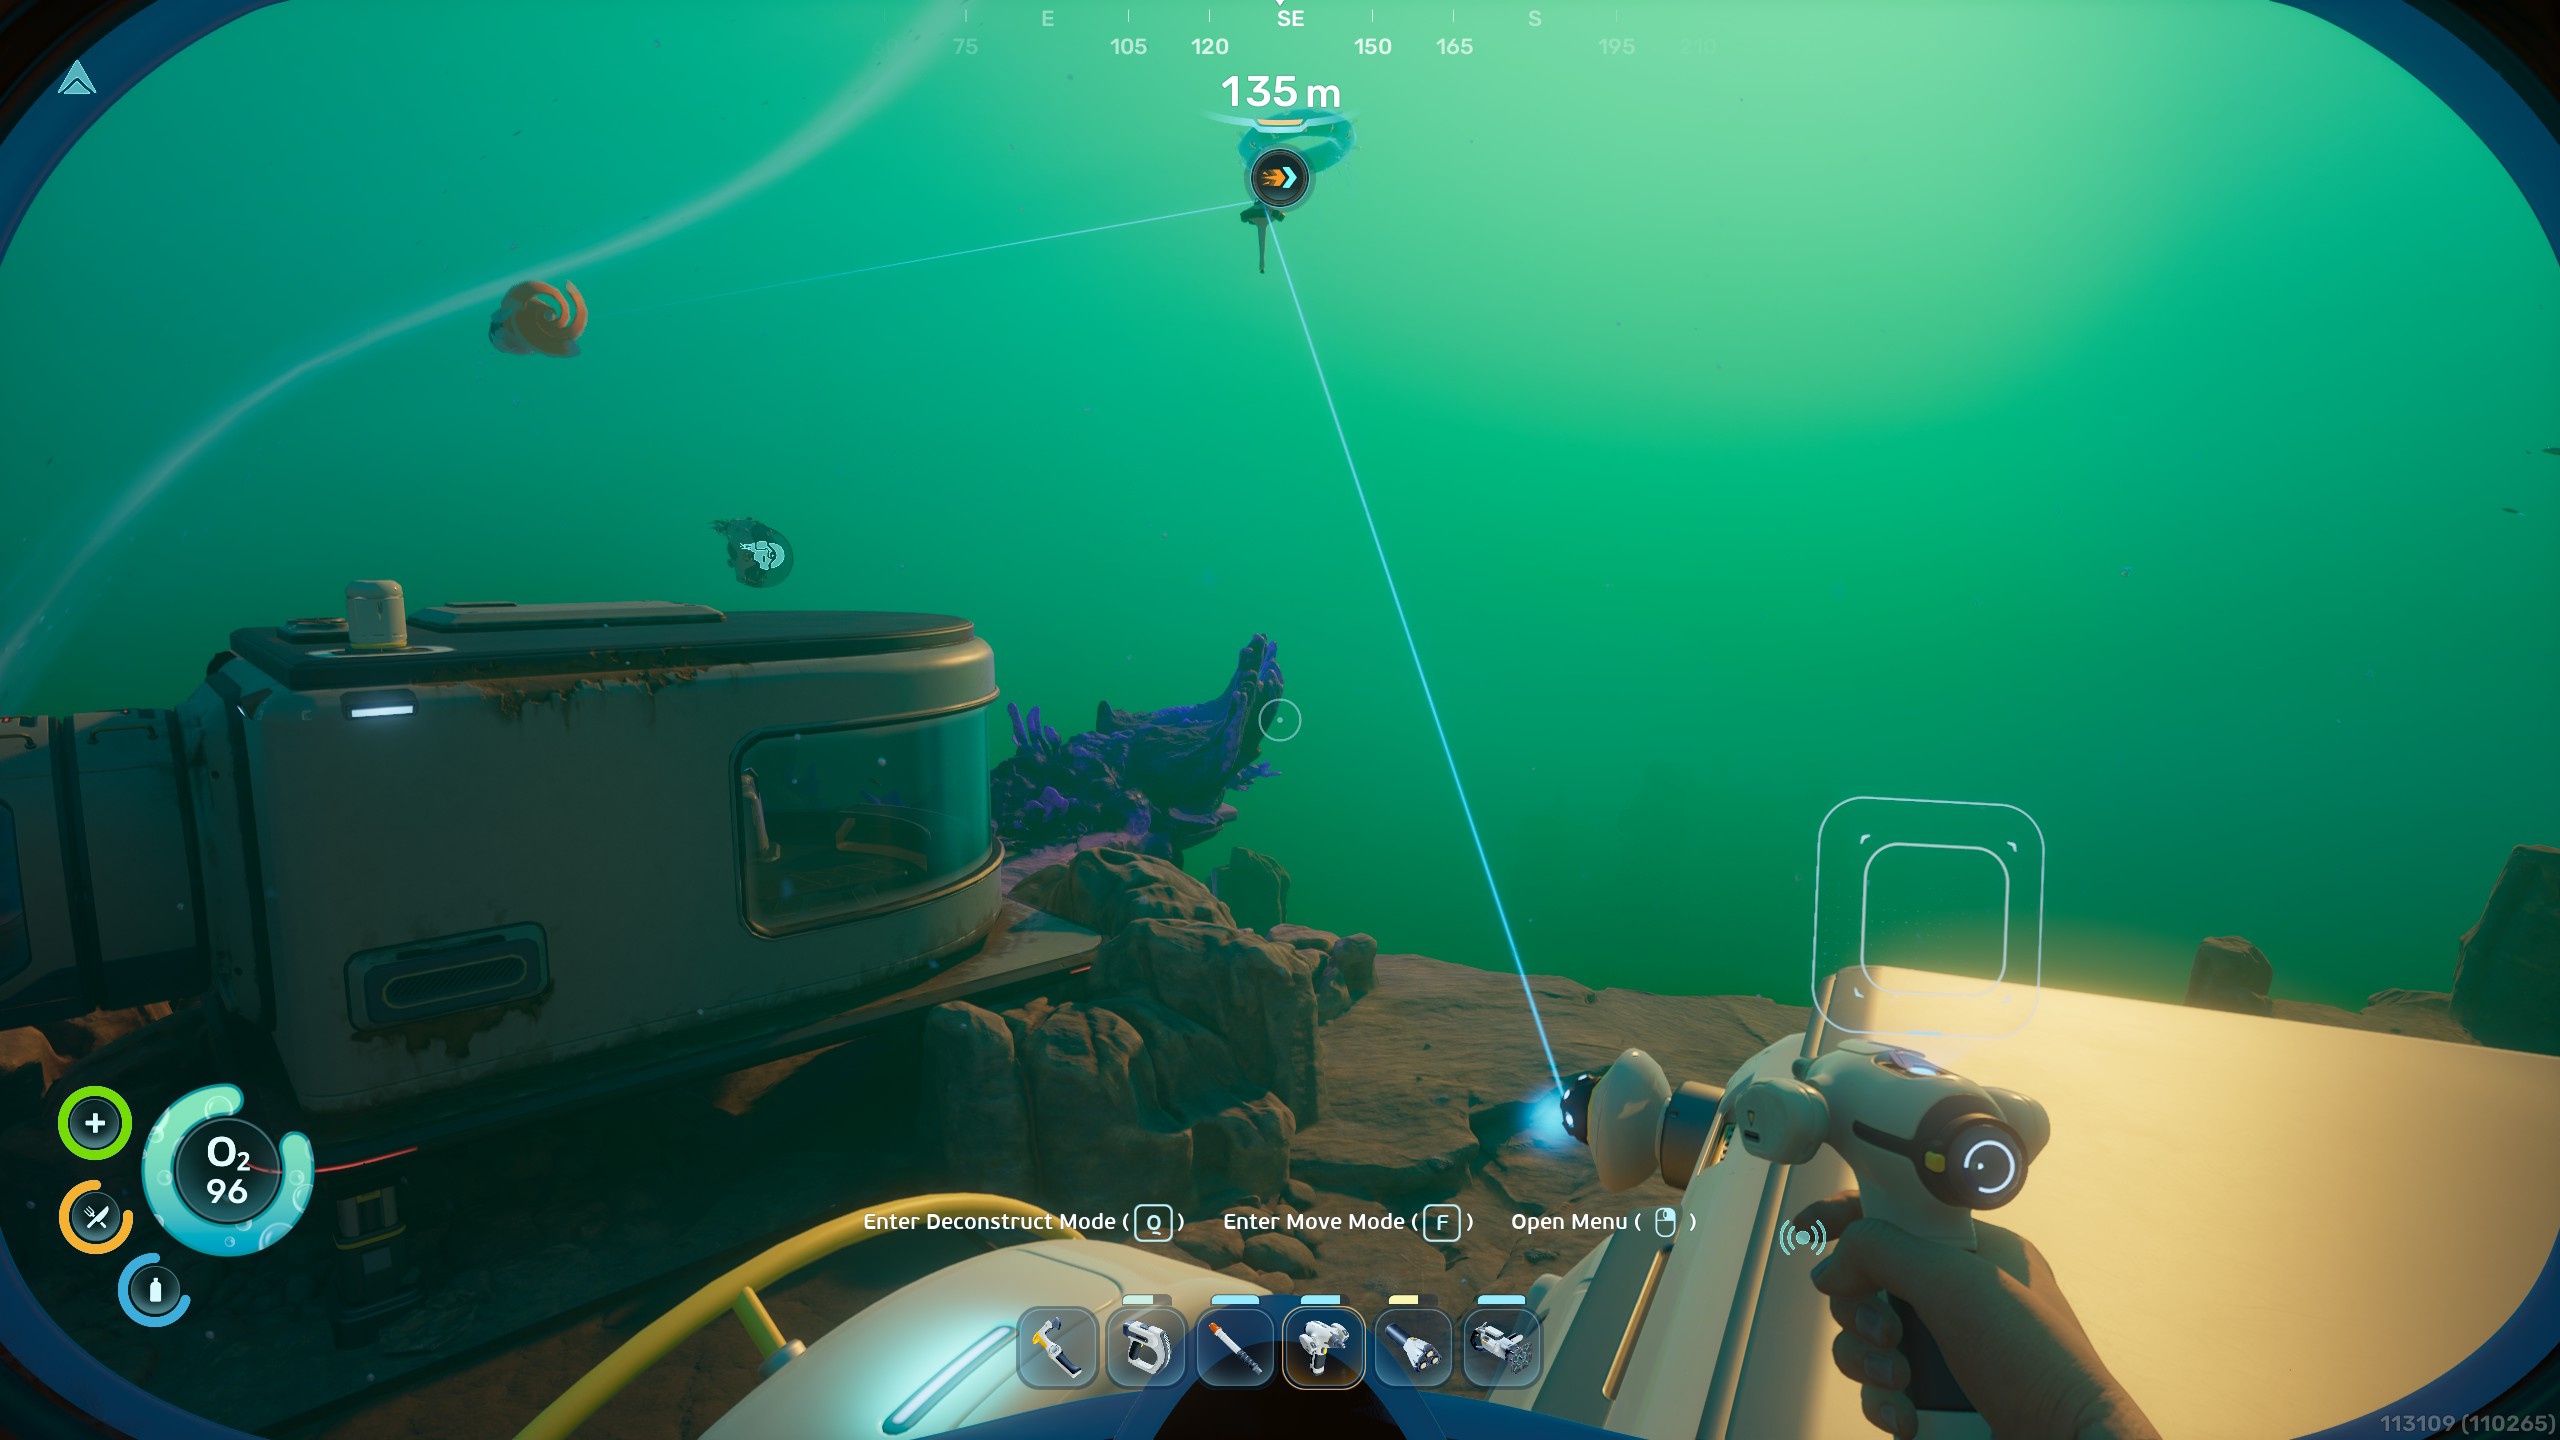
Image: Unknown Worlds/Krafton via Polygon
While solar panels are convenient for surface-level outposts, they are tethered to the day-night cycle and fall off in effectiveness at greater depths. To ensure continuous operation, consider these alternatives:
- Bioreactors: Convert organic materials and small fauna into consistent energy.
- Hydroelectric Turbines: Position these within ocean currents; you can stack multiple turbines to maximize output.
- Thermal Plants: Ideal for deep-sea bases near volcanic vents or magma, using power transmitters to funnel energy back to your facility.
Managing Your Energy Budget
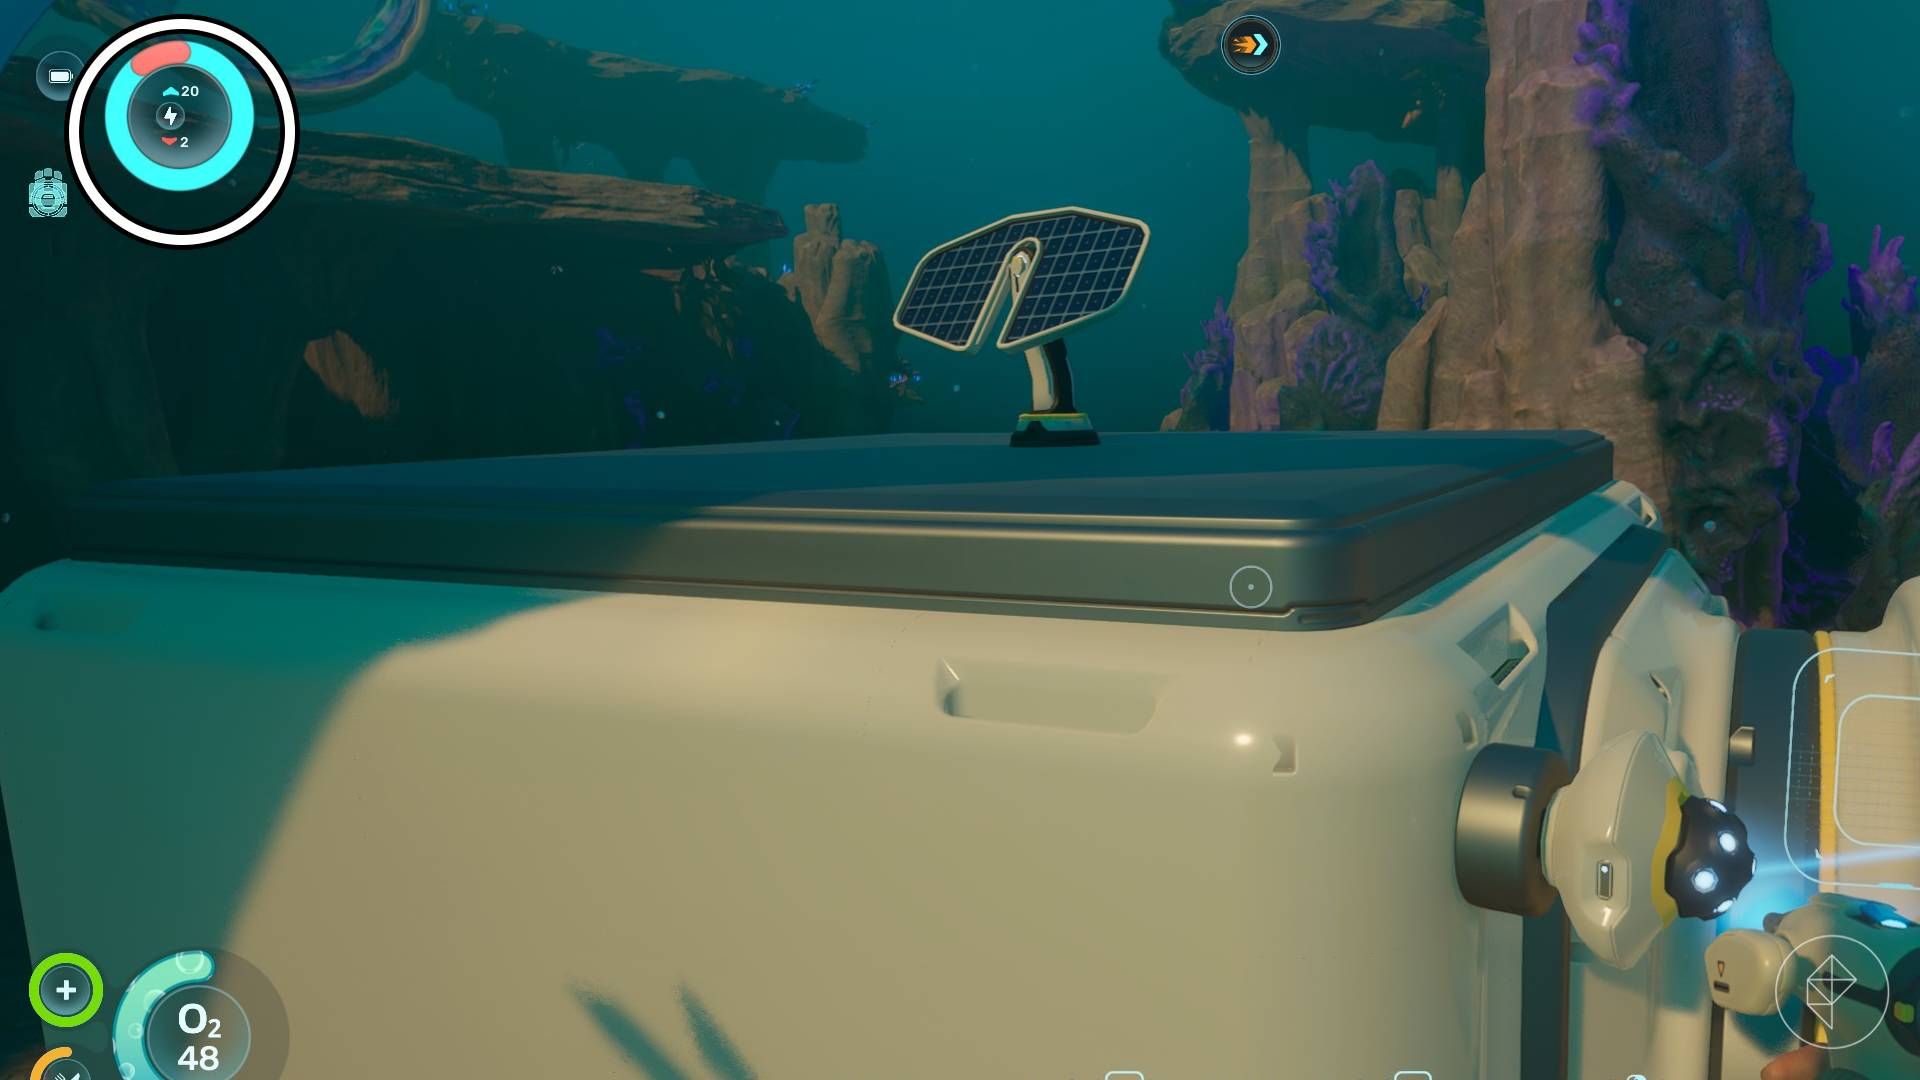
Image: Unknown Worlds/Krafton via Polygon
Before installing energy-intensive machinery, check your base status on the top-left interface. Blue indicates current production, while red denotes consumption. If your power grid fails, your oxygen production and manufacturing tools will cease functioning immediately, though they will resume automatically once you restore energy levels.
Prioritize Essential Blueprints
While many items are cosmetic, focus on these critical utilities to streamline your survival:
- Fabricator: Necessary for advanced crafting.
- Lockers: Dedicated storage is crucial for managing resources.
- Biobed: Set this as your respawn point for long-term bases.
- NoA Unit: Your primary source for story progression.
- Processor: Essential for smelting ingots and high-tier materials.
- Moonpool & Vehicle Fabricator: Mandatory for constructing and docking vehicles like the tadpole.
- Modification Station: Unlock critical upgrades for your gear and vessels.
Vertical Clearance for Vehicles
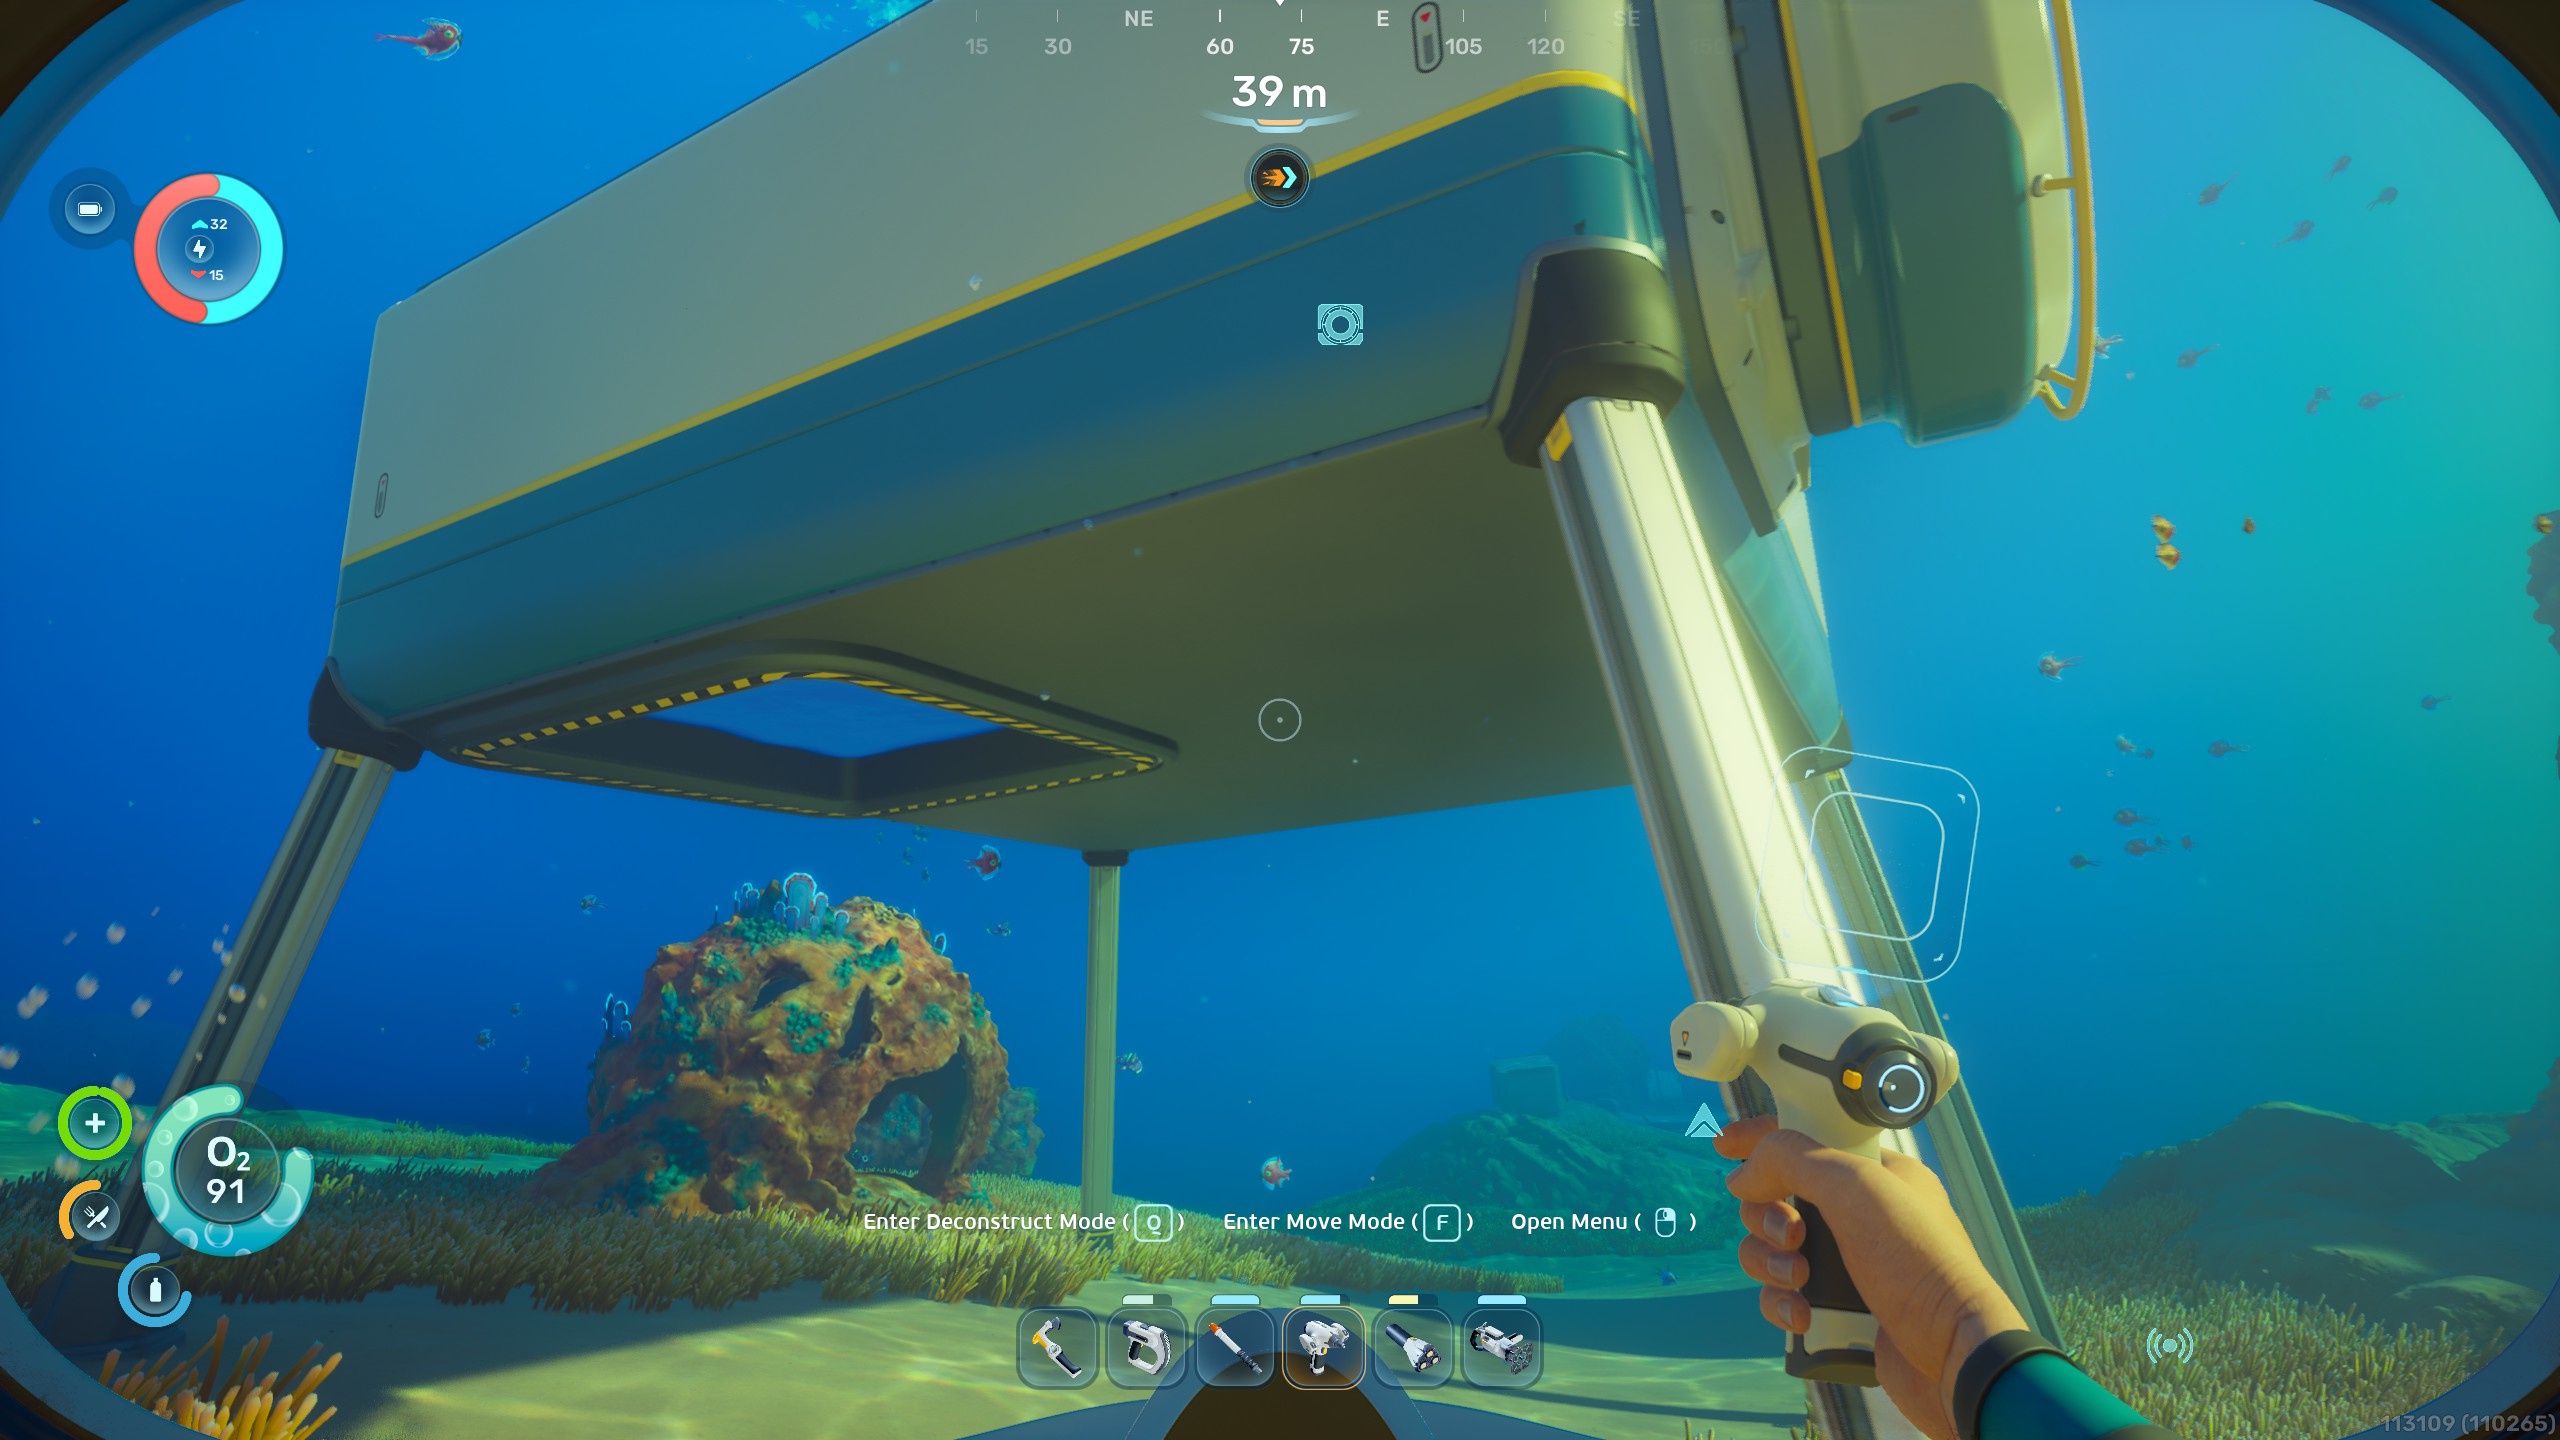
Image: Unknown Worlds/Krafton via Polygon
When designing your base, ensure at least one module is elevated sufficiently above the seafloor. Moonpools must be placed on the floor of a room, and they require a significant vertical gap to allow for the docking and construction of your vehicles.
The Refund Mechanic
The “refund base” feature is a great tool for reclaiming resources. It will return all materials spent on structures and decor, with one major caveat: storage containers will be refunded, but their contents will be deleted. Ensure you empty your lockers before deconstructing, as this process cannot be undone. Any reclaimed materials that exceed your inventory capacity will appear in a temporary storage cache nearby, which even features a “pocket dimension” to hold overflow items.
Source: Polygon


