Here’s a full information for ending Resident Evil 2 Remake in simply over two hours to get the S Rank and unlock the infinite ammo Samurai Edge pistol.
Before we begin, you first want to know which actions cease the clock and which don’t. Pausing the game will clearly pause the clock, as will opening your map, checking your stock, and watching a cutscene. However, the clock retains ticking if you’re zoomed in on an merchandise or puzzle, and clearly as you’re straight controlling the character.
Now you’re clued up, let’s get you that infinite ammo Samurai Edge.
![]()
Resident Evil 2 Remake S Rank walkthrough – attending to RCPD
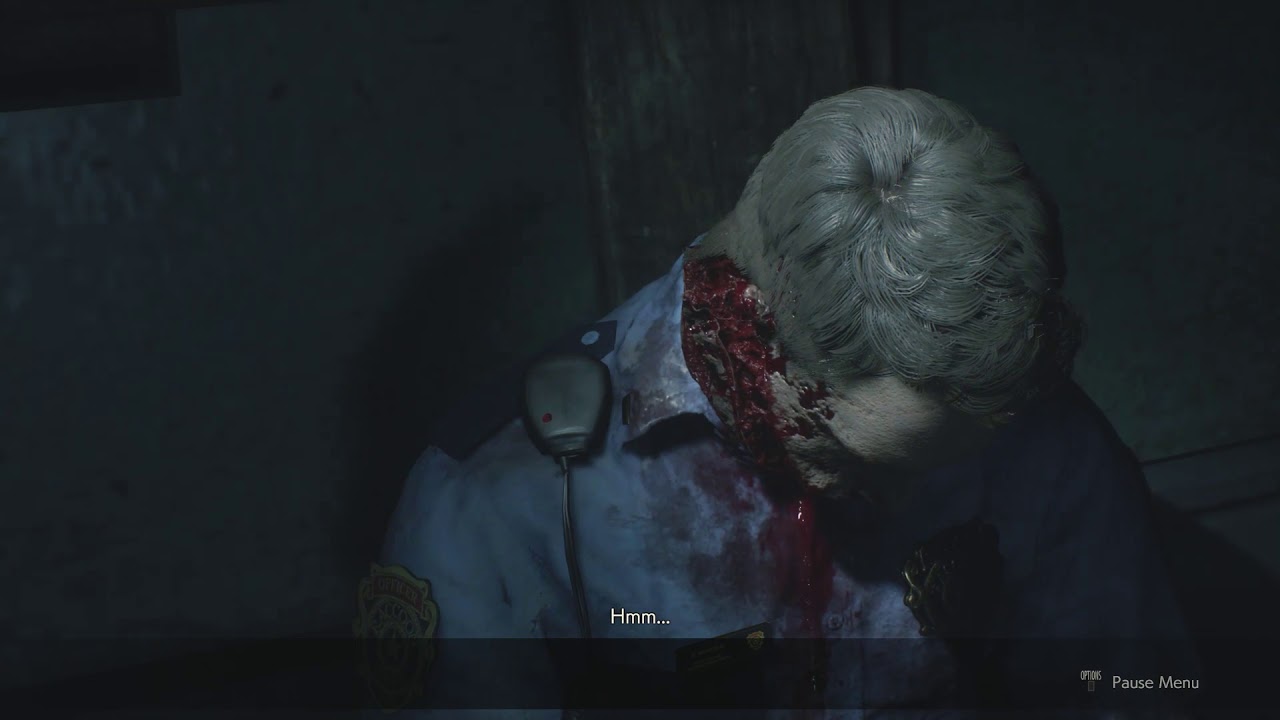
The game kicks off with Leon heading inside a truckstop. Upon getting into, you need to head to the left nook and run previous the injured man. Keep on going and a cutscene will play and also you’ll be launched to your first zombie. Fire a shot at its head and run previous it whereas it’s staggered, into the nook of the room the place you’ll discover a key. Don’t head again the best way you got here – as a substitute, run to the opposite door within the room you’re in and use the important thing on the door. You are then free to discard the important thing to release house in your stock. Now run again by means of the shop through the one path accessible, getting again to the shop entrance as rapidly as you’ll be able to.
After the cutscenes, you’re dumped into Raccoon City. Everything is on fireplace and zombies are all over the place. Don’t waste any ammo and simply leg it. You’ll begin off going through a horde of them and also you need to flip round to your proper and leg it down the road. Keep distance between you and the 2 zombies in entrance, then head left down the alleyway, previous the fireplace, and down the steps. When you emerge up the steps on the opposite facet, you will notice the Raccoon City Police Department forward. Head in direction of it, operating round any zombies in your path. You may even keep away from those proper close to the gate – simply run to the gate and work together with it to get inside.
Here’s the video walkthrough:
Resident Evil 2 Remake S Rank walkthrough – the three medallions
When you enter the police station, head forwards and seize the First Aid Spray to your proper. Then head to the southeast nook, proper close to the place you’re, and pull the lever to open the metallic shutter. Interact with the shutter to crawl beneath. Follow the hall round till you come to a white door in your left and head inside – that is the Press Room. In the far proper nook, there’s a change – flick it on to activate the lights. Now you’ll be able to seize some Handgun Ammo from the close by corpse. Head again into the hall and go left, interacting with a submitting cupboard to elevate it out of your approach. To the left right here there’s a toilet. Head into the center cubicle to get one other First Aid Spray, then proceed again down the hall. You’ll hear somebody screaming for assist from a reception in your left – head inside and pull the shutter as much as set off a cutscene.
Once the cutscene is over, a zombie will burst by means of the door you entered from. Line up some headshots and drop it to clear the trail. Now dash again the best way you got here. When you get close to the Press Room, two zombies will seem. Drop them and keep it up again to the Main Hall. Crawl again underneath the shutter to set off a cutscene. Once it’s over, you’ll get a Combat Knife. This permits you to minimize by means of a panel on the west facet of the Main Hall and open a shutter there. But first, head up the steps on the finish of the Main Hall and work together with the Lion statue on the high – the sequence is: lion, leaf, hen. Take that crest and slot it into the depressions within the base of the statue on the backside of the steps, then go to the typewriter, seize the Handgun Ammo from close by, and pop certainly one of your First Aid Sprays into the storage container. Now get that west shutter open along with your knife.
We have a devoted web page for getting all three medallions in both Resident Evil 2 Remake playthroughs.
![]()
In the small reception room, there’s some ammo in your left and a Green Herb in your proper. I prefer to seize the ammo right here and go away the Green Herb for later, since we have already got two therapeutic objects at this level and we may do with the stock house. Go by means of the door on the different facet of the room and head down the darkish west hall forward. Interact with the lifeless police officer’s radio to set off a cutscene.
Next, preserve heading down the hall, all the best way to the tip, then flip proper and head by means of the double doorways there. This is the Operations Room. Grab the map from the whiteboard there, then climb onto the crate and thru the open window. Deal with the zombie harassing the merchandising machine, then undergo the door simply to his left and into the West Office. In the precise nook, there’s a submitting cupboard with some Handgun Ammo inside it. There’s additionally some Gunpowder on a close-by desk. Head across the desks on the opposite facet of the room and take care of the police zombie who stands up from his chair. Now you need to unlock Leon’s desk. To unlock the precise hand facet, use the code: MRG. To unlock the left facet of Leon’s desk, use the code: NED. This will get you the High Capacity Magazine on your pistol, Matilda.
![]()
Now go into the personal workplace within the nook of the room and work together with the protected. Left 9, proper 15, left 7 is the mix. You get a Hip Pouch for this, providing you with two extra stock slots. Now head again out the door you got here by means of and proceed up the hall to the north. Run to the precise of the steps, seize the Wooden Boards, and use them on the window on the base of the steps – this may cease that zombie smashing by means of and prevent some complications in a while. Now seize the Green Herb and head into the Safe Room close to the place you bought the boards from. Flick the sunshine on, retailer your Green Herb and Gunpowder, then test the lockers close to the doorway for some Handgun Ammo and extra Gunpowder – retailer the latter away, then head again exterior and up the steps close to the window you boarded up.
Don’t go up the following set of stairs but. Instead, go into the locker room on 2F and open up the locker there with the mix: CAP. This will get you some Shotgun Shells. There are some extra shells within the lockers close by, in addition to a Portable Safe. Open this by analyzing it and urgent the buttons till you get a sequence that runs counter-clockwise. You’ll get a Spare Key for a keypad which we’ll use in a while. Now head out the room and up the steps, taking good care of the zombie on the best way.
There’s some Handgun Ammo on the high of the steps and there’s one other locked locker forward. Combination is DCM, and this will get you some MAG Ammo. In the following room, you’ll discover the Spade Key. Grab it and proceed on by means of the following door and down the hall forward. Go by means of the door in your left and into the Storage Room. There are Wooden Boards, Gunpowder, and one other Hip Pouch in right here. Grab all of it, then undergo the door close to the bookcase. This brings you out into the Library. Head down the steps and return on your self on the backside, turning proper. Grab the Red Book from the desk there. Go to the north facet of the room the place there are interactive bookcases. Slide the one furthest proper one house to the left. The seize the one second from left and transfer it one house proper – this may prevent some trouble later. Now head to the door close to the place you grabbed the Red Book and use the Spade Key to unlock it.
![]()
You’re now on the balcony within the Main Hall. Run to your proper and seize some Handgun Ammo from the nook, then head down the steps and again to Marvin. After the cutscene, use the storage container to place away the Gunpowder, Wooden Boards, Shotgun Ammo, MAG Ammo, and Spare Key. Keep the Red Book. If you’re low on ammo, combine two Gunpowder collectively to get some extra.
Now head upstairs and go throughout the balcony on the east facet of the Main Hall. Head by means of the door into the East Wing Waiting Room and use the protected. The mixture is: left 6, proper 2, left 11. This provides you a Muzzle Brake for Matilda. Attach it, seize the Green Herb from the desk close by, then use the Spade Key to exit the room on the opposite facet. Now go left, then enter the door in your proper. This is the Art Room. Inside, seize the Weapons Locker Key Card, then choose up the Statue Arm and mix it with the Red Book. Now work together with the statue and place the arm. This provides you a Scepter. Examine the Scepter and work together with the mechanism on it the get the Red Jewel.
Leave the room and switch left, heading across the hall. Halfway down, you’ll hear a helicopter crash. Grab the Green Herb from close by. You need to undergo the fireplace exit door forward and down the fireplace escape. A cutscene will set off and also you’ll be on the backside of the steps. Grab the Bolt Cutters from close to the toolbox in entrance and use them on the door forward. Through that door, there’s one other door forward and barely proper that wants the bolt cutter remedy. This is the East Office.
![]()
Head by means of and use the any Wooden Boards you might have on the window the zombie is making an attempt to interrupt by means of. There’s a bunch of things in right here, however you must be sure to seize the Round Handle type the personal workplace, in addition to the Electrical Part from off the desks in the course of the room. Get these first, then get what you’ll be able to. Deal with any zombies attacking you, then exit the room on the west facet, shifting the chair blocking the best way.
Use the Electrical Part on the fuse field forward and it’ll open the shutter to the Main Hall. Head again into it. Store the Red Jewel and some other objects you don’t want proper now, however preserve the Round Handle, the Weapons Locker Keycard, and the Bolt Cutters. From there, you must use the Spade Key on the West Office door within the Main Hall, decrease degree. You ought to be capable to discard the important thing when you’ve unlocked it.
Run by means of the workplace and to the door on the opposite facet of the room. There’s a door reverse if you exit – head by means of there. This is the Safety Deposit Room. Head straight to the again of the room and use the Weapons Locker Keycard on the reader to seize the Shotgun. Now head again into the hall and round to your north. You can head again into the Dark Room protected room and seize any shotgun ammo you’ve saved at this level, then head up the steps to the place the primary mixture locked locker was. Use the Round Handle on the valve to cease the steam and will let you get by means of the showers. There’s some Gunpowder within the lockers on the opposite facet.
![]()
In the following hall, you’ll meet your first licker. Get that shotgun prepared. Once you’ve handled it, undergo the door on the left midway down the hall – the STARS Office. There’s First Aid Spray, High Grade Gunpowder, and extra in right here. If you combine the High Grade Gunpowder with Gunpowder, you get extra shotgun shells. You additionally must seize the Battery from the personal workplace in right here. Then head again out and left, down the hall the licker was in. This ought to convey you to the Unicorn Statue. The answer for that is: fish, scorpion, jug. There’s additionally a map close by. Once you’ve bought the Unicorn Medallion, head by means of the following door and again by means of the Library and into the Main Hall. Now slot the Medallion into the bottom of the Goddess Statue.
Now head by means of the door within the southwest nook of the Main corridor and again down the hall the place you discovered the lifeless cop with the radio. This hall will probably be stuffed with enemies by now, so that you’ll should battle and run your approach by means of. You need to head all the best way to the north once more, to the Operations Room. But quite than climbing out by means of the damaged window, you need to use your Bolt Cutters on the door inside. This will get you the Electronic Gadget. Combine that with the Battery to make a Detonator. Unlock the latched door on the east facet of the room and head by means of the hall, previous the Safety Deposit Room and up the steps, avoiding any zombies blocking your approach. You need to head proper as much as the third ground and into the attic room the place you discovered the Hip Pouch earlier.
![]()
In this room, you must use the Detonator to clear some particles blocking entry to the Maiden Statue. Set it on the C4, then run to close the bookcase subsequent to the Library door. It will fall over from the blast and also you need to elevate it up earlier than heading to the statue. The Maiden Statue answer is: maiden, bow, snail (probably the most broken piece). Once you might have the Medallion, run straight for the Library door, quite than preventing the enemies who seem – simply get out of there. Get down the steps within the Library, undergo the door to the Main Hall, then down to fit the Medallion into the Goddess Statue base. This opens up a secret tunnel – head down and we’ll transfer on.
Leon A Guide Parts 1-6:
- Part 1: RPD
- Part 2: Parking Garage and Kennels
- Part 3: Mr X
- Part 4: Kendo, Aligator, Ada Wong
- Part 5: Sewers and Chess Puzzle
- Part 6: Nest lab and Plant 43
Source


