Inside the Deku Tree serves as your inaugural dungeon quest in The Legend of Zelda: Ocarina of Time. To begin, you must literally step inside the Great Deku Tree himself.
The Great Deku Tree, the forest’s noble protector, has been afflicted by a dark curse cast by the malevolent Ganondorf. He has summoned you to prove your mettle and cleanse him of this rot. While he expects you to show your courage, he fails to mention that you are venturing into a claustrophobic, eerie labyrinth swarming with hostile flora and skittering pests.
Here is your comprehensive guide to conquering the Inside the Deku Tree dungeon.
Note: This walkthrough is tailored for the Nintendo 64/Nintendo Switch Online version of the game. If you are playing on a console with a different control layout, please adjust your inputs accordingly.
Part 1: Securing the Dungeon Map
After arming yourself with your sword and shield and pushing past Mido in Kokiri Forest, follow the trail and slice through the withered Deku Babas blocking your path. This is a perfect, low-risk scenario to master Z-targeting; these static plants won’t retaliate. Lock onto a target by pressing ZL, then unleash a slash with the B button. You can toggle targets by tapping ZL again. Be careful not to get too close, or you might take a hit. These enemies often drop Deku sticks, which are essential for puzzles later on. Assign them to your C-buttons via the item menu so they are ready for quick use.
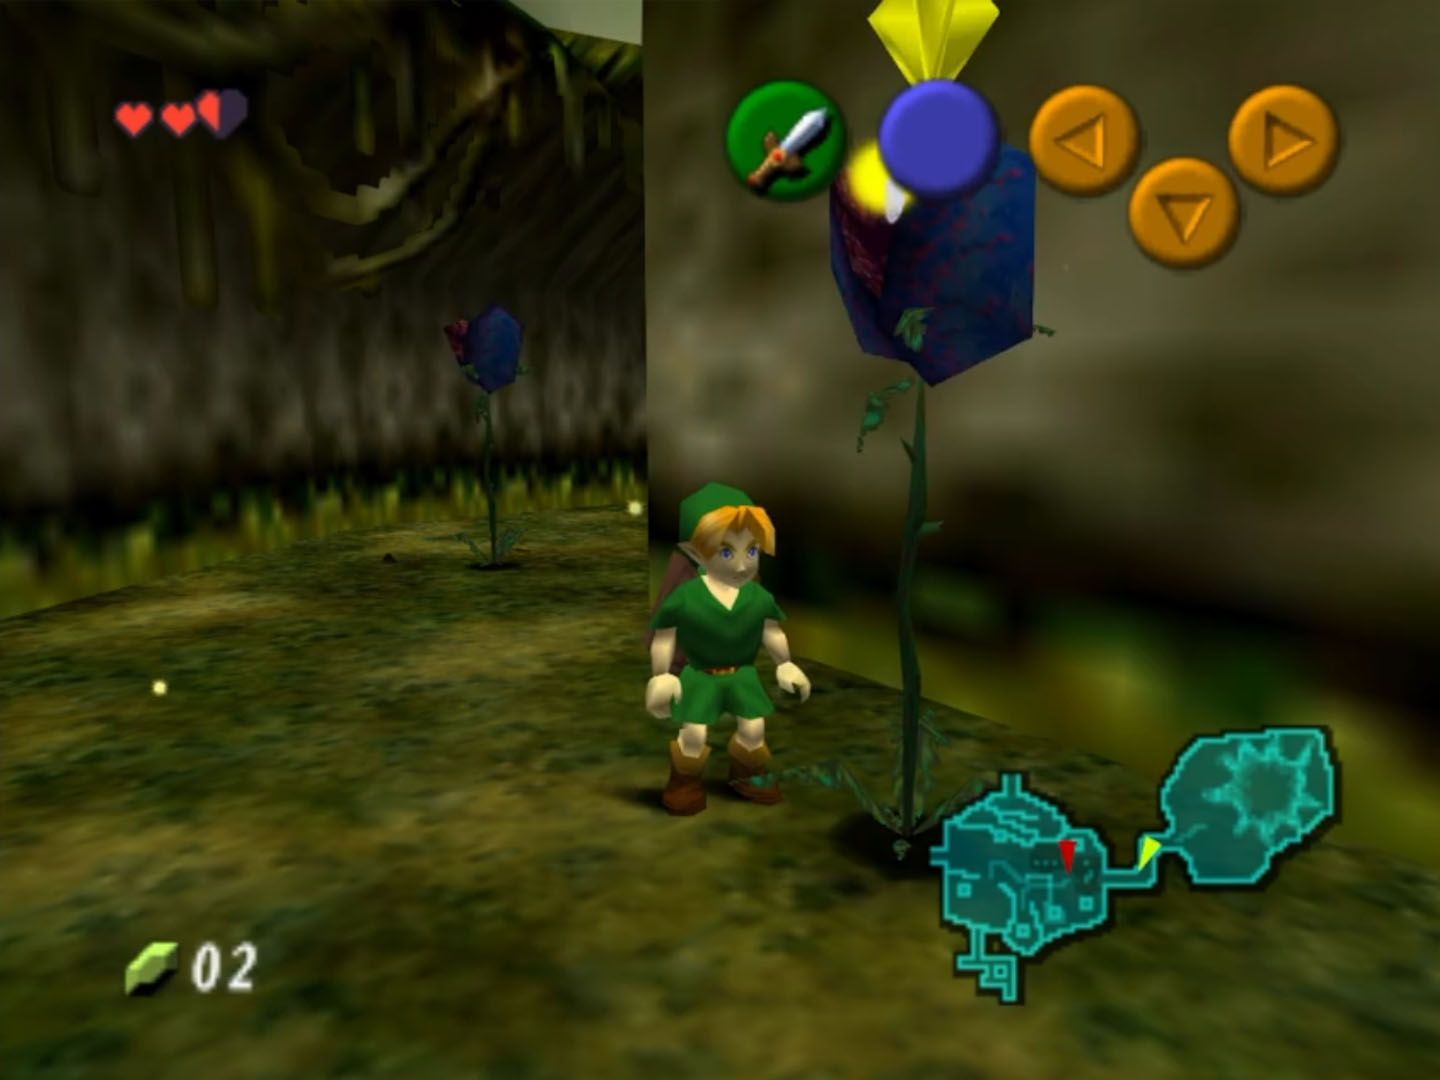
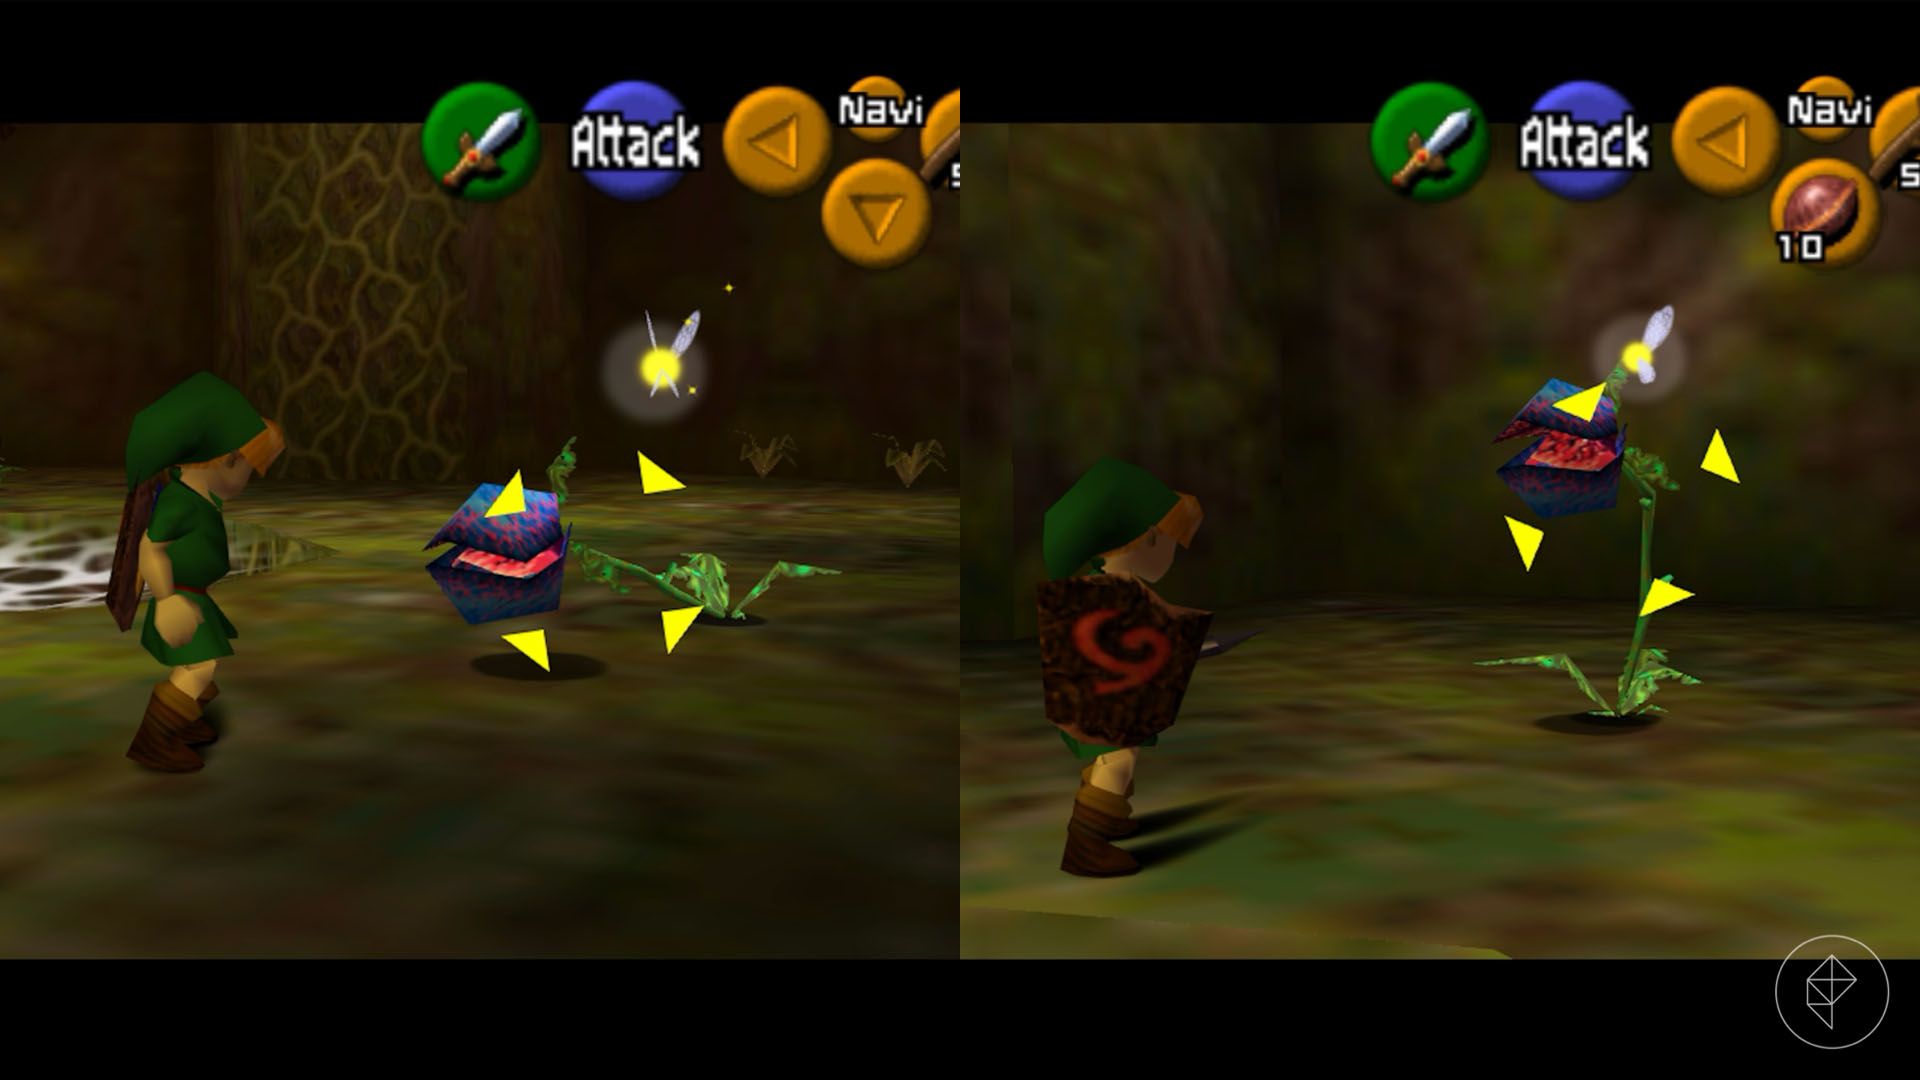
Proceed down the corridor to speak with the Great Deku Tree, who will command you to enter his gullet. In the central chamber, a massive spider web seals the floor. You’ll encounter live Deku Babas here—unlike the previous ones, these will actively lunge at you. While combat is optional, they are excellent sources for Deku sticks and Deku nuts. To harvest a stick, strike the plant while it’s lunging; to get a nut, guard against their lunge with your shield before countering.
Once you’ve cleared the area, climb the ladder or the vine-covered wall to reach the next level. Traverse the walkway until you discover a treasure chest. Open it to acquire the dungeon map, which lets you view the entire floor plan via the Map screen. Alternatively, you can tap L to toggle the minimap in the bottom-right corner of your UI.
Part 2: Acquiring the Fairy Slingshot
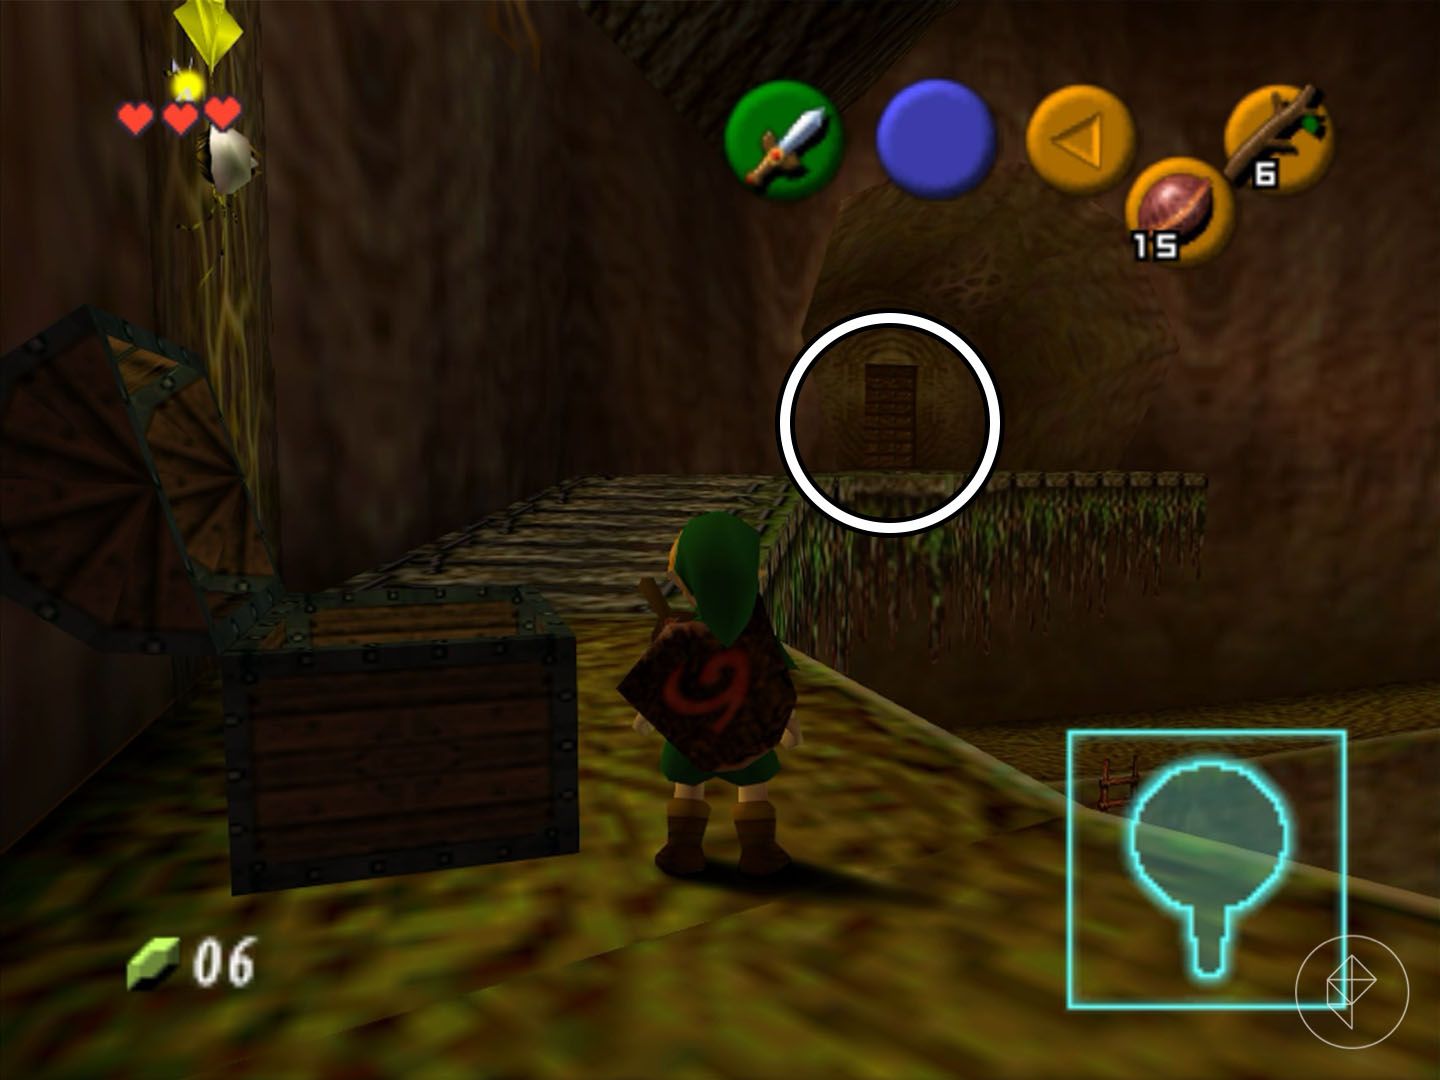
Head to the right of the map chest and locate the nearby door. Ensure you are positioned correctly so the command prompt says “Open,” then press A to pass through. Be ready: a Deku Scrub hides inside. Target it immediately and raise your shield; the projectile will deflect back at the creature, stunning it. Approach it to receive a hint on movement: always hold forward when jumping off ledges to prevent fall damage.
Enter the next room, cross the floating platform, and climb the vines to the upper alcove. Even if you slip, simply re-climb. Open the chest here to find the Fairy Slingshot. Assign it to your gear and return to the main room. Use the slingshot to target the ladder on the far wall—remember that the camera is inverted, so push the stick down to aim upward. Hitting the ladder will cause it to drop. If your health is low, scale the nearby vines to find a chest containing a recovery heart.
Part 3: Retrieving the Compass
Now equipped with the slingshot, you can deal with the Skullwalltulas—the spiders clinging to the walls. Use Z-targeting to snipe them. With the path clear, climb the vines to the third floor. This area is partially obscured by web patches and shadow-casting enemies. Inside the next room, navigate past the giant spiders to find two chests. One is easily accessible; the other is guarded by a lethal spider.
Wait for the large spider to pivot, then strike its exposed belly to finish it. Once cleared, head to the platform near the torch and step on the floor switch. This triggers the rotation of the central platforms, granting you access to the Compass, which highlights hidden treasure chests on your map.
Part 4: Advancing to the Basement
Return to the main web-covered hole you bypassed earlier. Leap off the ledge toward the center—if you simply walk off, you’ll plummet through the web and clear a path to the basement. In this lower level, you’ll find platforms over water and several Gold Skulltulas. Your primary goal is to ignite the torches scattered around the room to burn away obstructive webs. To unlock the exit, you must carry a lit Deku stick across the platforms—but be careful; jumping into the water will extinguish your flame.
Part 5: The Queen’s Riddle and Defeating Gohma
On the final floor, you’ll encounter three more Deku Scrubs. Based on the clues provided by their brethren, you must defeat them in the specific order: Middle, Right, Left (2, 3, 1). Dispatching them opens the way to the final boss.
Boss Battle: Queen Gohma
- Gohma’s only weak point is her giant eye.
- When the eye glows red, she is preparing an attack—this is your window to strike.
- Wait for the glow, then fire a projectile from your slingshot to stun her.
- Once she is stunned, rush in and unleash your sword combos.
- If she retreats to the ceiling, keep your eyes on the shadows. If she lays eggs, destroy them instantly with your blade; otherwise, they will hatch into troublesome larvae.
Stay patient, prioritize defense when her eye flashes, and you will emerge victorious. Once the beast falls, claim your Heart Container and step into the blue portal to leave the Deku Tree’s internal darkness behind.
Source: Polygon

