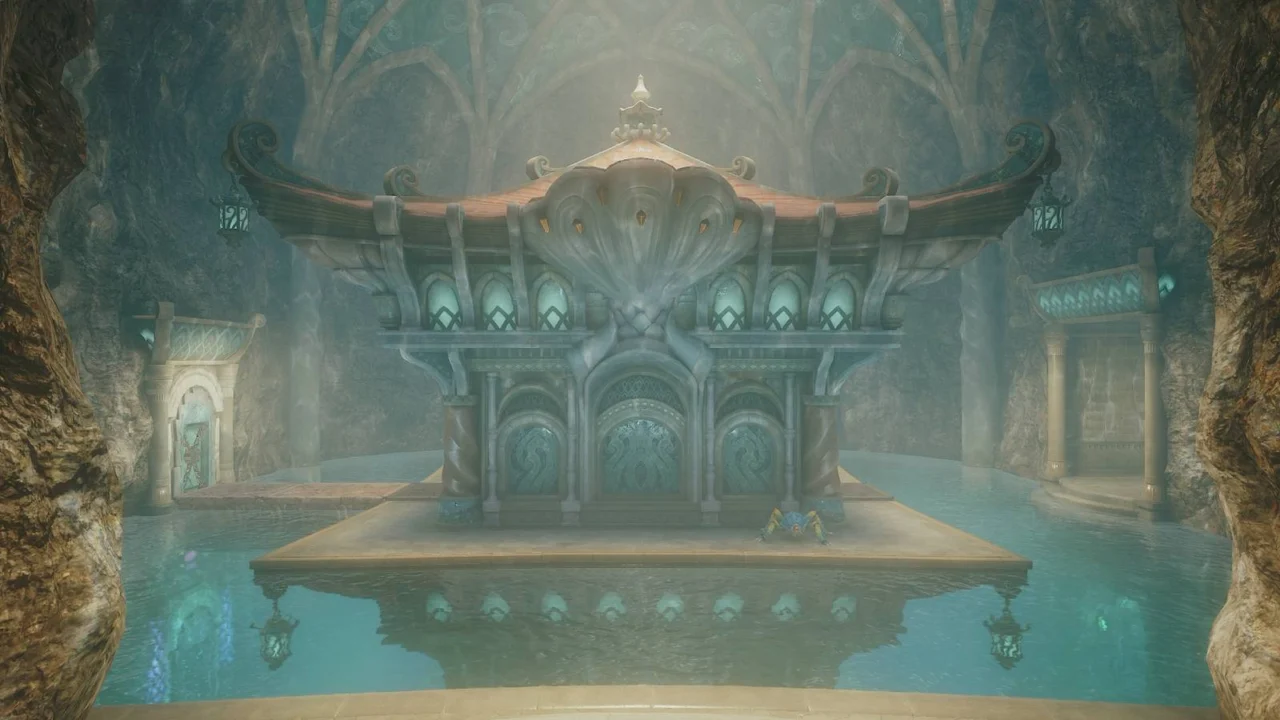
The Legend of Zelda: Ocarina of Time – Water Temple Dungeon Walkthrough
The Water Temple lies beneath Lake Hylia in the The Legend of Zelda: Ocarina of Time remake. You can enter it only after Link travels into the future.
This notoriously intricate dungeon requires frequent changes to the water level. Each adjustment opens new routes, so you’ll also need to explore at different depths to find every room and item.
Part 1: Entering the Water Temple
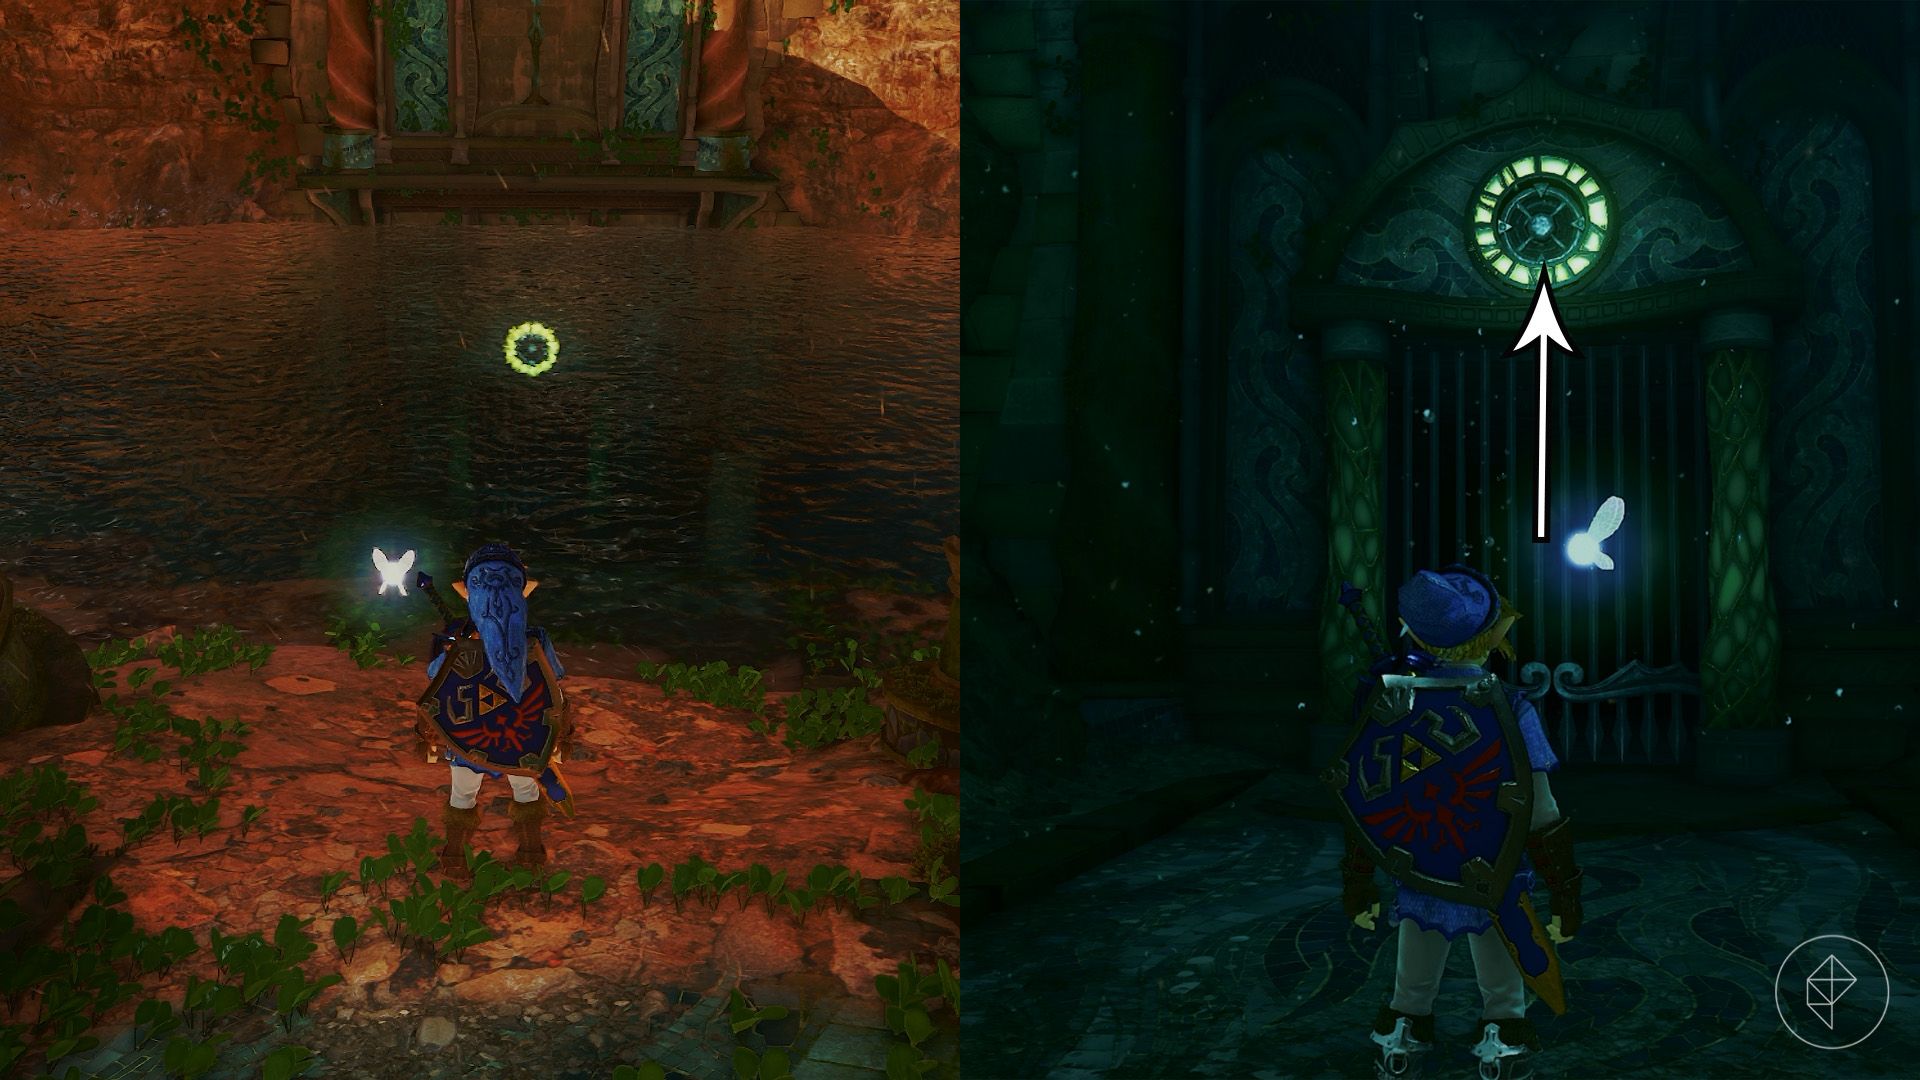
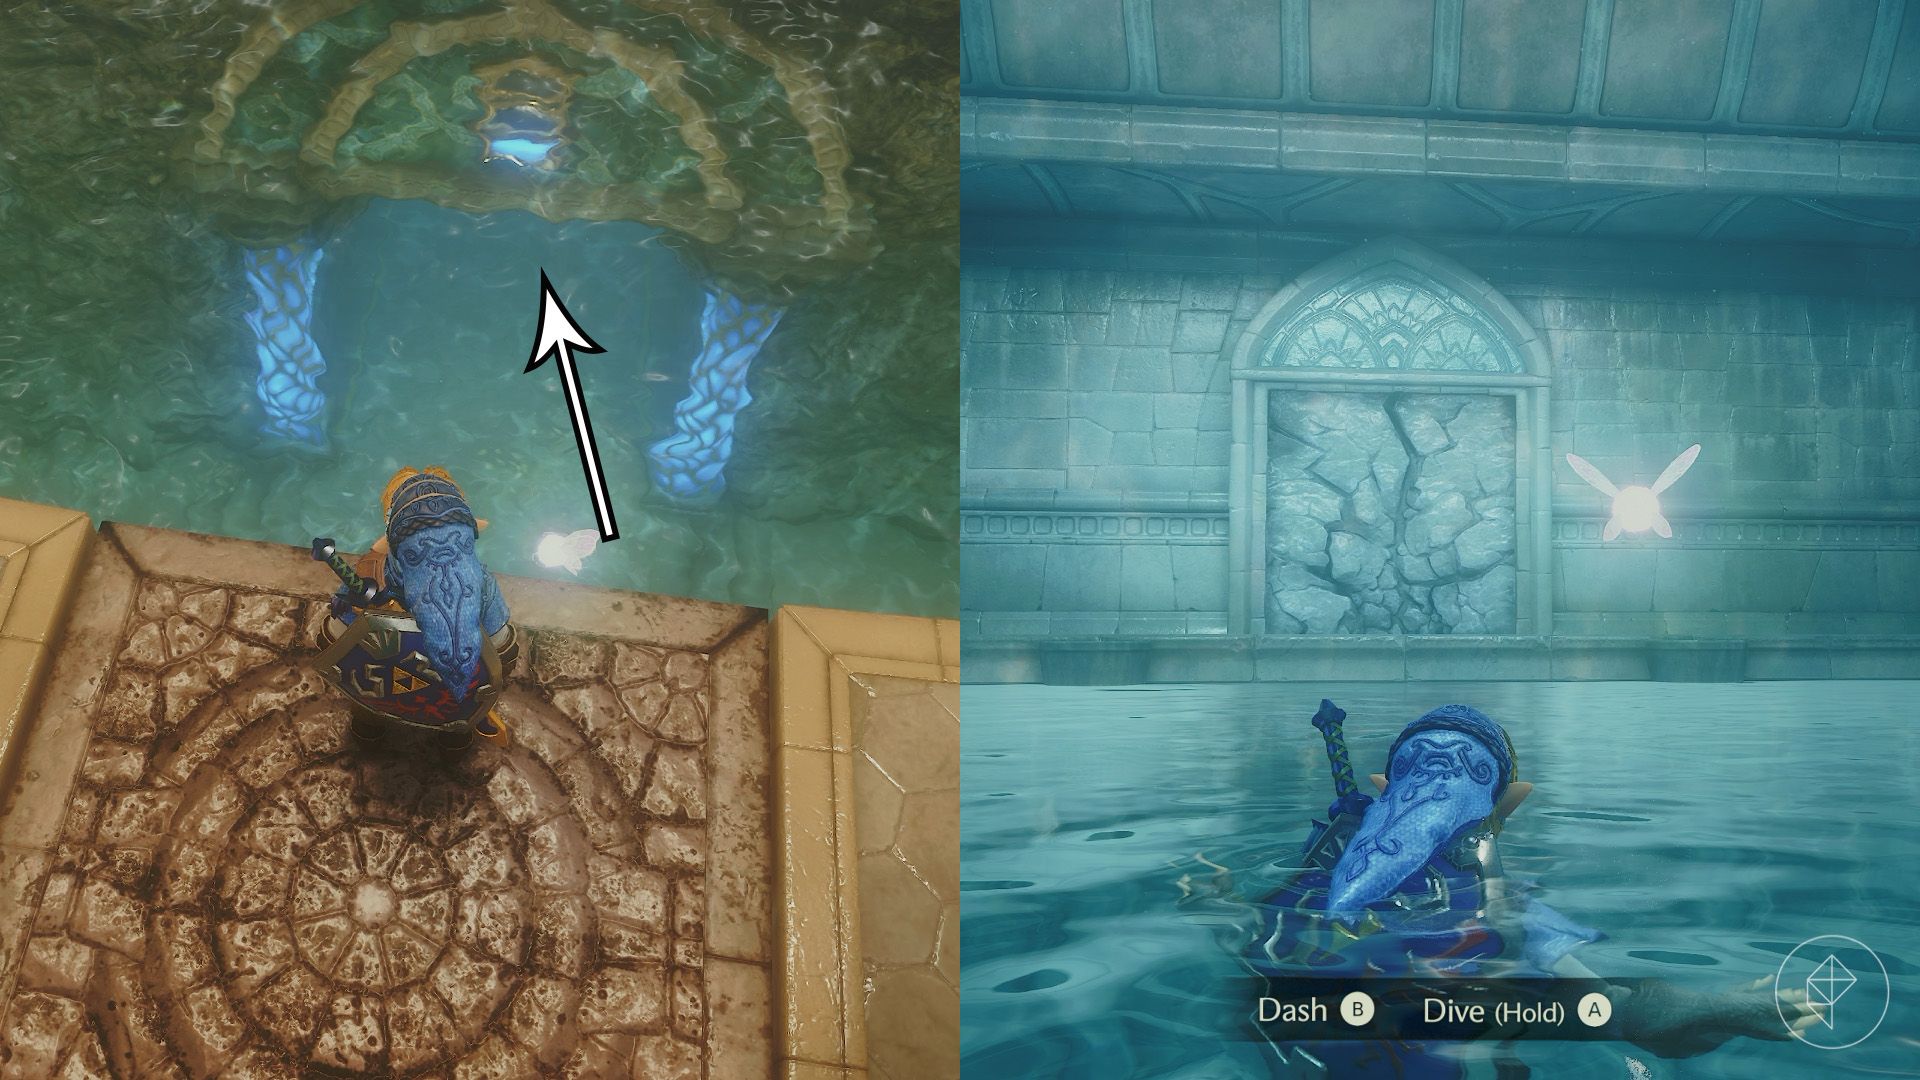
Before entering, collect the Iron Boots from the Ice Cavern and the Zora Tunic from King Zora. Approach the island with the large tree from the northeast to find the remaining water in Lake Hylia and a submerged doorway.
Equip the Iron Boots and walk underwater. Aim the Hookshot at the target above the doorway to open the entrance.
Part 2: Finding the Dungeon Map
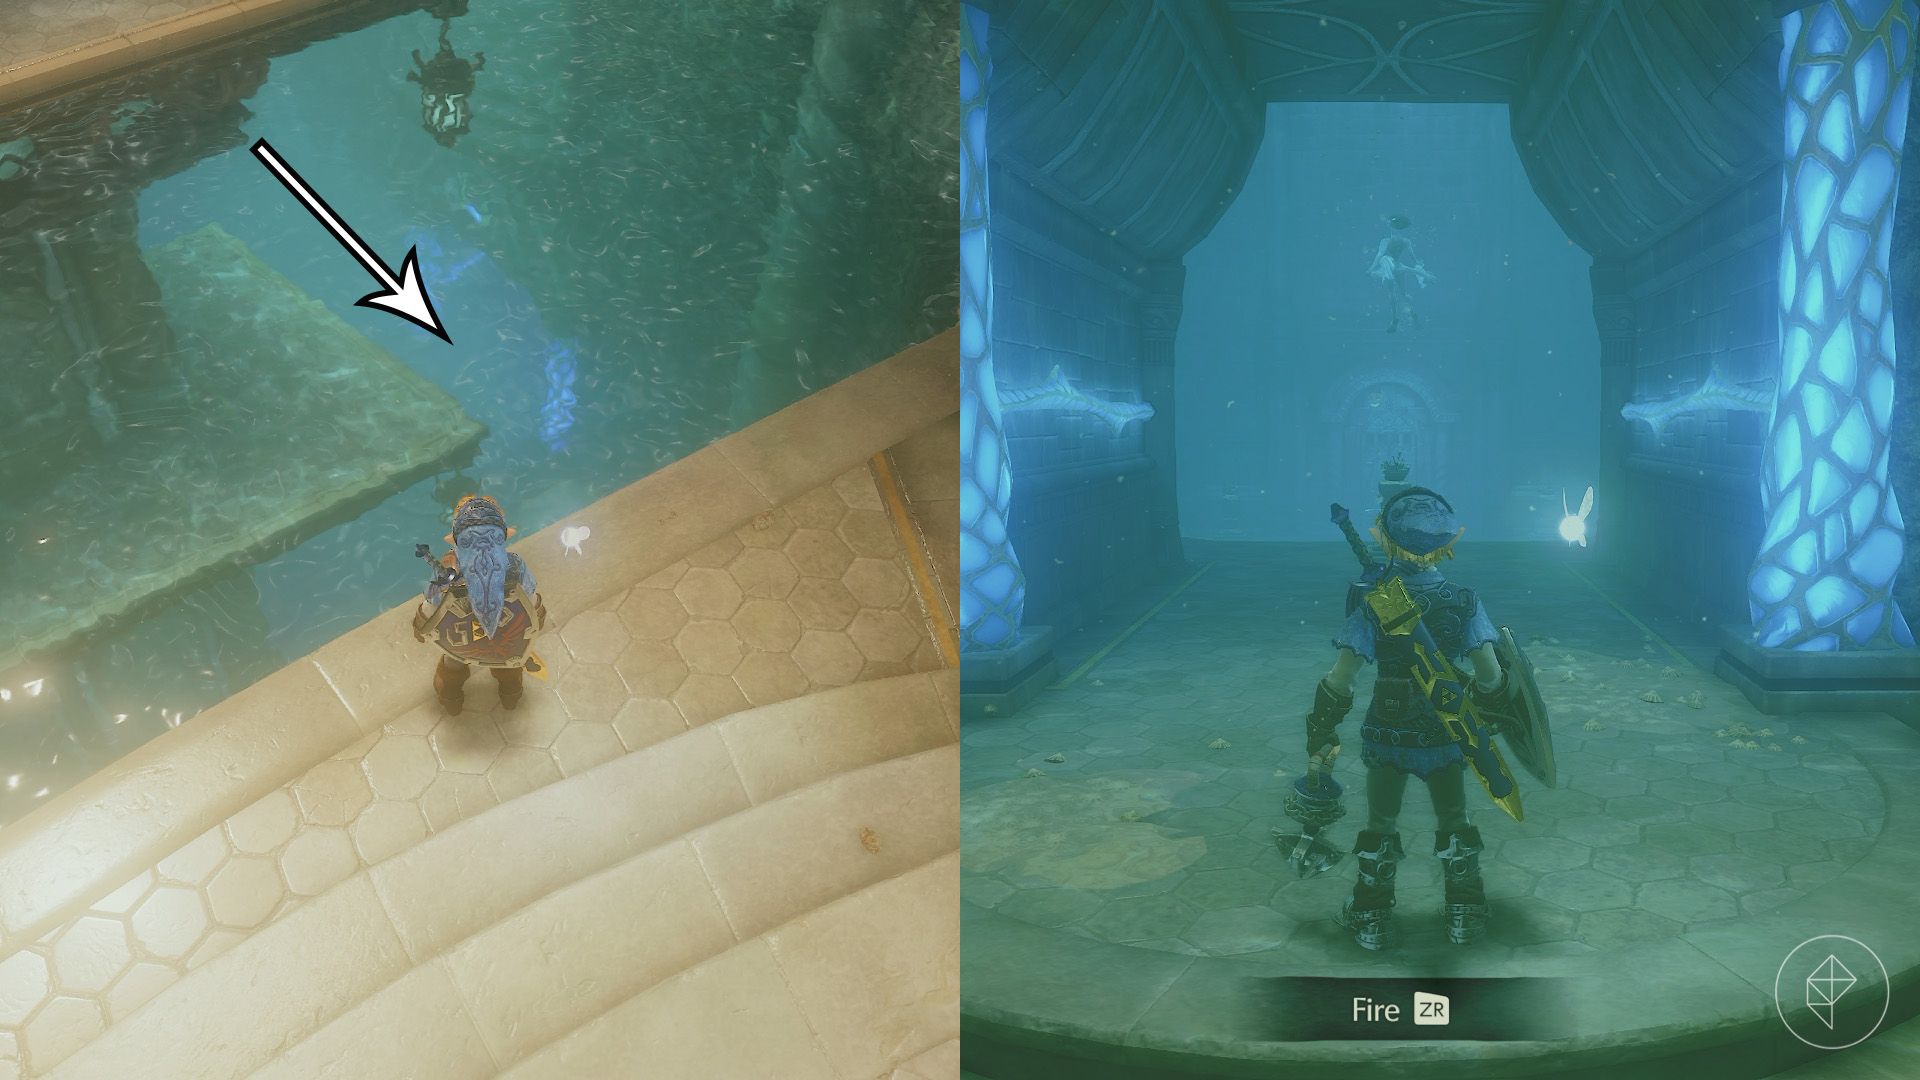
Enter the temple and remove the Iron Boots to rise to the surface. Continue into the main chamber and defeat the Blue Tektite on the central platform. Put the boots back on and descend to the floor.
Spikes patrol the bottom of the room. They are vulnerable only when their spikes retract, and because Link cannot use his sword underwater, you’ll need to attack them with the Hookshot. Enter the doorway on the eastern side to meet Princess Ruto.
After speaking with Ruto, remove the Iron Boots and float upward. Open the chest for the dungeon map, then stand before the royal crest and play Zelda’s Lullaby: Y – X – A – Y – X – A. The water in the shaft behind you will recede.
Part 3: Finding the Compass
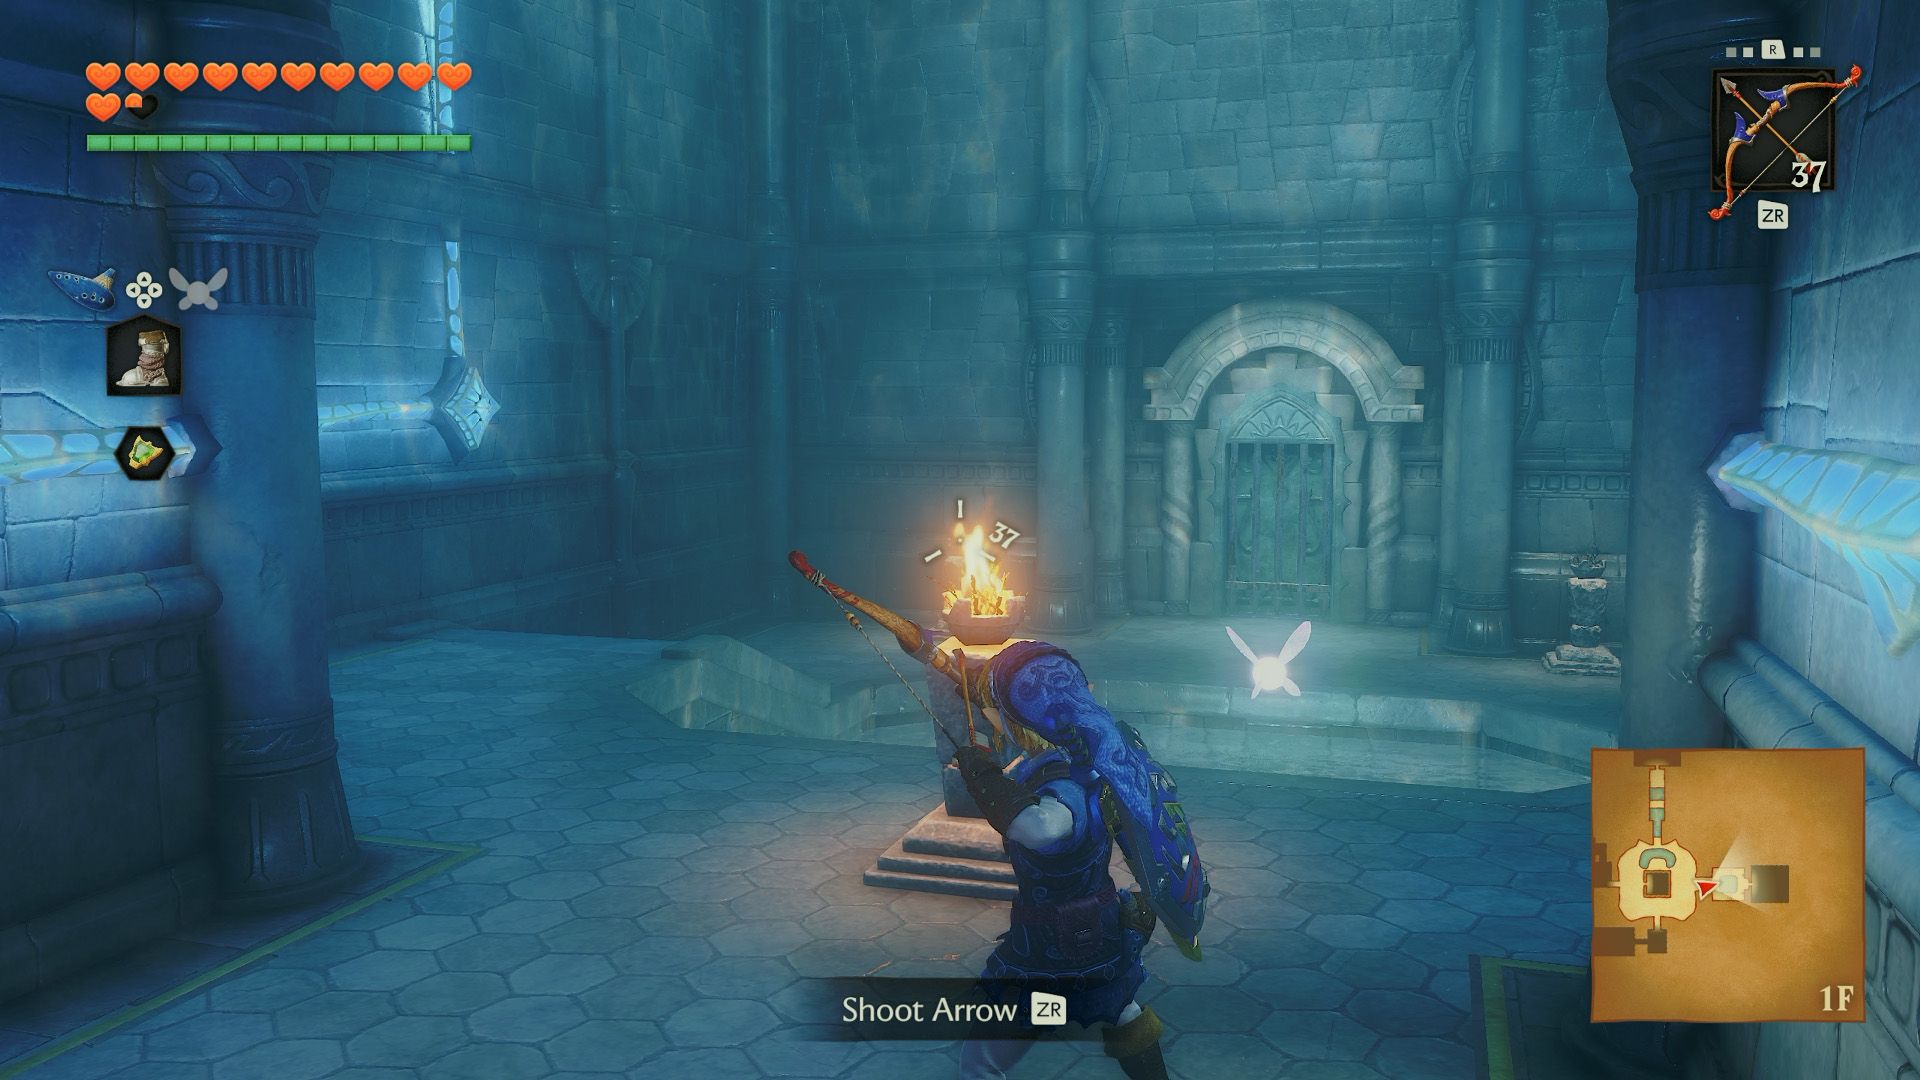
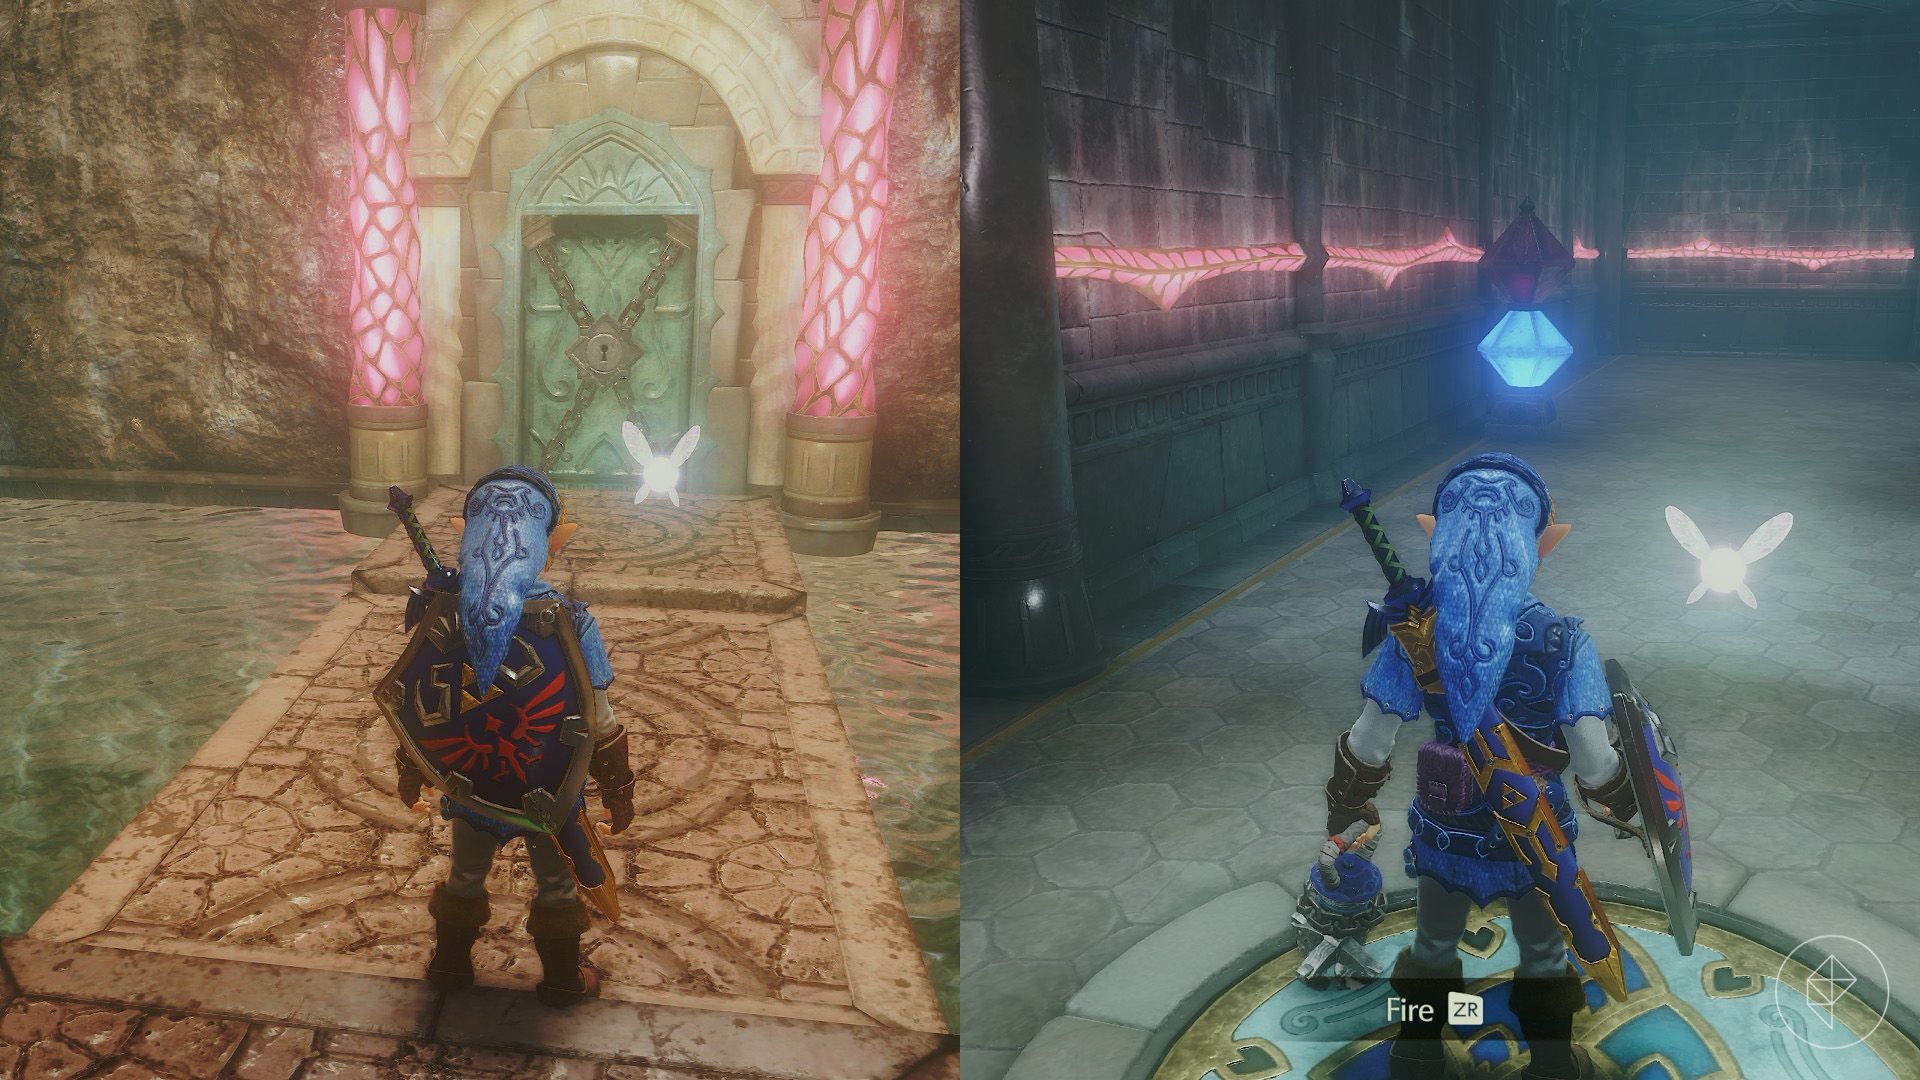
Drop down the shaft, making sure to land in the water. The torch near the entrance is now burning. From the doorway, aim the Fairy Bow through its flame and shoot the two unlit torches along the wall. You can also use Din’s Fire if you obtained it from the Great Fairy Fountain atop Death Mountain.
Lighting both torches unlocks the door. Inside, dodge the three Spikes and strike when their spikes retract. Defeat them to reveal a chest containing a small key, then return to the main chamber.
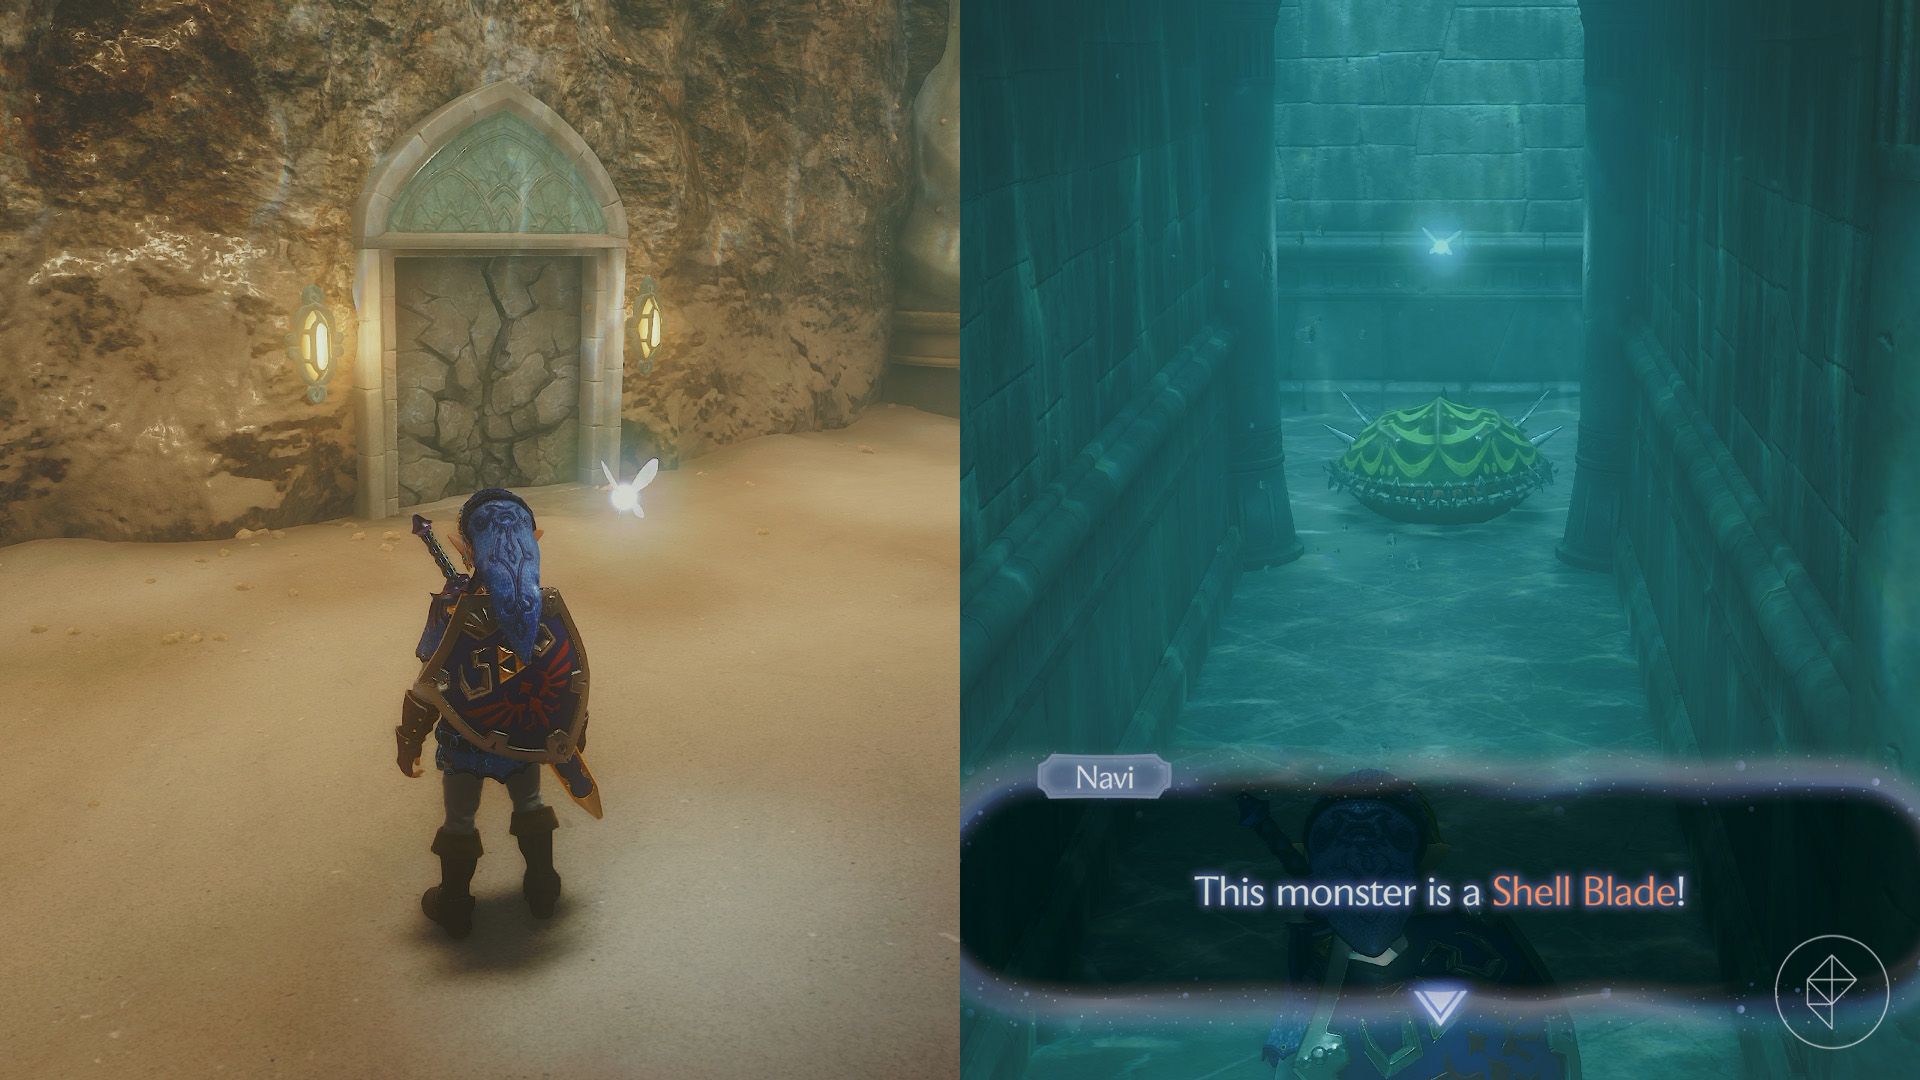
Break the rock wall to the south and use the Iron Boots to sink into the water. At the end of the corridor, a Shell Blade awaits. When it opens its mouth, quickly strike its exposed interior with the Hookshot. If you miss, dodge and wait for another opening.
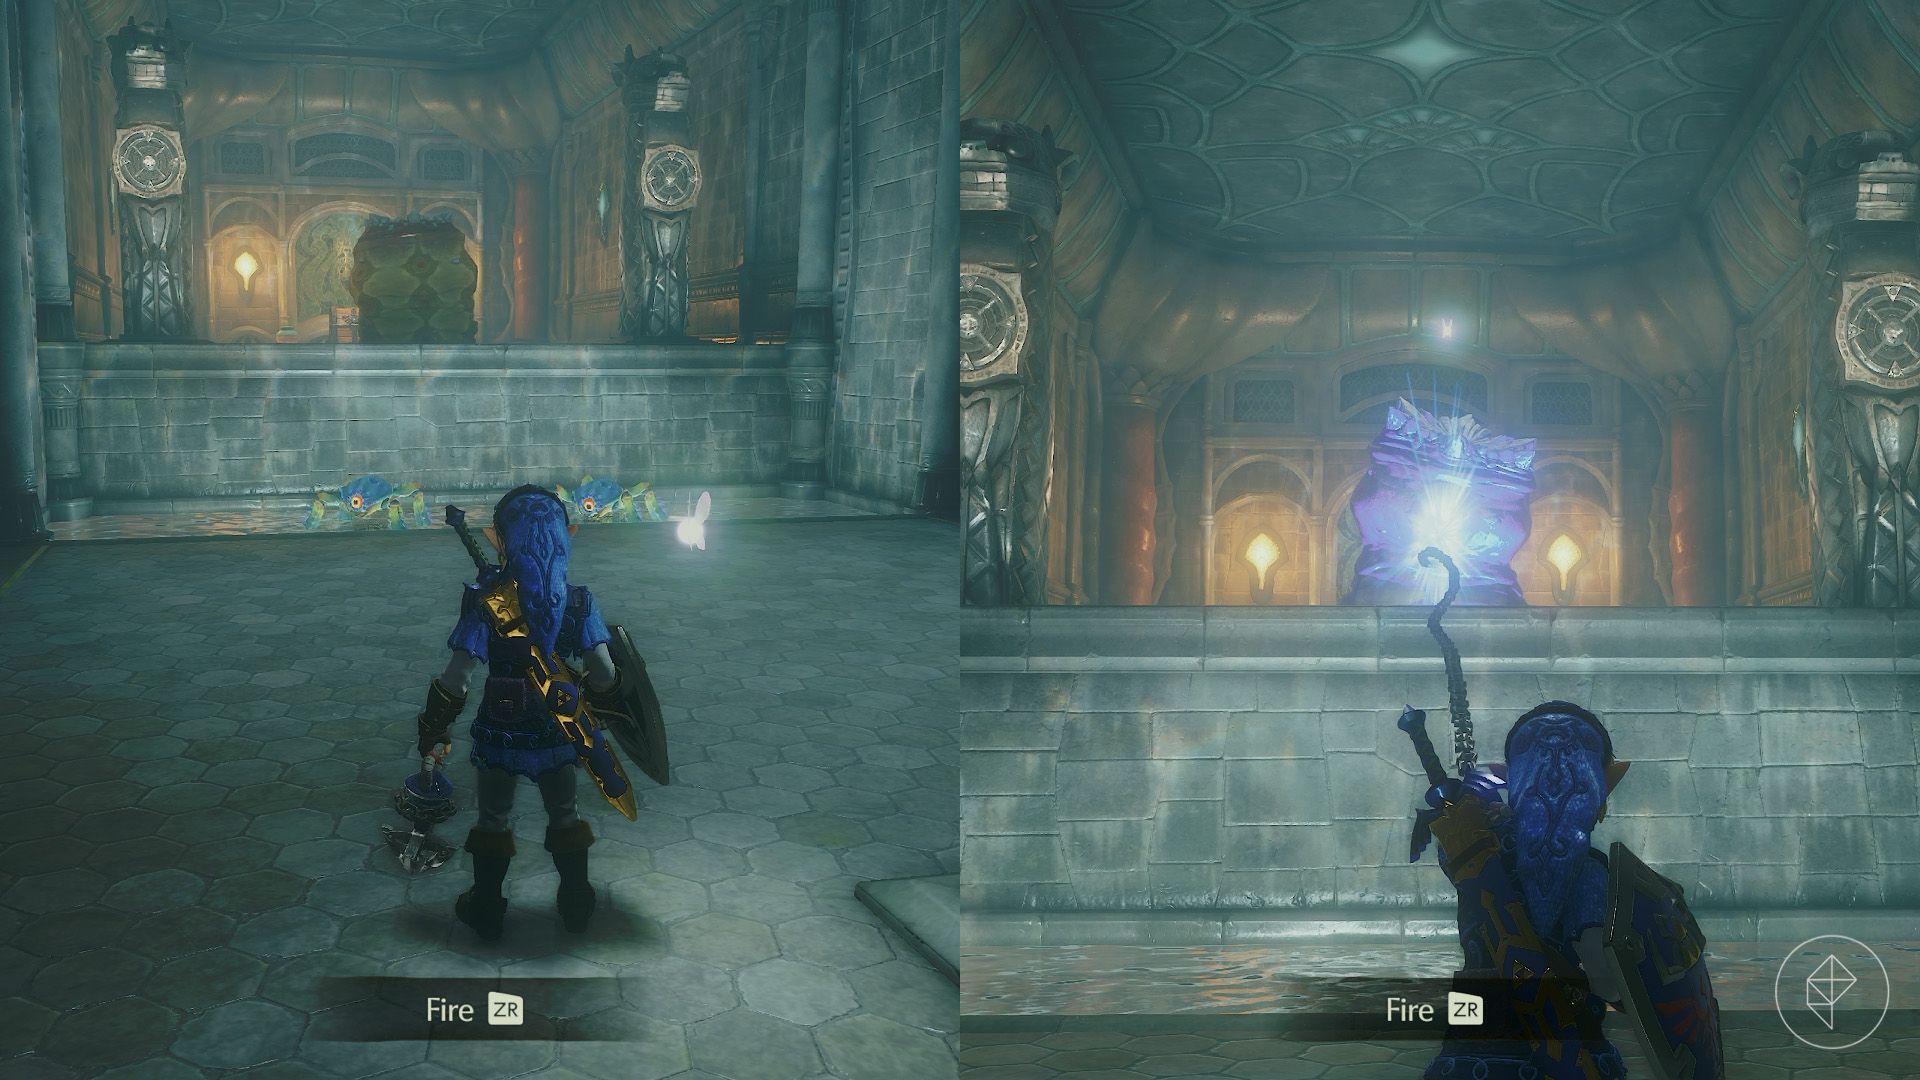
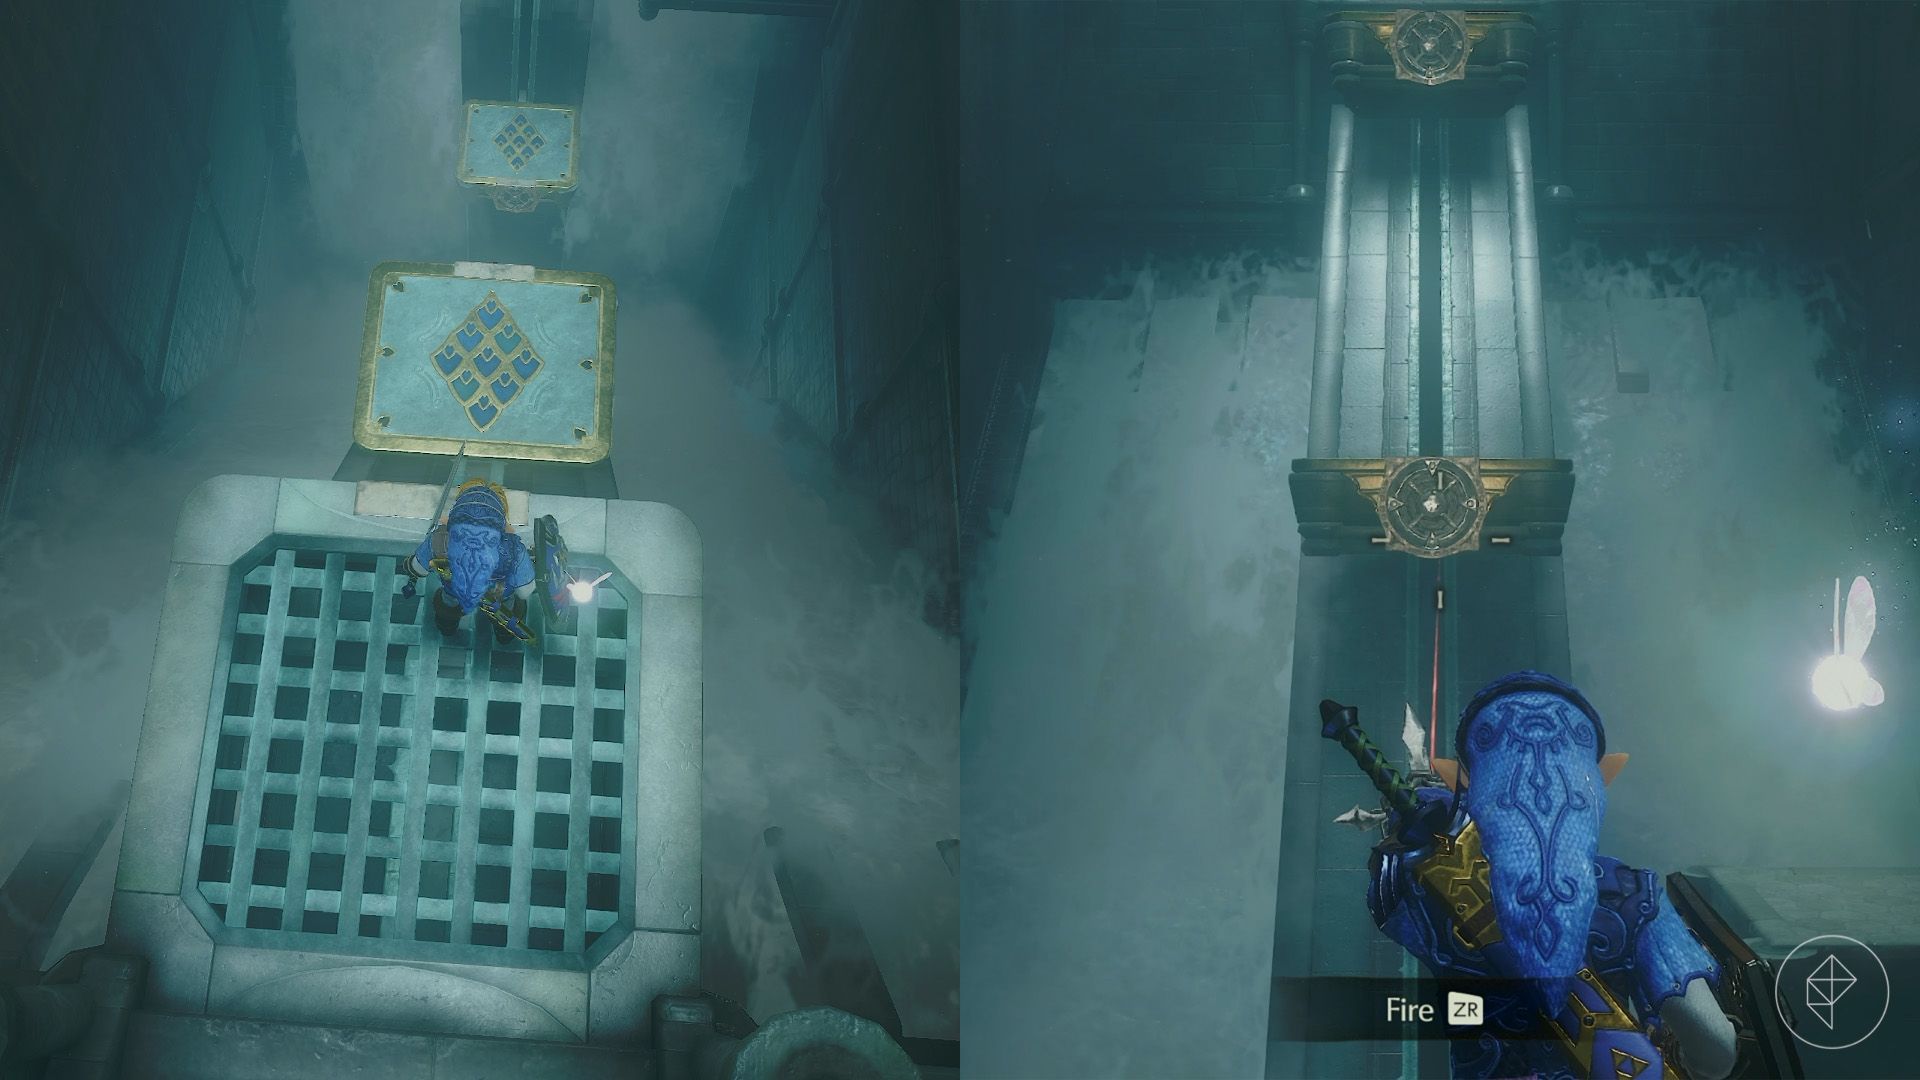
Continue to the end of the corridor and remove the boots to surface. Climb onto the platform and press the button on the second tier to raise a statue with a target. Hookshot across and defeat the Blue Tektites ahead.
A Like Like waits on the higher platform. Hookshot directly to the enemy to stun it, then attack before it can swallow Link. Dodge its counterattack and finish it off. Open the chest for the compass.
Part 4: Getting the Longshot
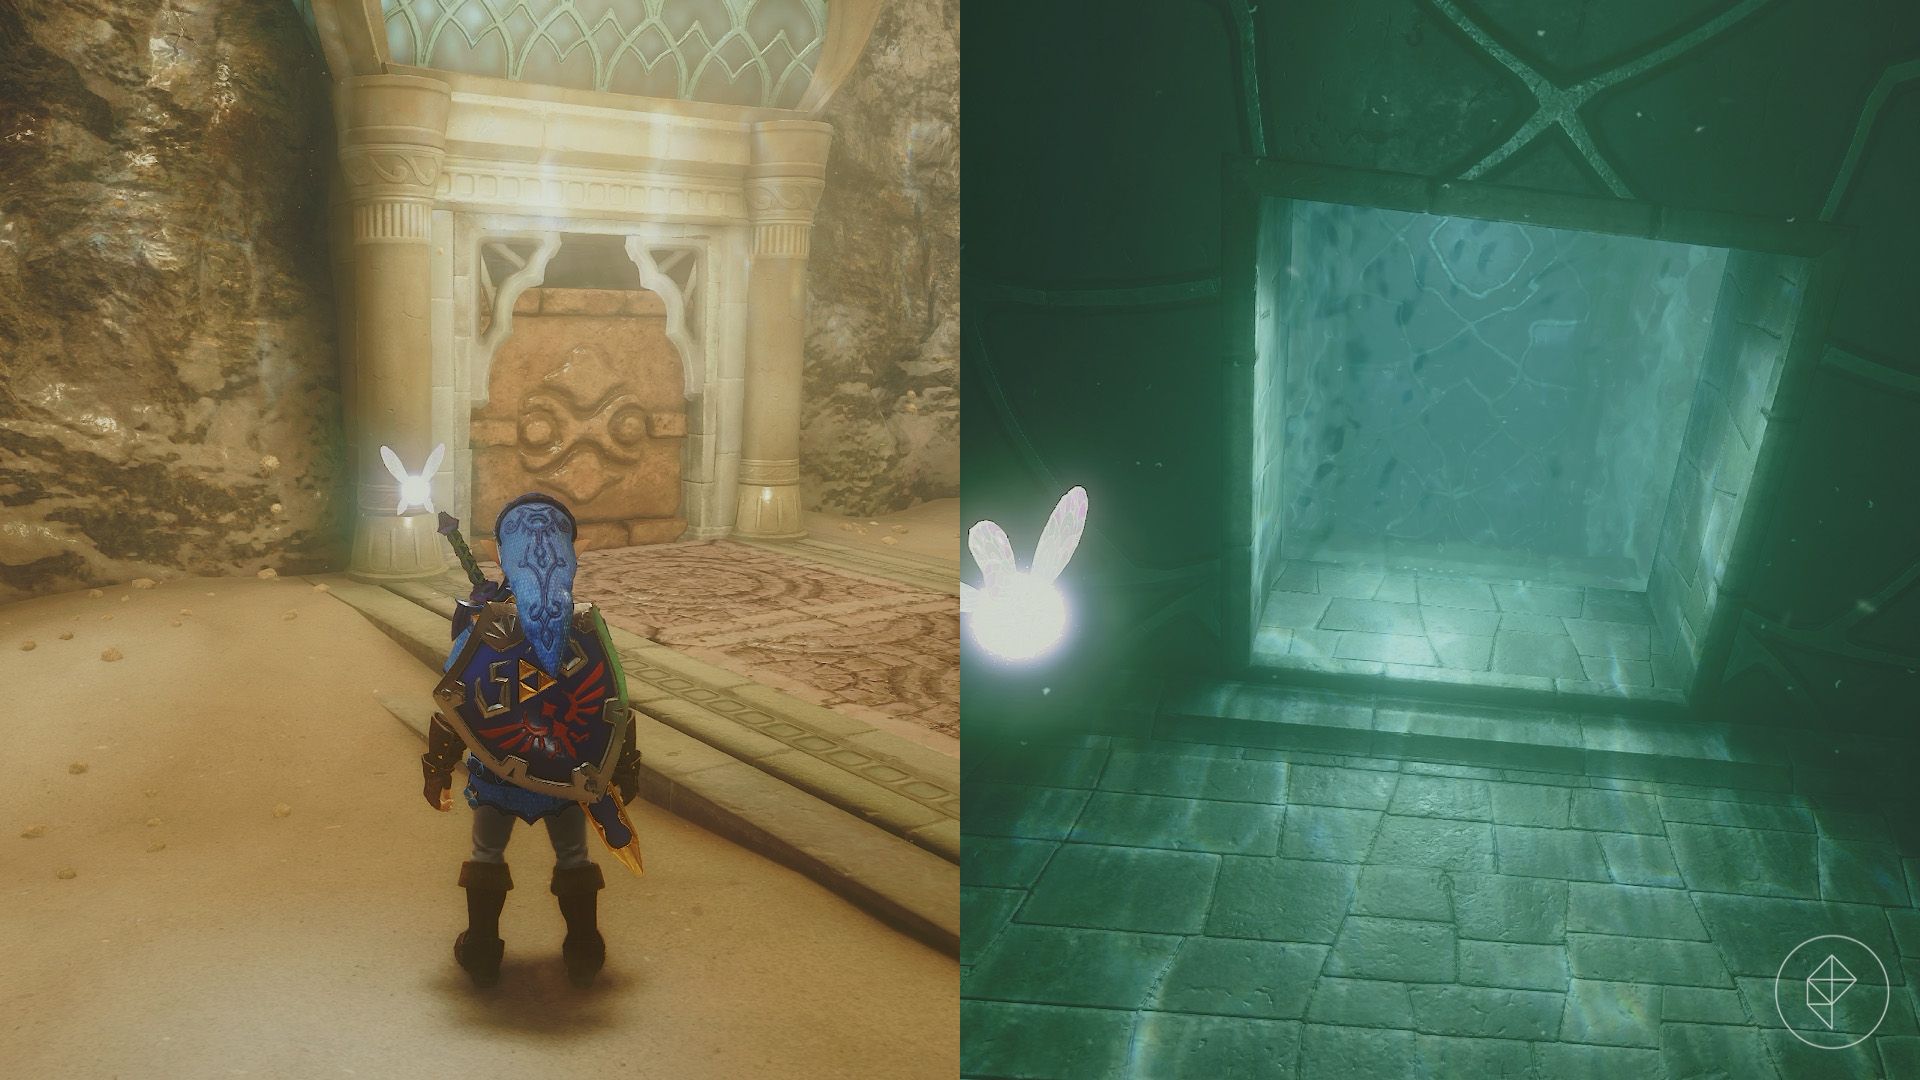
Return to the main chamber and head east. Push the block until it falls into the water, then equip the Iron Boots and follow it down. Defeat the Shell Blade by hitting its open mouth with the Hookshot. Walk north and remove the boots to rise to the surface.
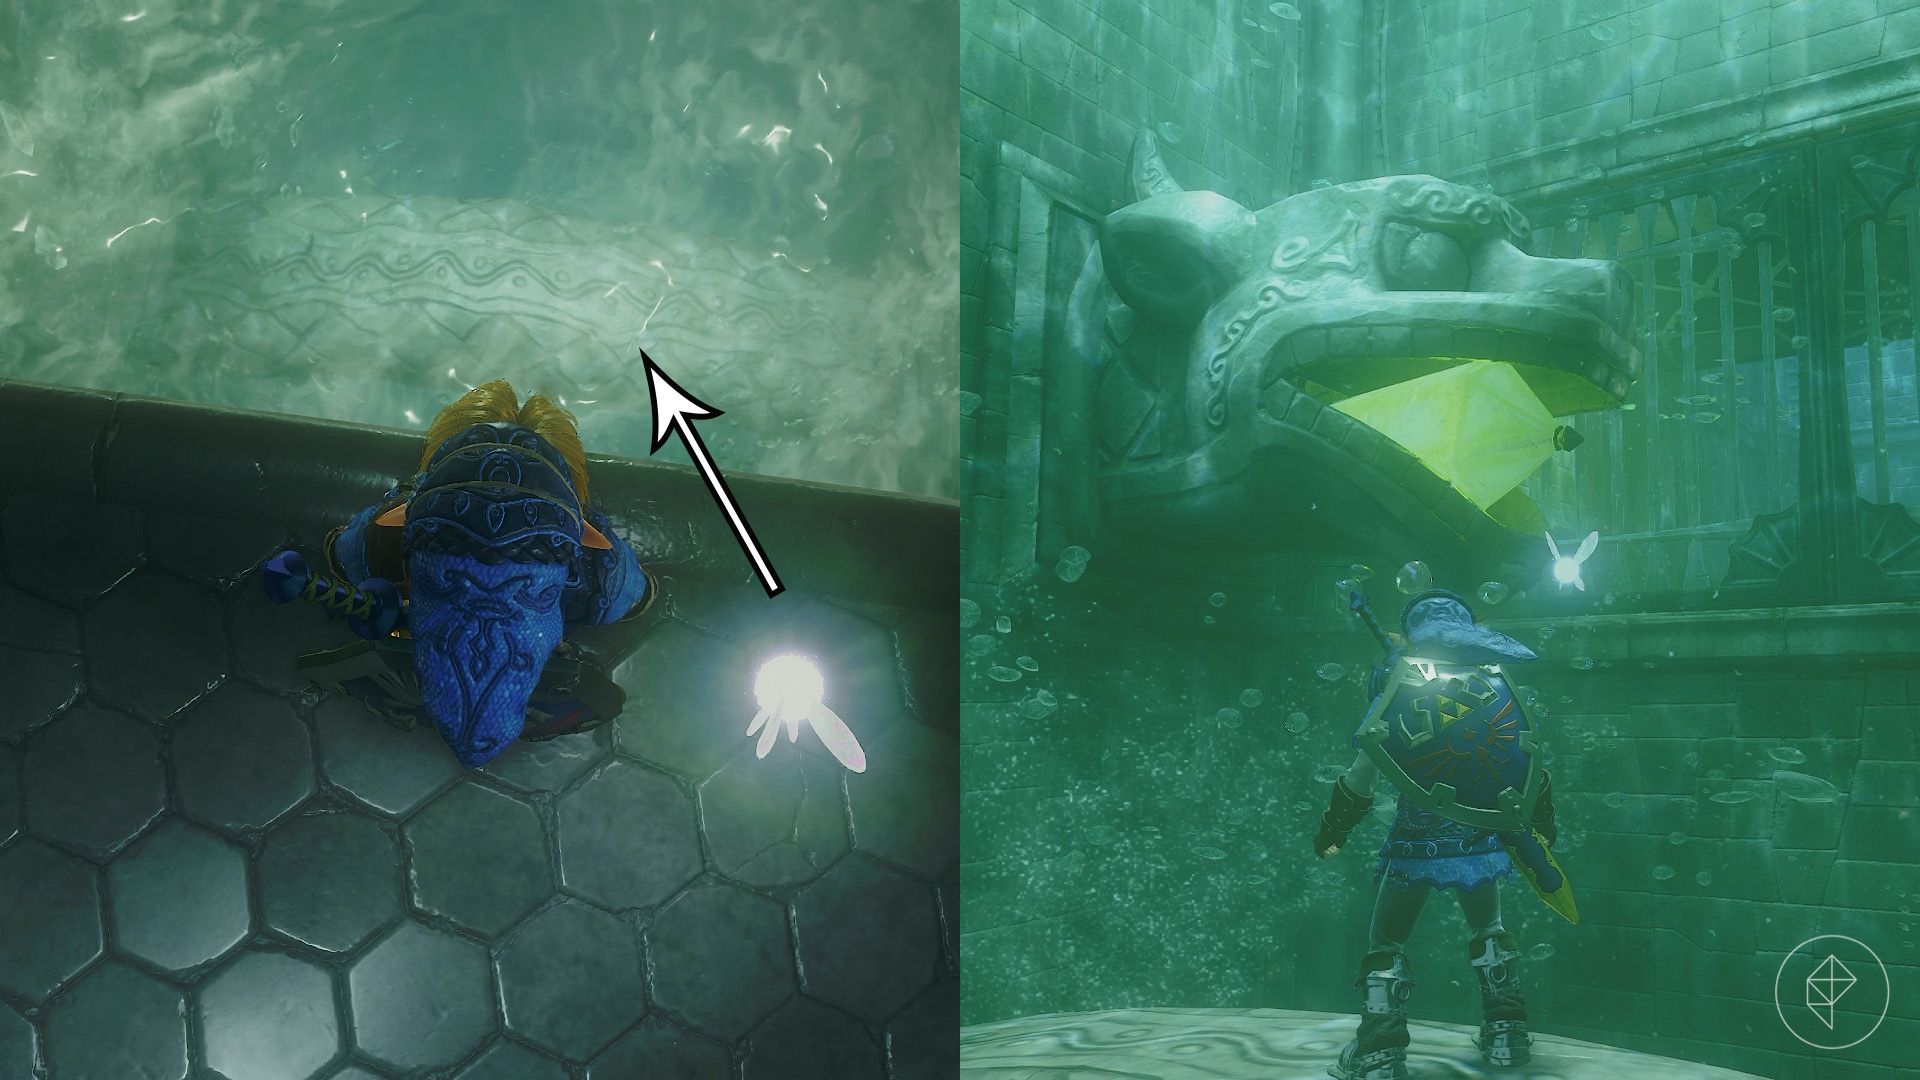
In the next room, equip the Iron Boots and descend to the platform partway down the whirlpool. Use the Hookshot on the object in the statue’s mouth to open an underwater gate. Remove the boots, dash through the gate, and quickly surface to avoid the two Shell Blades. Open the chest for another small key.
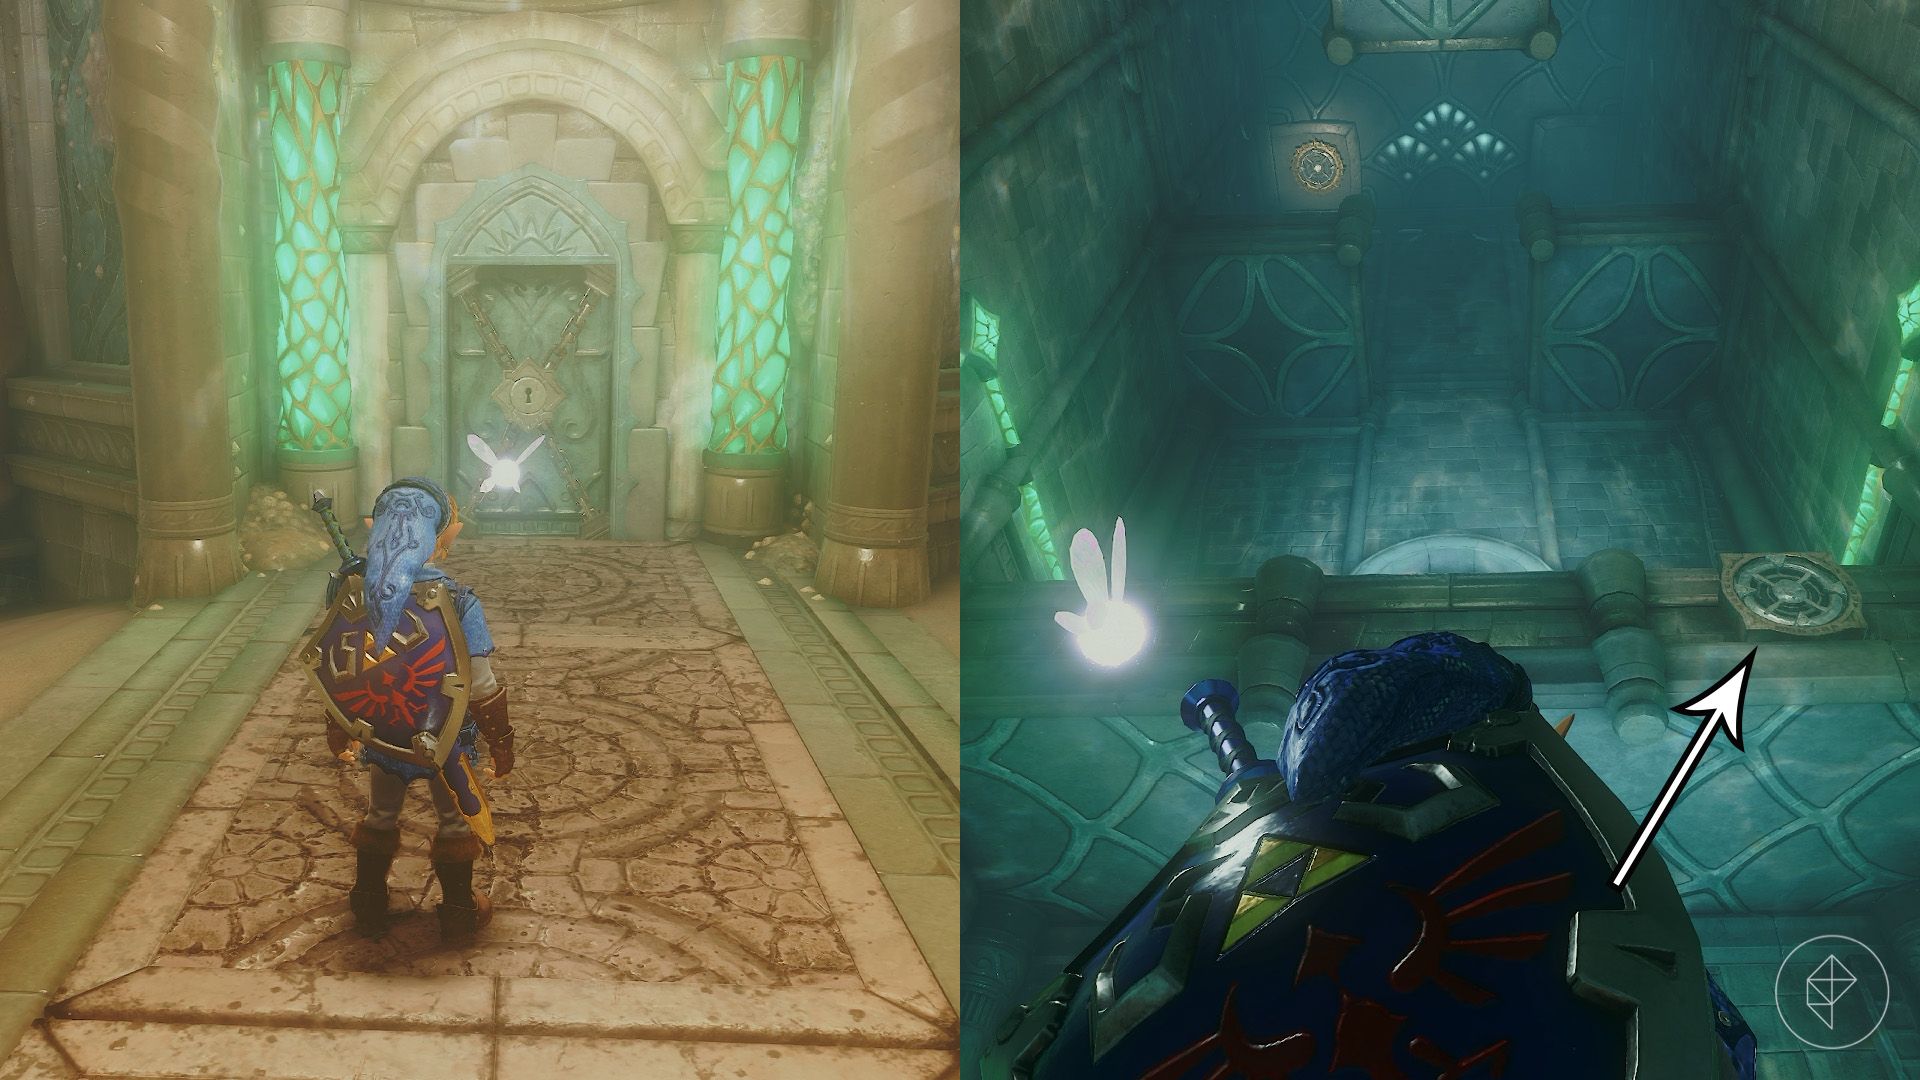
Back in the main chamber, unlock the door on the central pillar. Inside, turn around and look up for a Hookshot target. Use it to reach the royal crest and play Zelda’s Lullaby to raise the water level.
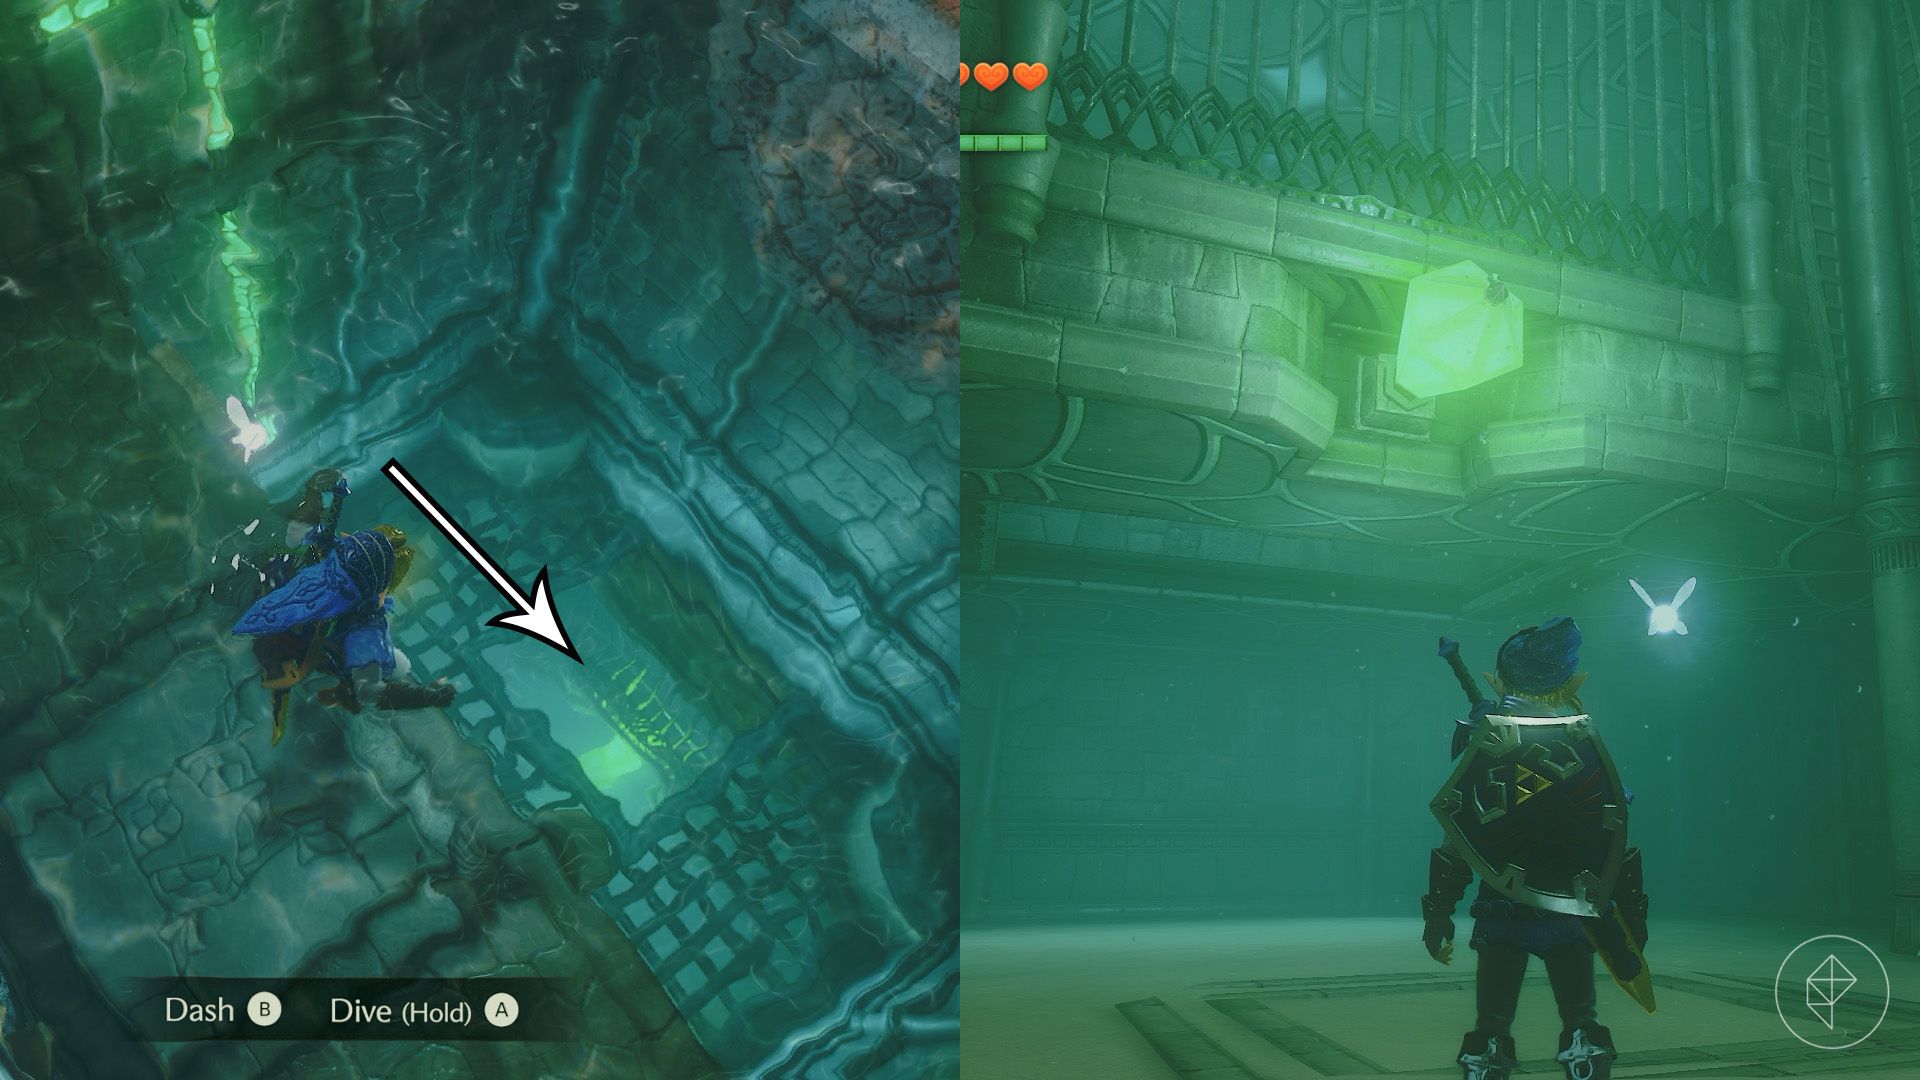
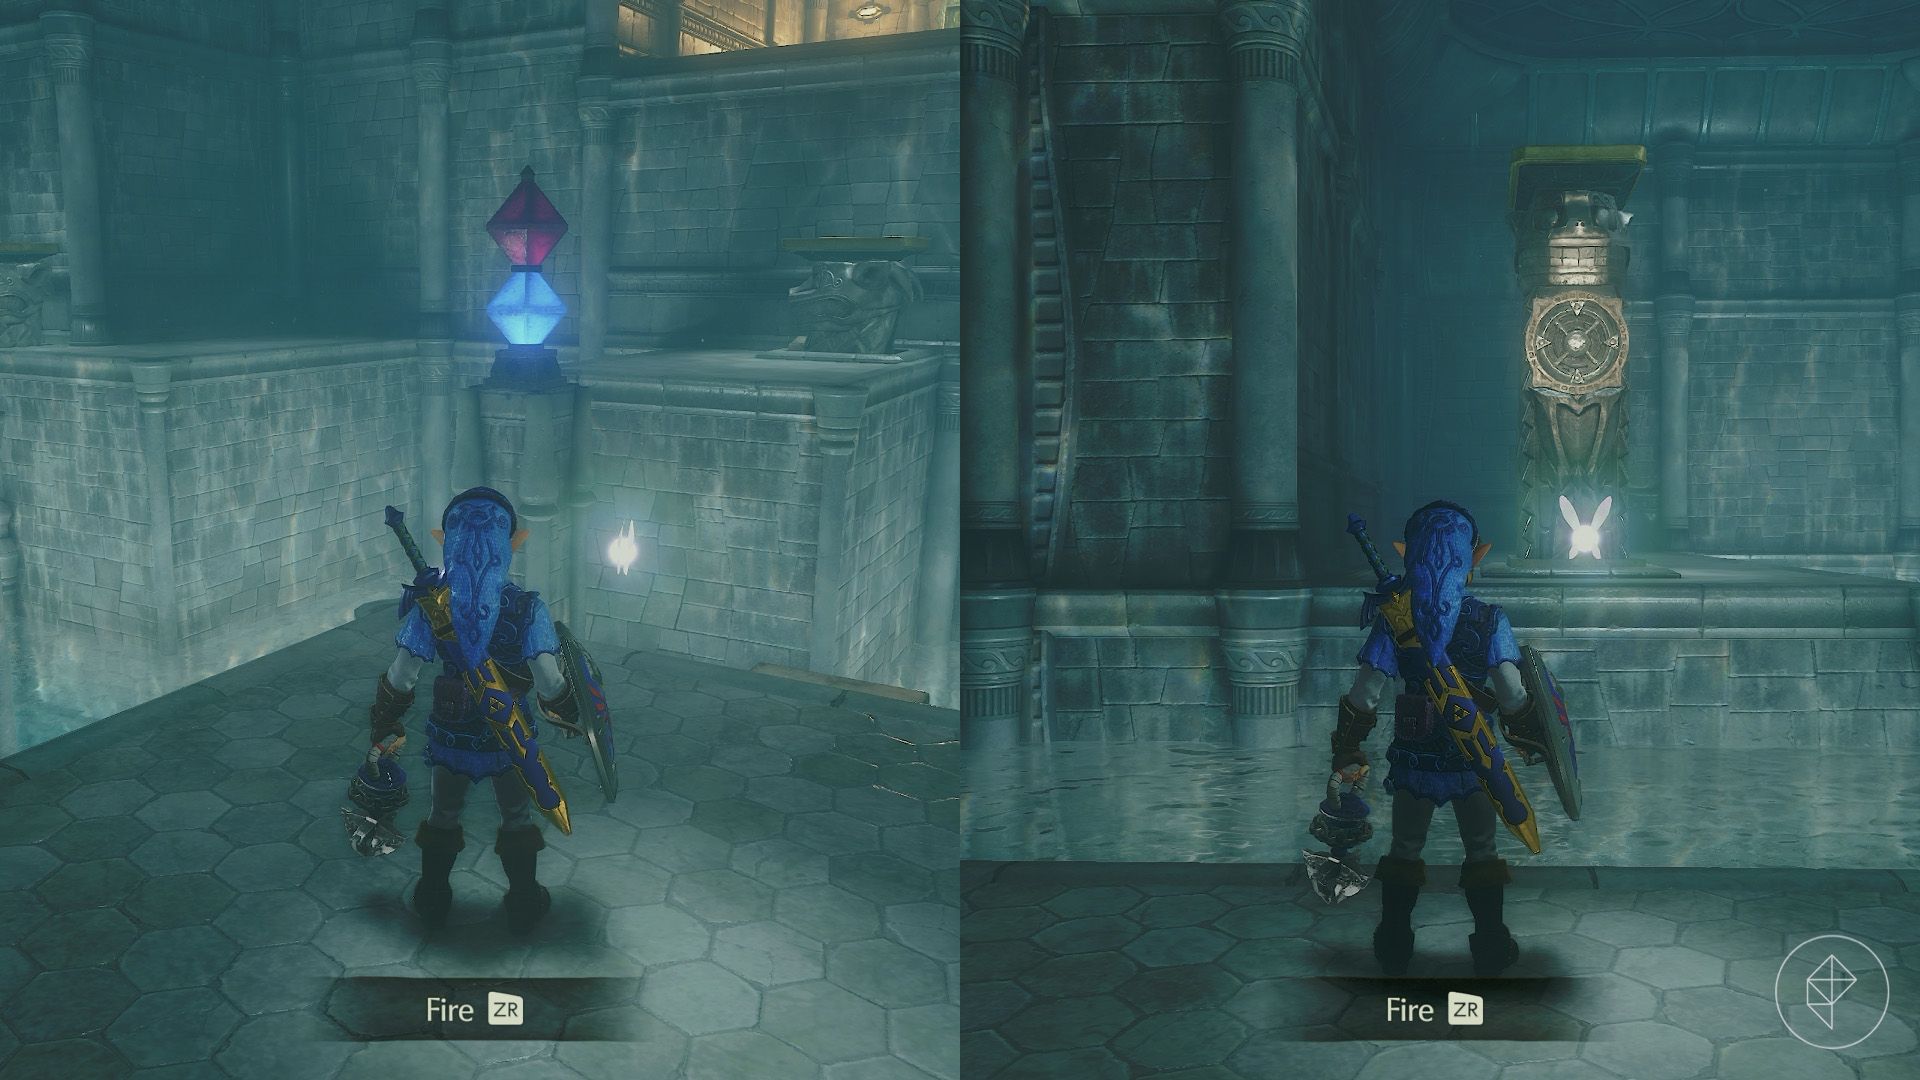
The ceiling target is still out of reach. Instead, equip the Iron Boots and sink through the opening previously blocked by the cube. Defeat the three Spikes with your Hookshot, then strike the object on the wall. An opening appears in the ceiling, along with a Shell Blade. Wait for its mouth to open and hit its interior.
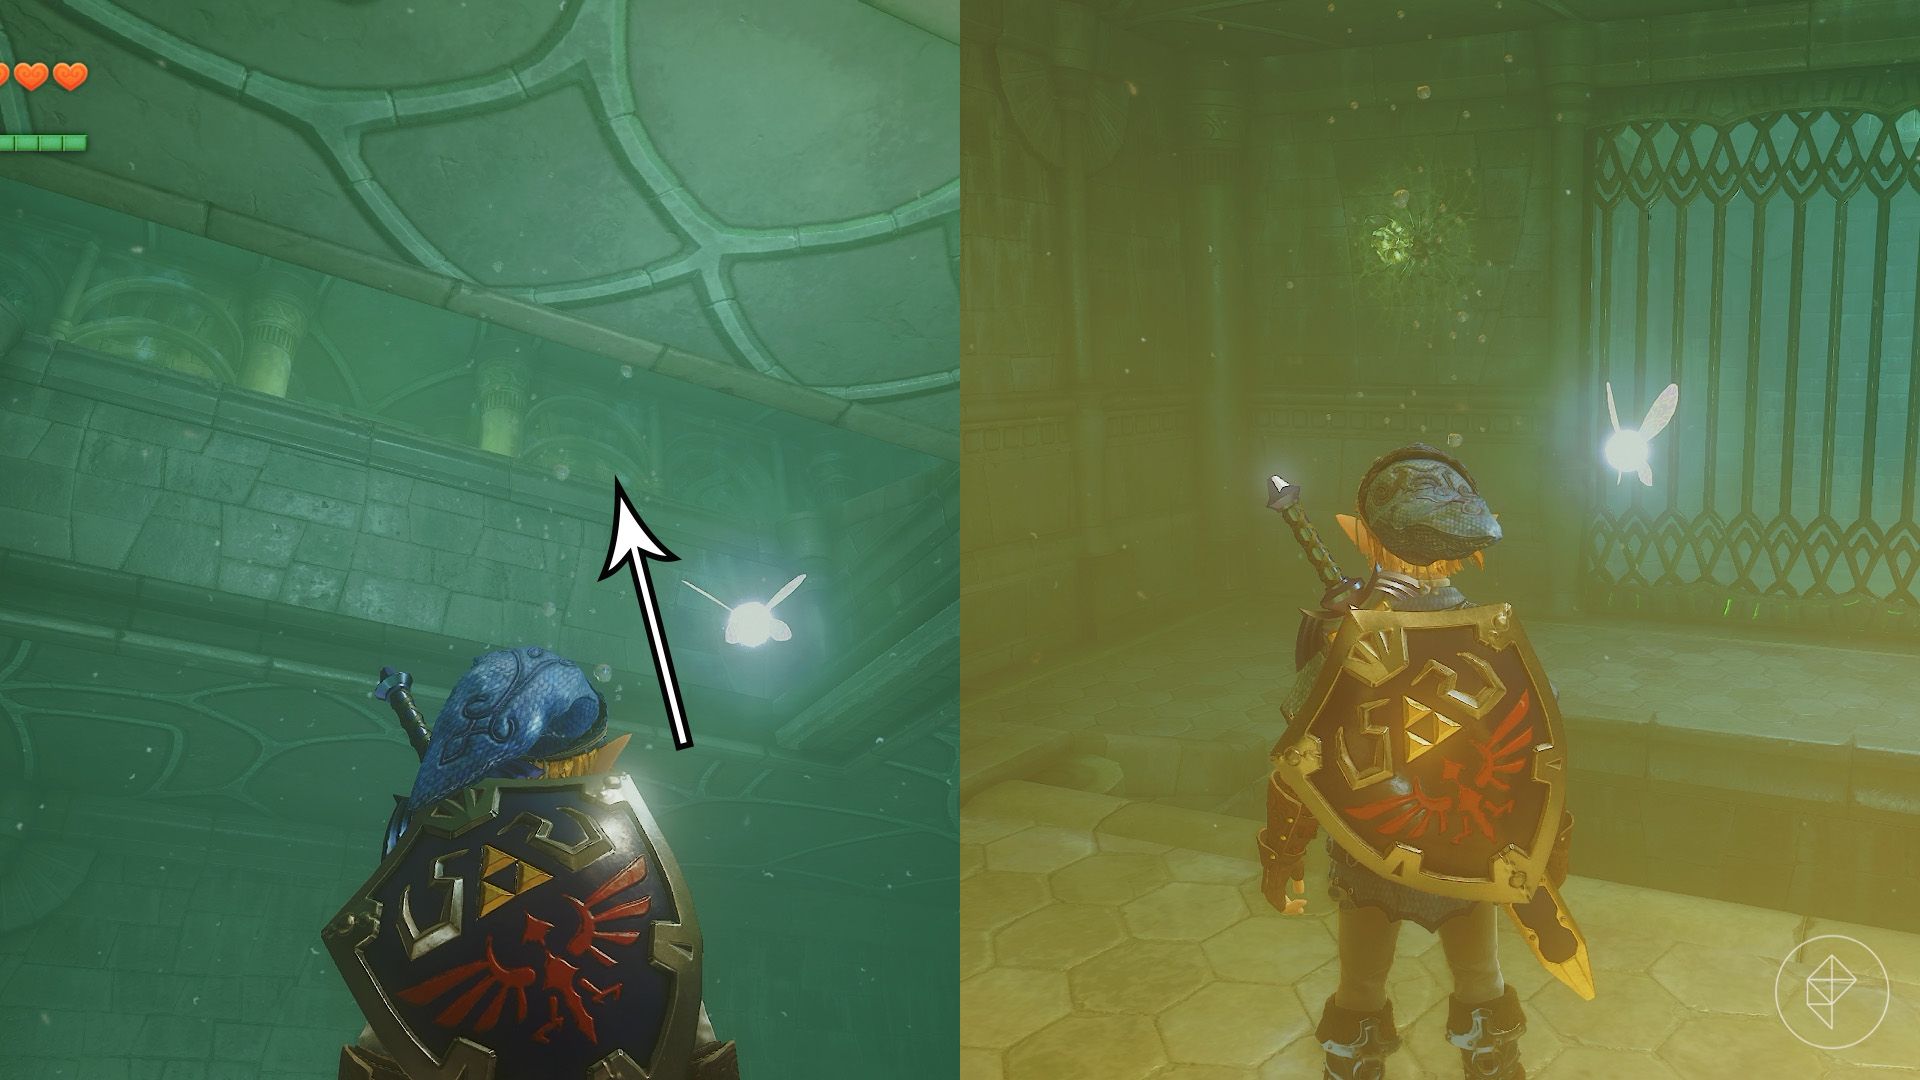
Float through the ceiling opening to find a red rupee and a Gold Skulltula on the west wall. Return to the crest and exit through the door beside the floating cube. The main chamber’s water level is now at the second floor.
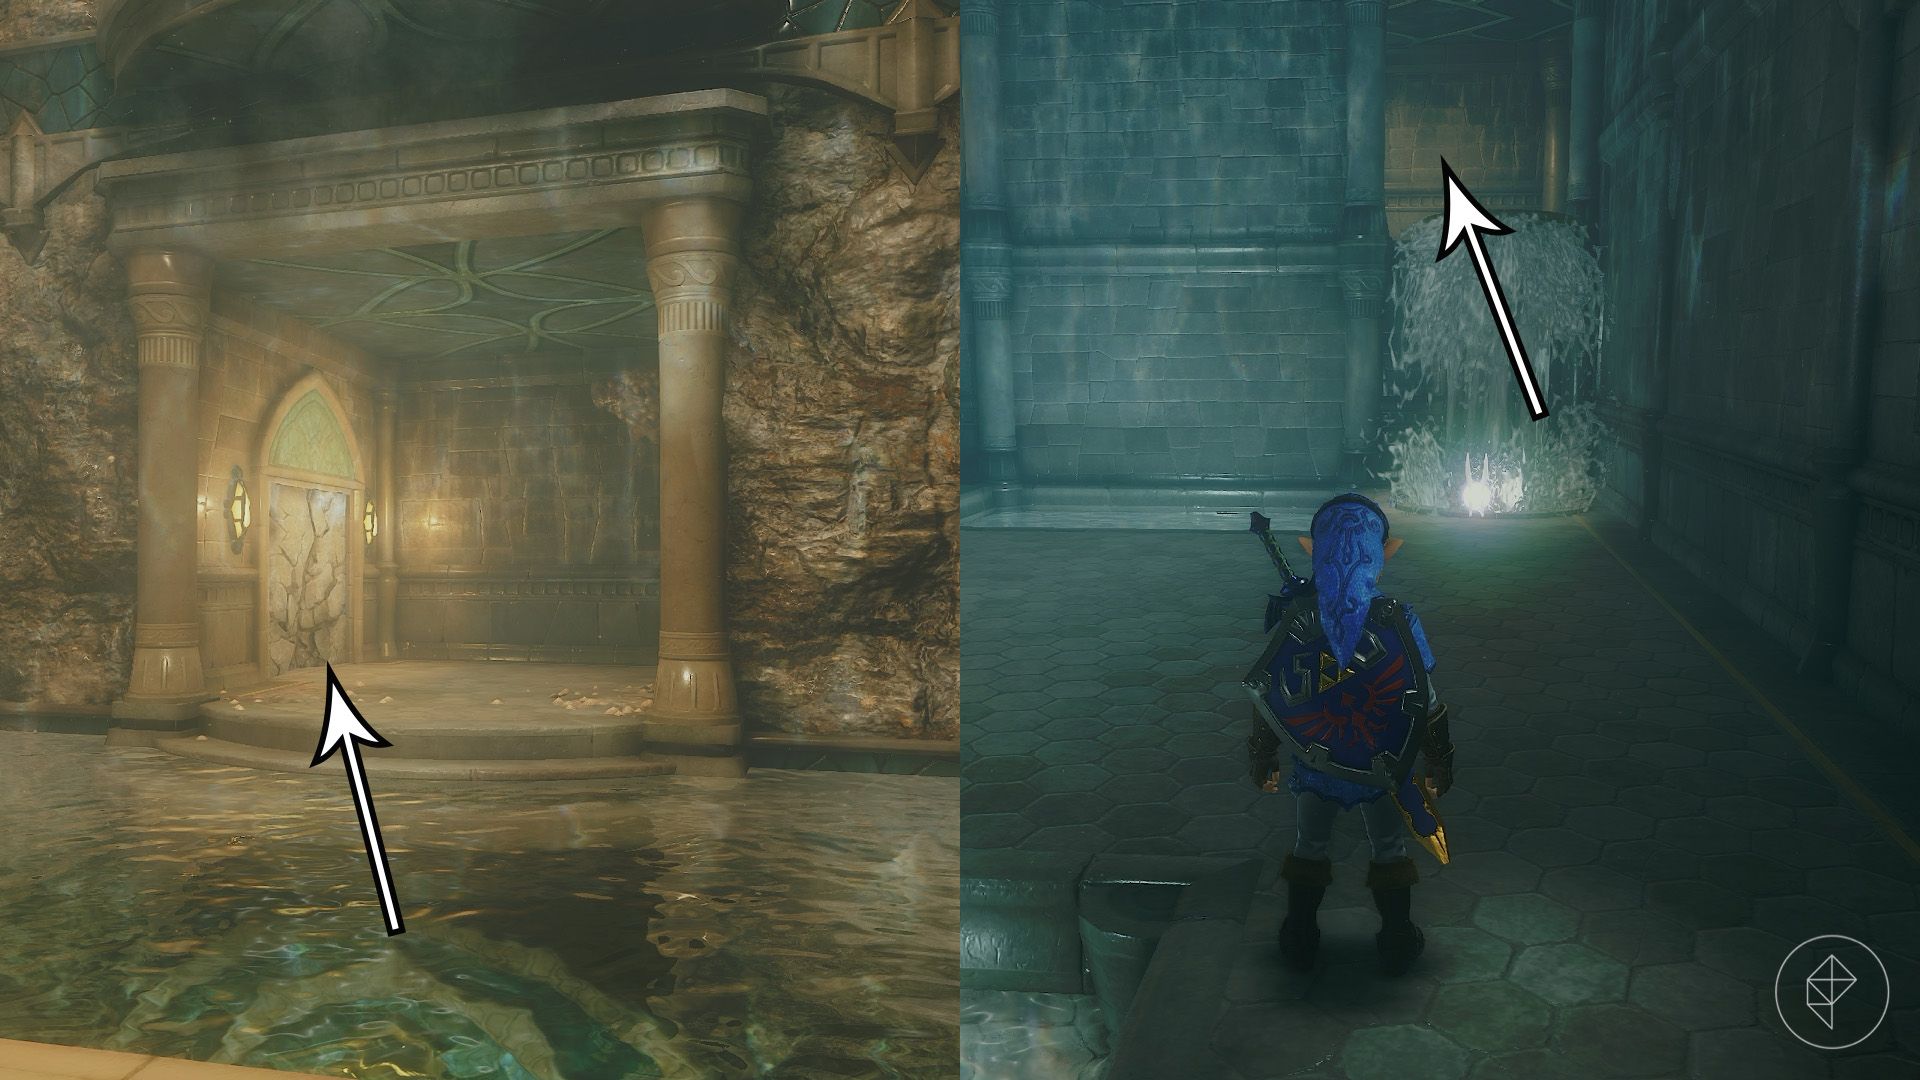
Head east and break the rock wall. Defeat the Stingers in the water with your Hookshot, follow the path, and Hookshot to the target overhead. In the next room, strike the diamond-shaped switch in the pool to lower the water column. Stand on its platform and hit the switch again to ride upward. Jump into the hallway and open the chest for a small key.
Return to the main chamber and use the Iron Boots to reach the lowest floor. Enter the eastern room again and float upward to find a rock wall. Break it to reveal three Shell Blades and a Gold Skulltula. Defeat the enemies, collect the token, and return to the main chamber.
Unlock the west door and strike the diamond-shaped switch inside. Defeat the Blue Tektite that descends with the water, then stand on the platform. Hit the switch with the Hookshot or Fairy Bow to ride upward. At the royal crest, play Zelda’s Lullaby to raise the water again.
Return to the main chamber, but stay on the balcony. Play the Scarecrow Song to summon Pierre, who will provide a useful shortcut later. Unlock the west door and enter the moving-platform room.
Drop onto the platform below, look up, and Hookshot to the moving platform ahead. Continue using the targets on the higher platforms until you reach the top.
Go through the door and hit the diamond-shaped switch. The statues and water will rise, bringing Blue Tektites into the room. Defeat them, Hookshot to the statue on the east side, and hit the switch again to lower the statues. Hookshot to the target on the northern wall.
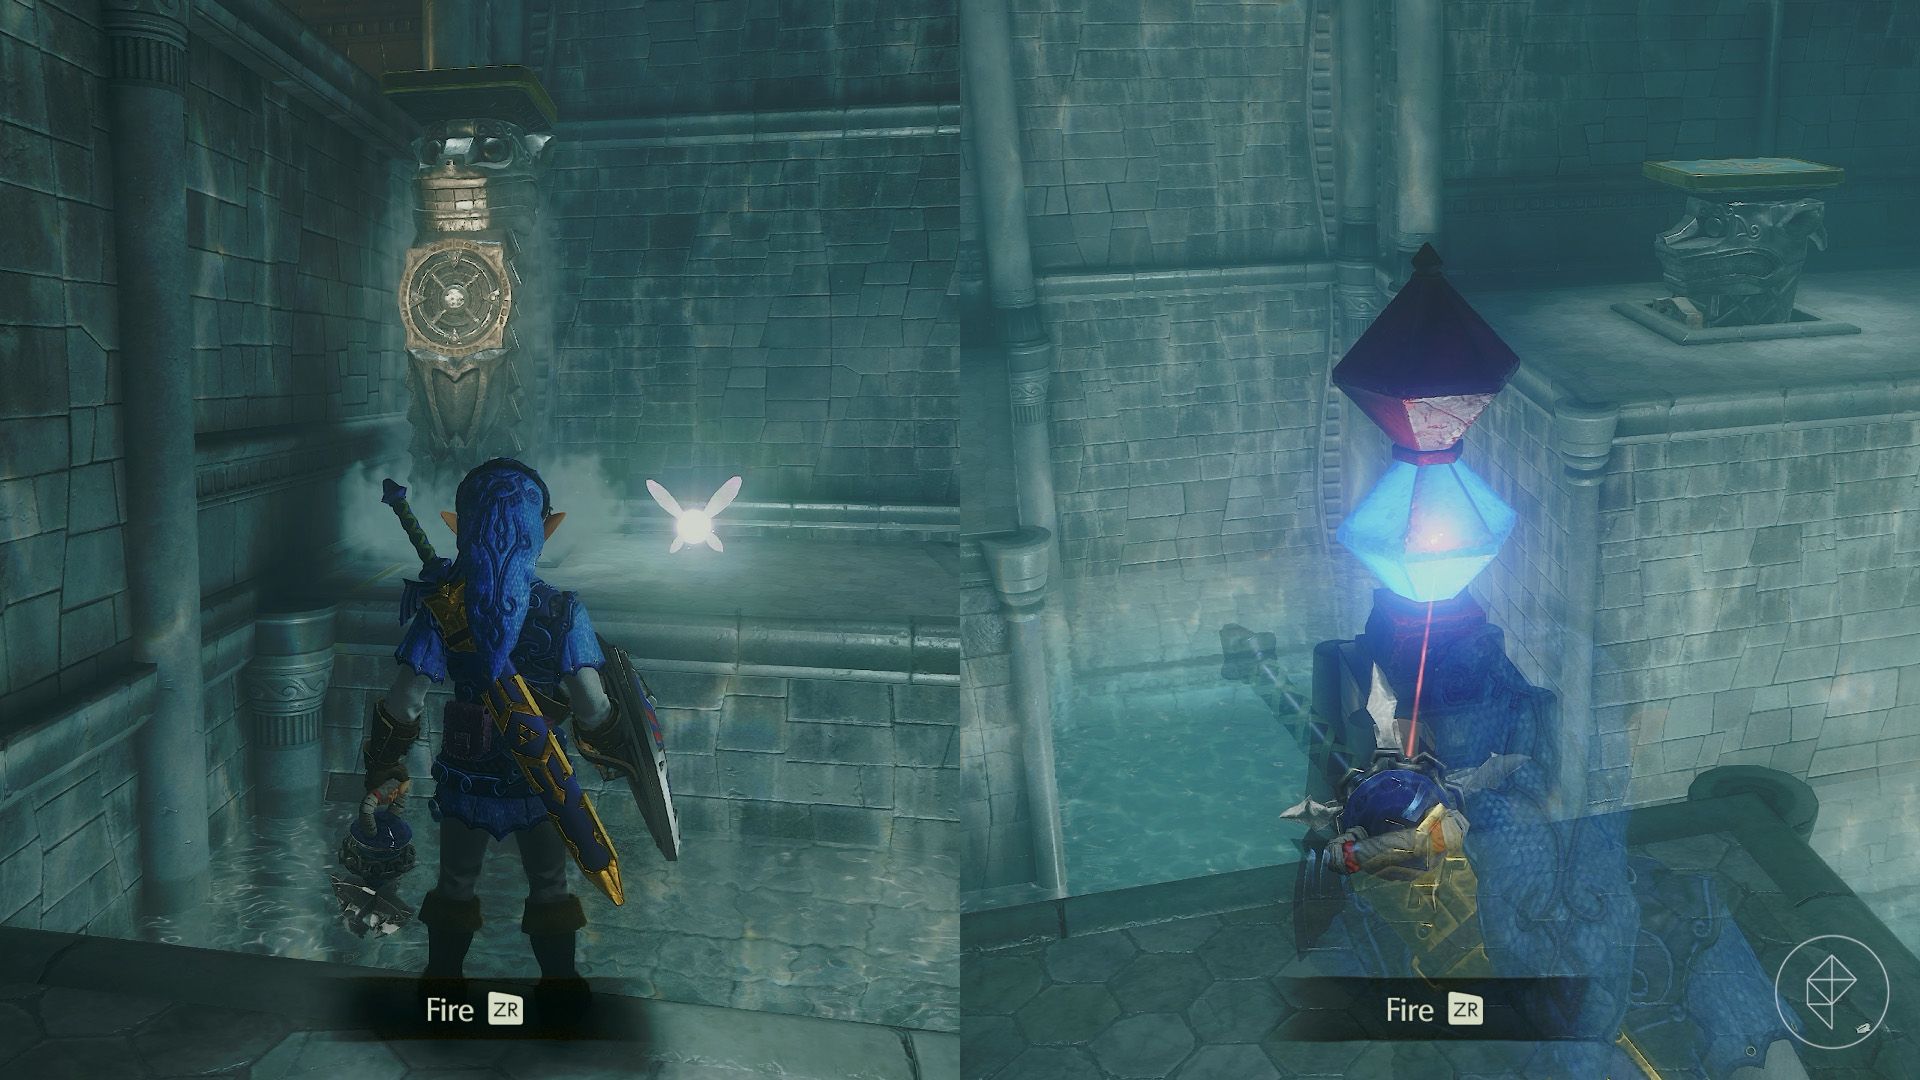
Climb over the statue’s head and hit the switch. Jump onto the platform on its head, then hit the switch once more to ride upward. Enter the northern door.
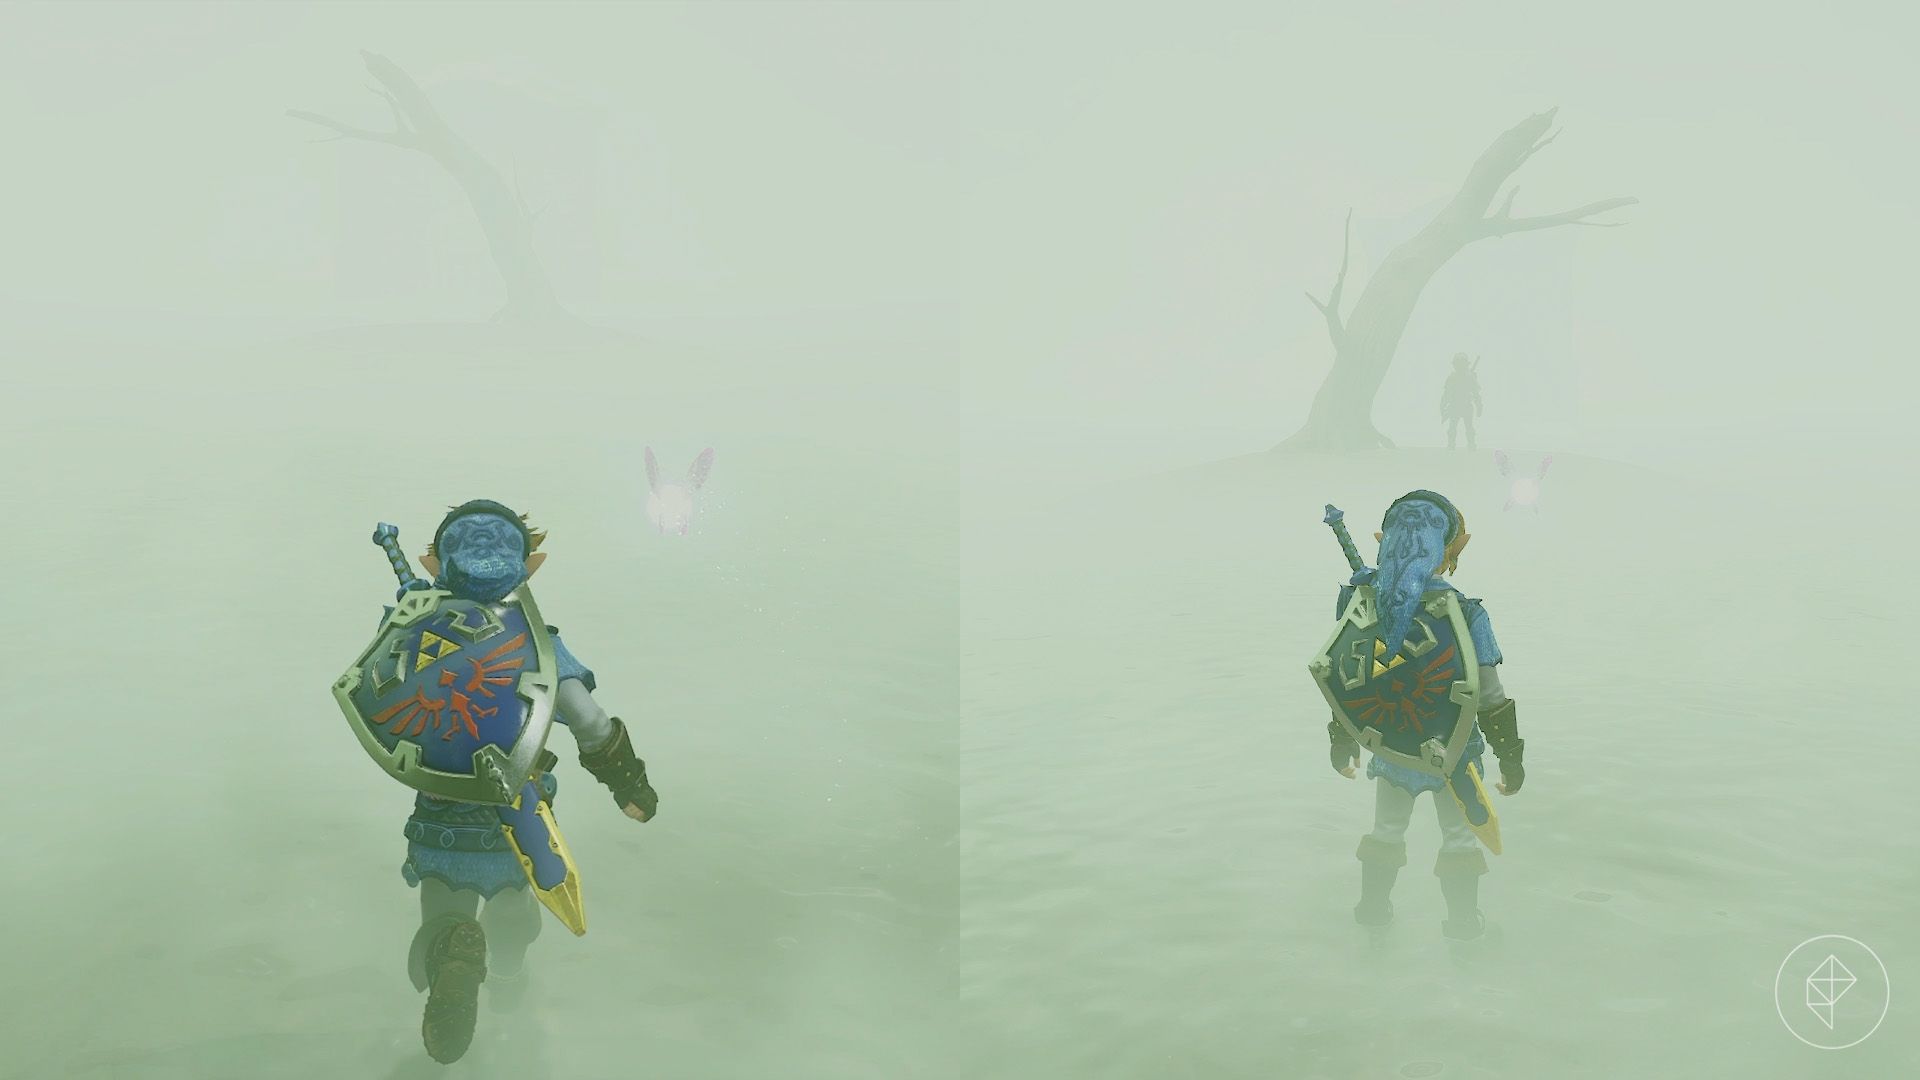
Cross the misty room, pass the tree, and approach the door. It will lock before you can leave. Turn around to find a figure beside the tree: Dark Link.
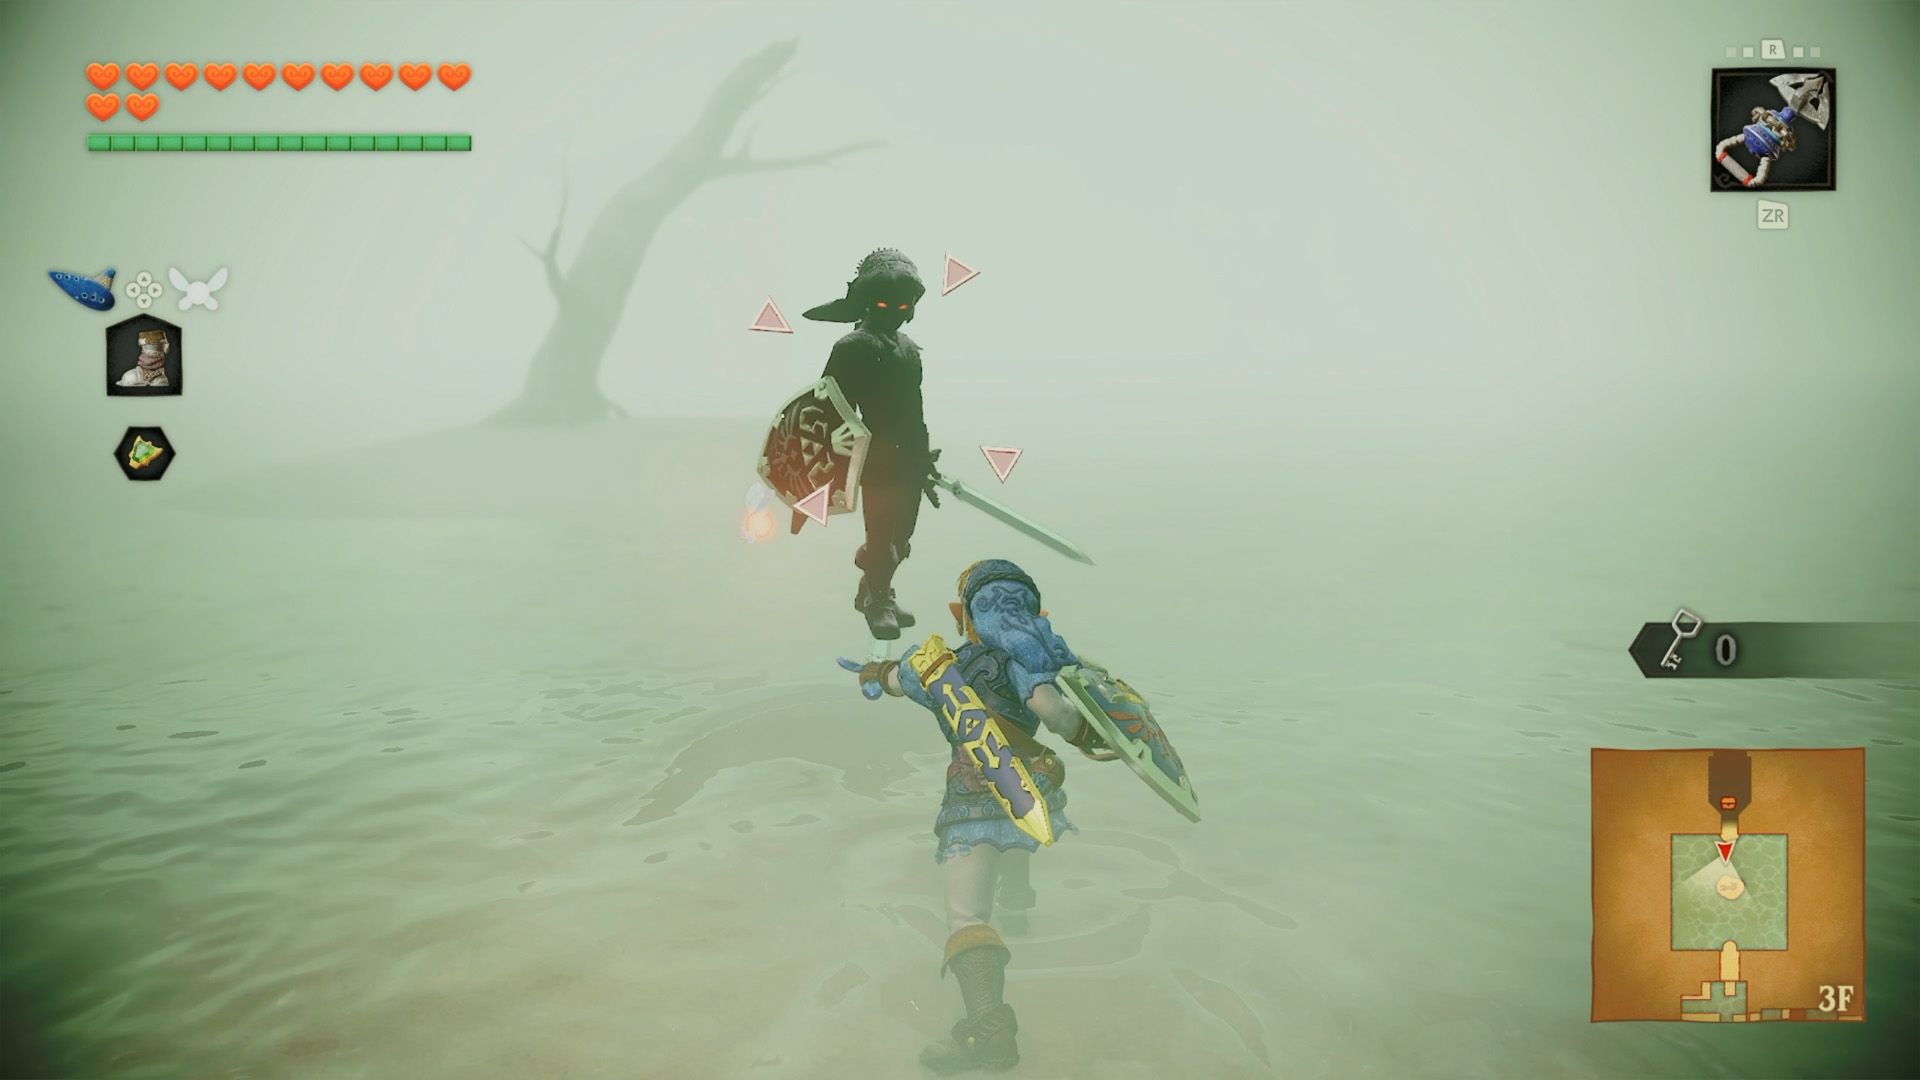
Avoid attacking while Dark Link has his shield raised. He can leap onto your sword; early in the battle he jumps away, but later he follows up with an attack. If you want to see the move, the beginning of the fight is the safer time to do so.
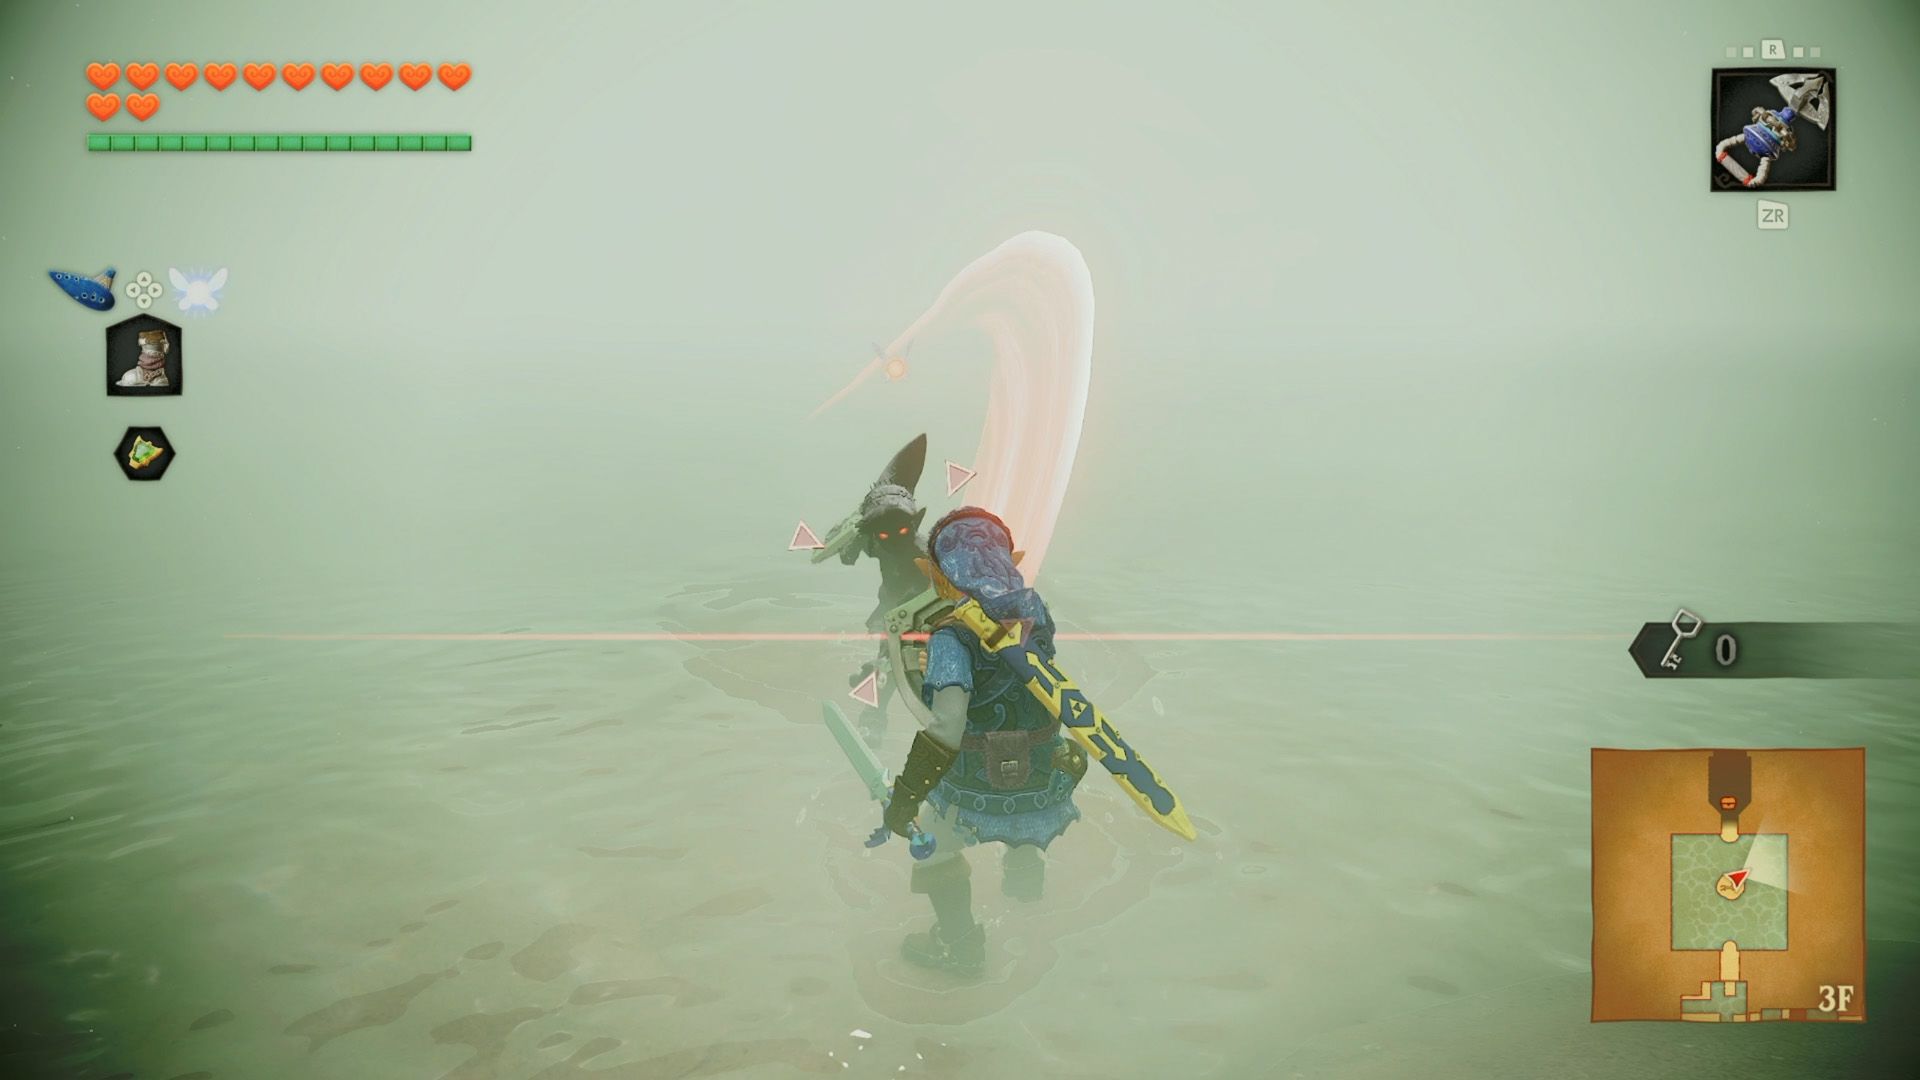
In the first phase, Dark Link attacks with three sword swings, the last of which is the strongest. Side-jump or backflip away from the third strike, then land a few hits. Repeat until he disappears beneath the water.
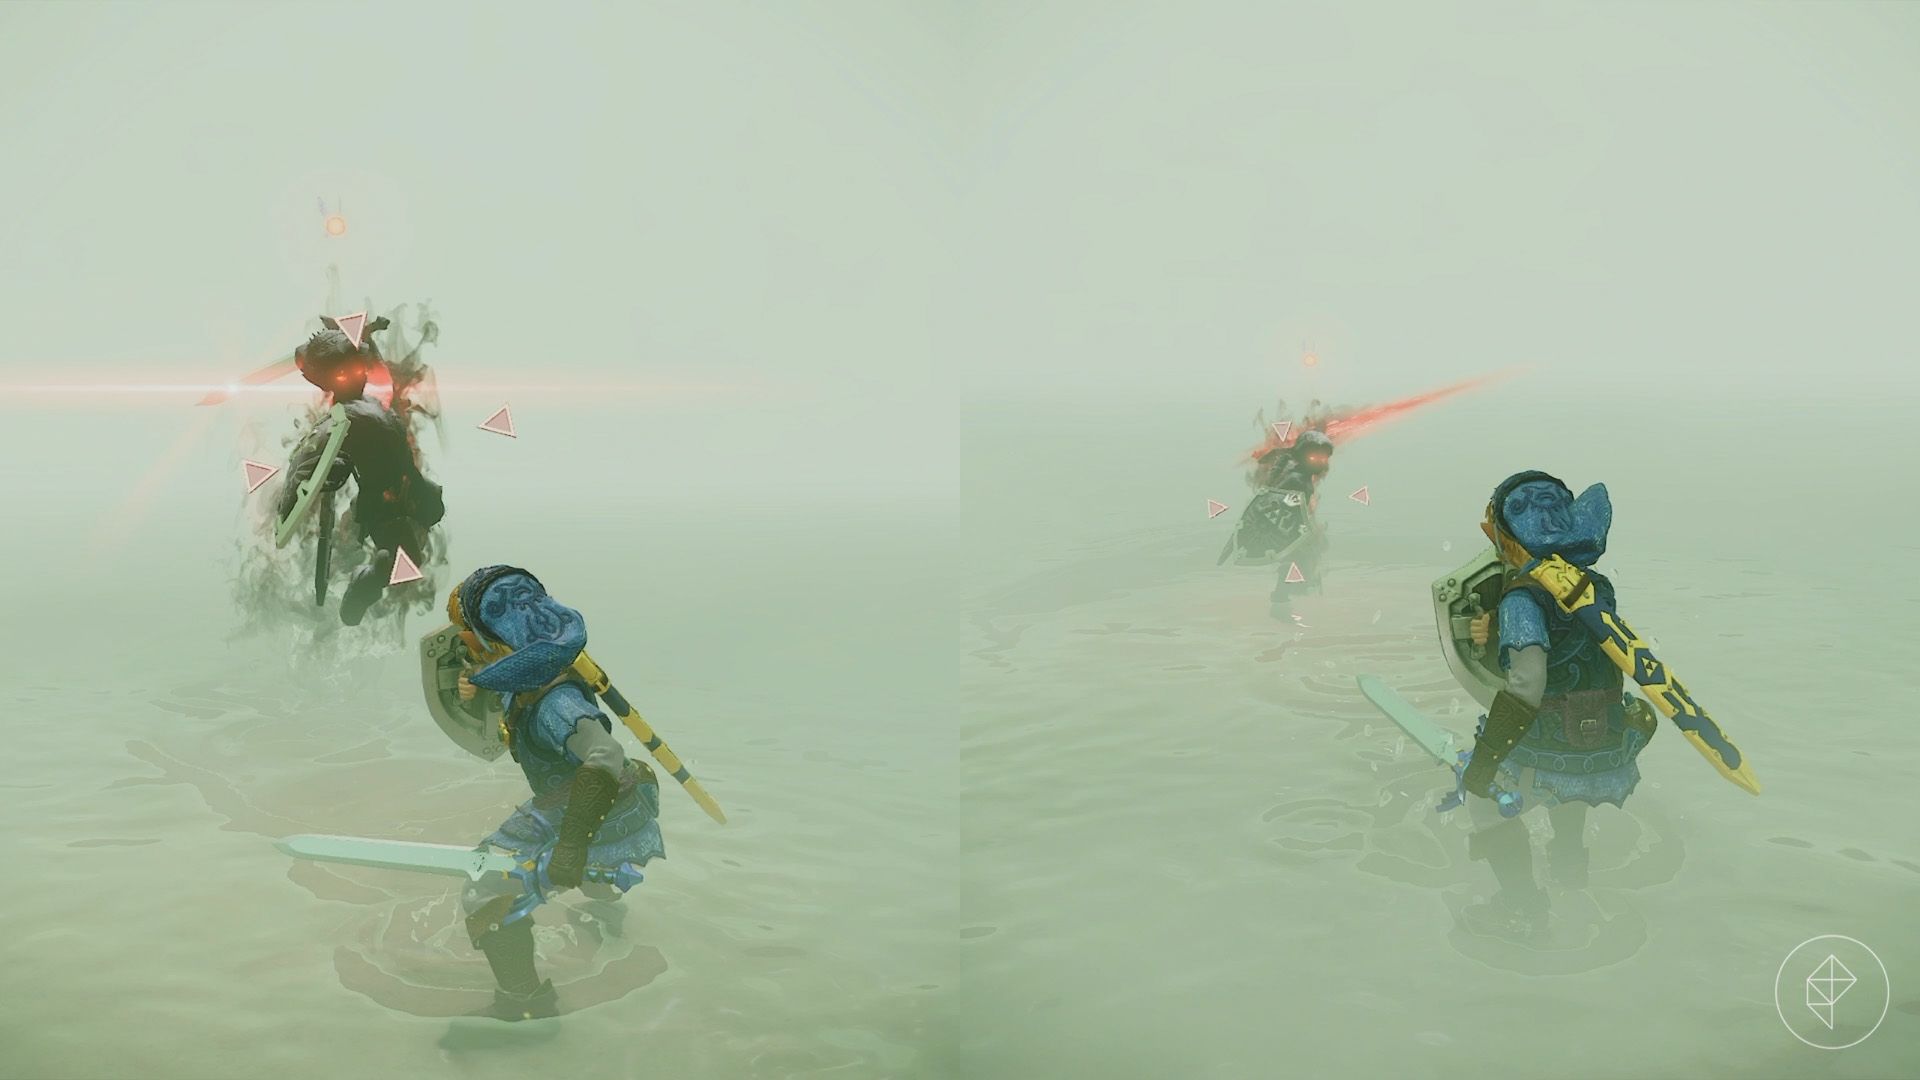
When Dark Link returns, he adds a jump attack and a spin attack to his moveset. Initially, he signals the jump attack with two swings and a side-jump. Flip away when he leaps, then counterattack. Later, he may jump without warning.
For the spin attack, he first swings twice, pauses, and charges his sword. Back away until the attack ends, then move in. As the fight progresses, he may also use this move without the earlier warning sequence.
Once Dark Link is defeated, enter the northern door and open the chest to claim the Longshot. This Hookshot upgrade reaches targets twice as far away.
Part 5: Getting the Boss Key
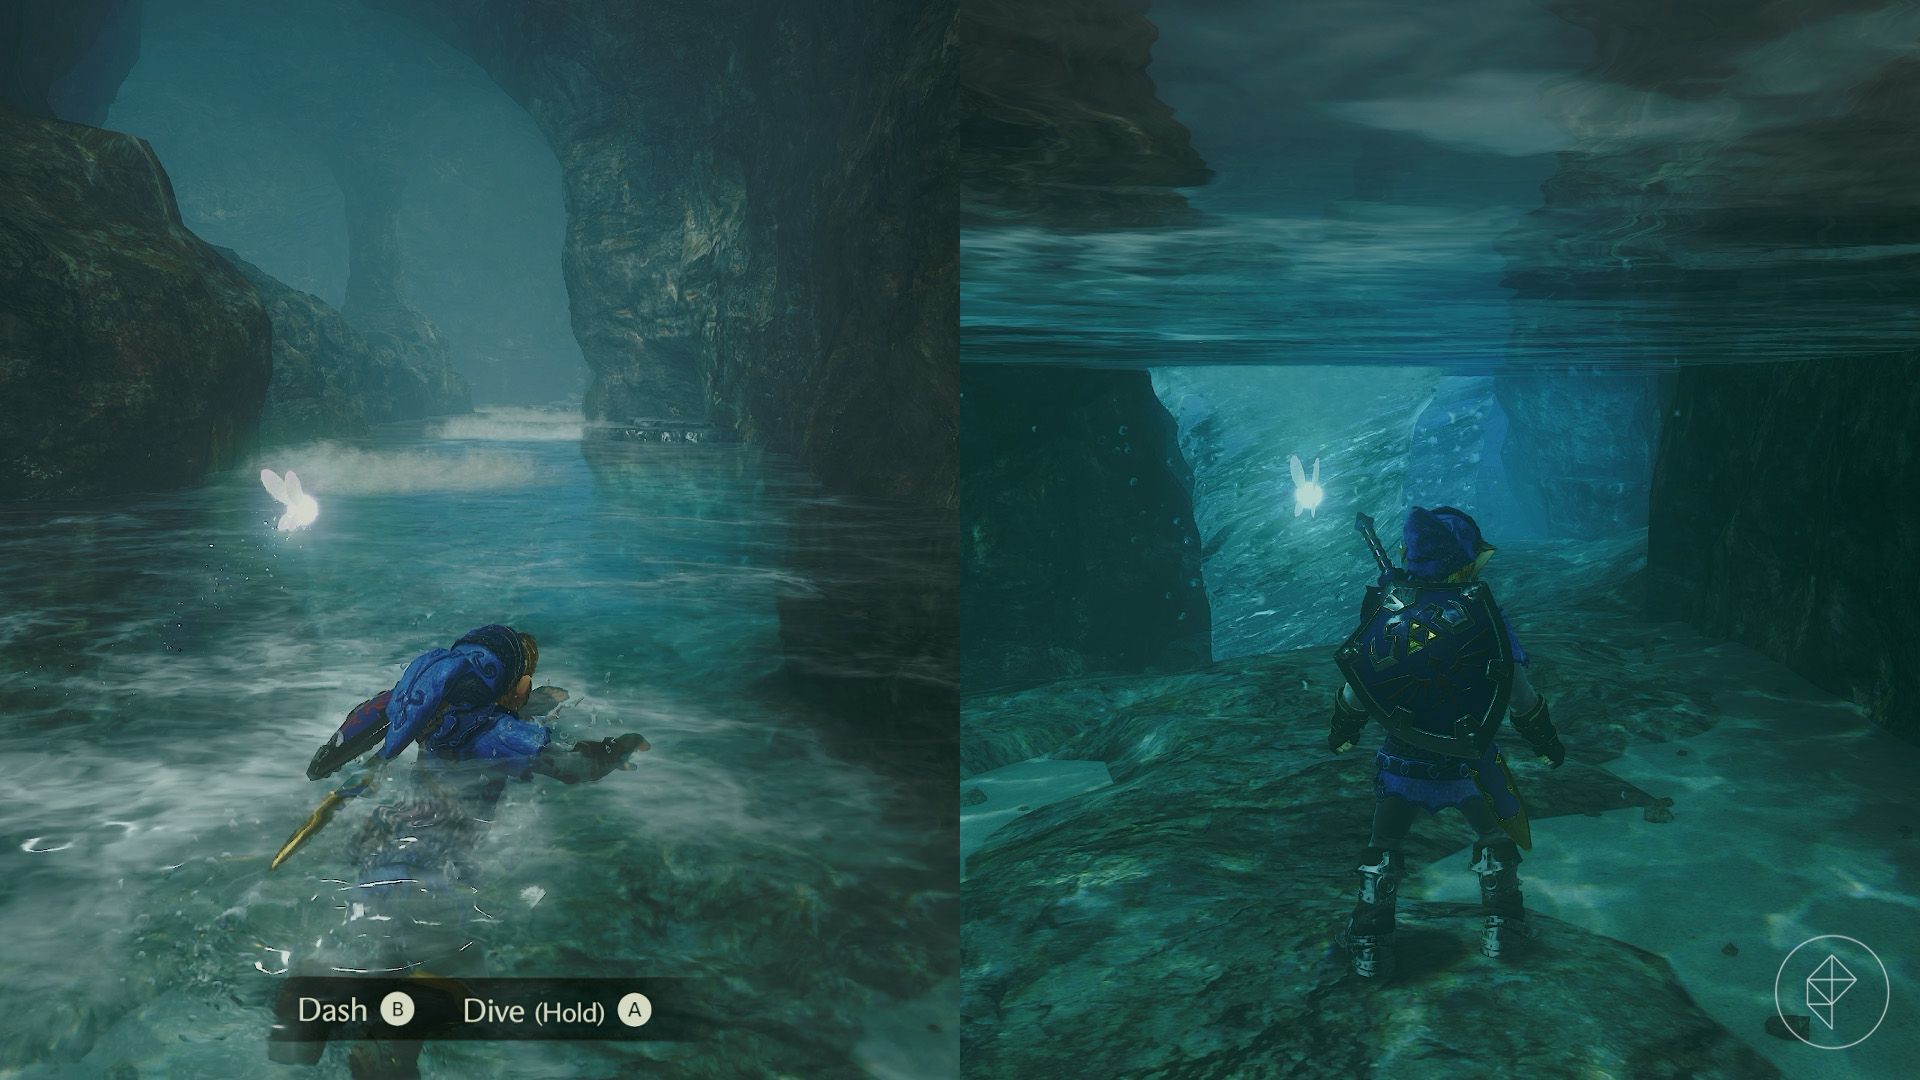
Use the Longshot on one of the targets overhead and drop into the water. Follow the current while avoiding the whirlpools. Dash past them or equip the Iron Boots and walk along the bottom for a more cautious route.
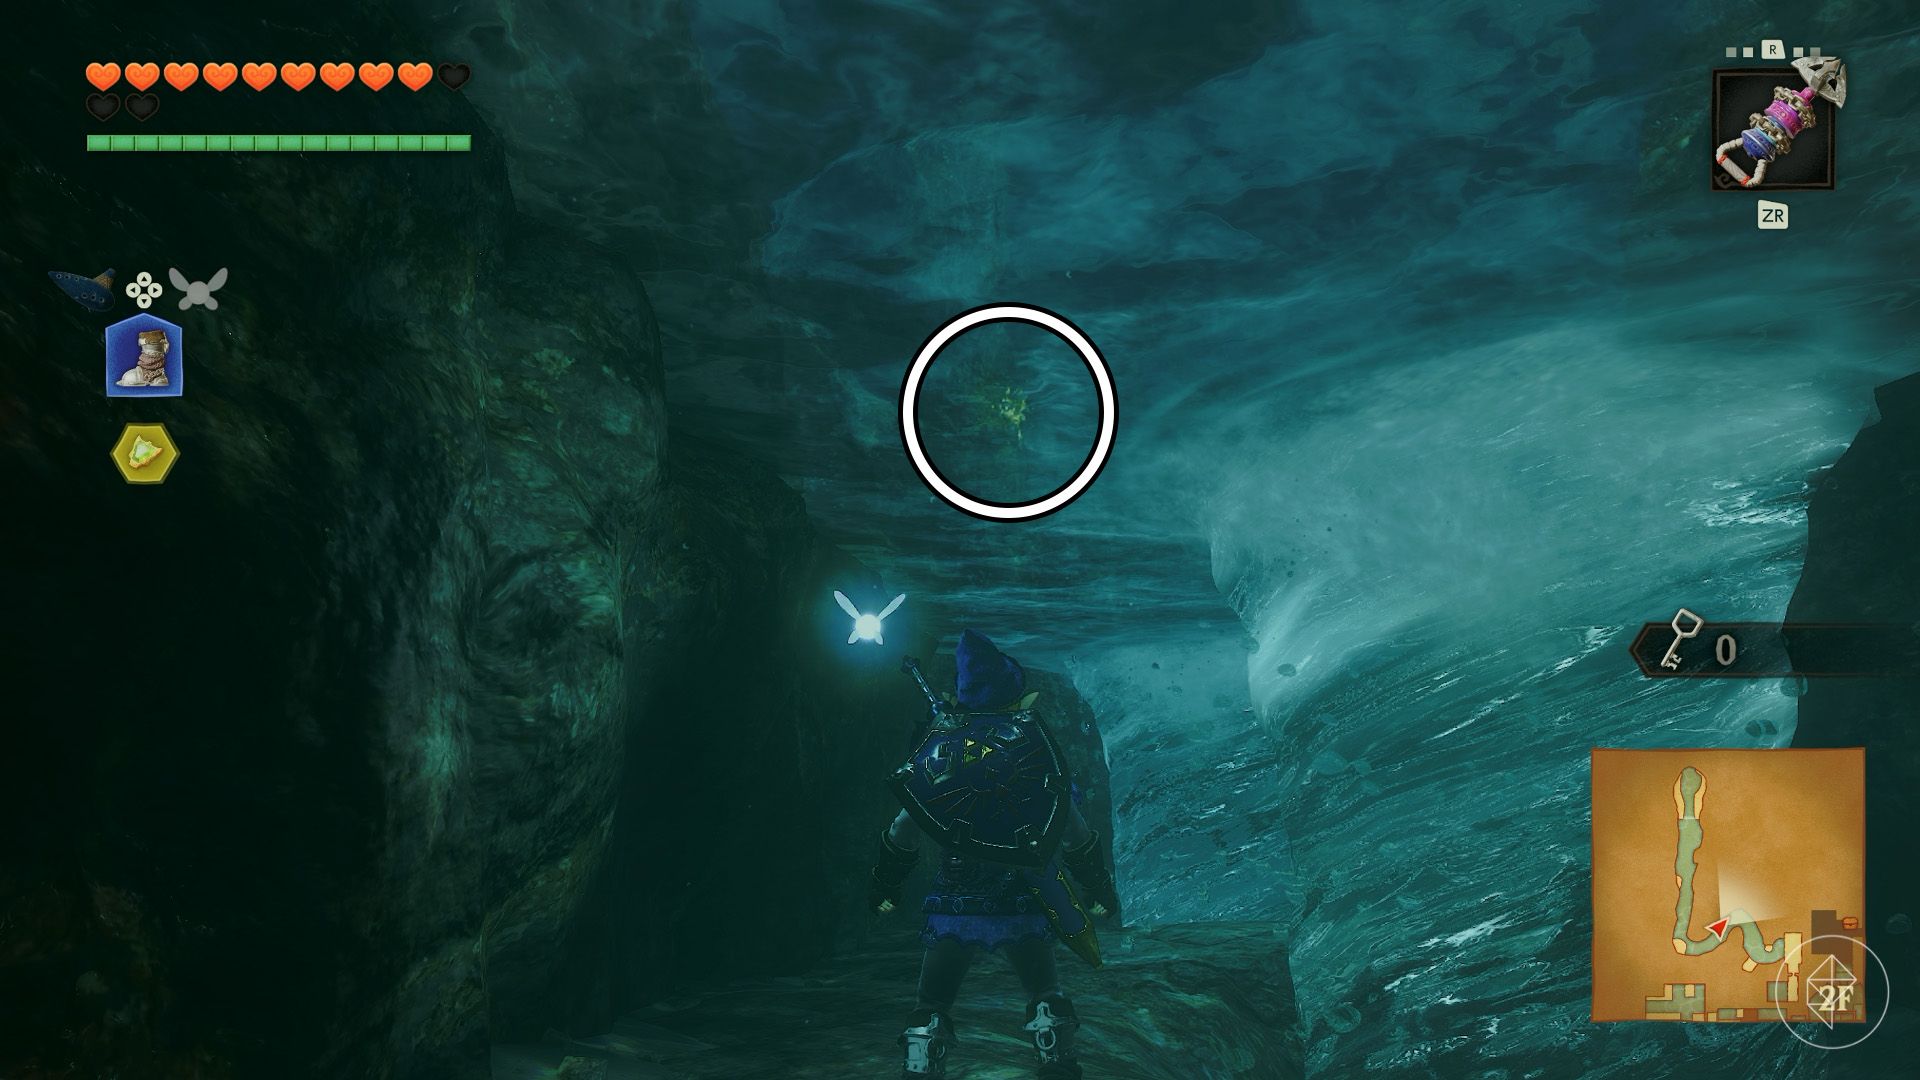
After the first corner, equip the Iron Boots and walk toward the next turn. Look up at the north wall for a Gold Skulltula, then use the Longshot to collect its token.
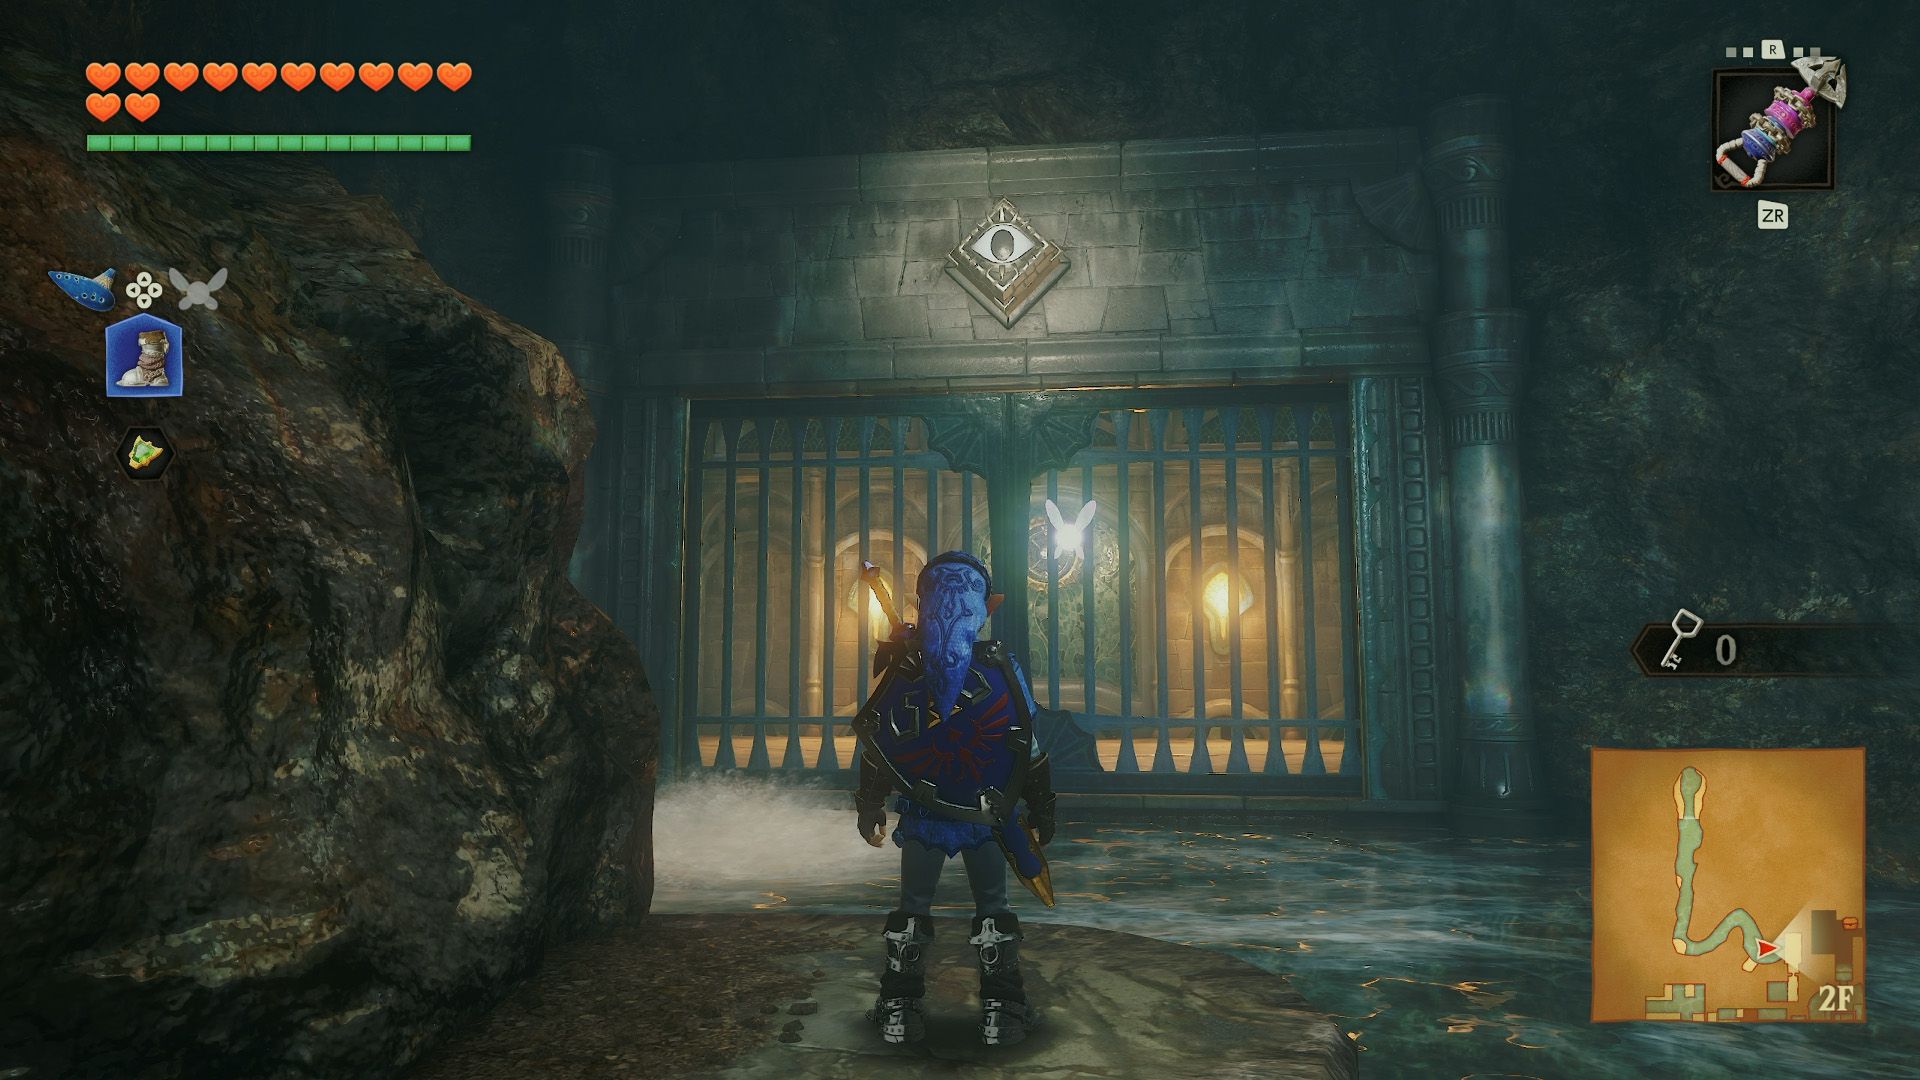
Climb onto the ledge before the final whirlpool and strike the eye above the gate. Quickly Longshot to the target before the gate closes, then enter the southern door. Drop into the water to reach the eastern room on the lowest floor and follow the passage back to the main chamber.
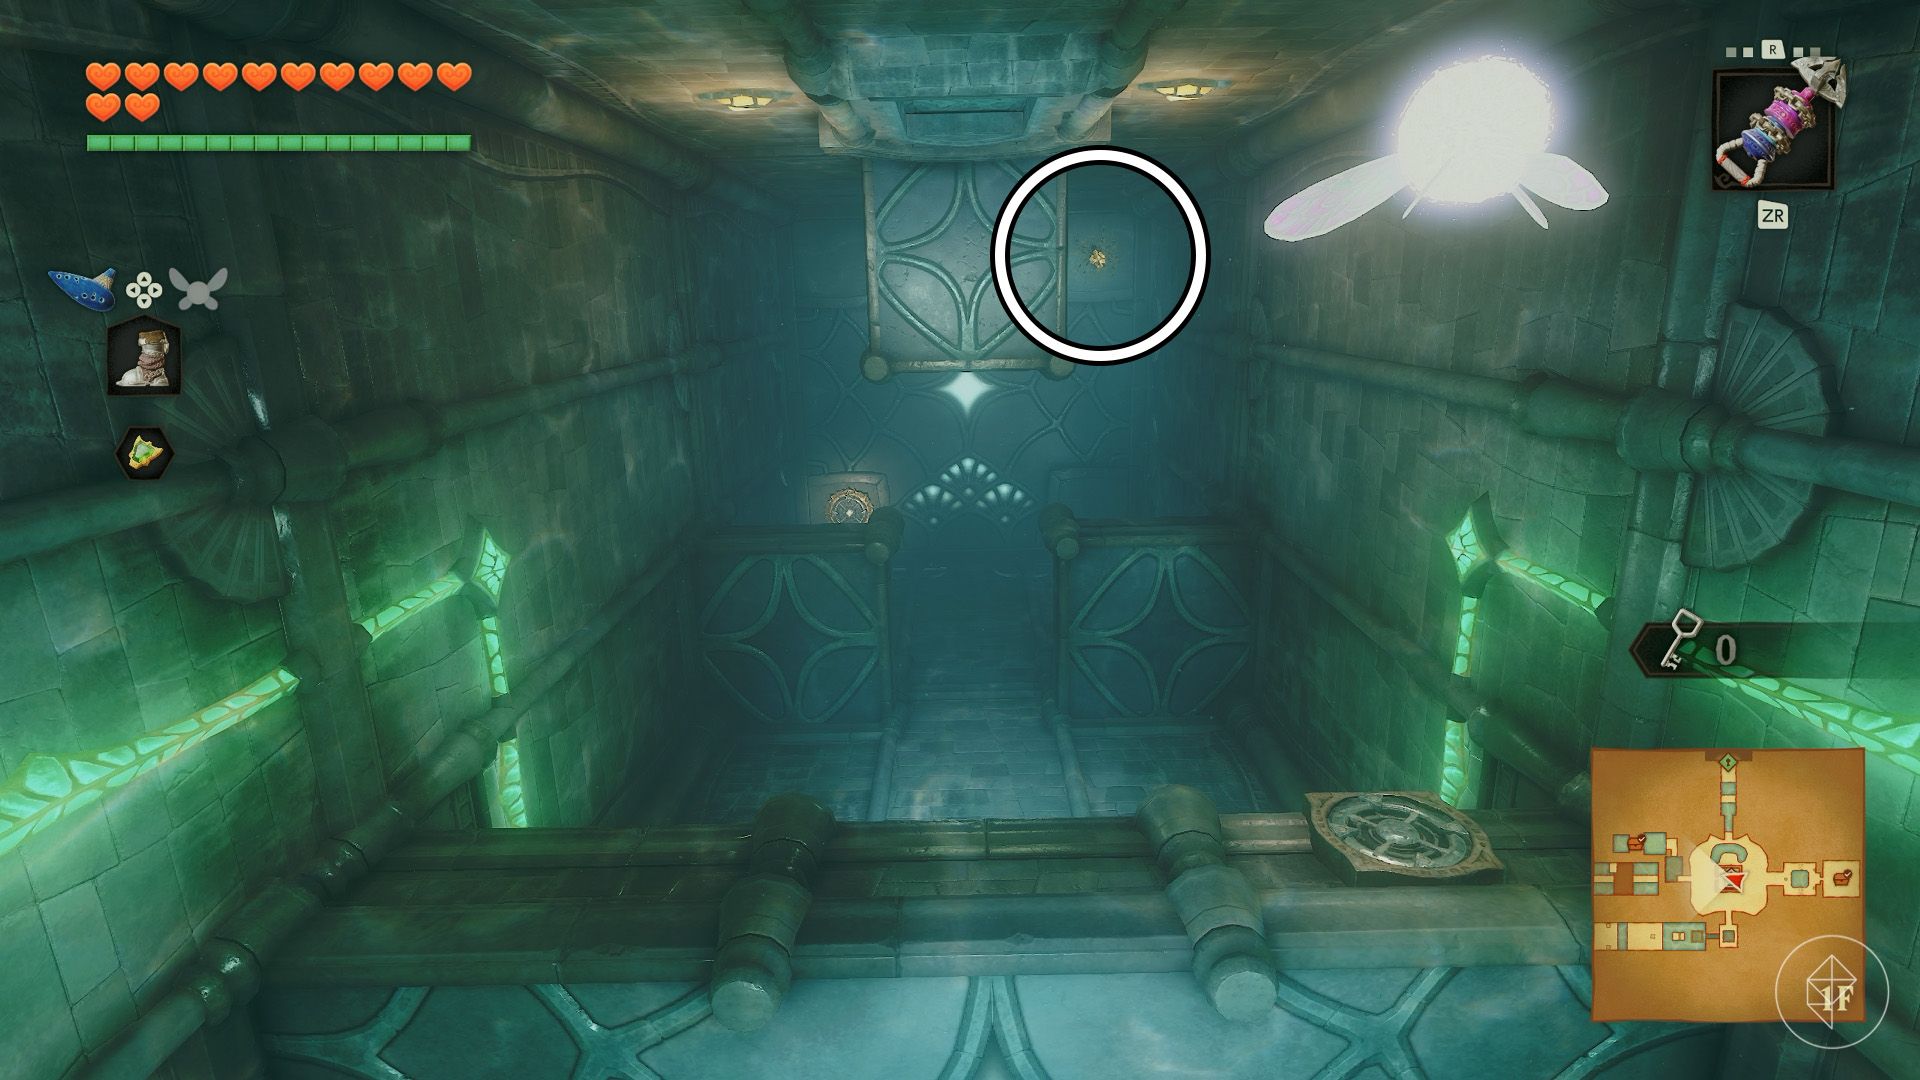
Use the Iron Boots to return to the eastern room on the lowest floor. Float up and play Zelda’s Lullaby to lower the water. Enter the central pillar, Longshot to the second floor, and play the song at the crest to raise the water again. You can now Longshot to the ceiling and collect the Gold Skulltula.
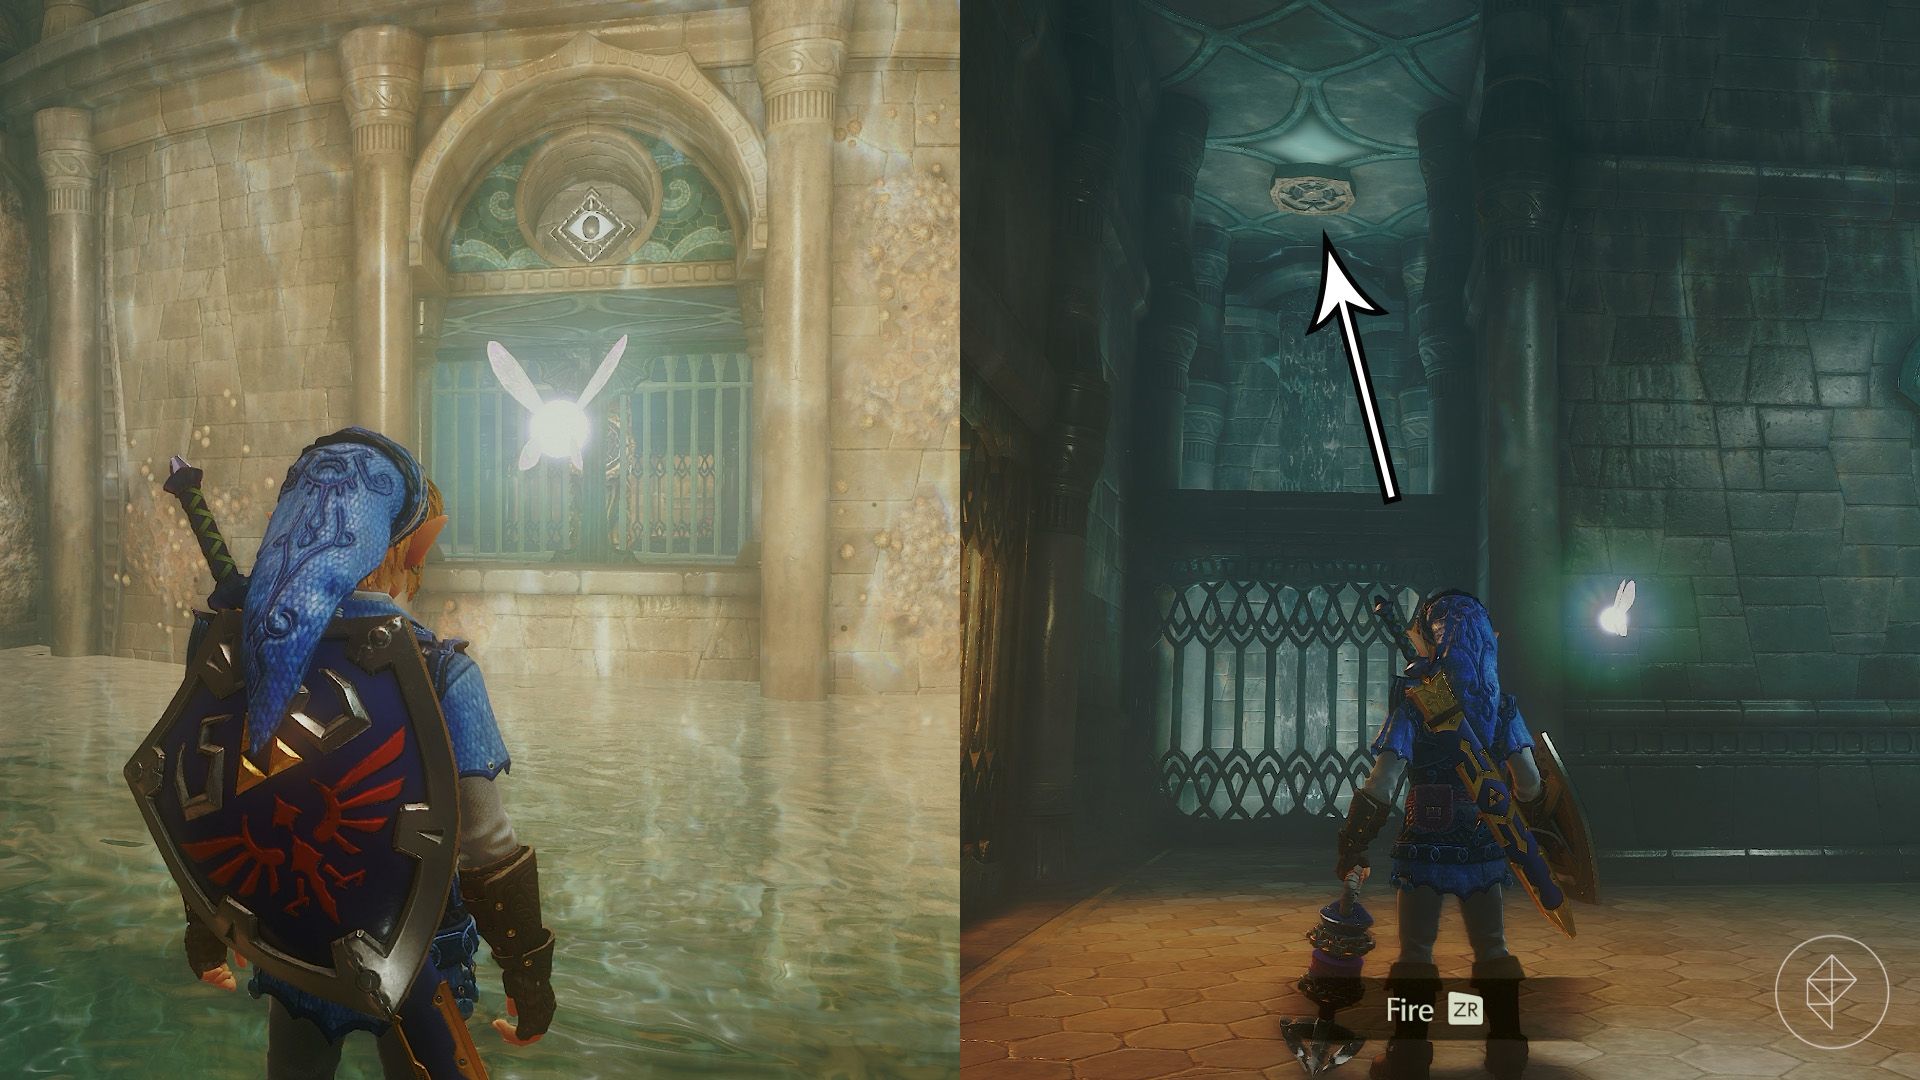
Exit the pillar and head to the floating cube on its northern side. Hit the eye on the wall with the Longshot, then use the target to pull yourself inside. Go to the northeast corner and Longshot to the target above the waterfall.
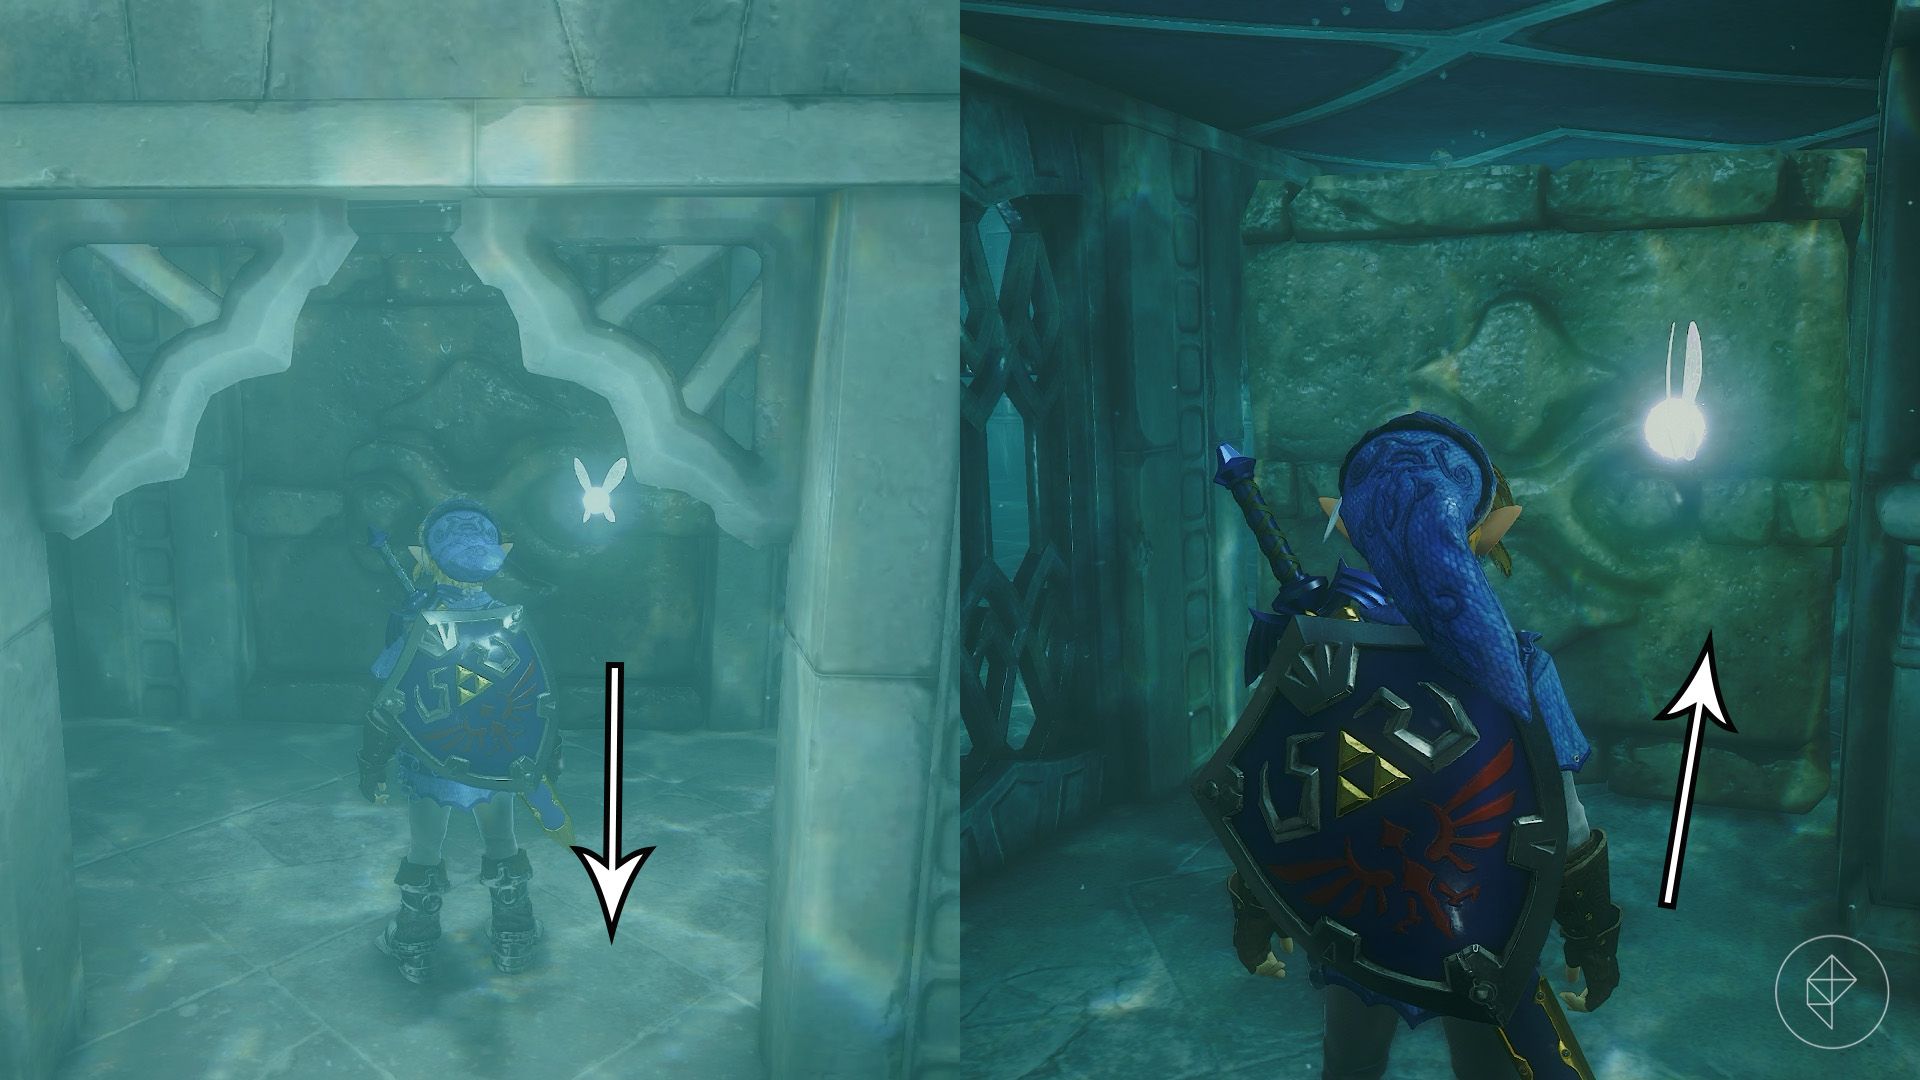
Equip the Iron Boots and follow the passage to a stone cube on the right. Pull it as far as possible, then Longshot back to the target. Push the cube as far as it will go, enter the opening in the wall, and float to the surface. Open the chest at the top of the stairs for a small key.
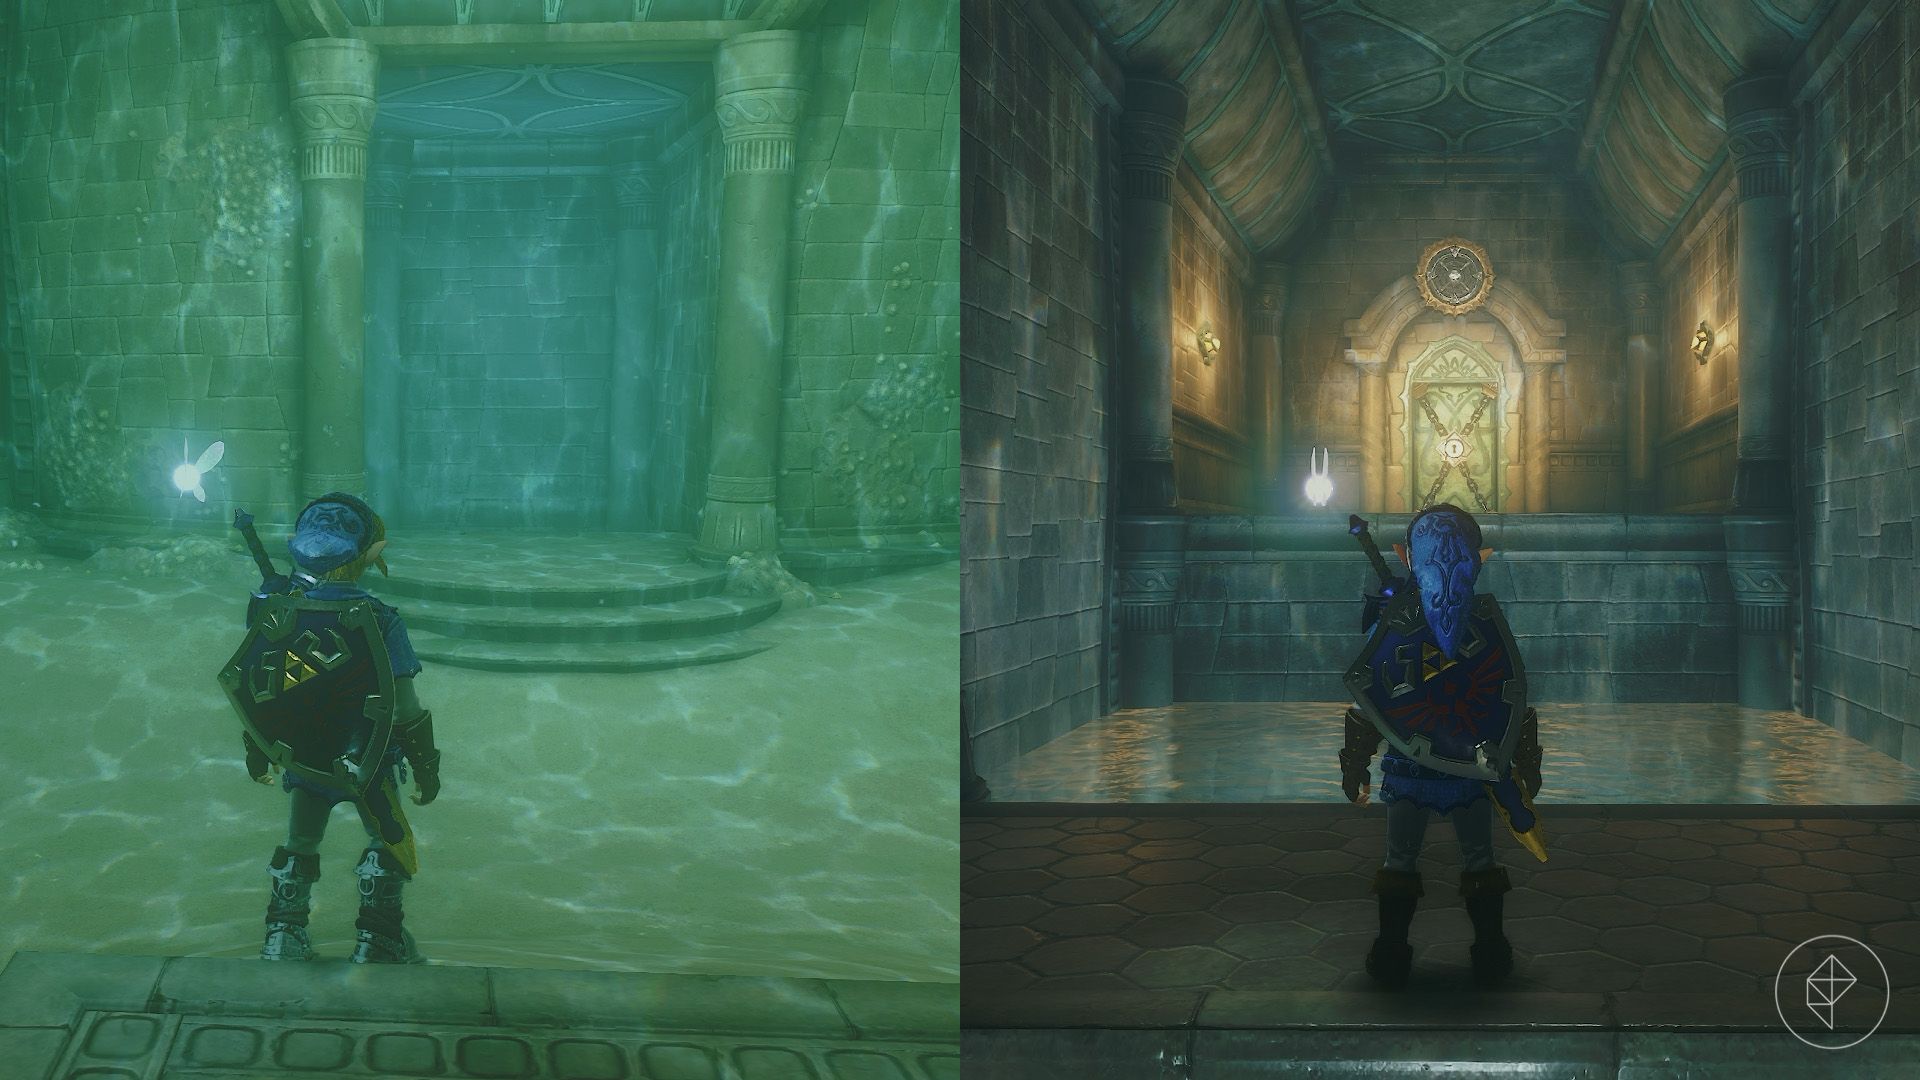
Return to the main chamber and sink to the lowest level. Enter the northern doorway and Longshot to the target at the end of the passage. Open the door to reach a whirlpool room filled with Blue Tektites. Use the Fairy Bow to clear them out before continuing.
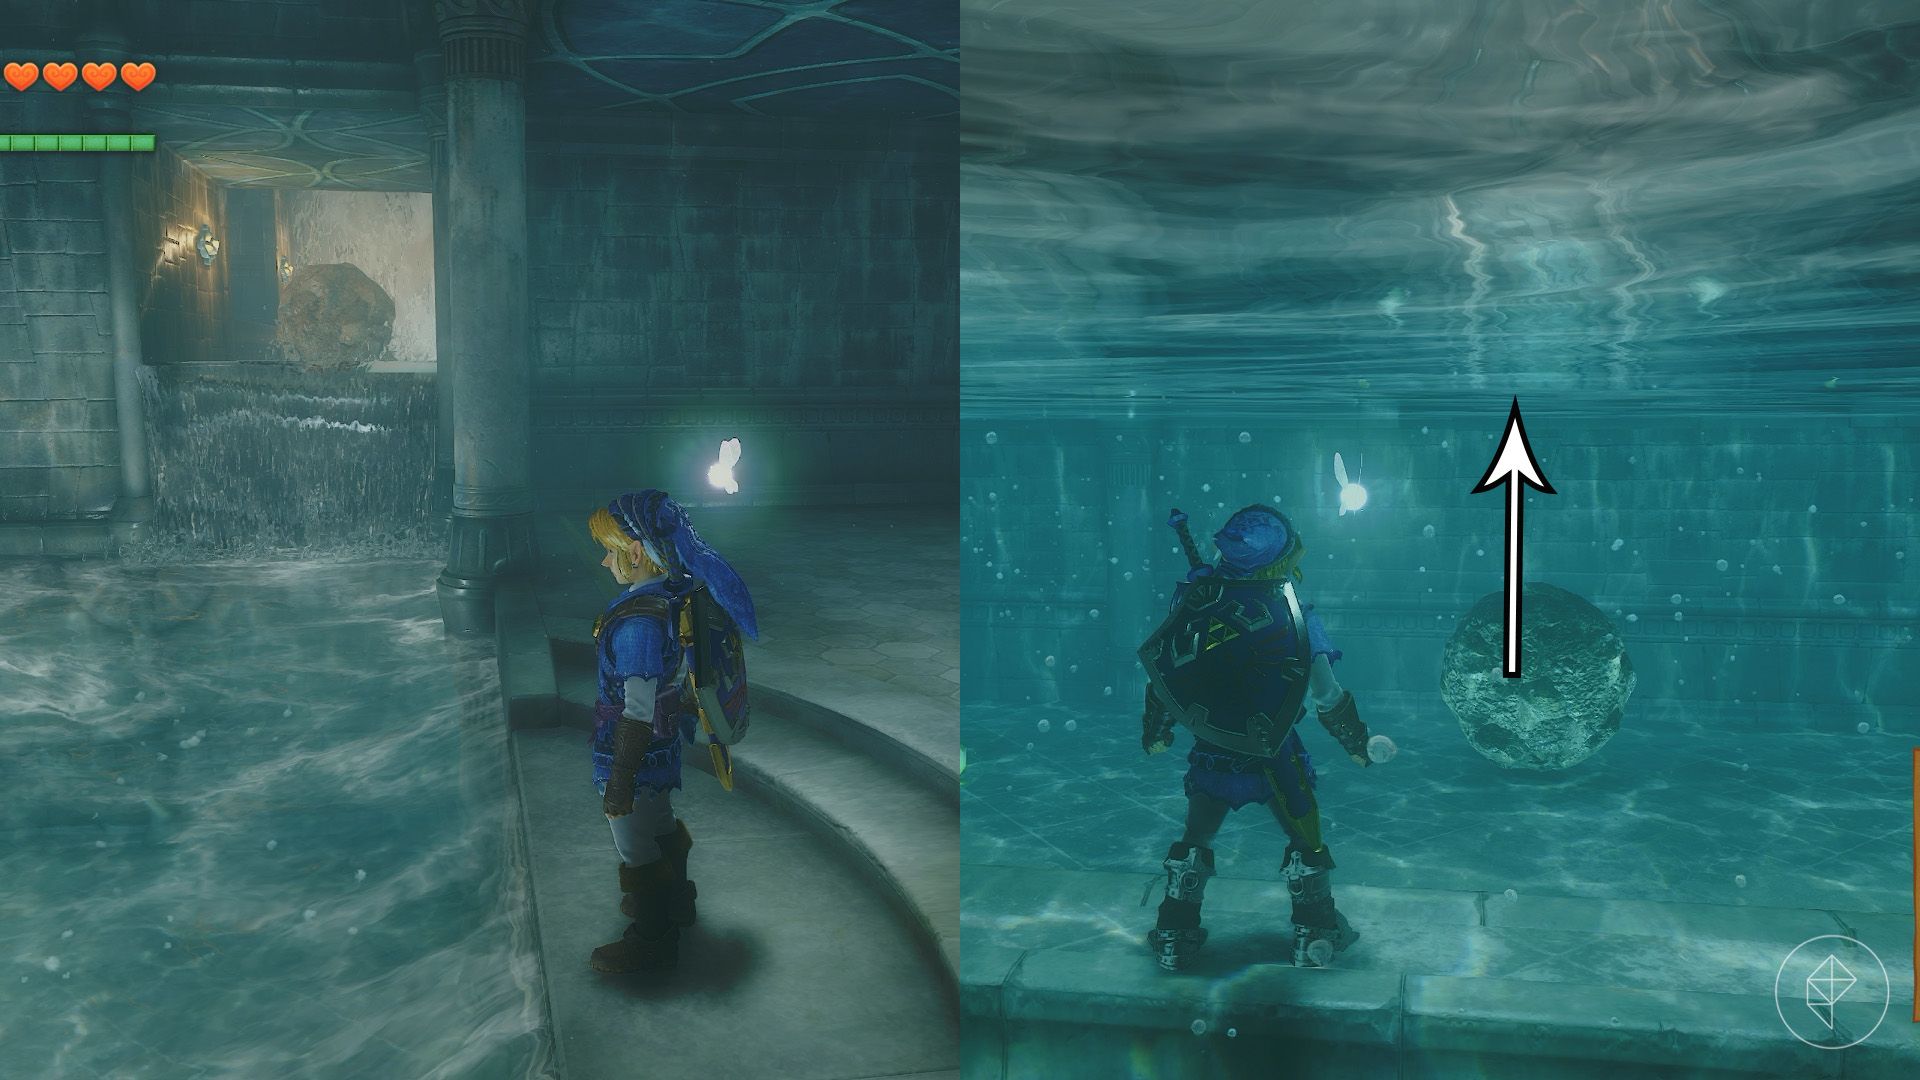
Boulders emerge from openings in the northwest and southeast corners. Wait for the southeastern boulder to pass, then drop into the water and swim north. Equip the Iron Boots, let the next boulder roll past, and walk to the wall. Remove the boots to float up, grab the ledge, and climb out.
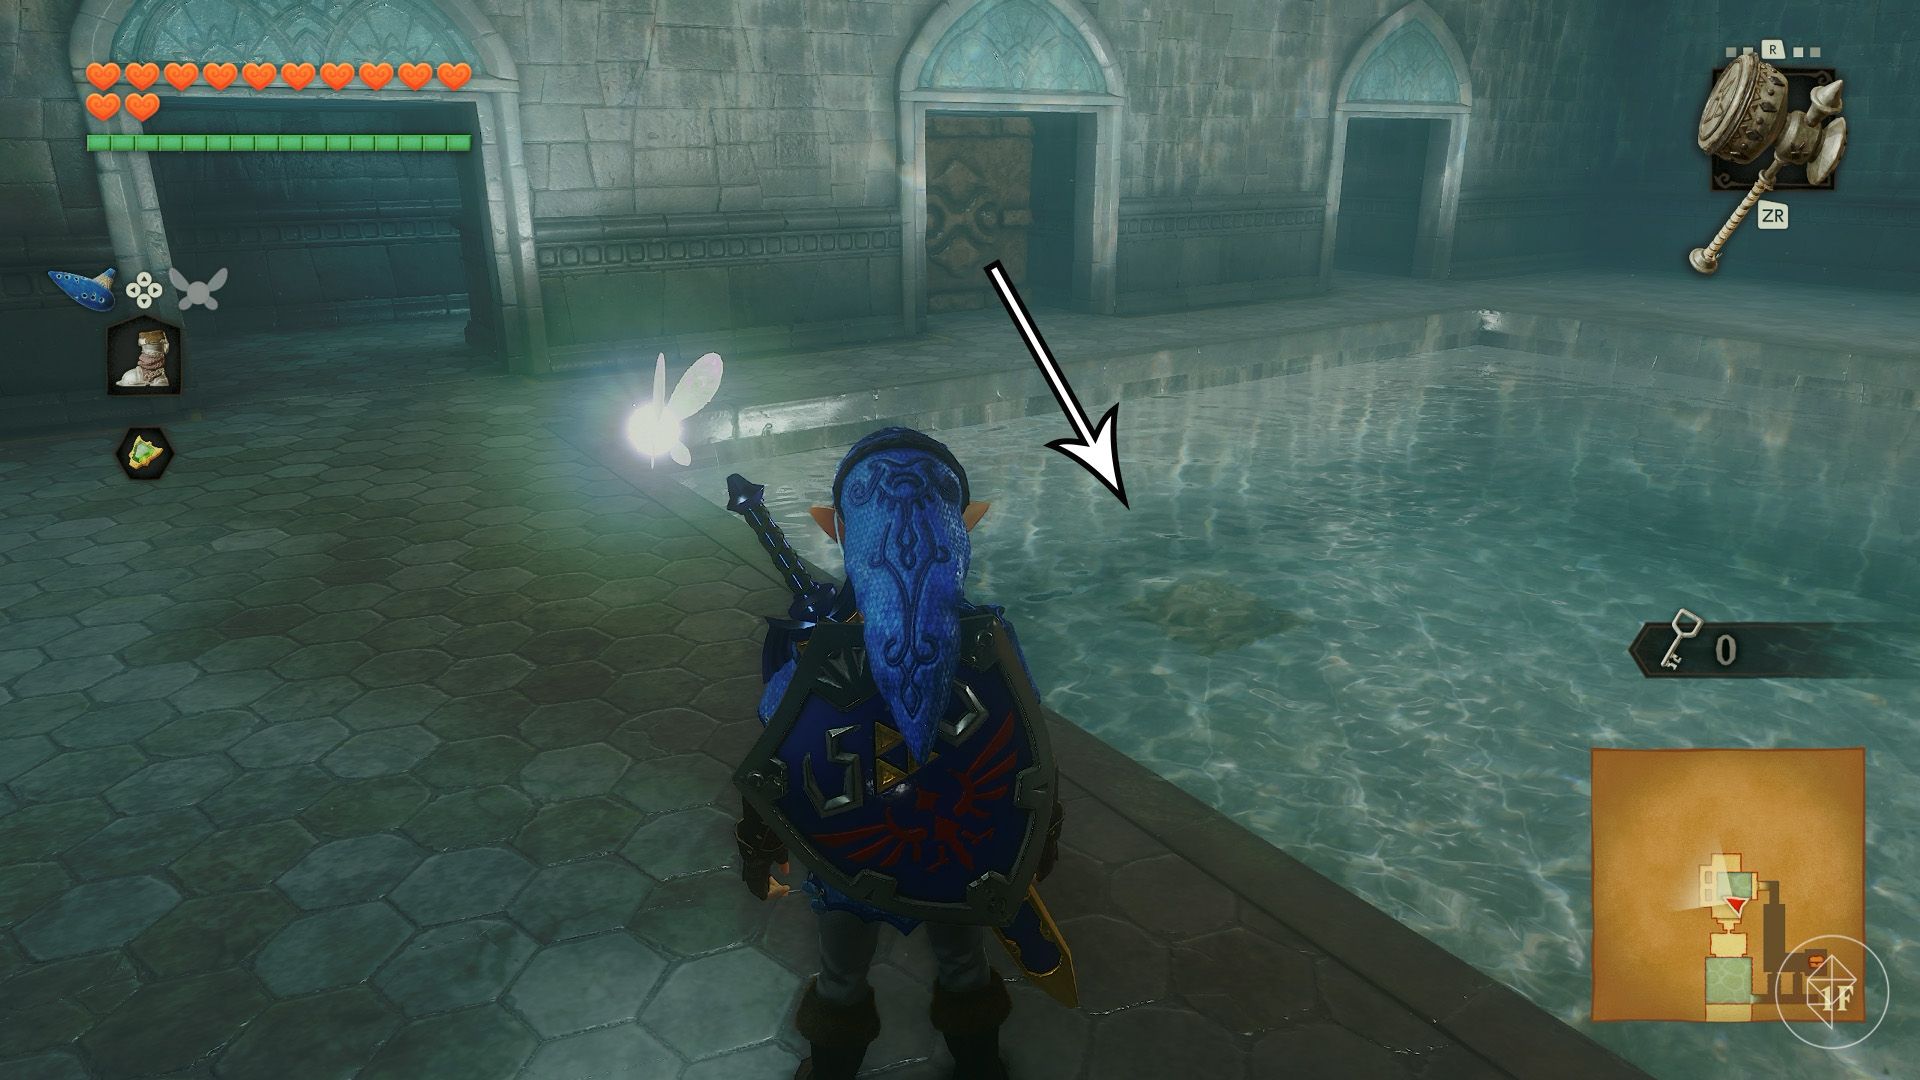
The next room contains three breakable rock walls and a pool of Stingers. A button at the bottom raises the water while it is held down. Break the middle wall and pull out the cube. Then break either side wall, walk behind the cube, and push it into the pool to hold down the button.
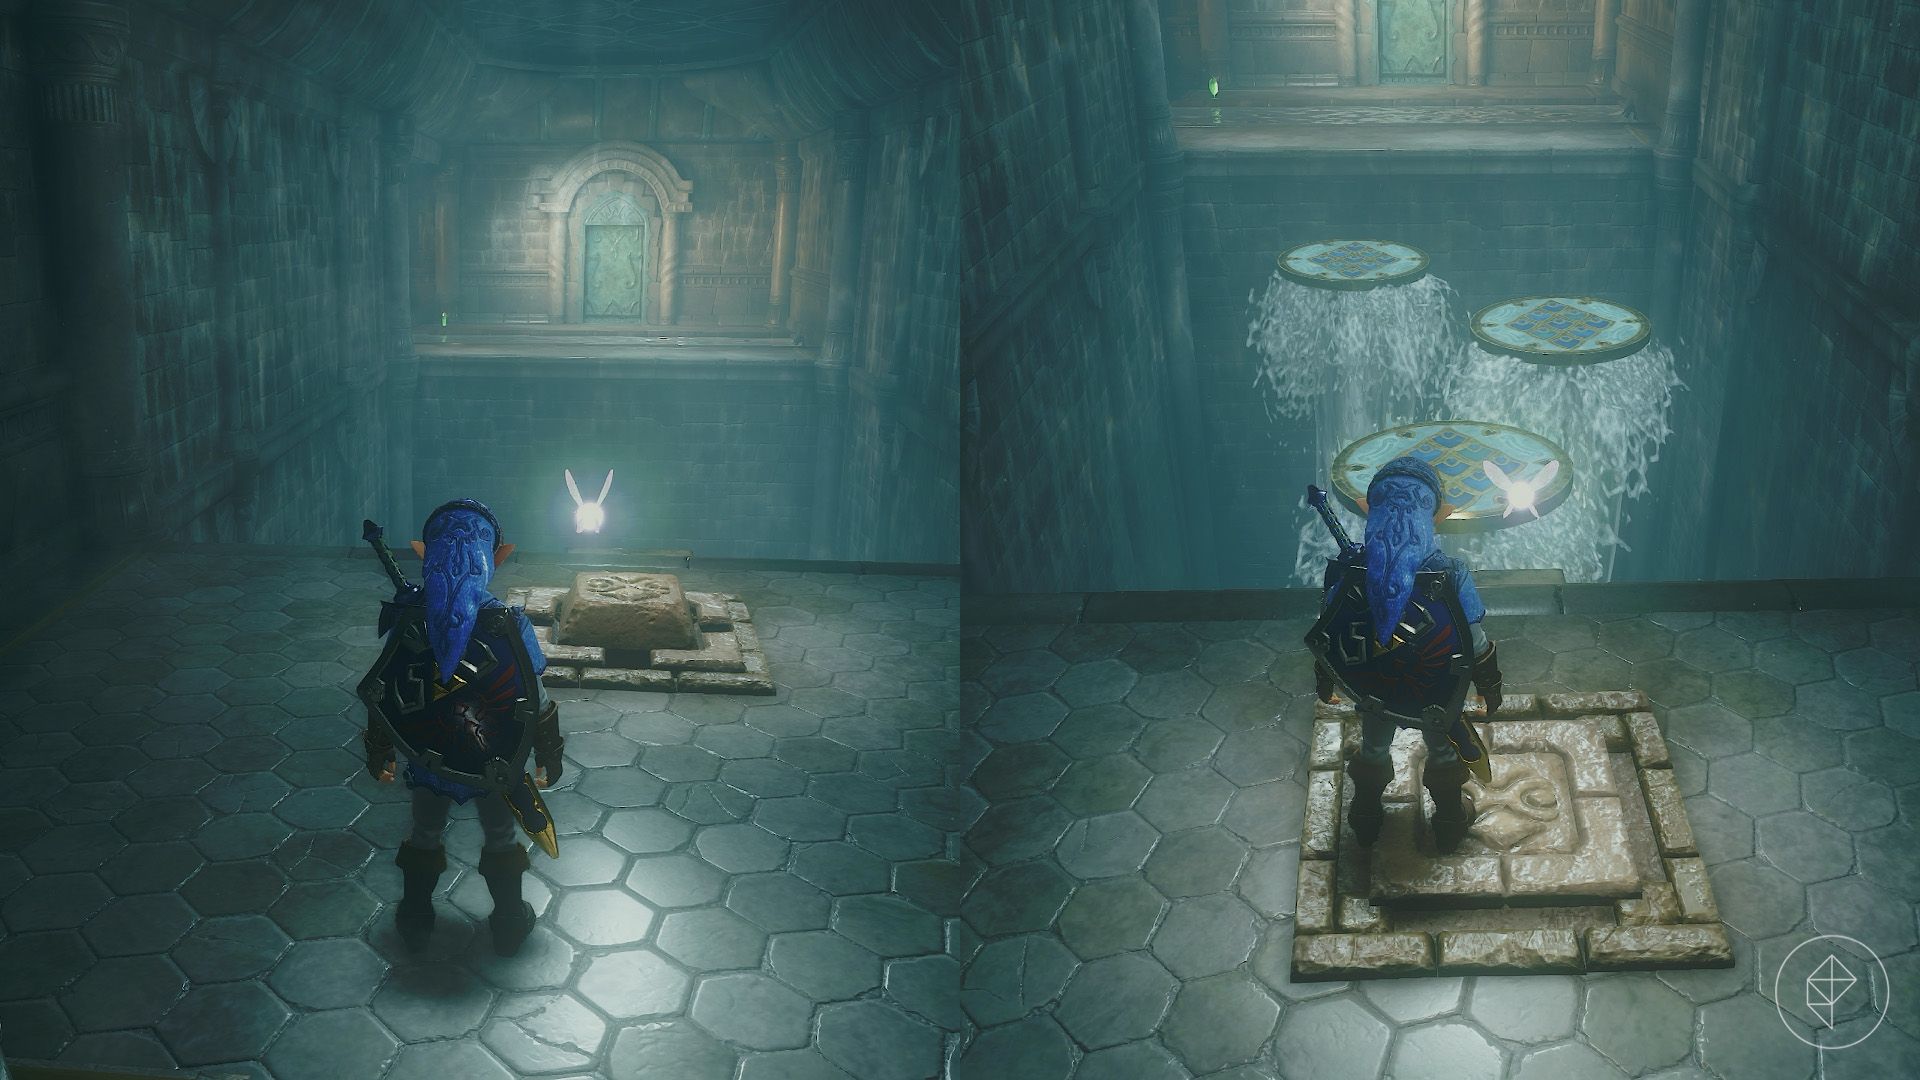
Once the water rises, swim to the doorway and follow the passage. Shoot the two Blue Tektites, step on the button, and jump across the three platforms. Enter the door on the far side to reach the southeastern corner of the boulder room.
Wait for a boulder to pass, walk through the waterfall, and jump into the opening on the left. Defeat the Shell Blade or run past it through the door. Open the chest in the next room for the boss key.
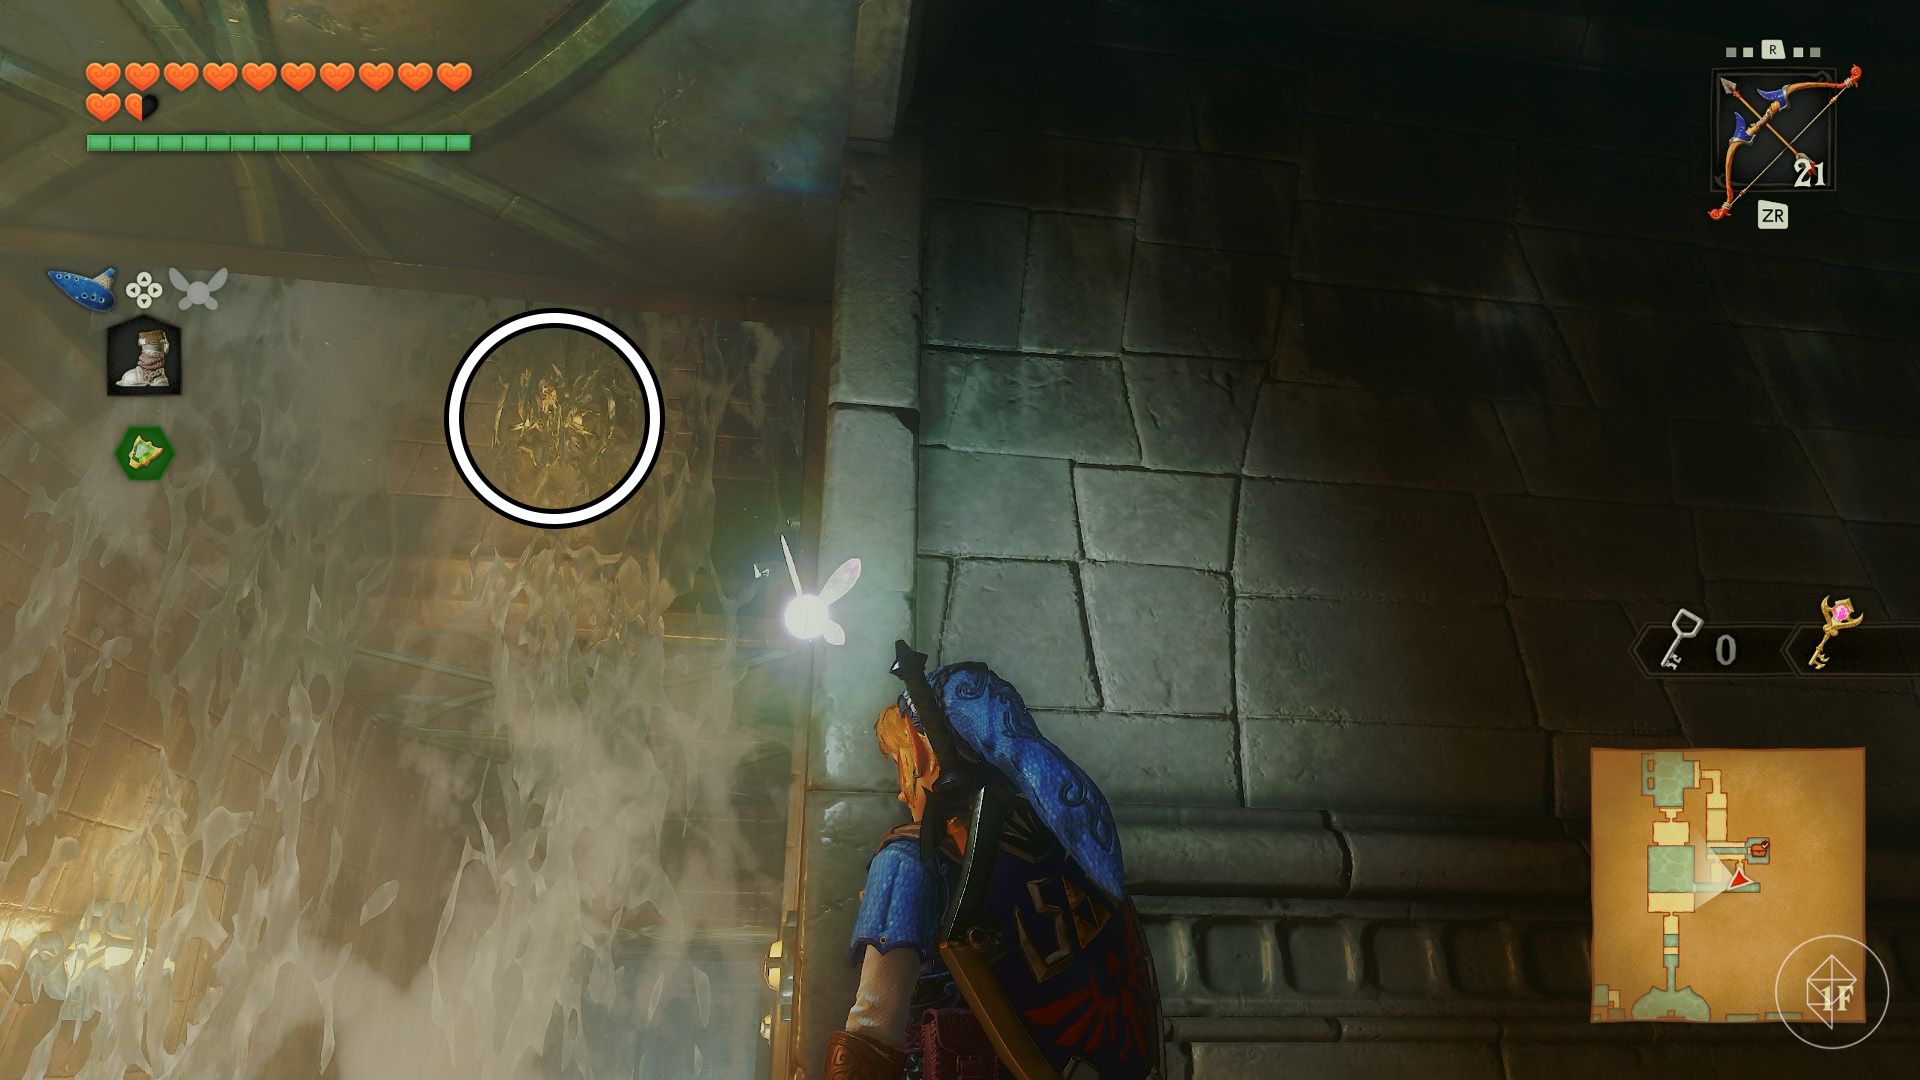
Before returning to the main chamber, leave the boss key room and look through the waterfall on the right. A Gold Skulltula is hiding near the ceiling. Use the Longshot to collect its token.
Part 6: Defeating Morpha
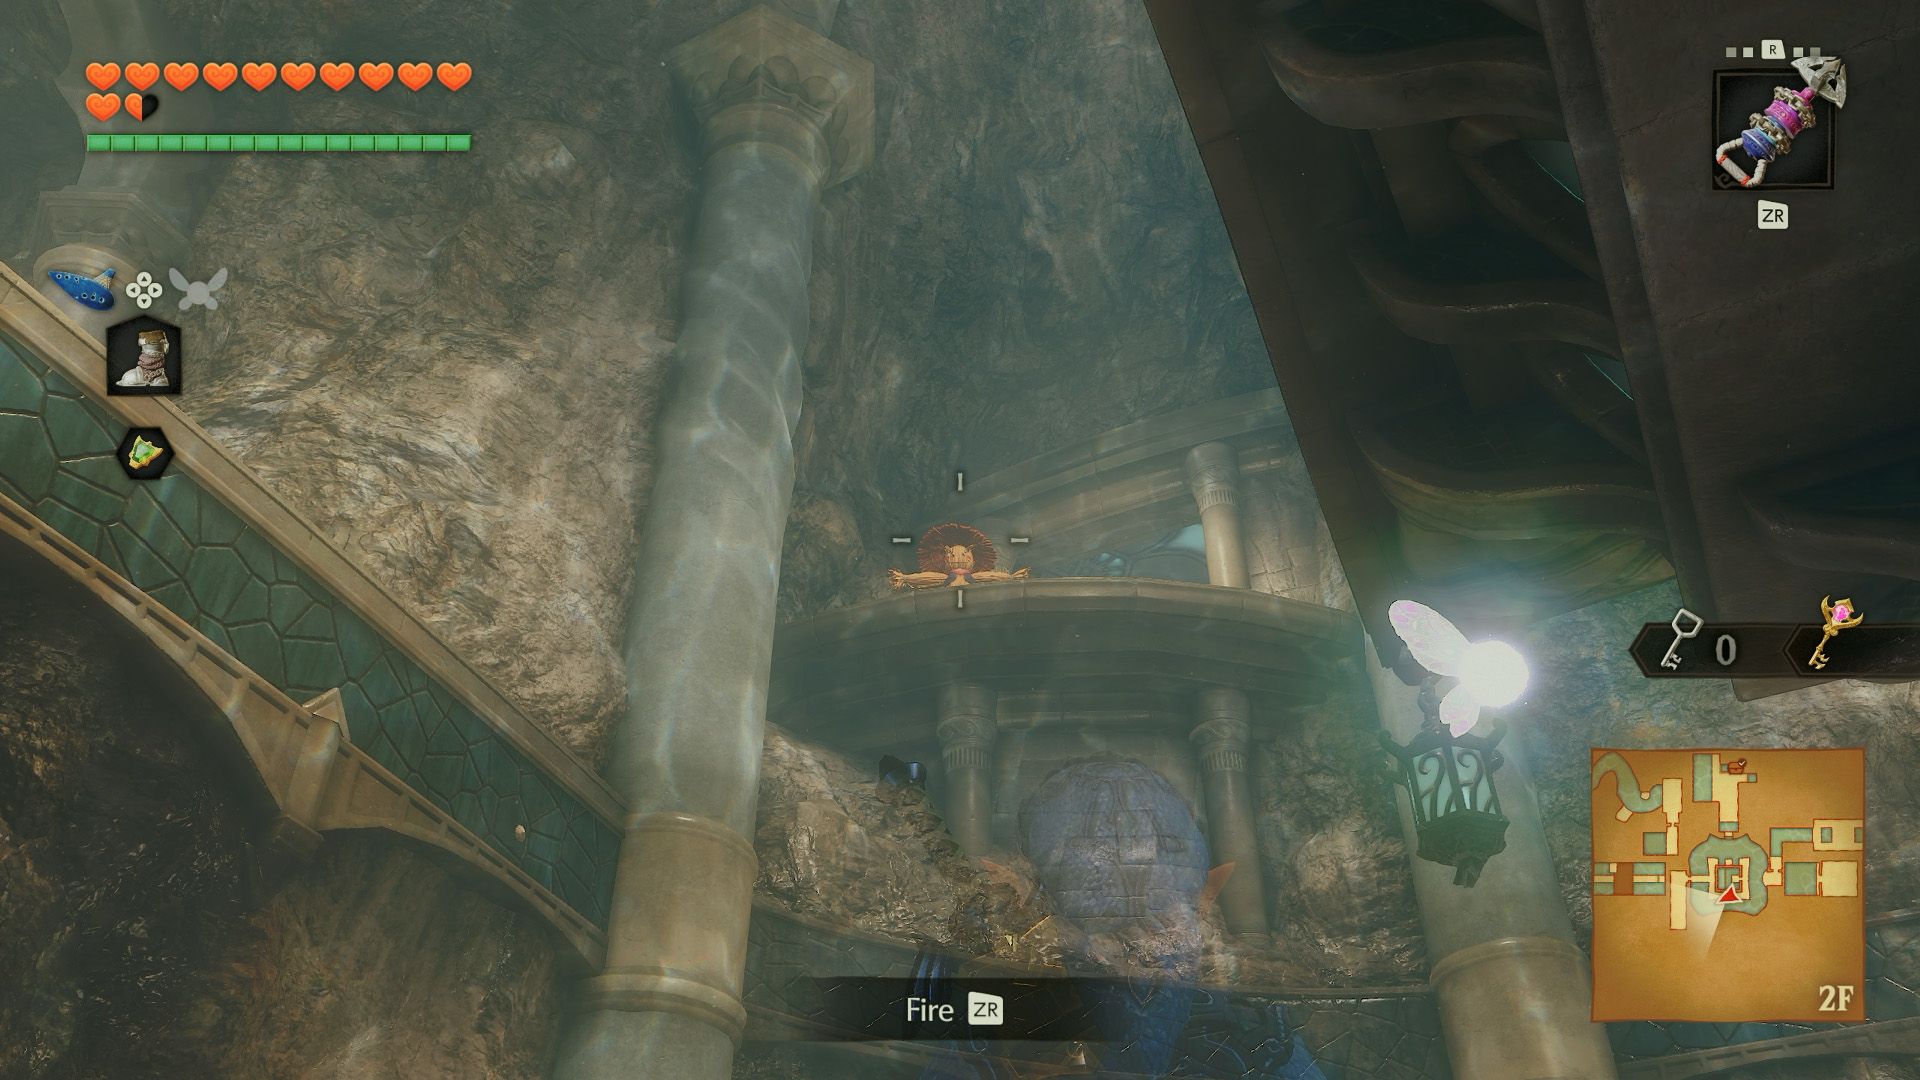
Return to the main chamber and Longshot to Pierre in the southwest corner. Raise the water at the crest, return to the main room, and Longshot to the northern target. Go through the door and equip the Iron Boots to resist the current. Wait for the Blade Traps to pass, then climb to the boss door.
Morpha’s vulnerable body is the orb moving through the water. To damage it, pull it out with the Longshot and attack. The orb returns to the water after each attack. When multiple tentacles appear, watch the orb’s movement to identify the one containing Morpha.
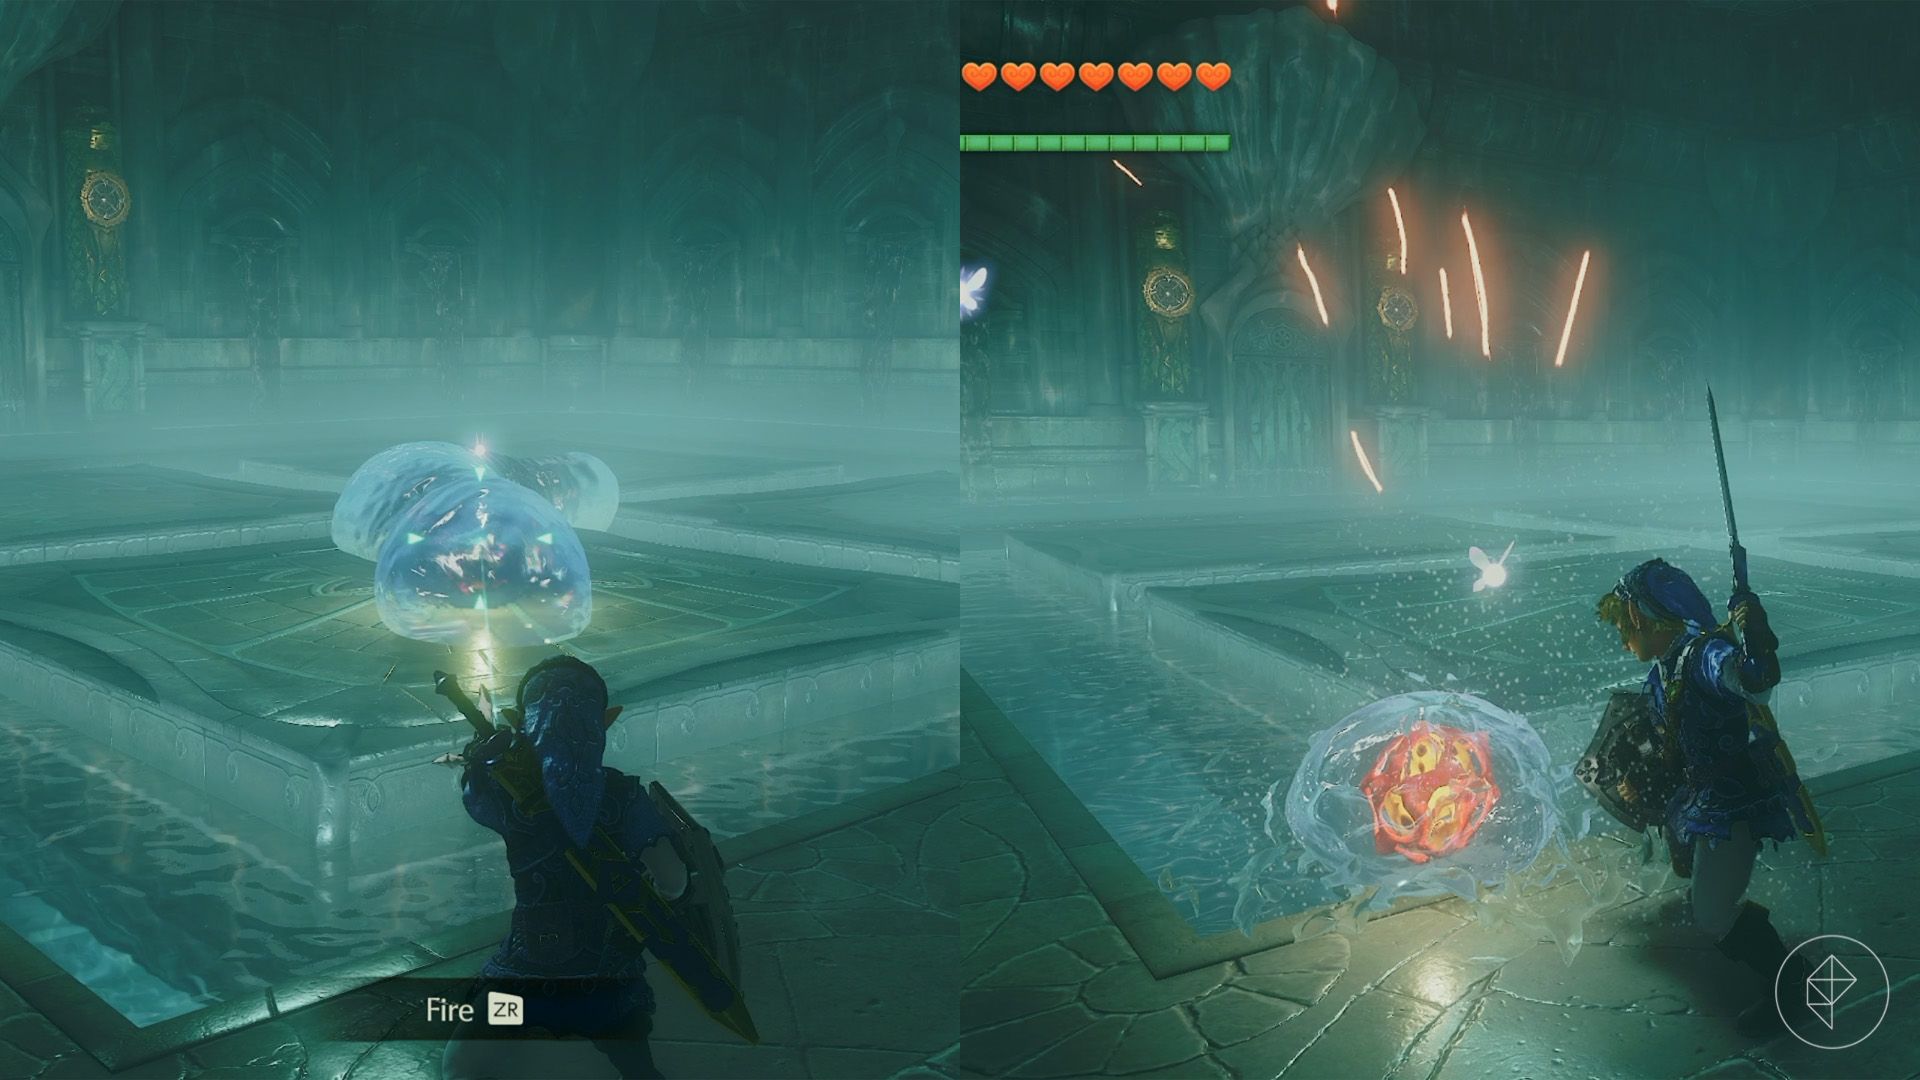
Begin the battle by jumping onto the platforms in the center of the room. At first, Morpha rises from the water and slams the ground three times before pausing. During that pause, pull out the orb and strike it as often as you can.
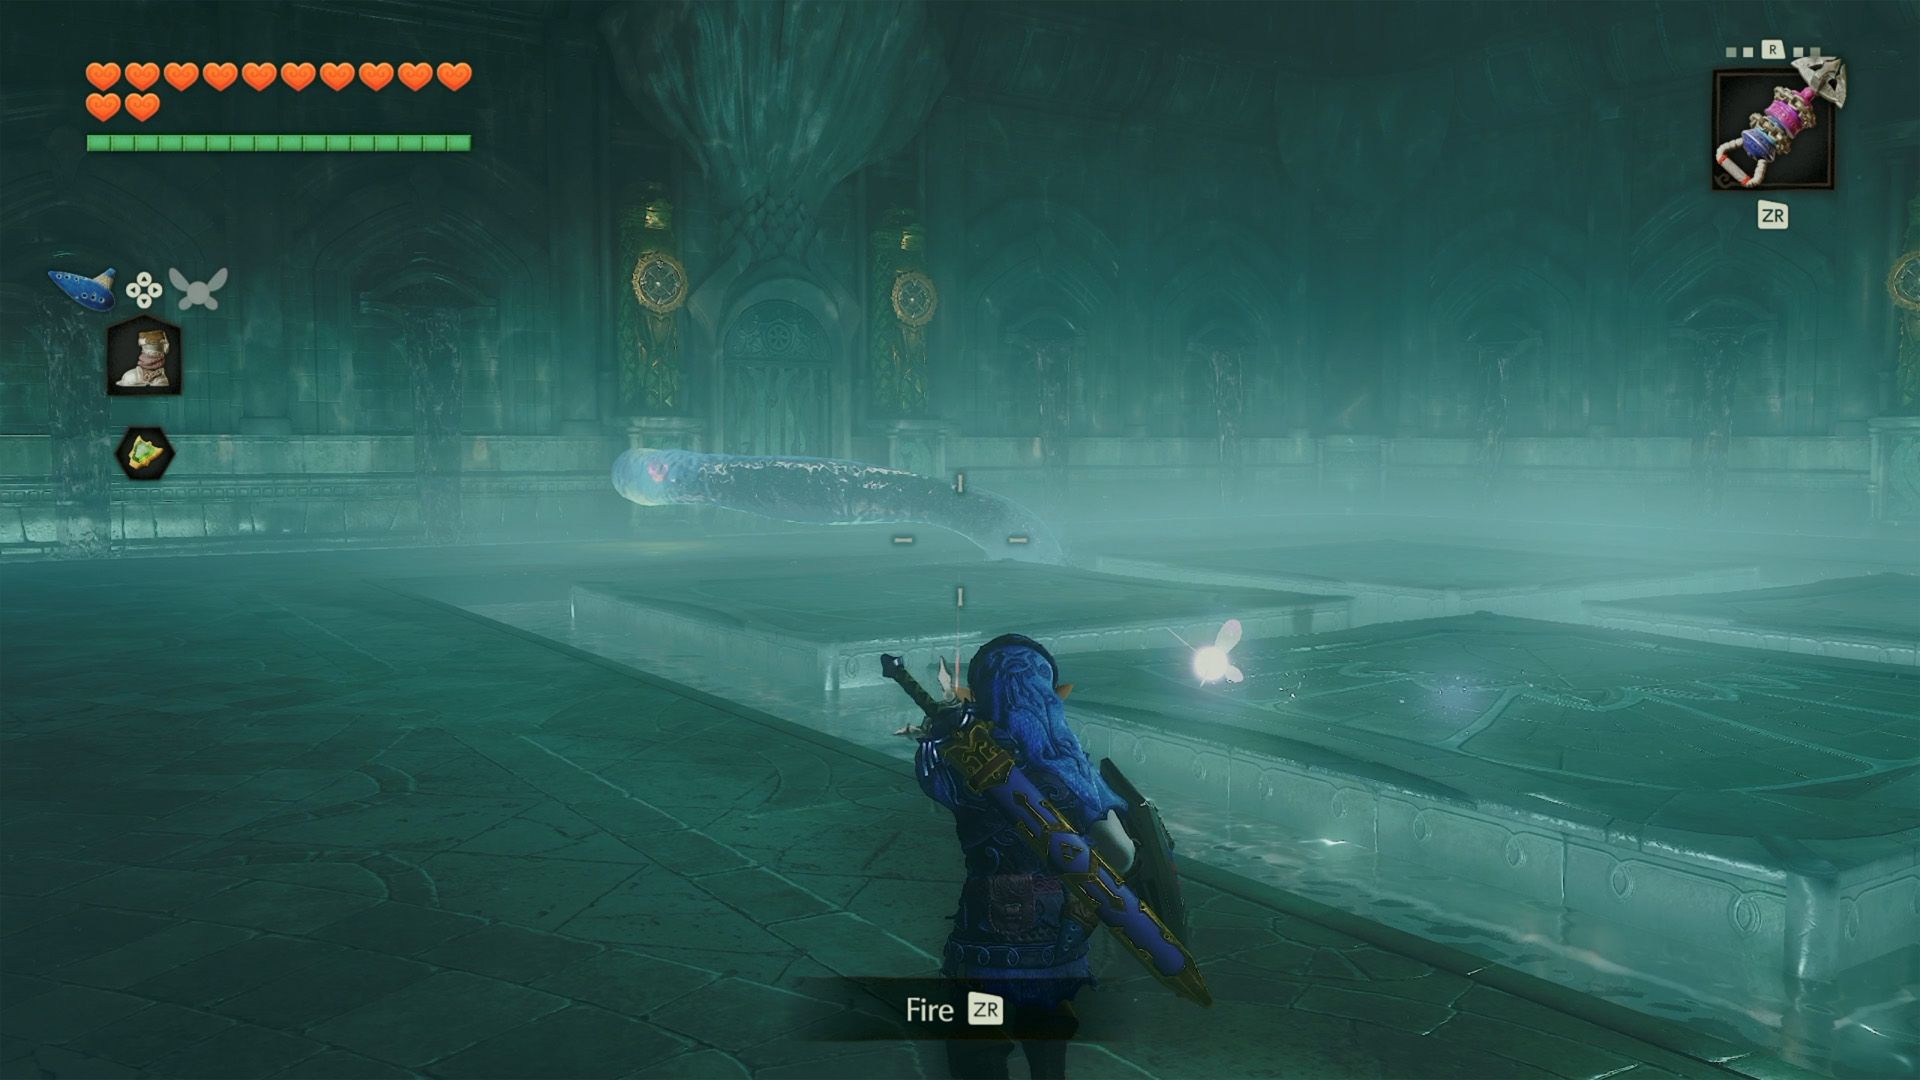
Morpha will then use a spinning attack. Run around the edge of the arena to avoid it. When the spinning stops, pull out the orb with the Longshot and attack.
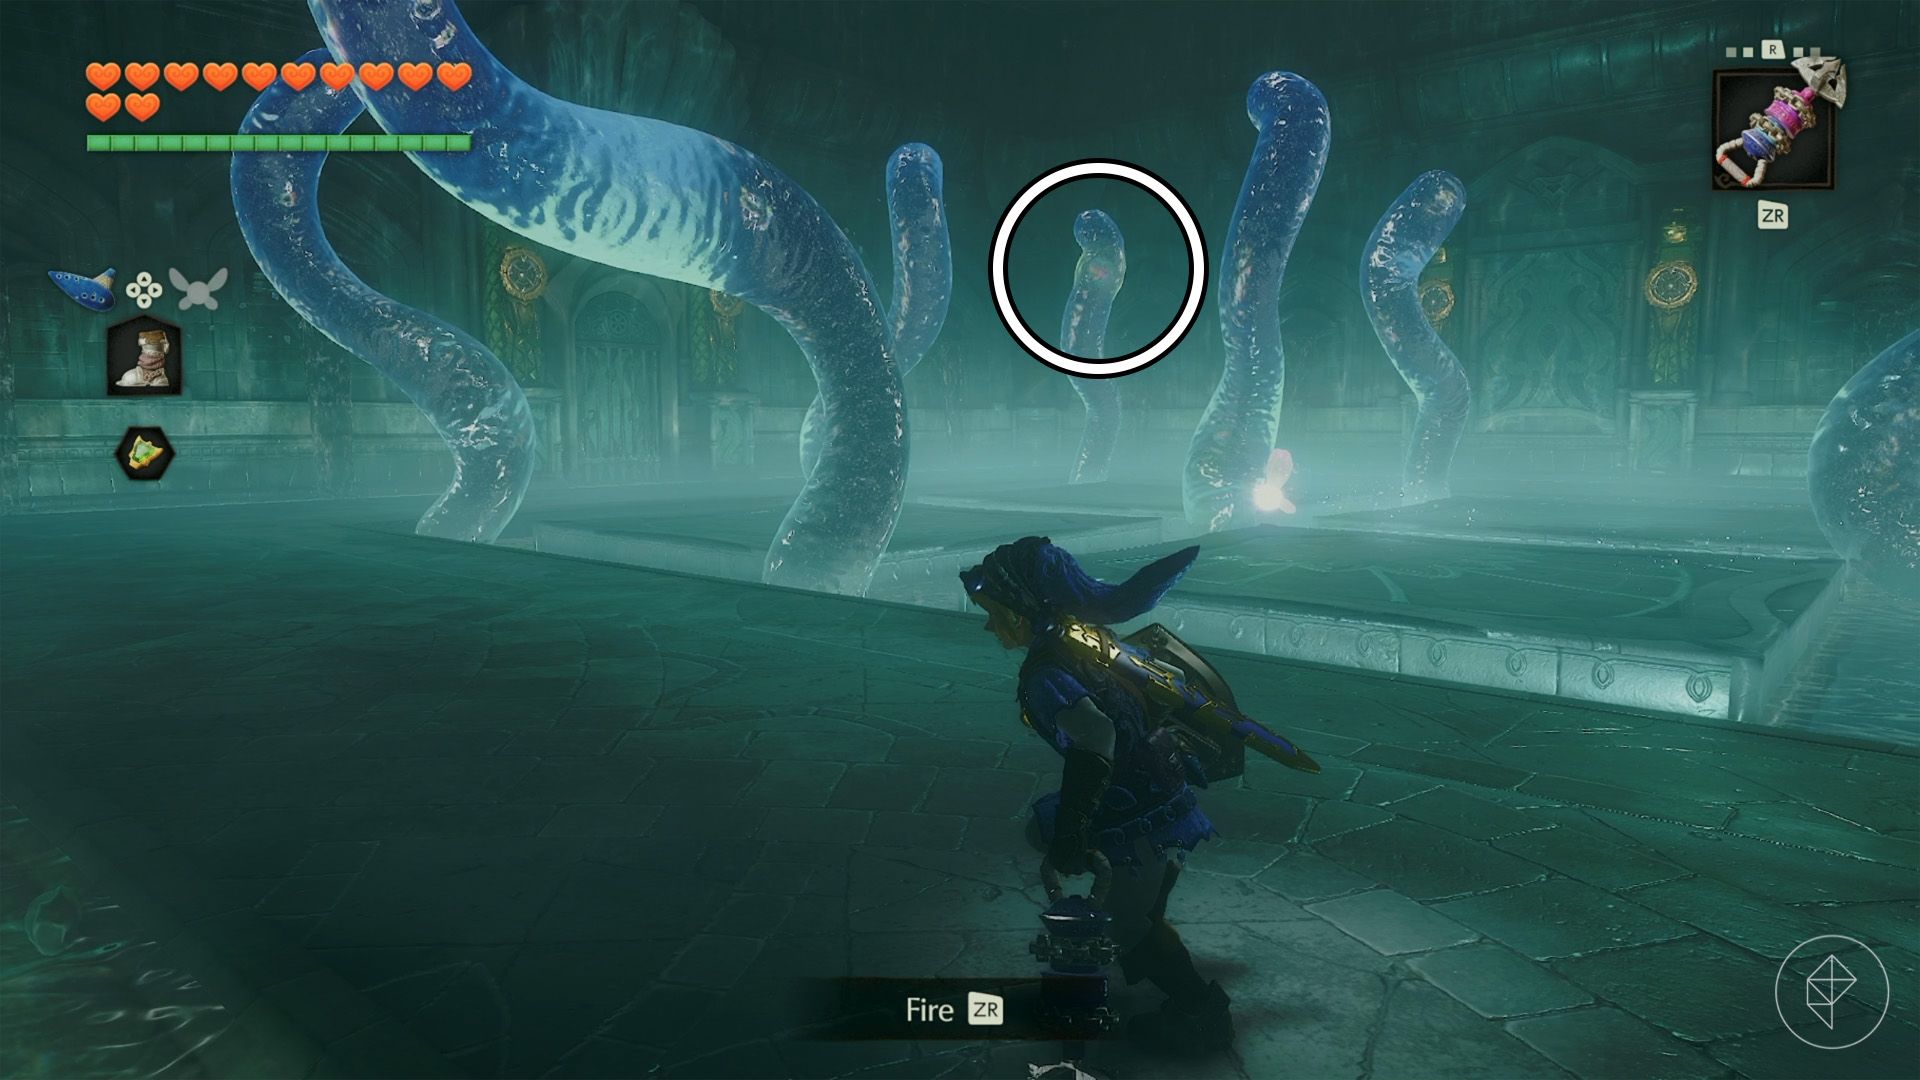
Next, several tentacles rise from the water, but only one contains Morpha. Find the orb and move toward it, keeping in mind that nearby tentacles will slam the ground. Use the wall targets to travel quickly with the Longshot. After the correct tentacle slams down, pull out Morpha and attack.
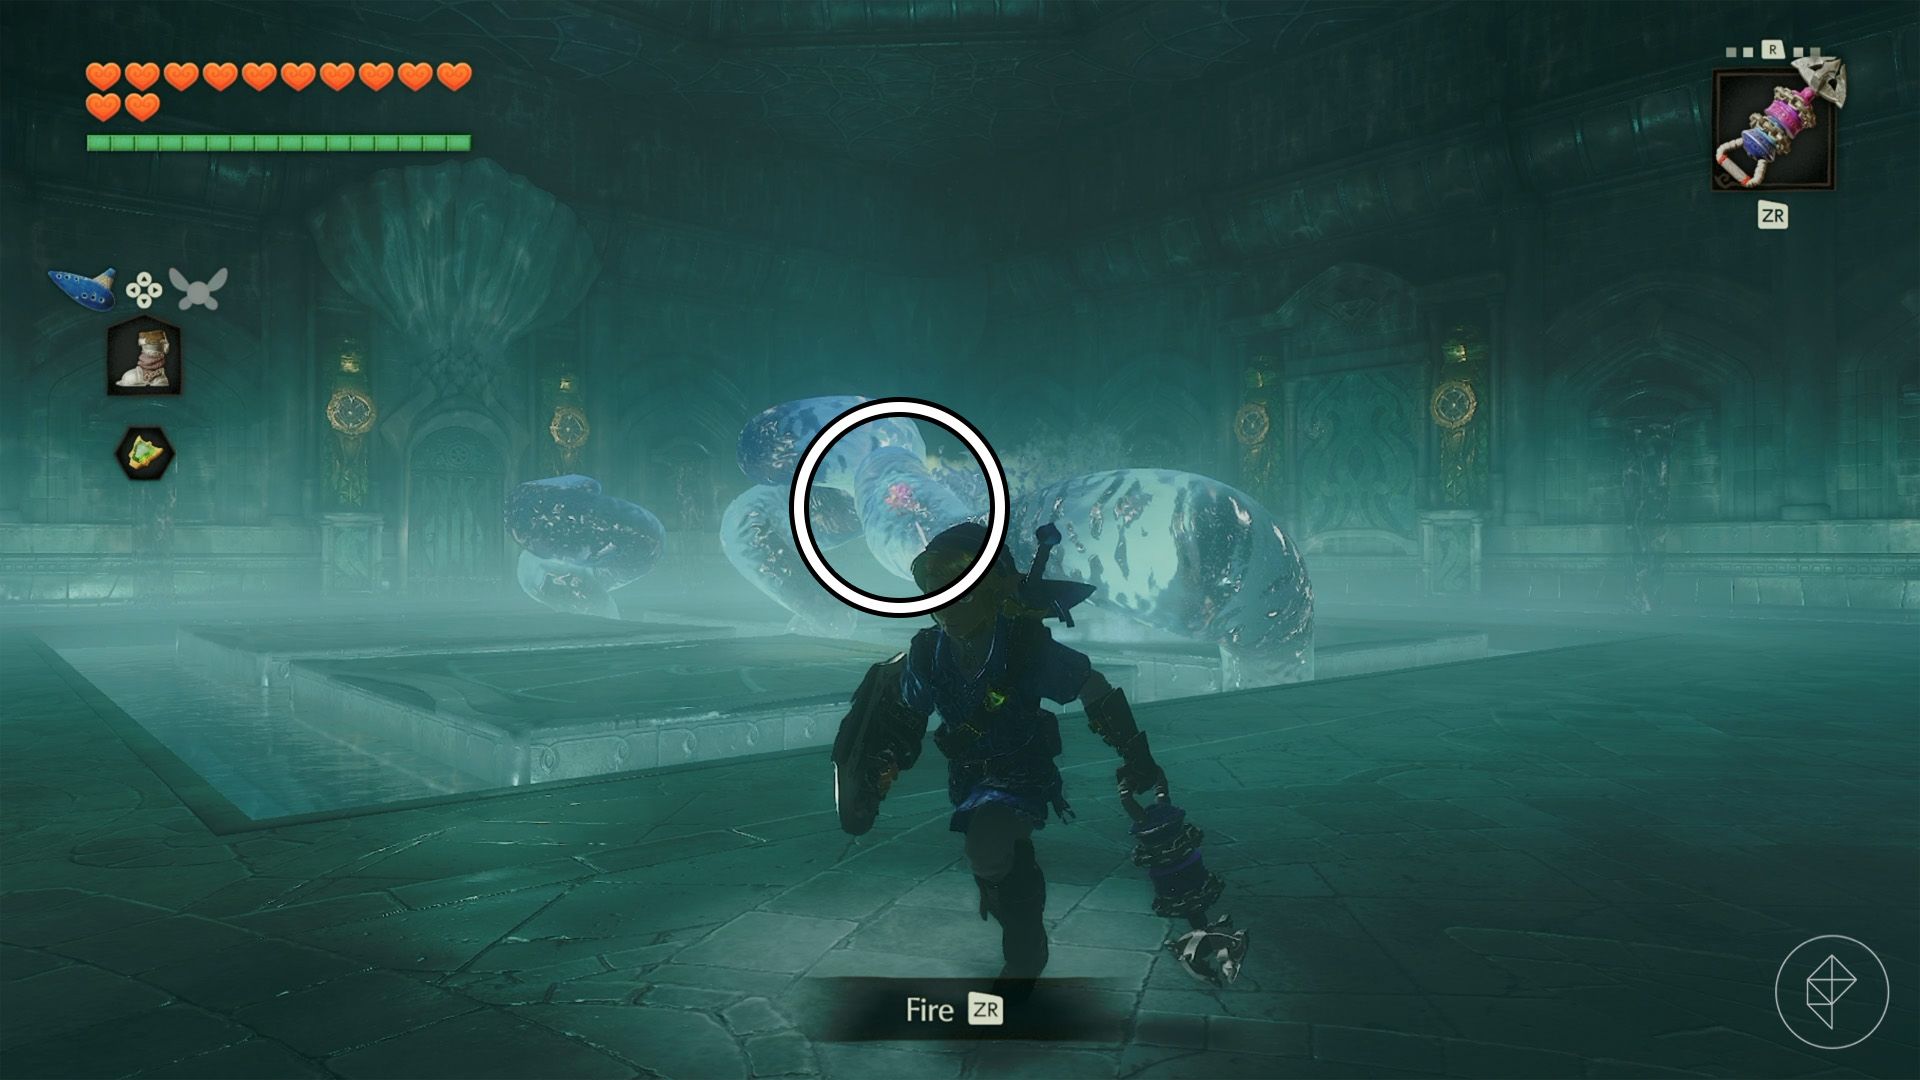
Morpha’s next attack produces three spinning tentacles, only one of which contains the orb. This time the tentacles come toward you. Evade them, then use the Longshot to pull out Morpha and strike. Enough repeated hits may finish the fight at this stage.
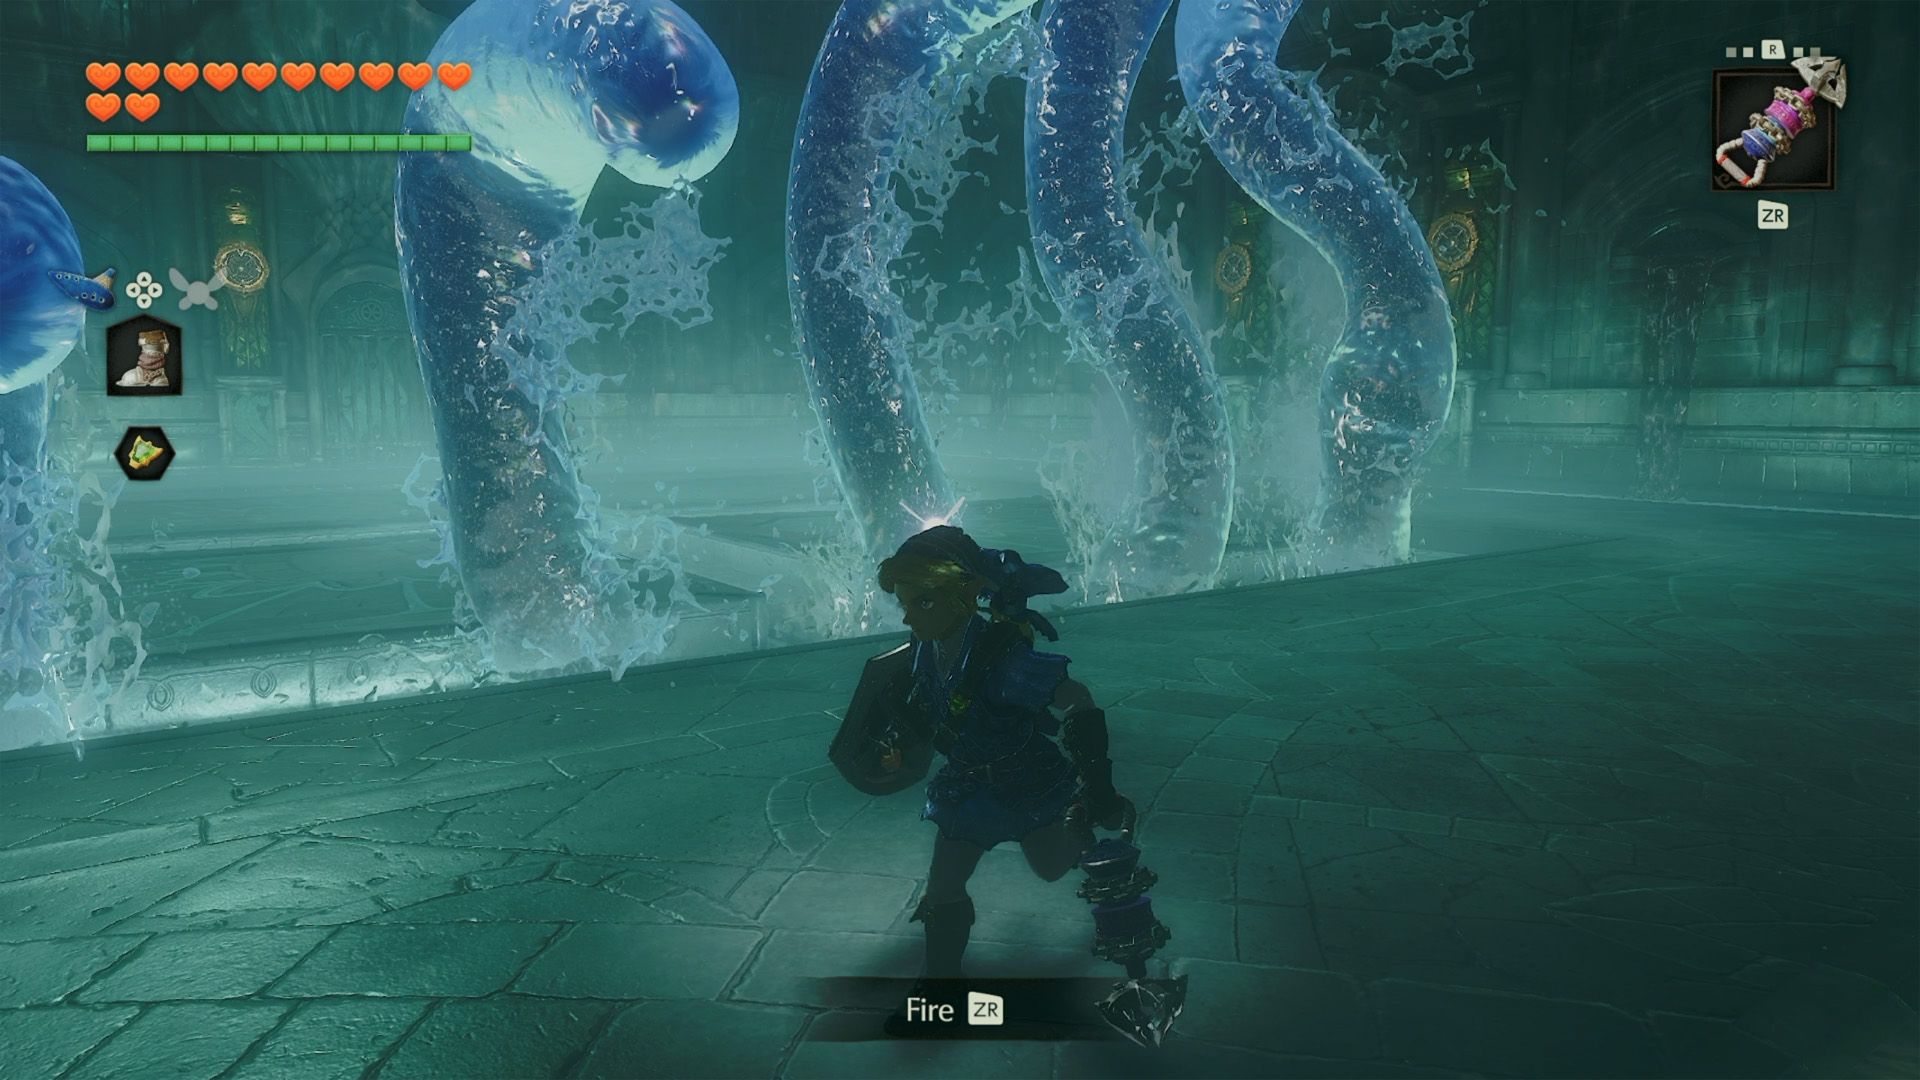
If Morpha survives, a wall of tentacles will rise and slam down together. Locate the orb, pull it out, and keep attacking until the boss is defeated.
Collect the Heart Container and leave the dungeon through the ring of light.
Source: Polygon
Related articles
 Famitsu Gives The Legend of Zelda: Ocarina of Time Remake 37 out of 40 in First Review
 Switch 2 Cartridge Manufacturer Exits the Market
 Microsoft’s Alligator Xbox May Be a GTA VI Marketing Workaround
 Analysts Say Gran Turismo 7 Is Not on PS Plus Because It Has Earned Sony Hundreds of Millions of Dollars
 Mike Flanagan Hints at Unexpected Approach to Warhammer 40,000 Series Starring Henry Cavill
 The Legend of Zelda: Ocarina of Time – Shadow Temple Dungeon Walkthrough
 Ganondorf’s Castle Walkthrough in The Legend of Zelda: Ocarina of Time
 The Legend of Zelda: Ocarina of Time — Spirit Temple Dungeon Walkthrough