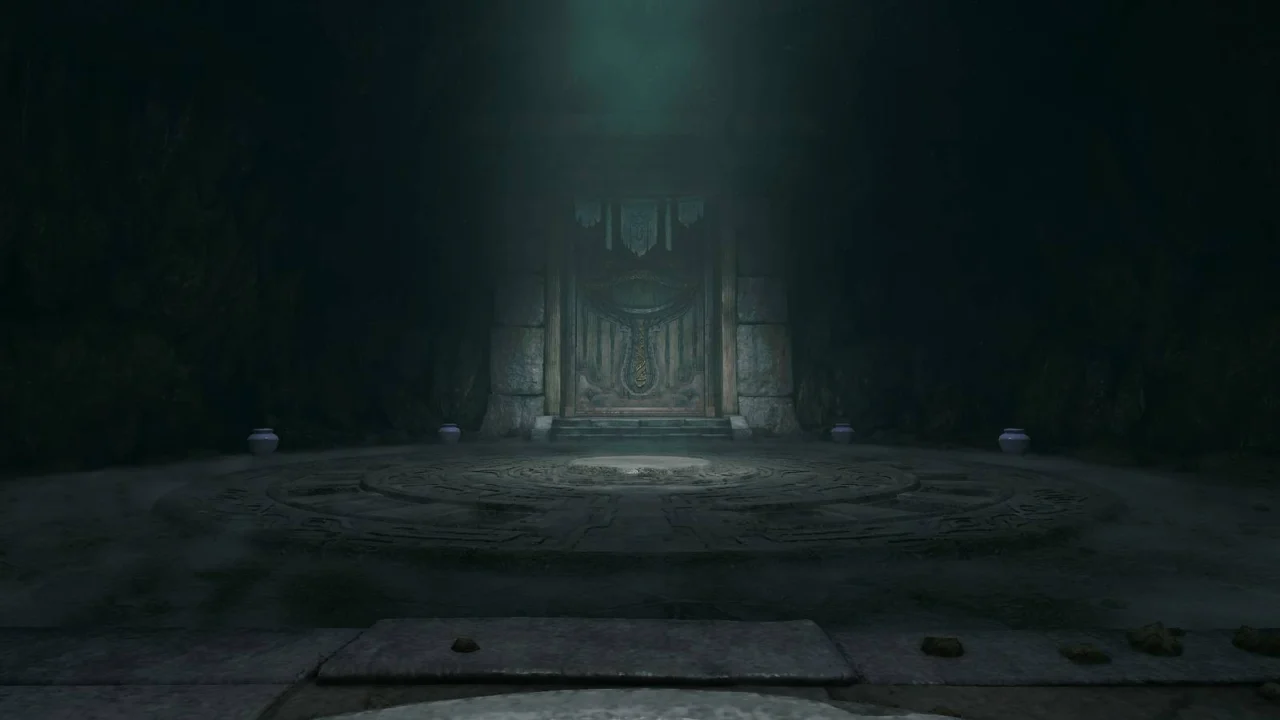
The Legend of Zelda: Ocarina of Time – Shadow Temple Dungeon Walkthrough
The Shadow Temple is one of the dungeons you can explore after traveling into the future in the The Legend of Zelda: Ocarina of Time remake.
Appearances can be deceiving here. Hidden traps, false walls, invisible enemies, and unreliable floors make the temple a dangerous place to navigate. Fortunately, the Hover Boots will help you cross some of its most treacherous gaps.
Follow this walkthrough to find the temple’s treasures and defeat its boss.
Part 1: Finding the dungeon map
Before entering, collect the Lenses of Truth from the Bottom of the Well and Din’s Fire from the Great Fairy Fountain at the top of Death Mountain. If you want every Gold Skulltula token, you’ll also need the Scarecrow Song from Lake Hylia.
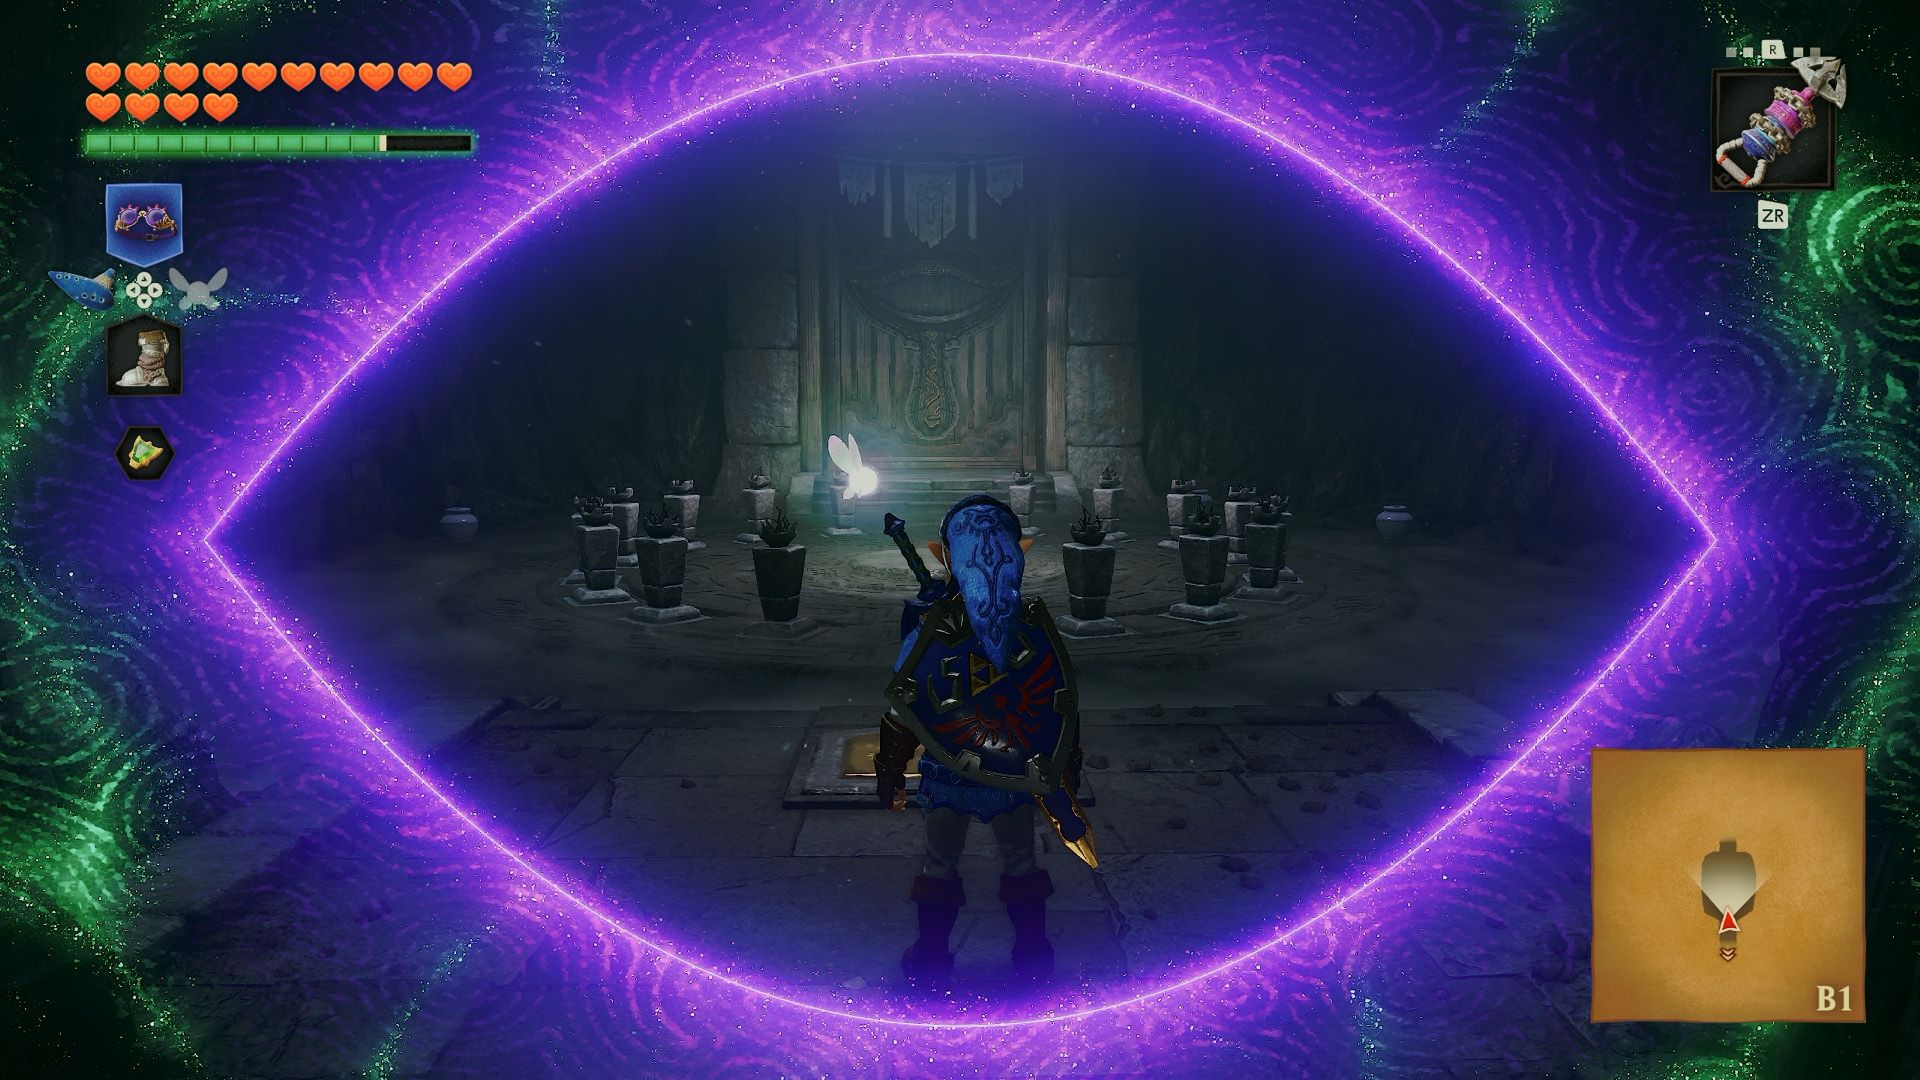
At the entrance, use the Lenses of Truth to reveal a circle of unlit torches. Stand on the central platform and cast Din’s Fire to light them all.
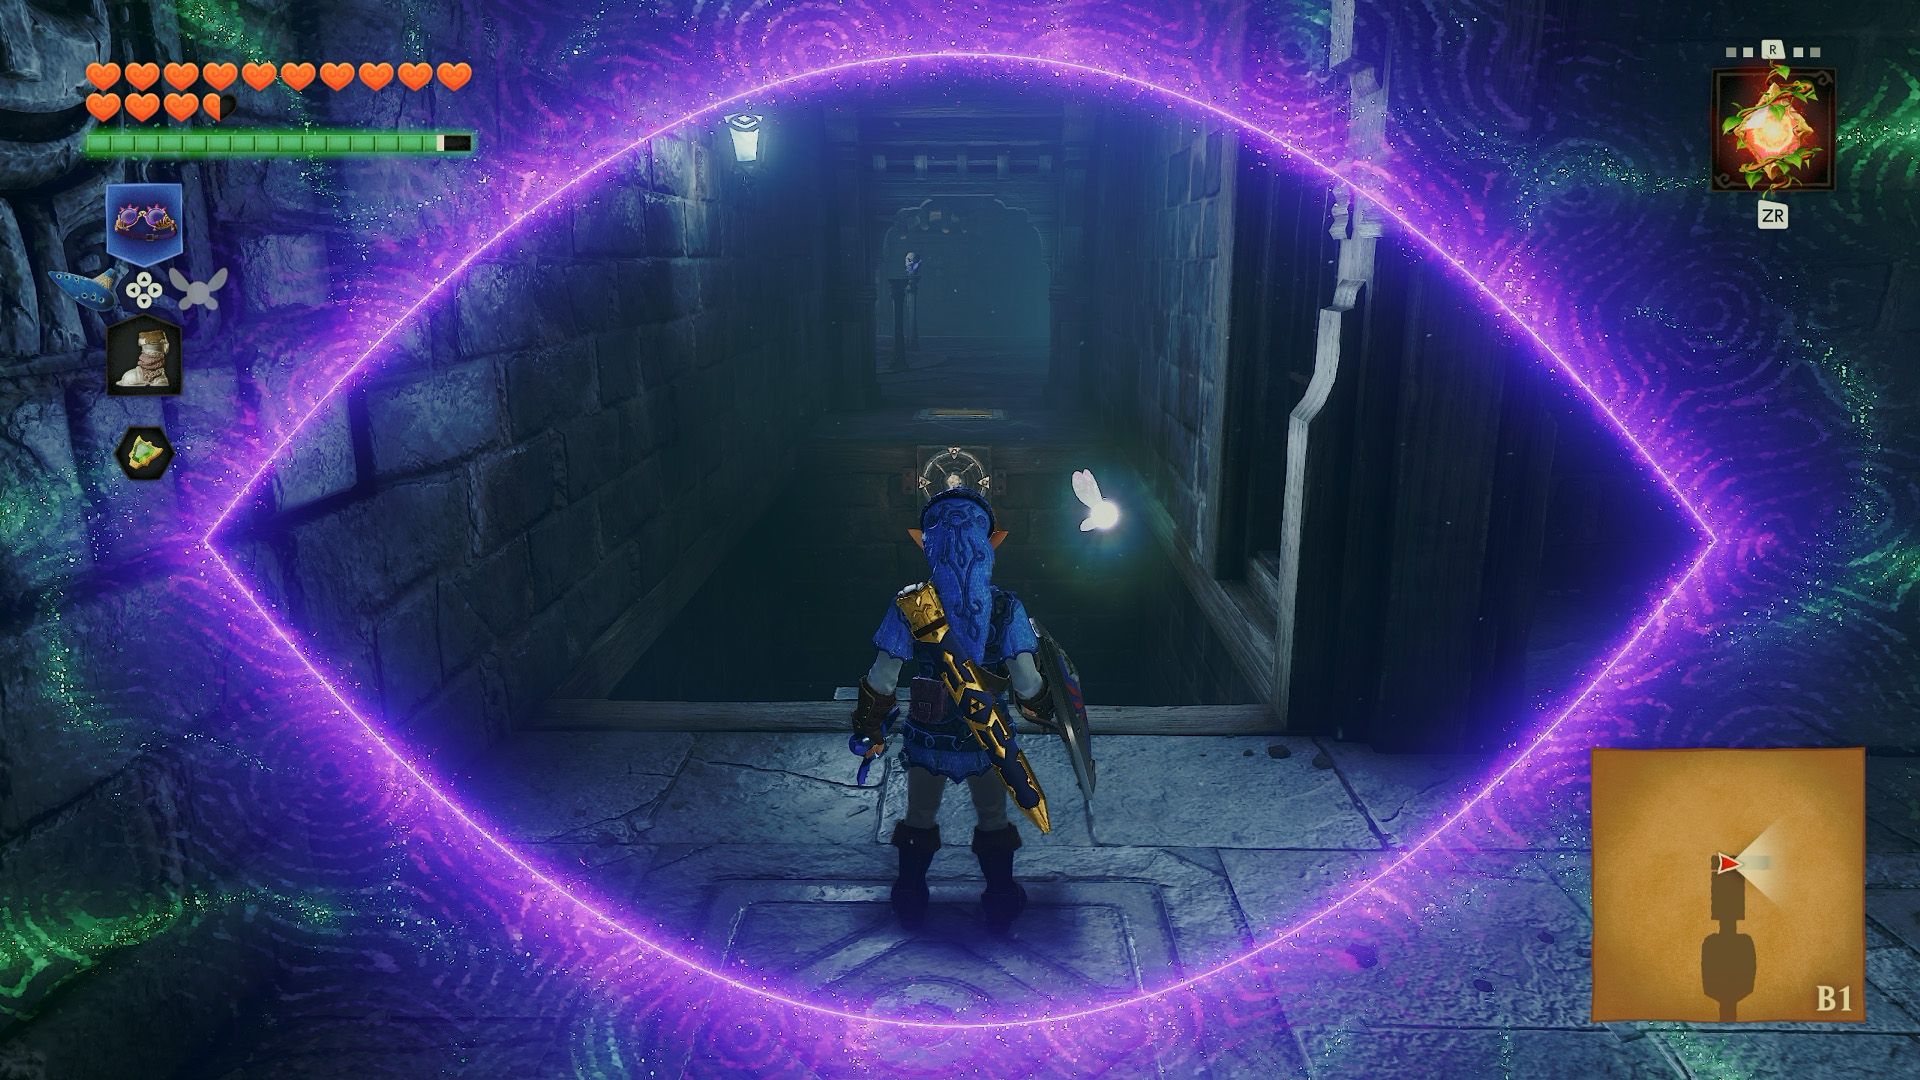
Enter the Shadow Temple, watching for Flying Pots in the first hallway. Use the Longshot on the target, then walk through the false wall ahead.
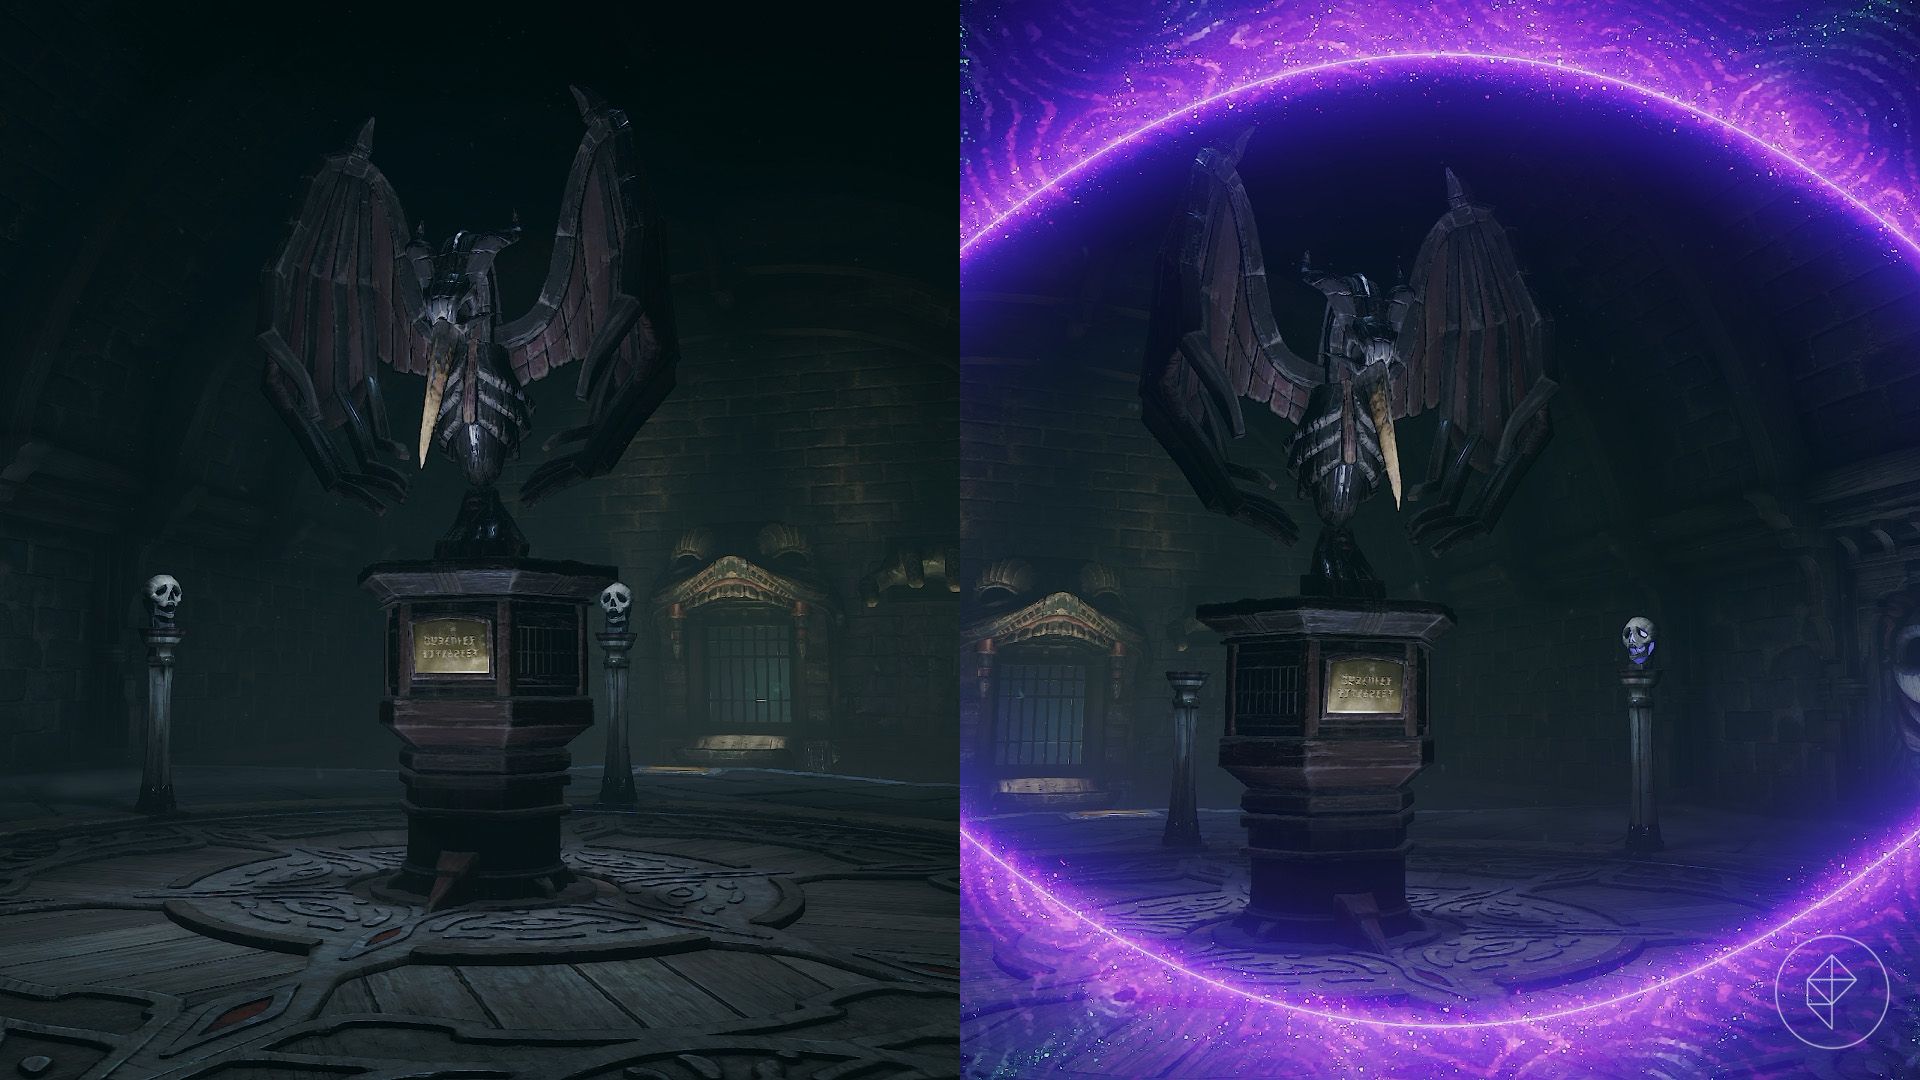
In the next room, a vulture statue stands surrounded by skull-topped podiums. Its plaque hints that the beak must point toward the true skull. Use the Lenses of Truth to identify the only podium whose skull remains visible, then rotate the statue’s beak toward it. A door across the room will open.
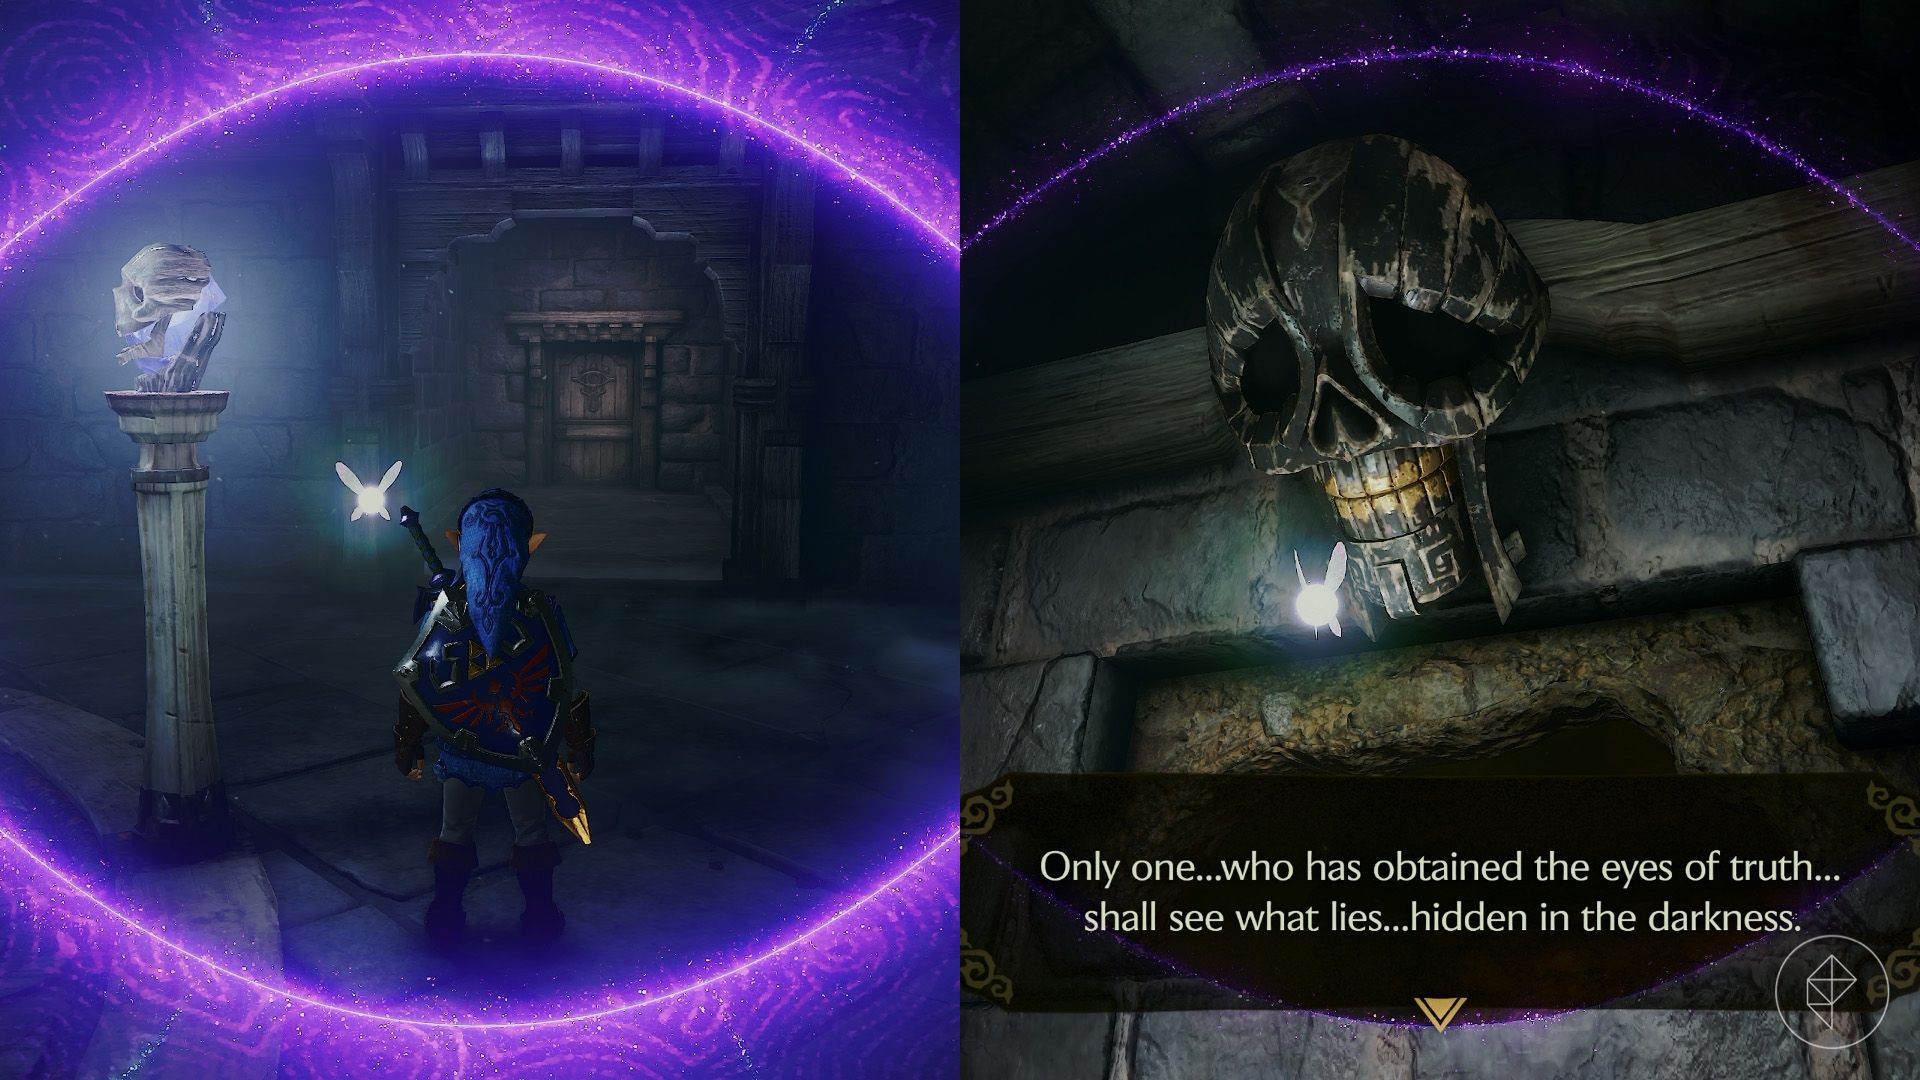
The pit in front of that door is real, so don’t try to jump across it yet. Instead, pass through the false wall in the room’s northwest corner. Open the door and interact with the skull on the ceiling for a hint about the Lenses of Truth.
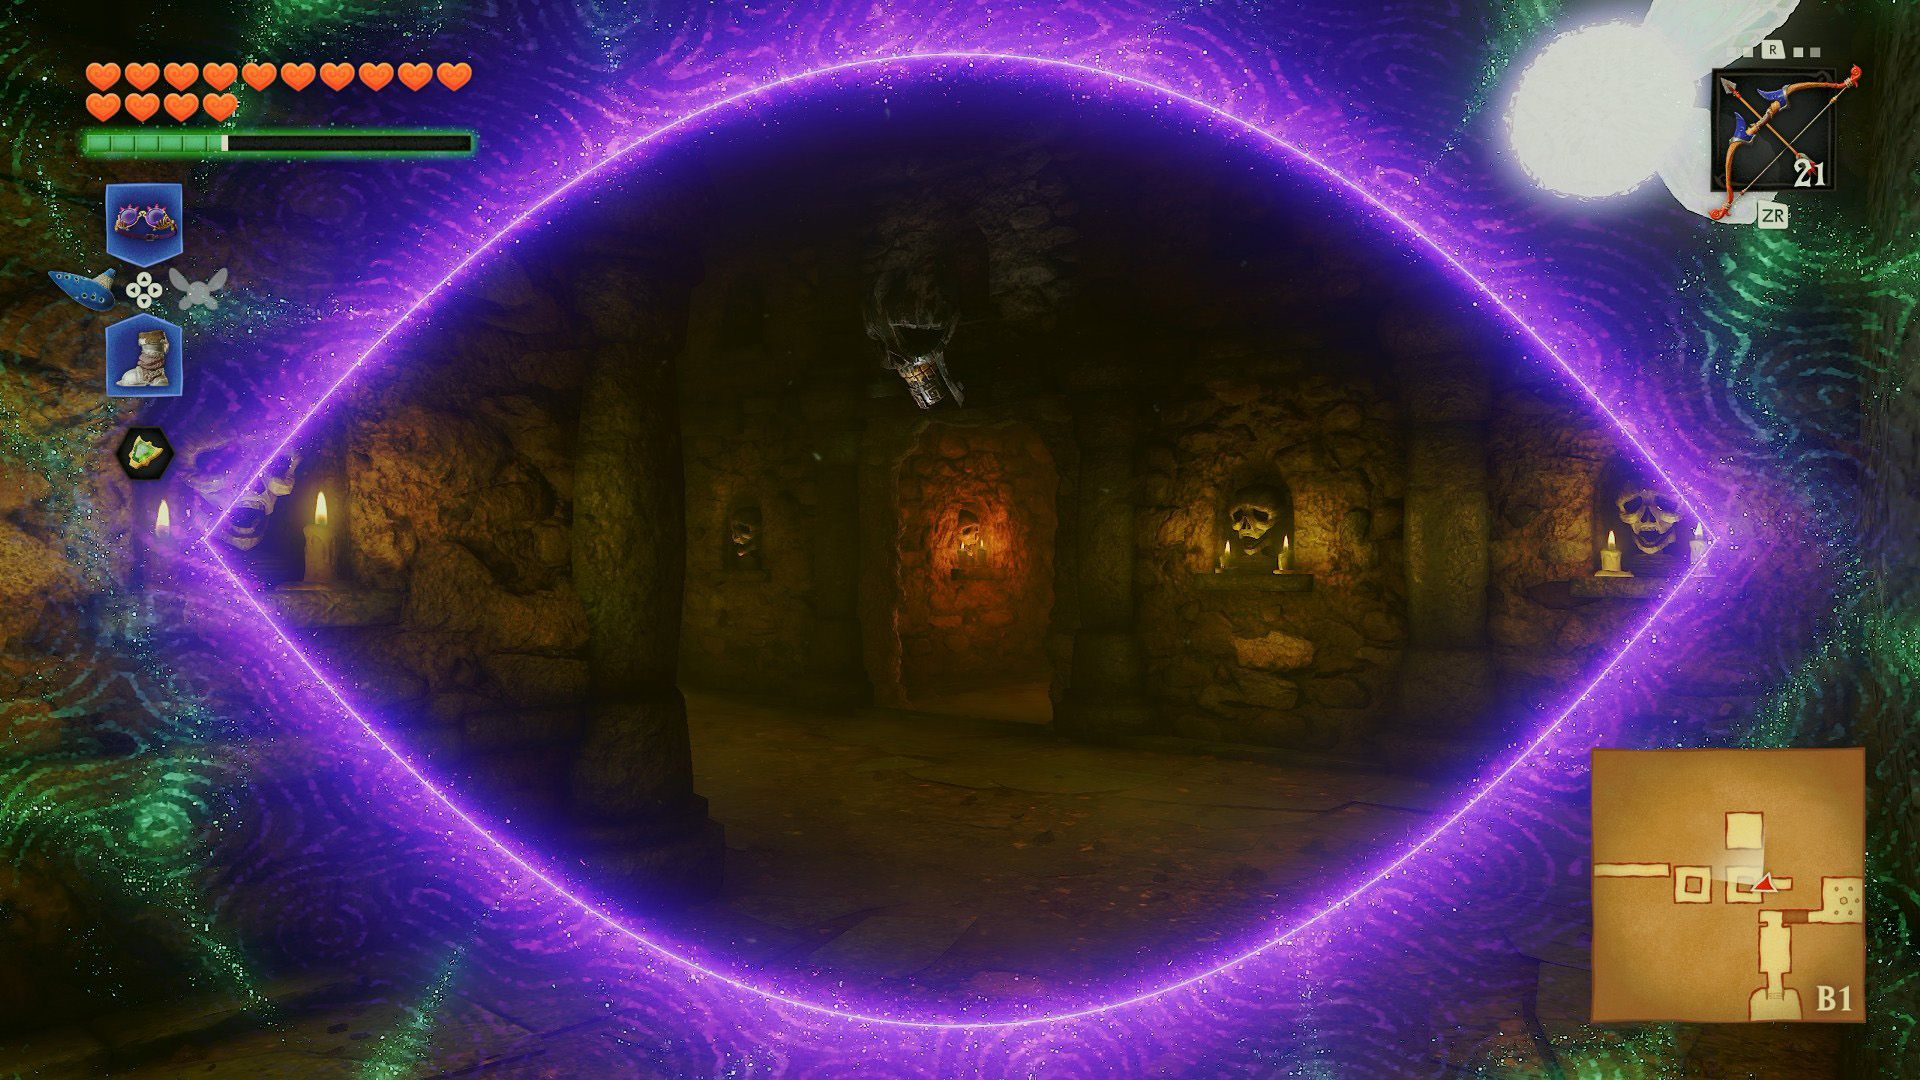
Use the Lenses of Truth to find the hidden northern passage beneath the large skull on the wall. Go through the door to face a ReDead and two Keese. Play the Sun’s Song (A – R – X – A – R – X) to stun the ReDead, then defeat all three enemies. Open the chest that appears to collect the dungeon map.
Part 2: Getting the Hover Boots
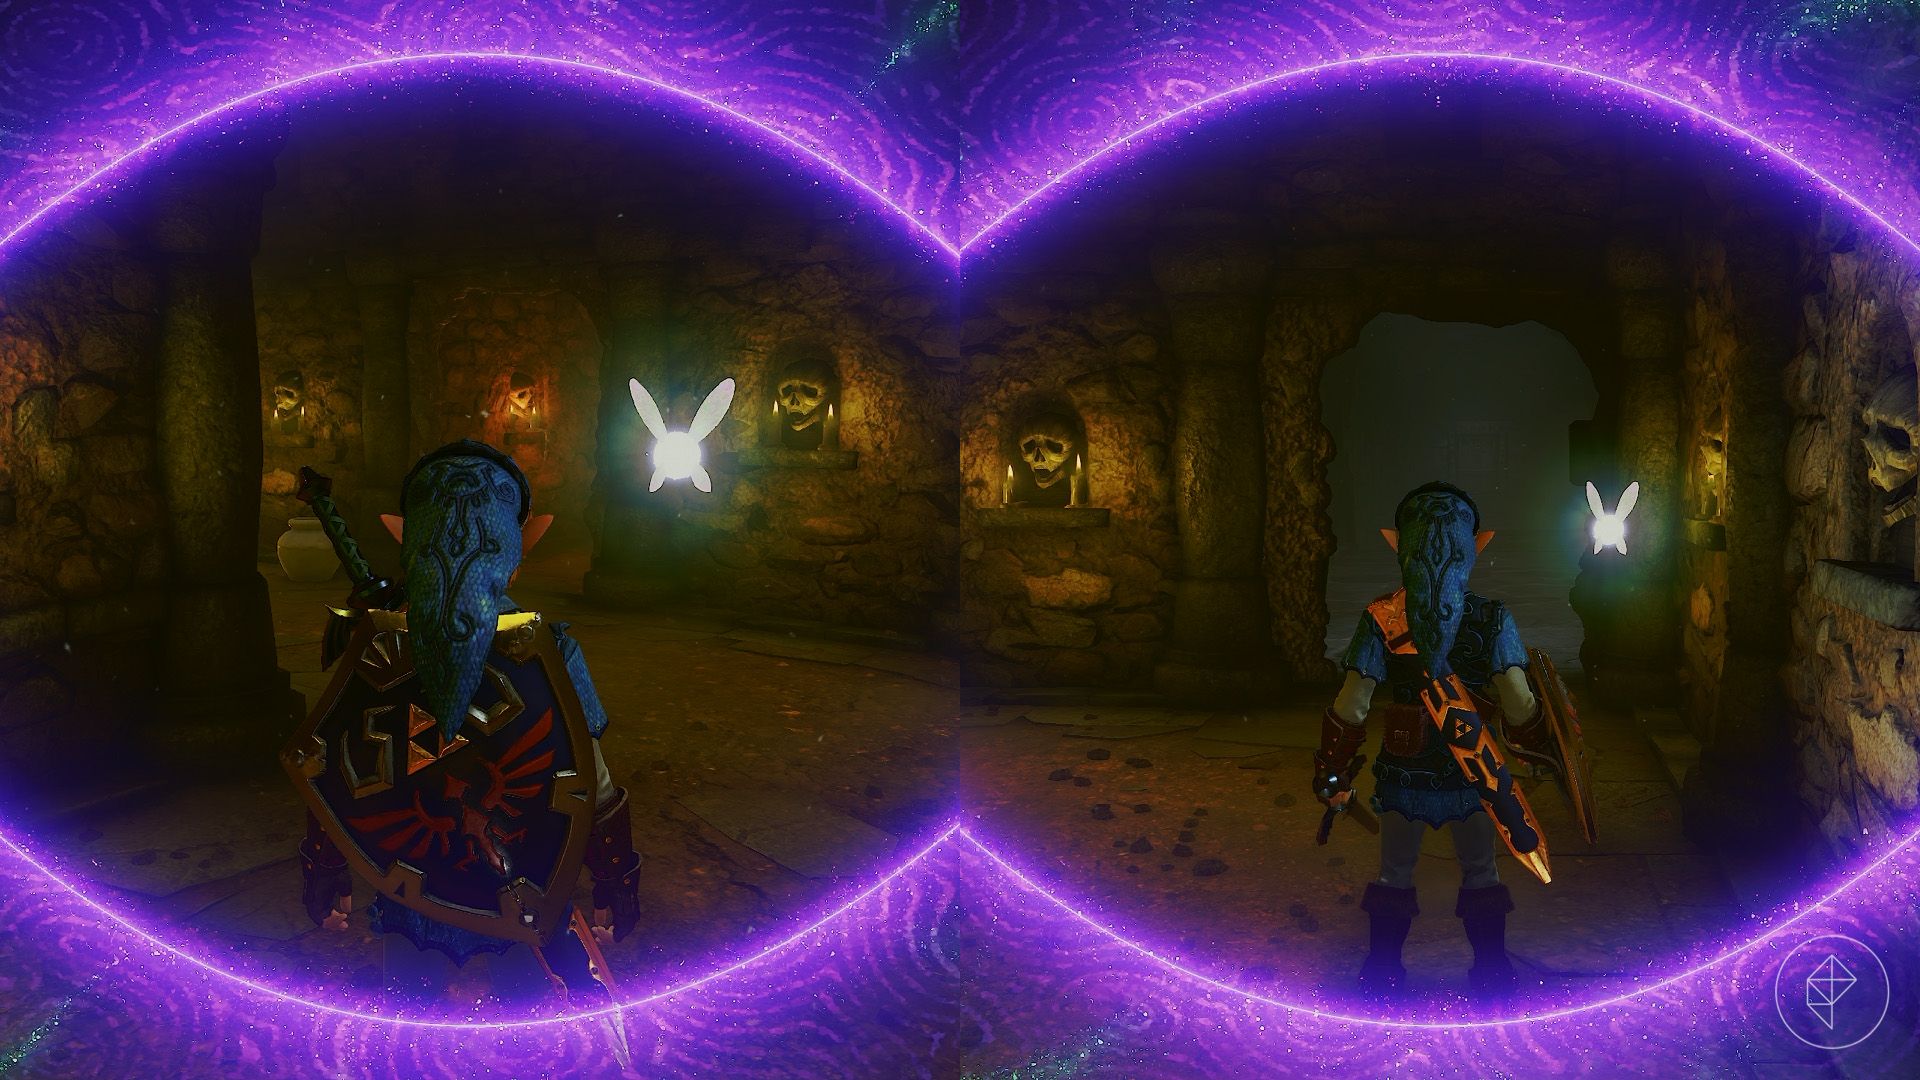
Return to the previous room and use the Lenses of Truth to uncover a western passage. In the following room, look for another hidden route in the northwest corner. Continue down the hall; one floor tile will sink beneath you, but the drop is not fatal.
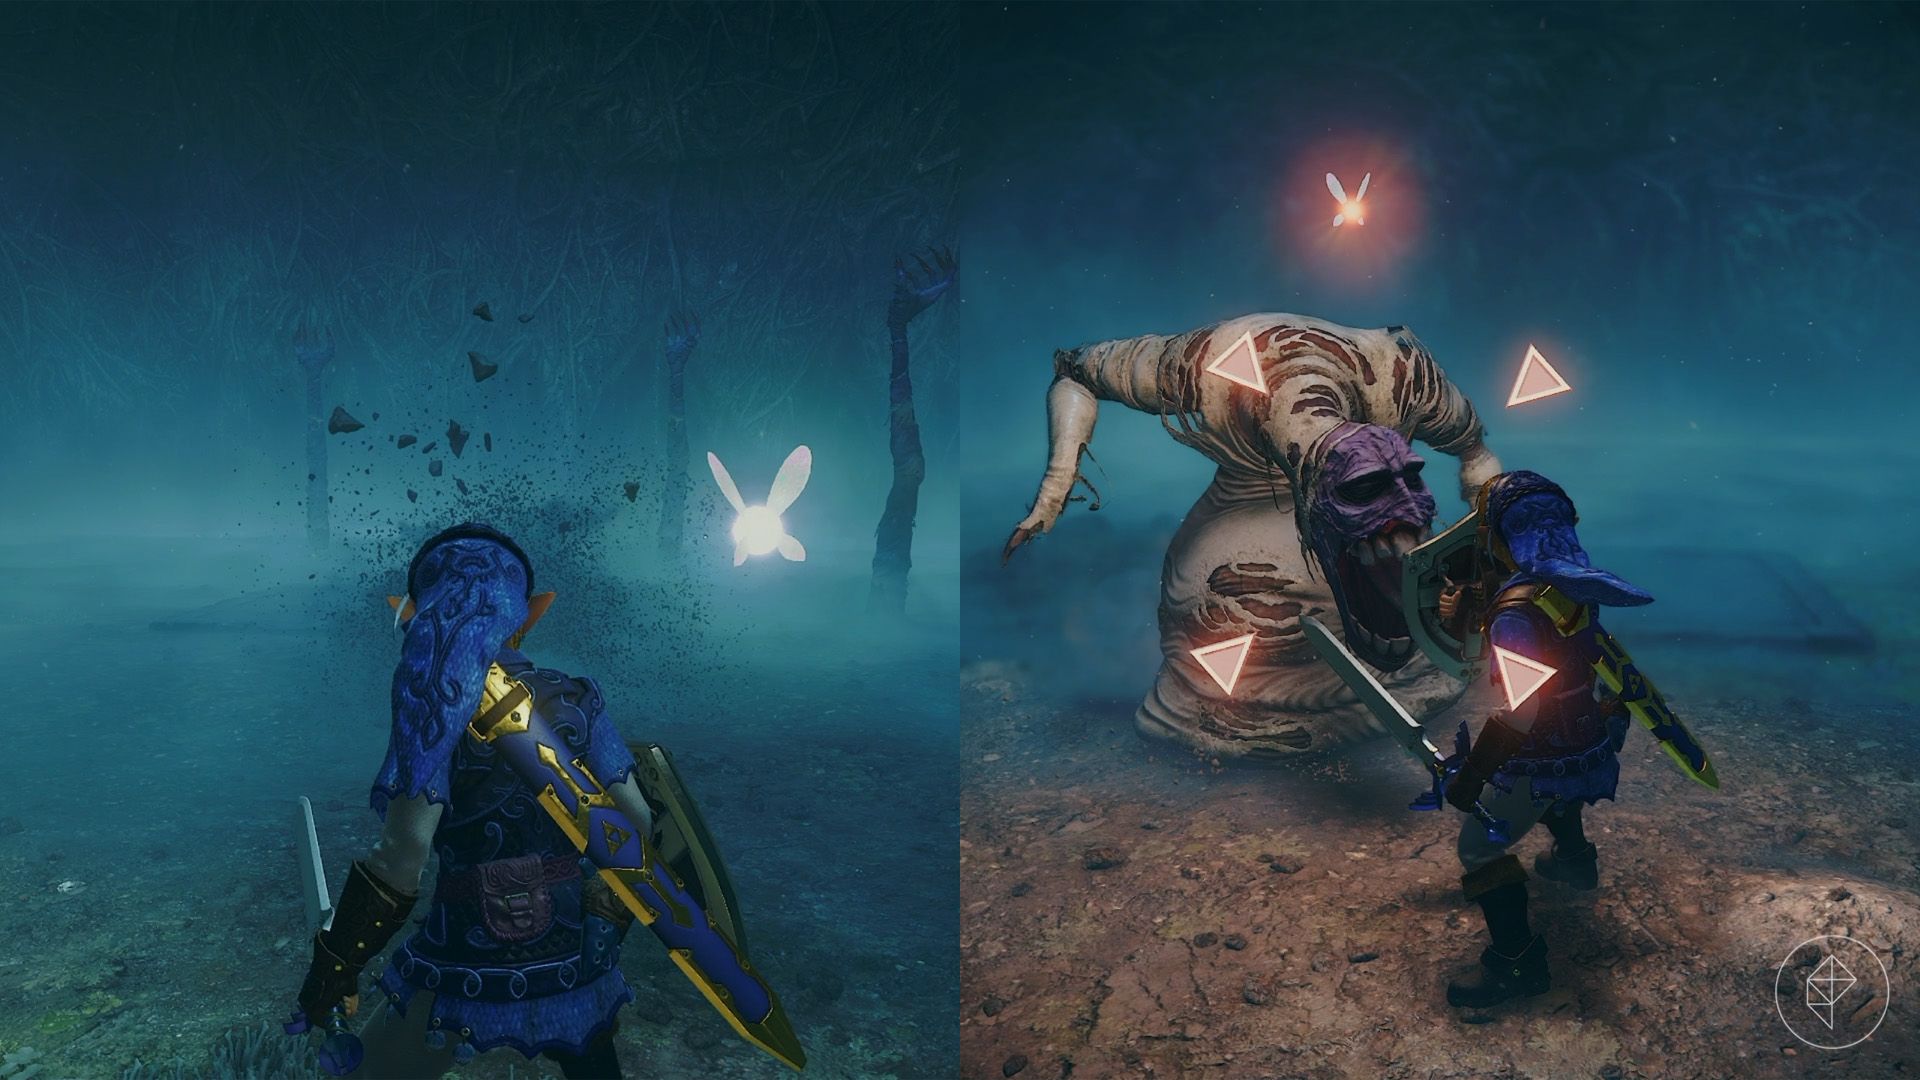
Go through the door to confront Dead Hand. Several arms emerge from the floor first. If you have enough magic, stand on the central platform and cast Din’s Fire to eliminate them at once.
When Dead Hand’s body appears, wait for it to approach and lower its head. Strike its face until it retreats, then repeat the process as the arms return. Once it is defeated, open the chest for the Hover Boots, which let you walk briefly over open air.
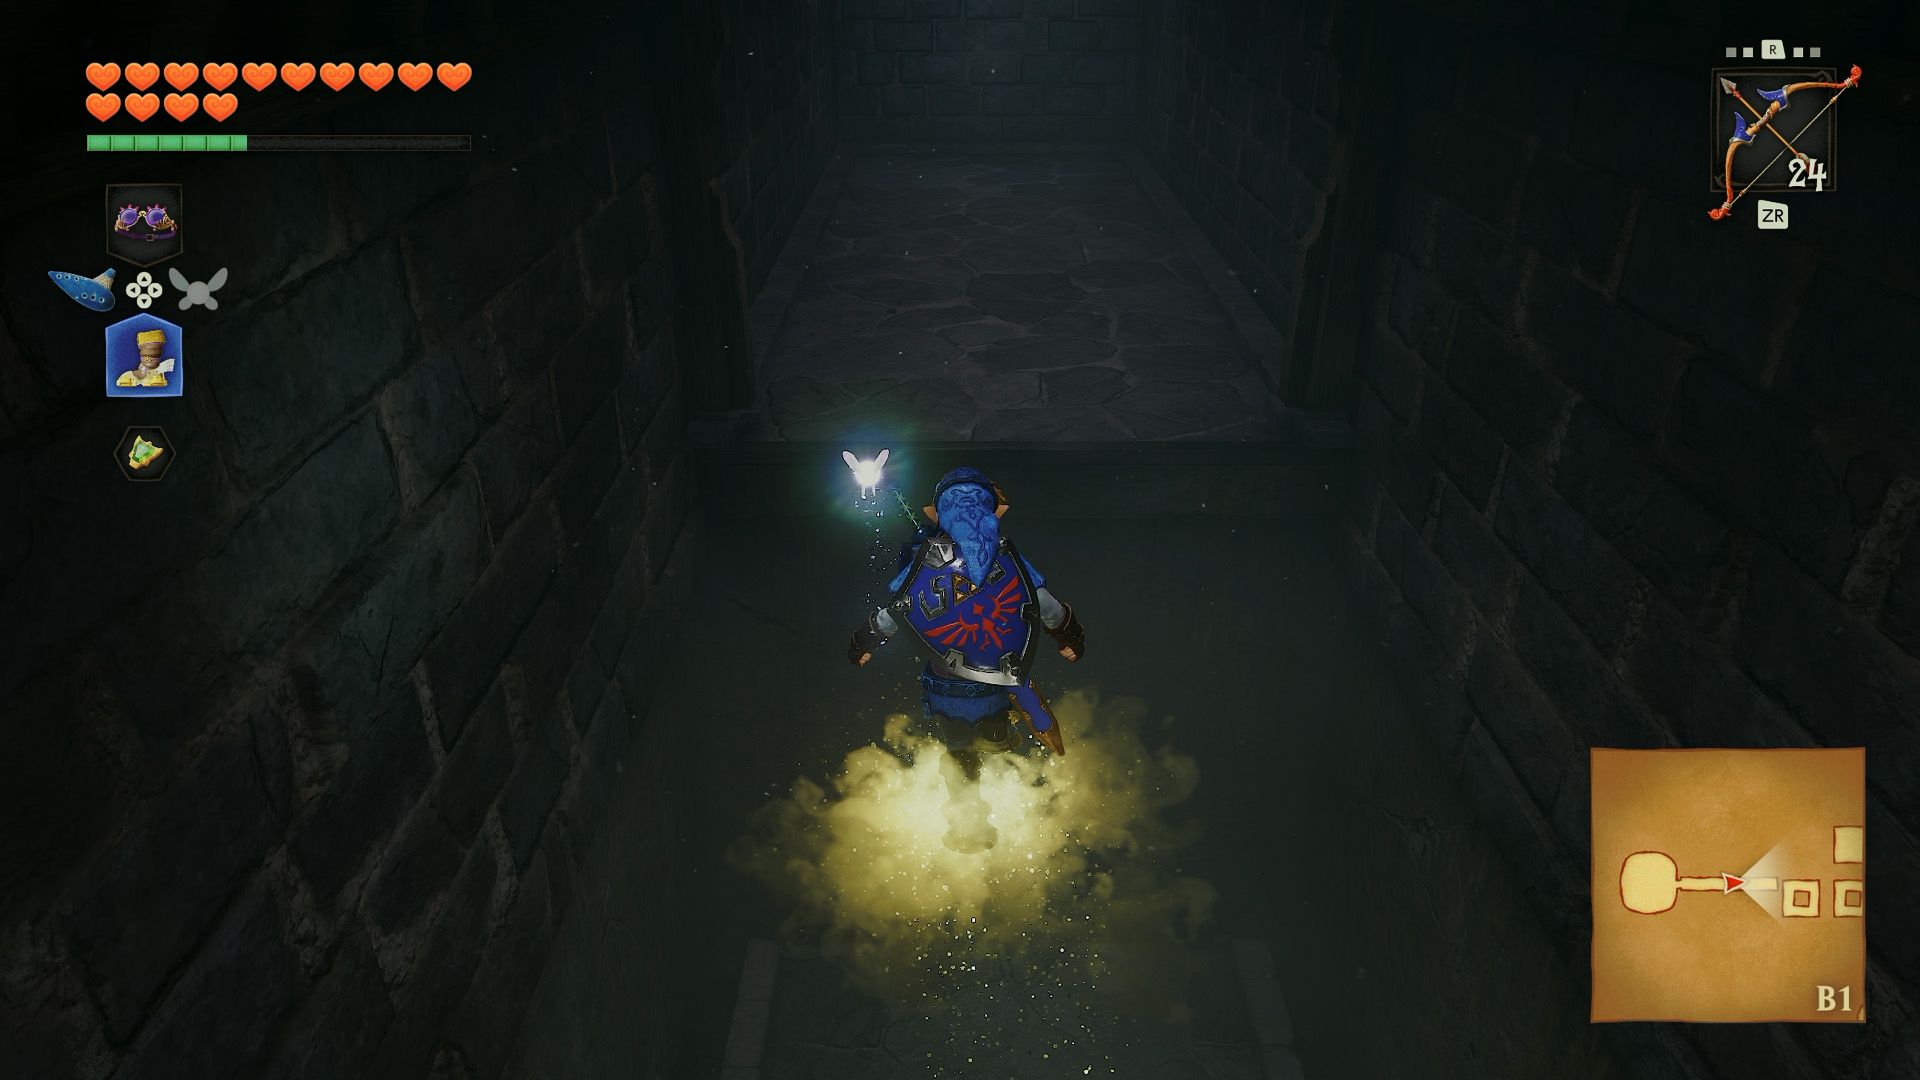
Equip the boots and walk off a ledge to use them. They only keep you aloft for a short time, so watch the distance. Leave the room, cross the sinking floor tile with the boots, and return to the vulture statue.
Part 3: Finding the compass
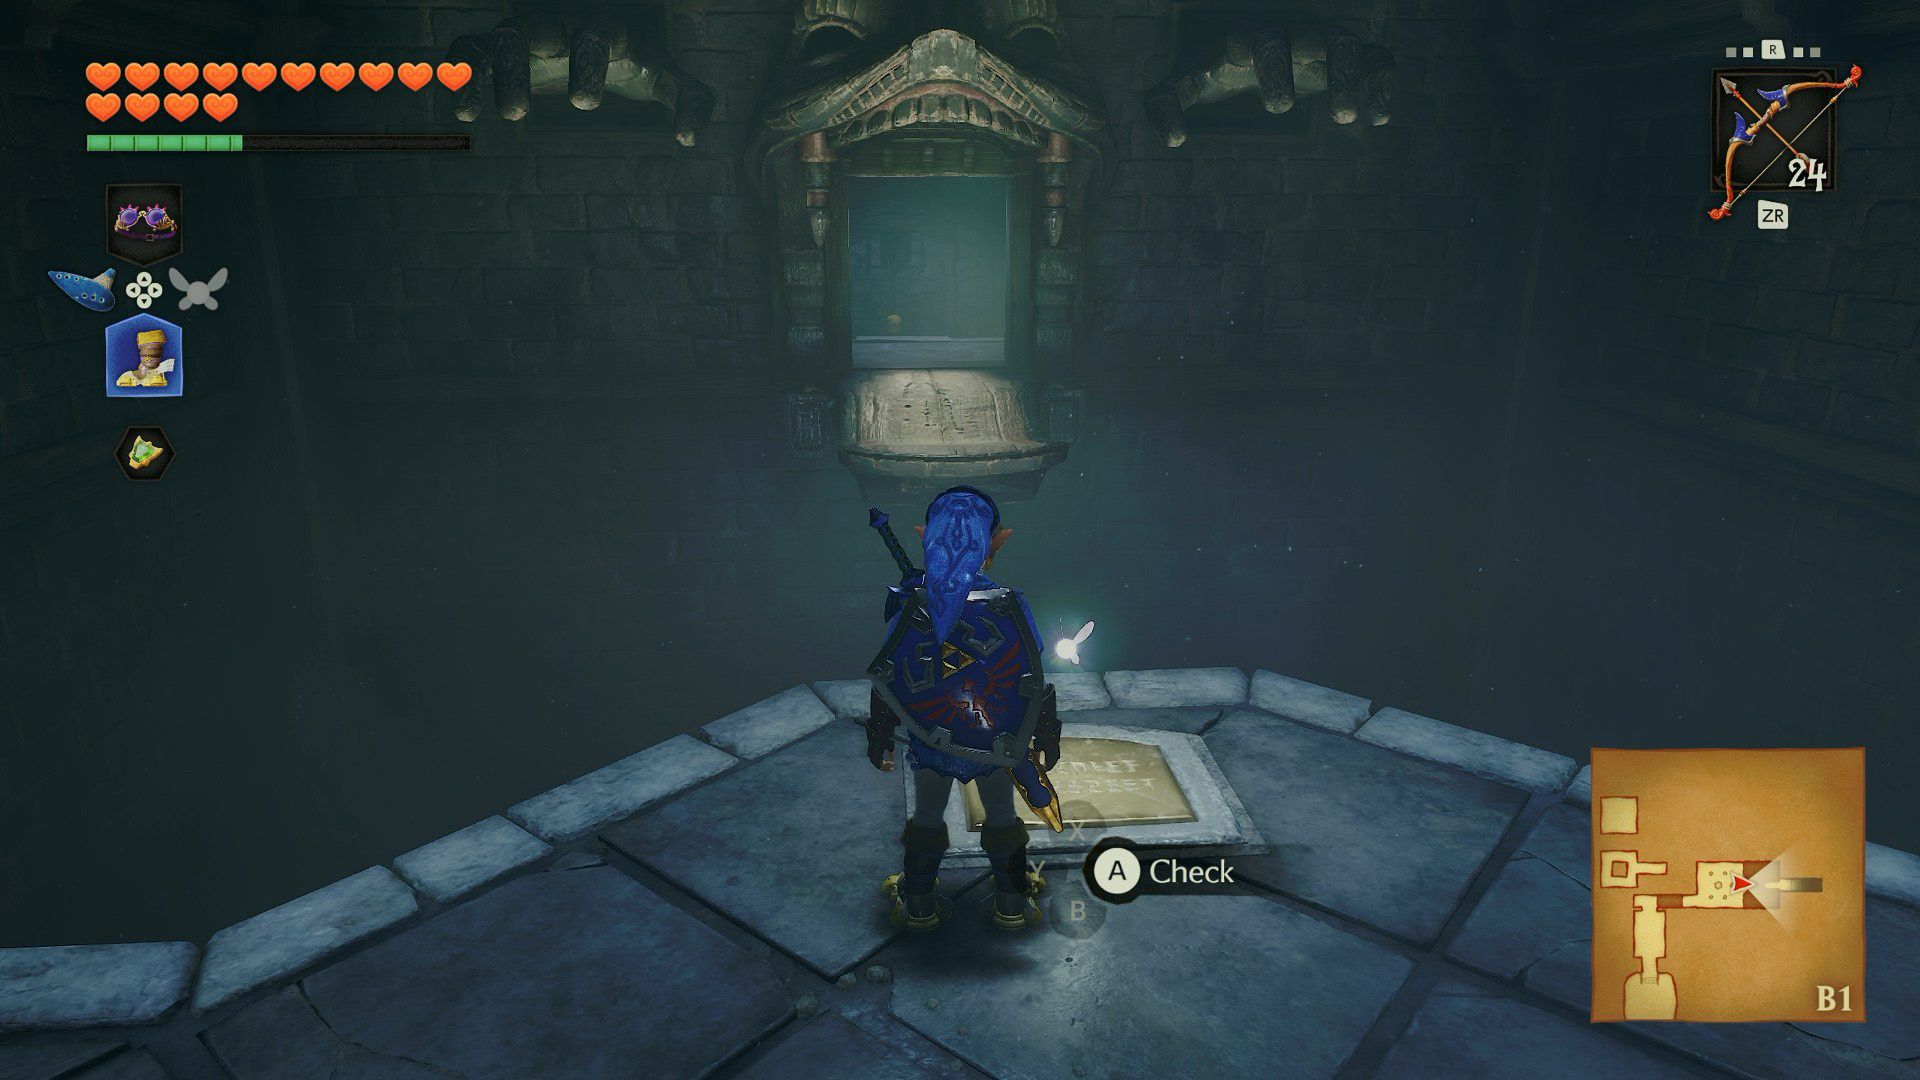
With the Hover Boots equipped, cross the gap to the open door. Destroy the Beamos in the next room with a bomb. There are false walls to the north and south and a rock wall to the east.
Take the southern passage first. Stun the two ReDead with the Sun’s Song (A – R – X – A – R – X), defeat them, and open the resulting chest for the compass.
Part 4: Progressing through B3
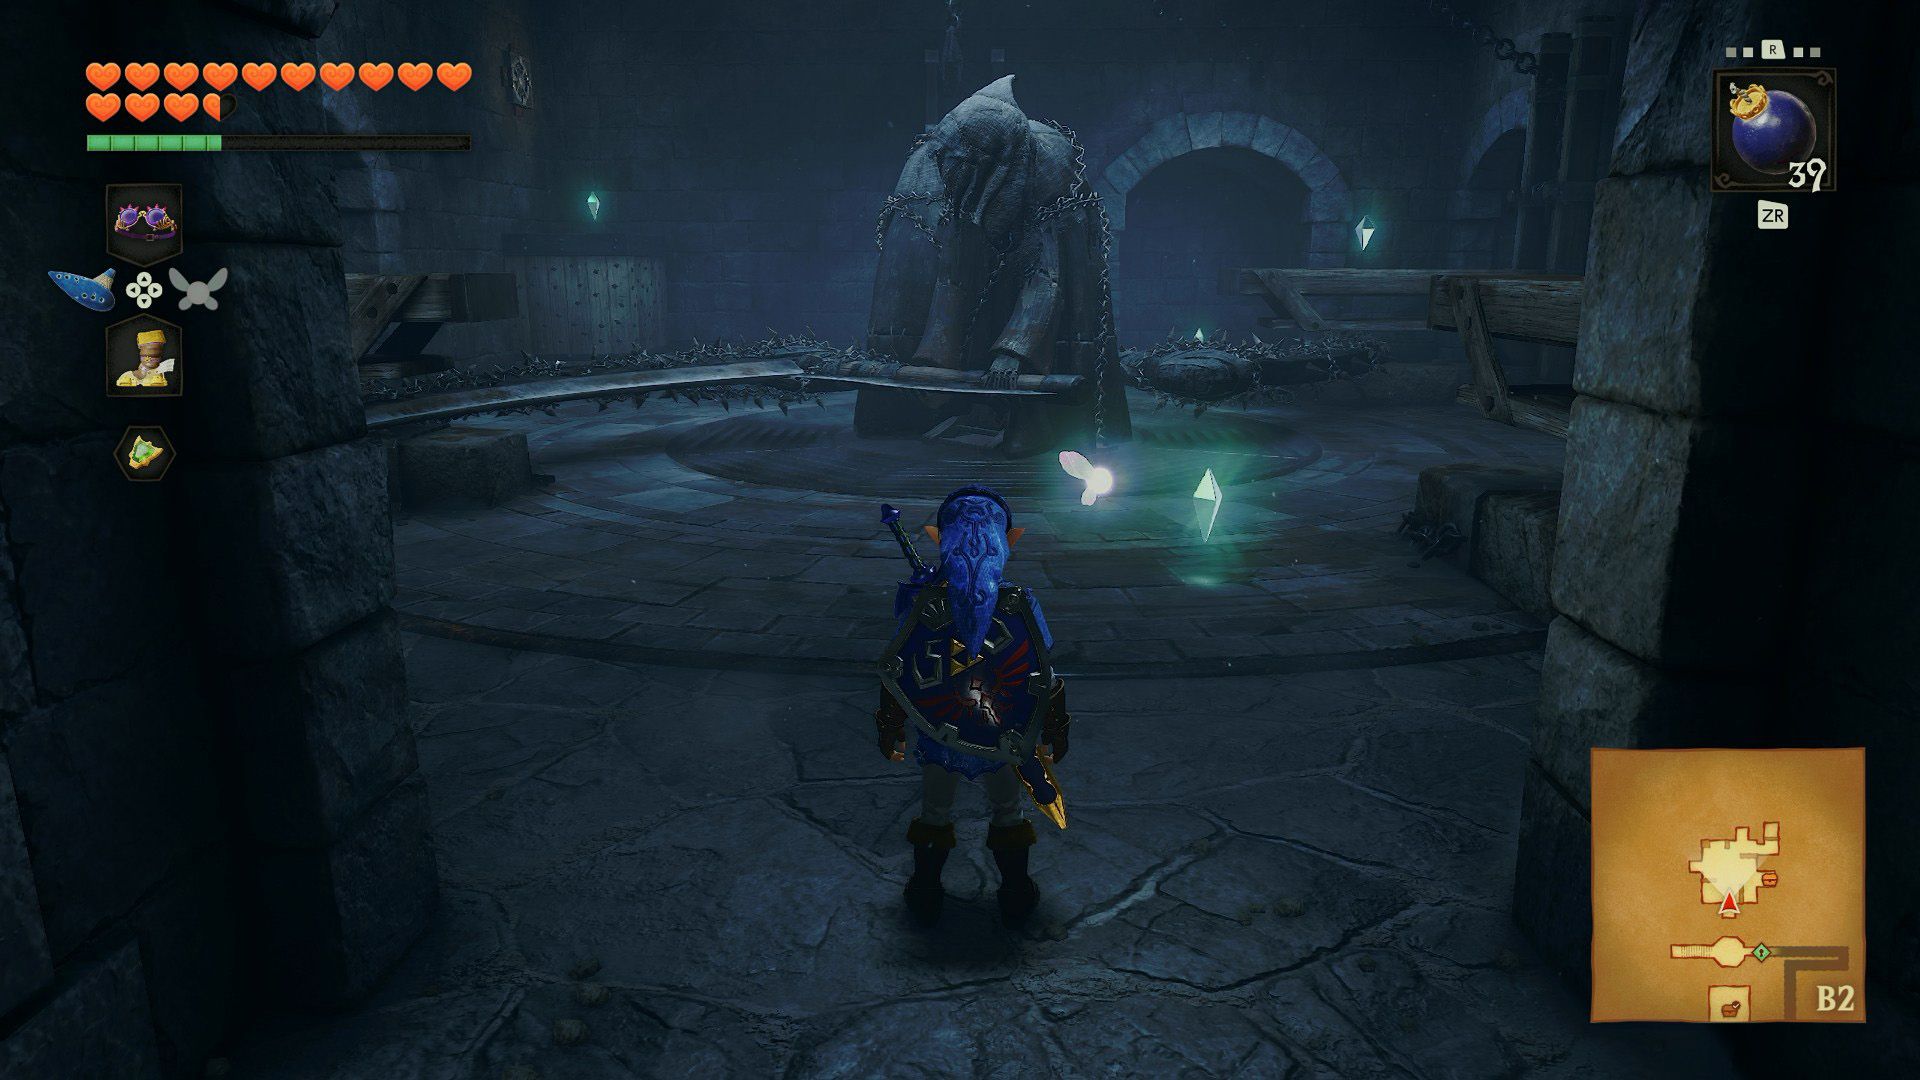
Return to the Beamos room and head north. Collect five crystals while avoiding the two rotating scythe statues. Jump onto the platforms to stay clear of their blades. Once you have all five, open the chest for a small key. You can’t do anything with the hole in the northeast corner yet.
Go back and destroy the eastern rock wall. Unlock the door and follow the passage, taking care around the Skulltulas and guillotines. Move past each blade as it begins to rise. At the end, ride the elevator down to another set of guillotines.
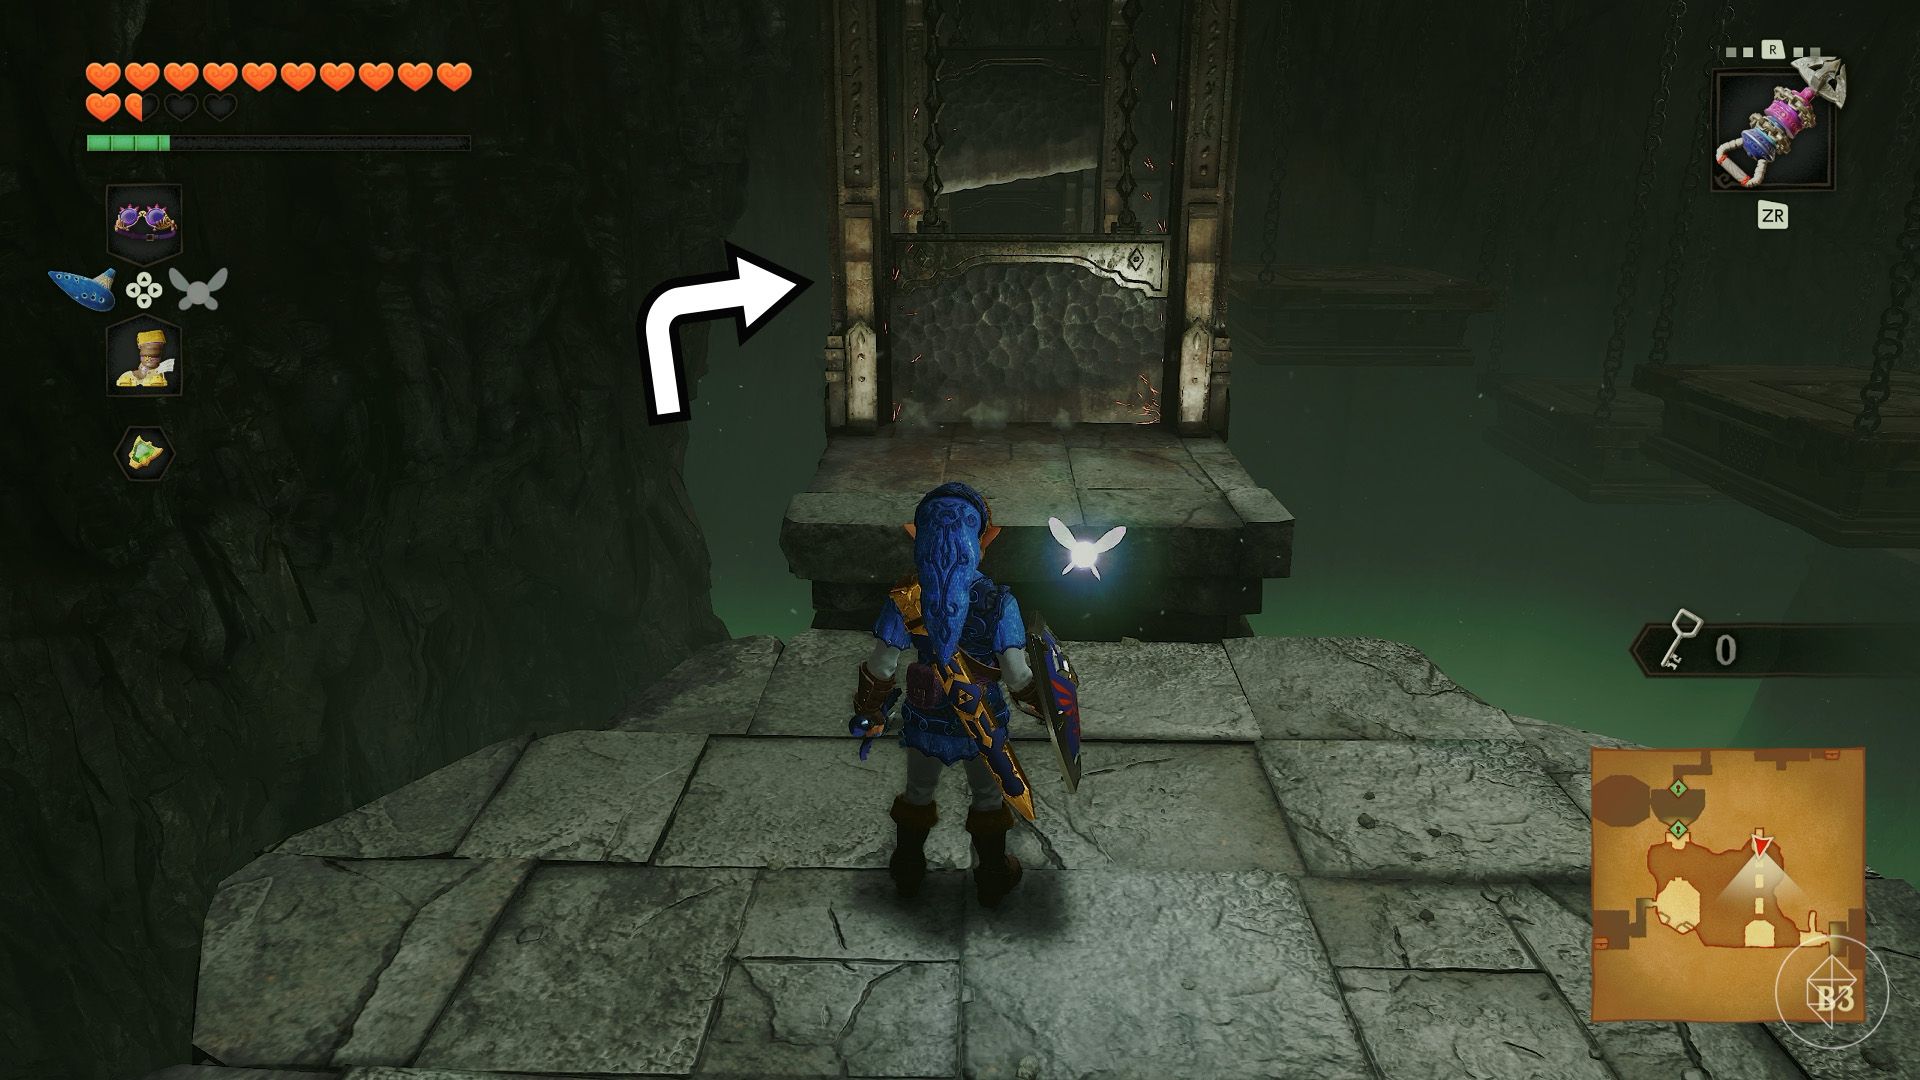
The first blade falls quickly, so use the Hover Boots to go around it. You can bypass the second in the same way, but watch for a Red Bubble on the next platform. Go around the third guillotine to reach a Stalfos. Remove the Hover Boots before fighting so you can move more freely.
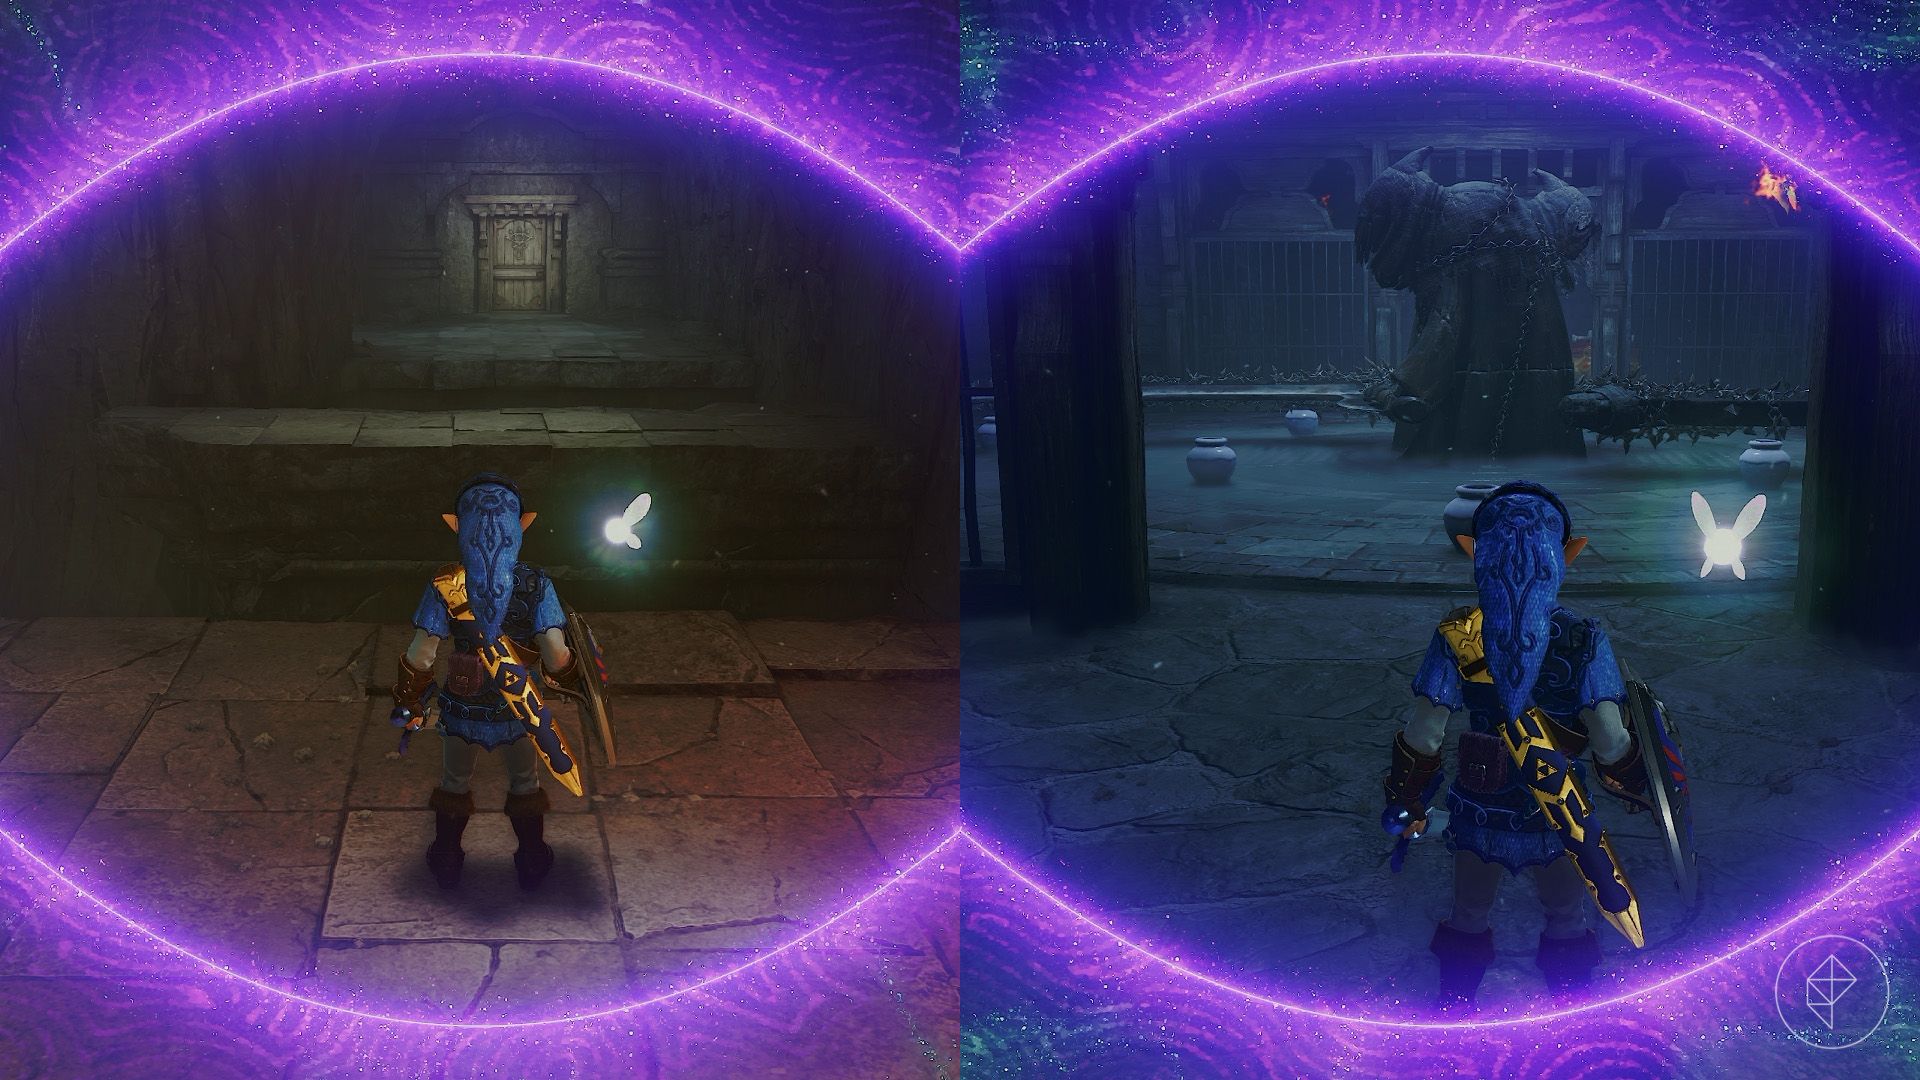
After defeating the Stalfos, face east and use the Lenses of Truth. Cross to the revealed platform and door with the Hover Boots. A Business Scrub on the left sells a green potion if you need magic.
Beyond the door, an invisible rotating scythe statue guards a room containing Fire Keese and a Like Like. Avoid the blade and defeat the enemies to unlock the next door. Use the Lenses of Truth to open both chests and collect the Gold Skulltula token.
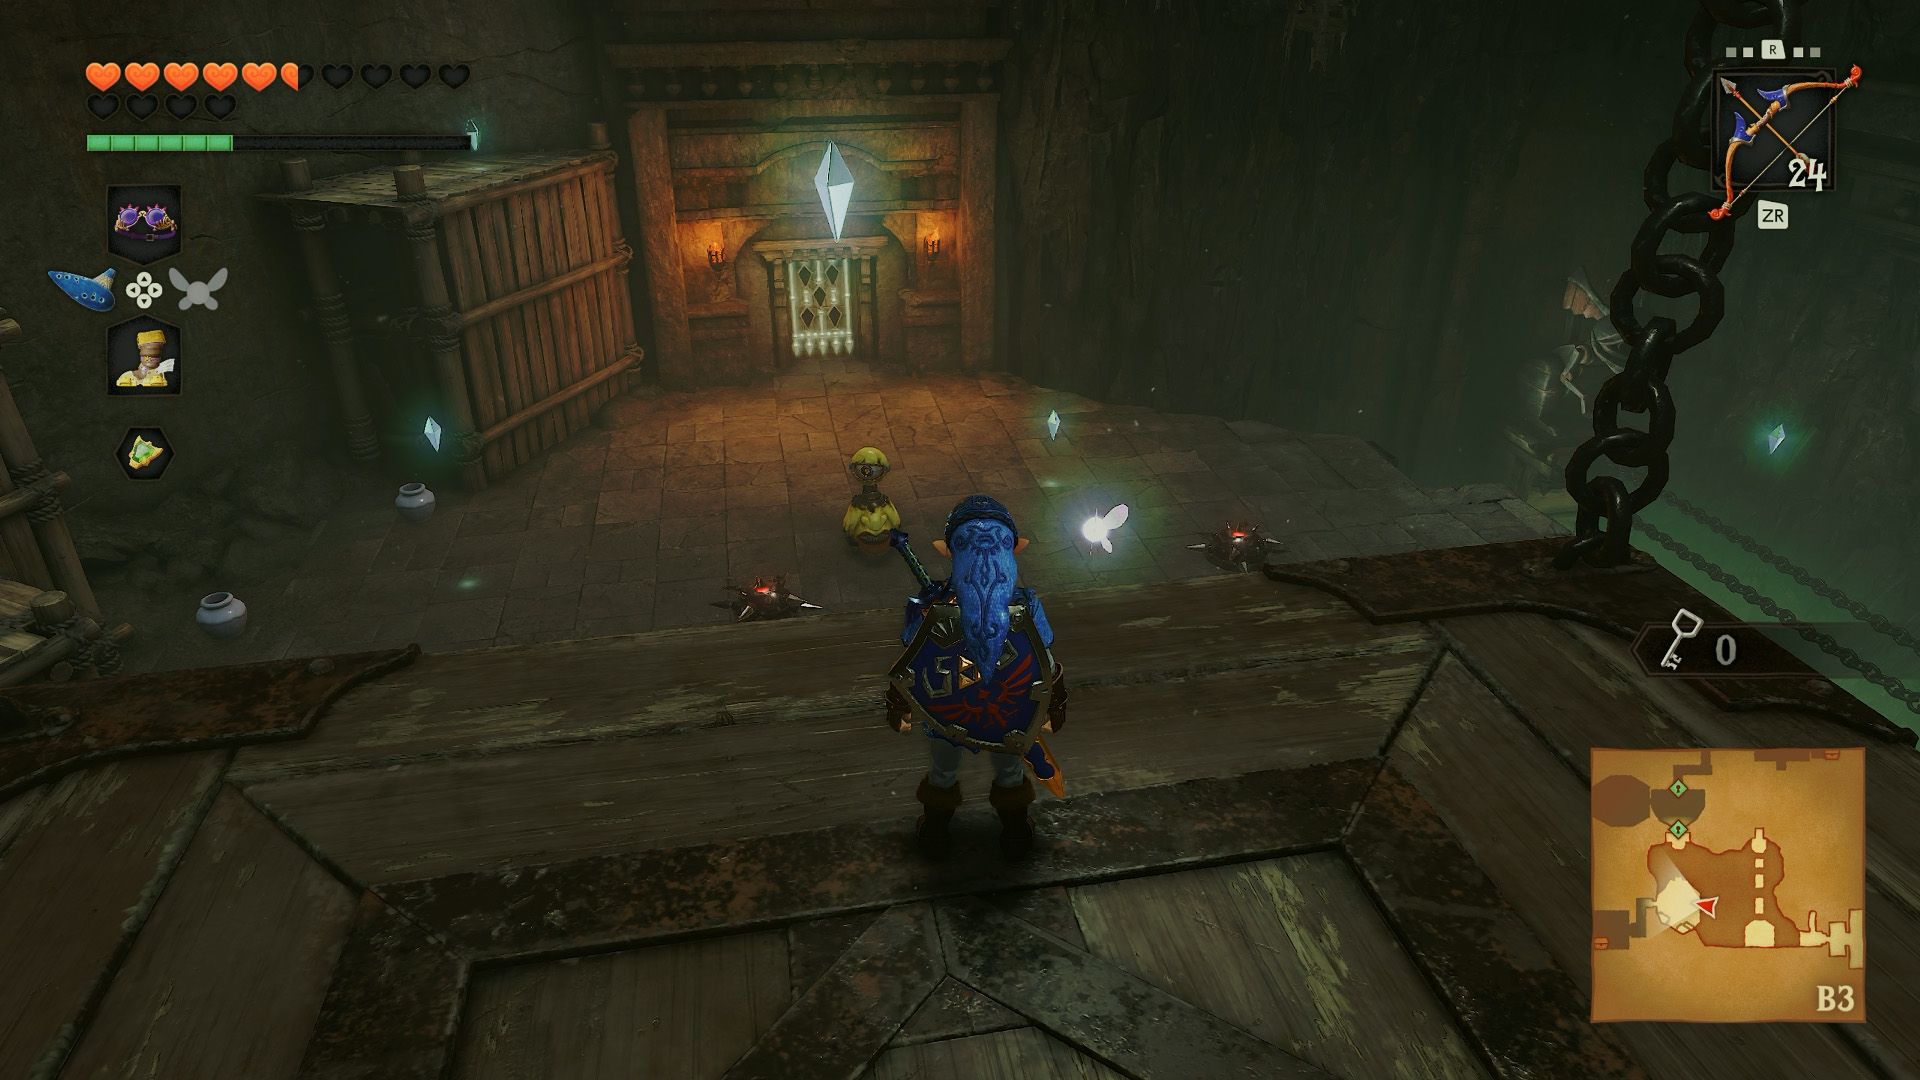
Return to the previous area and board the moving platforms. Stop on the last platform before the Beamos and ride it upward to collect the crystal in the air. Destroy the Beamos with a bomb, then collect the two central crystals while avoiding the Blade Traps.
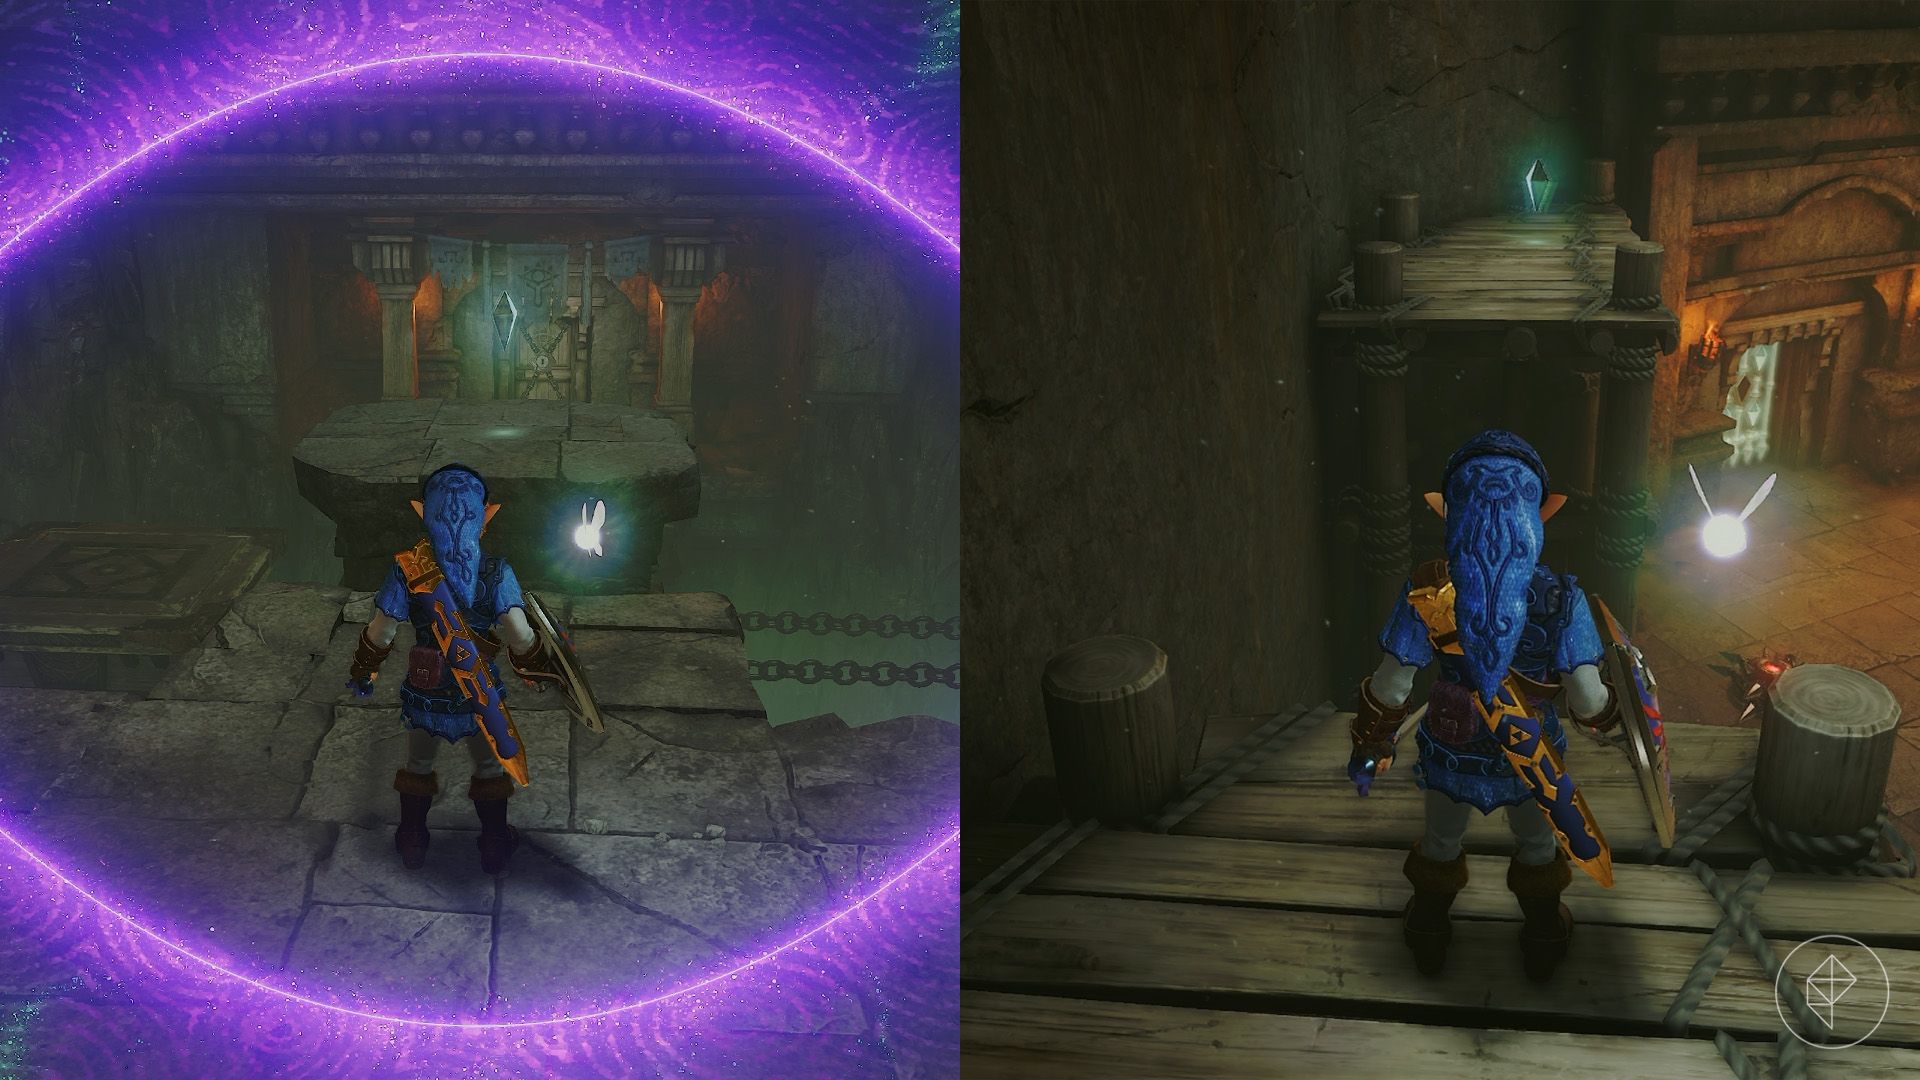
The northern crystal rests on an invisible floating platform; use the Hover Boots to reach it. For the final crystal, climb the wooden platforms to the south and hover across. Collecting all five unlocks the next door.
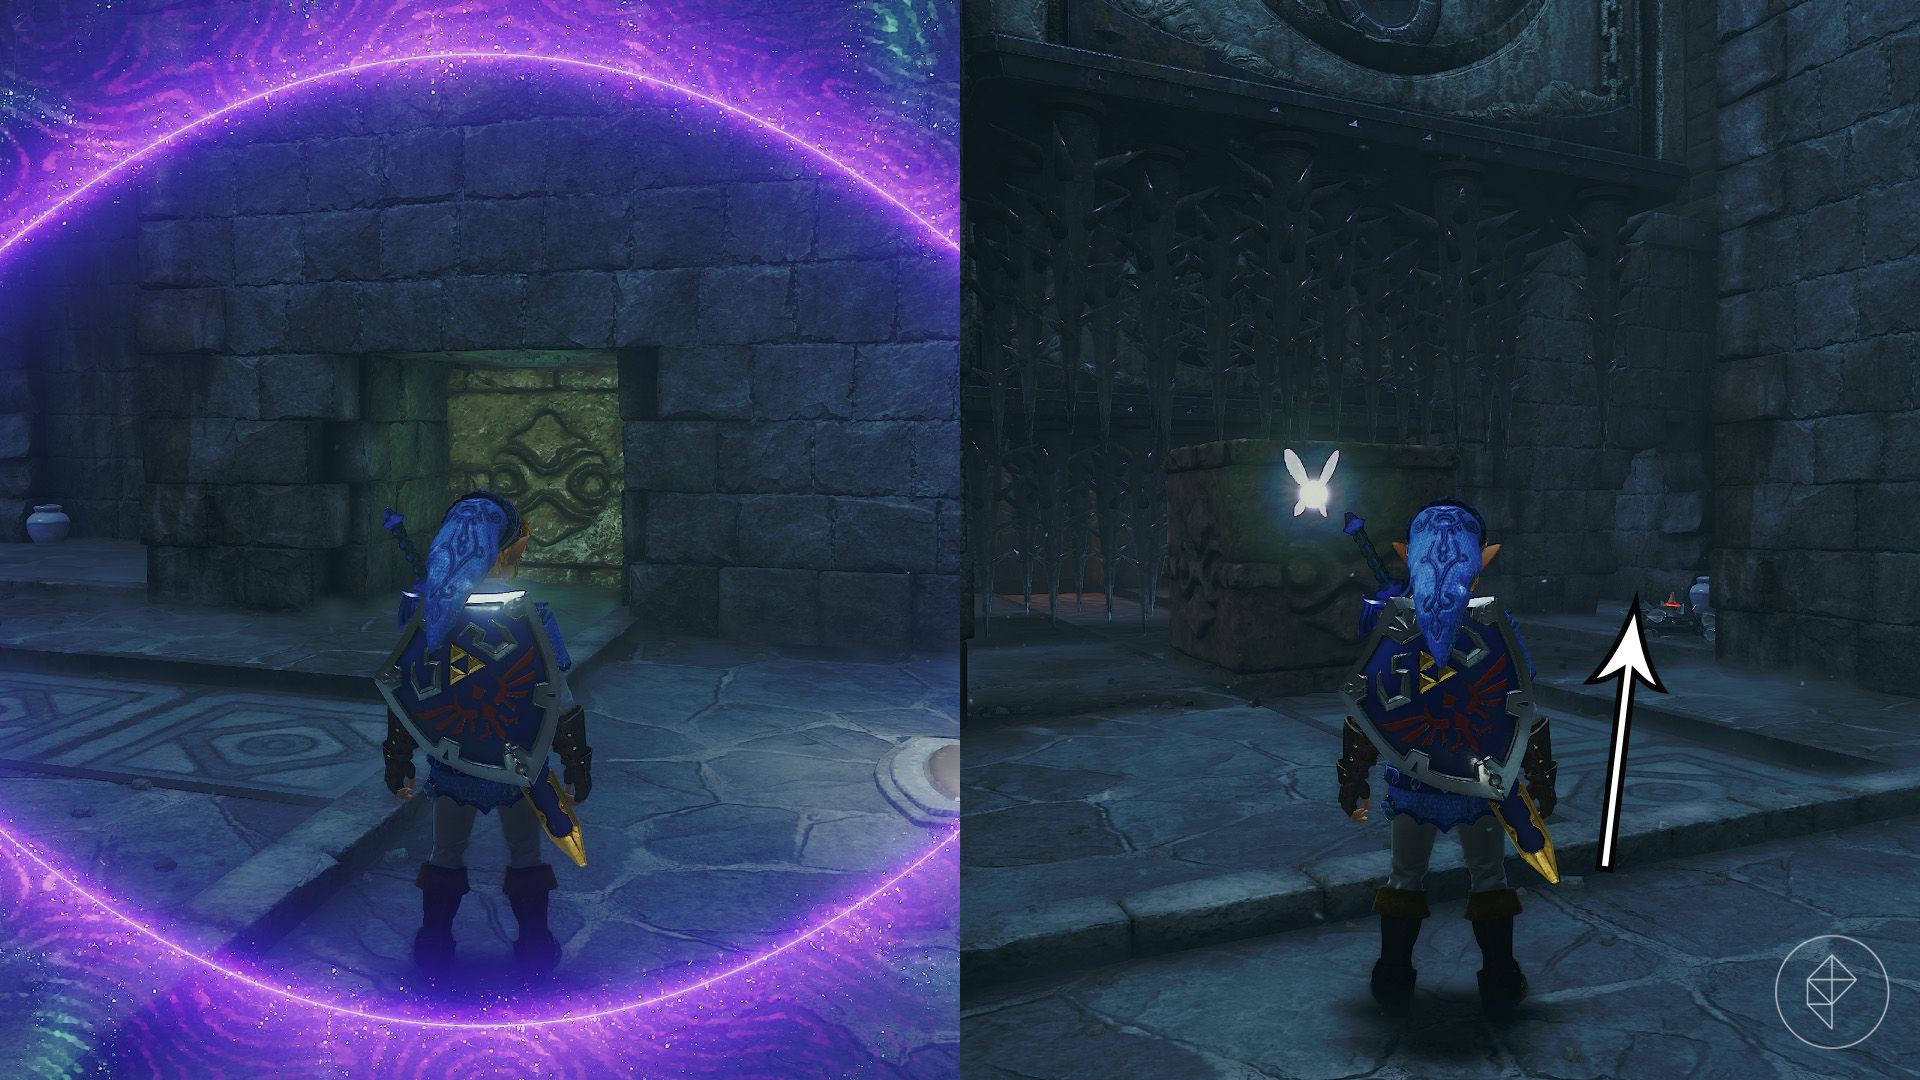
In the next room, use the Lenses of Truth to reveal a stone cube hidden in the wall. Pull it into the groove and push it beneath the first falling spike trap. Then pass through the opening in the northern wall and find the fairy’s thoughts on the opposite side. Play the Song of Storms (L – R – X – L – R – X) to restore health and magic.
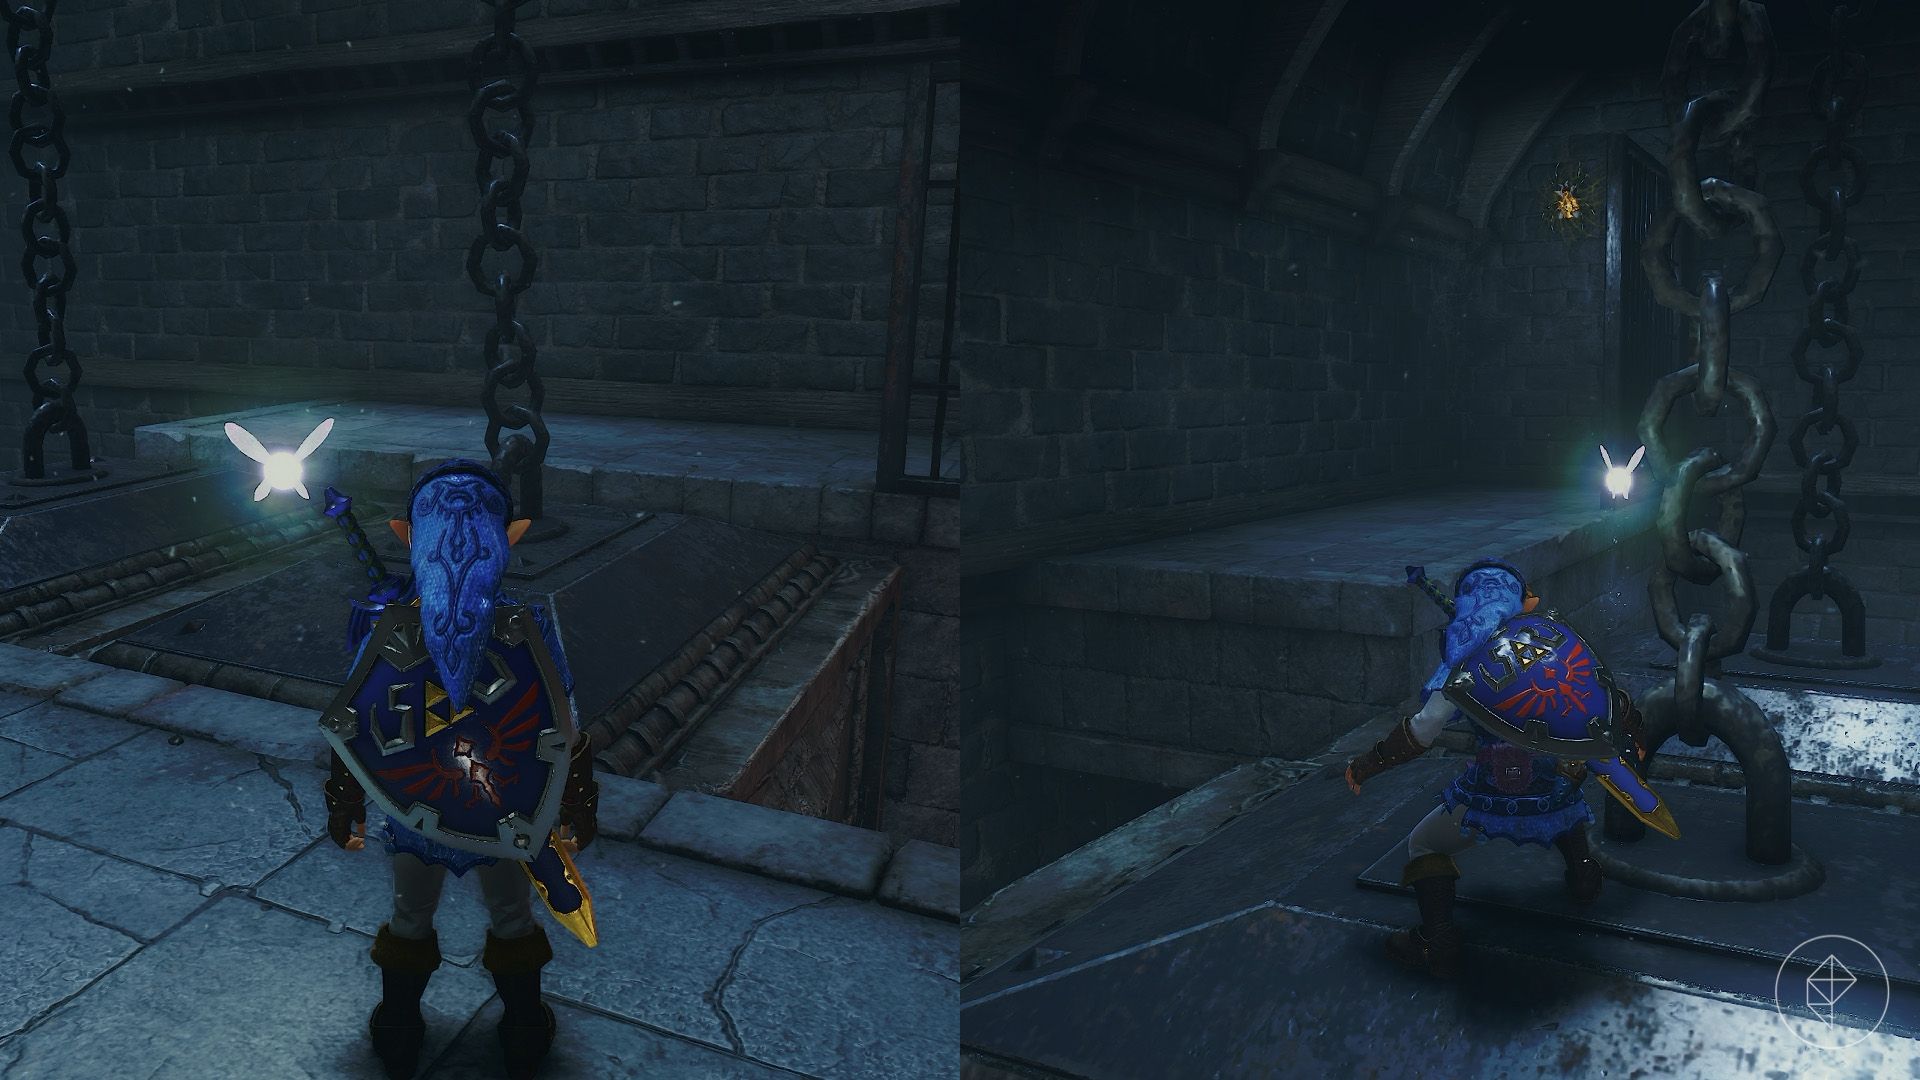
Push the cube beneath the second spike trap, keeping yourself clear of the first. Enter the cell and open its chest for 20 rupees. Push the cube the rest of the way, climb to the next floor, and climb again onto the spike traps.
Ride a trap upward and step onto the northeastern platform to find a Gold Skulltula. Retrieve its token with the Longshot, then open the chest in the southwest corner for a small key.
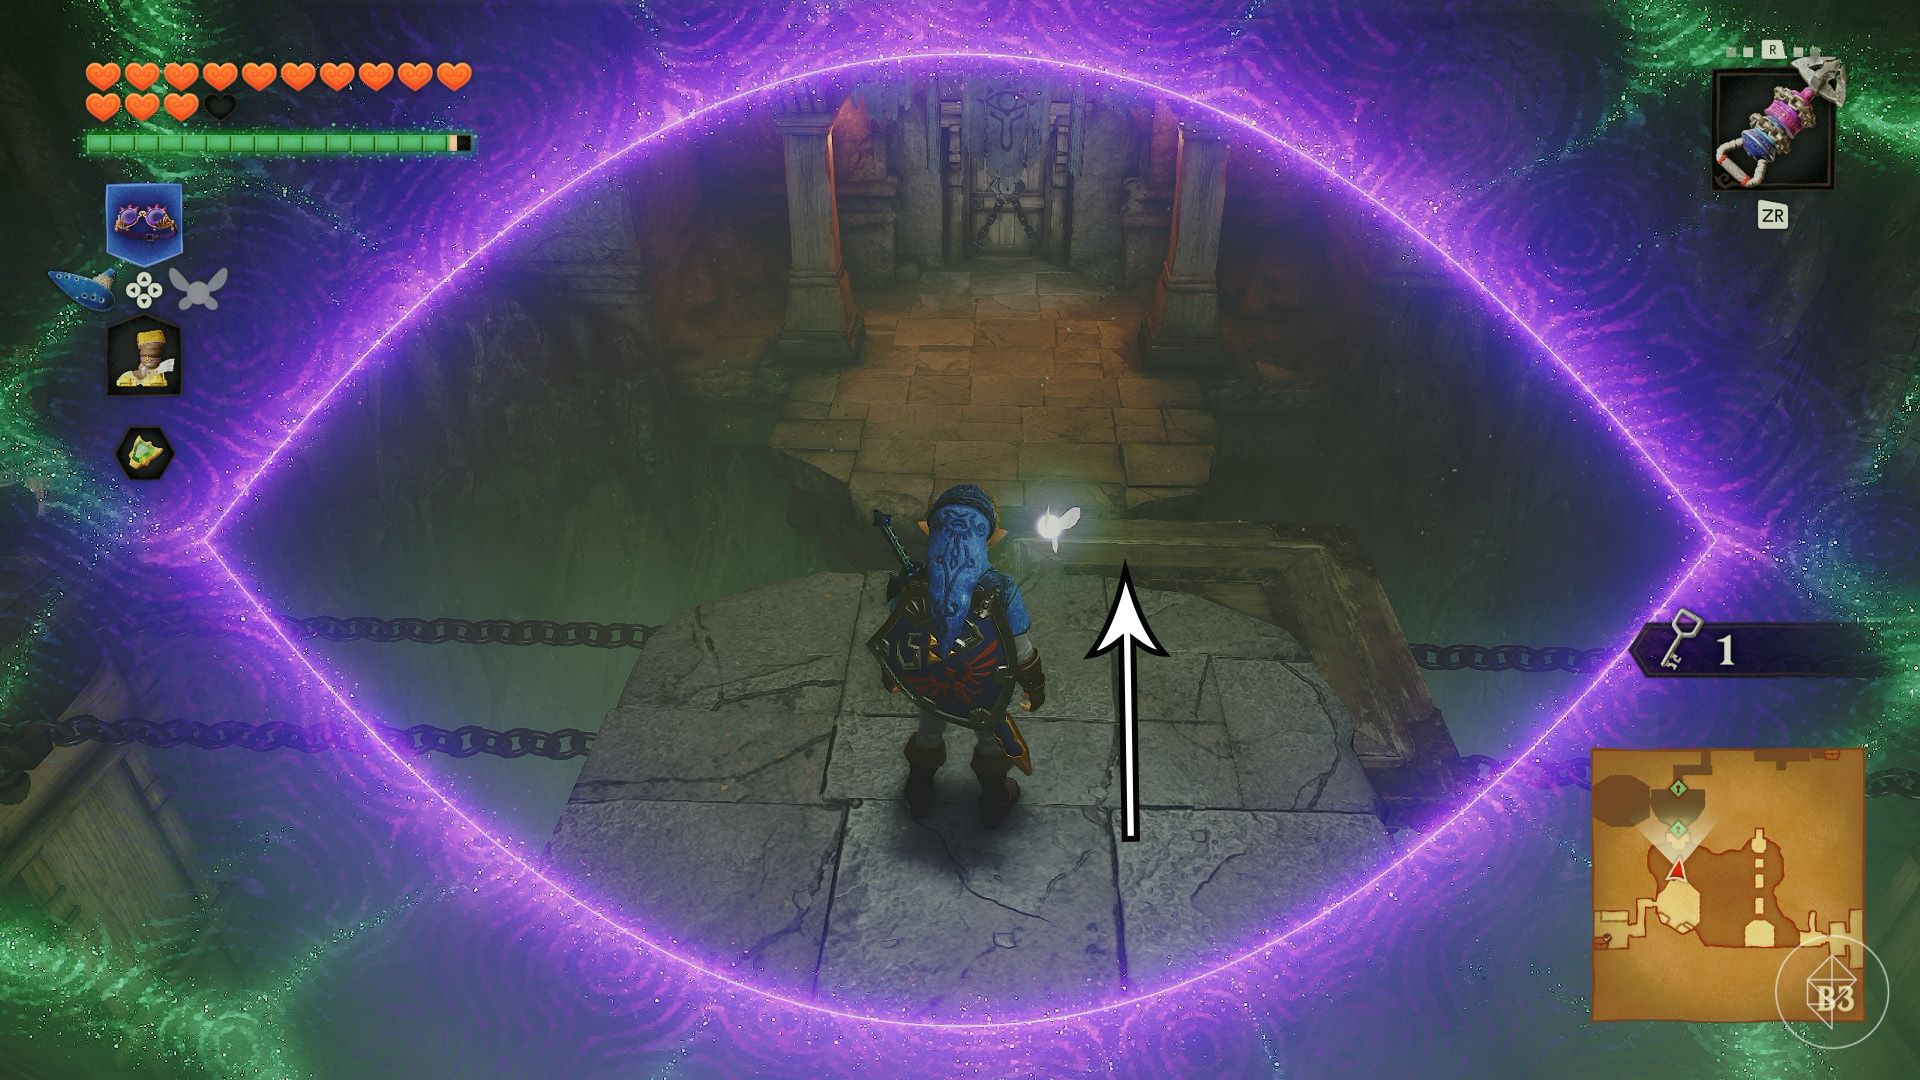
Leave the room and return to the invisible floating platform where you found the northern crystal. The Lenses of Truth reveal a moving platform below it. Drop onto the platform and continue through the door.
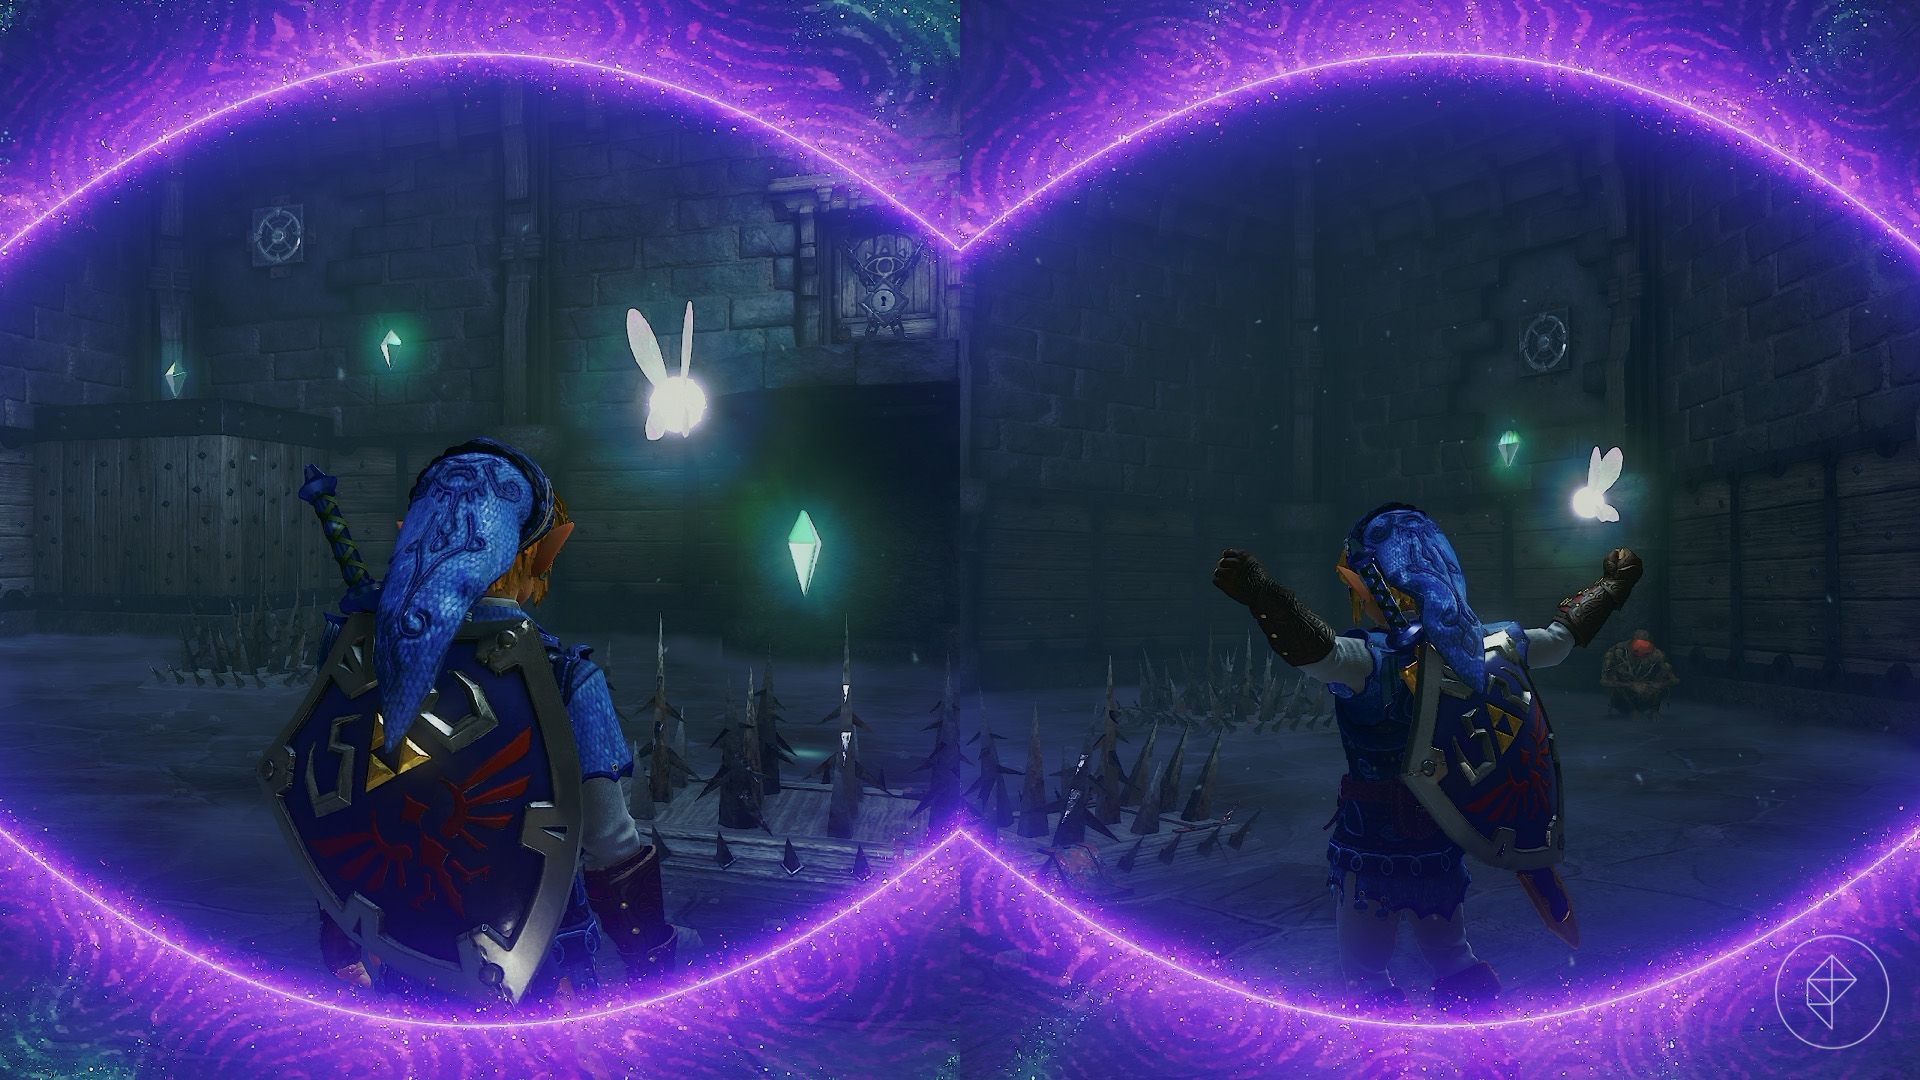
Collect another five crystals in this room. Use the Lenses of Truth to spot the hidden spikes, and stun the two ReDead with the Sun’s Song (A – R – X – A – R – X). The Longshot can retrieve the crystals floating in the air. Once you have them all, proceed through the unlocked door.
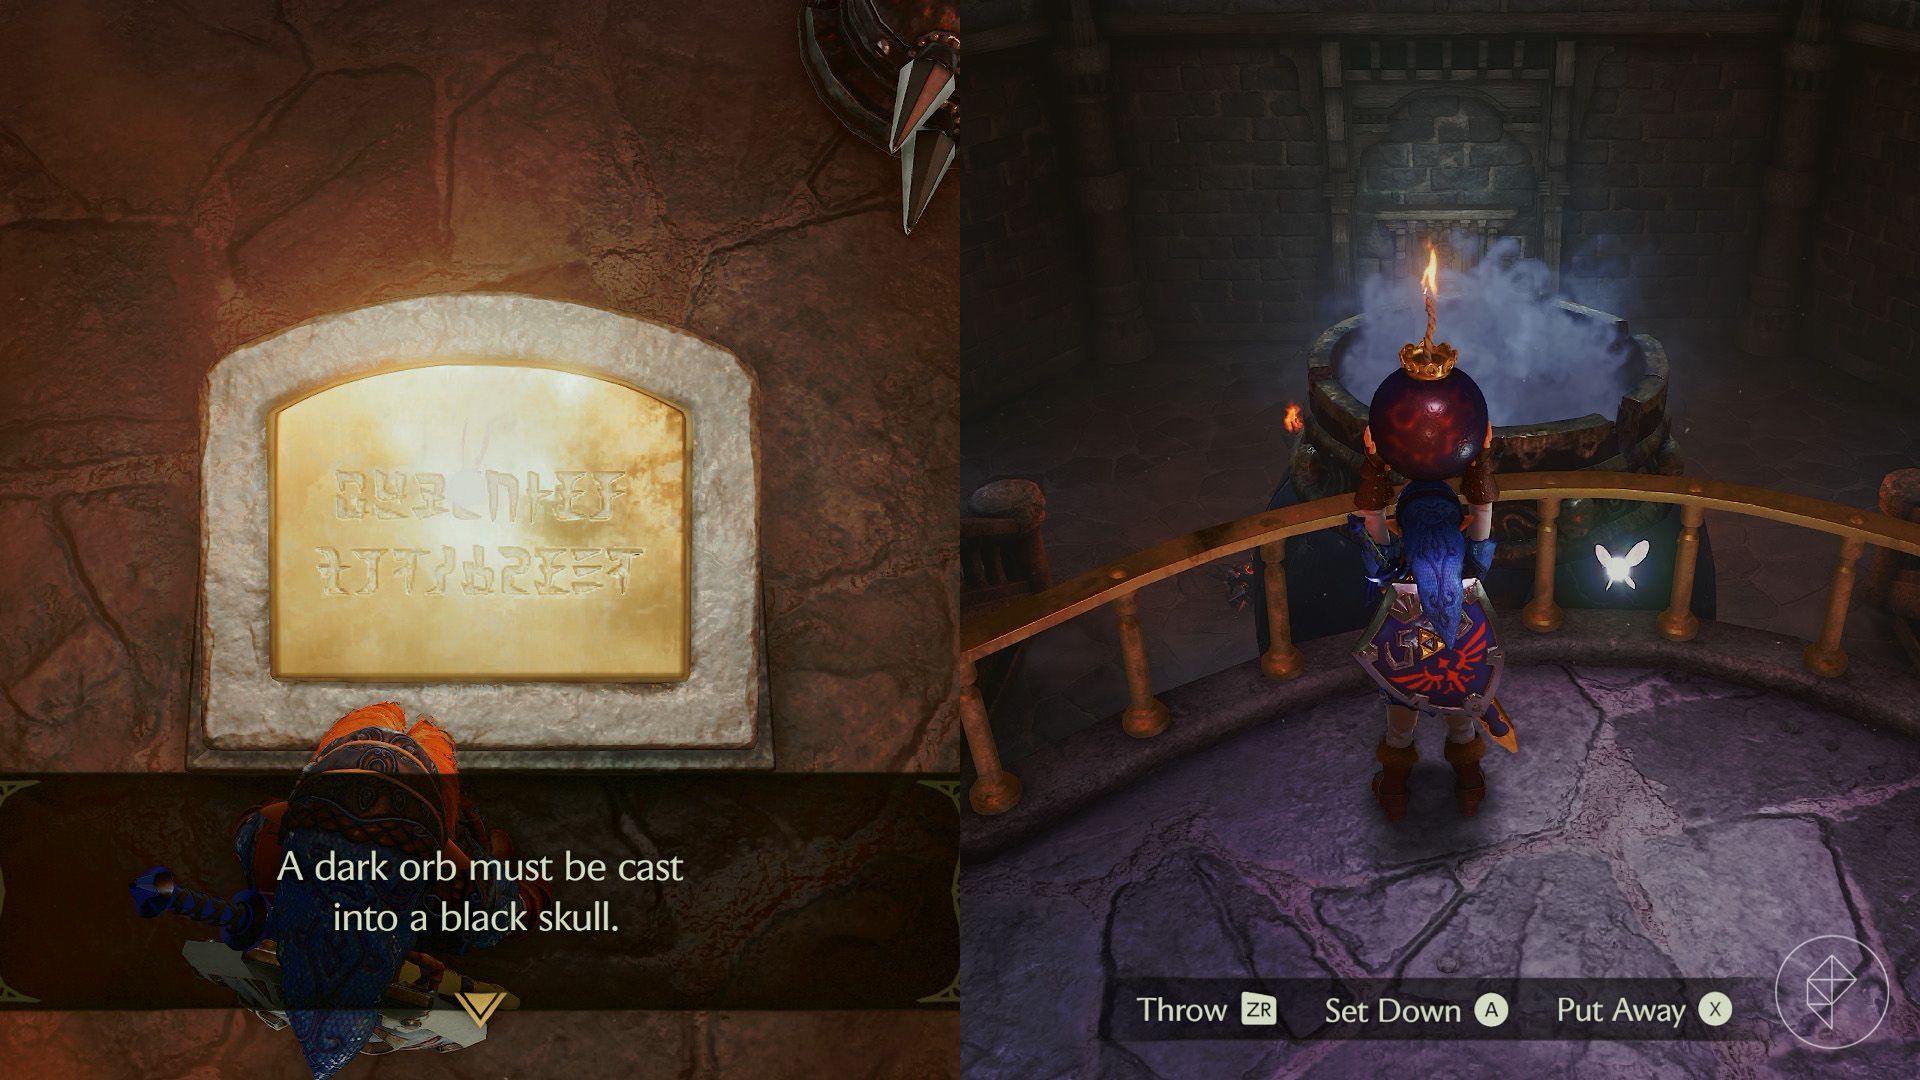
Climb the stairs, defeat the Keese, and throw a bomb into the black skull. The explosion reveals a small key. Take it back to the previous room, use the Longshot on the target in the northwest corner, and hover across to the locked door.
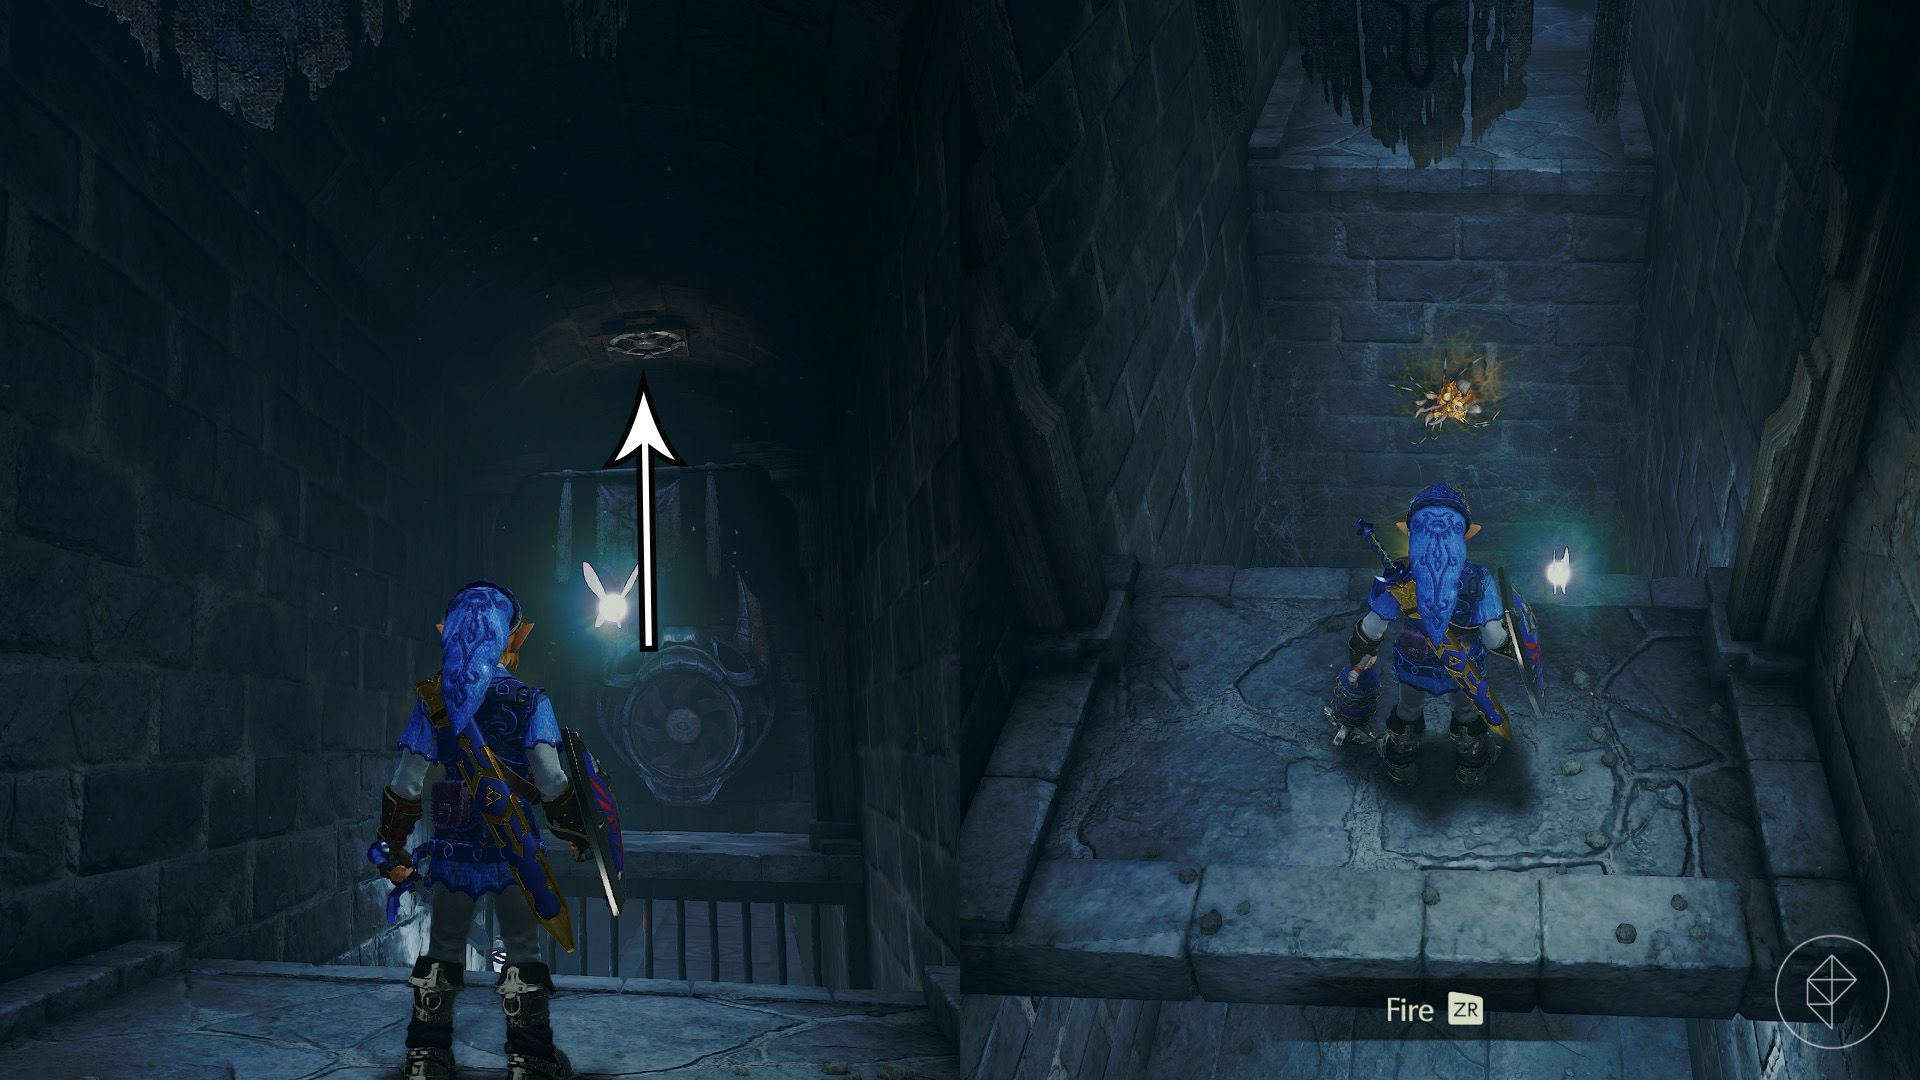
Equip the Iron Boots to resist the strong fan and walk down the hallway. Watch for the Skulltula, then use the Longshot on the ceiling target. Before dropping down, turn around to find a Gold Skulltula on the wall and retrieve its token with the Longshot.
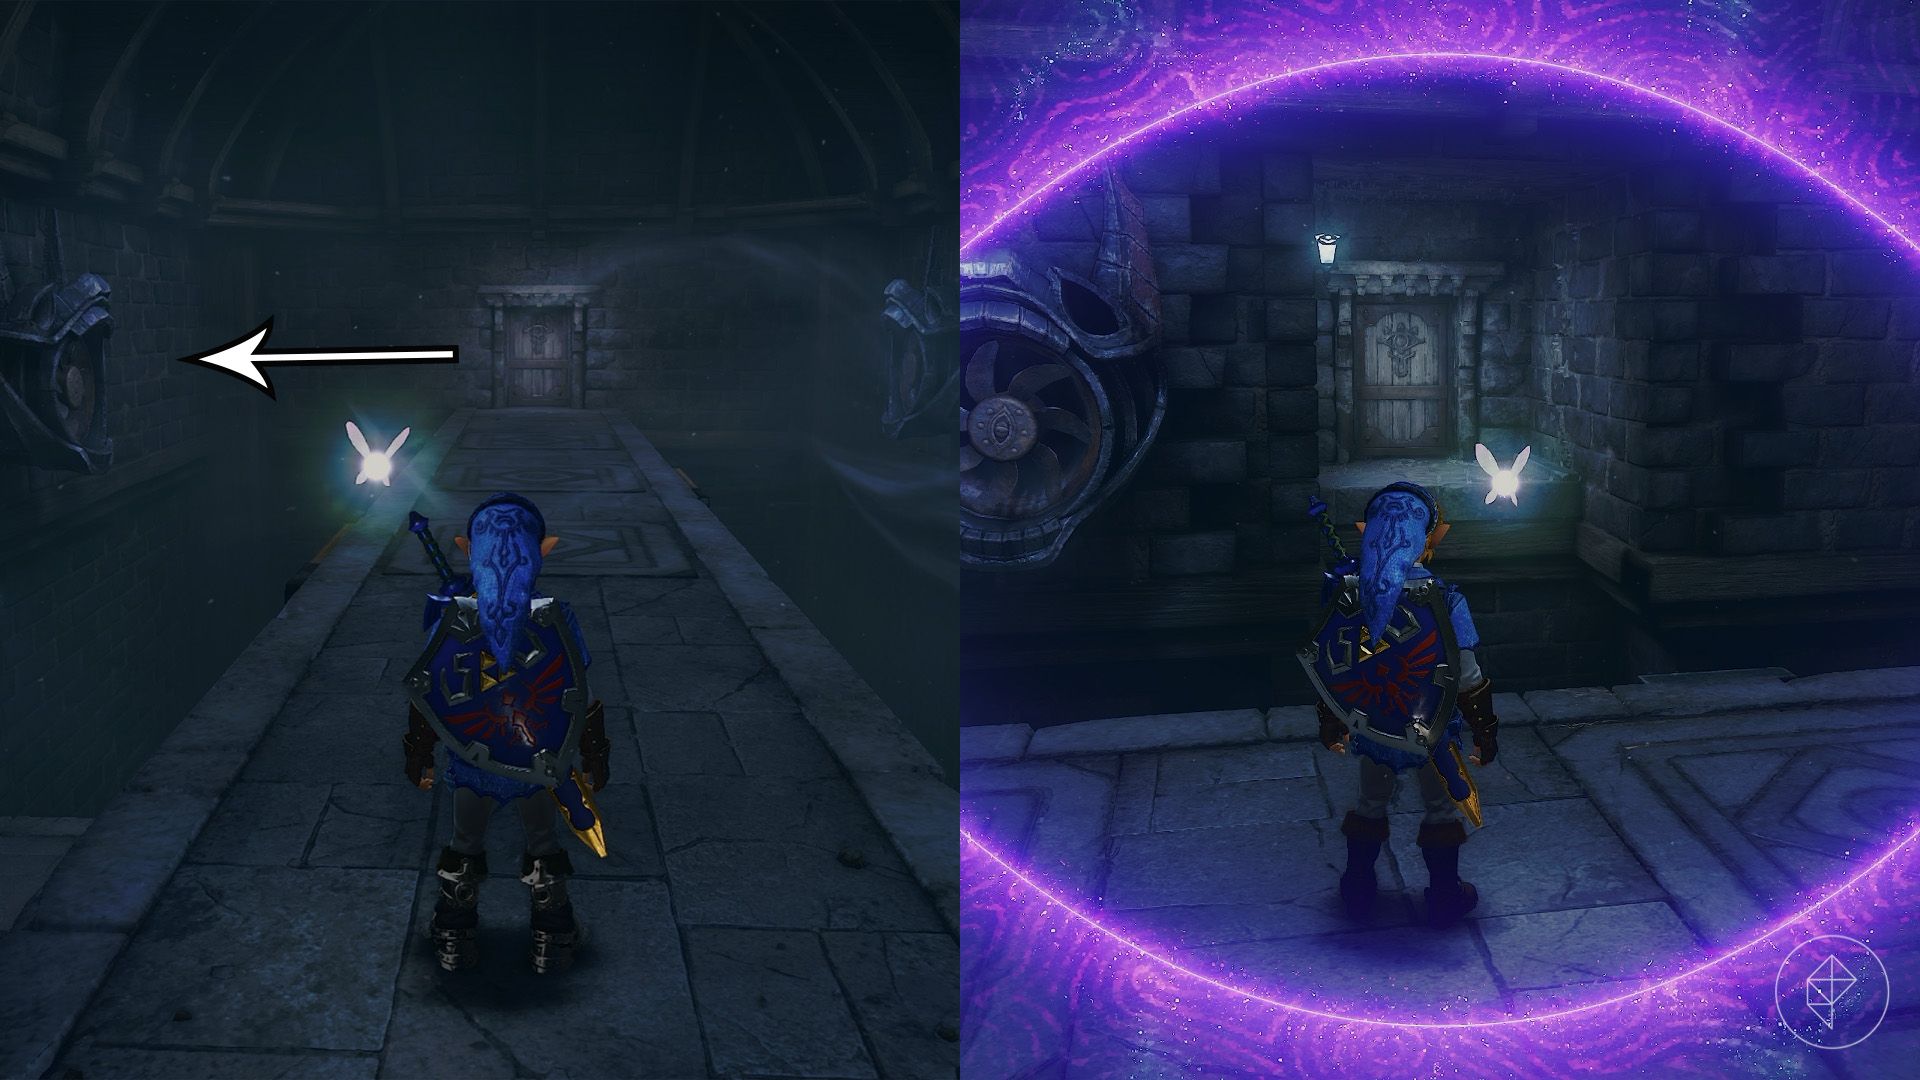
The next hallway contains several fans. Opposite each of the first two is a small alcove with pots. Switch to the Hover Boots when the fans stop, then use the wind to reach the alcoves. Swap between the Iron Boots and Hover Boots as needed to advance.
The wall opposite the third fan is false. Before entering it, you can optionally collect a Business Scrub seed from an invisible chest in the room at the end of the hall.
Equip the Lenses of Truth and Hover Boots, then let the wind carry you to the door behind the false wall in the northeast corner. Inside, defeat the two ReDead, avoid the Blade Traps, and destroy the rock wall to reveal a chest containing a small key. Unlock the door and continue.
Part 5: Finding the boss key
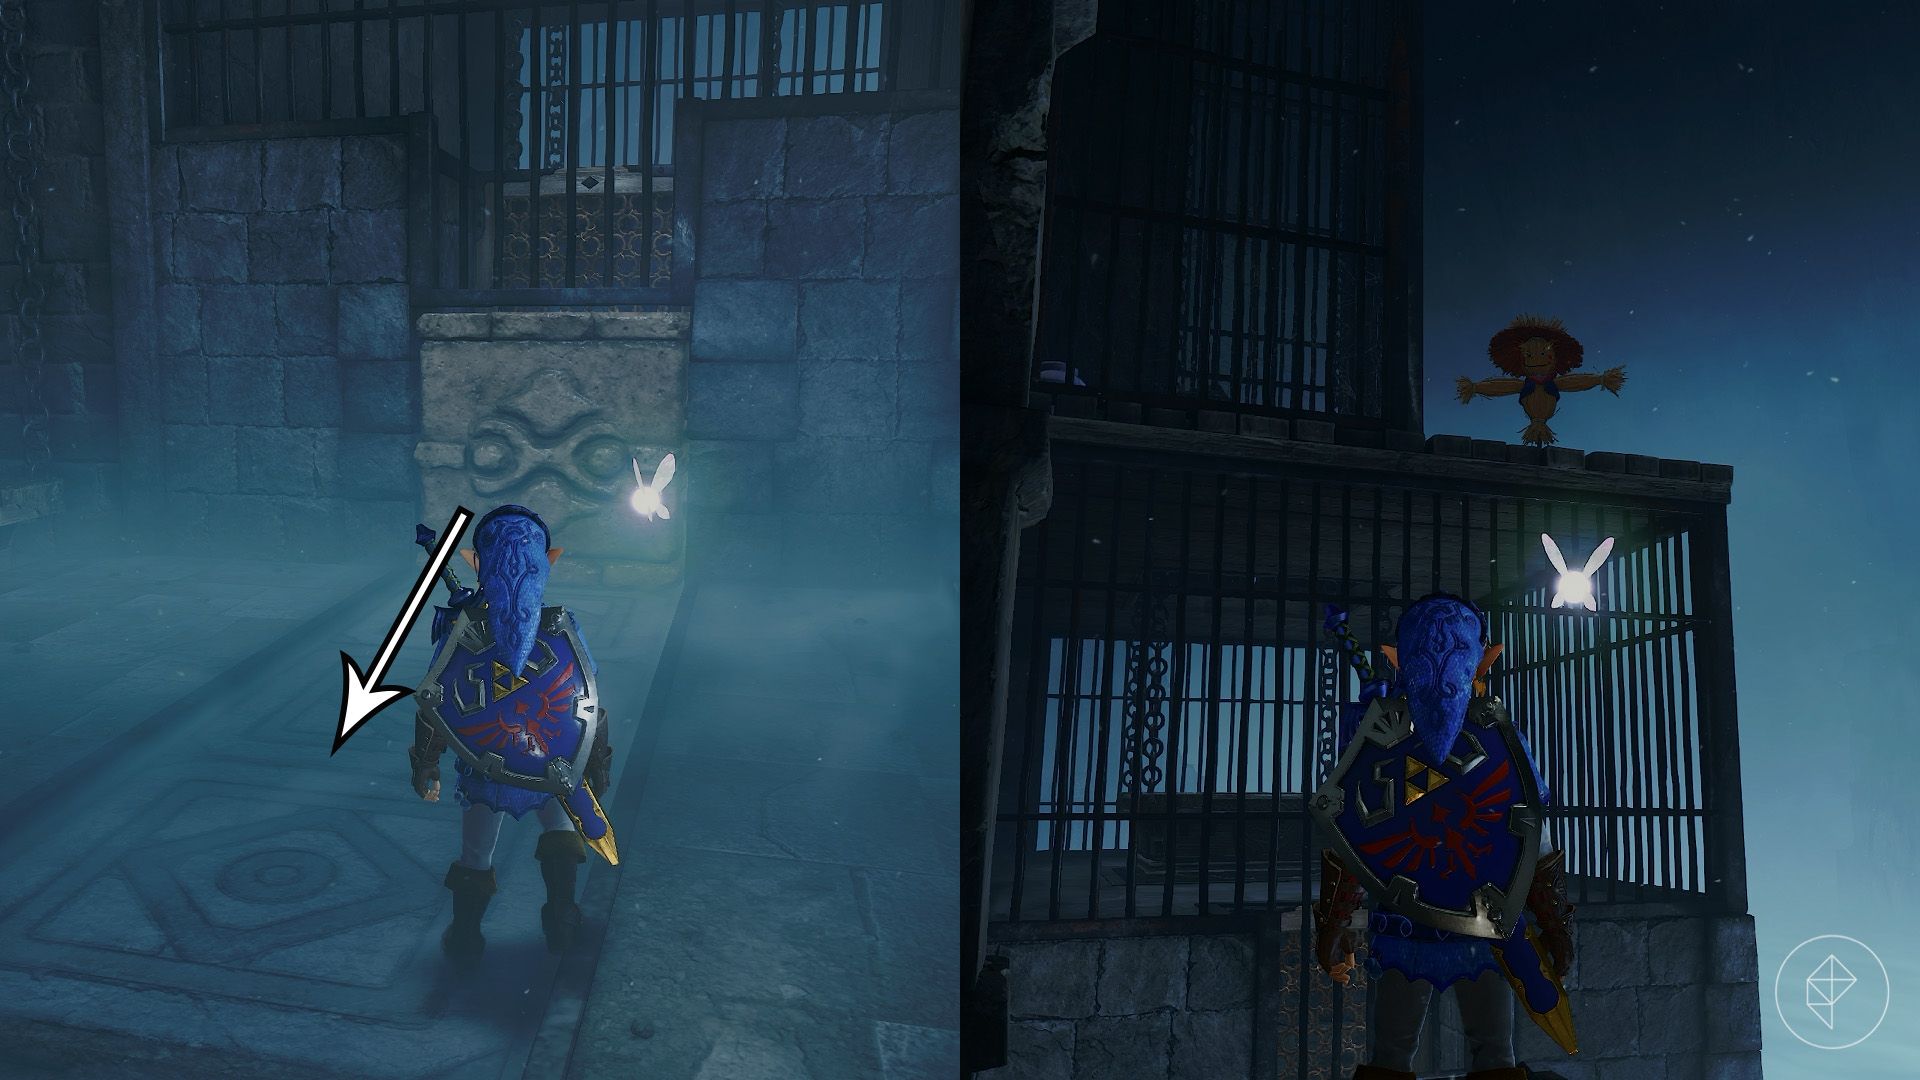
Ride the elevator down and pull out the stone cube on your left. Push it to the end of its track and climb the wooden scaffolding. Look above the metal cage for spiraling leaves, a sign that you can summon a scarecrow. Play the Scarecrow Song and use the Longshot to reach it, then find the Gold Skulltula on the wall.
Drop down and board the large boat. Stand on the Triforce symbol and play Zelda’s Lullaby (Y – X – A – Y – X – A) to set it in motion. Two Stalfos will appear during the journey; avoid their attacks, especially their jumping strikes, and defeat them. Jump off before the boat crashes and sinks.
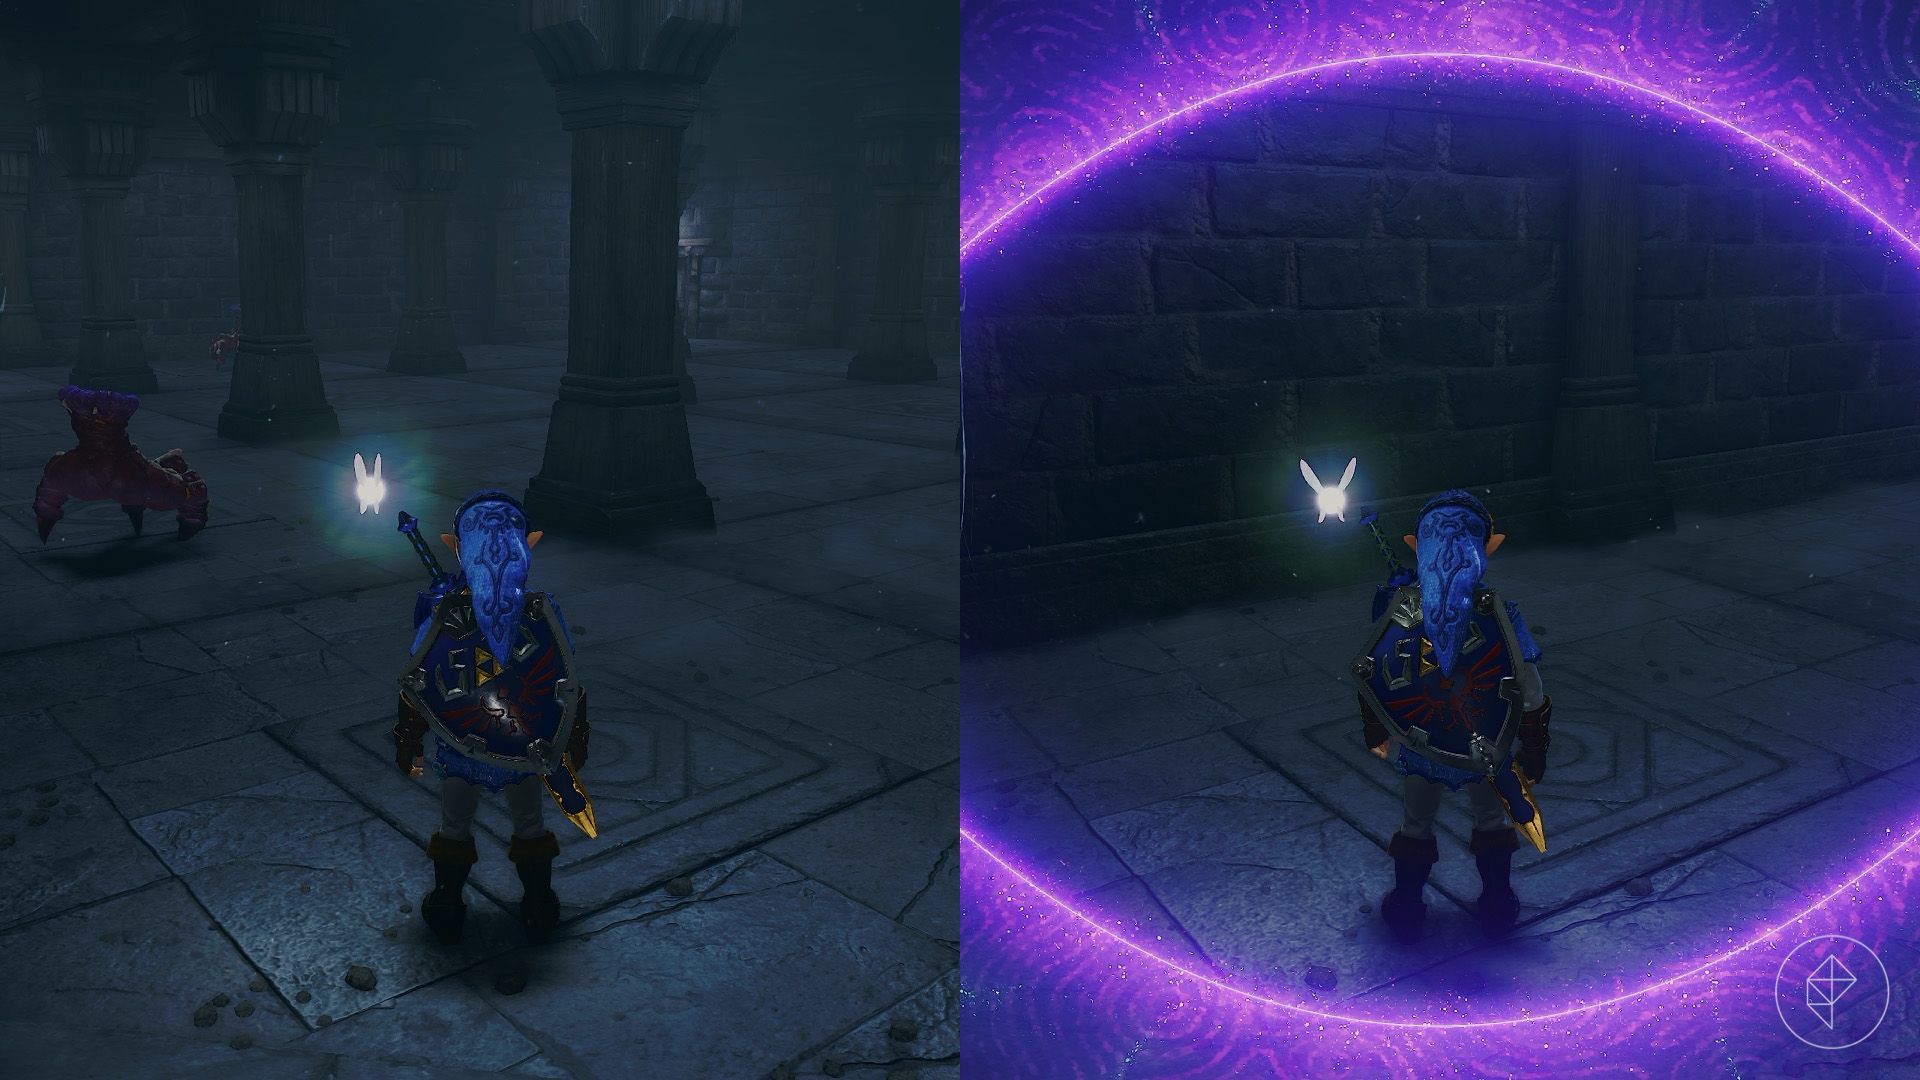
On the platform, burn the spiderweb to the west with a Fire Arrow or Din’s Fire. Inside, use the Lenses of Truth to navigate the invisible walls, defeat the Floormasters, and reach the southern room.
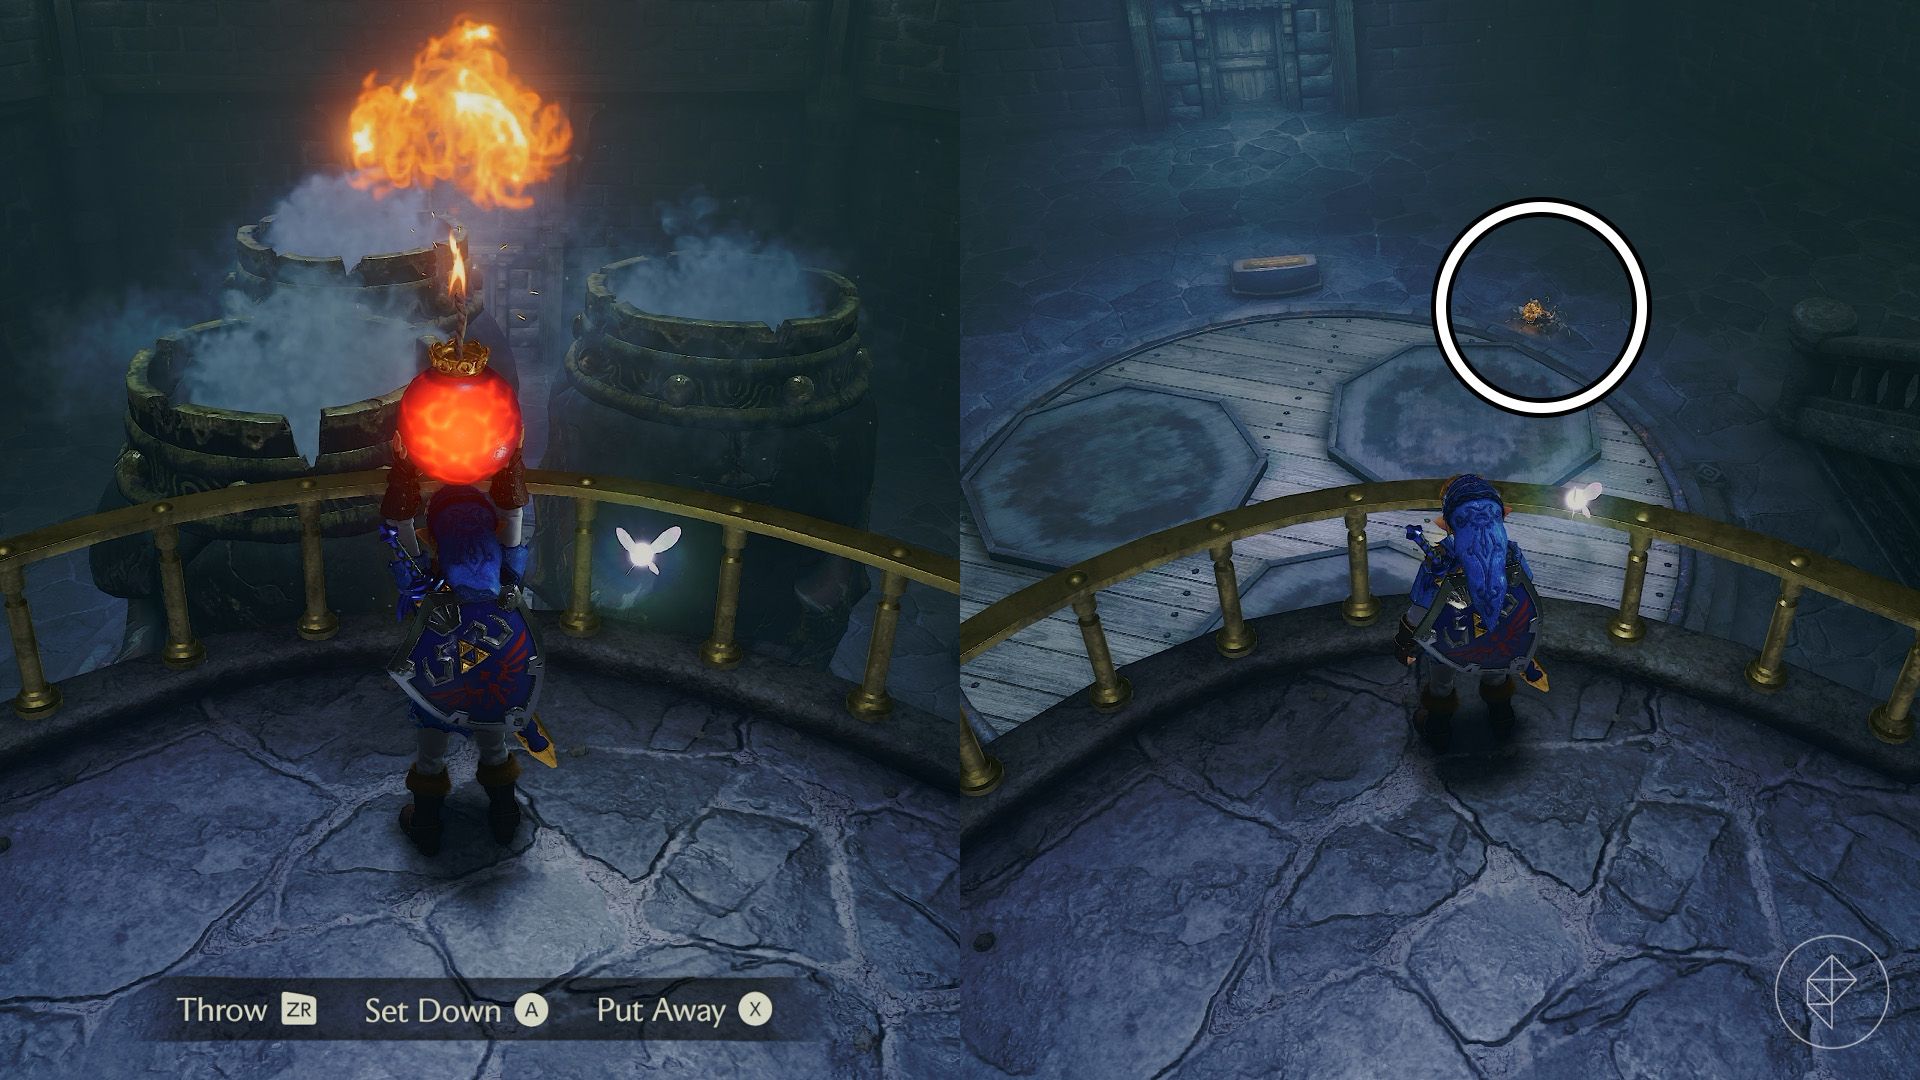
Defeat the invisible Floormaster and open the chest for a small key. Next, go to the western room, climb the stairs, and throw a bomb into each skull. The last one releases rupees and a Gold Skulltula.
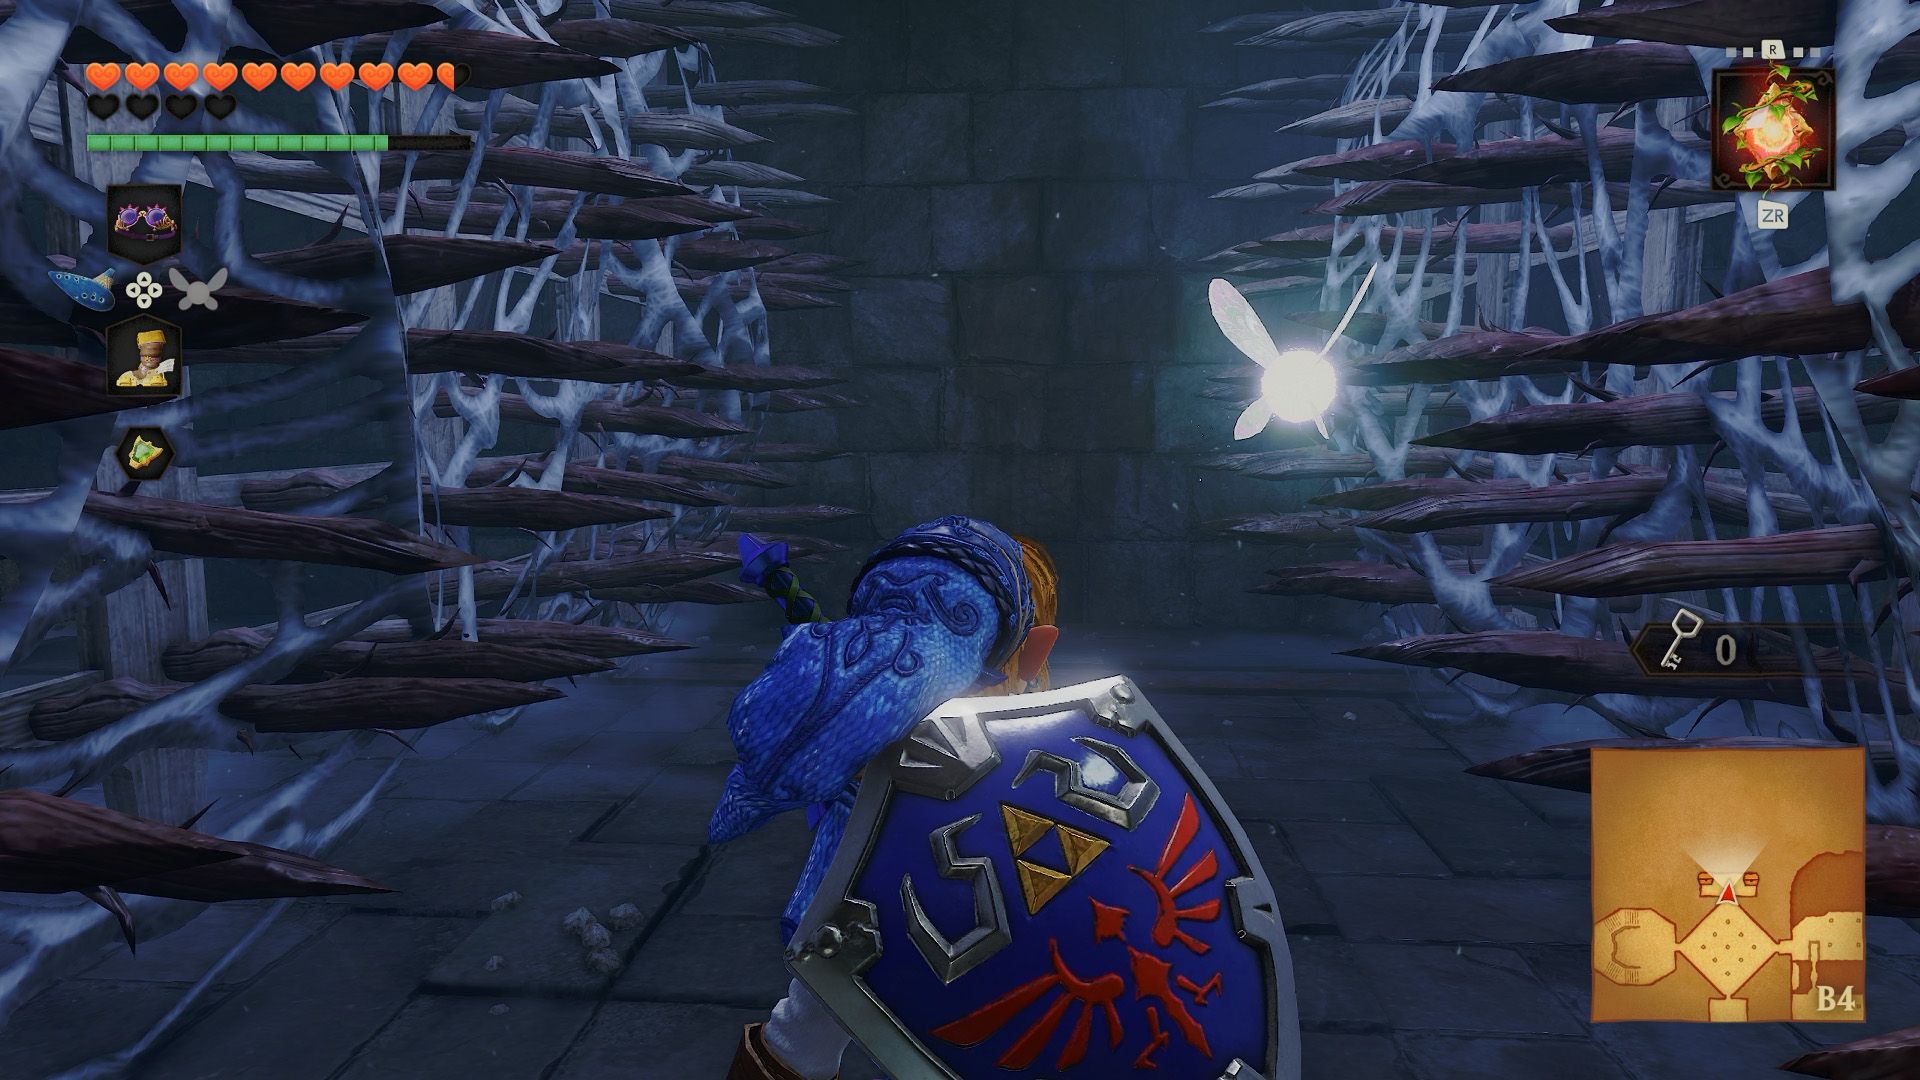
Return to the maze and unlock the northern door. Prepare Din’s Fire or Fire Arrows before entering, as the spiked walls will close in. Burn the walls, defeat the ReDead, and open the chests for a large magic jar and the boss key.
Part 6: Defeating the Shadow Temple boss, Bongo Bongo
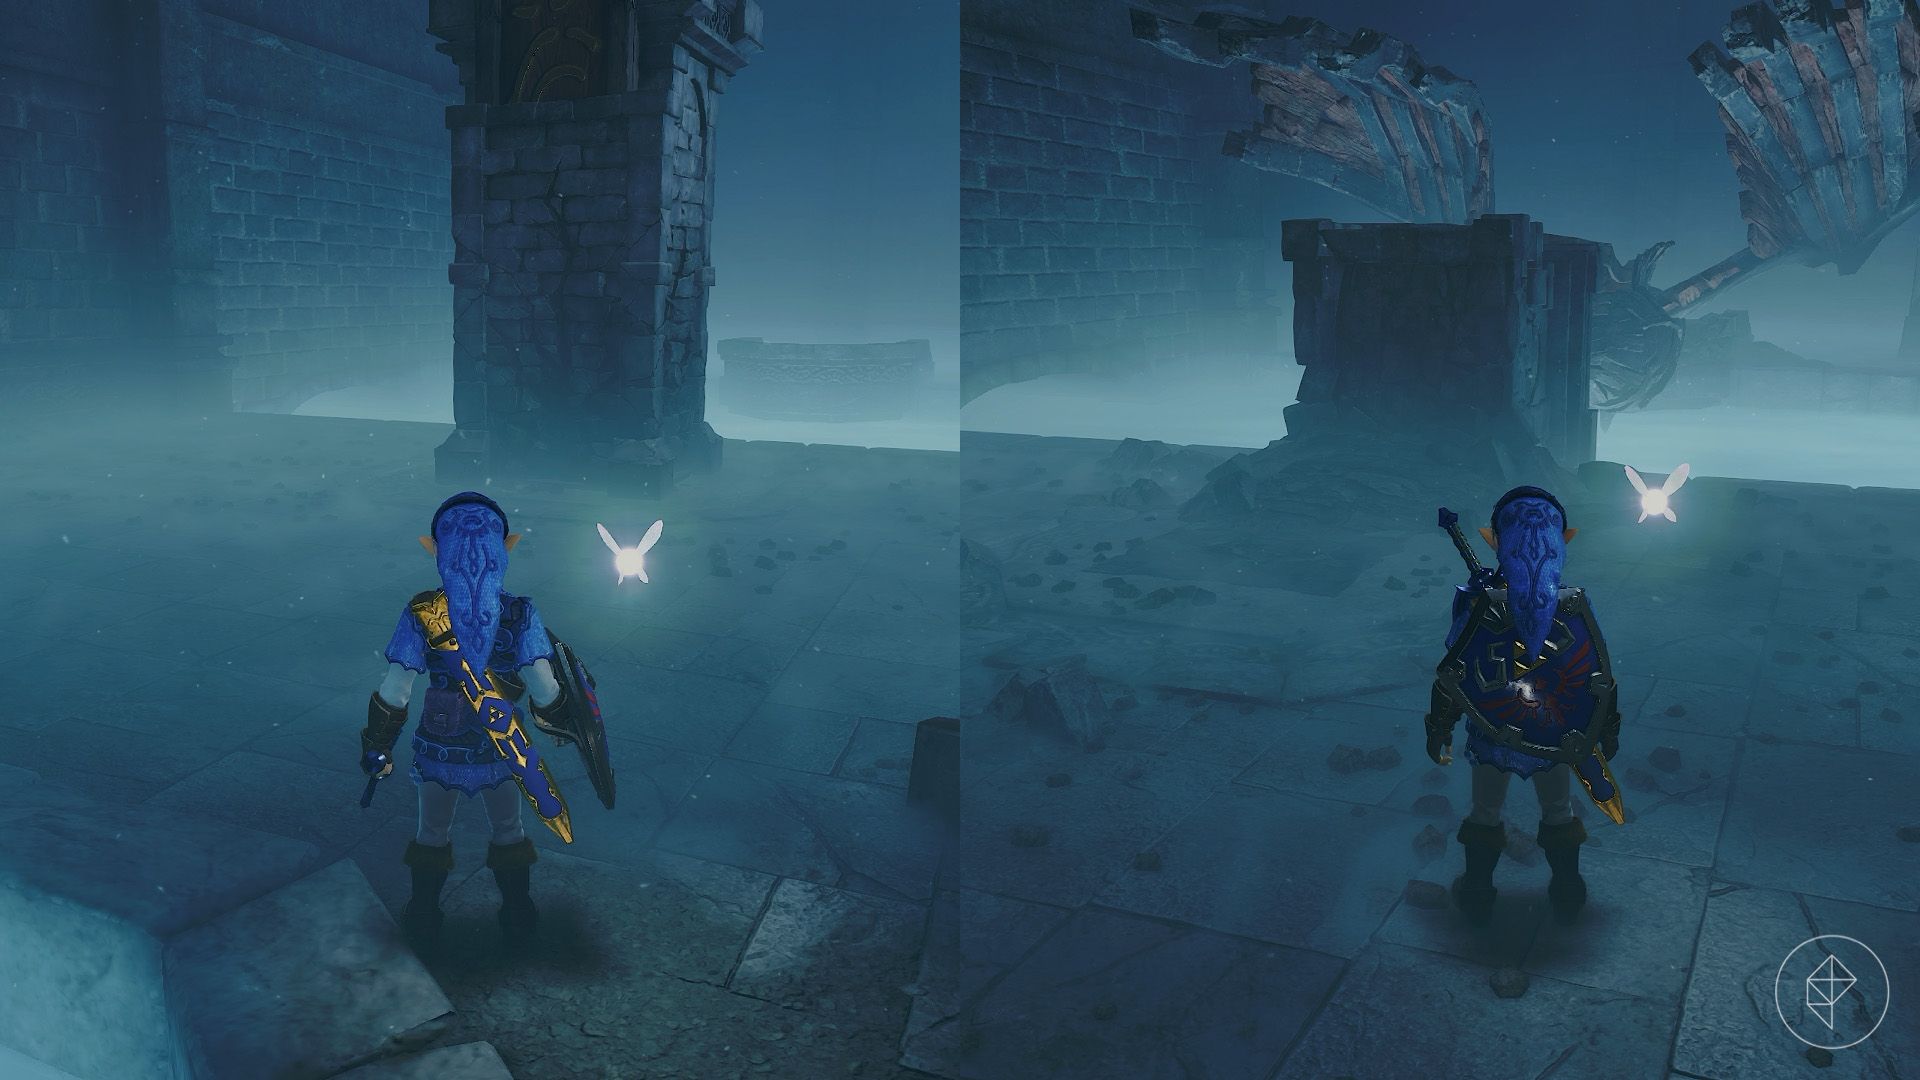
Return to the platform where you left the boat and go east. Break the rock-like base of the bird statue to topple it across the gap. Cross the resulting bridge and enter the southern door.
Equip the Lenses of Truth and Hover Boots, then follow the path on your right to the boss door.
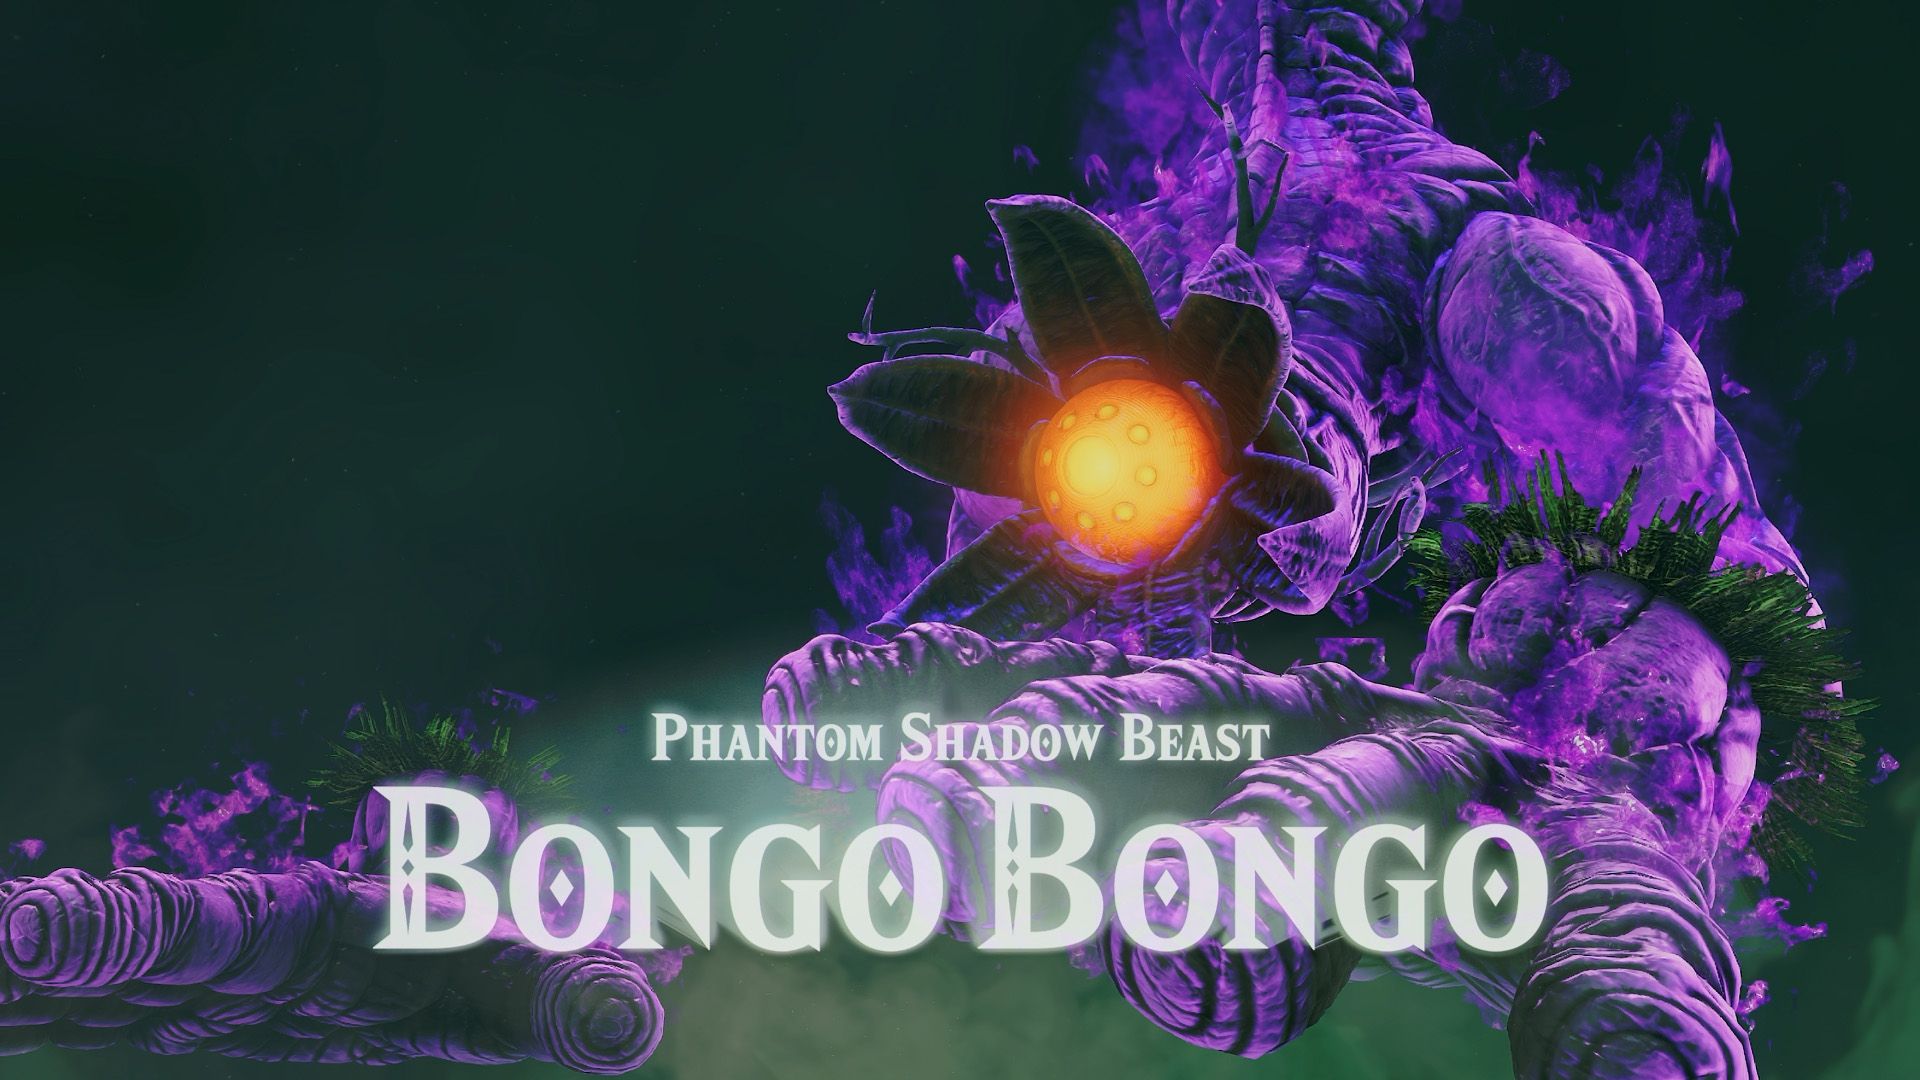
Before dropping into the arena, keep these tips in mind:
- Bongo Bongo’s main body is invisible without the Lenses of Truth.
- The arena is a giant drum. After three left-hand beats, the right hand strikes once and can bounce Link into the air. Equip the Hover Boots just before that strike or jump to avoid the bounce. Remove the boots afterward to run at full speed.
- Glowing parts of the boss are invulnerable; wait until the glow fades before attacking.
- The Fairy Bow is useful for hitting hands that are out of sword range.
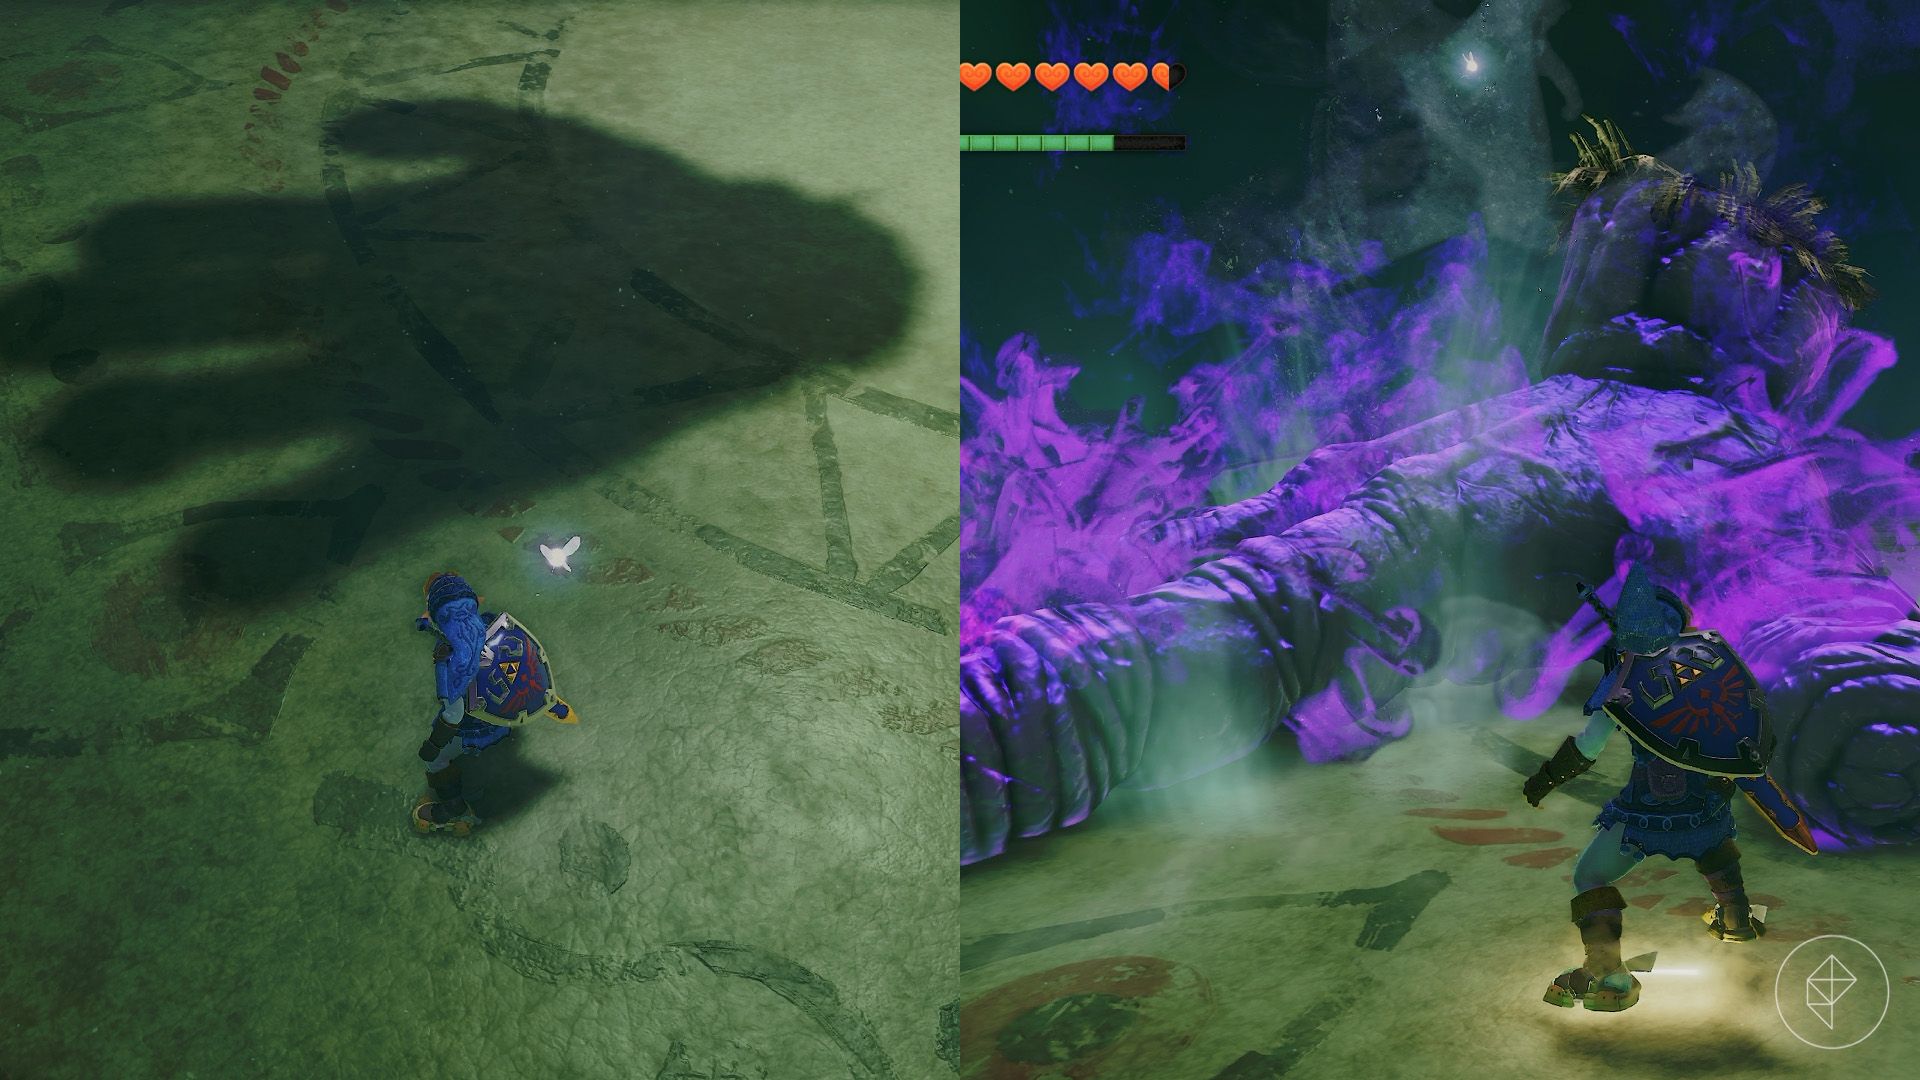
Jump into the arena. At first, Bongo Bongo plays three beats with its left hand and one with its right. Afterward, a hand moves above the arena, visible by its shadow. Move away and watch for the shadow to twitch, signaling an imminent slam. Jump or equip the Hover Boots to avoid the bounce, then attack the hand. If you miss the opening, shoot it with the Fairy Bow.
The other hand will perform the same attack. Dodge its slam and strike it as well.
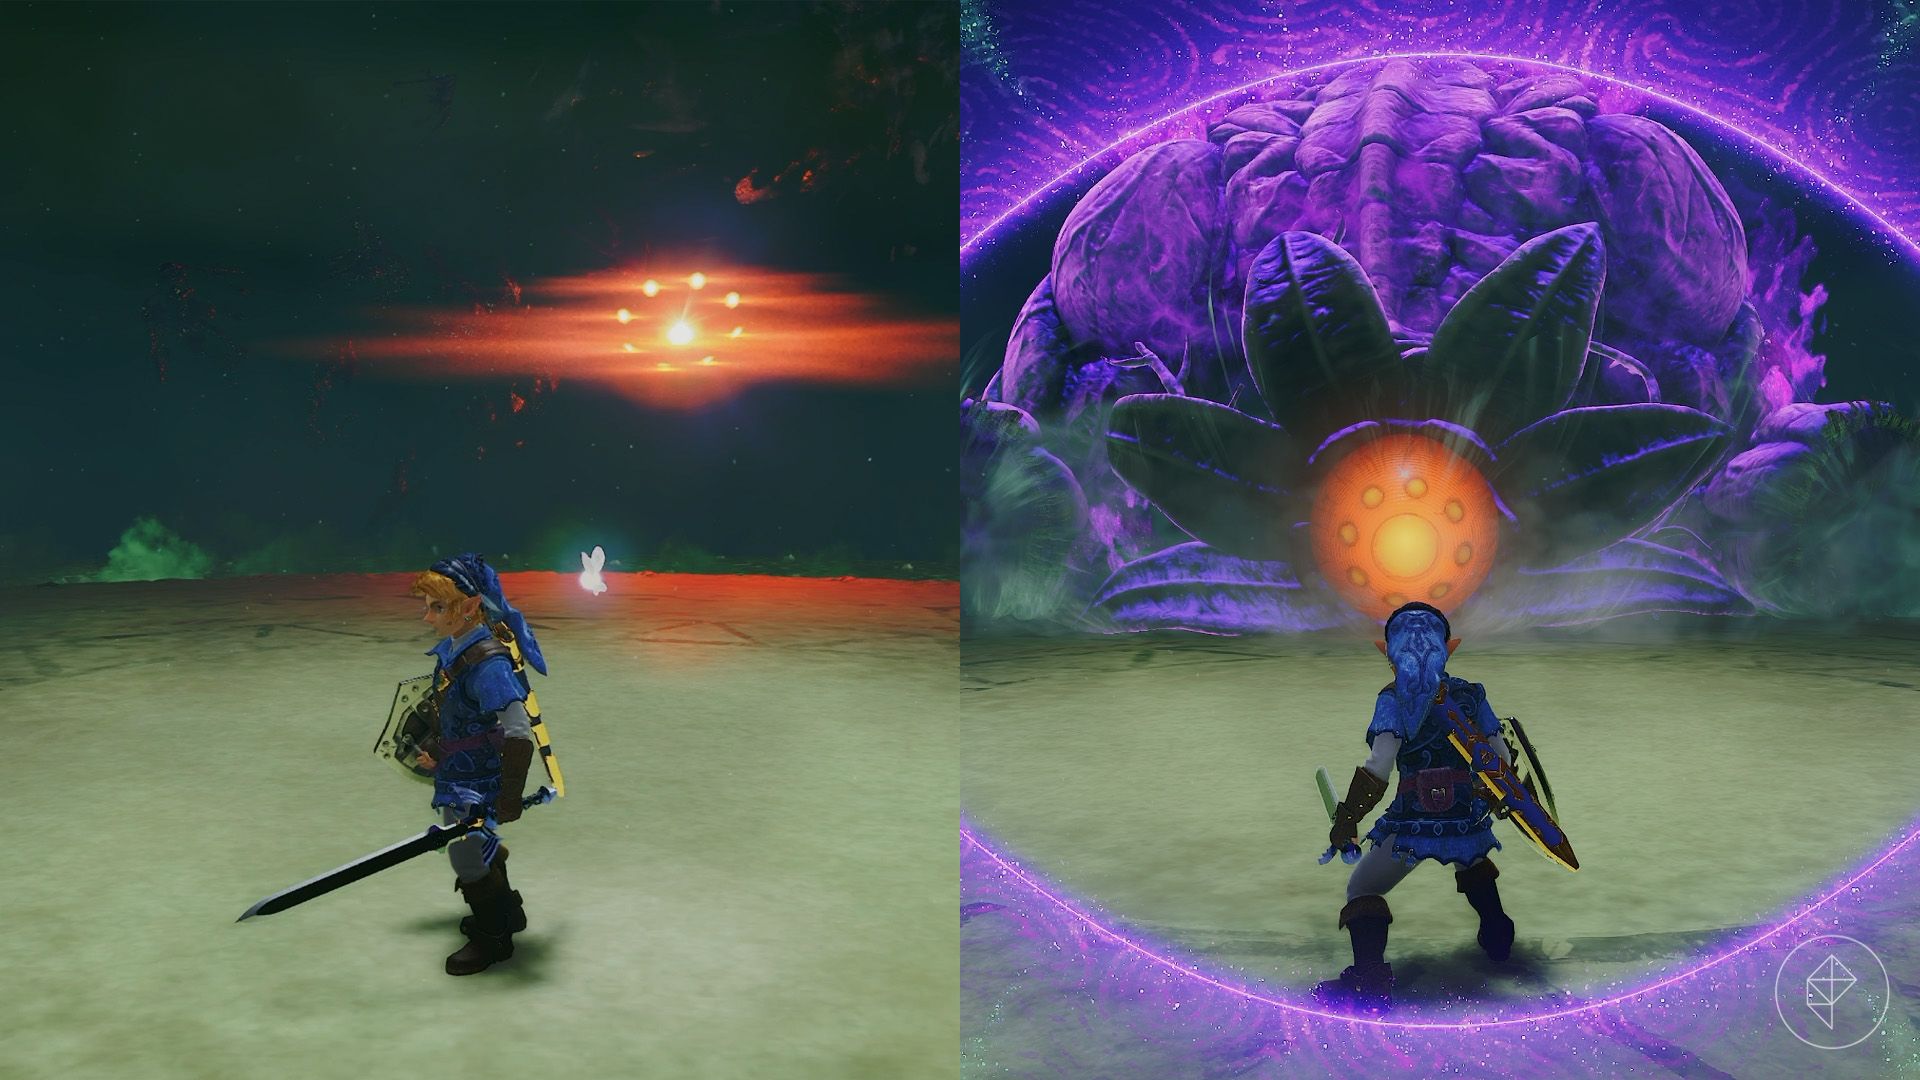
After both hands are hit, the boss’s eye lights up. Use the Lenses of Truth to see its body as it charges. Shoot the eye with the Fairy Bow or Longshot to stun it, then rush in and attack. A later shot leaves less distance to cover, but take the opportunity when you have a clear aim. The charge returns each time you disable both hands.
As the fight continues, Bongo Bongo adds several attacks:
- Closing hands: Both hands approach from opposite sides. Shoot one to avoid being trapped between them.
- Swipe: A hand sweeps across the arena. Stop it with an arrow.
- Grab: A hand reaches for Link. Strike it before it catches you; if grabbed, press the buttons repeatedly to escape.
- Fist charge: A clenched hand rushes toward you. Move sideways to dodge, then attack while it is vulnerable.
After you hit one hand, the other may use any of these attacks or repeat the slam. If you’re unsure, wait for it to stop glowing and shoot it. Once both hands are disabled, target the eye and attack the stunned boss.
Repeat until Bongo Bongo falls. Collect the Heart Container, then leave the dungeon through the ring of light.
Source: Polygon
Related articles
 Microsoft’s Alligator Xbox May Be a GTA VI Marketing Workaround
 Analysts Say Gran Turismo 7 Is Not on PS Plus Because It Has Earned Sony Hundreds of Millions of Dollars
 Mike Flanagan Hints at Unexpected Approach to Warhammer 40,000 Series Starring Henry Cavill
 Ganondorf’s Castle Walkthrough in The Legend of Zelda: Ocarina of Time
 The Legend of Zelda: Ocarina of Time — Spirit Temple Dungeon Walkthrough
 Study Confirms Impact of Social Messaging on Video Game Sales
 Blue Eye Samurai Season 2 Gets Trailer and Release Date as Mizu Heads to London
 Crimson Desert: Patch Notes for Version 2.04.07