Ganondorf’s Castle Walkthrough in The Legend of Zelda: Ocarina of Time
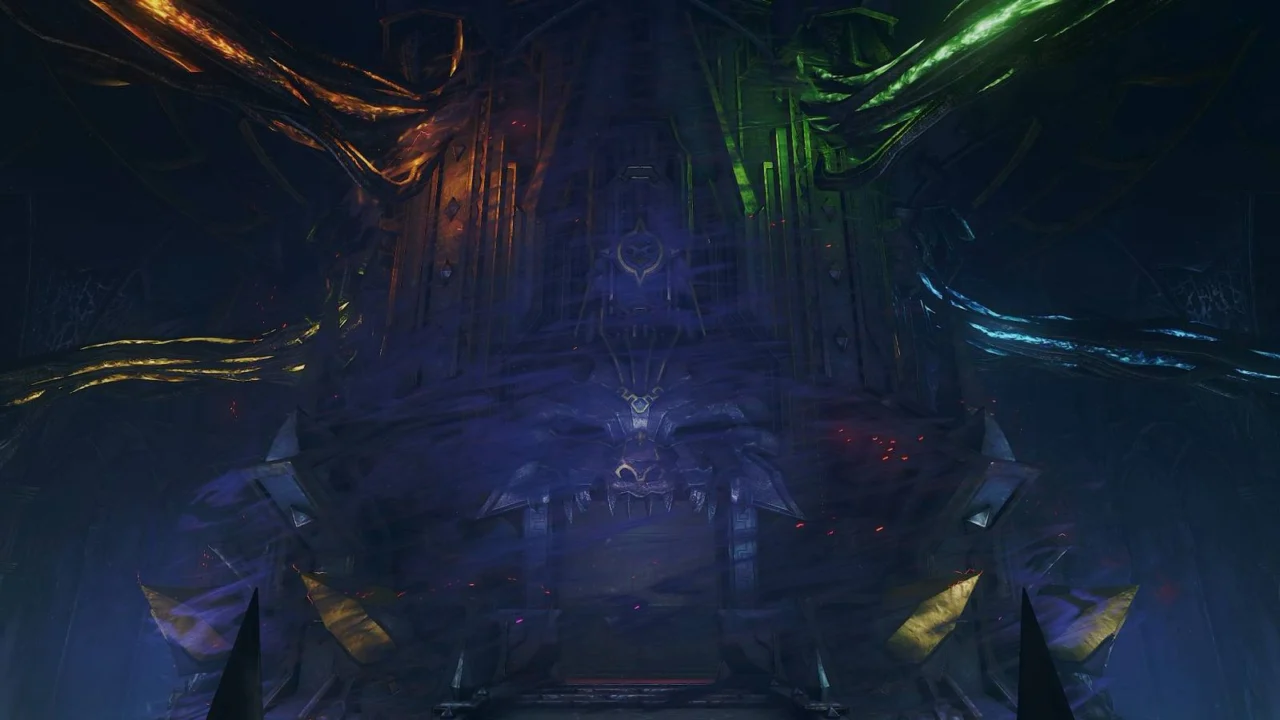
Ganondorf’s Castle is the final dungeon in the The Legend of Zelda: Ocarina of Time remake. To reach Ganondorf and rescue Princess Zelda, you’ll need to put the skills and items from earlier dungeons to use.
Six elemental trials protect the central tower. Solve each room’s puzzle and break its barrier to clear the way to the final battles.
Part 1: Breaking the Shadow barrier
Enter Ganondorf’s Castle, formerly Hyrule Castle, and use explosives to destroy the two Beamos in the hallway. Continue through the door into the main chamber. Six barriers surround the central tower, each tied to a temple. For now, black-and-gold rocks block the Fire and Light doors.
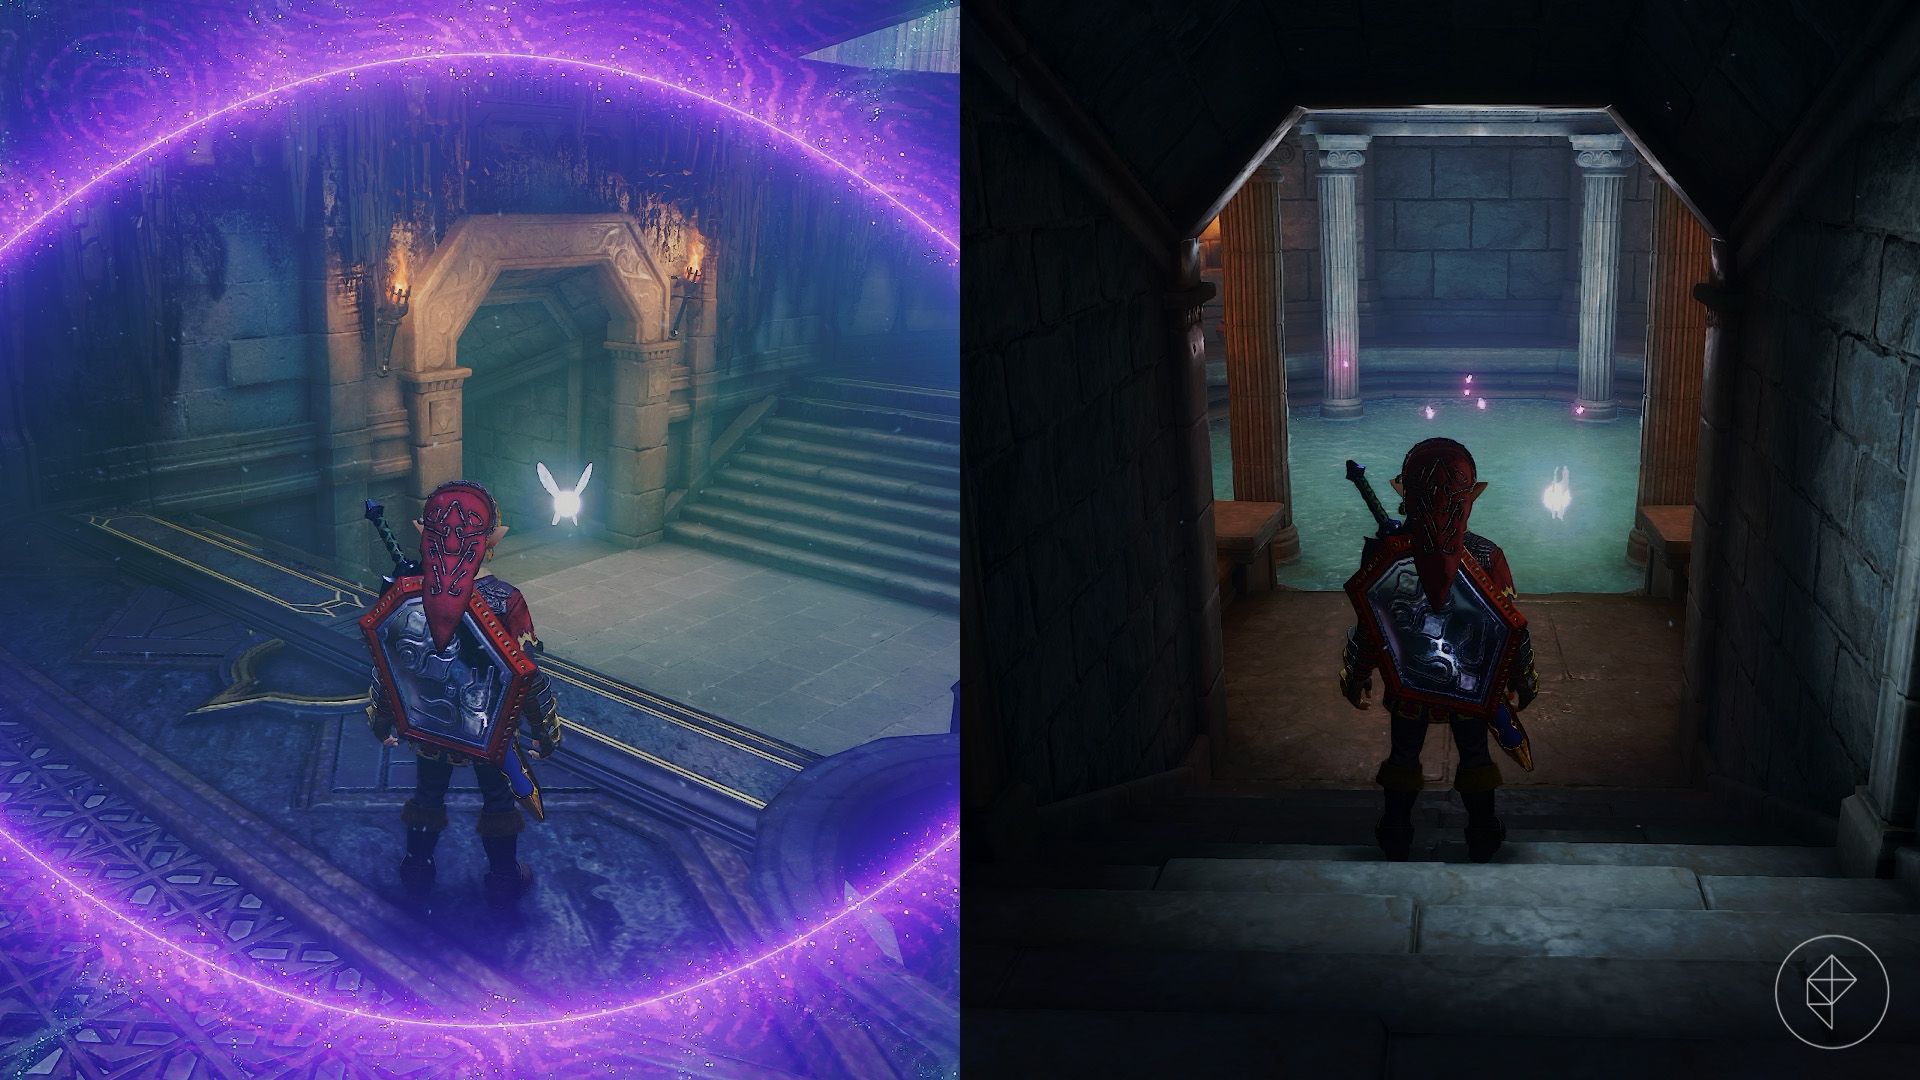
Before entering a trial, go beneath the bridge to the central tower. Use the Lens of Truth to reveal a hidden Fairy Fountain in the wall. You can return here to heal or bottle a fairy for later.
Although you can explore the accessible trials in any order, start with the Shadow room behind the central pillar. It contains an important item you’ll need elsewhere in the castle.
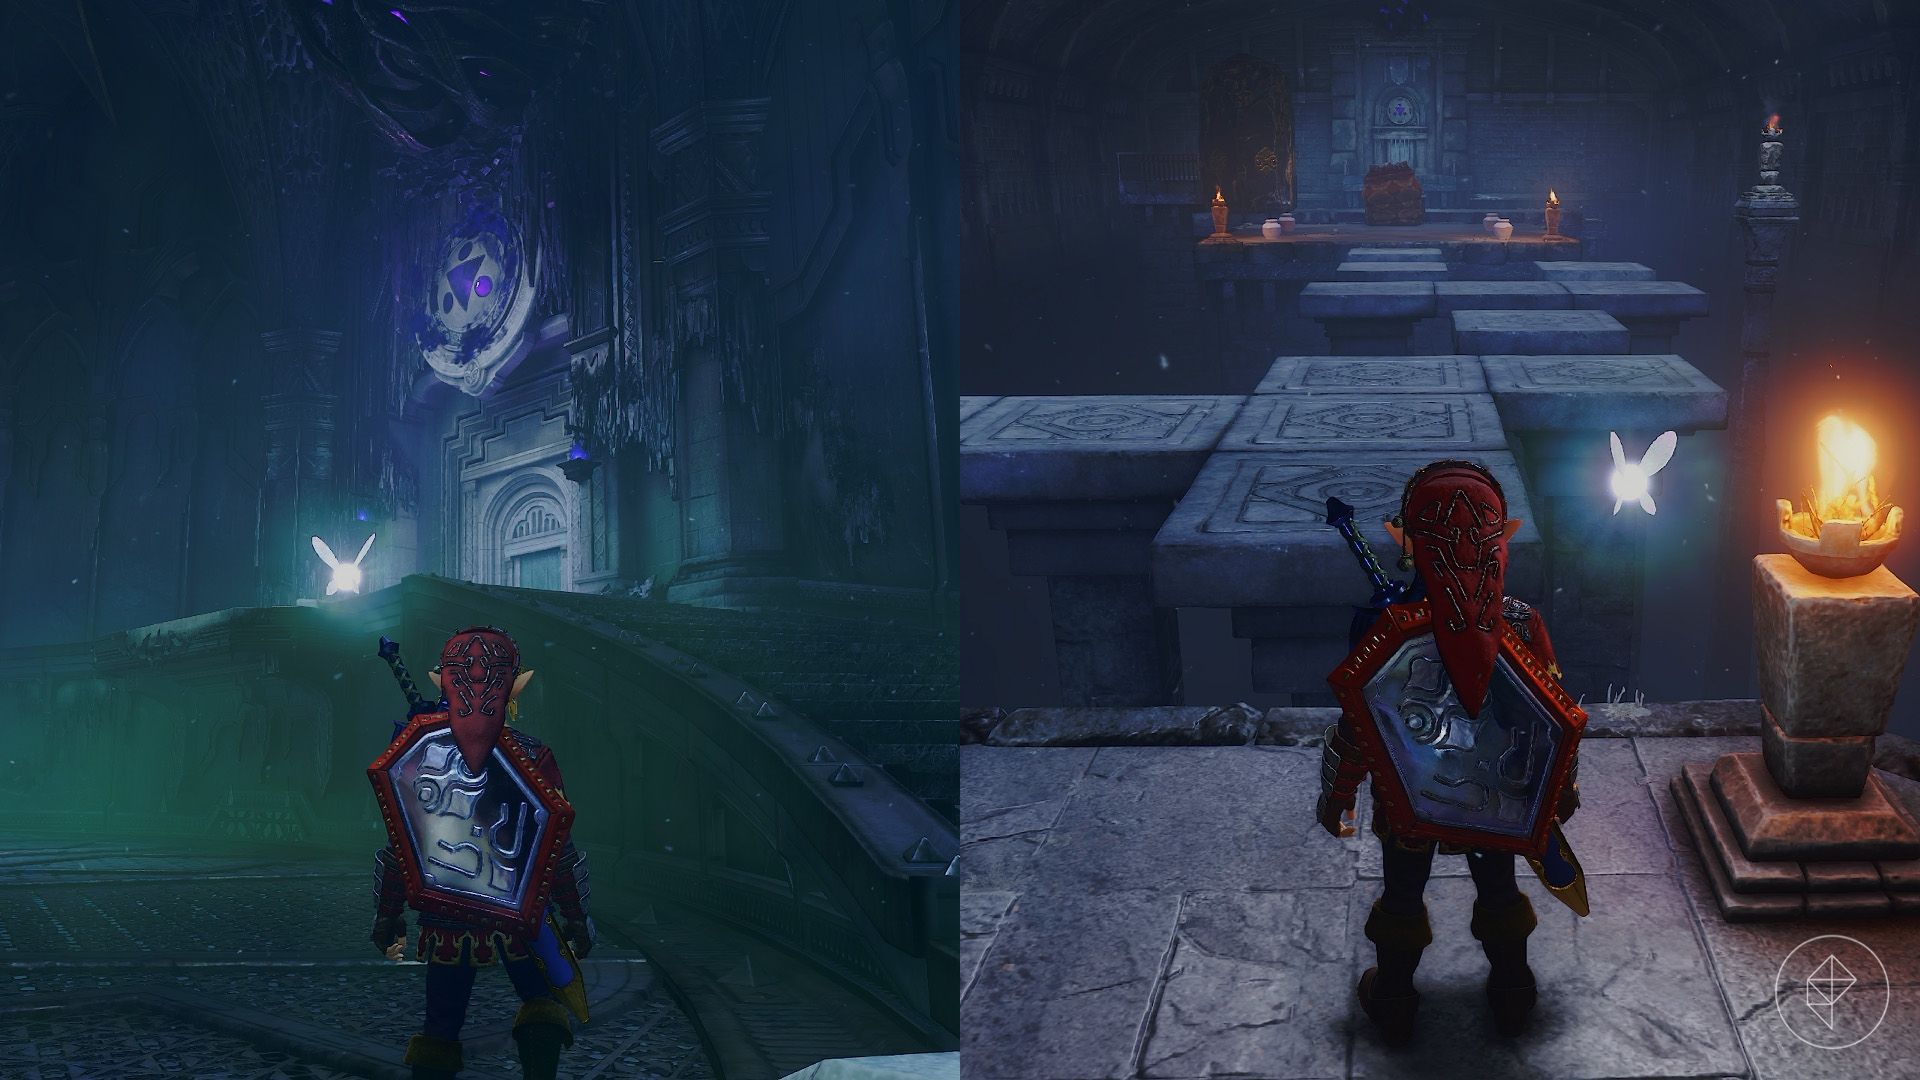
Light the unlit torch on the pillar to raise a series of temporary platforms. Move quickly across them to the larger platform on the opposite side. If you need arrows, open the chest off to the side first.
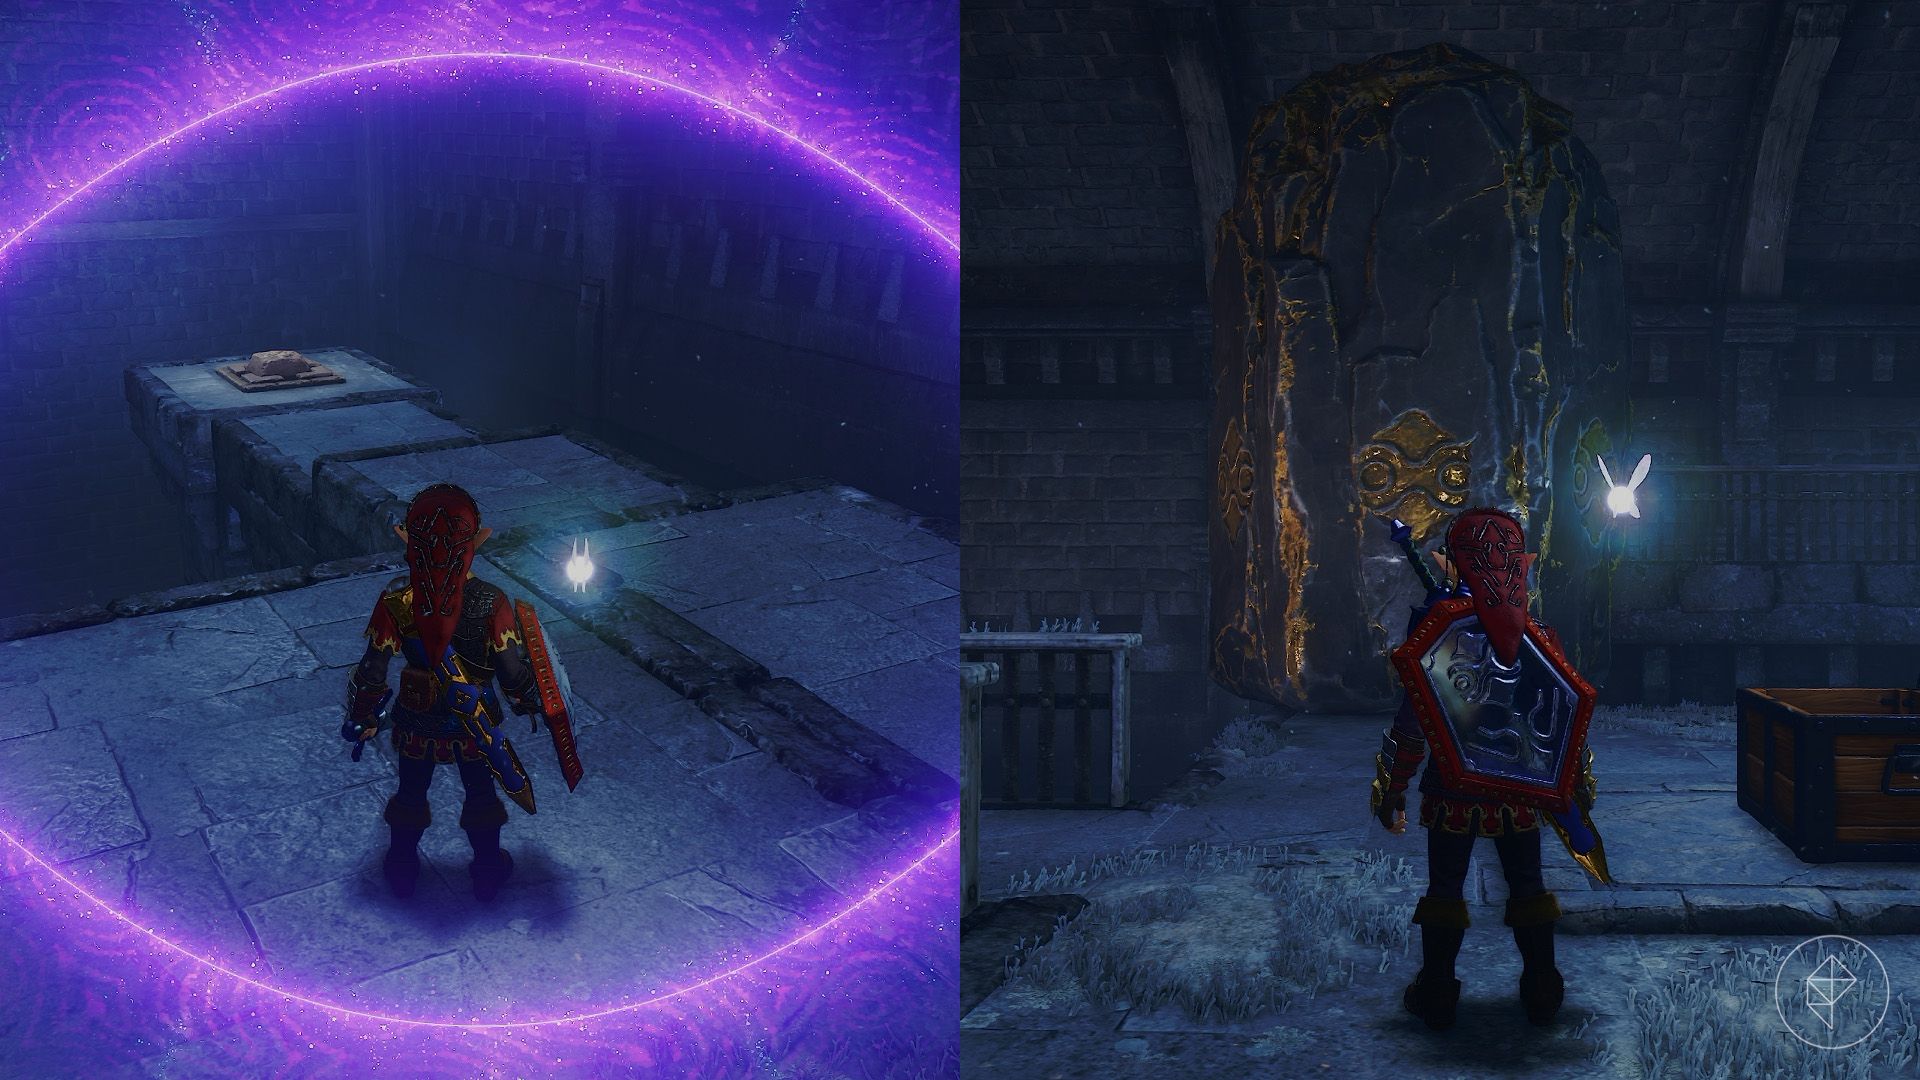
Defeat the Like Like, then use the Hover Boots to reach the next platform. Activate the Lens of Truth to reveal a path to the switch on your right. Step on it to make a chest appear, then open the chest for the Golden Gauntlets.
The gauntlets let you lift enormous black-and-gold rocks. Interact with the rock to the left of the chest, and Link will throw it into the pit.
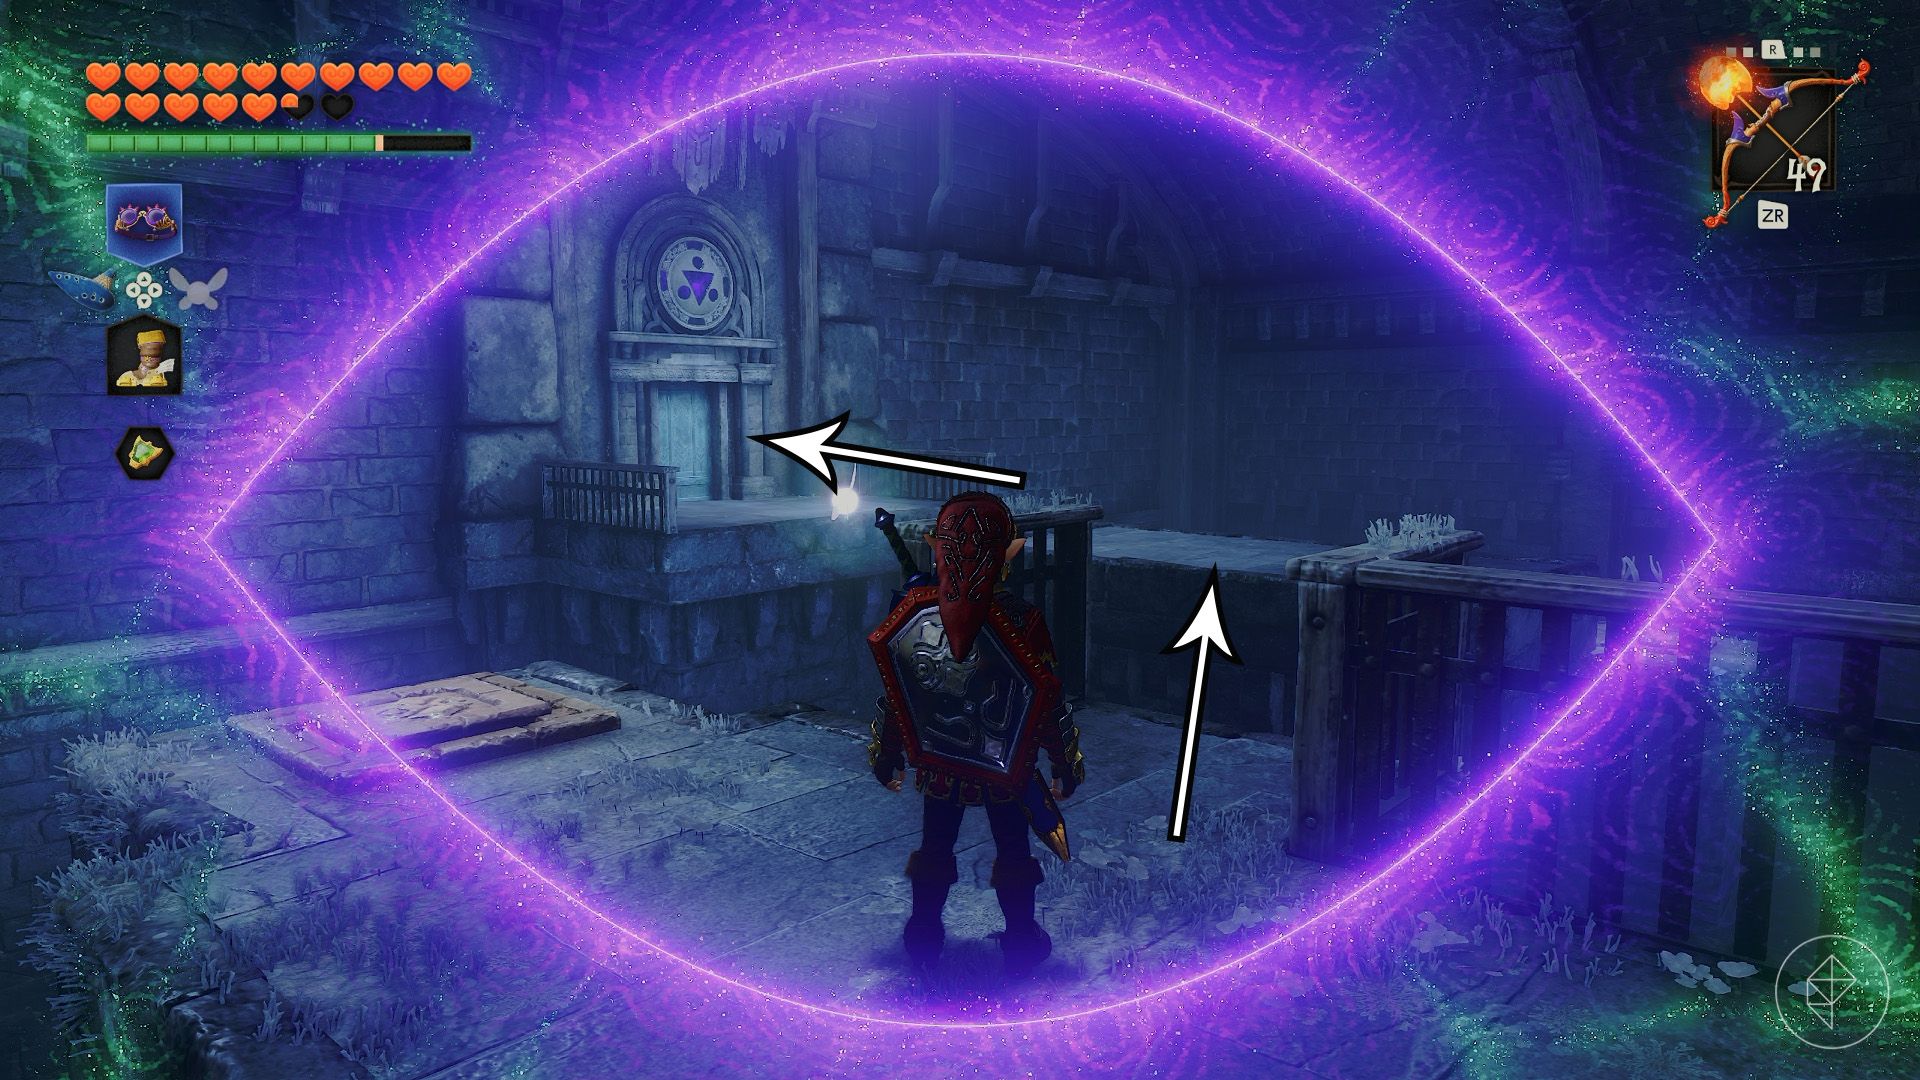
Follow the path and step on the next switch to unlock the door. Use the Lens of Truth to reveal a floating platform, then cross to it with the Hover Boots and proceed through the door.
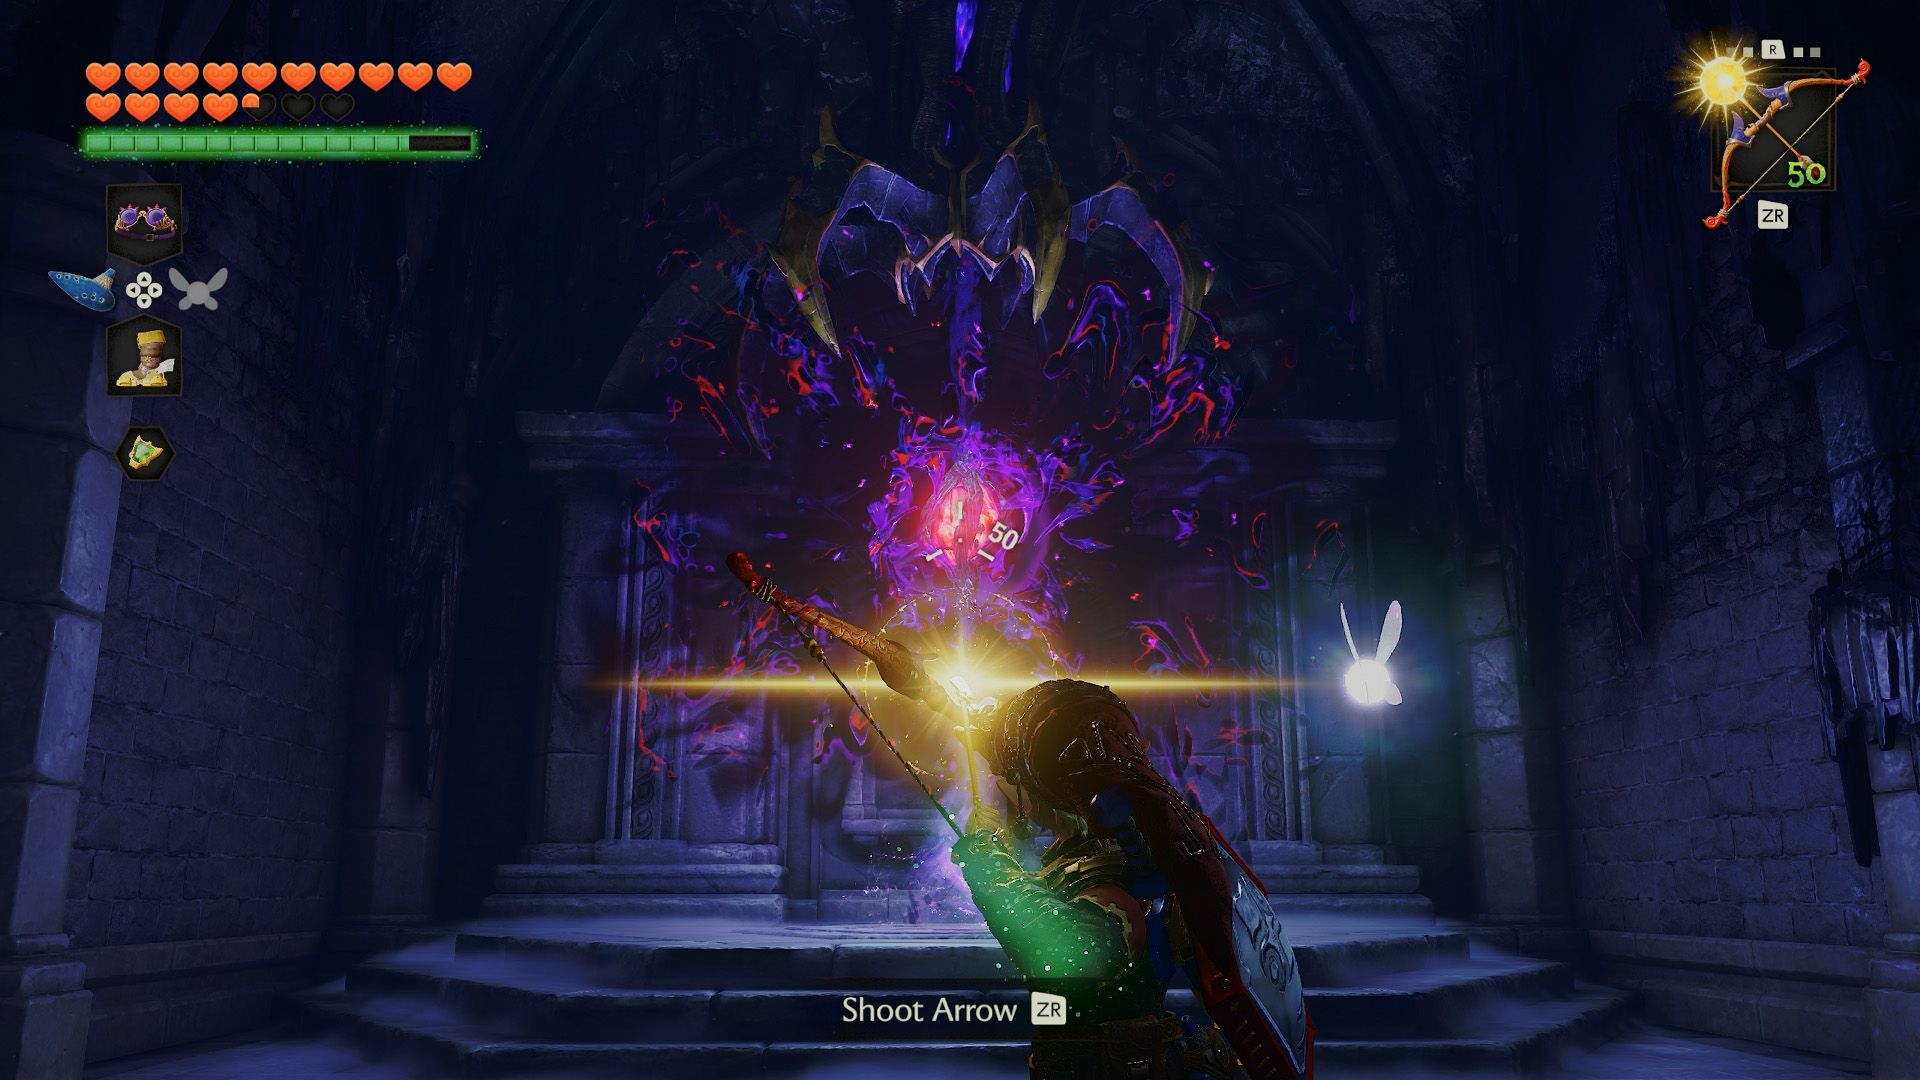
Shoot the dark energy source with one of the Light Arrows Zelda gave you. Impa will appear, urge you to save the princess, and send you back to the main chamber.
Before tackling the remaining trials, consider leaving the castle and lifting the black-and-gold rock across the bridge. It conceals a Great Fairy Fountain where you can receive the Gift of Halved Damage after offering 500 rupees. The upgrade cuts the damage you take in half.
Part 2: Breaking the Forest barrier
You can complete the remaining trials in any order. This route proceeds counterclockwise from the entrance.
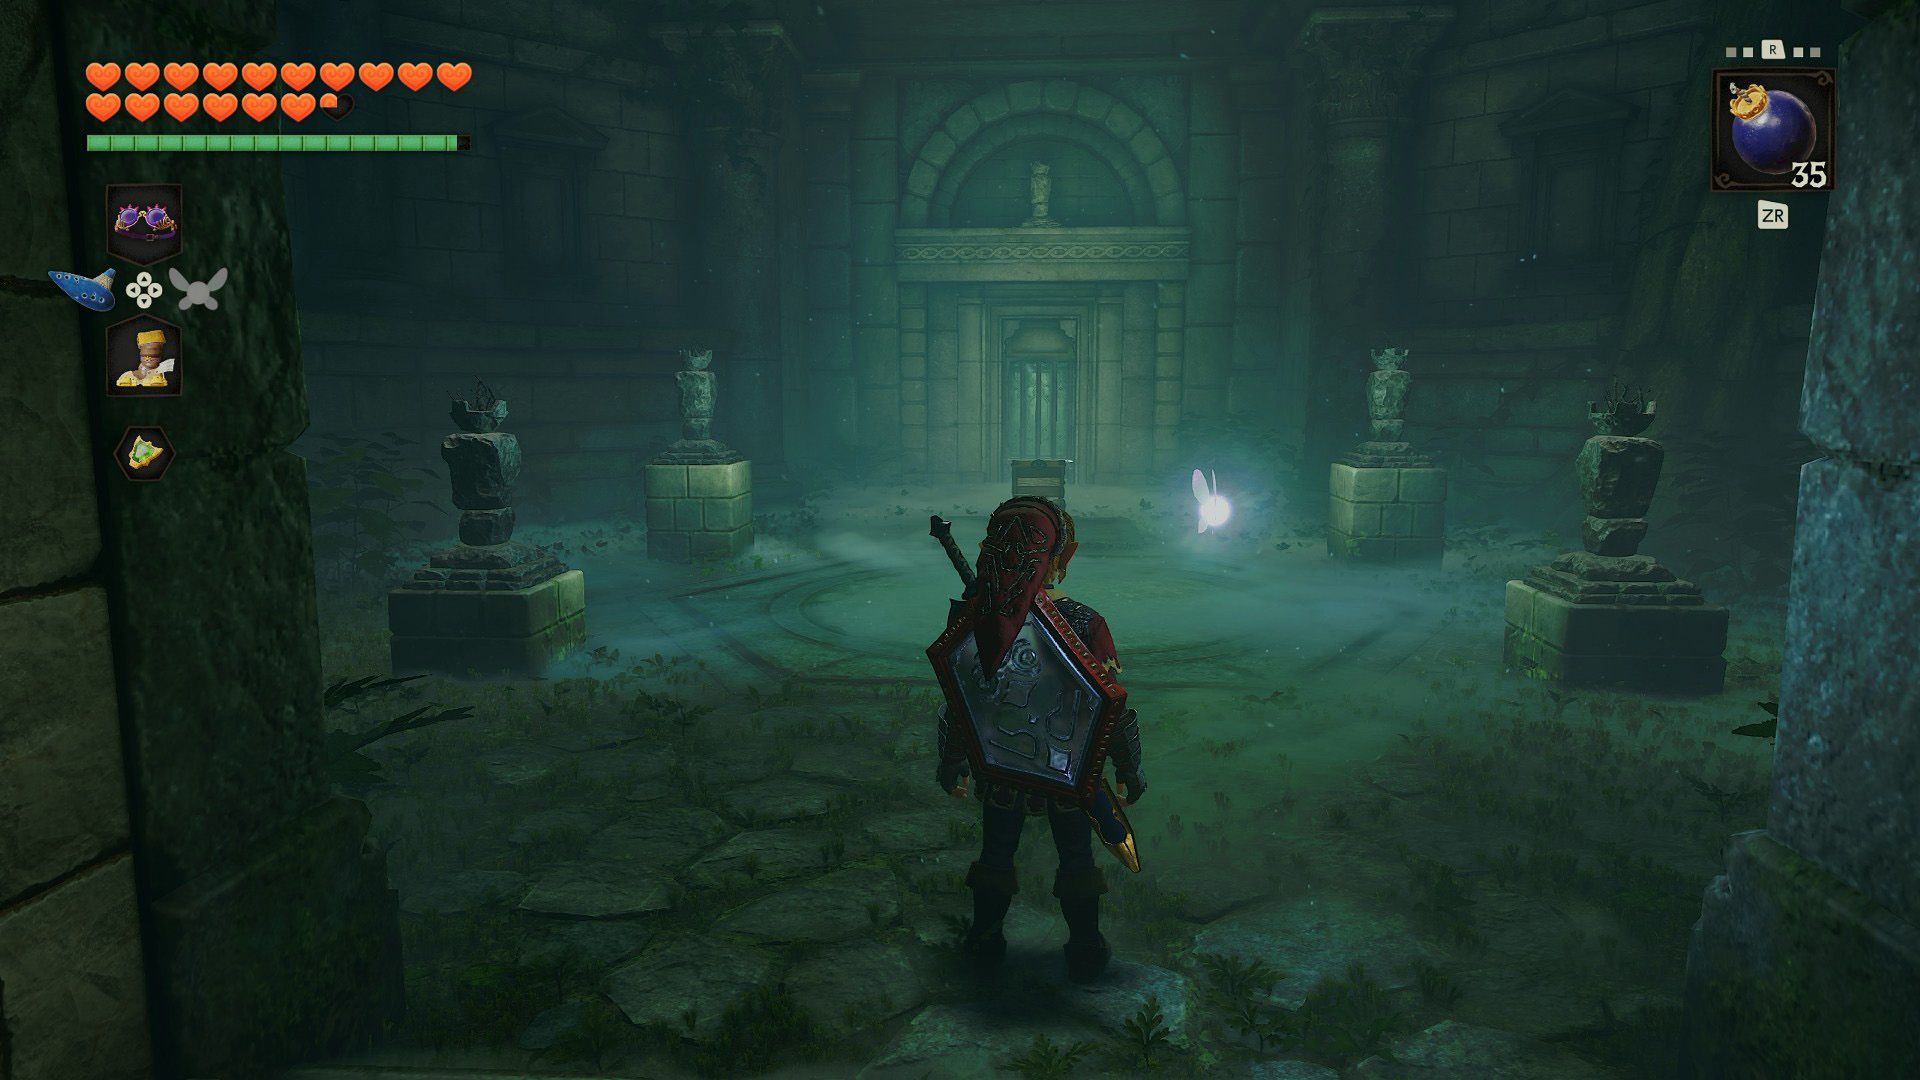
Enter the Forest door on your right. Defeat the Wolfos, then light the five torches: four in the center of the room and one above the locked door. Use Din’s Fire or Fire Arrows to ignite them.
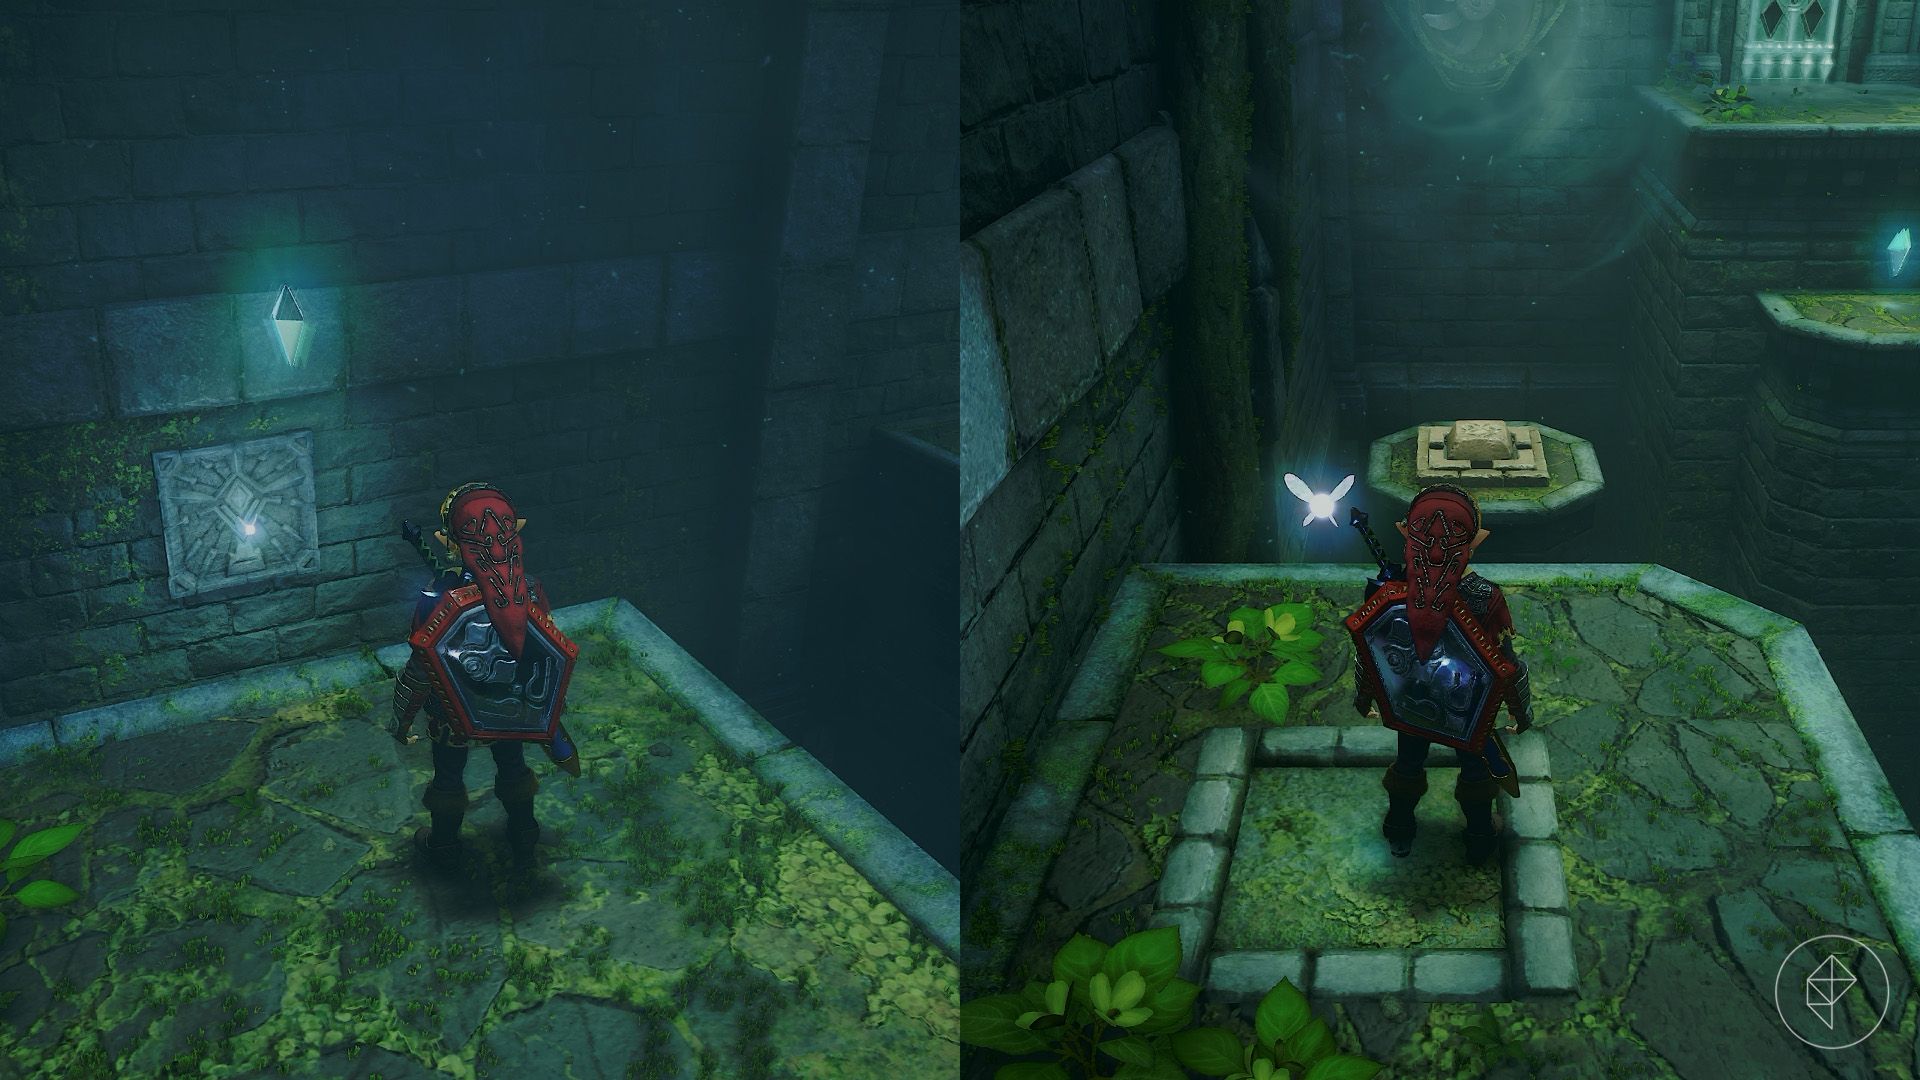
The next room contains five crystals, a central Beamos, and a fan in each corner. Go left to find a time sigil on the wall. Play the Song of Time (A – L – R – A – L – R) to summon a time block.
Jump onto the block and collect the crystal, then equip the Hover Boots before the wind starts again. Destroy the Beamos and hover over to the switch. Use the Longshot on the target that rises and collect the crystal above it. Hover across the room to gather the remaining three crystals.
Enter the next room and shoot the pulsing energy source with a Light Arrow. Saria will appear after the Forest barrier falls and send you back to the main chamber.
Part 3: Breaking the Water barrier
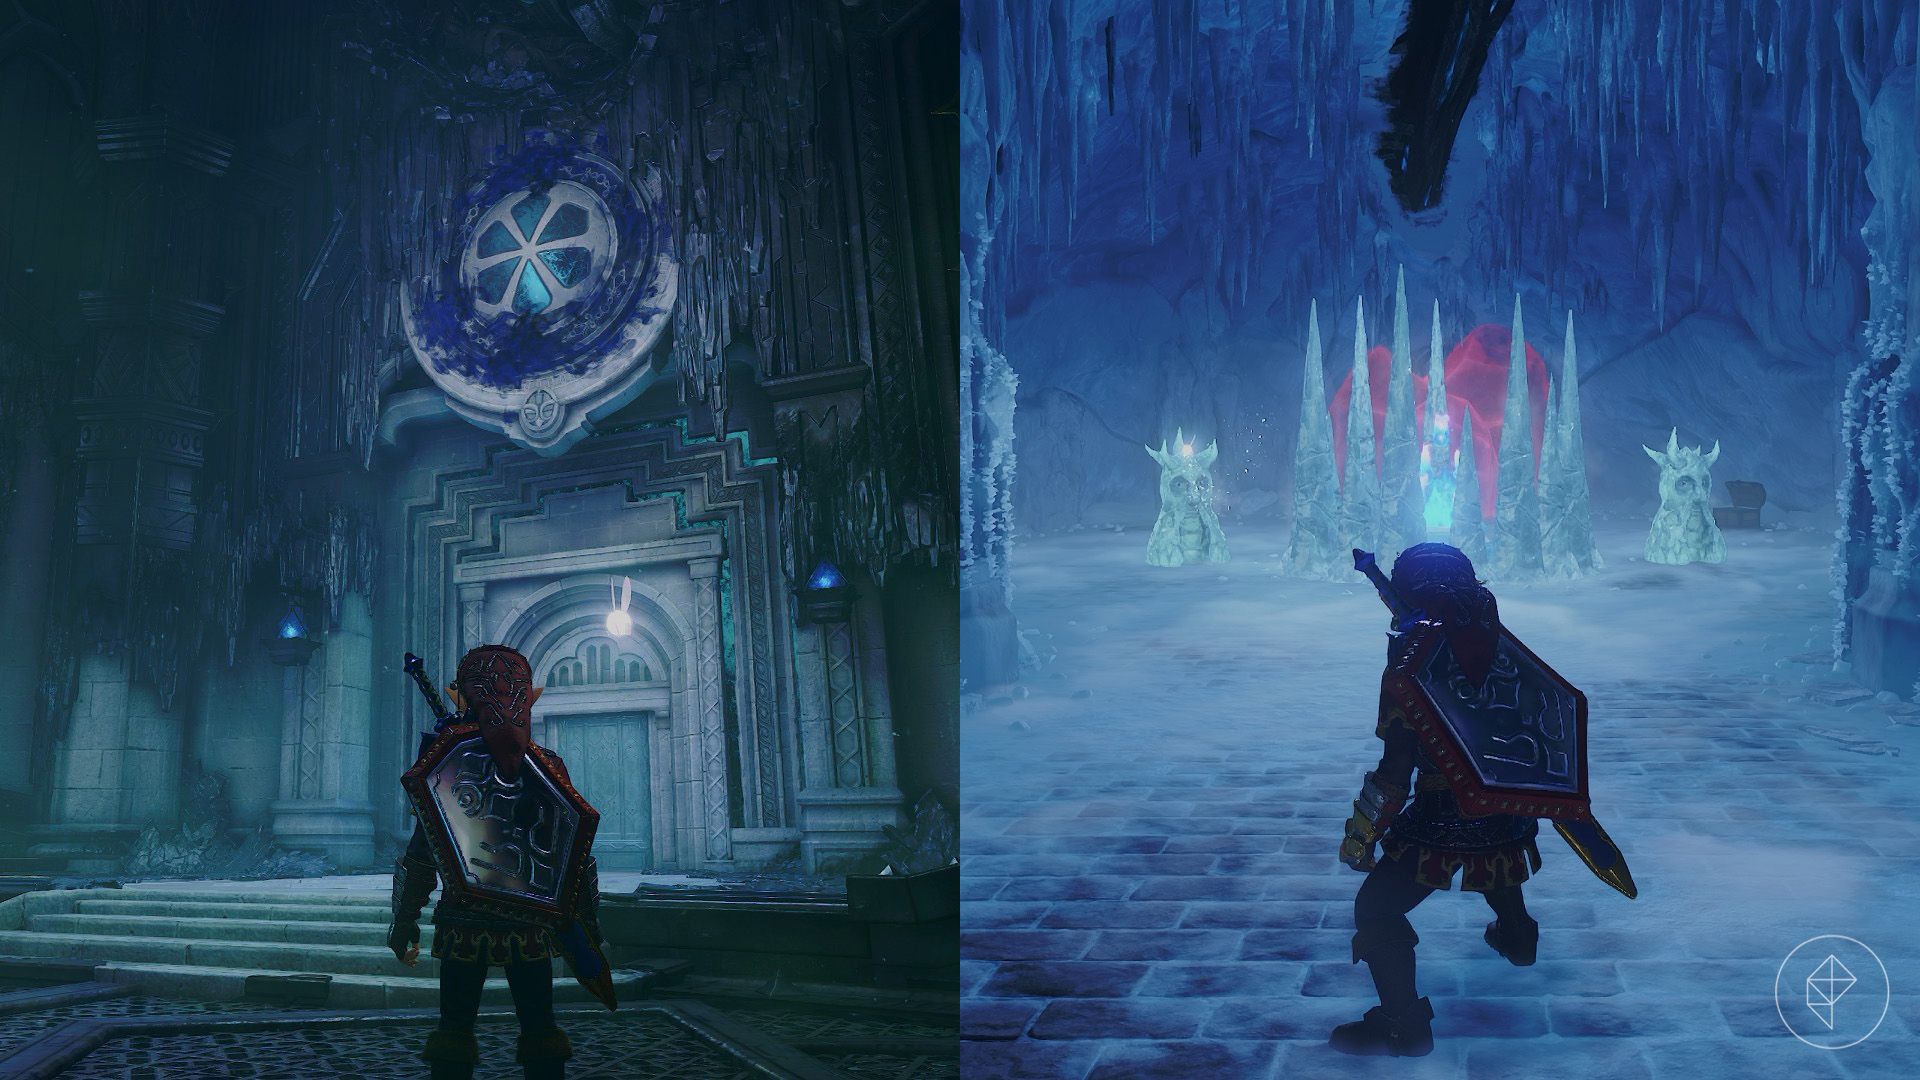
Enter the Water room and prepare for two Freezards. Fire Arrows can melt them in one hit; otherwise, dodge their icy breath and defeat them with your other weapons.
Break the ice formations around the blue fire in the center. Bottle some blue fire and use it to melt the red ice, then fill another bottle for the next room. Avoid the chest on the left side of the chamber: it’s a fake.
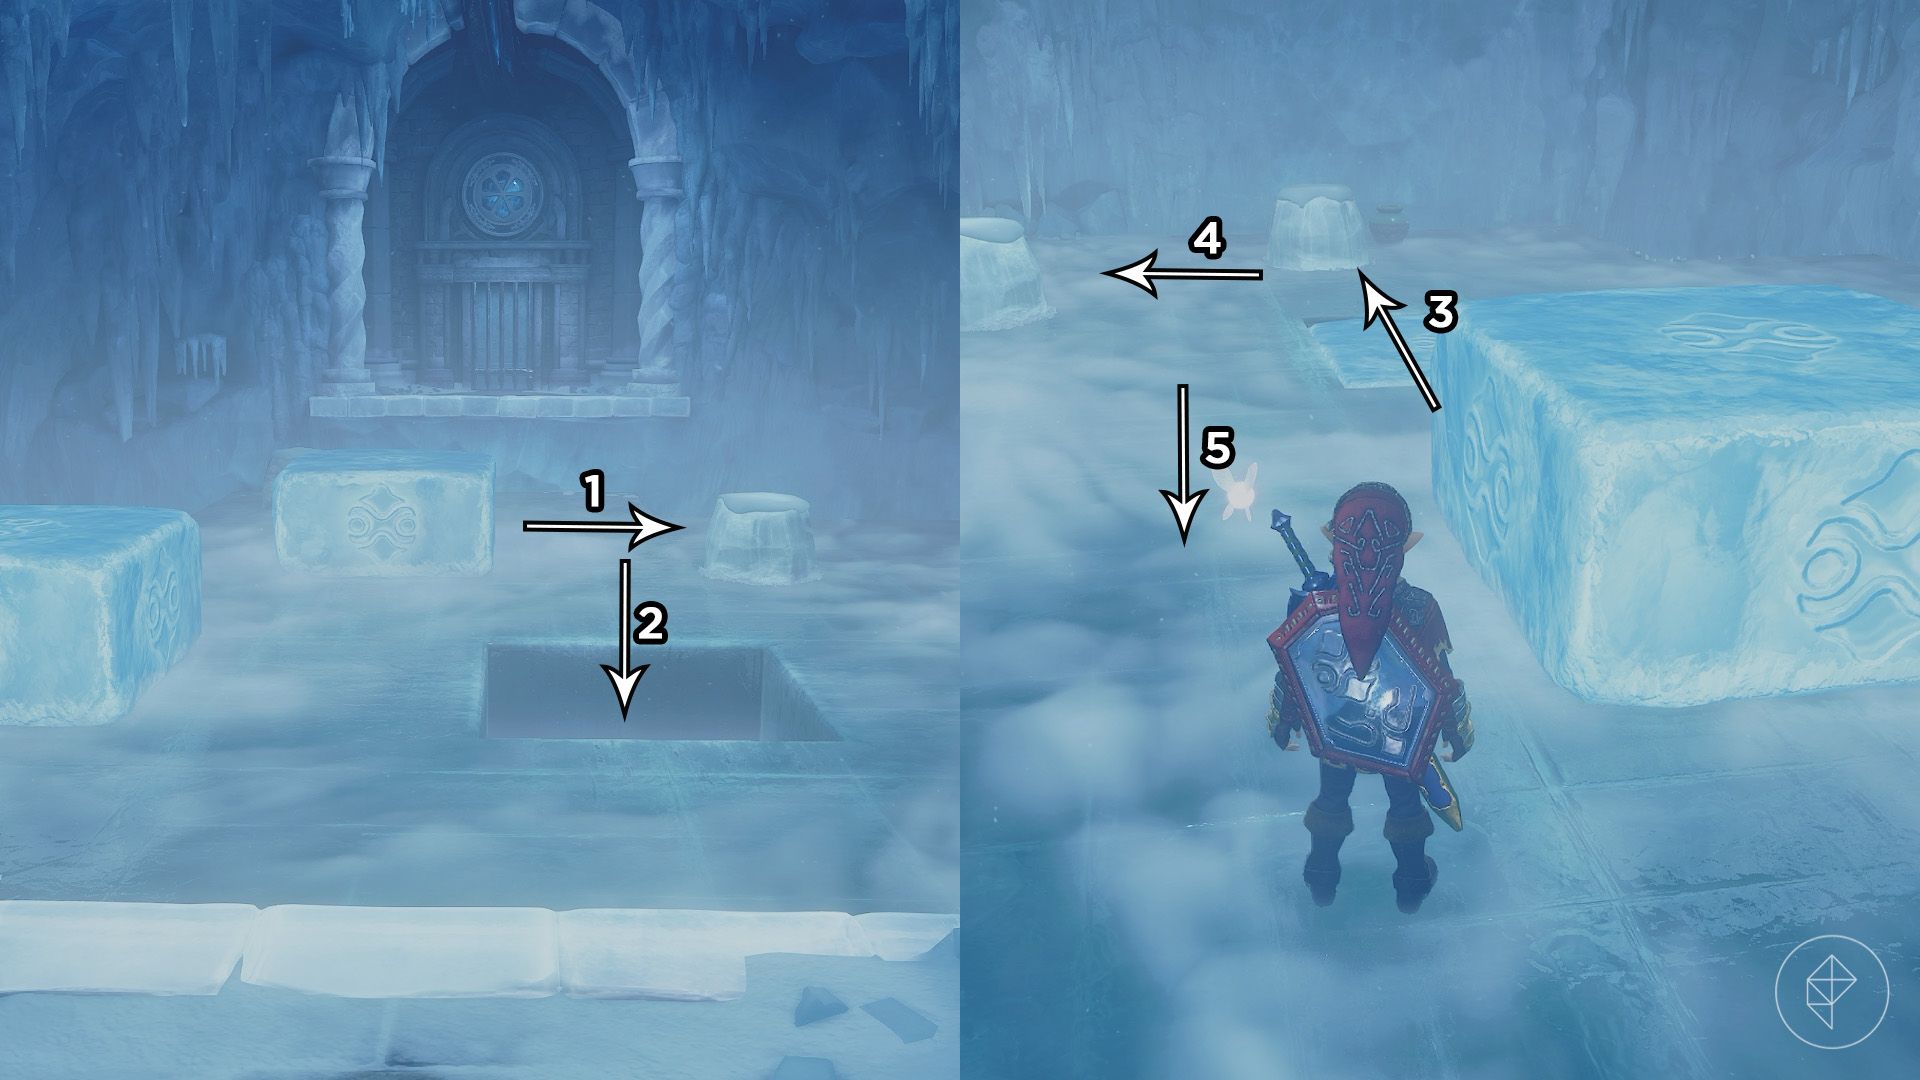
In the next room, solve the ice-block puzzle as follows:
- Push the farther block right into the mound of ice, then push it into the hole.
- Push the second block over the filled hole and into the ice mound.
- Push it into the other ice mound, then toward the red ice.
- Melt the red ice with blue fire and strike the switch with the Megaton Hammer.
Go through the unlocked door and shoot the energy source with a Light Arrow. Ruto will appear before you return to the main chamber.
Part 4: Breaking the Fire barrier
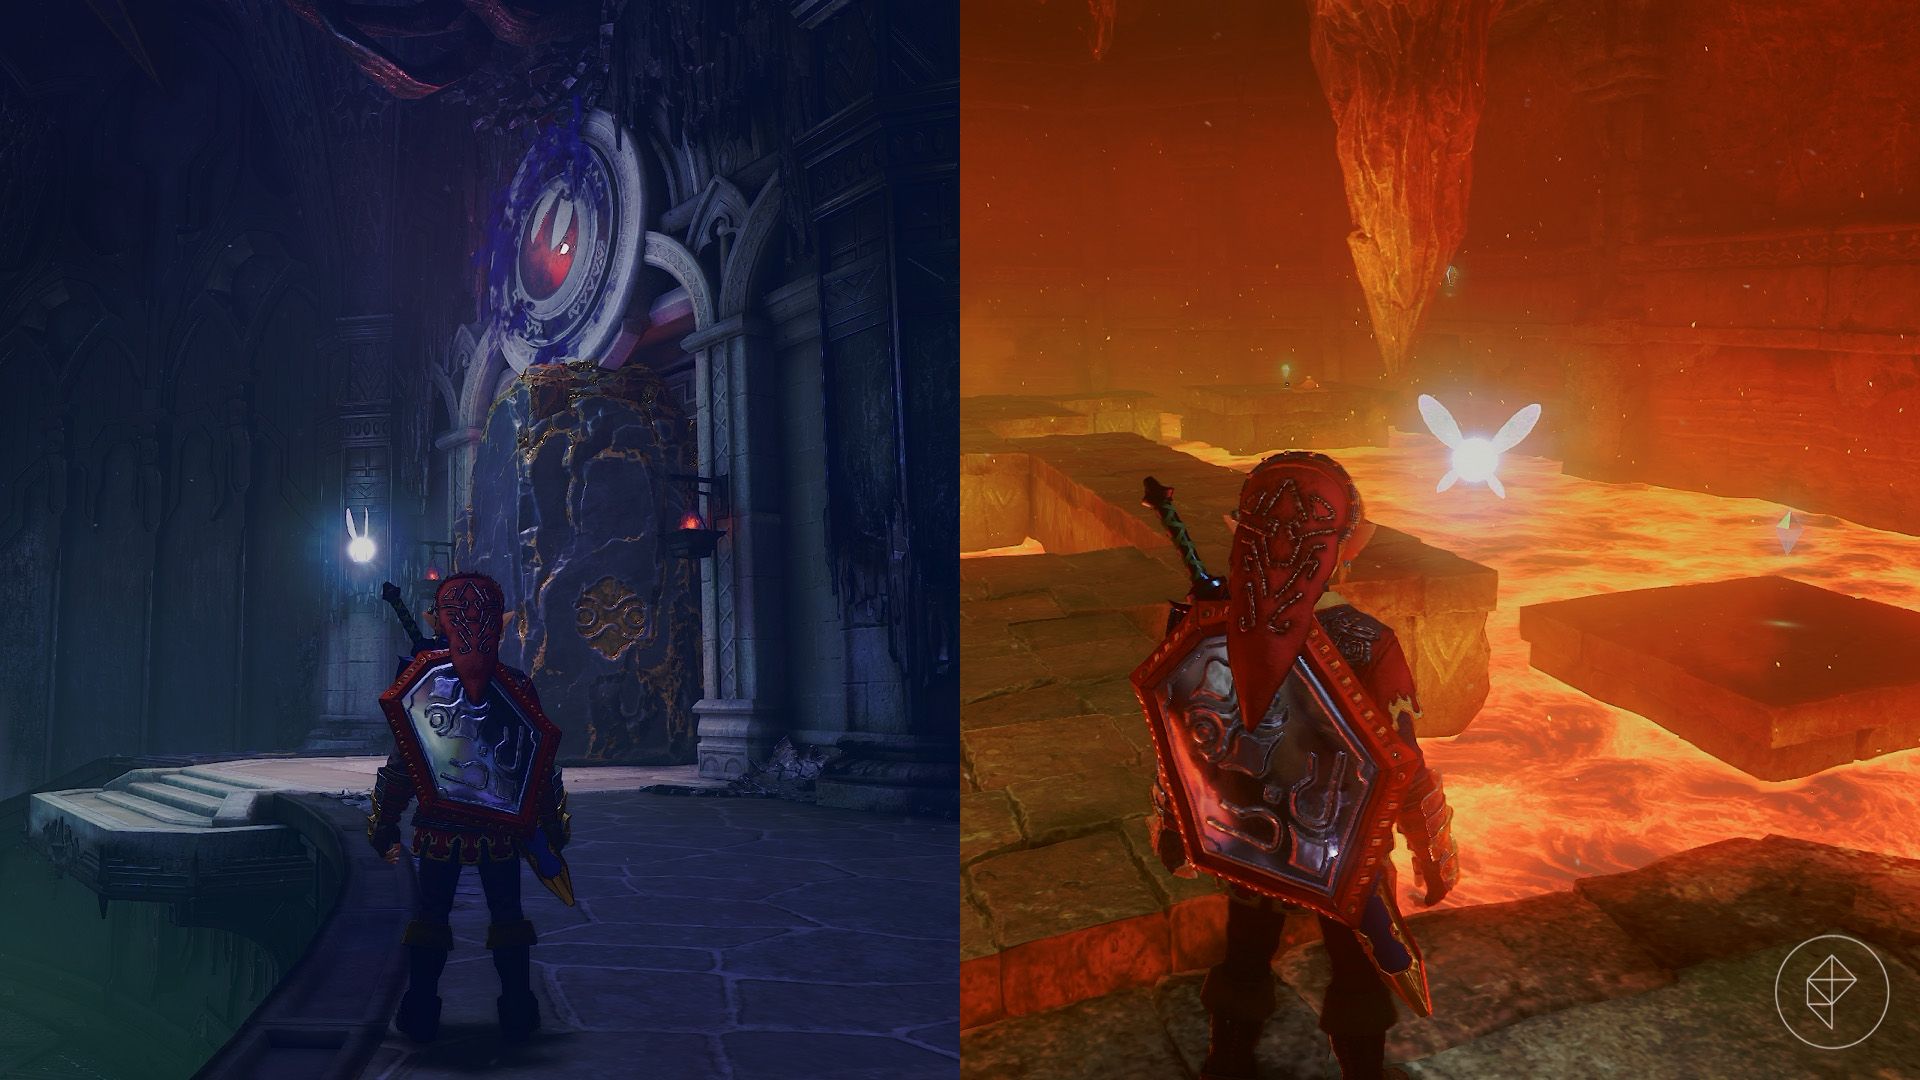
Lift the black-and-gold rock blocking the Fire room, equip the Goron Tunic, and enter. Collect all five crystals: three are on the right side of the chamber and two are on the left.
The winding platforms begin sinking into the lava once you step onto them, so keep moving. To reach one crystal, throw the black-and-gold rock into the stalactite. The falling stalactite creates a platform in the lava.
Once you have every crystal, use the Longshot to reach the door. Shoot the energy source in the next room with a Light Arrow, and Darunia will return you to the main chamber.
Part 5: Breaking the Light barrier
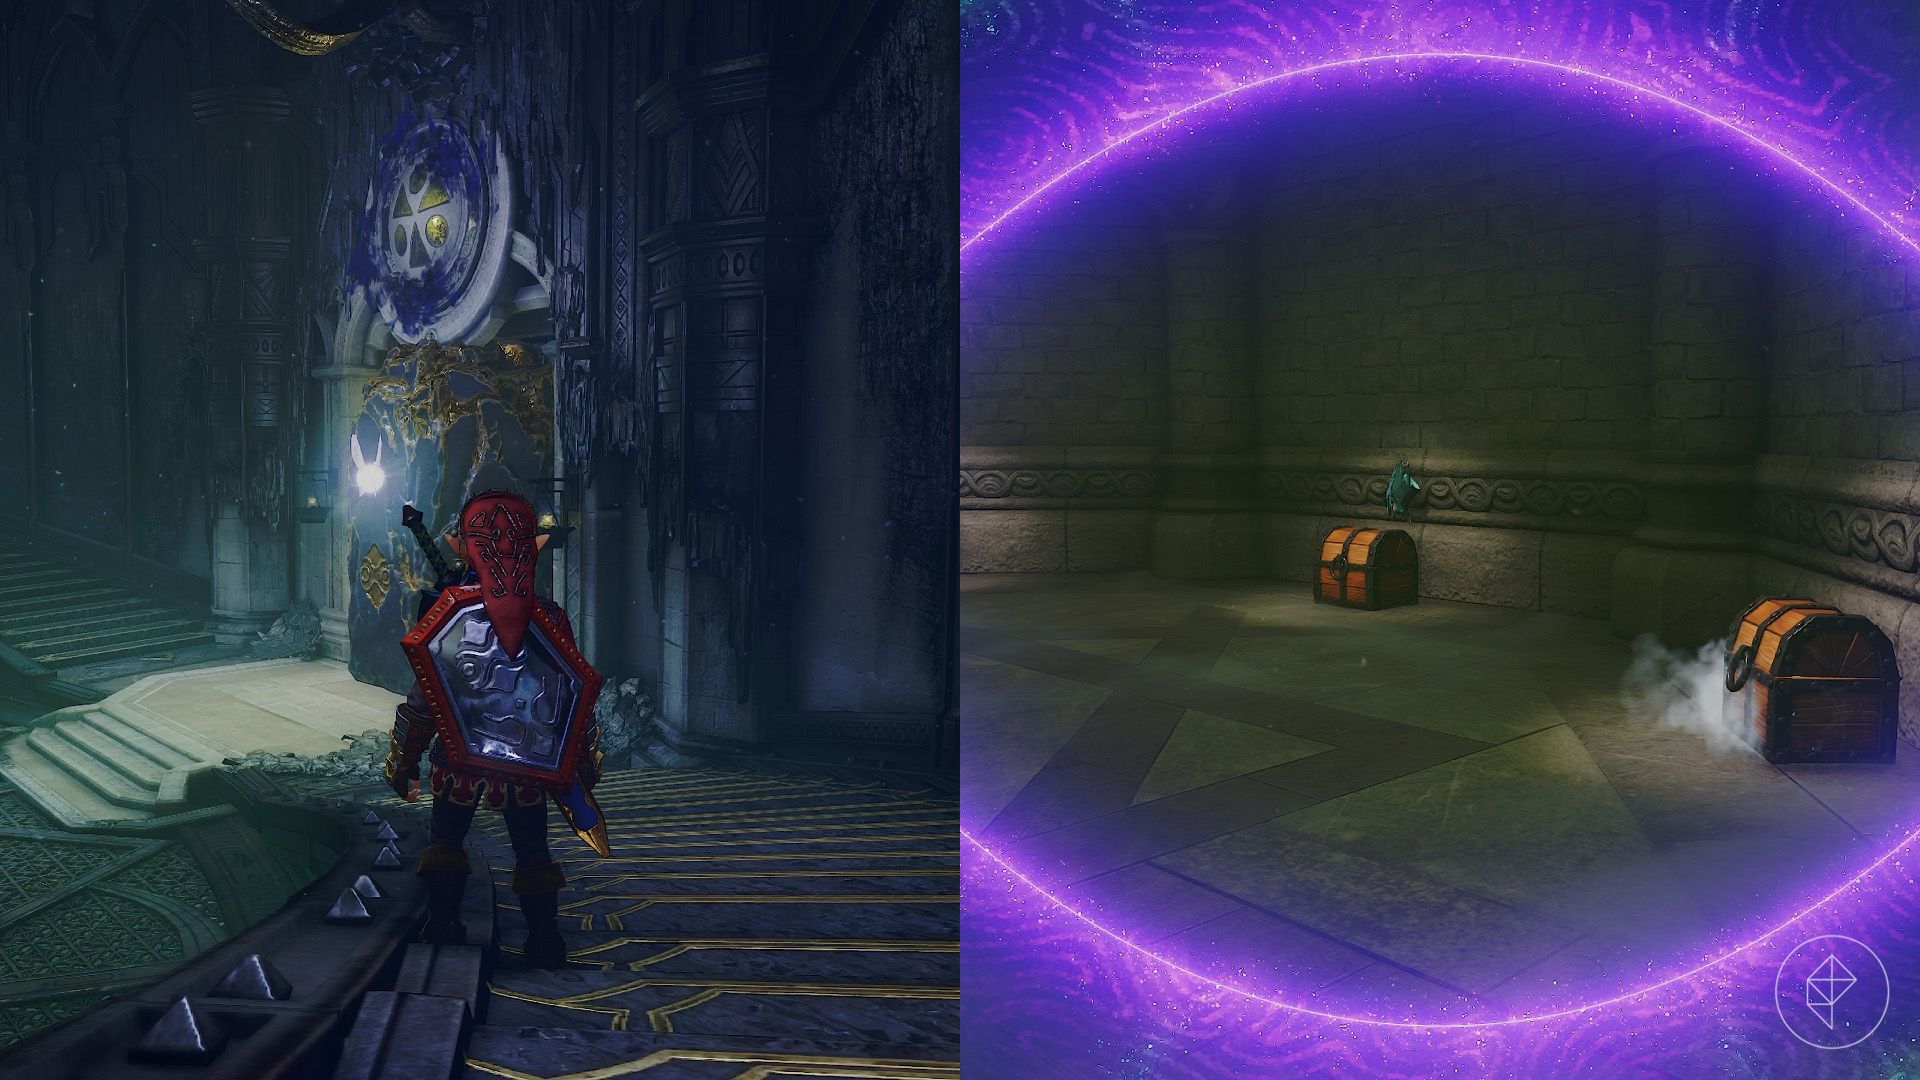
Remove the rock blocking the Light room and head inside. Use the Lens of Truth to reveal invisible Keese on the walls and an invisible Skulltula hanging from the ceiling. Defeat them to unlock the door and reveal a chest containing a red rupee.
Look for moving chests around the room and strike them rather than opening them. The remaining chests each contain a blue rupee.
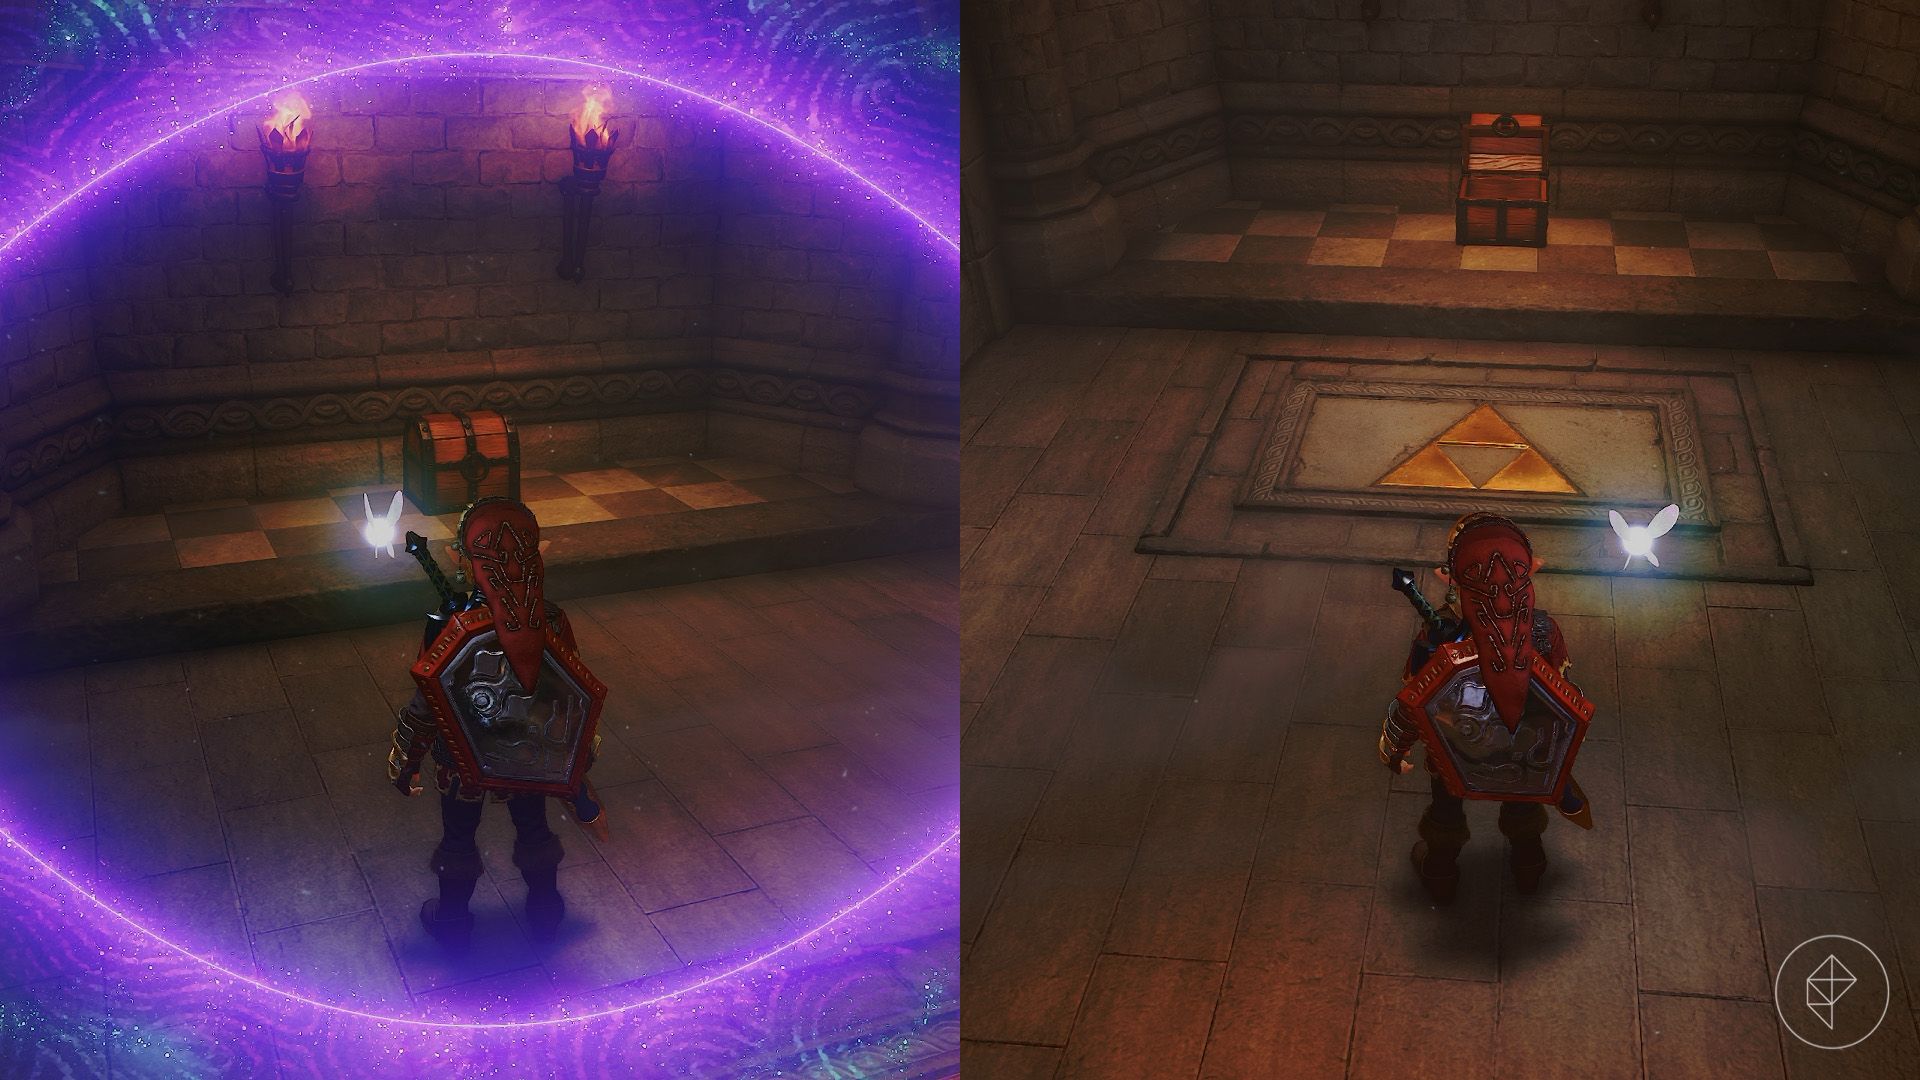
In the next room, use the Lens of Truth to find an invisible chest on the left. Open it for a small key. If you want a green rupee, play Zelda’s Lullaby (Y – X – A – Y – X – A) on the Triforce symbol to reveal another chest. Use the key to unlock the next door.
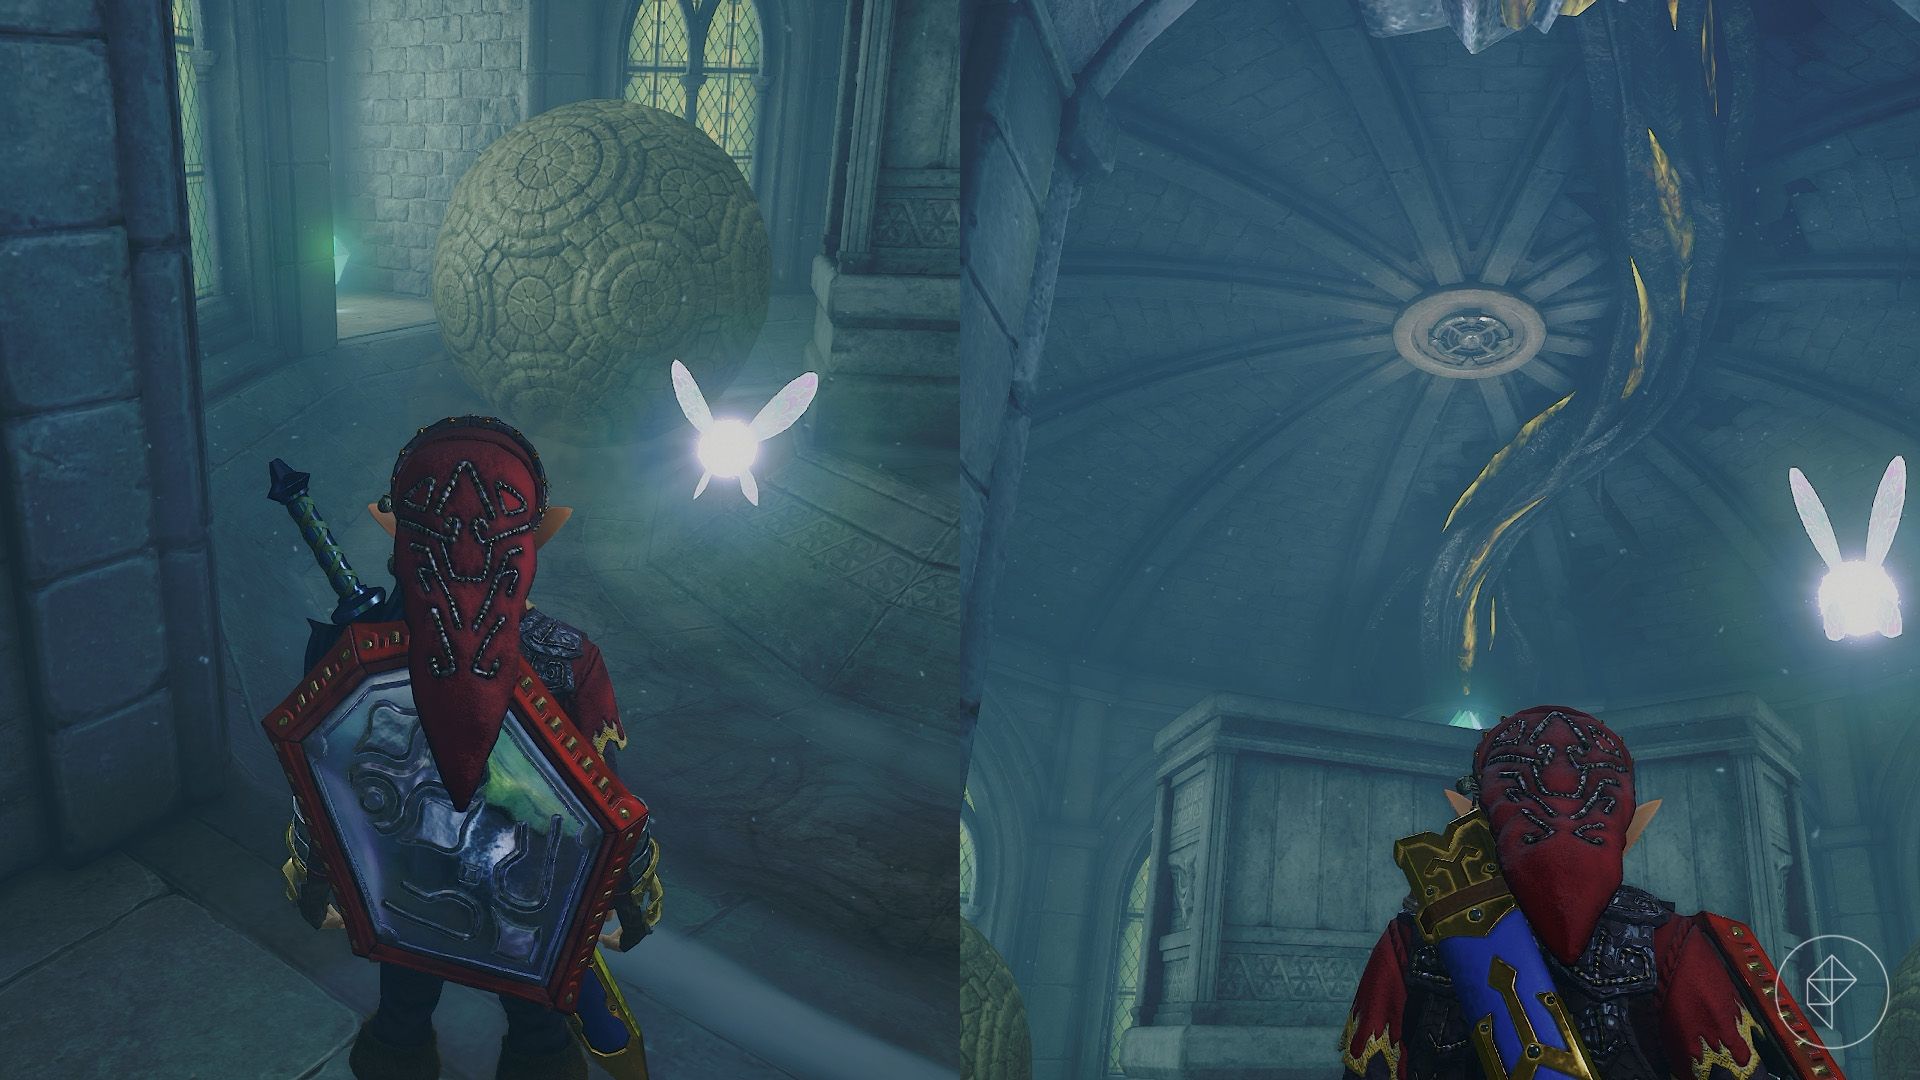
Collect the five crystals while avoiding the rolling boulders. Follow behind a boulder to pick up the four around the room. Then stand in an alcove, aim at the target on the central ceiling, and use the Longshot to reach the final crystal.
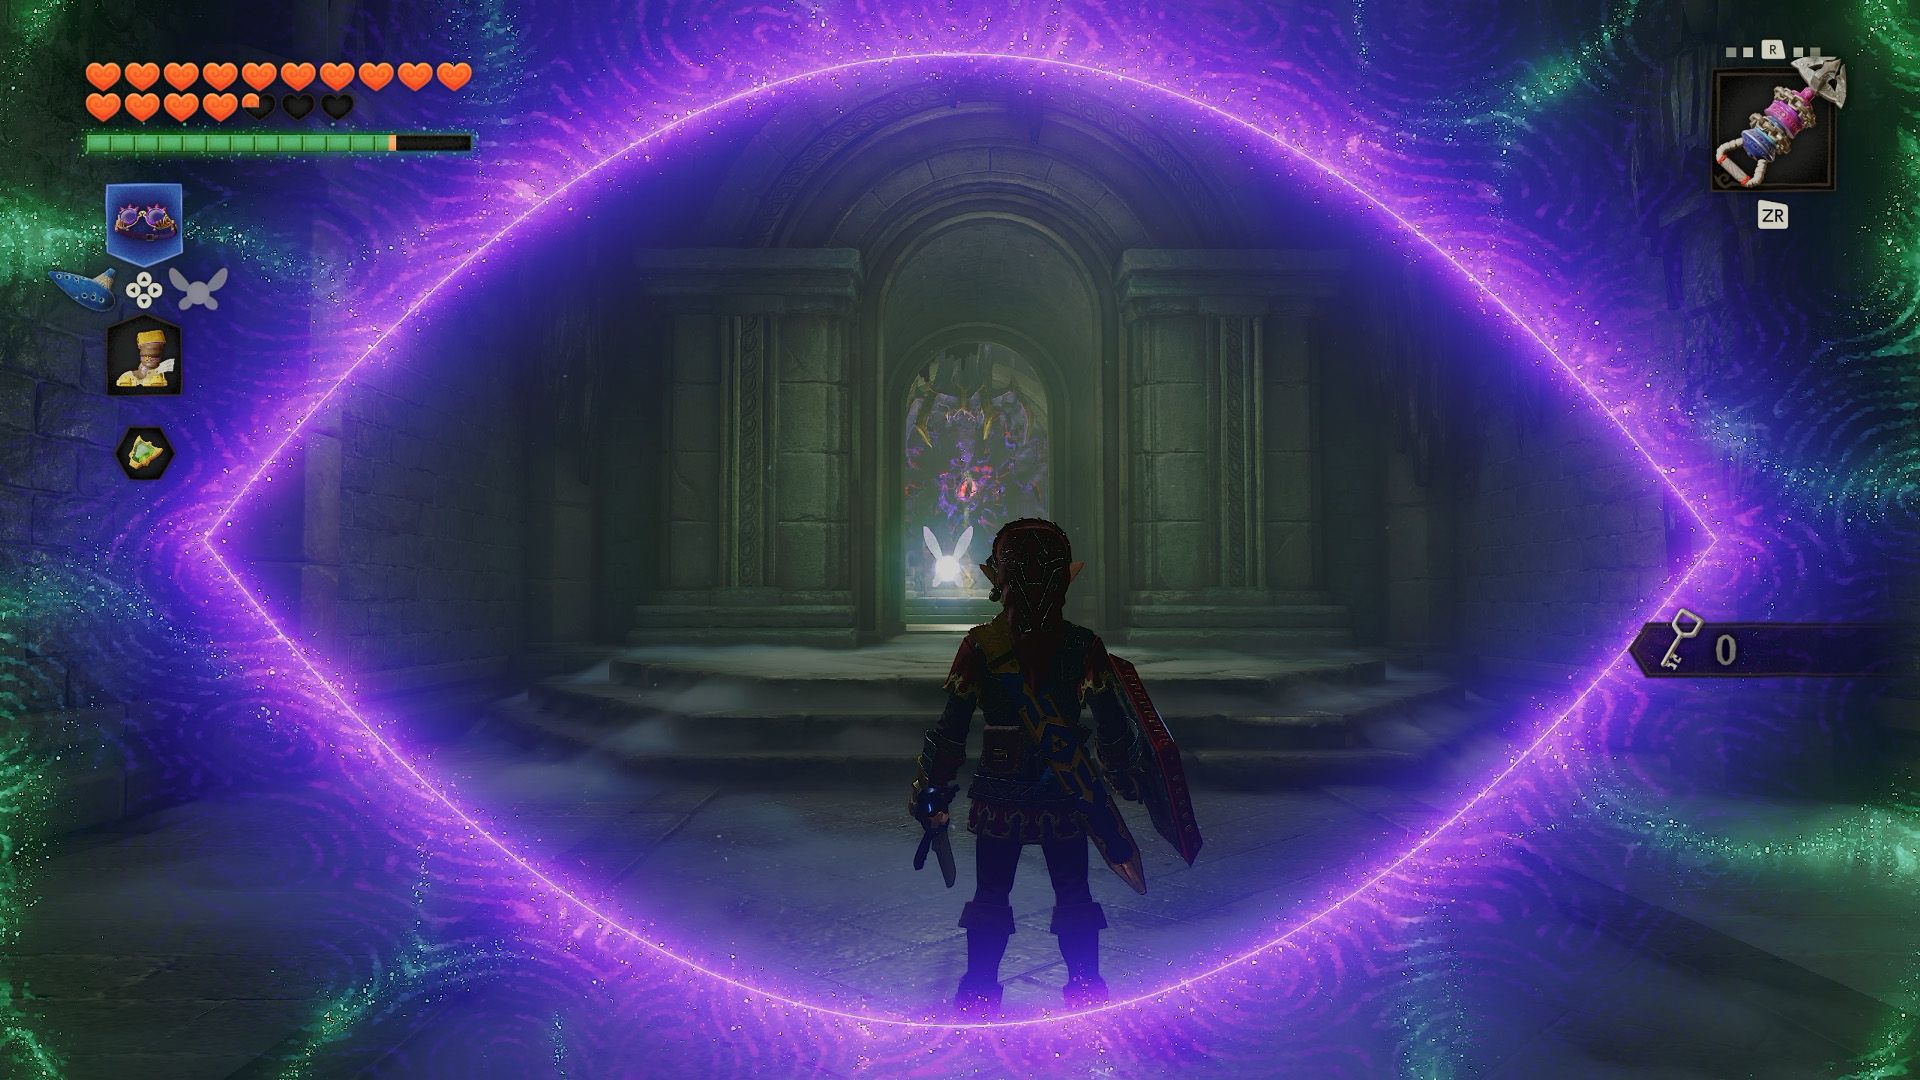
The next chamber appears to be missing its energy source. Watch for a spotlight above Link, which signals an approaching Wallmaster. Dodge and defeat it, then use the Lens of Truth to find the false wall. Walk through and shoot the hidden energy source with a Light Arrow. Rauru will send you back to the main chamber.
Part 6: Breaking the Spirit barrier
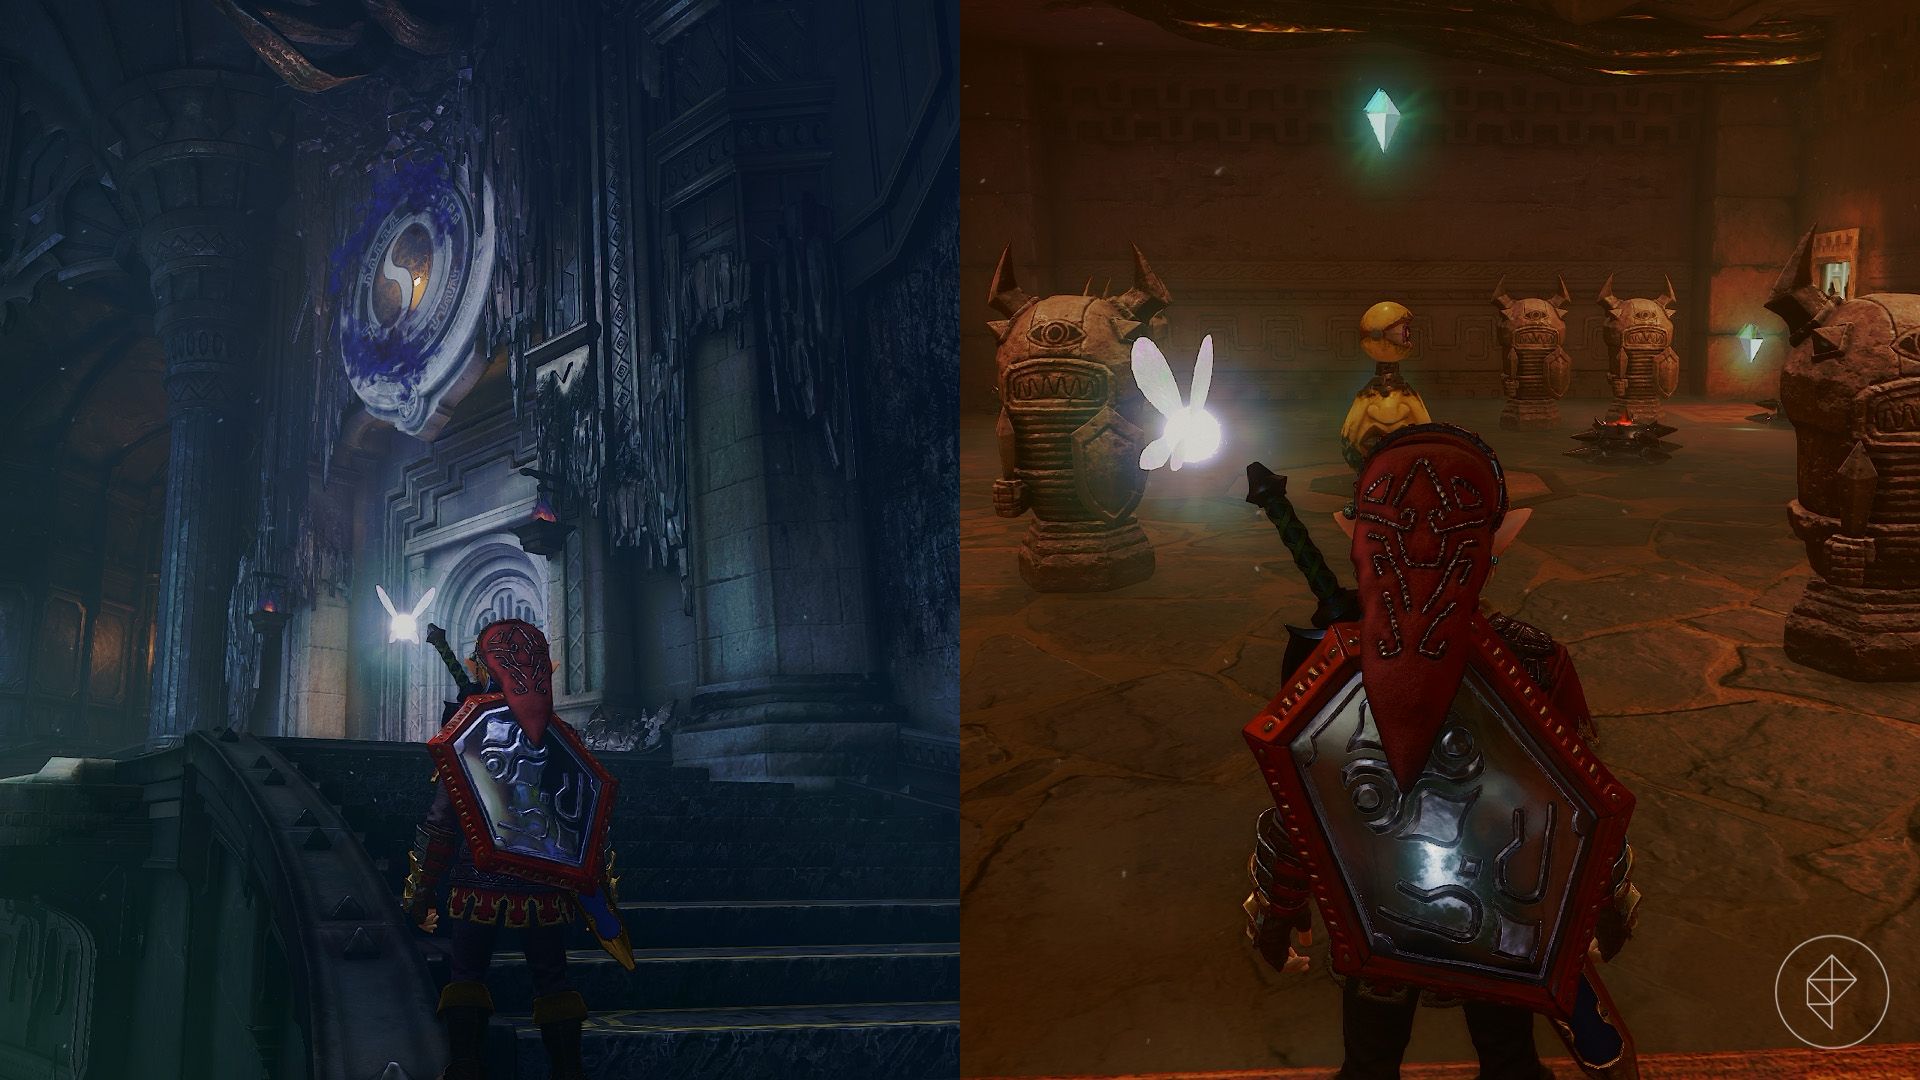
The Spirit room contains statues, Blade Traps, a Beamos, and five crystals. Move the statues to give the Blade Traps more room to travel, leaving you more time to collect the crystals. Be careful with the statue in the far-left corner: it’s an Armos. Have the Megaton Hammer ready.
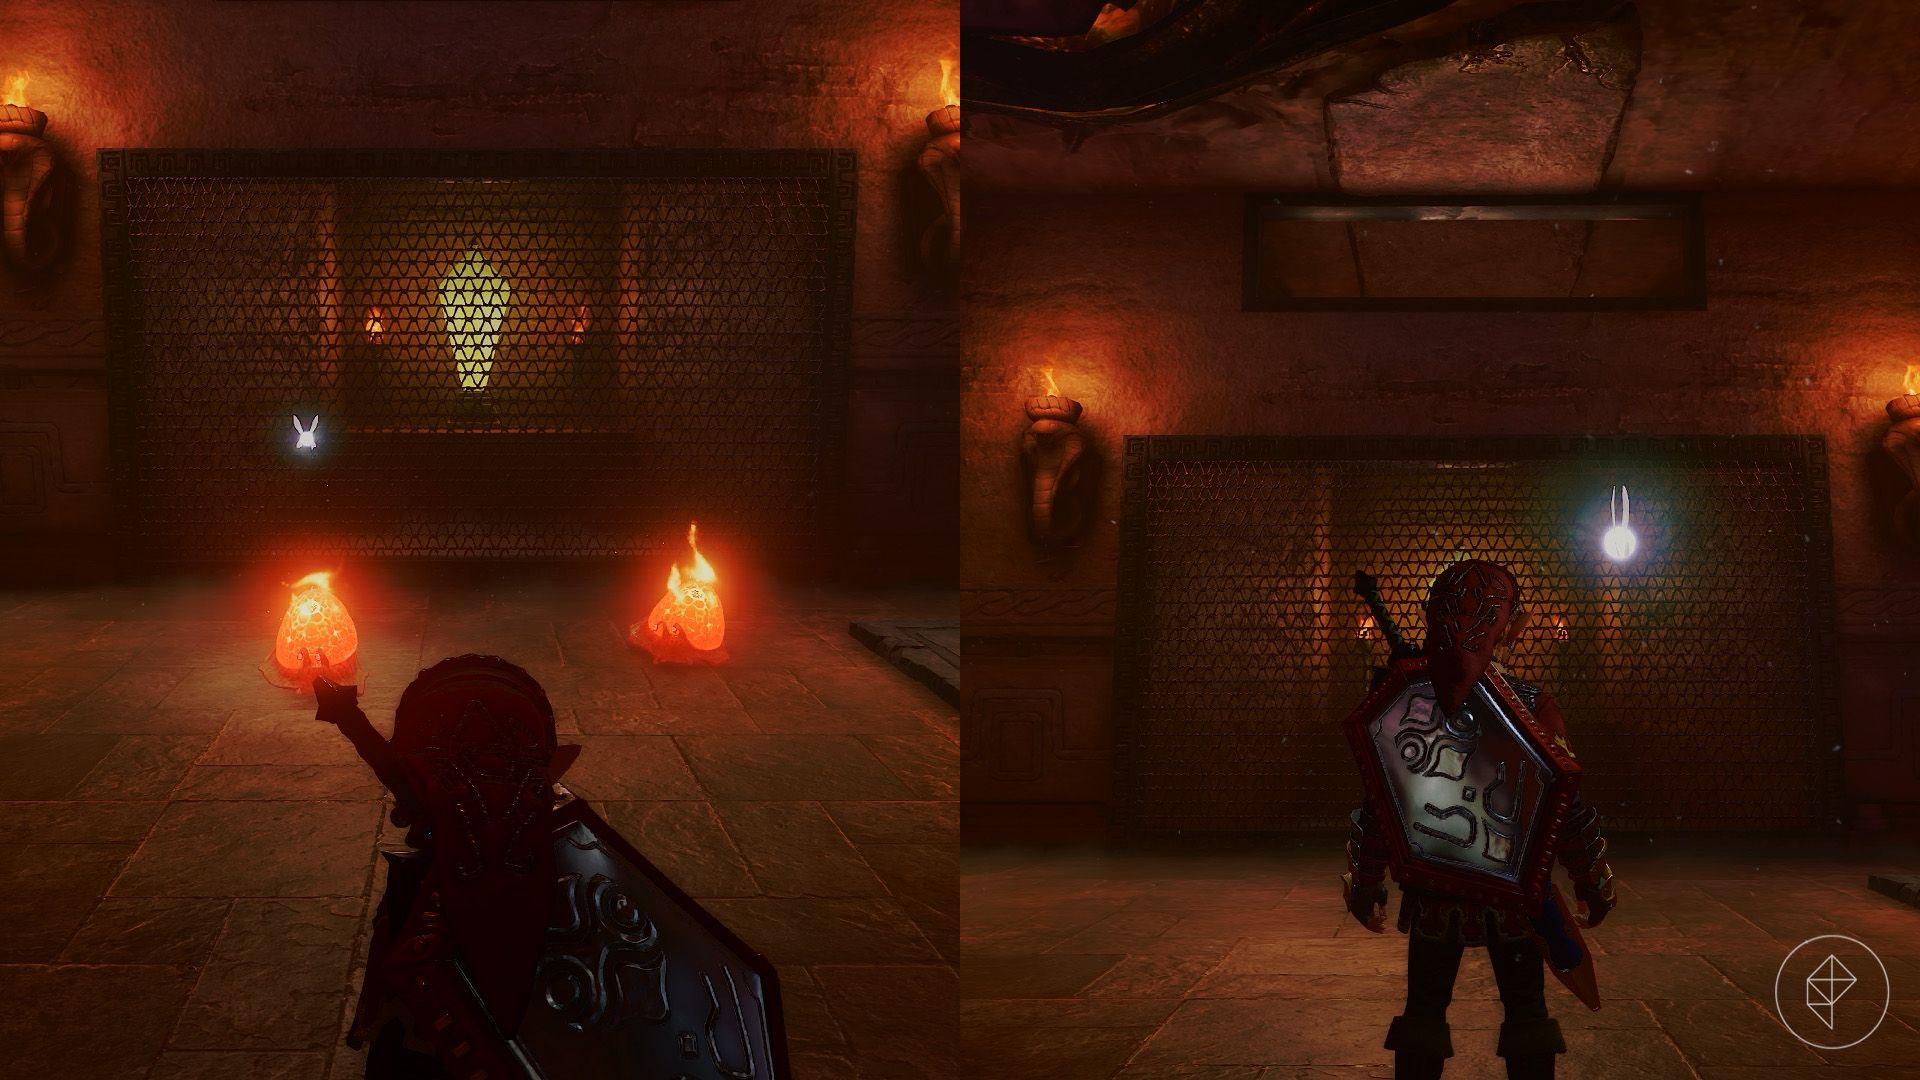
After collecting the crystals, enter the next room and defeat the two Torch Slugs with the Megaton Hammer. A chest containing a Business Scrub seed will appear on the right.
Look through the mesh wall to spot a diamond-shaped switch, then find the hole above the wall. Stand close to the wall and release a Bombchu so it climbs through the opening and explodes beside the switch, unlocking the door.
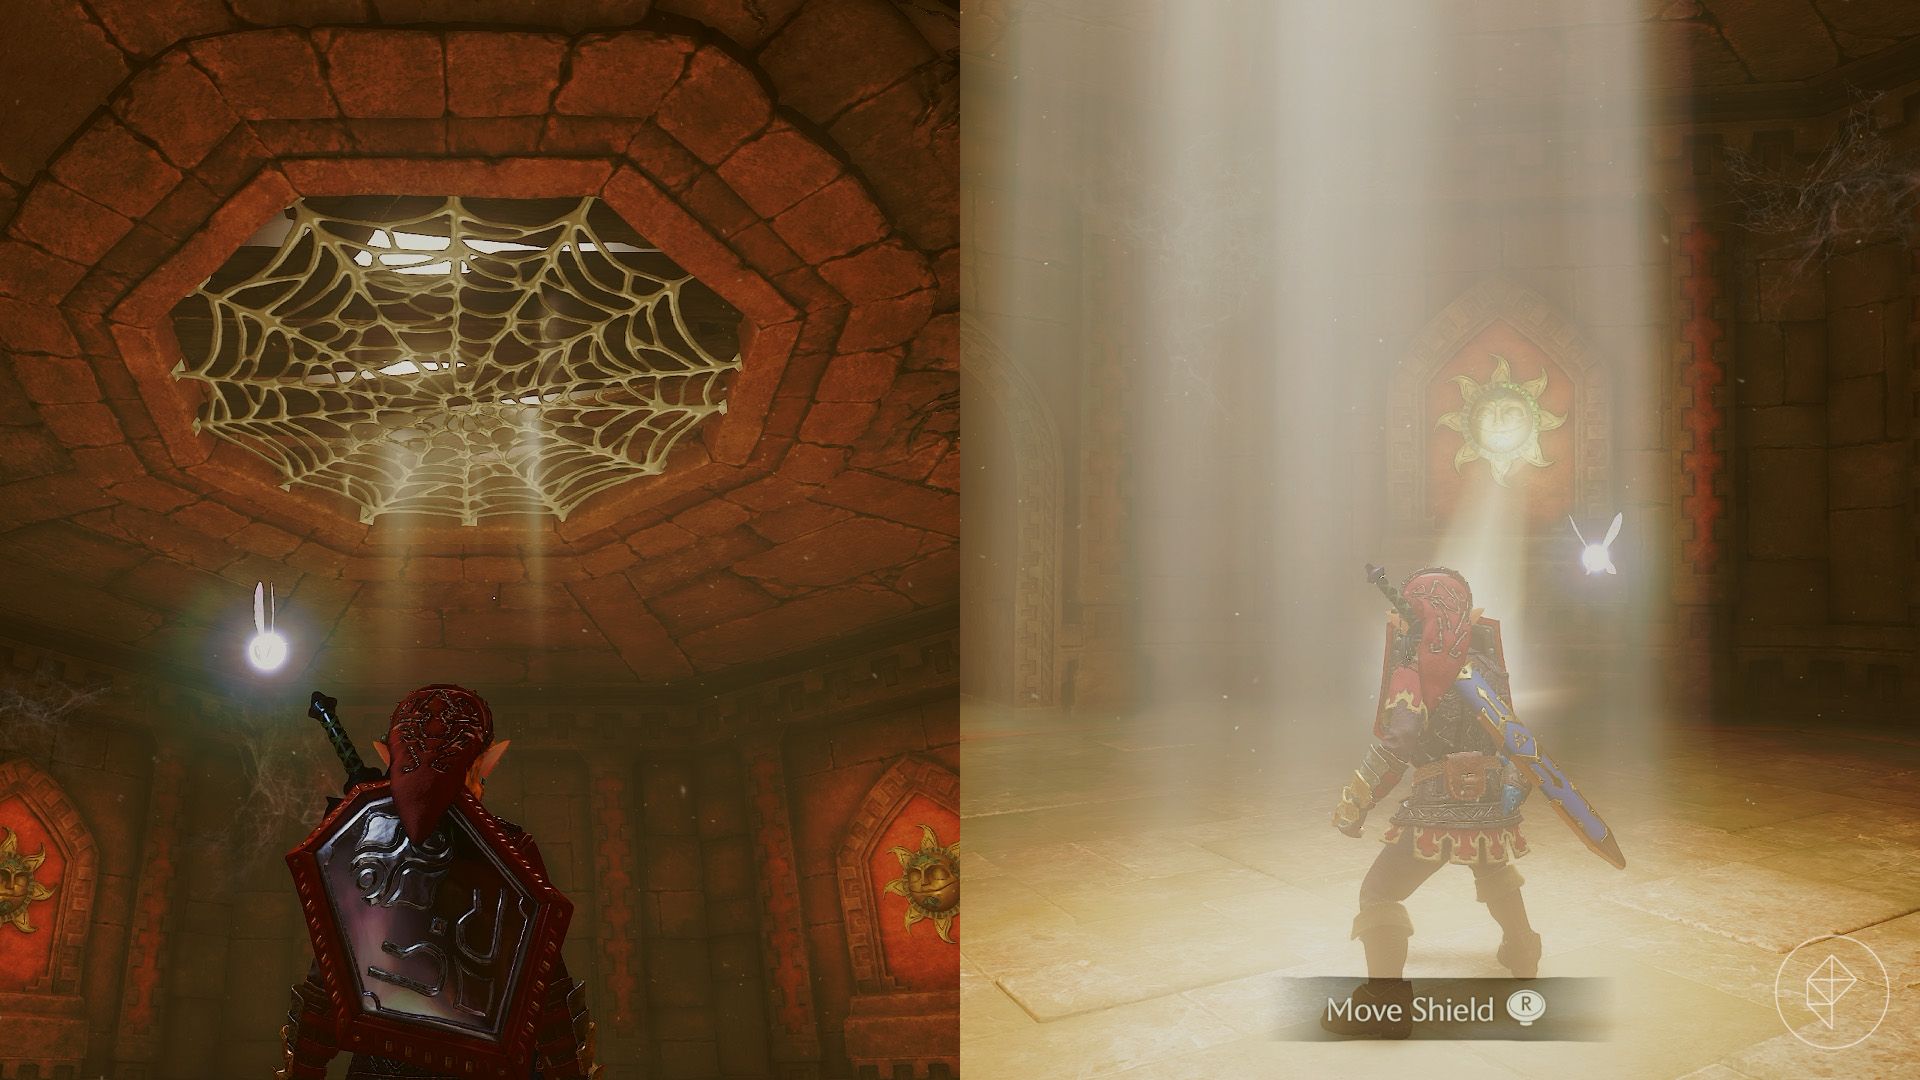
In the next chamber, burn the ceiling web with a Fire Arrow or Din’s Fire to let sunlight in. Reflect the light onto the sun symbol to the right of the doorway you entered through. It will fill with green light and unlock the door. Avoid illuminating suns that fill with red light, as they summon a Floormaster or Wallmaster.
Go through the door and shoot the energy source with a Light Arrow to break the Spirit barrier.
Part 7: Getting the boss key
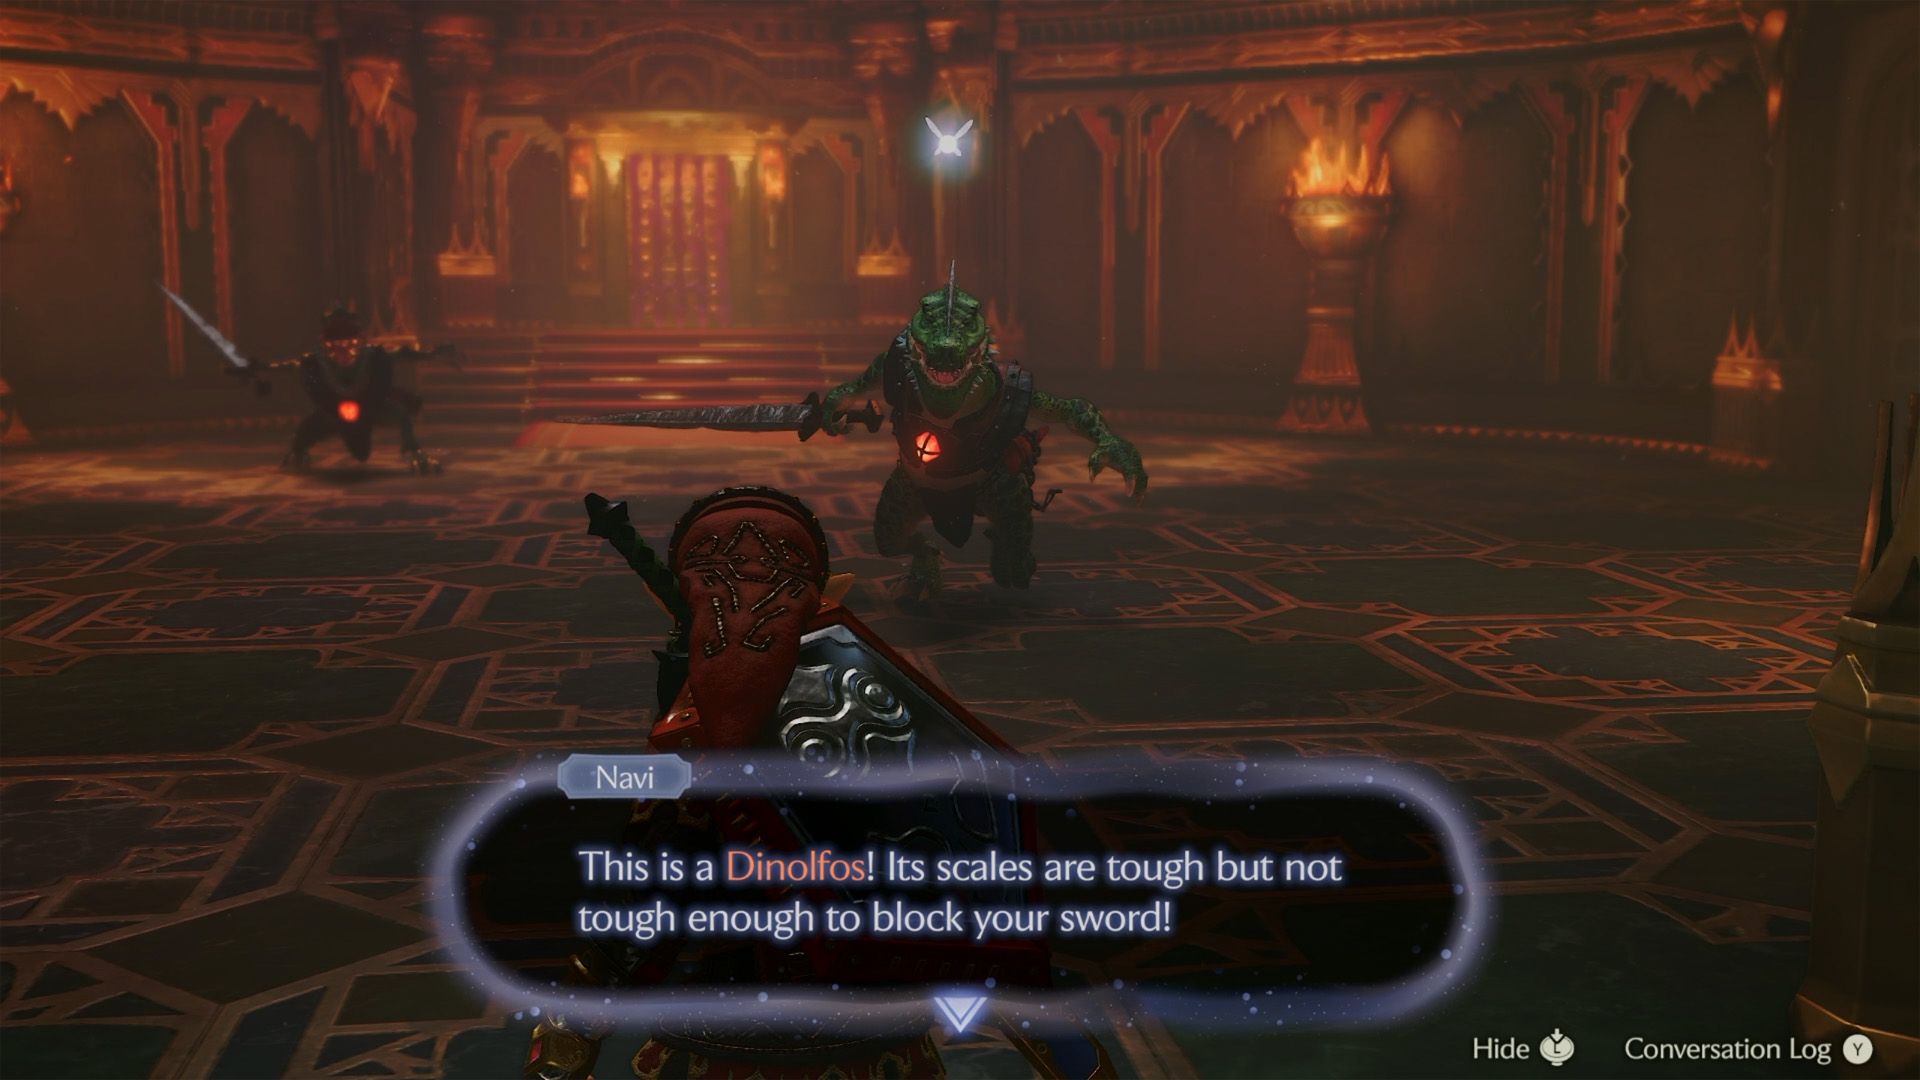
With all six barriers gone, enter the central tower and ride the elevator upward. Follow the path, defeat the Fire Keese, and enter the next room. Two Dinolfos await: dodge sideways when they leap at you, then counterattack. Defeat both to unlock the door.
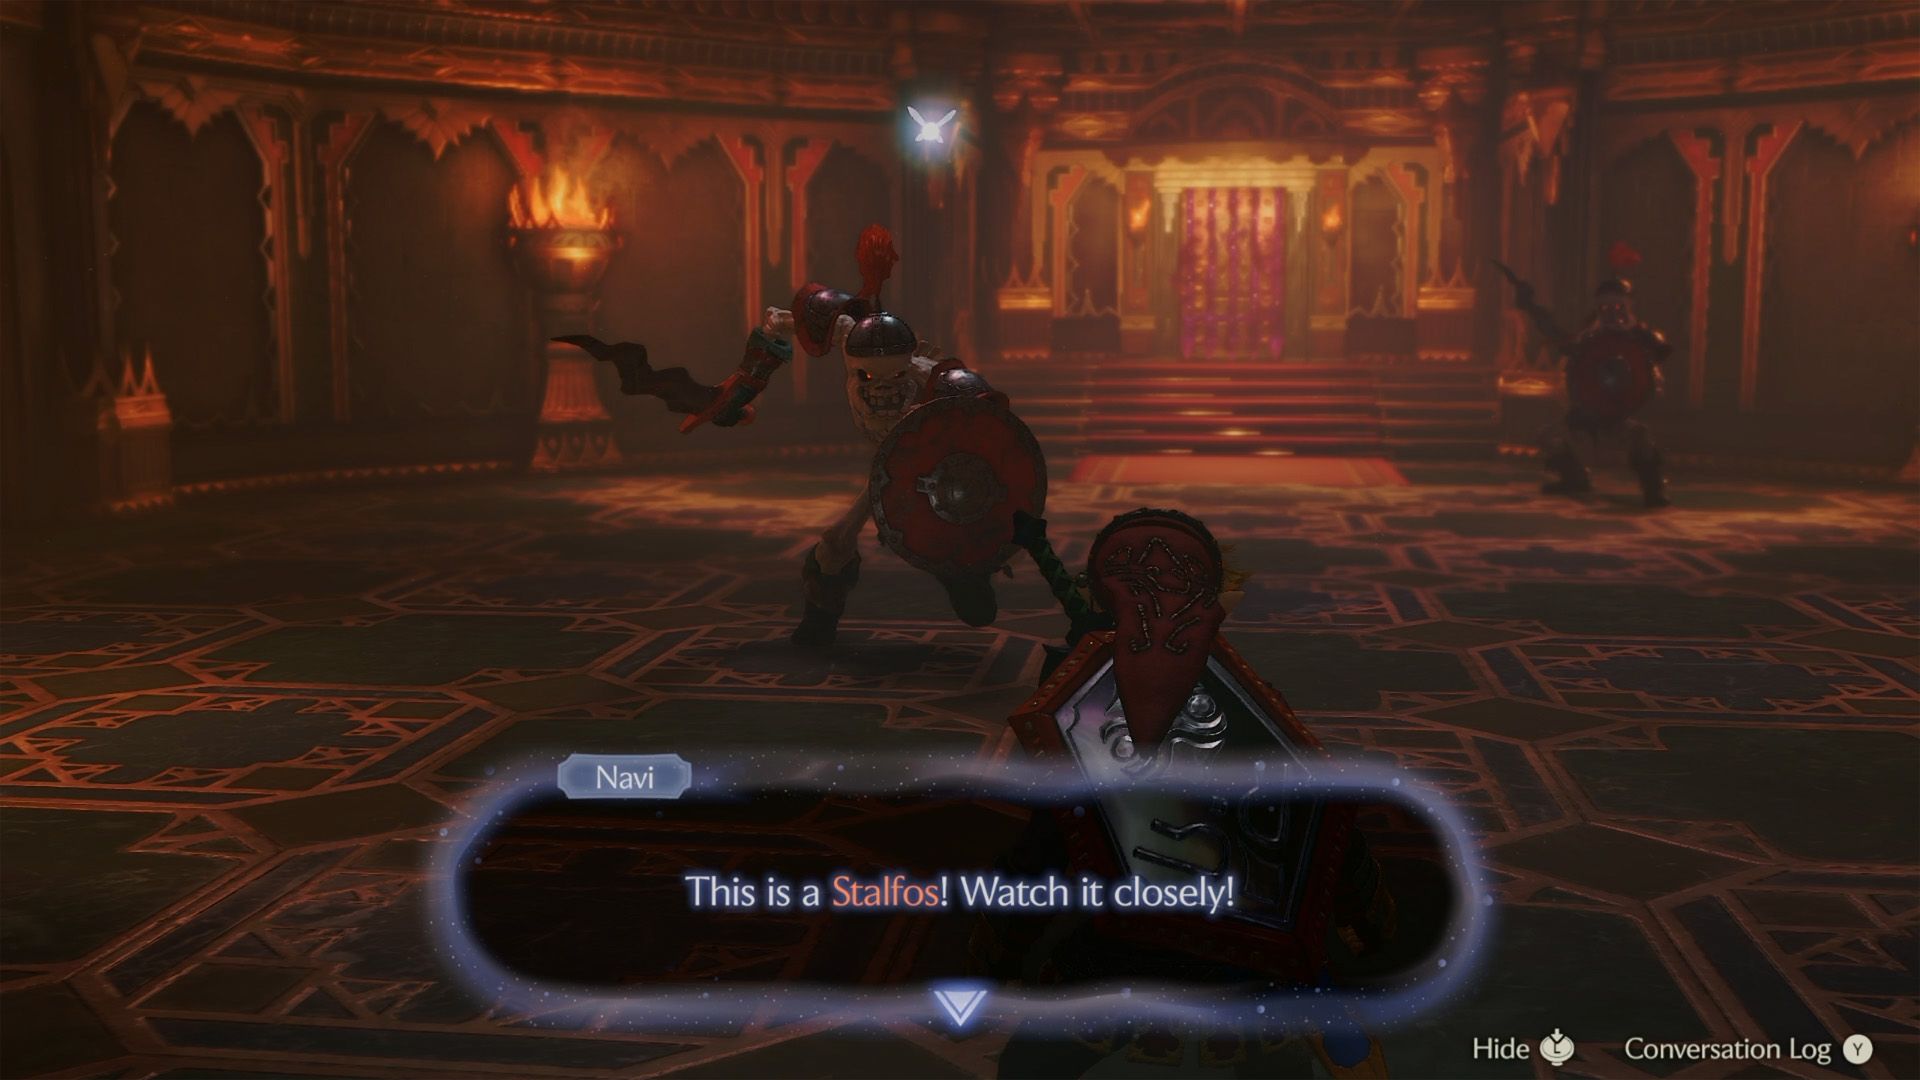
Continue to the next chamber and fight the two Stalfos. When a sword flashes, watch for a jumping attack. Dodge to the side and strike during the opening.
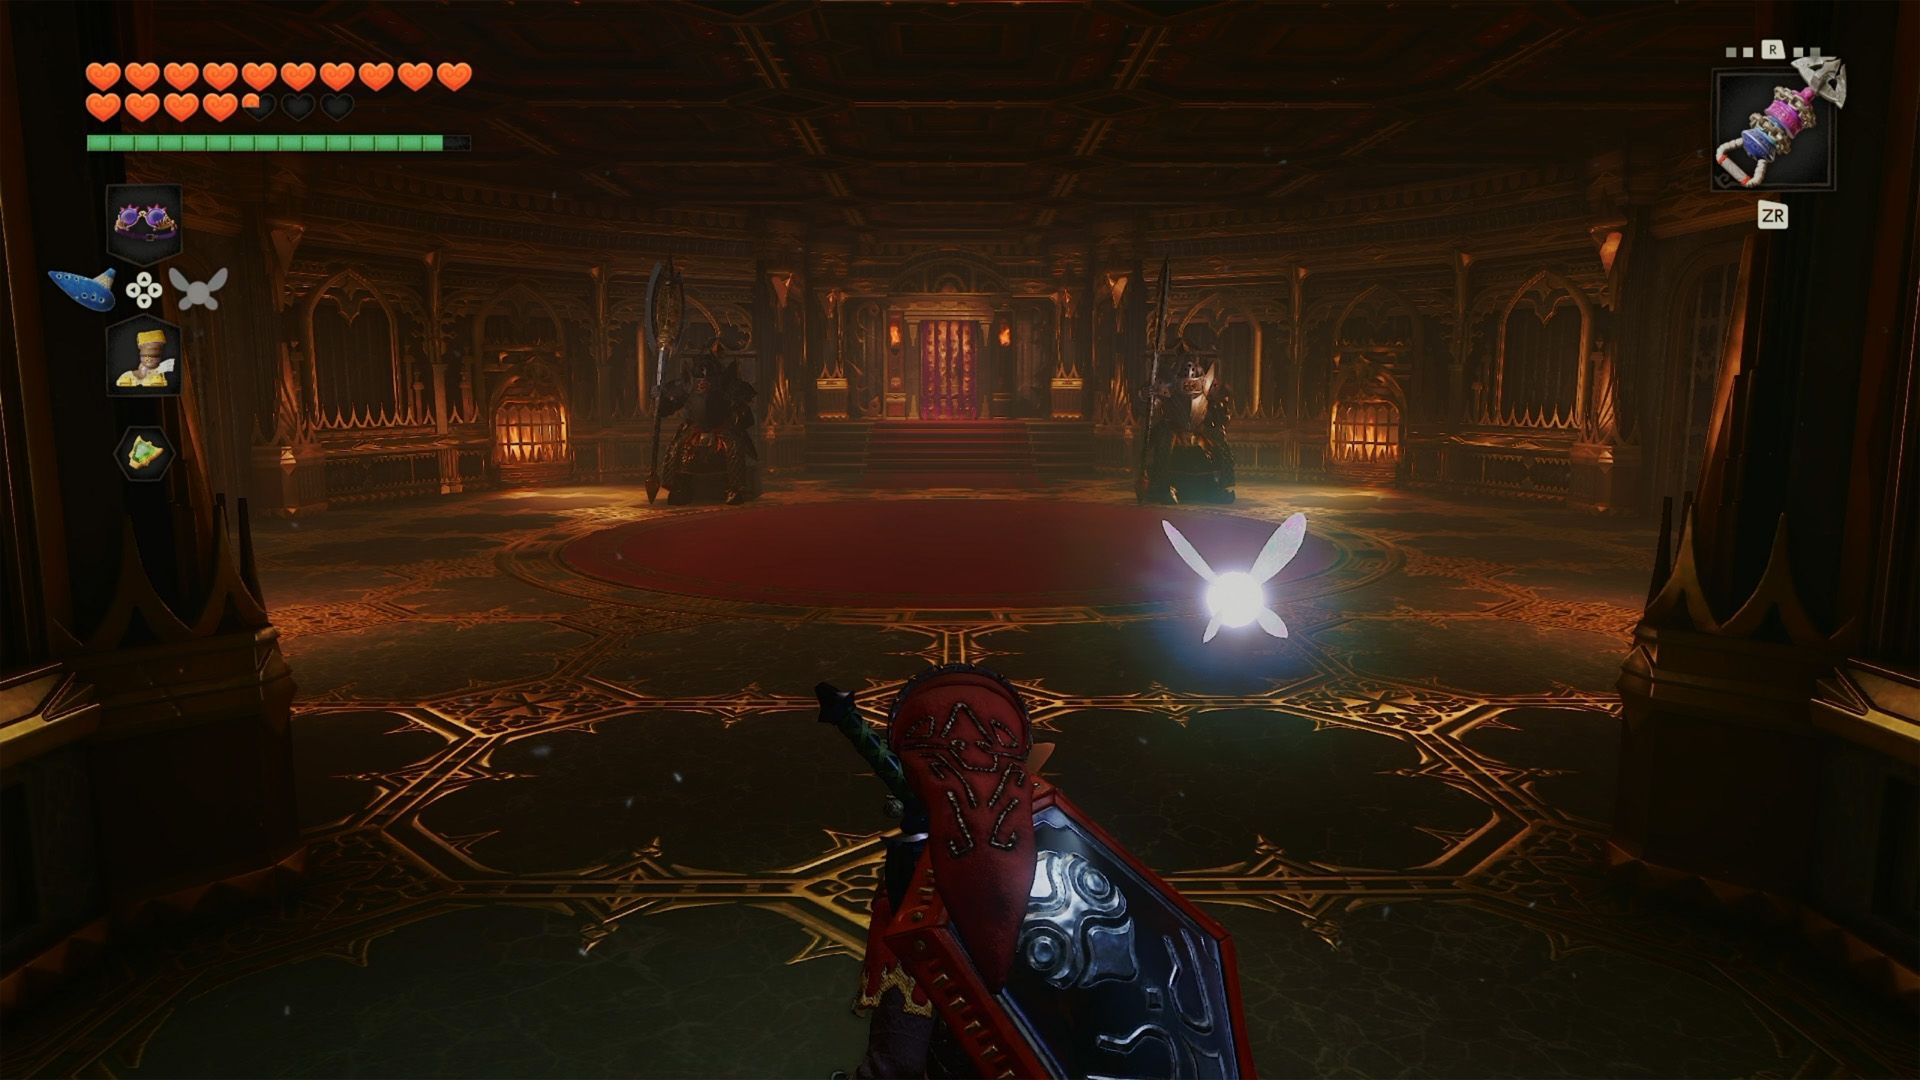
The next room holds two Iron Knuckles. Wake one at a time, backflip away from its sweeping axe attack, and dodge sideways when it slams the weapon down. If you need health, lure an Iron Knuckle into destroying a throne to reveal three hearts.
Once you break the first Iron Knuckle’s armor, the second wakes up, so finish the first as quickly as you can. Defeat both to reveal a chest containing the boss key.
Part 8: Defeating Ganondorf
Continue through the room with climbable surfaces, then go through the door and climb the stairs to the boss room.
Keep these points in mind during the fight:
- Like the Phantom Ganon battle, this fight involves reflecting a magic orb back and forth.
- You cannot target Ganondorf, so aim manually.
- He destroys sections of the floor as the battle progresses. Stay in a safe spot and move when necessary.
- If you fall, use the Longshot high on a climbable wall to get back up quickly.
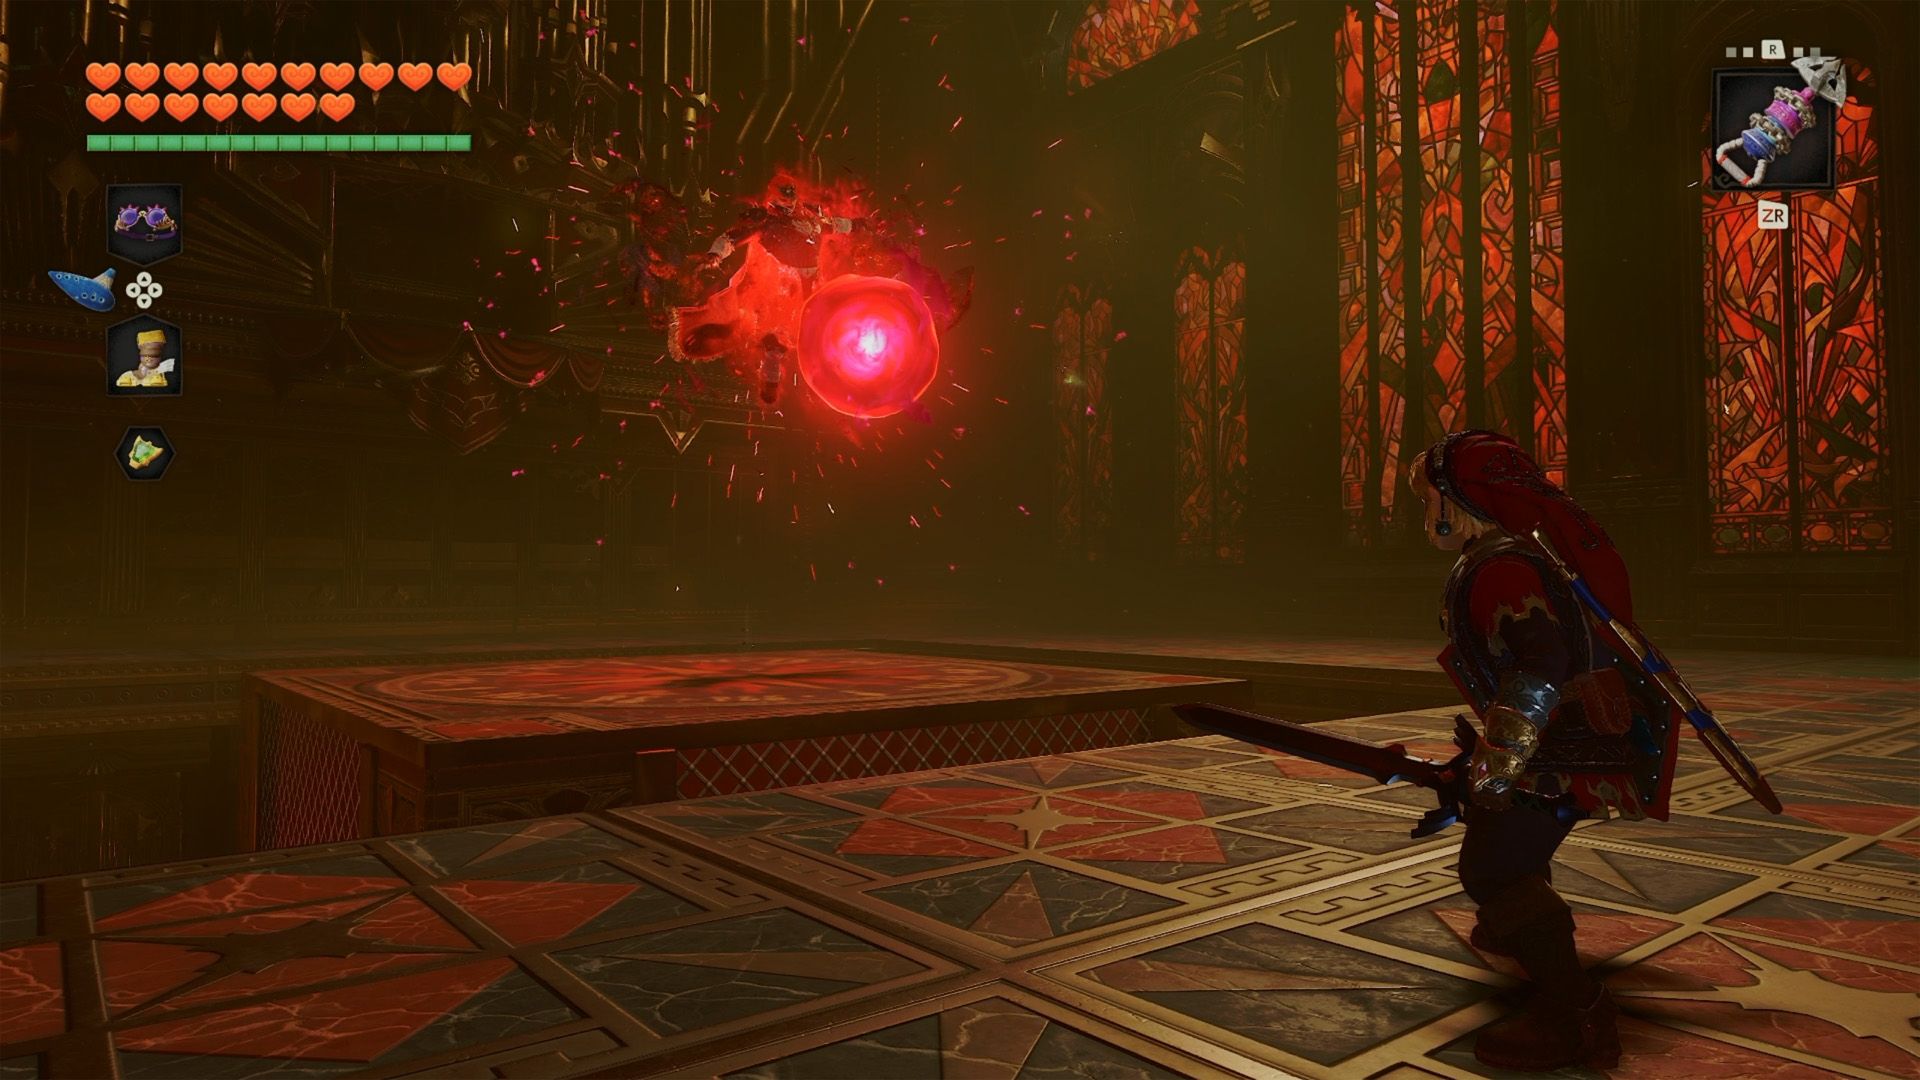
Ganondorf begins by slamming the ground and dropping floor tiles around the center. He then throws a magic orb at you. Strike it with your sword to send it back, and keep returning it when he reflects it toward you.
After three returns, he may charge his fist and strike the orb harder, increasing its speed. Adjust your timing and continue the rally until it hits him.
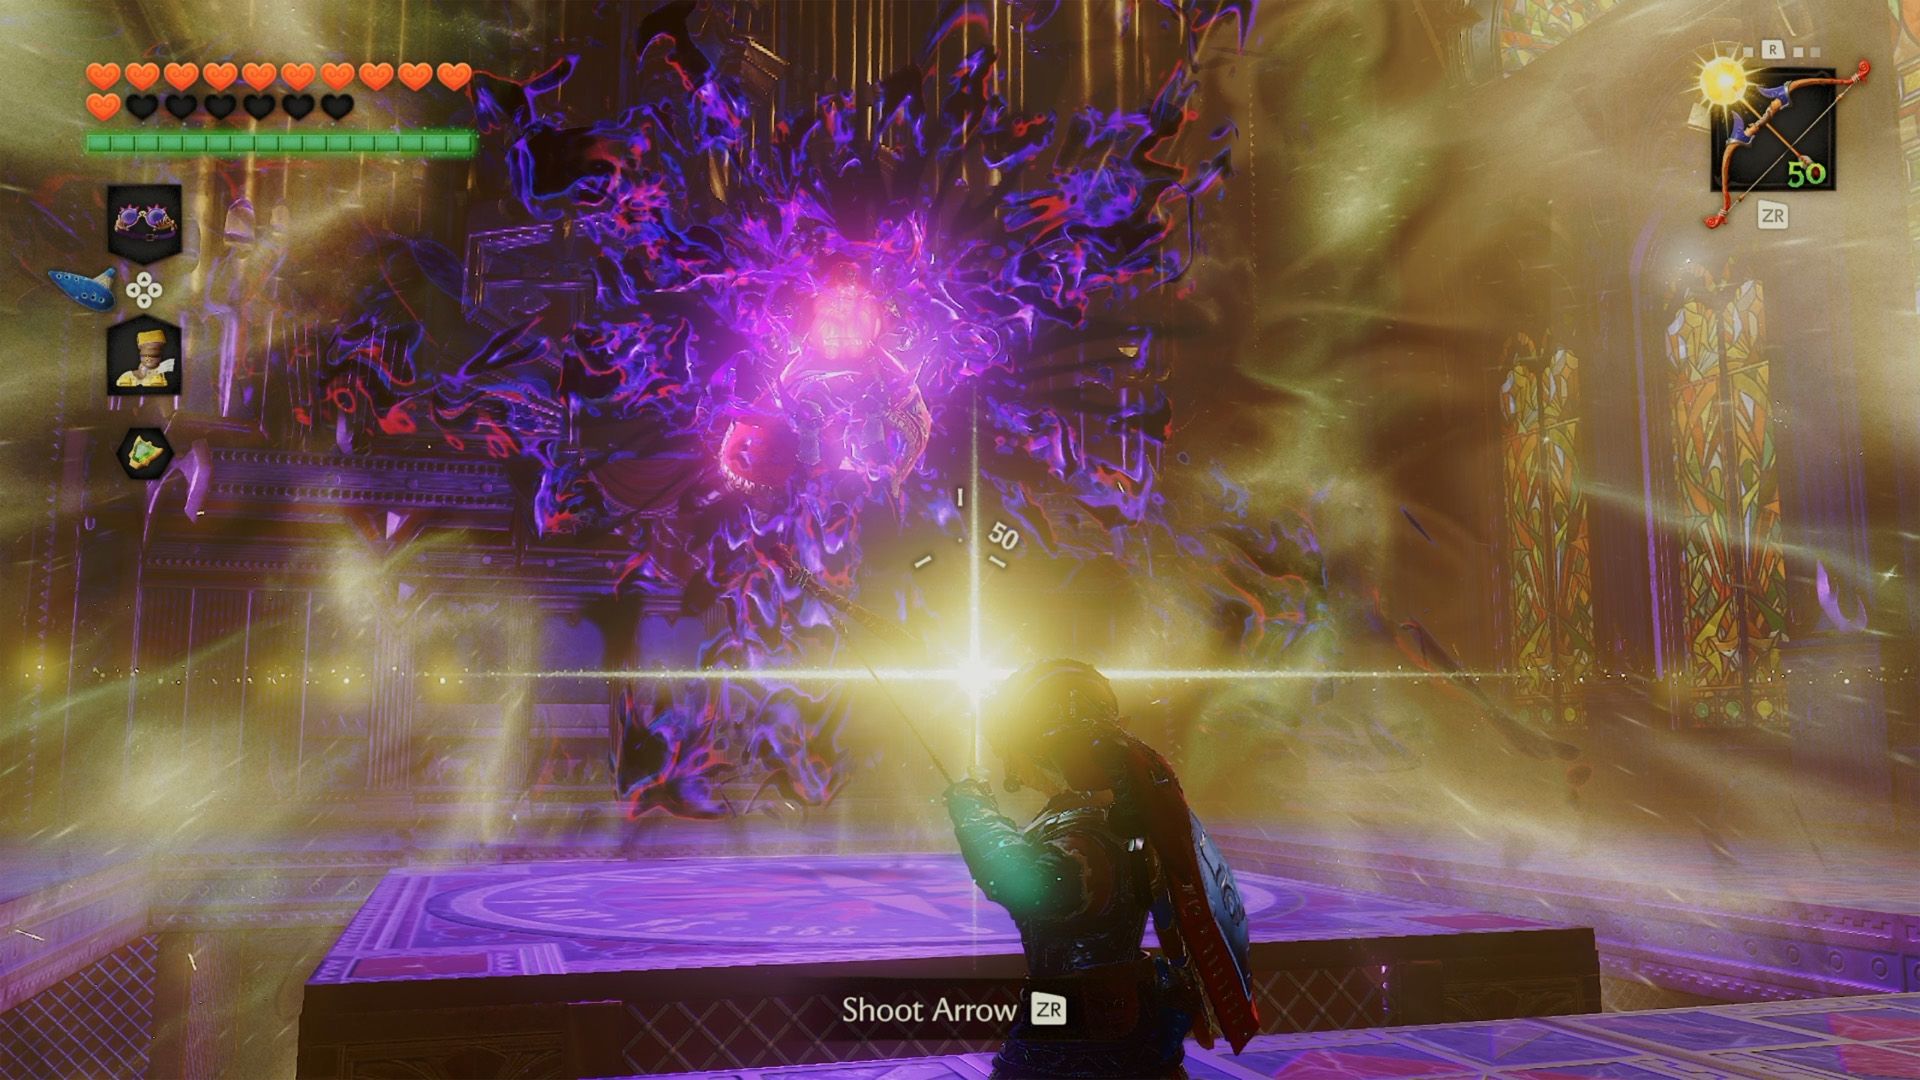
When the orb hits Ganondorf, his chest glows with dark energy. Shoot it with a Light Arrow to knock him down, then jump to the central platform and land as many sword strikes as possible.
The cycle repeats, but the orb rallies grow longer and Ganondorf adds attacks.
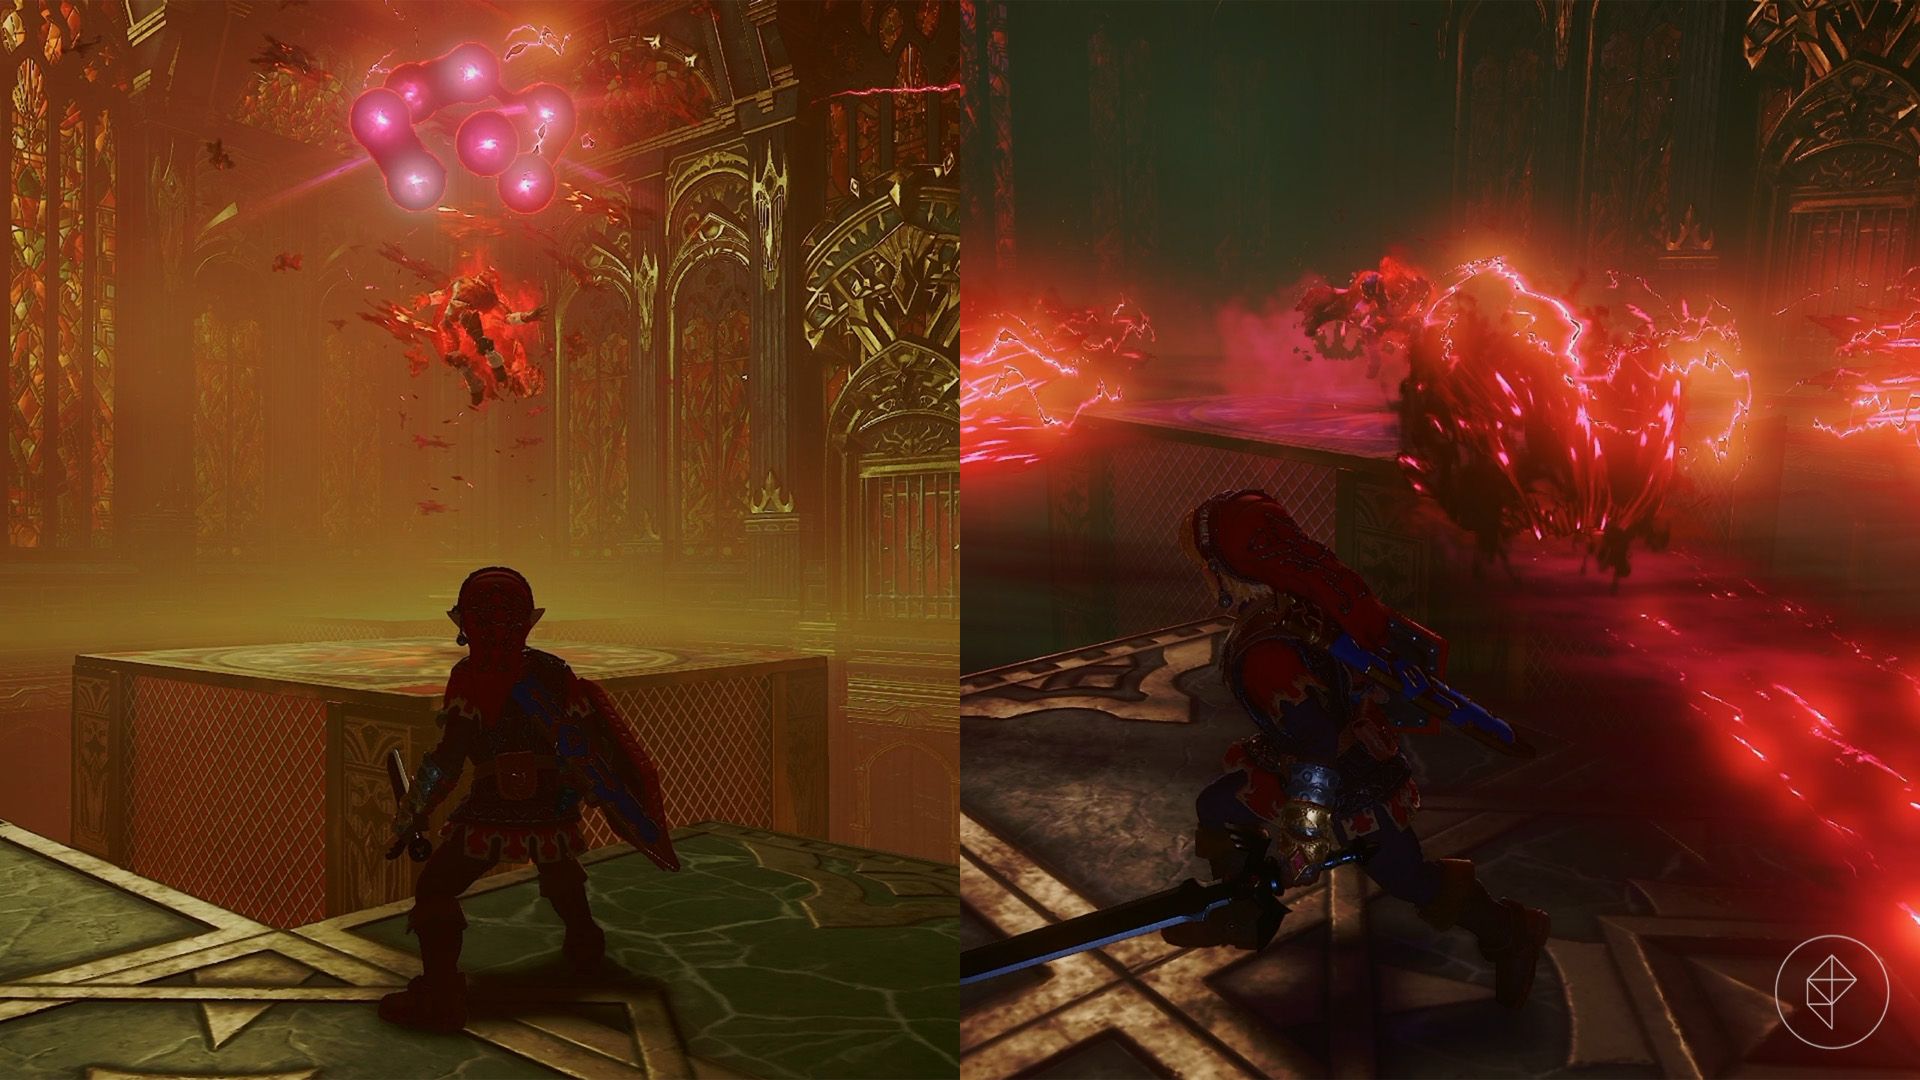
- Multiple orbs: A large red orb splits into smaller projectiles. Stand near the edge before he fires, then move back with your shield raised. Any orb that hits the floor destroys its tile.
- Shockwave: Ganondorf gathers energy in his fist and slams the ground. Move out of the shockwave’s path.
Eventually, only the corner floor tiles may remain. Keep reflecting the orb and dodging his attacks. When he falls, use the Longshot on the central platform’s climbable wall and climb up to attack. Repeat until Ganondorf is defeated.
Part 9: Escaping Ganondorf’s Castle
Zelda is free, but the castle begins to collapse. Run down the stairs alongside or ahead of her and wait for her to unlock the door at the bottom.
Take the left path, jumping over the gaps, until Zelda opens another door. Defeat the two Stalfos inside, then follow her and use the Longshot target to cross the next gap.
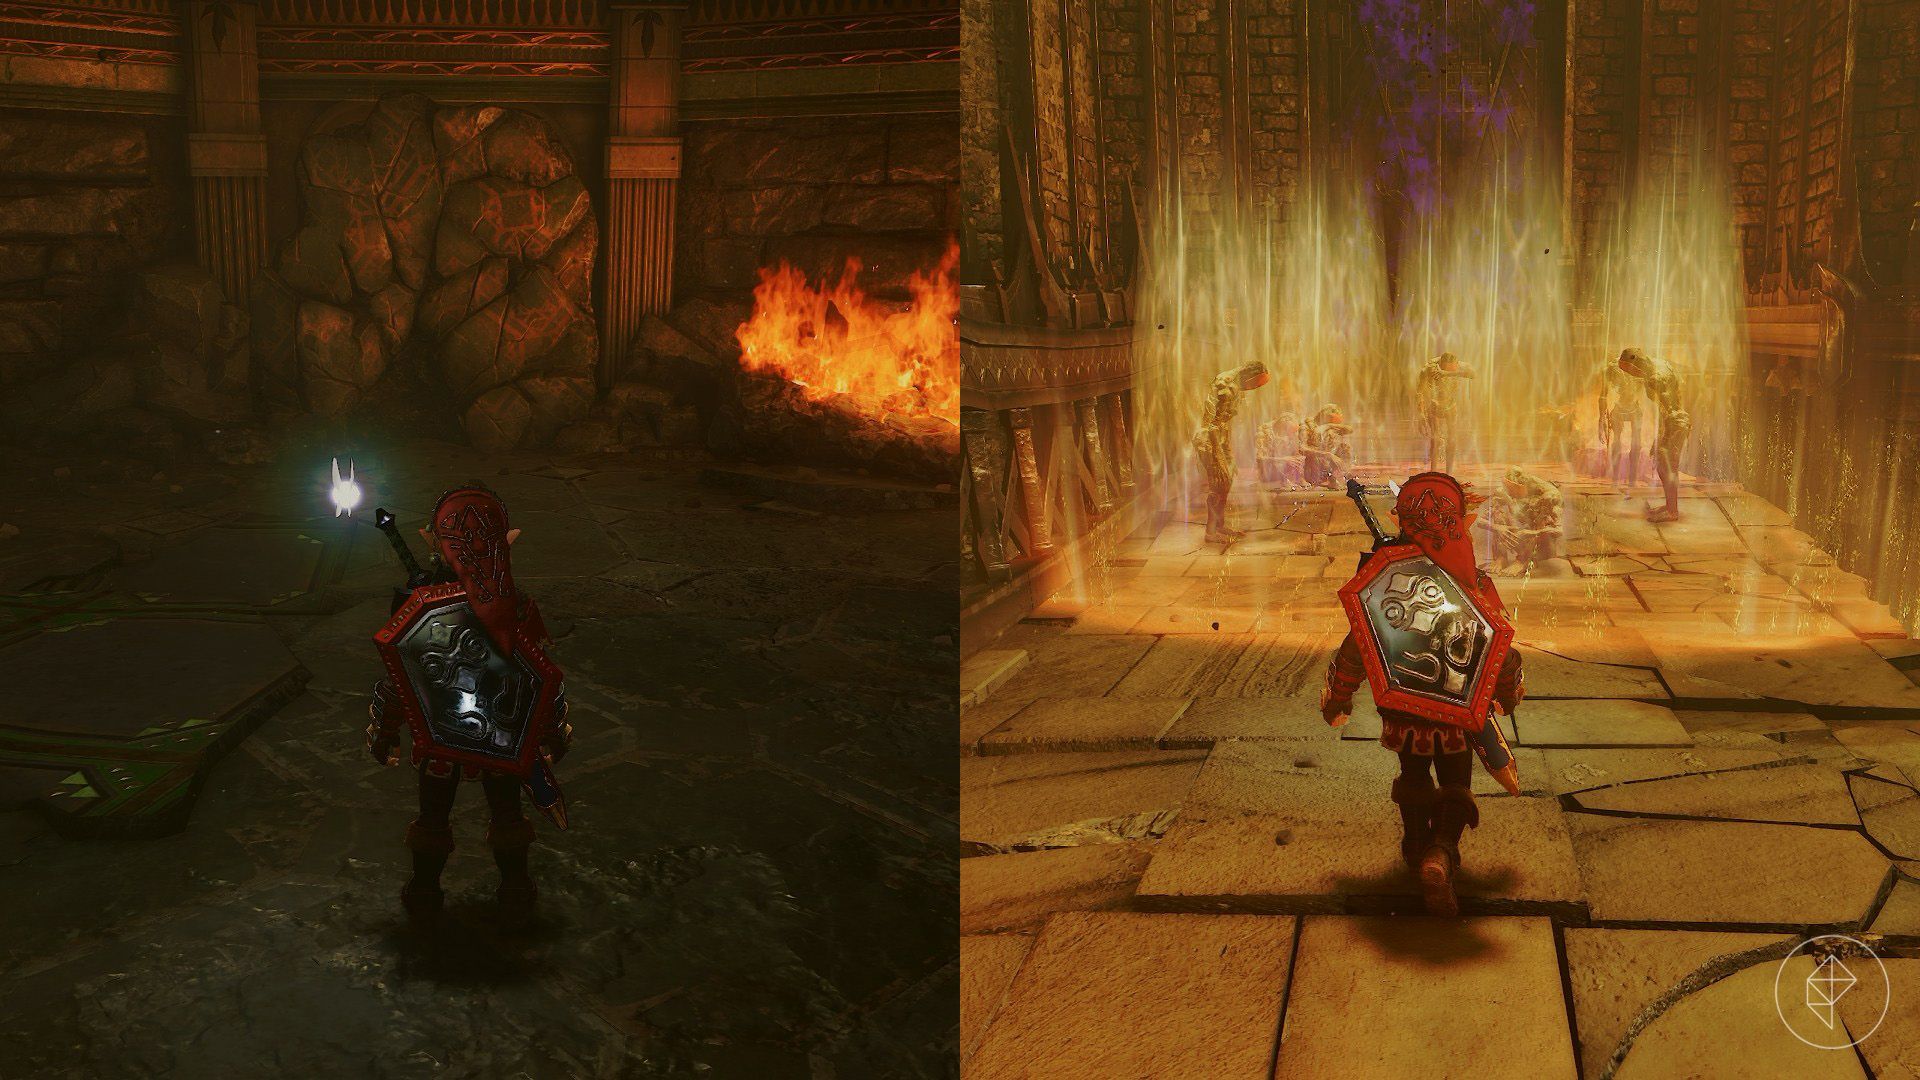
In the next room, the floor gives way and drops you below. While Zelda holds off the enemies, face away from her and break the rock wall to the left of the fire to reveal an exit.
Follow the path to a group of ReDead. Zelda will immobilize them with magic, giving you a chance to run into the group and defeat them with a spin attack. She’ll unlock the next door, allowing you to escape before the tower collapses.
Outside, a noise from the rubble signals that the battle isn’t over.
Part 10: Defeating Ganon
Before approaching the rubble, prepare for the final fight:
- Navi has returned, so you can target Ganon.
- You won’t have the Master Sword during the first phase. Use your other items to deal damage.
- If you need health, arrows, or magic, lure Ganon into attacking the walls around the arena.
During the first phase, Ganon’s weak point is his tail. Wait for an attack to create an opening, then get behind him and strike it.
Watch for these attacks:
- Sword slam or thrust: Ganon drives a sword into the ground, where it briefly becomes stuck. The impact creates a rupture that explodes after a delay.
- Sweeping strike: He raises a sword to his side and sweeps it across the ground in front of him.
- Jumping slam: If you’re behind him, he may leap into the air and crash down.
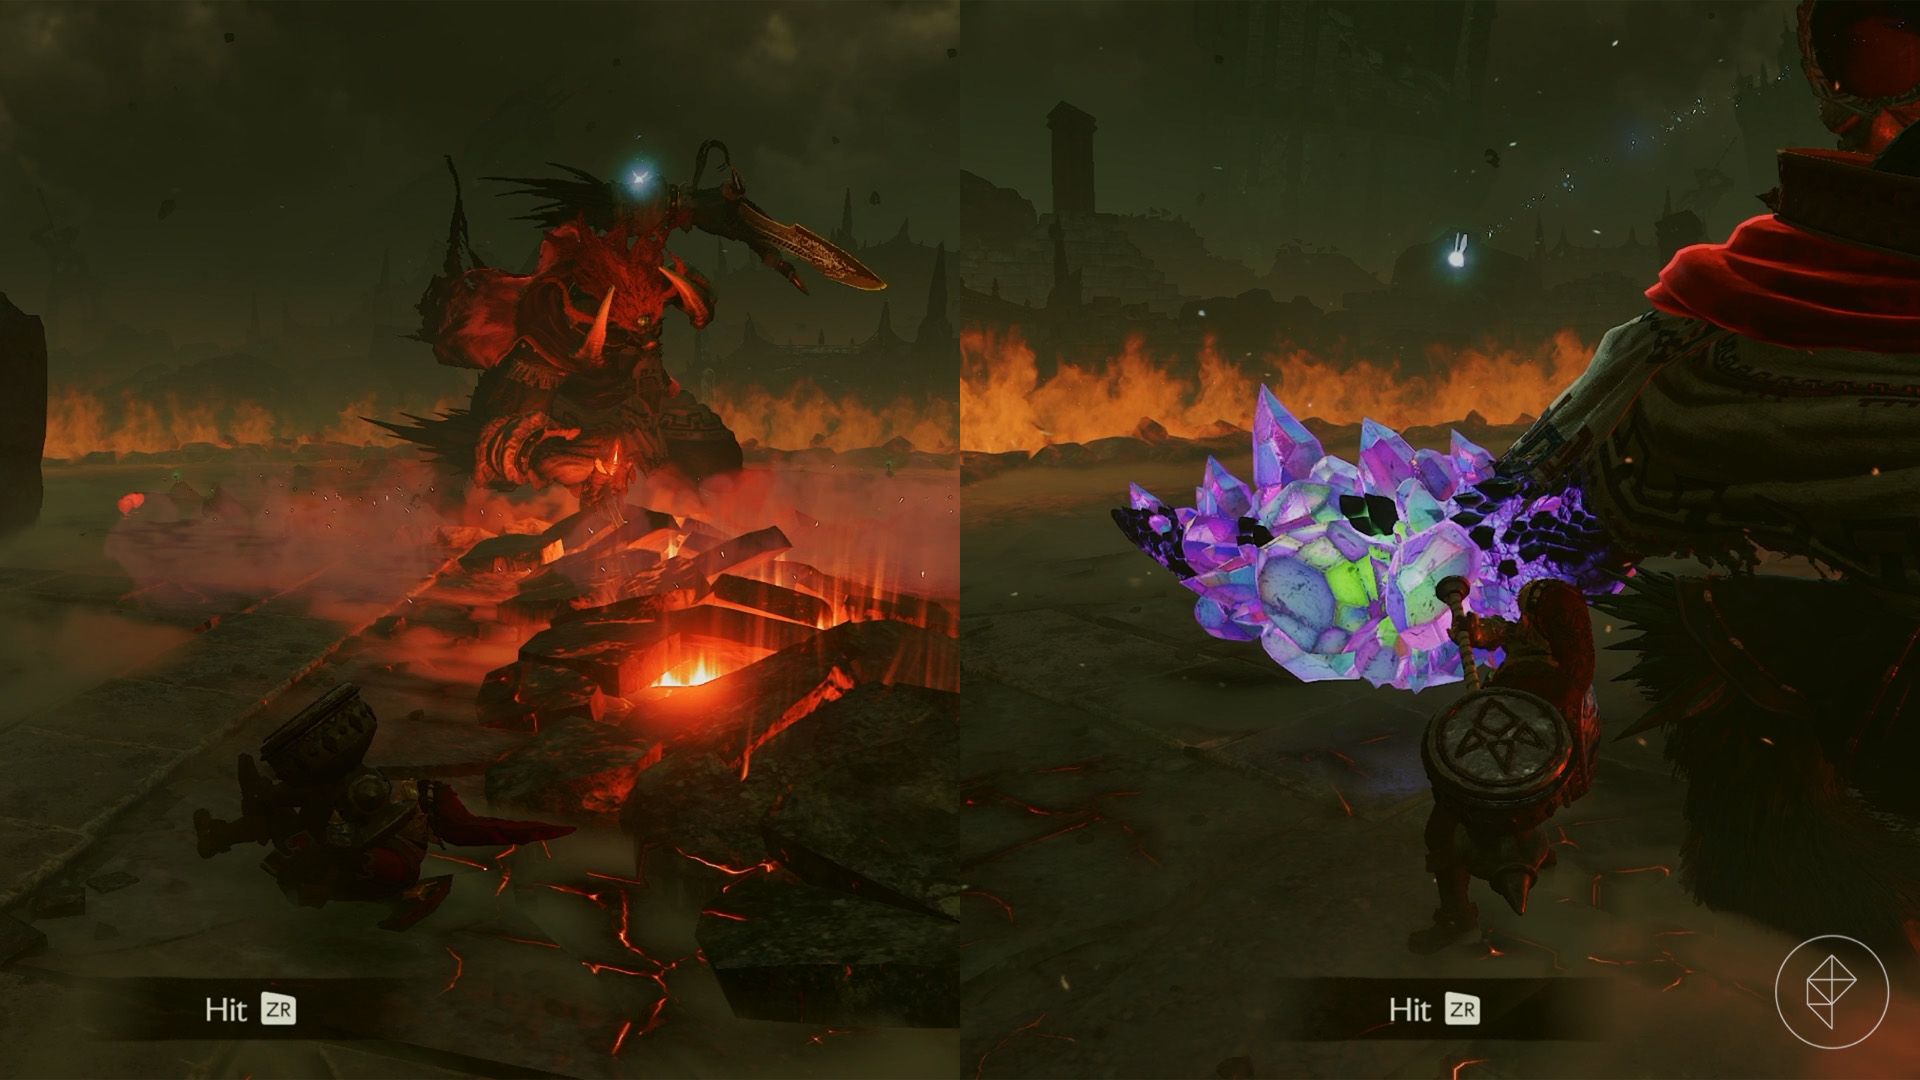
When Ganon’s sword is stuck in the ground, quickly run behind him and attack his tail with the Megaton Hammer or Fairy Bow.
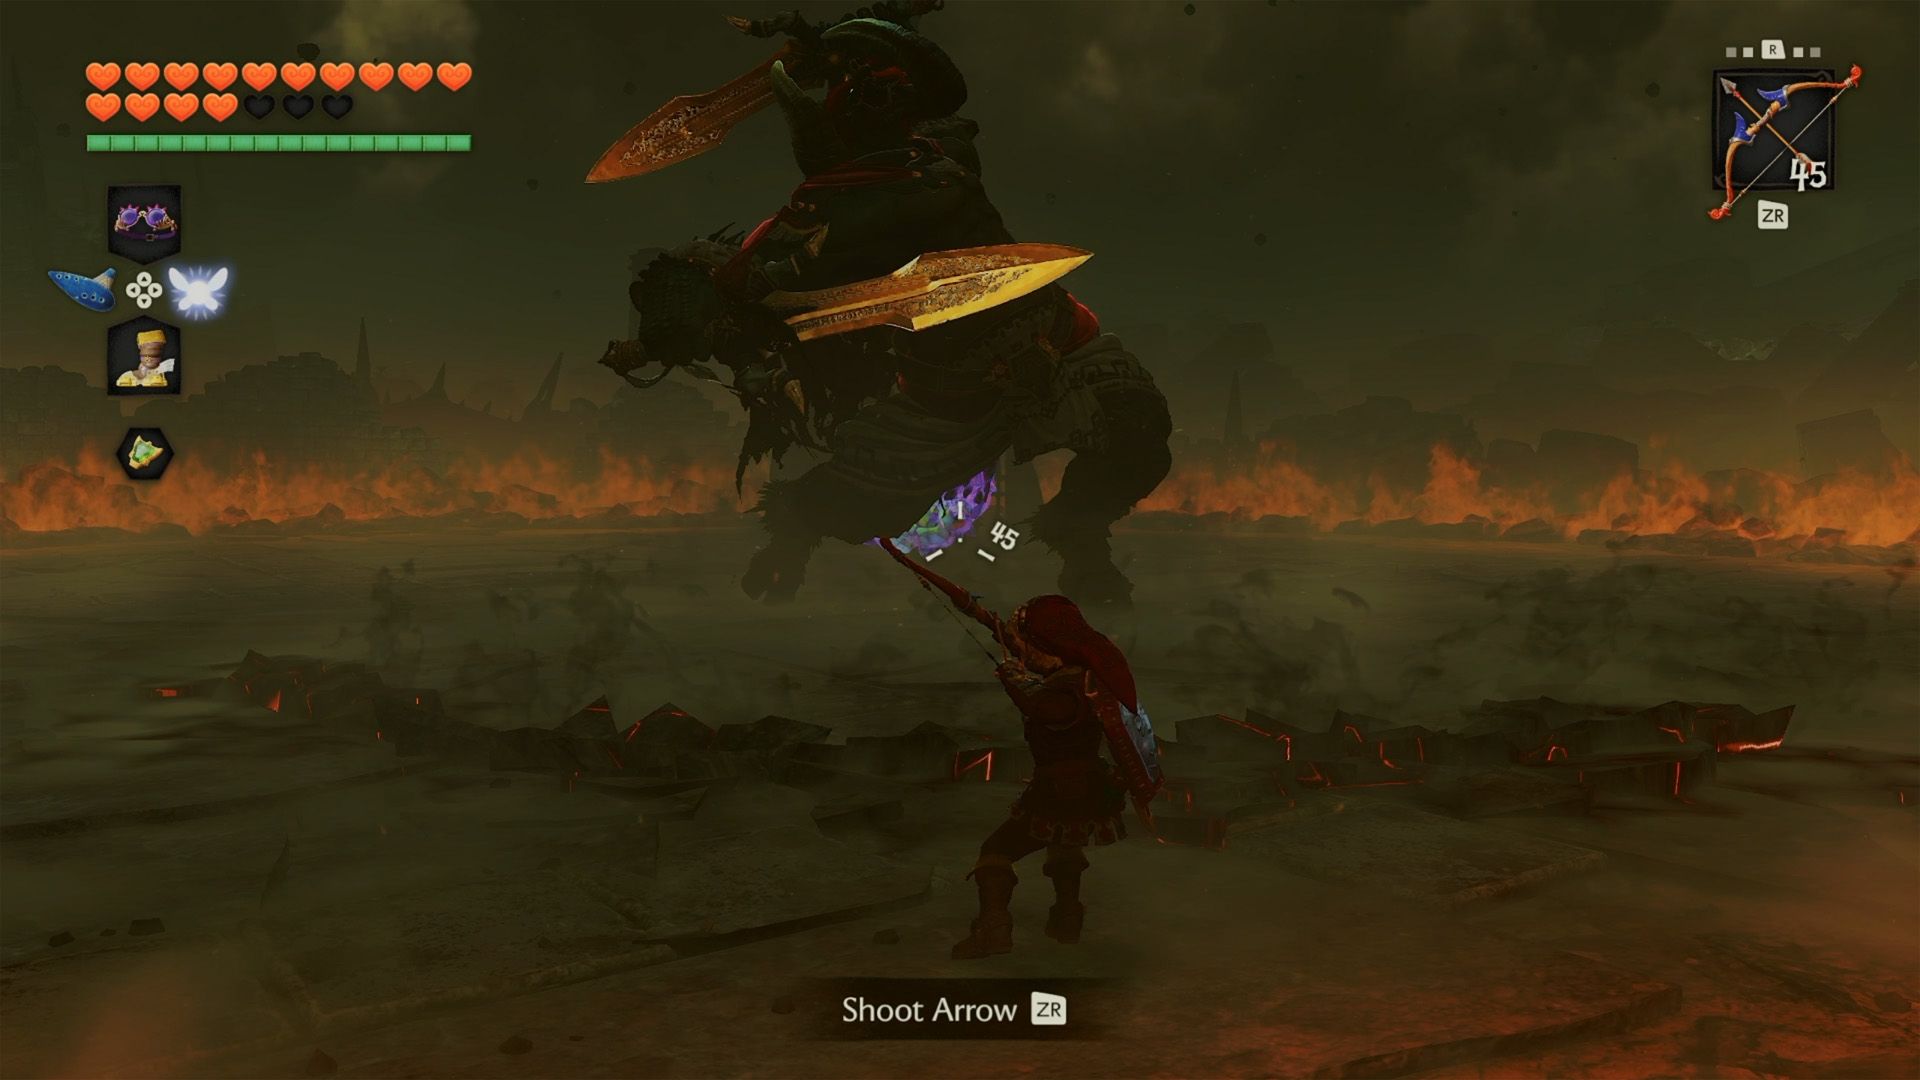
When Ganon raises his sword, you can also shoot an arrow between his legs to hit his tail. The opening is brief, so aim quickly. A well-timed Bombchu can reach the tail the same way, though it is harder to use.
Keep your distance when Ganon jumps, then wait for another opening. Continue attacking his tail until it breaks and the second phase begins. Zelda returns the Master Sword, while Ganon gains a third eye and his arms begin to glow. His eye then closes, and the Master Sword starts glowing too.
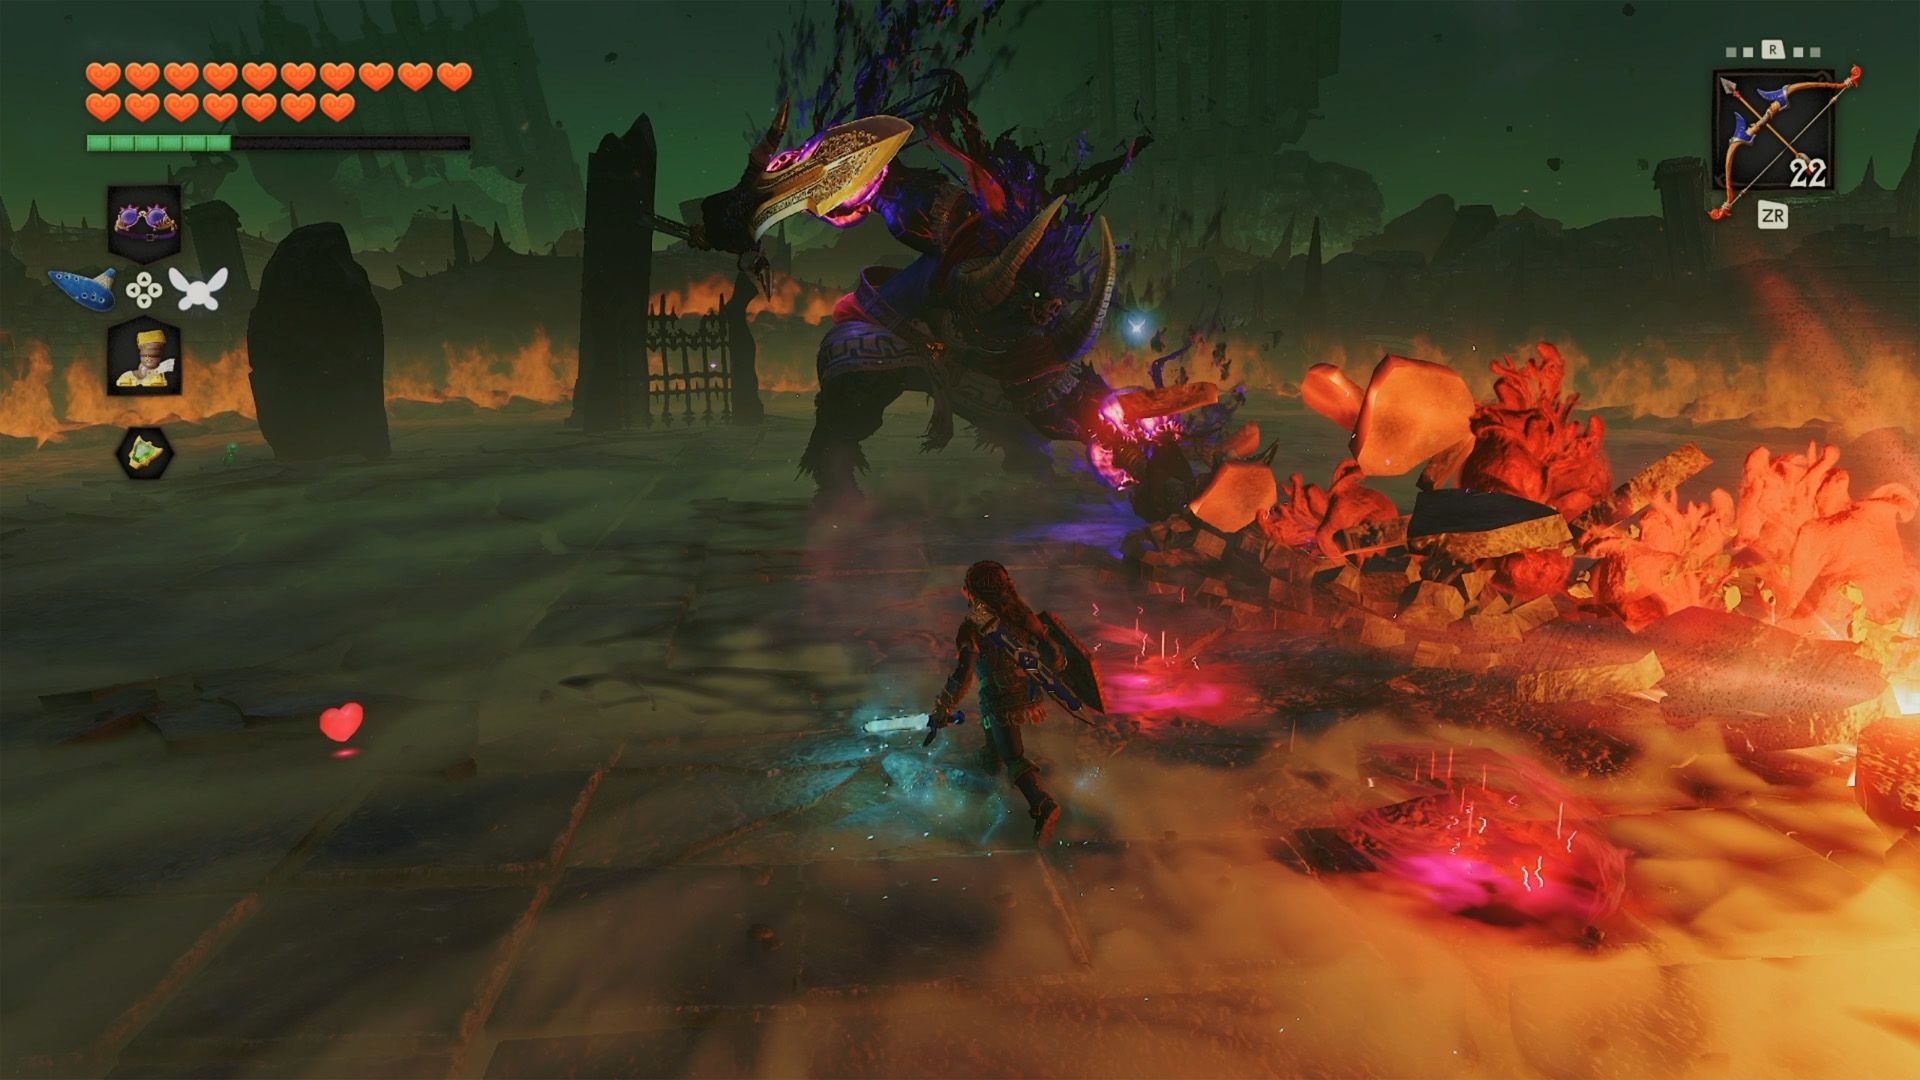
Ganon’s second-phase attacks resemble those from the first, but circles now appear on the ground before lightning strikes. Watch for them as he winds up and after he swings, and move clear.
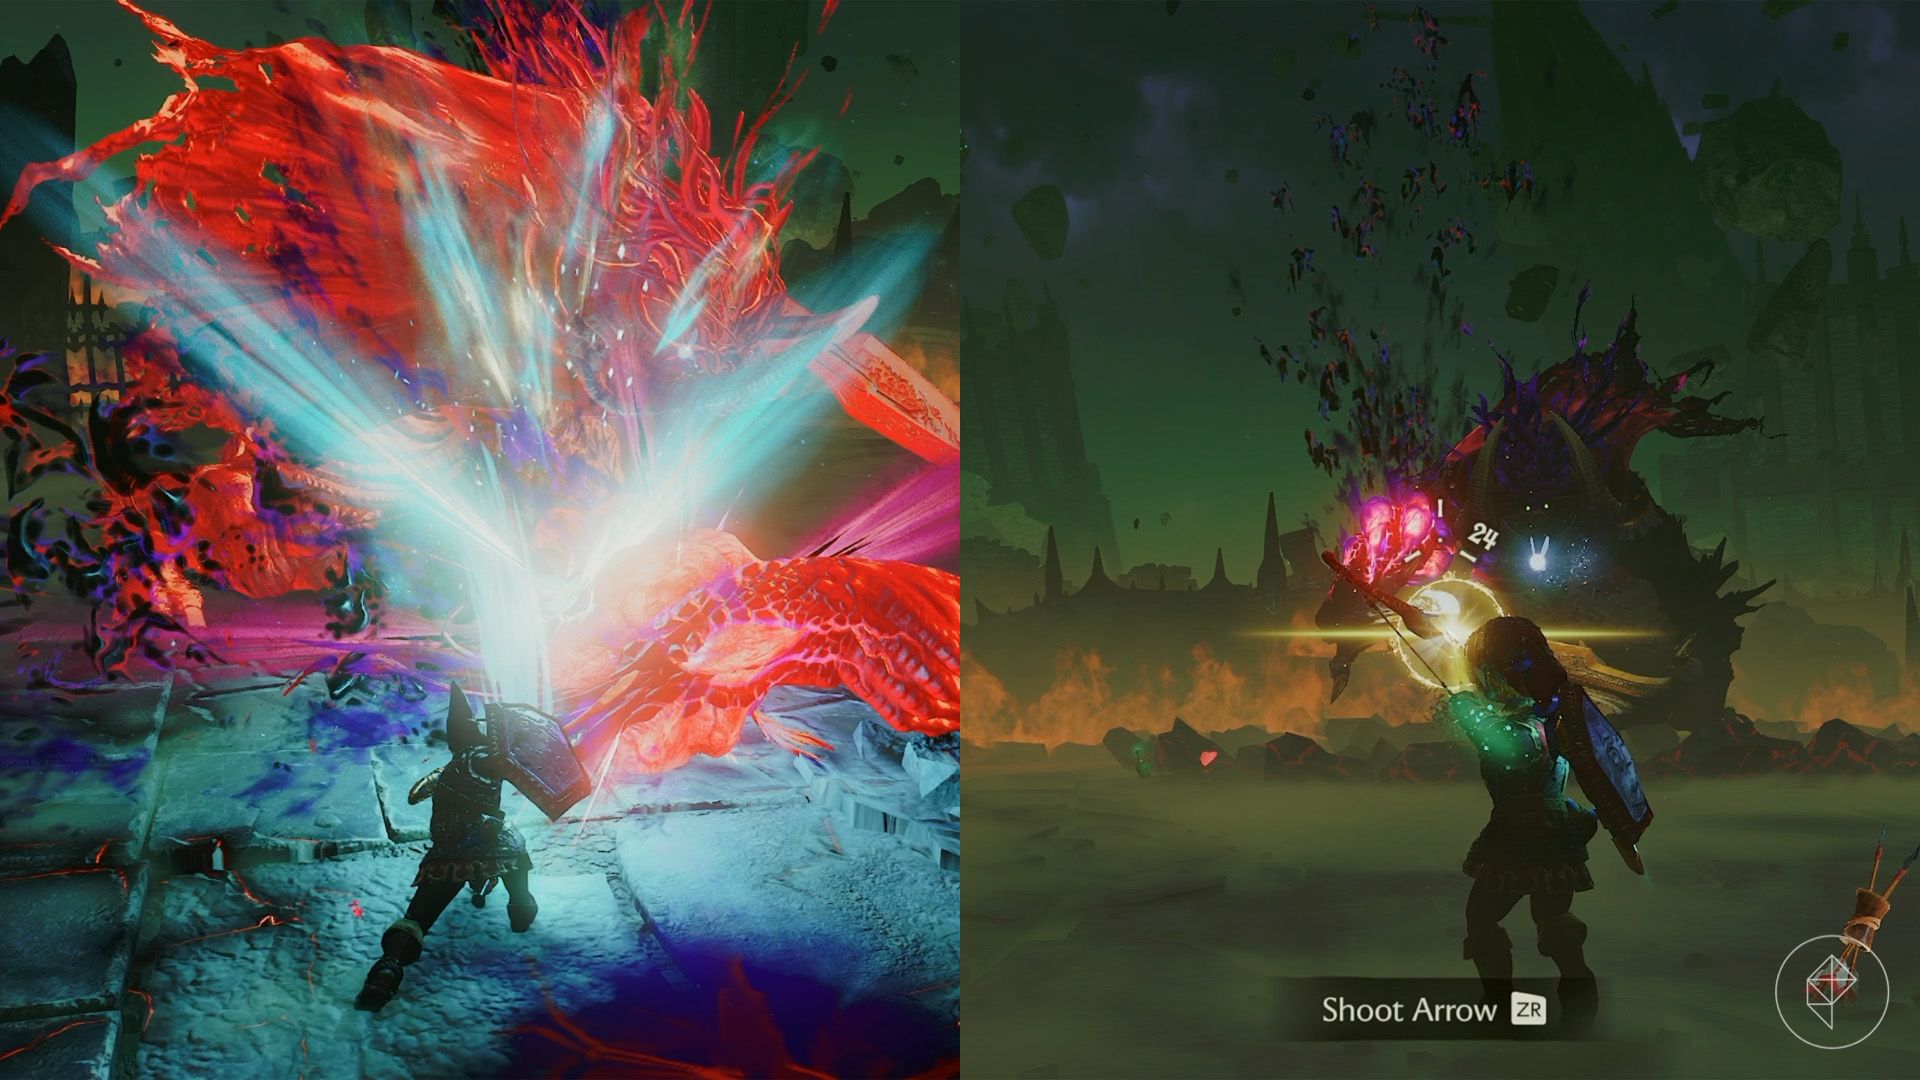
Damage Ganon’s arms with the Master Sword or Light Arrows. Use the sword when his weapon is stuck in the ground, and fire Light Arrows at his arms whenever you have an opening. After enough damage, the empowered arms will burst and return to normal.
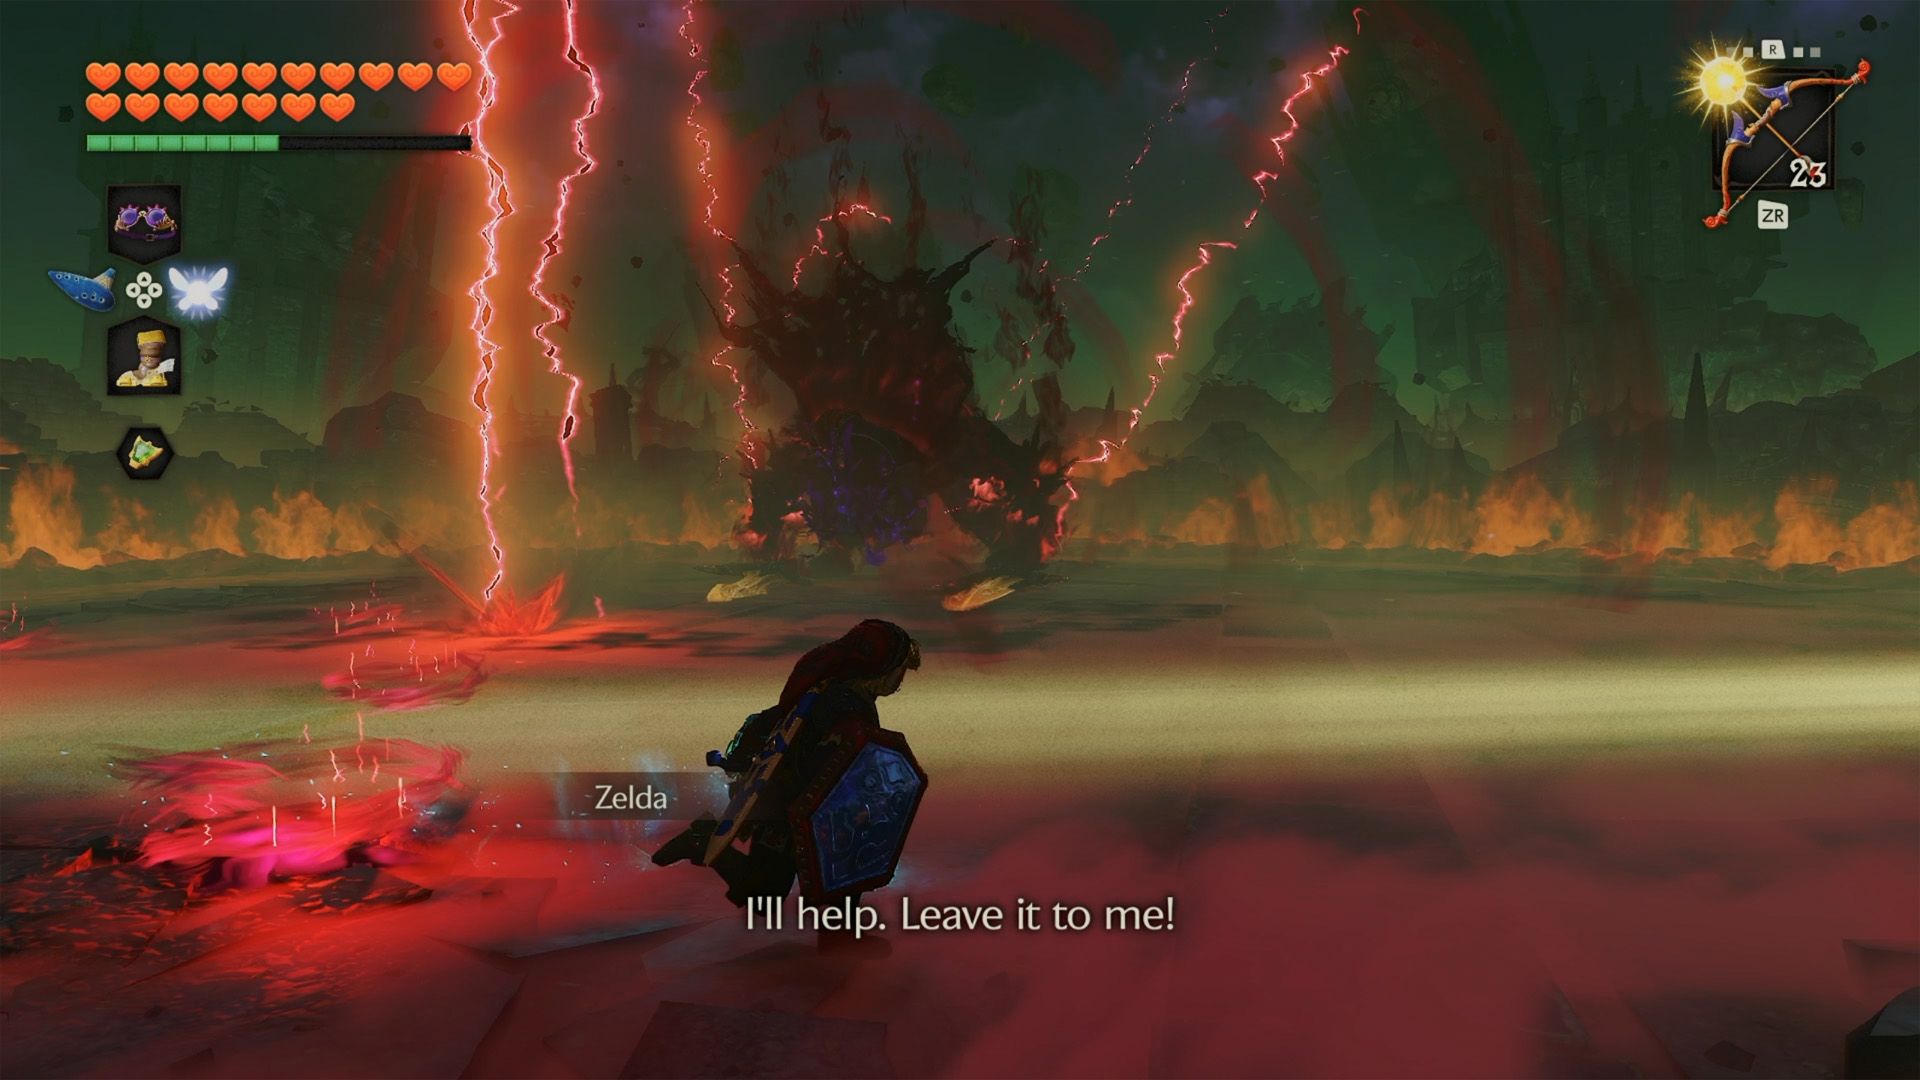
Once both arms have been dealt with, Ganon surrounds himself with dark energy and charges. Keep your distance and move around the edge of the arena until Zelda uses her magic to open his third eye.
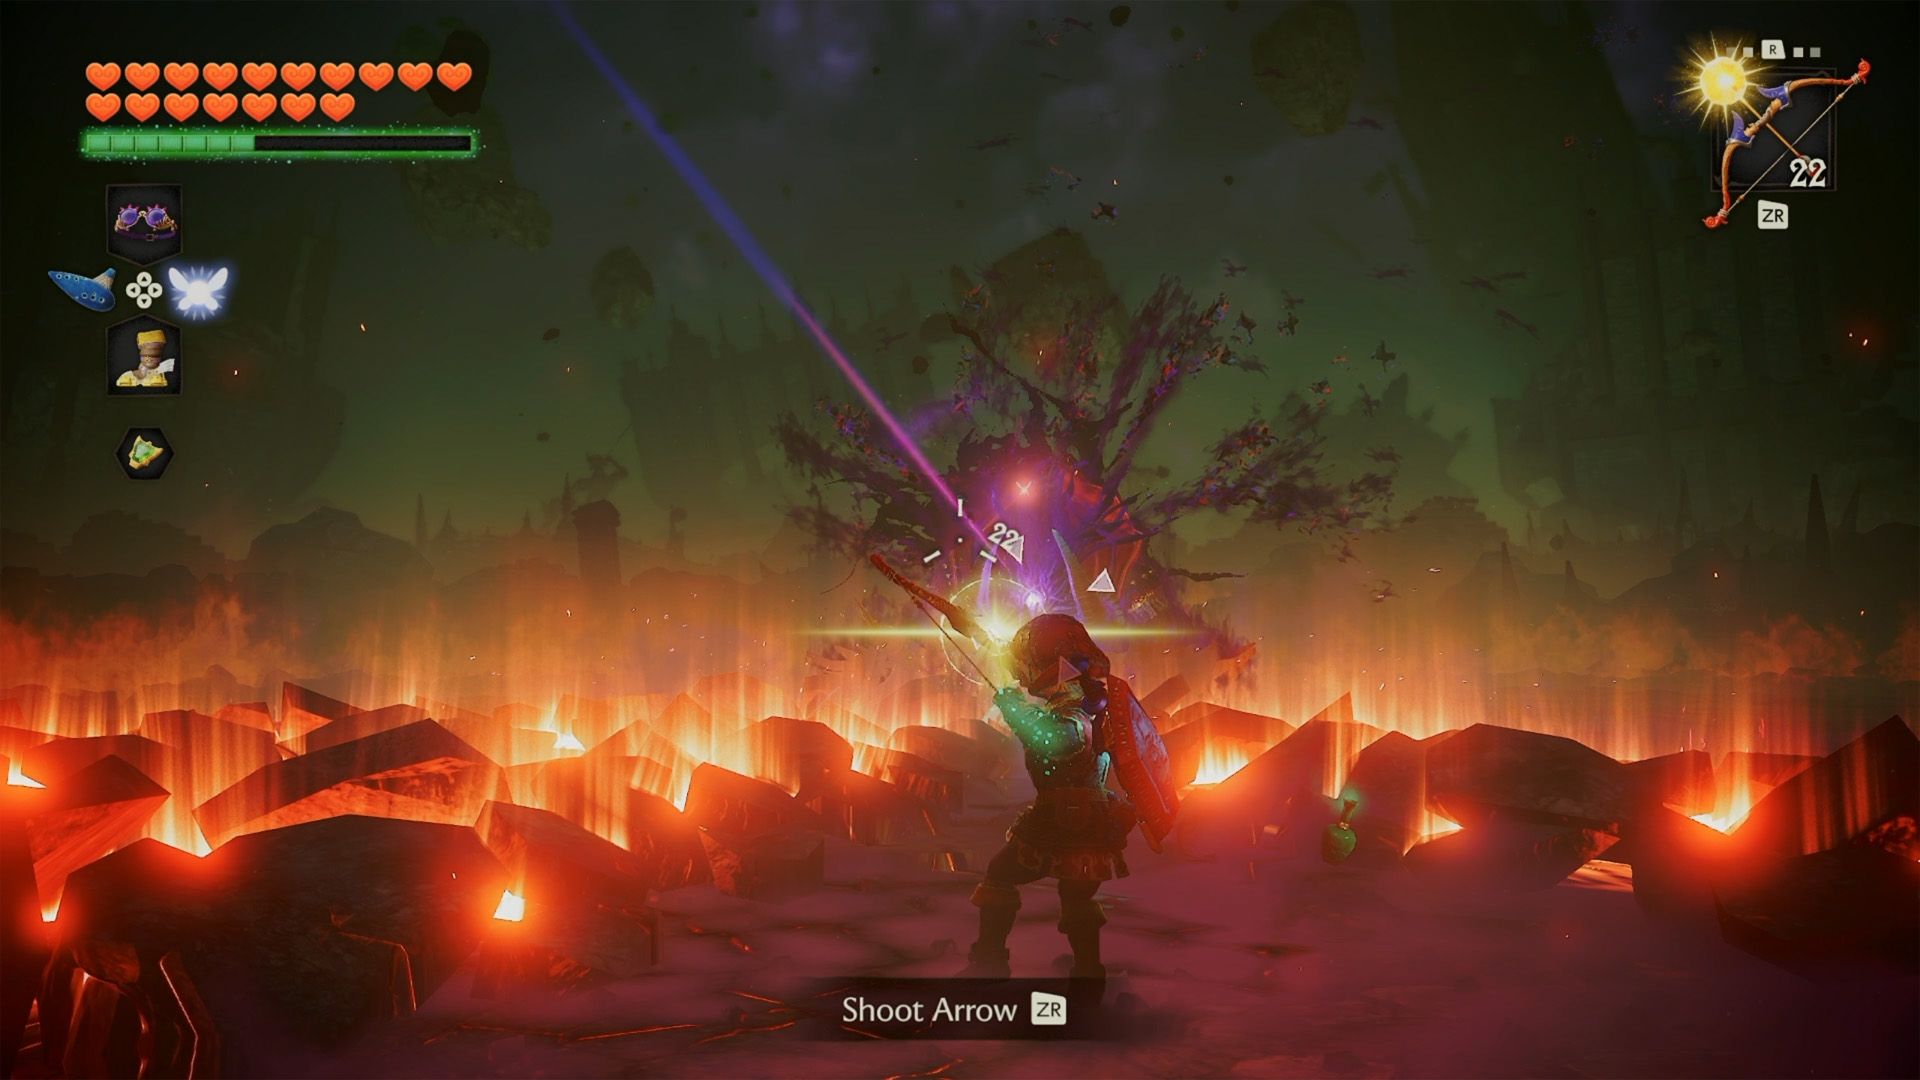
In the final phase, Ganon’s ground slams create several ruptures instead of one. Stay in the spaces between them to avoid damage.
His third eye is now the weak point. Shoot it with Light Arrows whenever it is exposed; he’ll cover it just before attacking. After three hits, Ganon falls. Strike his eye with the Master Sword to finish the fight.
The Sages seal Ganon away. Watch the remaining scenes to complete The Legend of Zelda: Ocarina of Time.
Source: Polygon
Related articles
 Analysts Say Gran Turismo 7 Is Not on PS Plus Because It Has Earned Sony Hundreds of Millions of Dollars
 Mike Flanagan Hints at Unexpected Approach to Warhammer 40,000 Series Starring Henry Cavill
 Study Confirms Impact of Social Messaging on Video Game Sales
 Blue Eye Samurai Season 2 Gets Trailer and Release Date as Mizu Heads to London
 Crimson Desert: Patch Notes for Version 2.04.07
 Animated Western ‘Bass X Machina’ Debuts on Netflix With 100% Rotten Tomatoes Score
 Script Draft for Netflix’s Gears of War Movie Is Complete
 Planet of Lana II, With 91% Positive Steam Reviews, Reaches Android With Free Opening Section