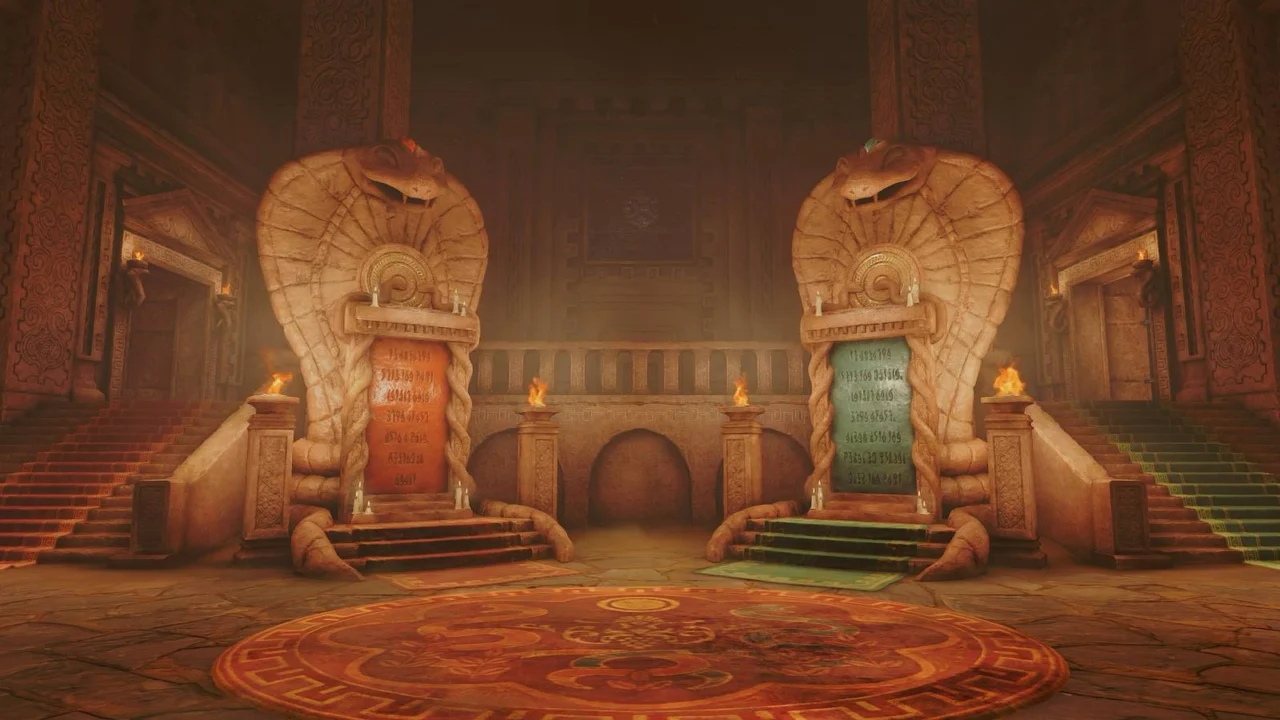
The Legend of Zelda: Ocarina of Time — Spirit Temple Dungeon Walkthrough
The Spirit Temple in The Legend of Zelda: Ocarina of Time remake sends Link in search of Nabooru, the Gerudo leader. Reaching the end requires more than solving puzzles: you’ll need to explore the dungeon as both young and adult Link.
Follow this walkthrough to find the temple’s treasures, collect its Gold Skulltulas, and defeat Twinrova.
Part 1: Reaching the Spirit Temple
If you want to collect every Gold Skulltula in and around the temple, learn the Scarecrow Song and bring a magic bean and a bug before setting out.
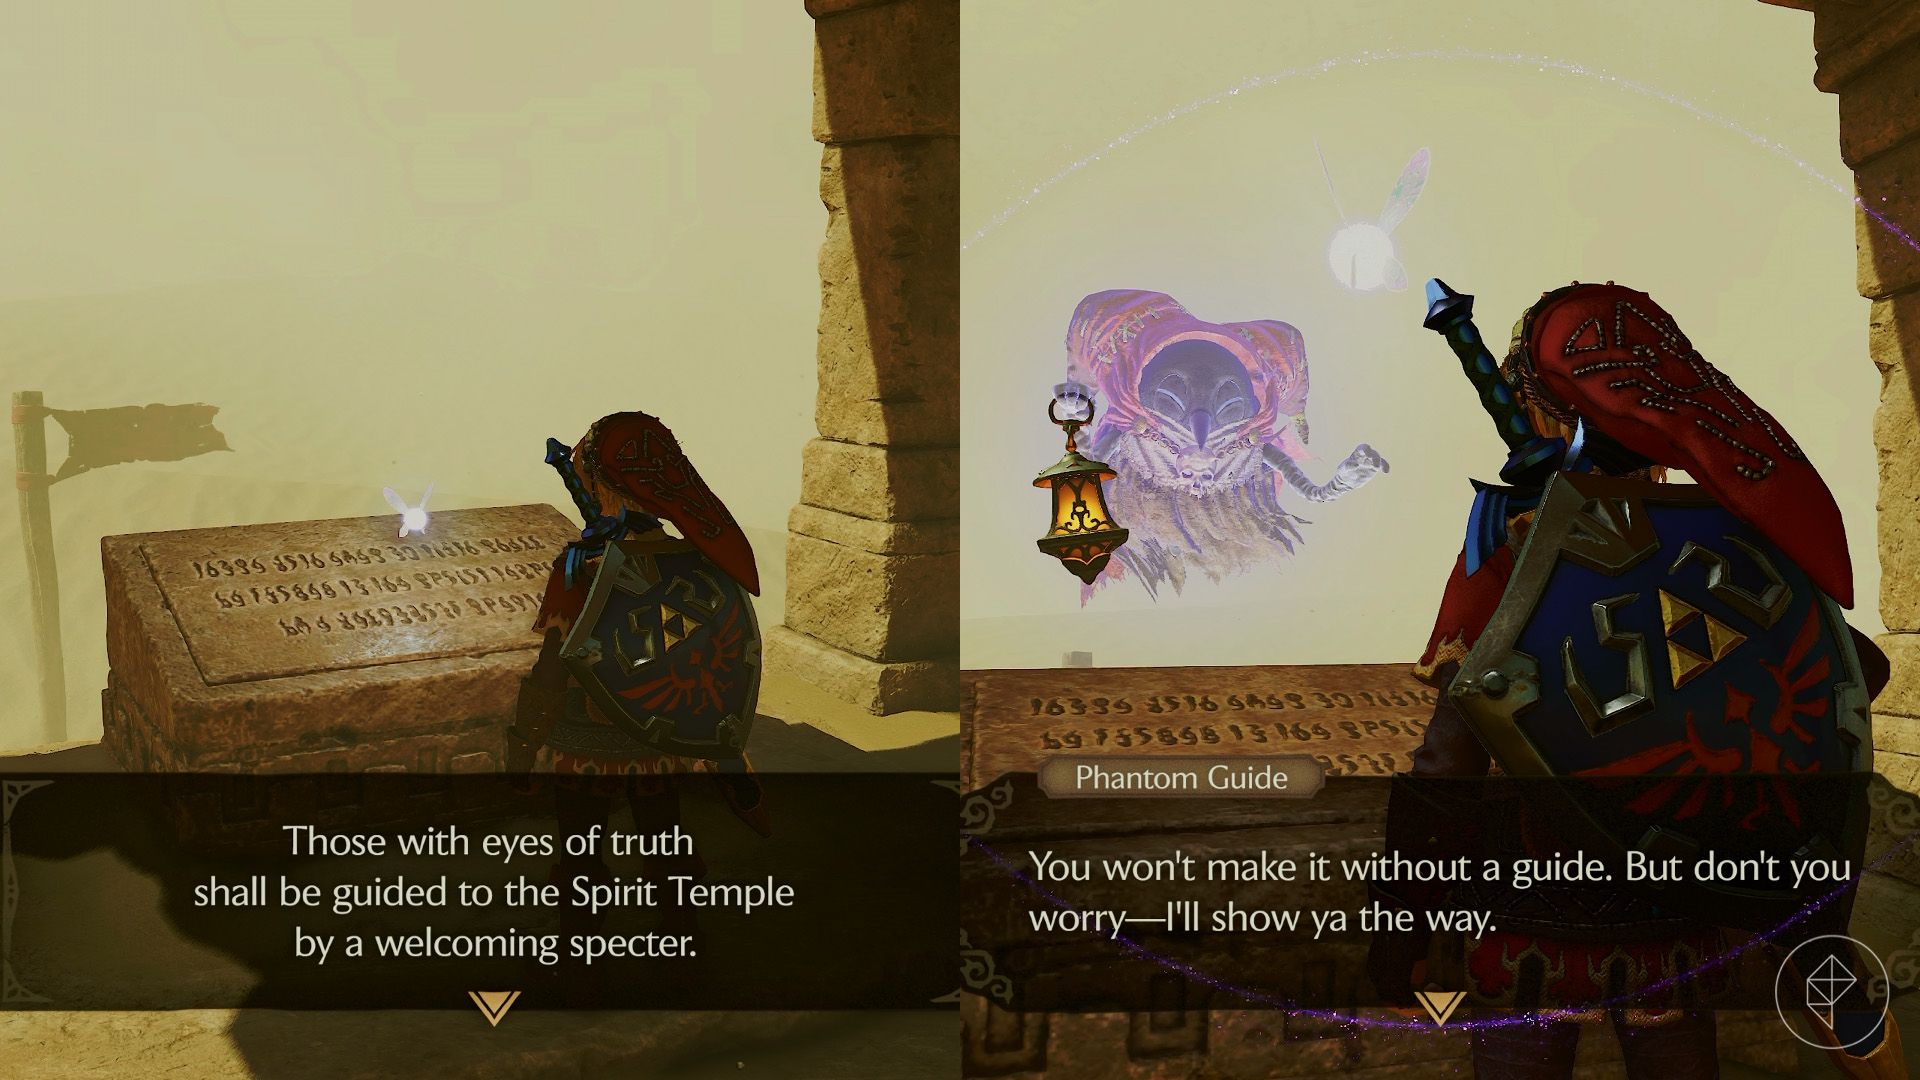
Follow the flags through the Mirage Desert until you reach a building. Before climbing the stairs, circle around them and drop into the hole to find a Gold Skulltula on the wall.
Return to the surface, climb to the top, and read the plaque. Equip the Lens of Truth to reveal the Phantom Guide, then say you’re ready and follow closely. The guide takes several sharp turns and passes through Leevers, so keep up while avoiding the cactus-like enemies. Eventually, you’ll reach the Evil Desert Colossus.
Head straight for the Spirit Temple and attempt to enter. Sheik will appear, explain that you’ll need to travel through time, and teach you the Requiem of Spirit (L – R – L – A – R – L). This song lets you warp back to the temple.
Play the Prelude of Light (X – A – X – A – Y – X) to return to the Temple of Time. Become young Link, then use the Requiem of Spirit to return to the desert.
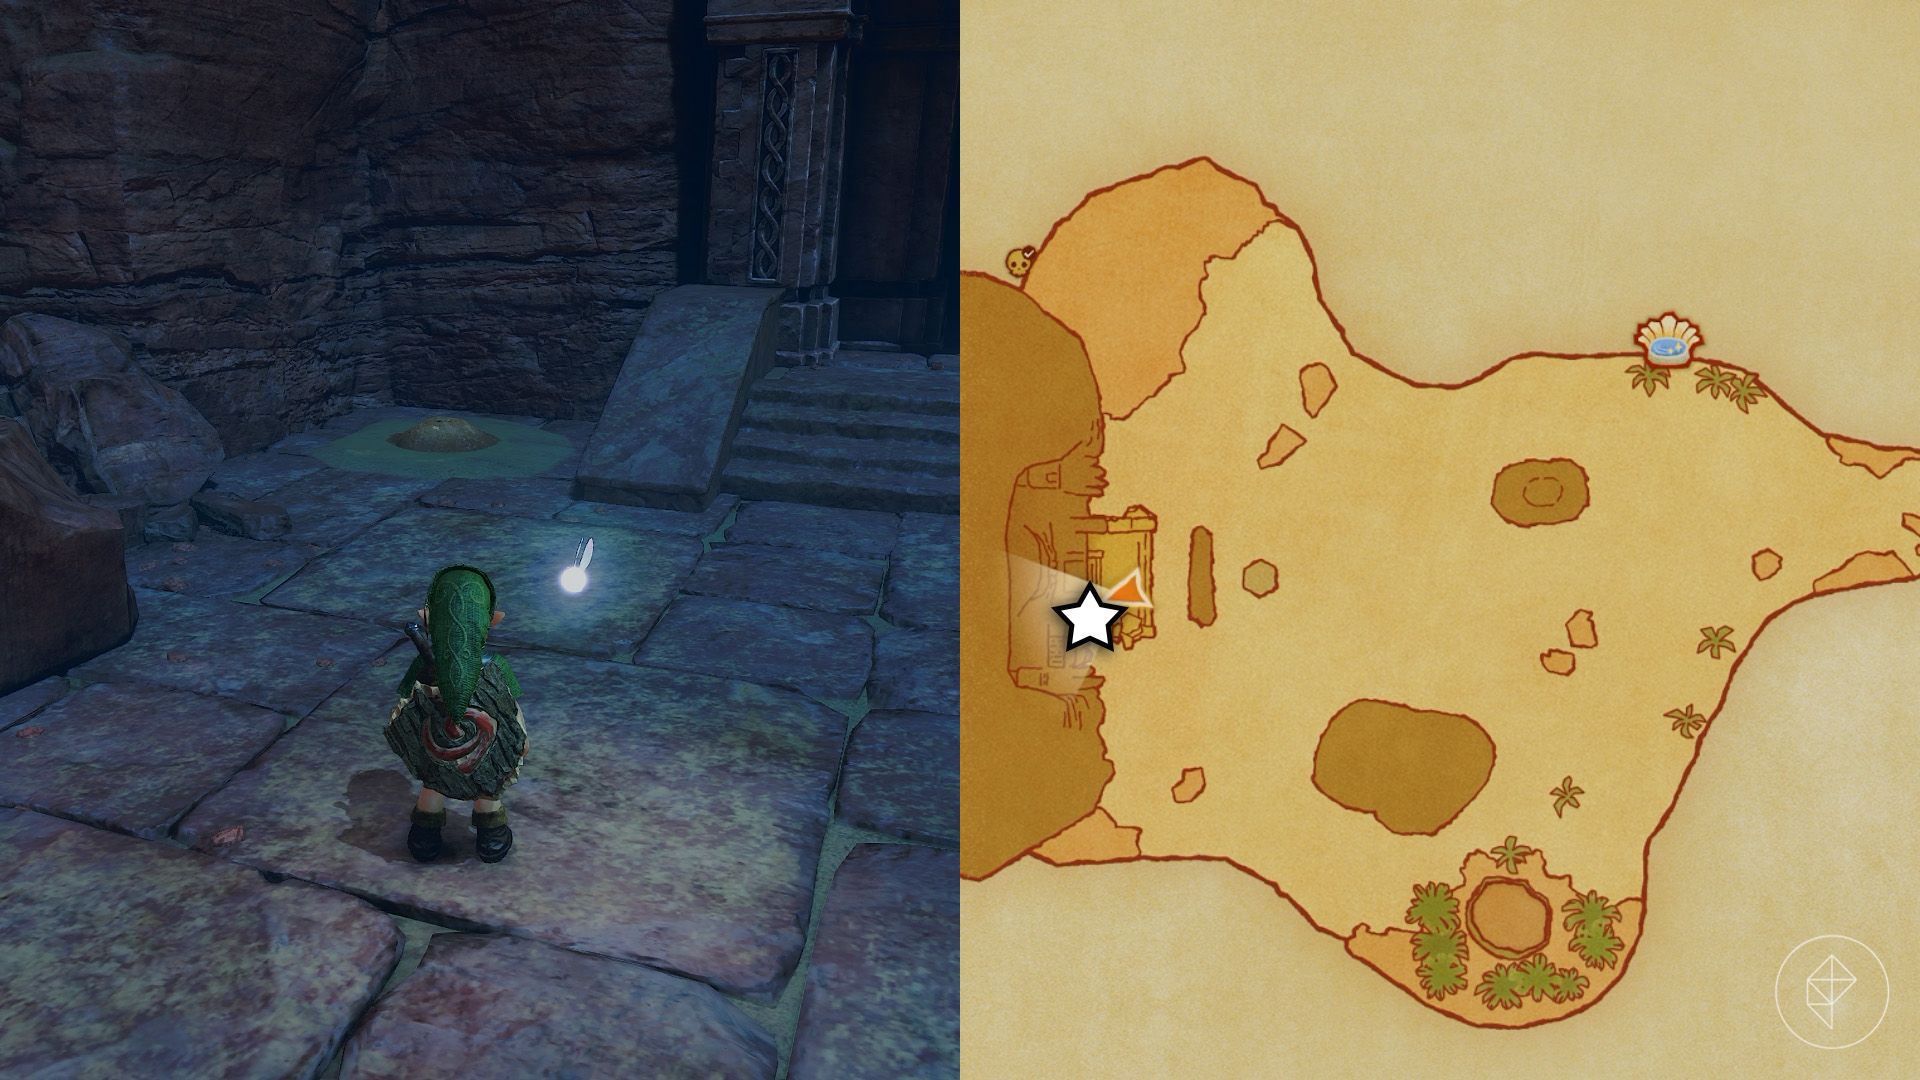
Before entering, release a bug onto the soft soil to the left of the entrance to reveal a Gold Skulltula. After collecting its token, plant a magic bean in the same spot for your return as adult Link.
Part 2: Finding the dungeon map
Climb the left staircase to meet Nabooru beside a small tunnel. She tells you about a treasure beyond it that can move the enormous stones blocking the temple’s other side.
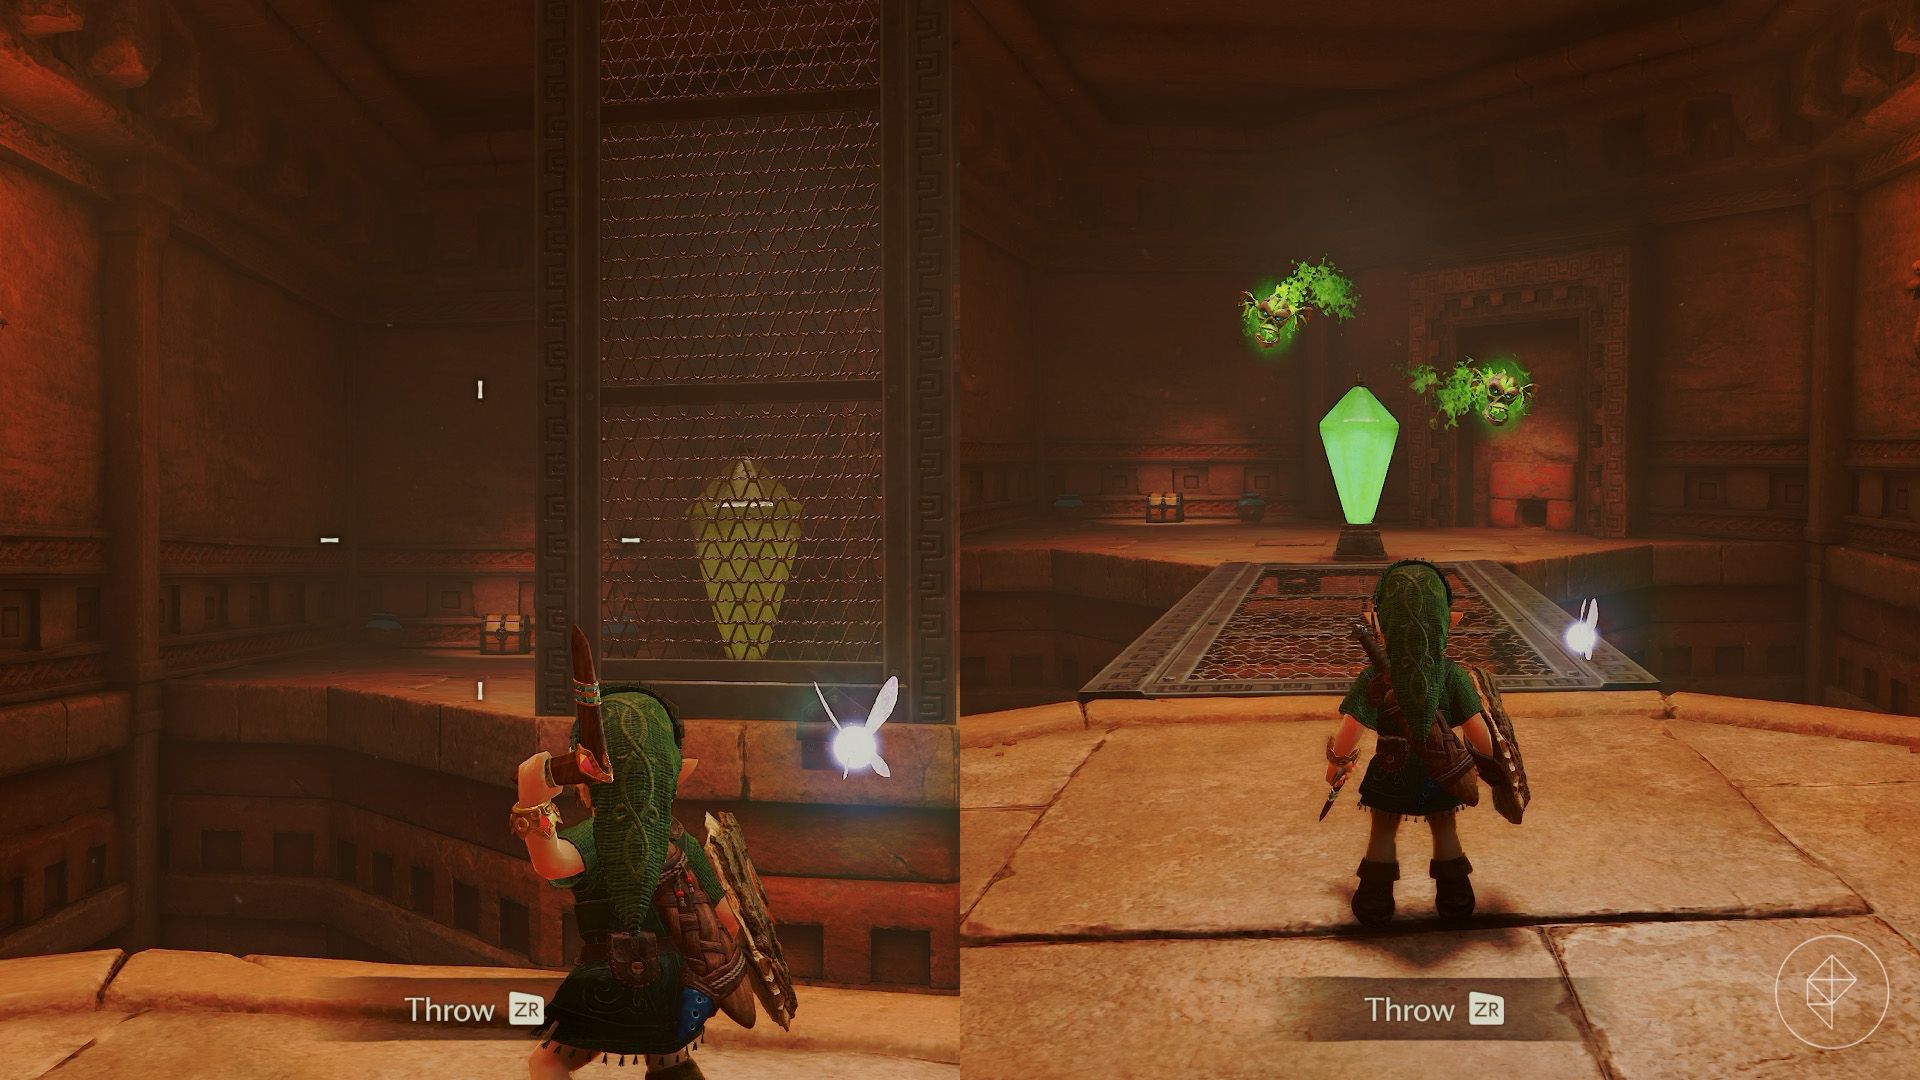
Crawl through the tunnel into a room containing Keese, Blade Traps, and an Armos. Defeat the enemies to open both gates, then take the left path.
Defeat the Stalfos in the next room, then look north for a glowing switch behind a wall. Throw your Boomerang to the left of the wall, then look toward its right side to guide the Boomerang into the switch. The wall falls to form a bridge, but two Green Bubbles appear. Defeat them, watch out for the Flying Pots near the corner chest, and open it for a red rupee. Crawl through the next tunnel.
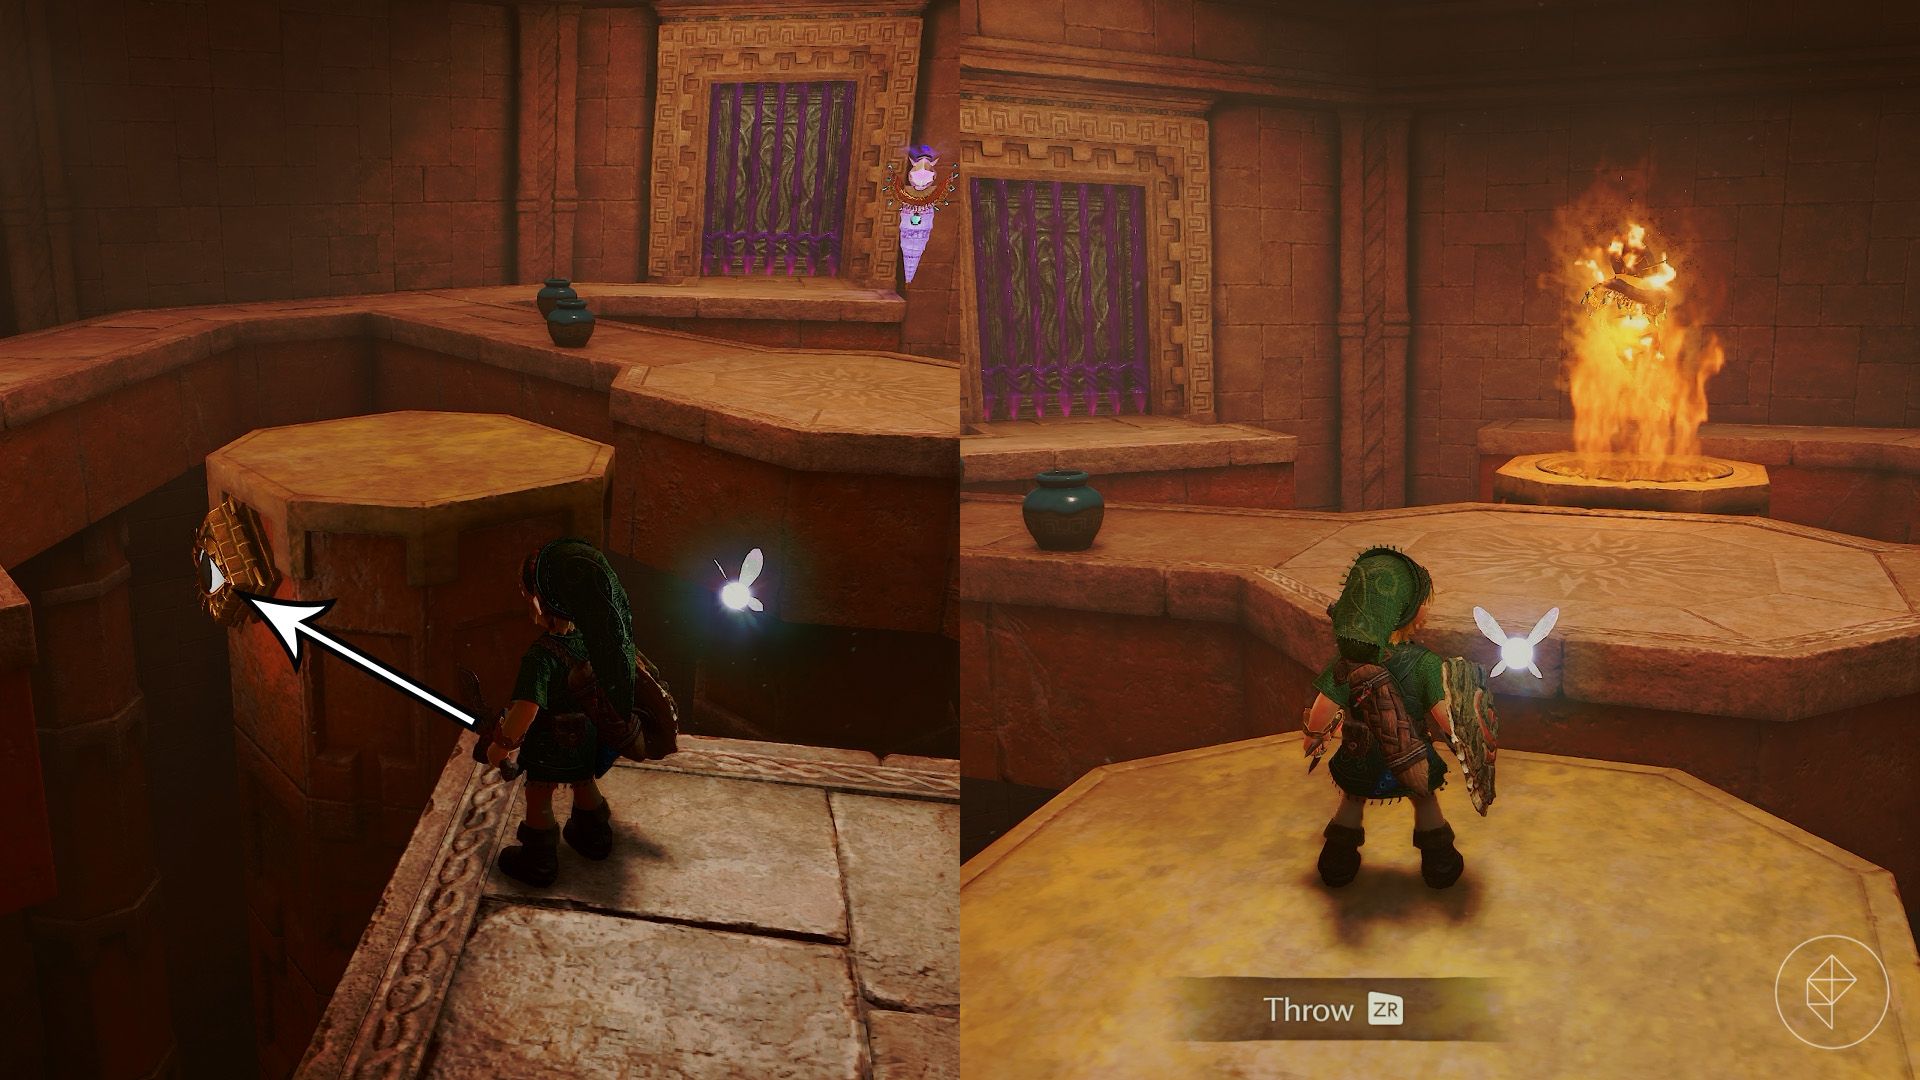
The floating Anubis across the room mirrors your movements and attacks. Hit the eye switch on the northwest pillar, then jump onto the pillar to position Anubis in the flames on the opposite one. Jump from the center of the room to avoid falling into the abyss. Once Anubis is defeated, go through the unlocked door.
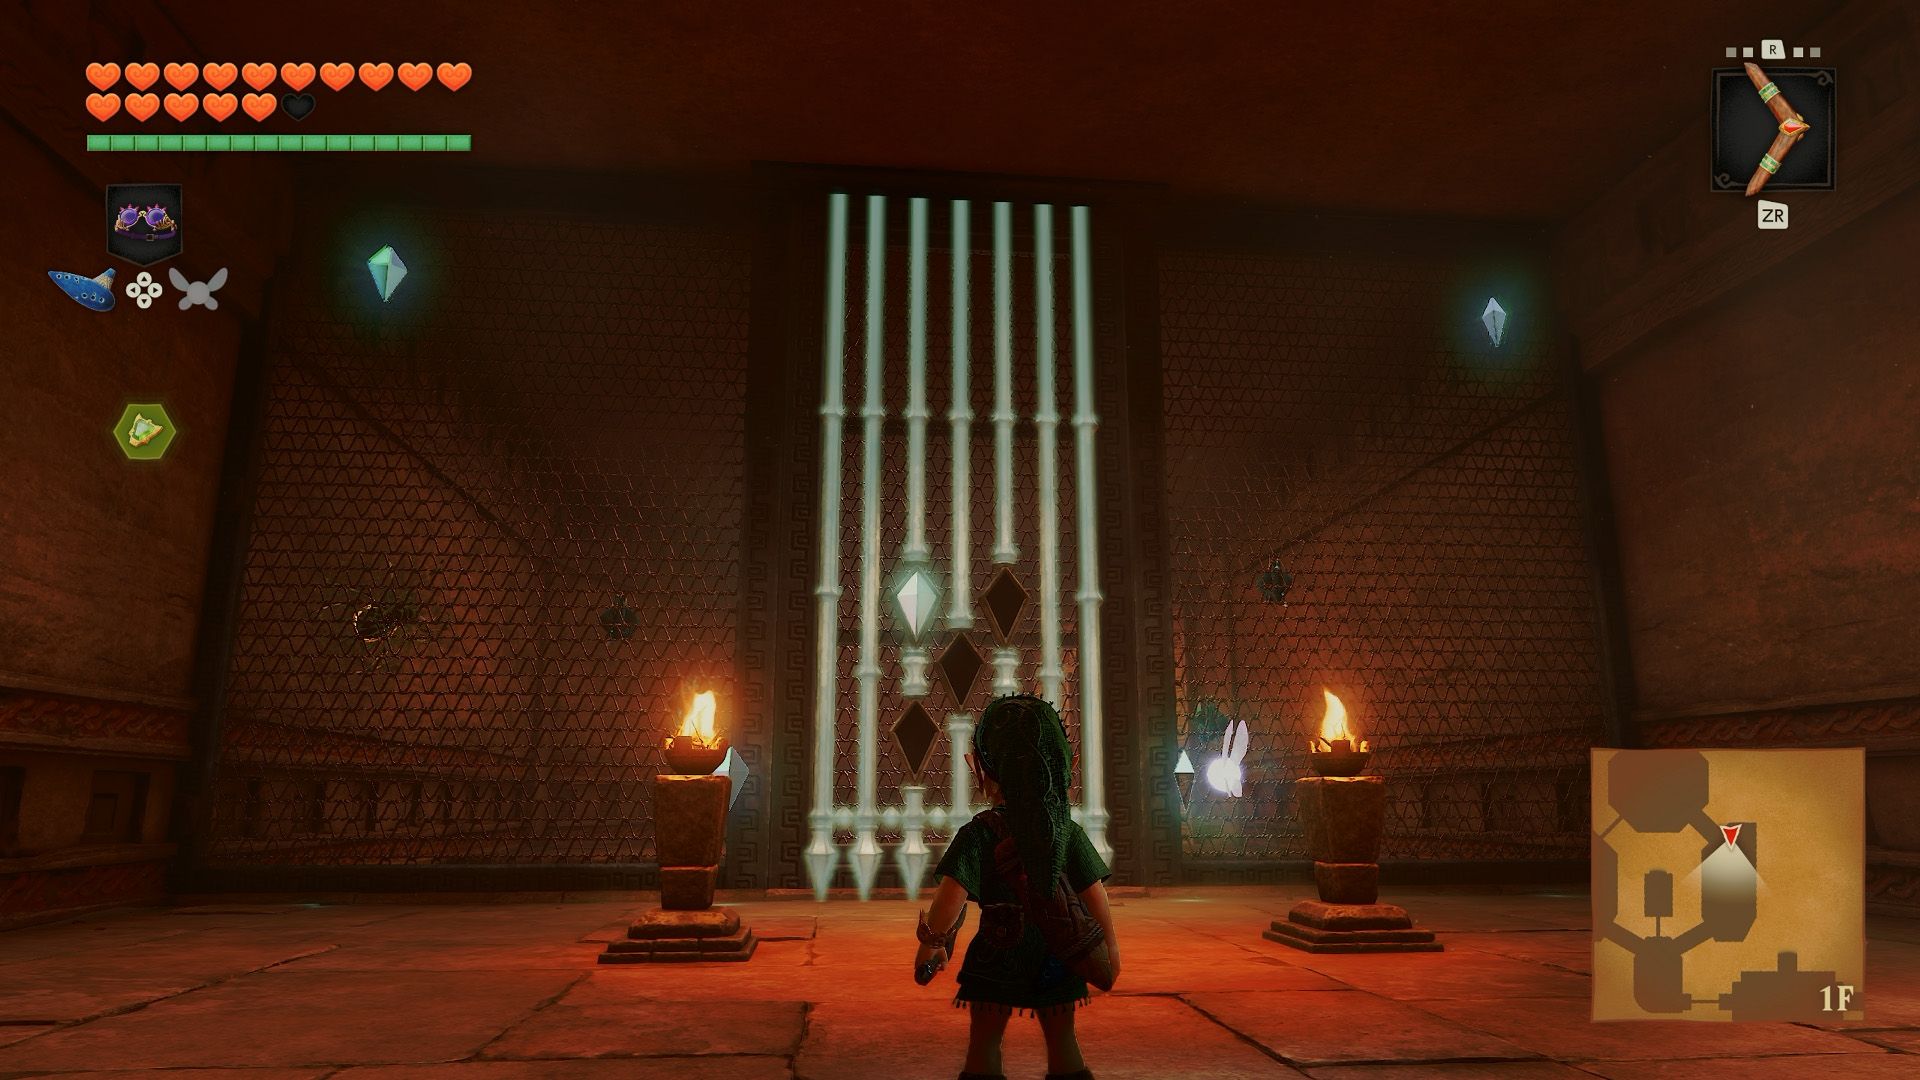
Collect five crystals to open the next door. A Fire Keese and a Wallmaster attack when you enter: defeat the Keese first, then move out of the spotlight and attack the Wallmaster. Gather the crystals on the floor and climb the walls to reach those above.
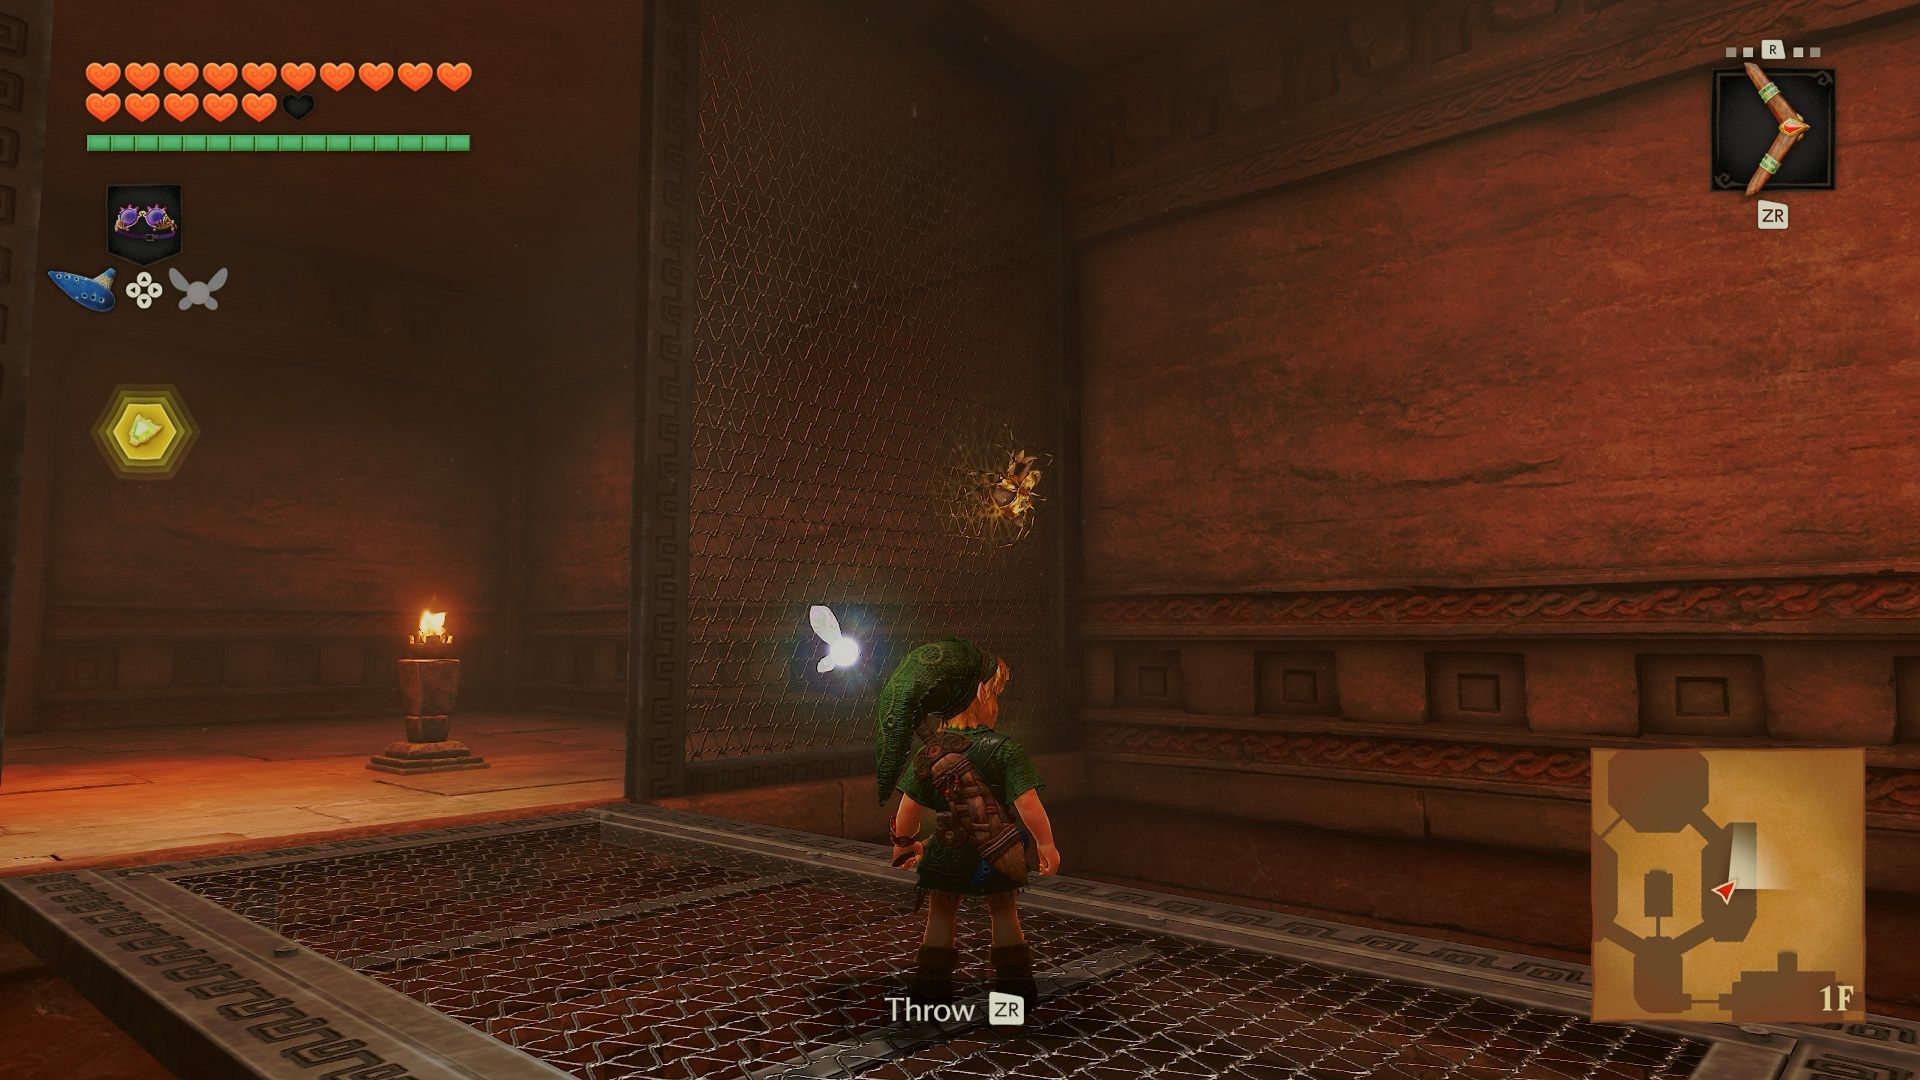
When the wall drops, watch for Keese on the other side. Step onto the bridge to draw them out, then use your Fairy Slingshot or Boomerang to defeat them. A Gold Skulltula is on the left wall; use the Boomerang from the bridge to collect its token.
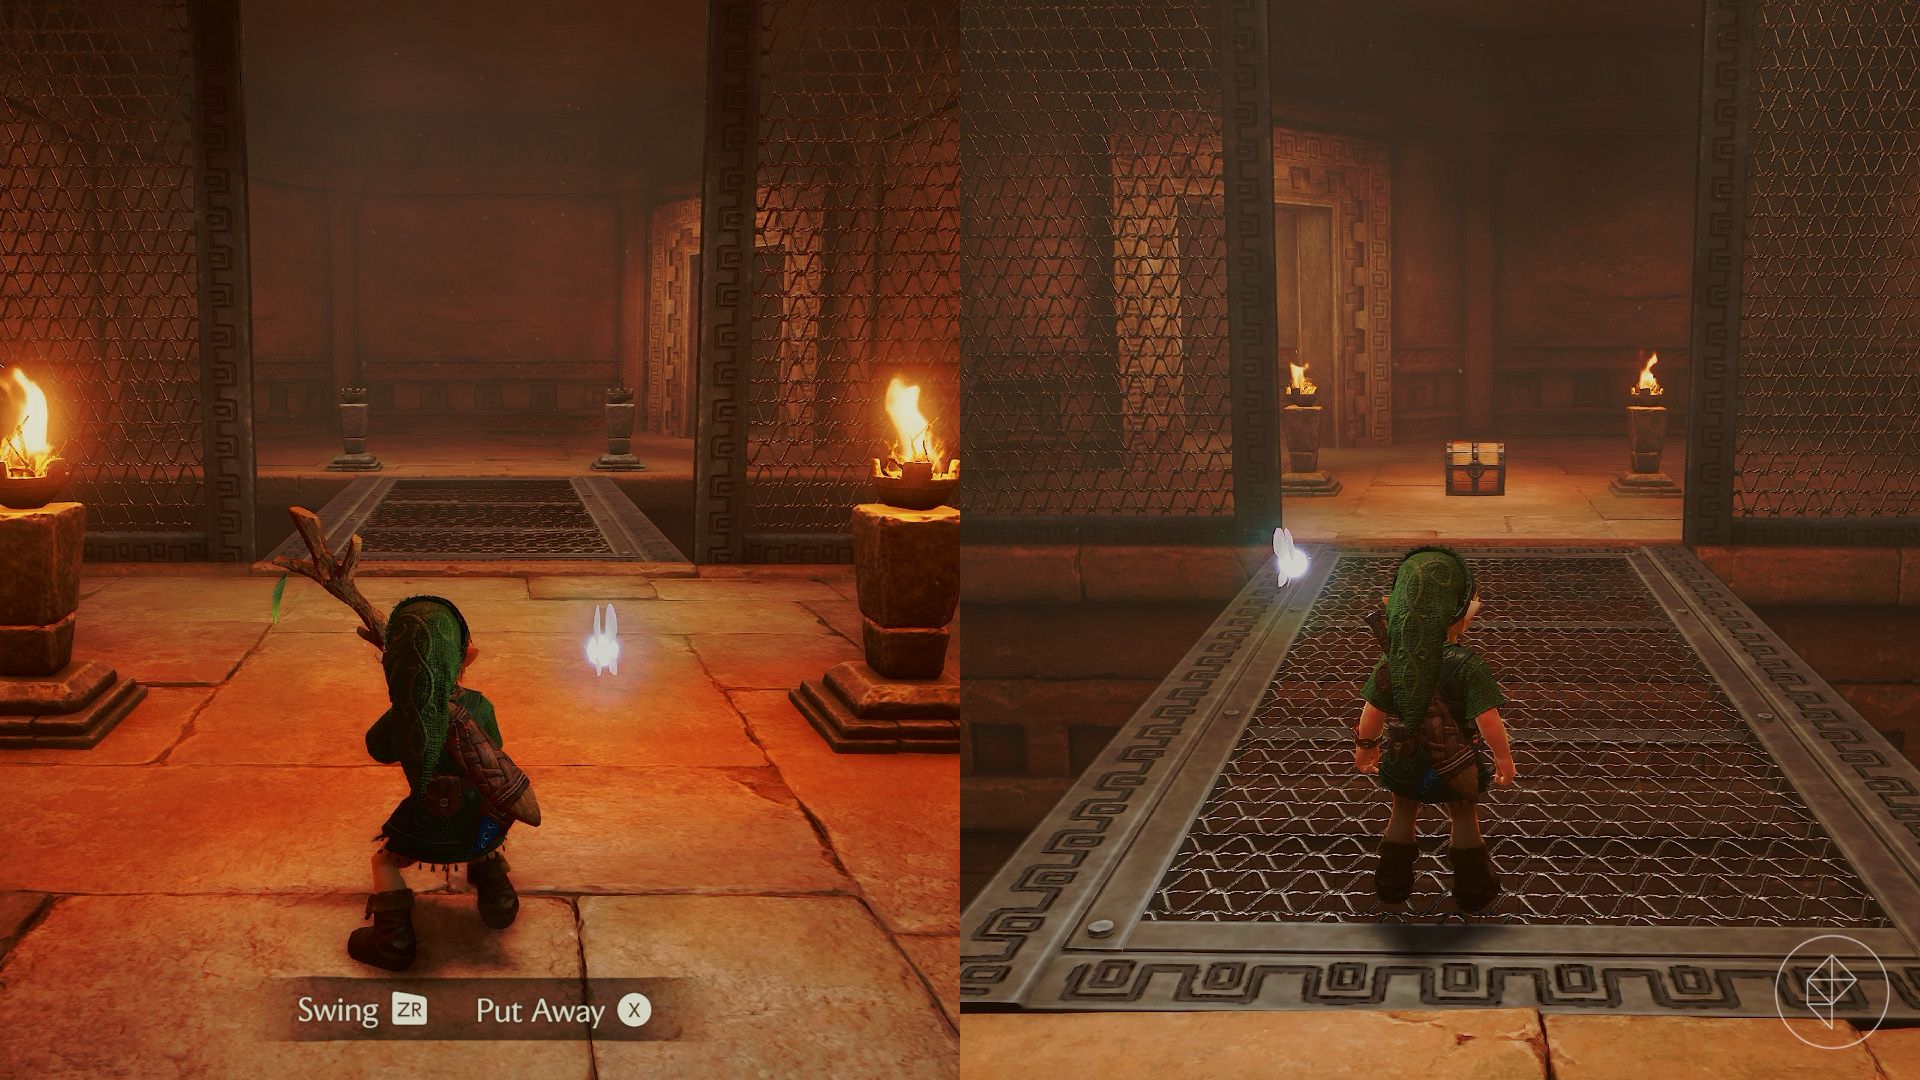
Light a Deku Stick from an existing flame and use it on the unlit torches. A chest containing a small key will drop from the ceiling. Take it, go through the southern door, and crawl back through the tunnel to unlock the door in the first room.
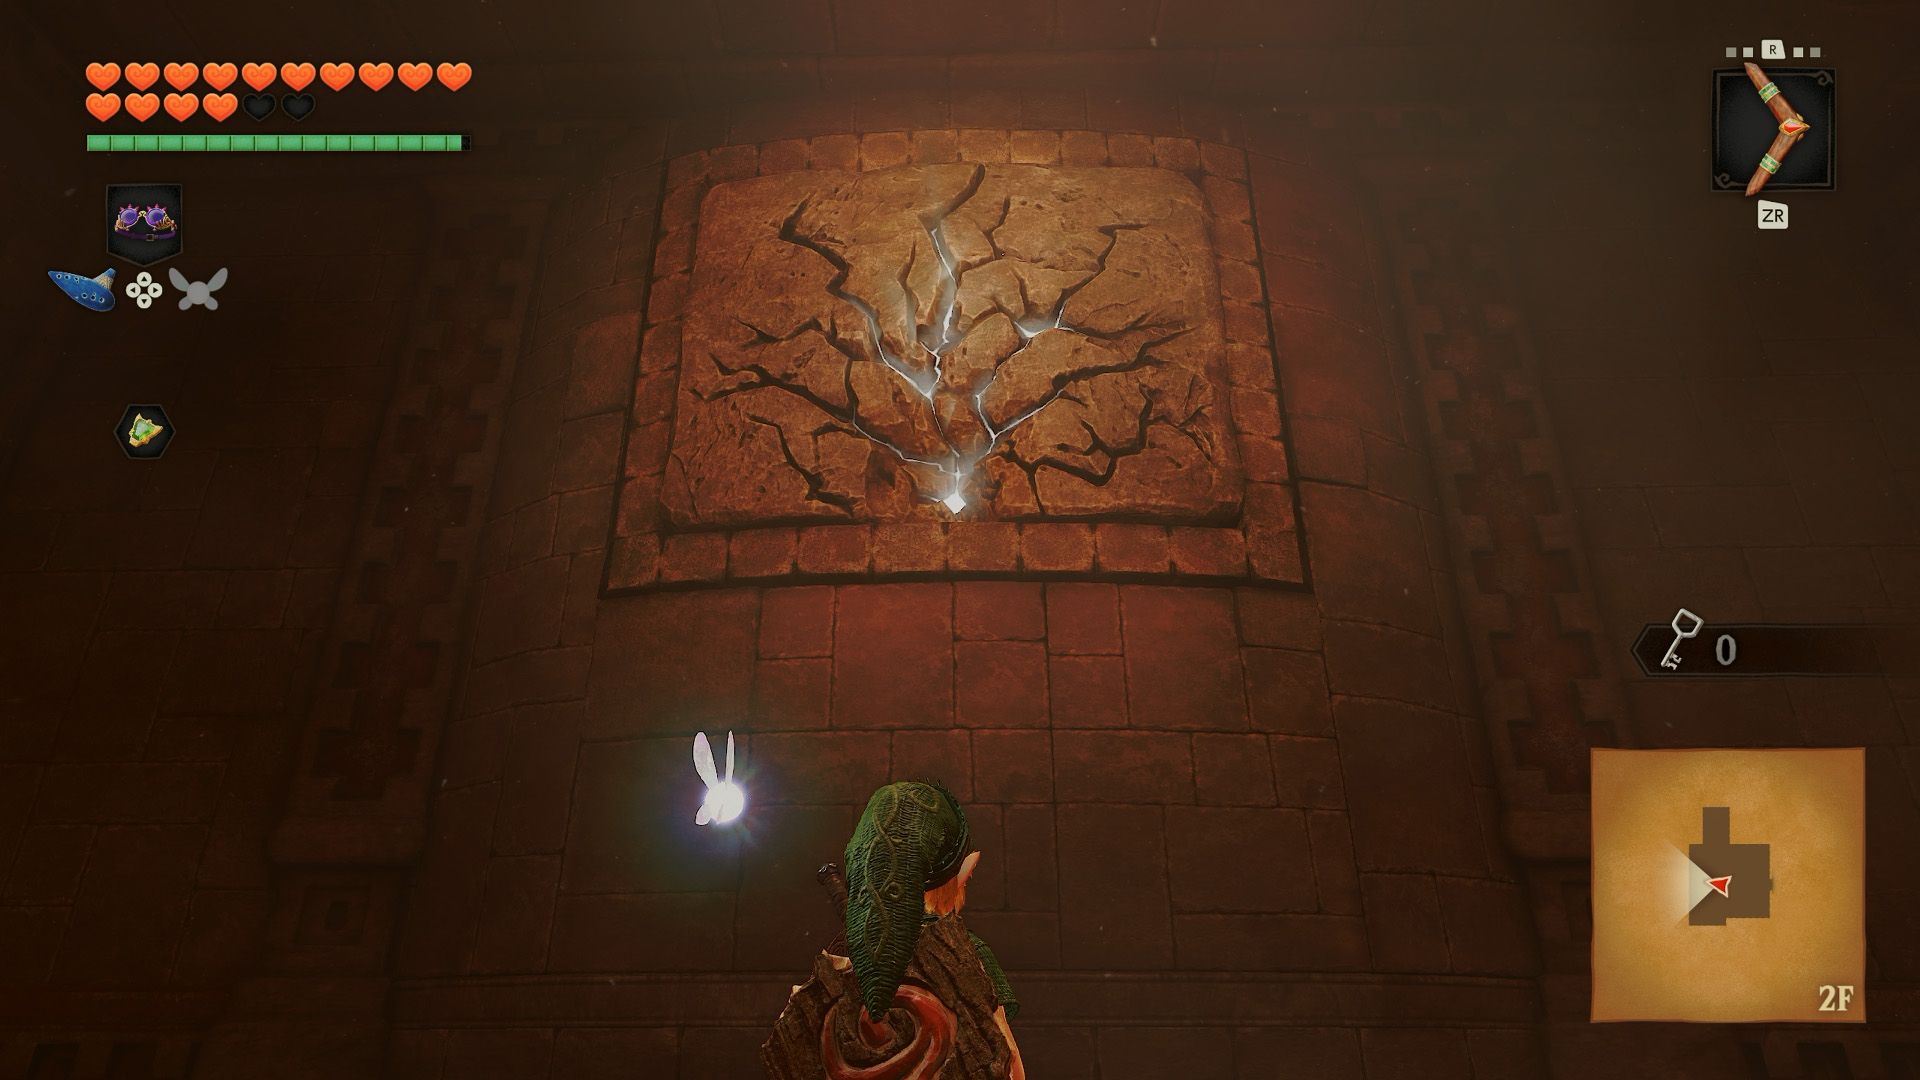
Use the Boomerang against the Skullwalltulas, then climb the wall. Defeat the Lizalfos at the top and look for a breakable section of the western wall. Send a Bombchu up to destroy it. If you need Bombchus, hit the southern switch to make a chest containing five appear. Sunlight will reach the sun on the floor and unlock the next door.
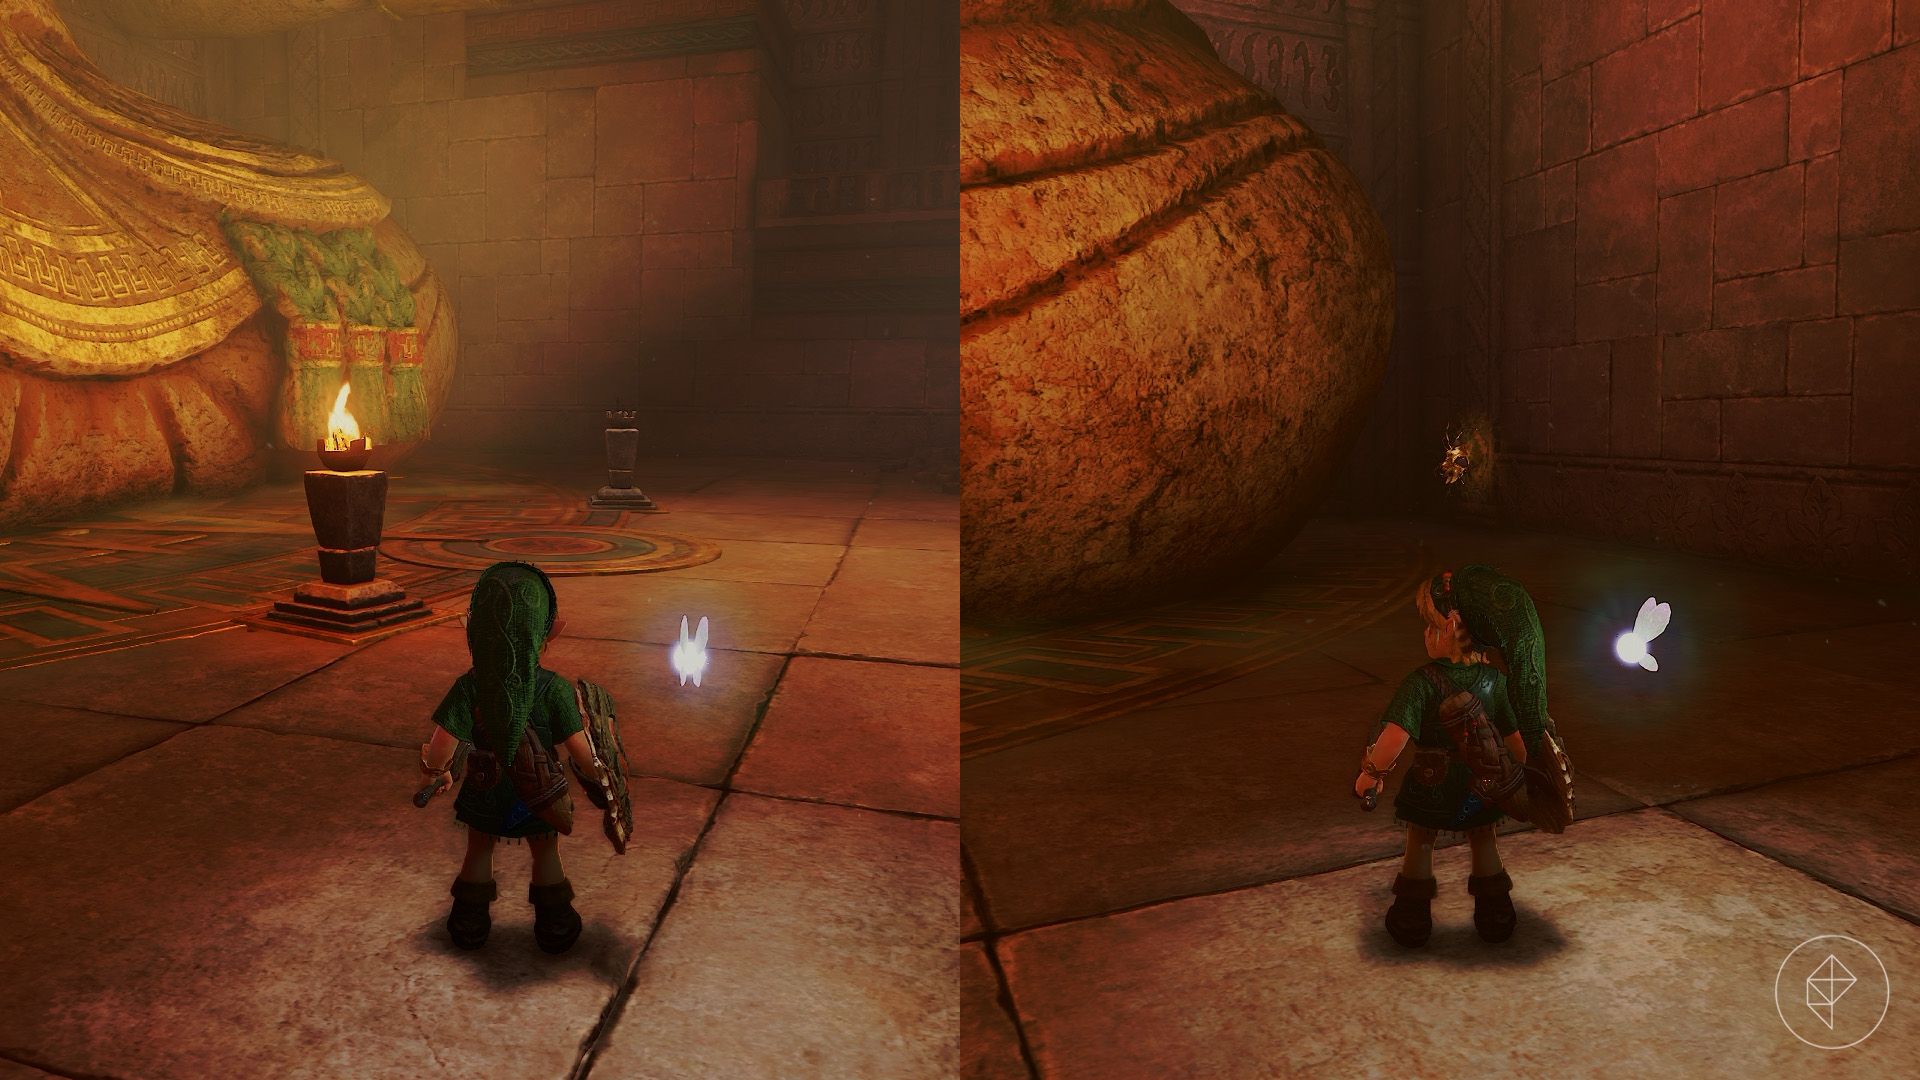
In the chamber with the giant snake-crowned statue, light the unlit torch in front of it to reveal a chest containing the dungeon map. Collect the Gold Skulltula token from the wall to the statue’s right.
Part 3: Getting the Silver Gauntlets
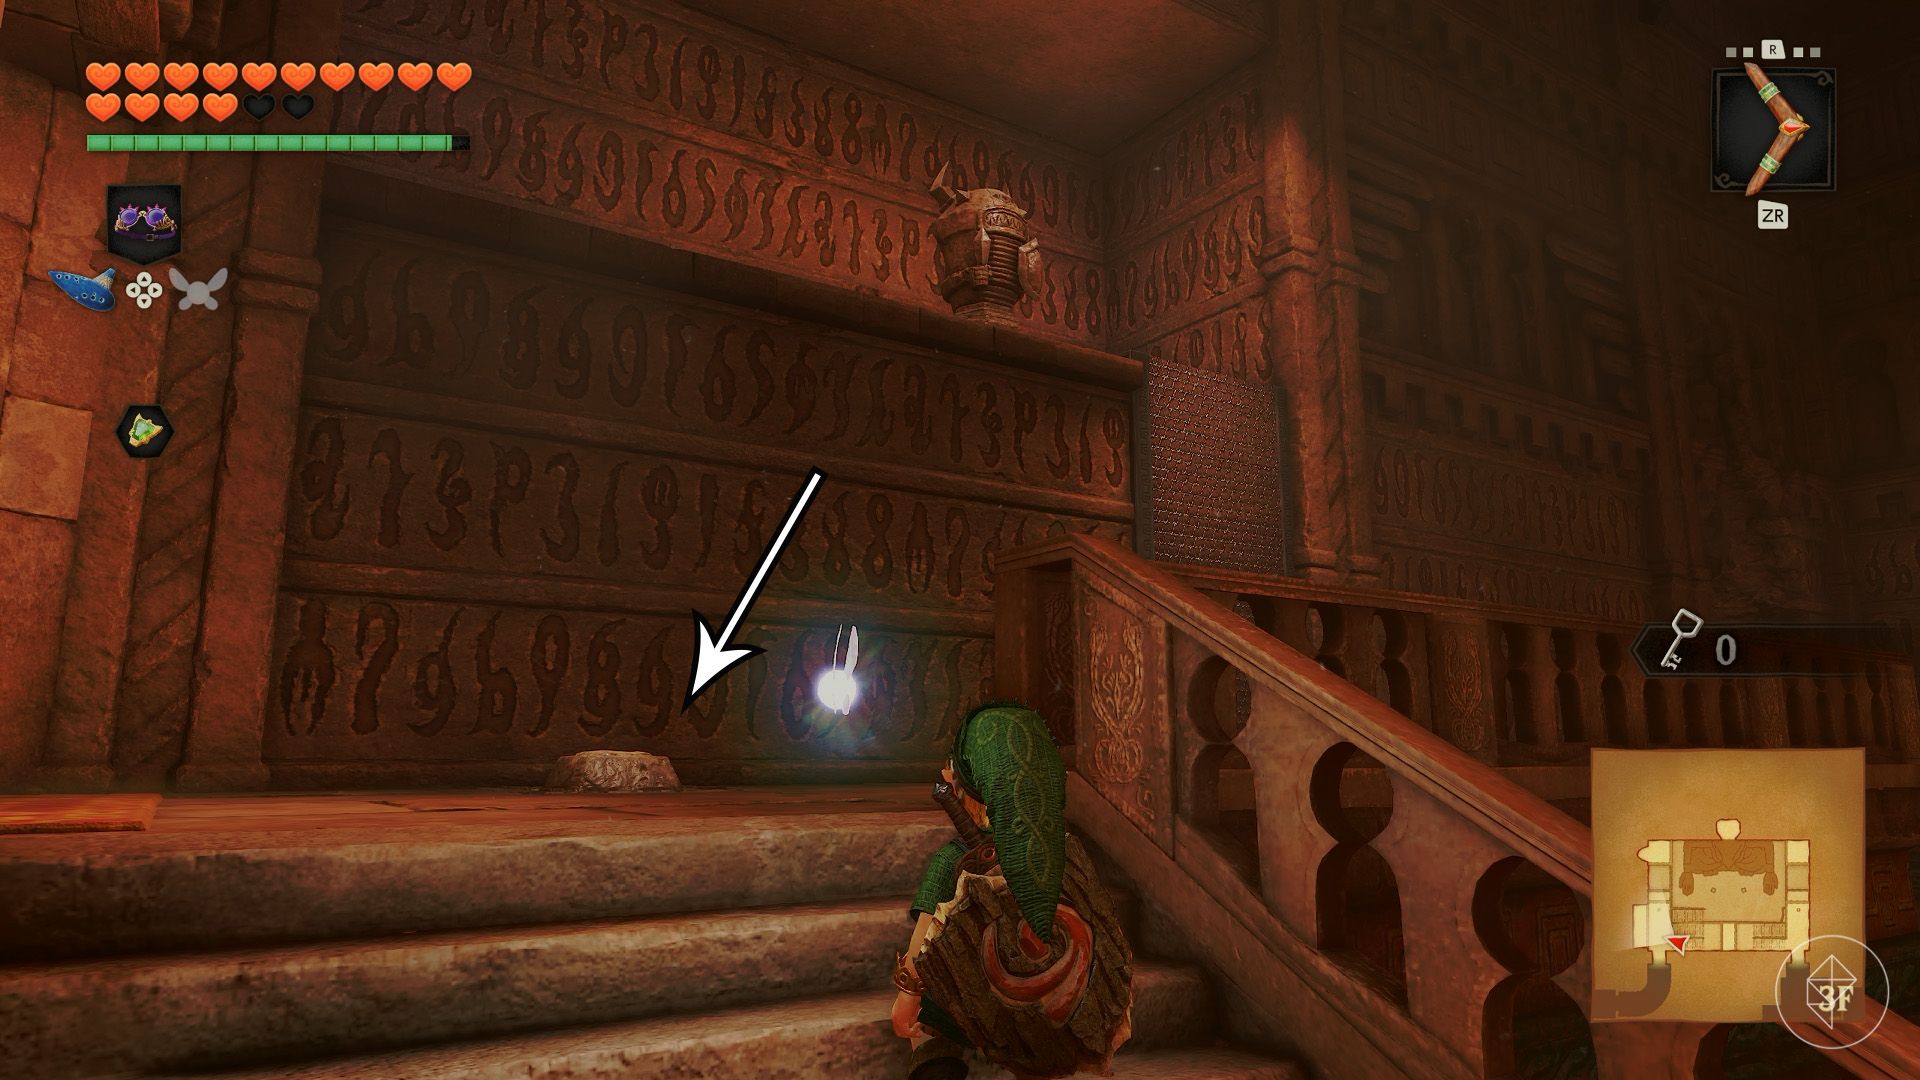
Climb the stairs to find a button beneath a raised platform. Scale the wall and push the statue onto the button to unlock the door.
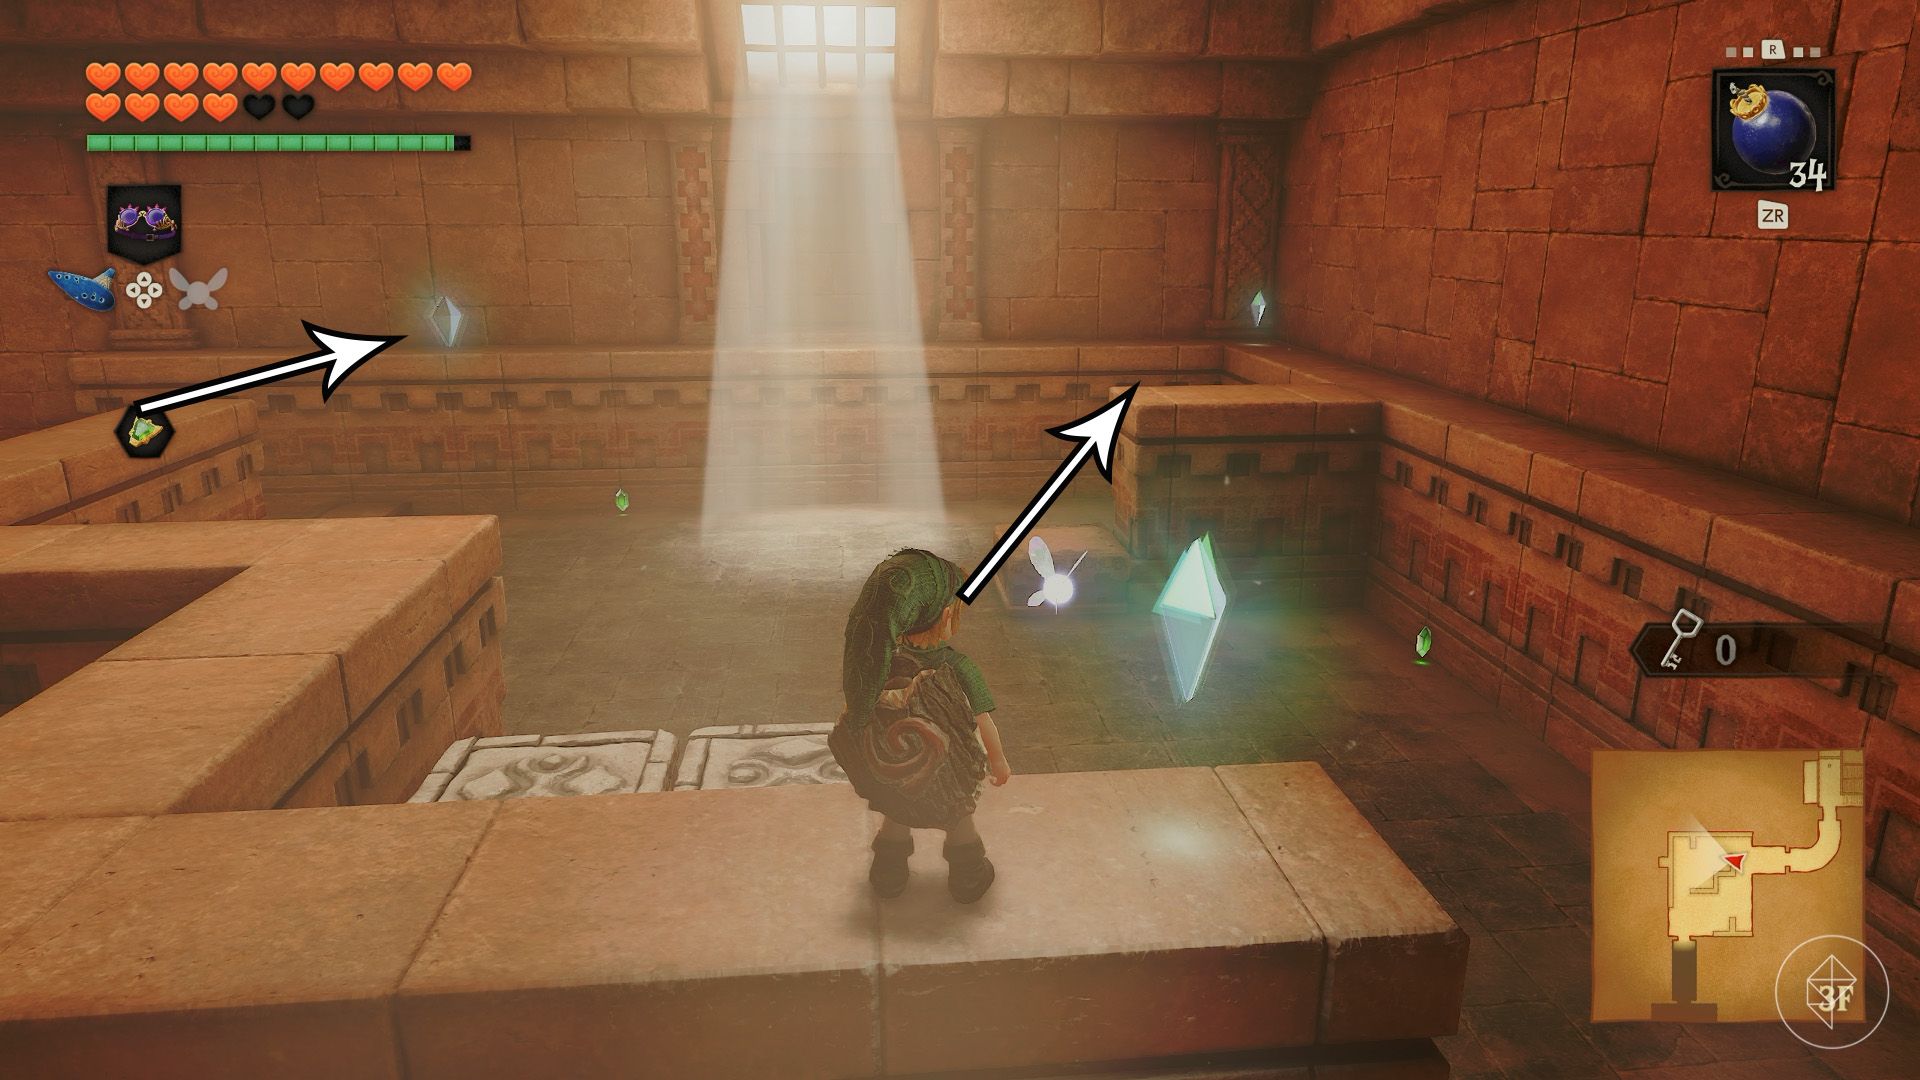
Go inside and climb the stairs to another five-crystal puzzle. Destroy the Beamos with bombs, then collect four crystals by climbing the walls around the room. For the fifth, climb the central wall and jump into it. The next door opens, but stay here for one more treasure.
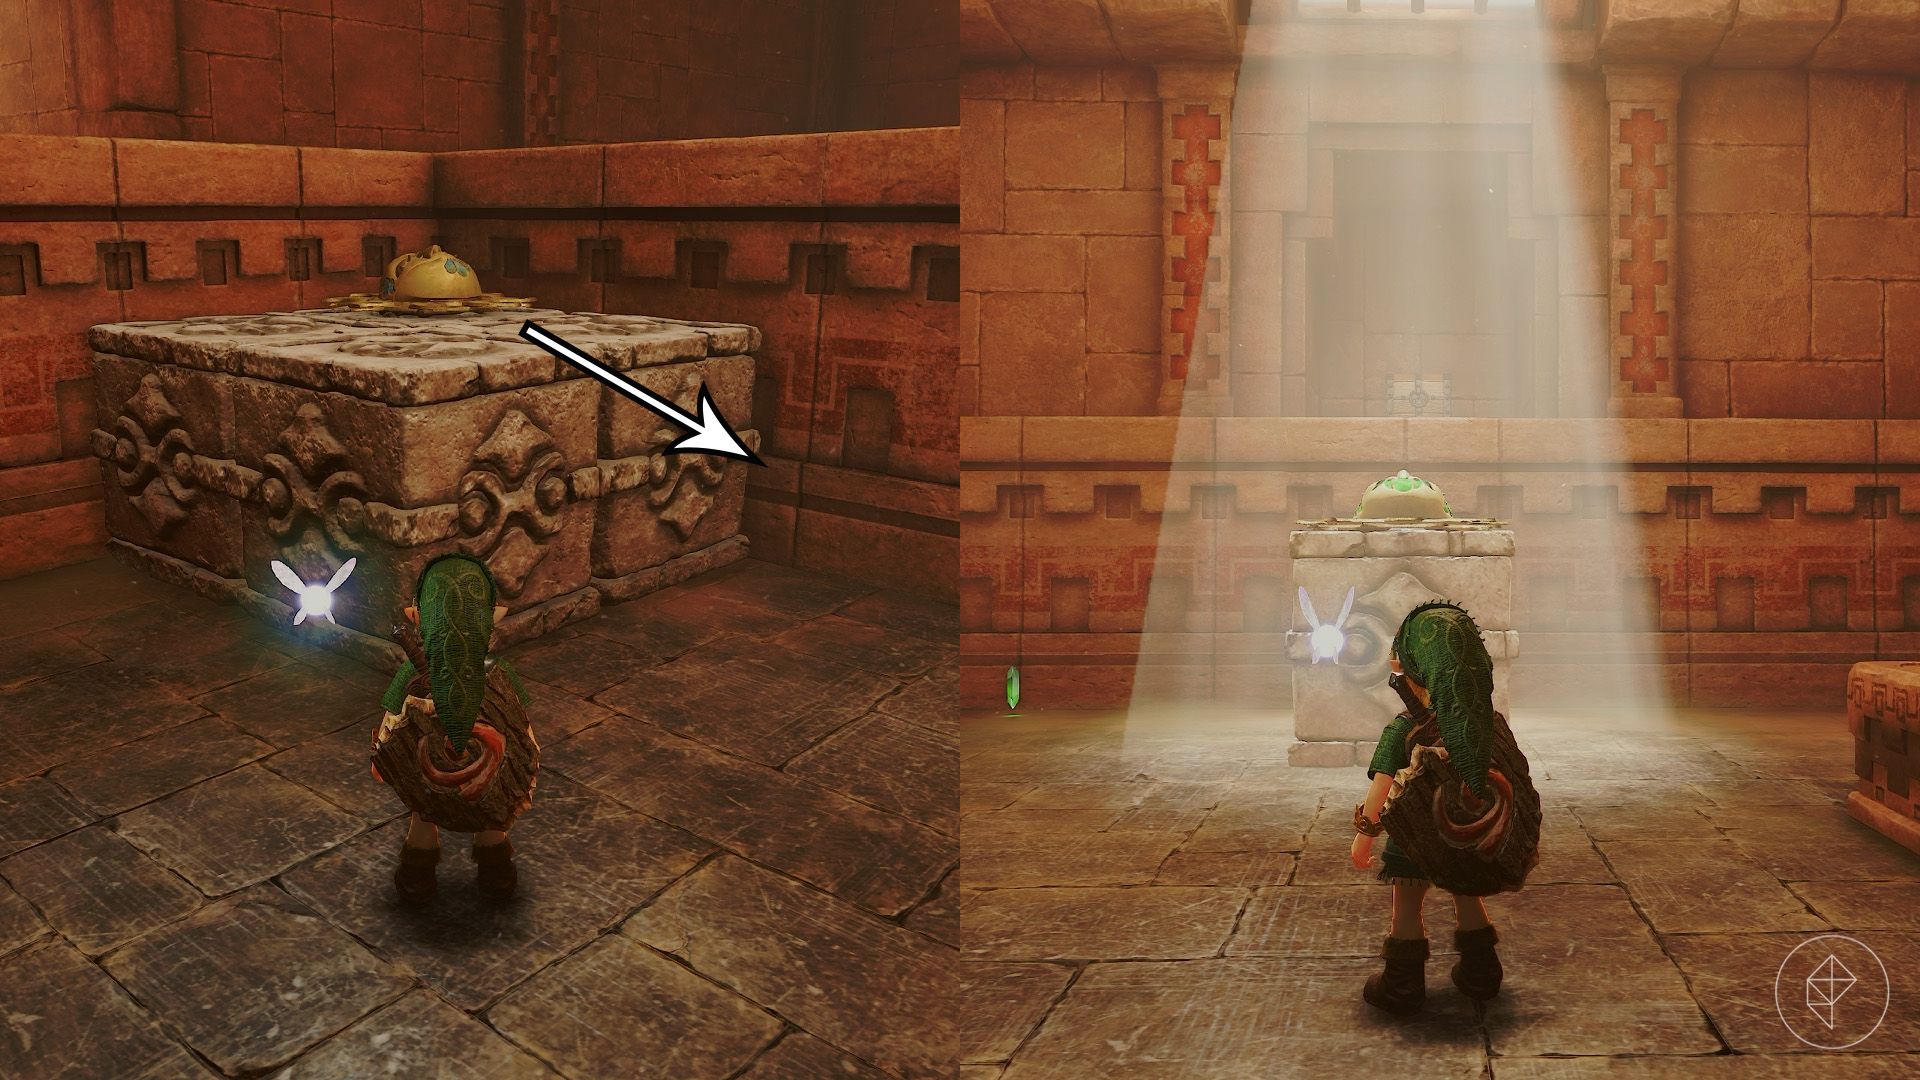
Pull the sun-marked cube into the light to reveal a chest in the wall. Open it for a small key, then enter the next room. Turn around and use the Boomerang to collect the Gold Skulltula token above the door.
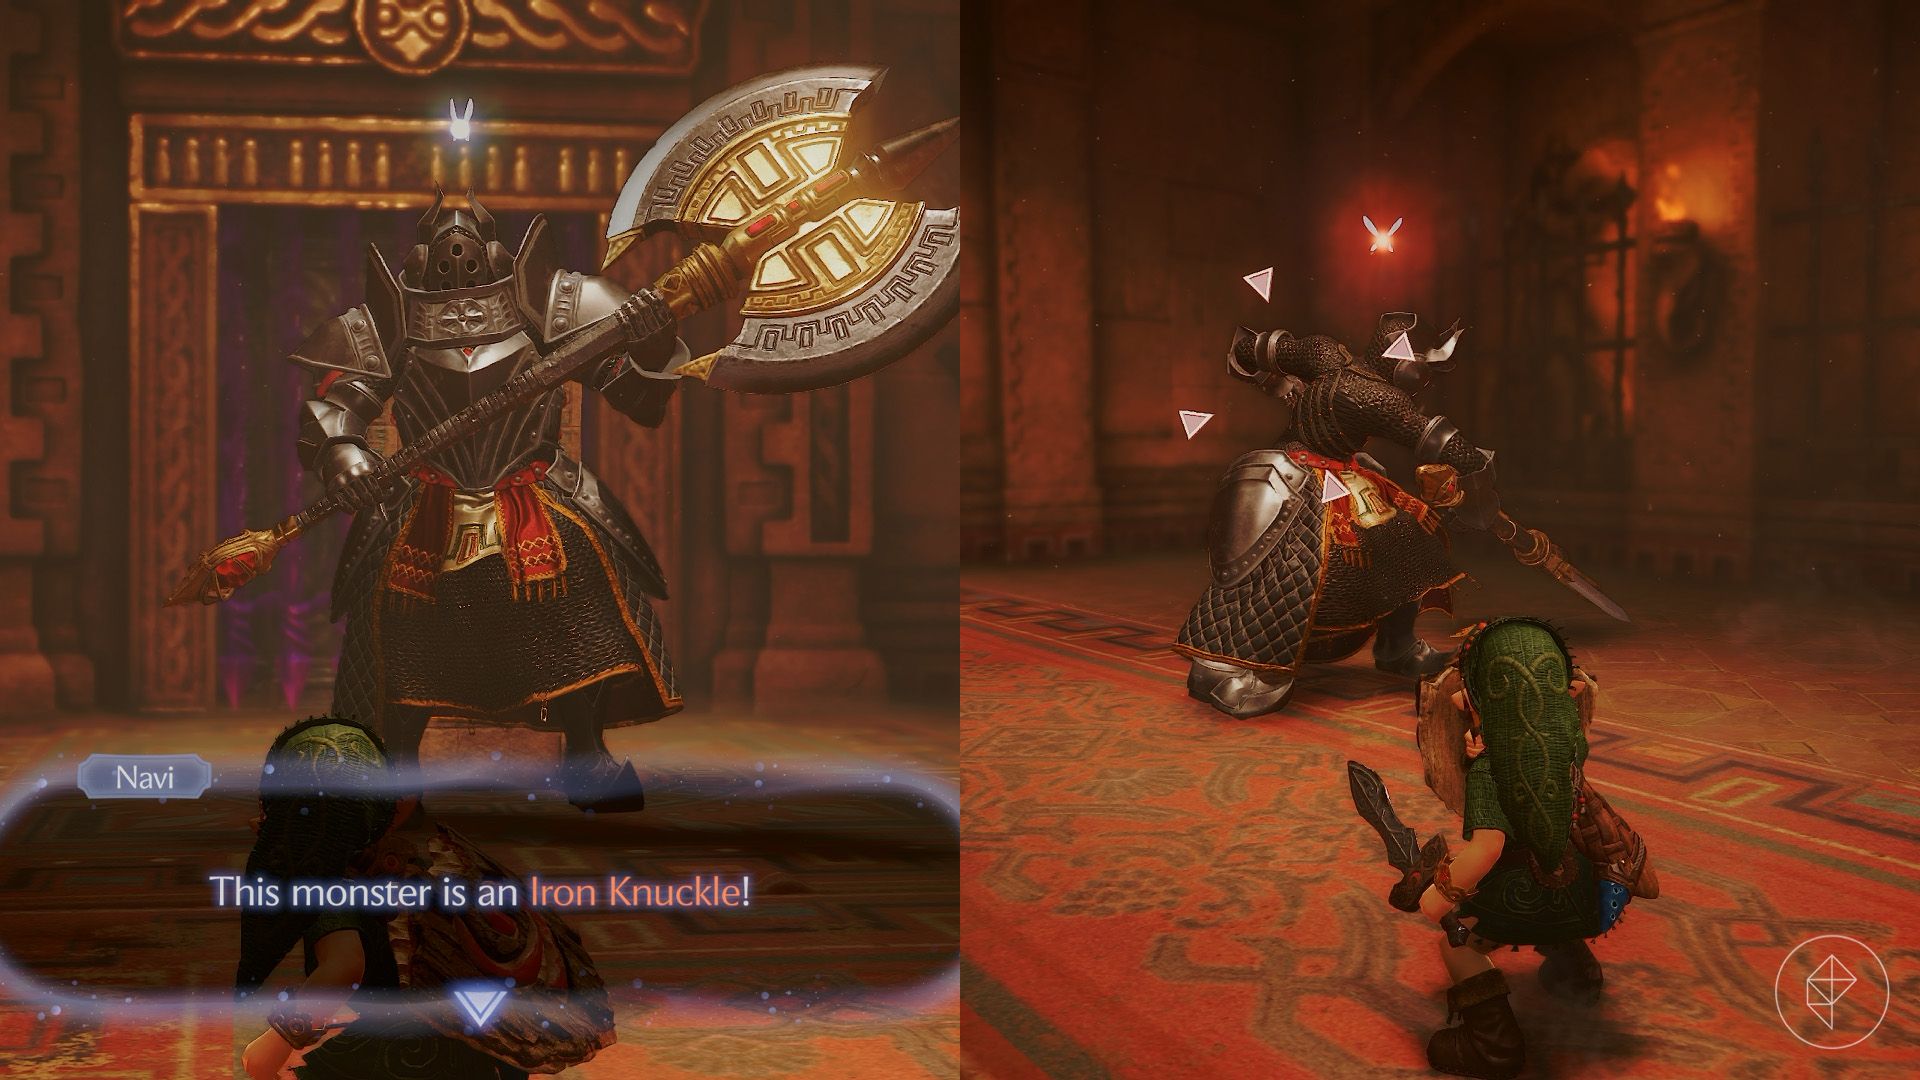
Unlock the next door to find an Iron Knuckle seated at the far end of the room. Approach to wake it, then prepare to dodge its powerful axe attacks. Your shield offers little protection, but the enemy recovers slowly after each swing.
Backflip away from its downward strike or sweeping attack, then use a jump attack to close in and deal damage. If you need health, lure its axe into the stone pillars; each one drops three hearts. Repeat until the Iron Knuckle falls.
Continue through the next door and follow the path outside. Open the chest on the left to claim the Silver Gauntlets. Nabooru appears, but Kotake and Koume soon attack her.
Only adult Link can use the gauntlets, so return to the Temple of Time and travel seven years into the future. After you teleport, Kaepora Gaebora appears outside to say goodbye.
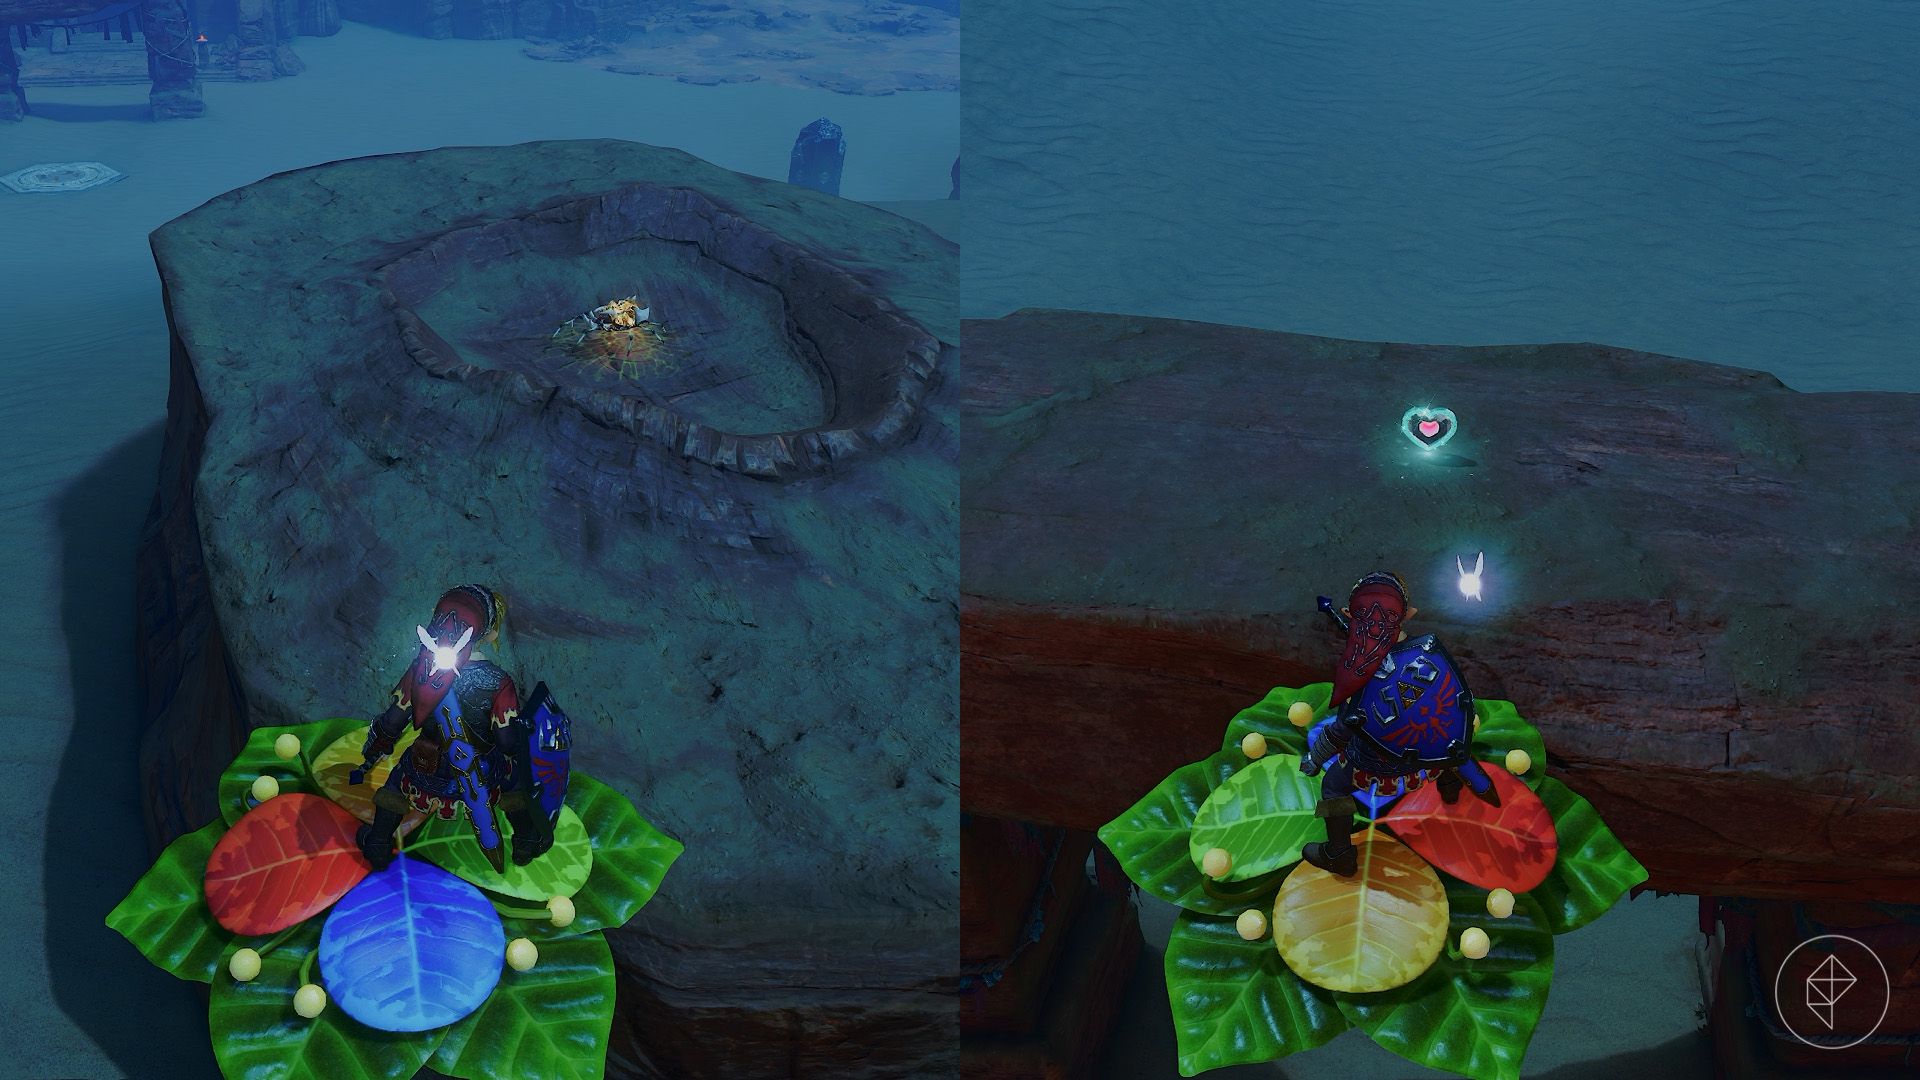
As adult Link, play the Requiem of Spirit (L – R – L – A – R – L) to return to the temple. If you planted the magic bean earlier, ride the grown plant to collect a Gold Skulltula token and a Piece of Heart.
Part 4: Finding the compass
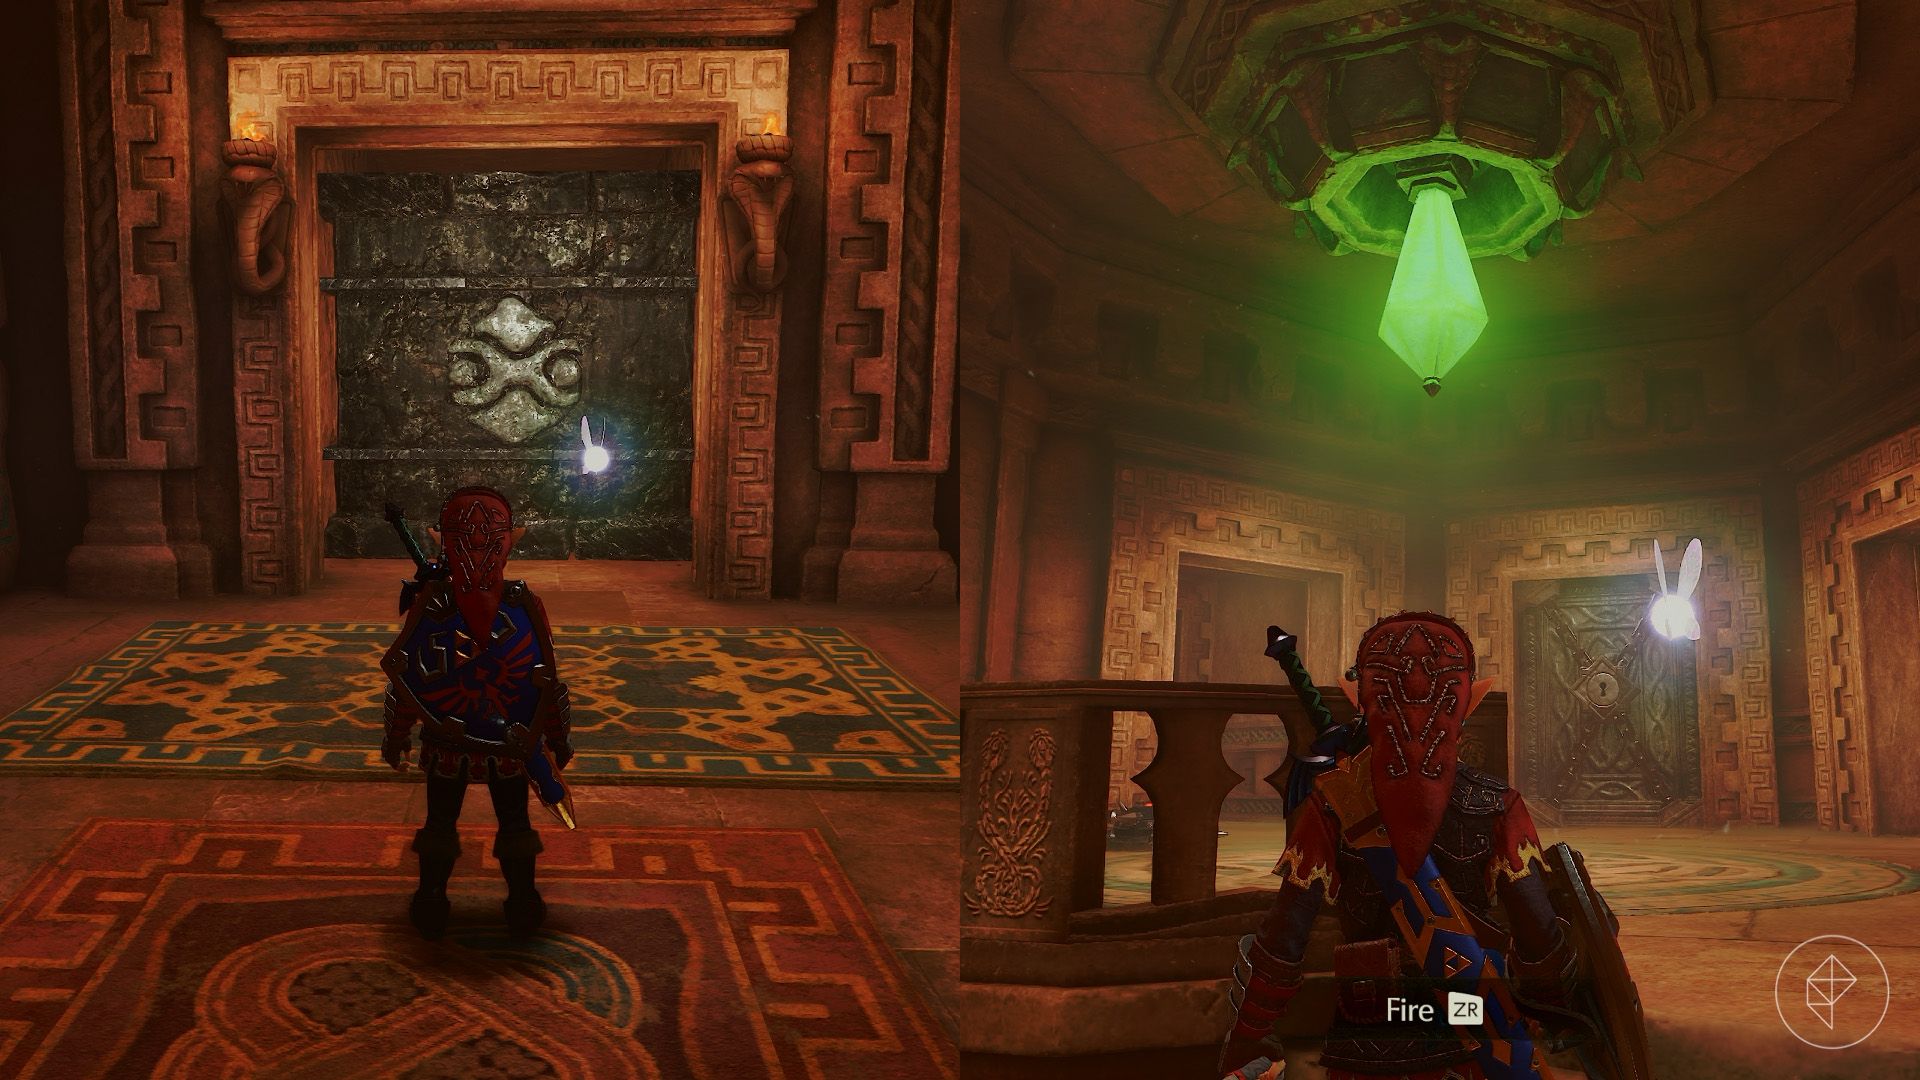
Inside the temple, climb the right staircase and push the black stone blocking the doorway. Hit the ceiling switch beyond it to unlock the doors.
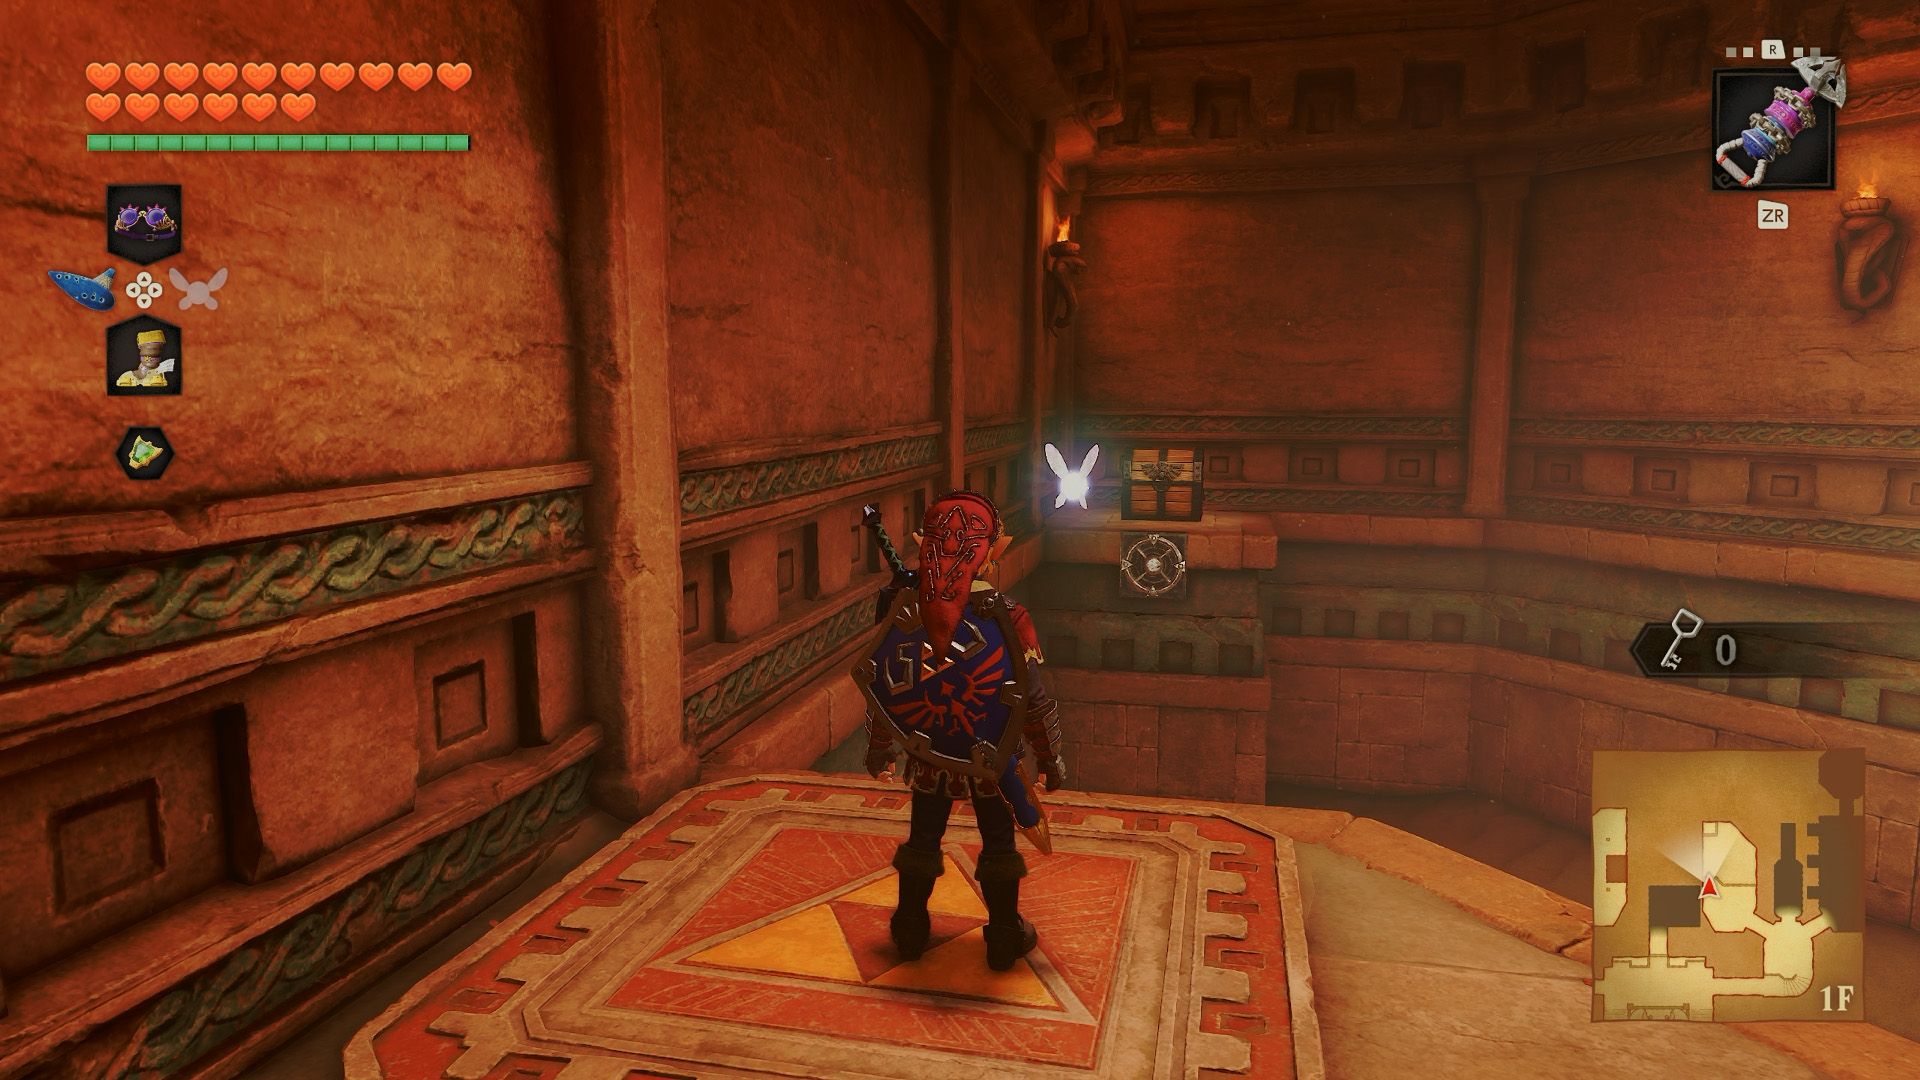
Enter the room on the left and defeat the Wolfos. Stand on the Triforce symbol and play Zelda’s Lullaby (Y – X – A – Y – X – A) to reveal a chest on the platform ahead. Use the Longshot on the target beneath it and open the chest for the compass.
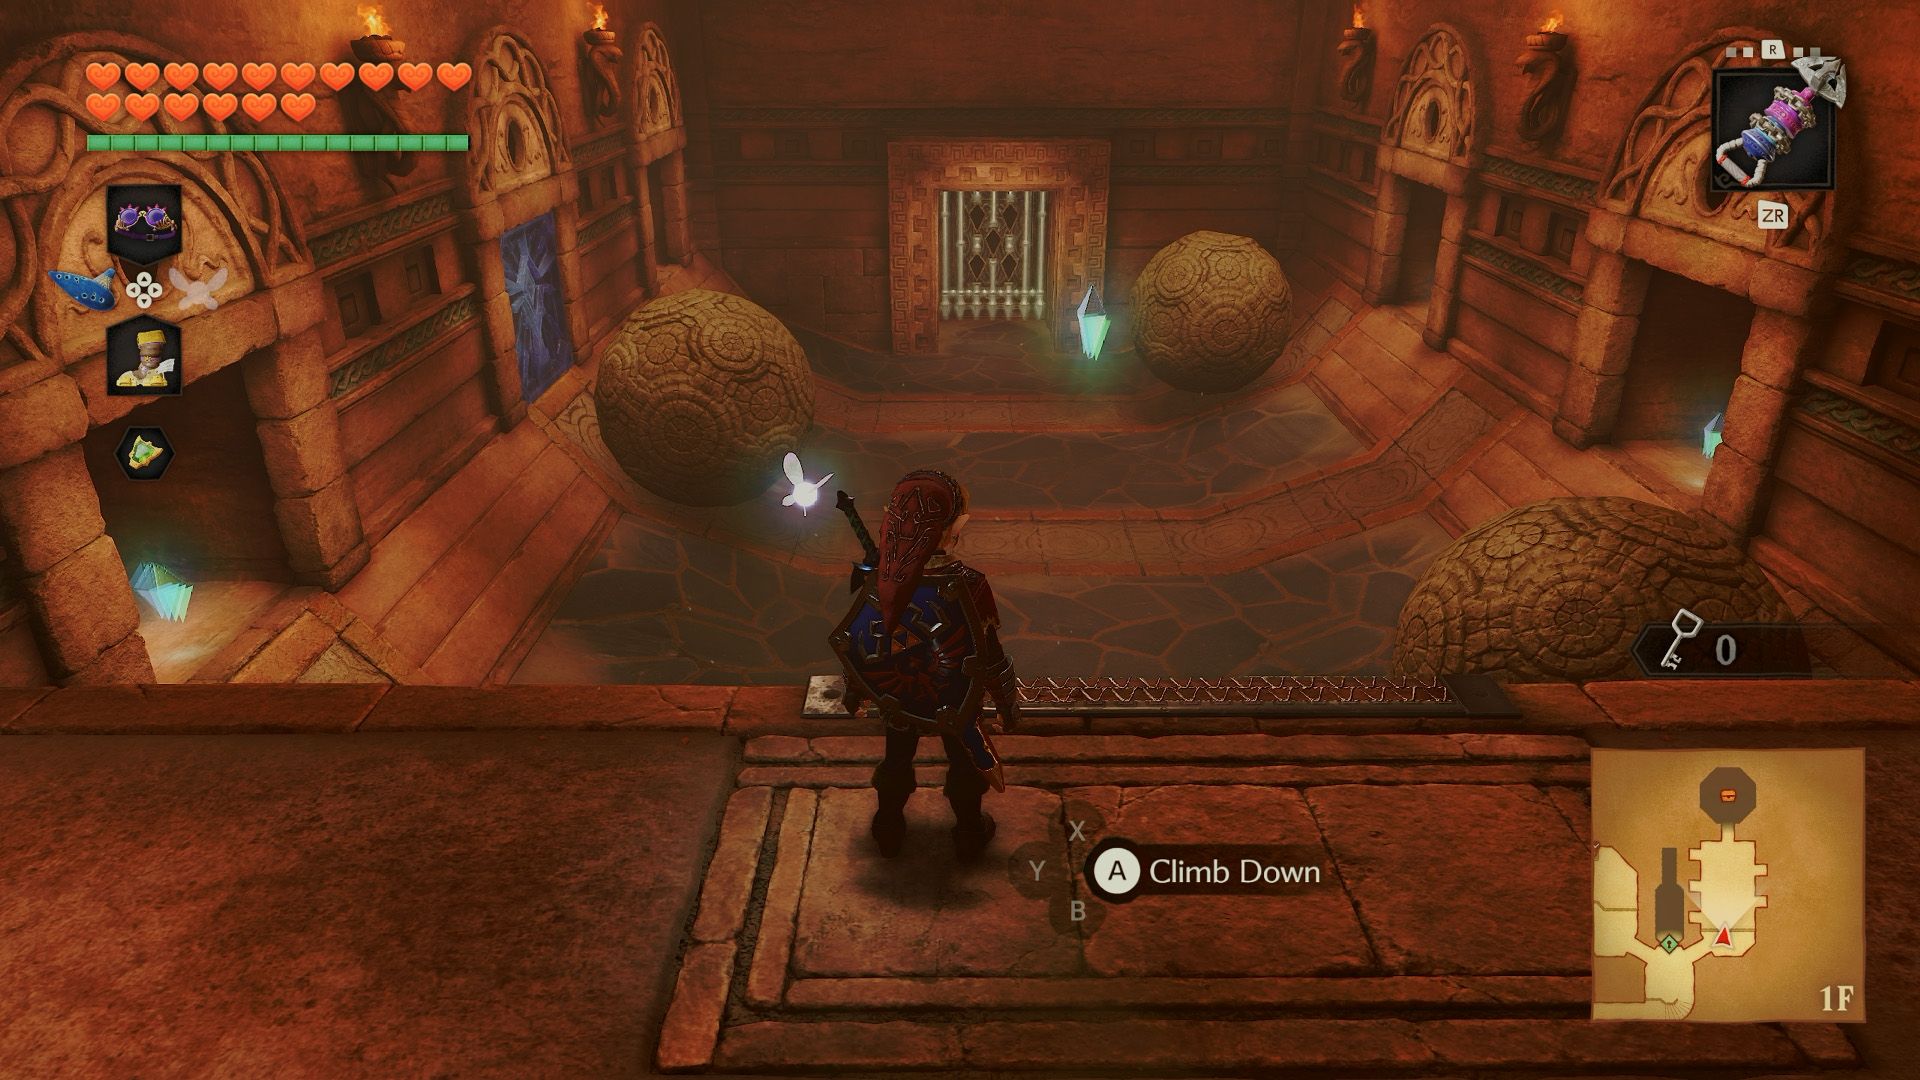
Return to the previous room and take the right path. Collect five crystals while avoiding the rolling stones. Jump for the first crystal and check the small alcoves for the others.
Before playing the Song of Time, visit the last alcove on the left to collect a Gold Skulltula. Then play the song to move the time cube into that alcove and uncover the final crystal.
Enter the newly opened room, defeat the Like Like, and open the chest for a small key. Return to the room with the switch and Blade Trap, then unlock the door. Defeat the two Flying Pots and the Like Like beyond it, and climb the wall.
At the top, quickly equip the Lens of Truth to reveal an invisible Floormaster. Let it run into your shield or a wall, then attack it and the smaller hands it produces.
Part 5: Getting the Mirror Shield
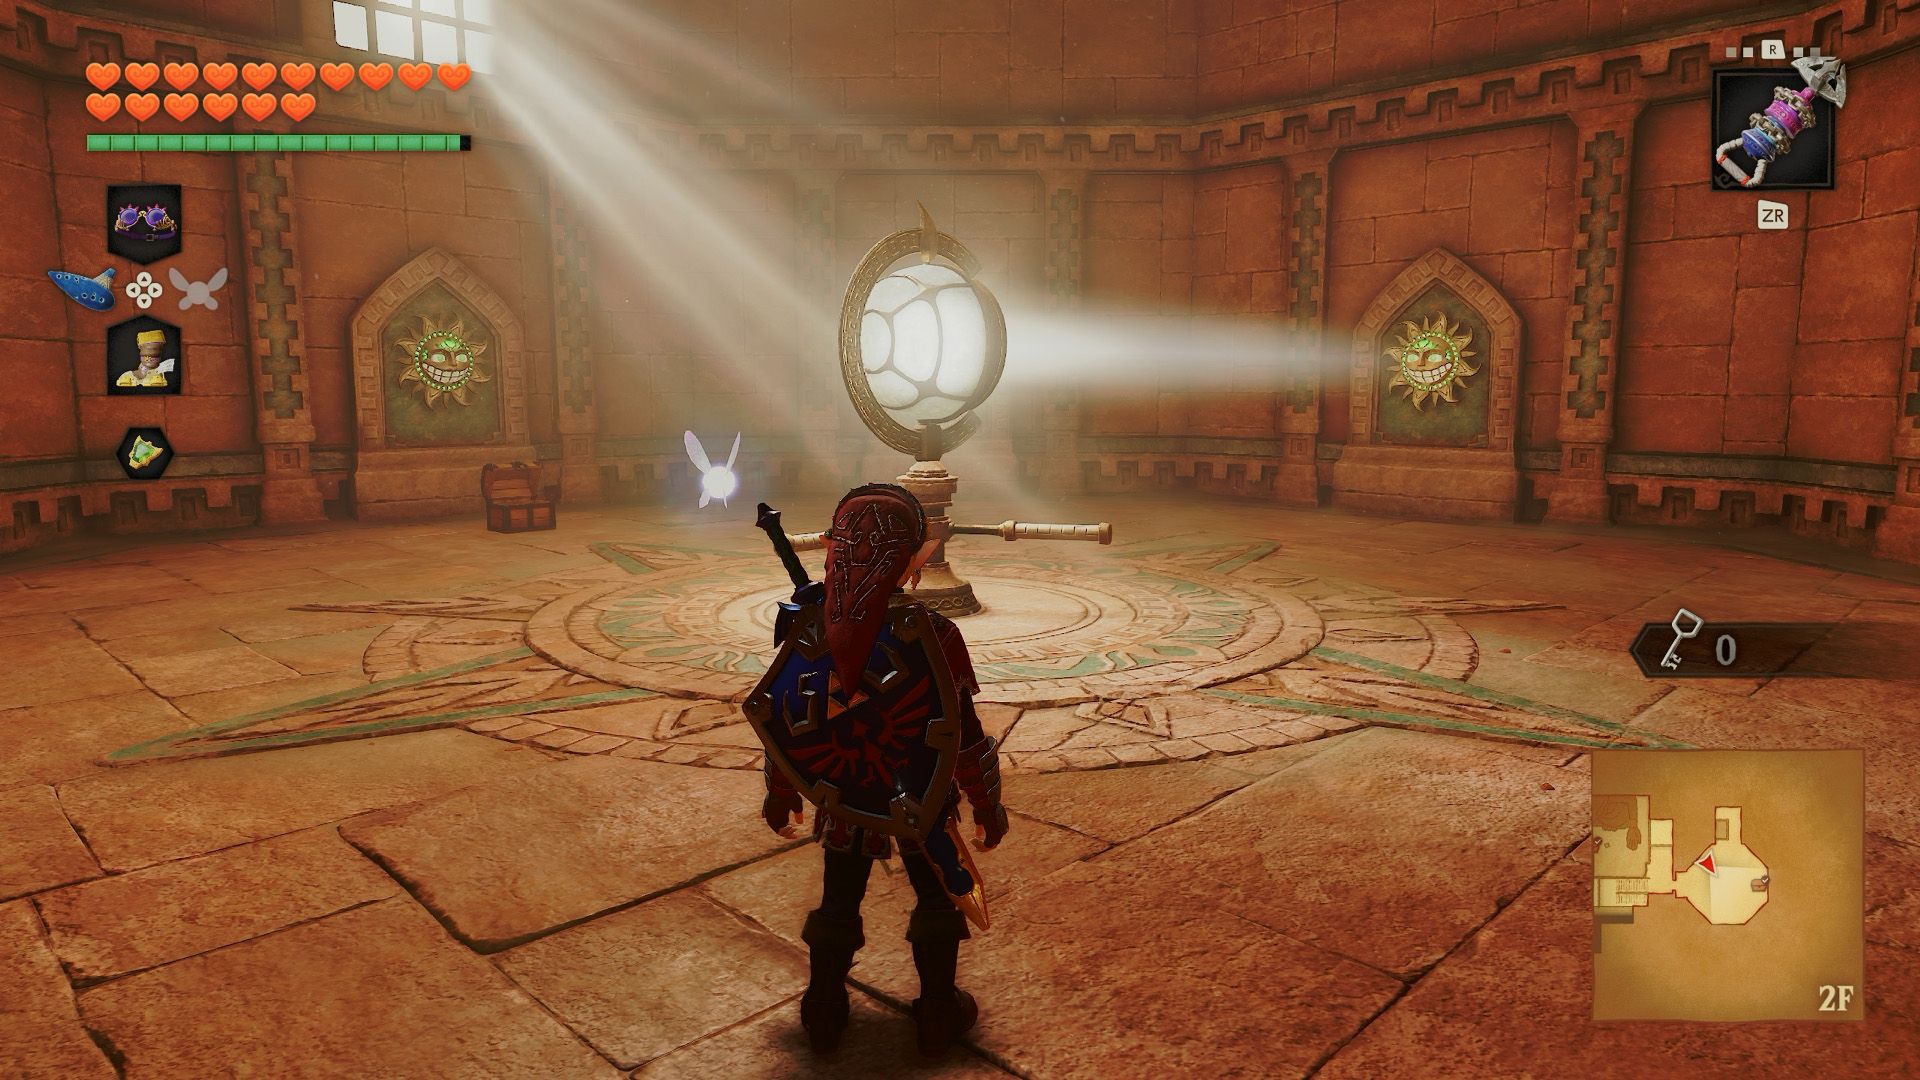
Direct the light toward the sun on the eastern wall to reveal a chest. Skip the next sun, which summons a Wallmaster, and aim at the southern sun to unlock the door. The last sun produces a fake chest, so you can ignore it too.
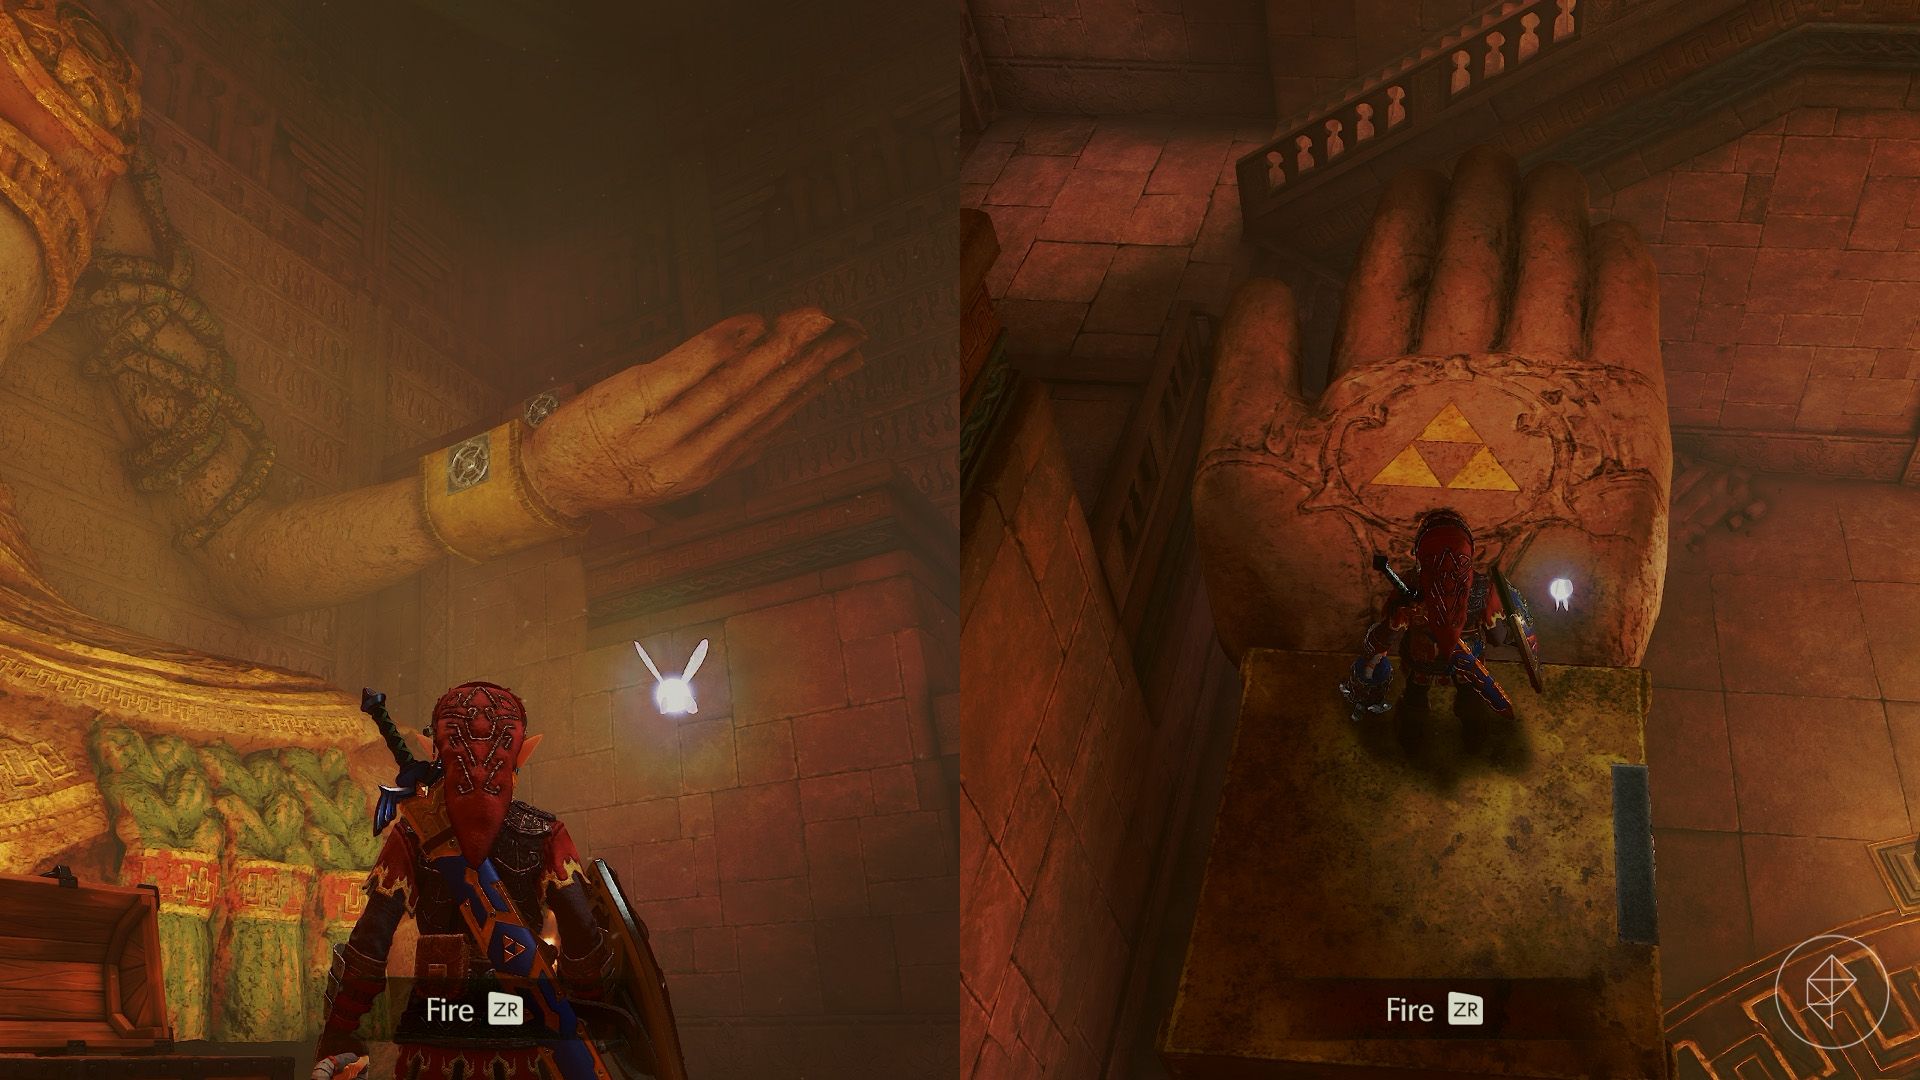
The next room returns you to the giant statue. Longshot to its left wrist, on your right as you face it. Stand on the Triforce on its hand and play Zelda’s Lullaby (Y – X – A – Y – X – A) to make a chest appear on the other hand.
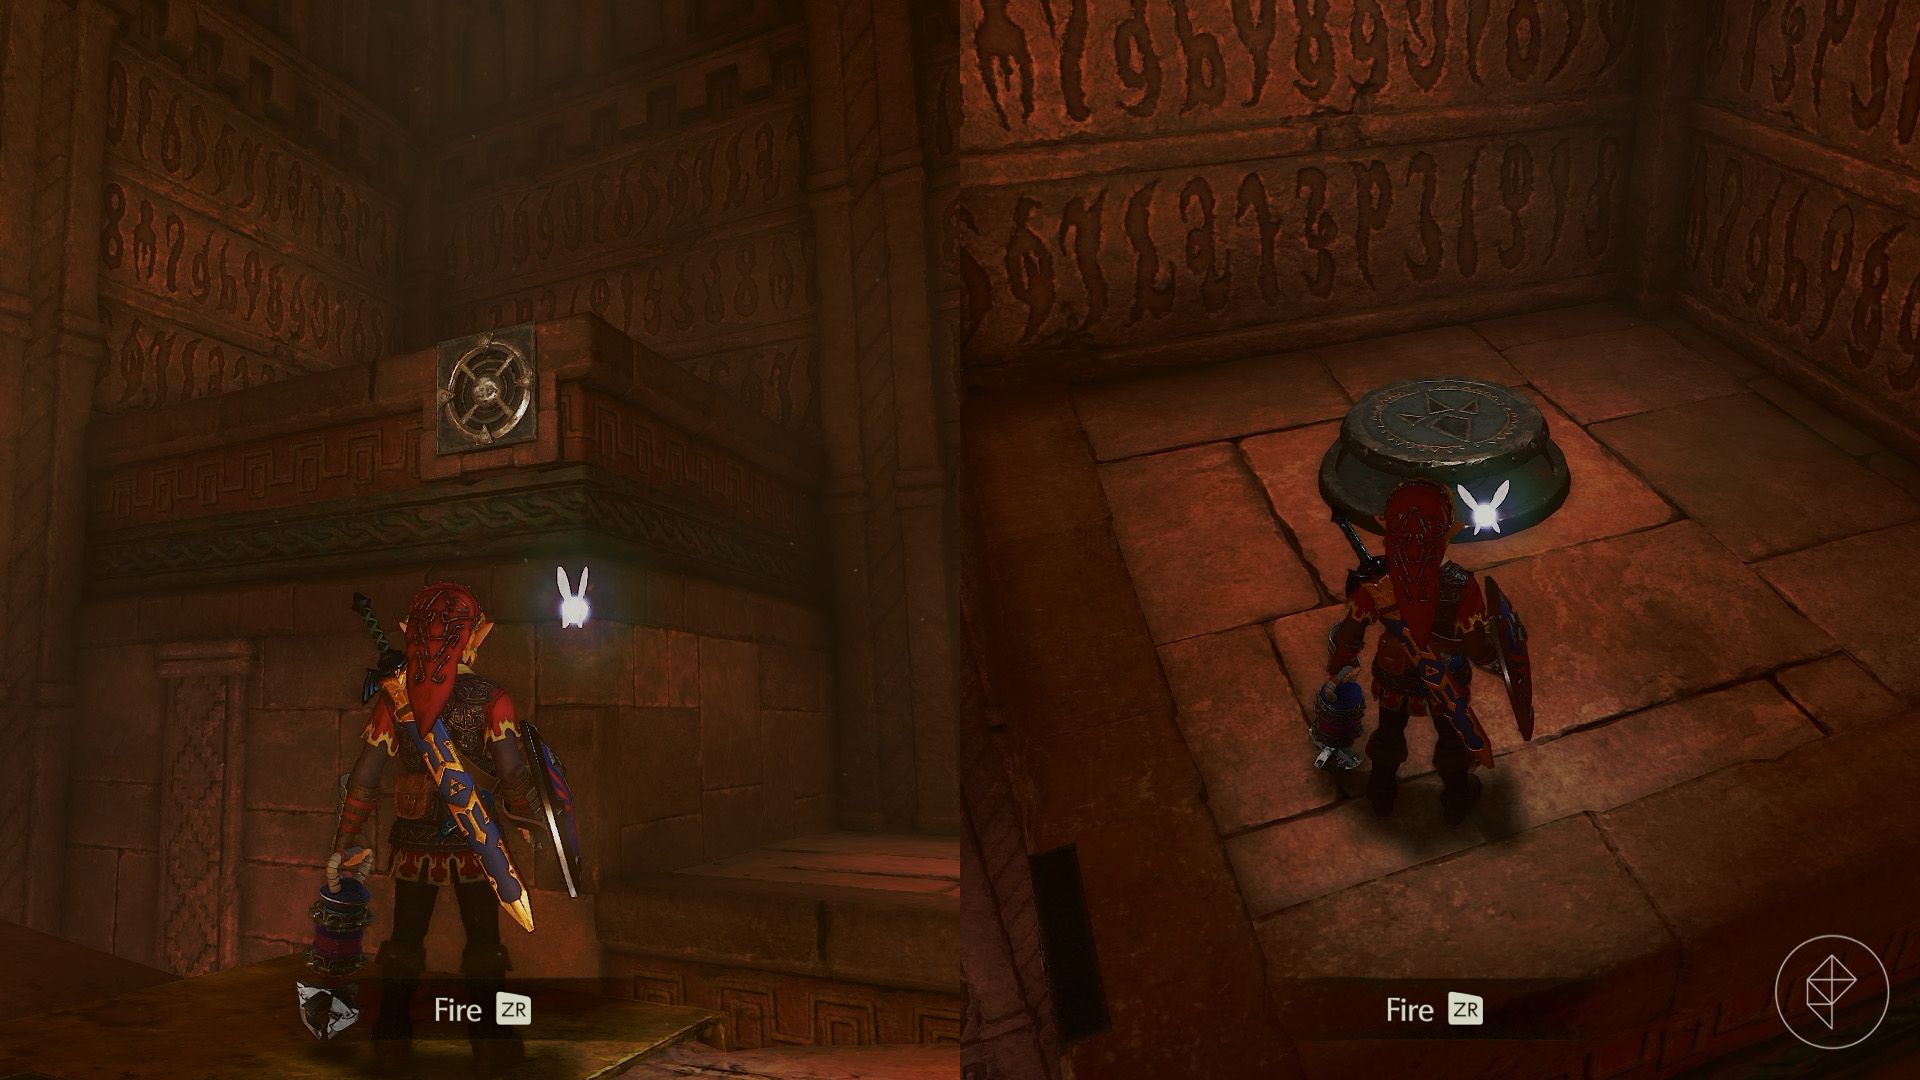
Before collecting the chest, Longshot to the target in the room’s northeast corner. Strike the button with the Megaton Hammer to unlock a door, then drop back to the floor.
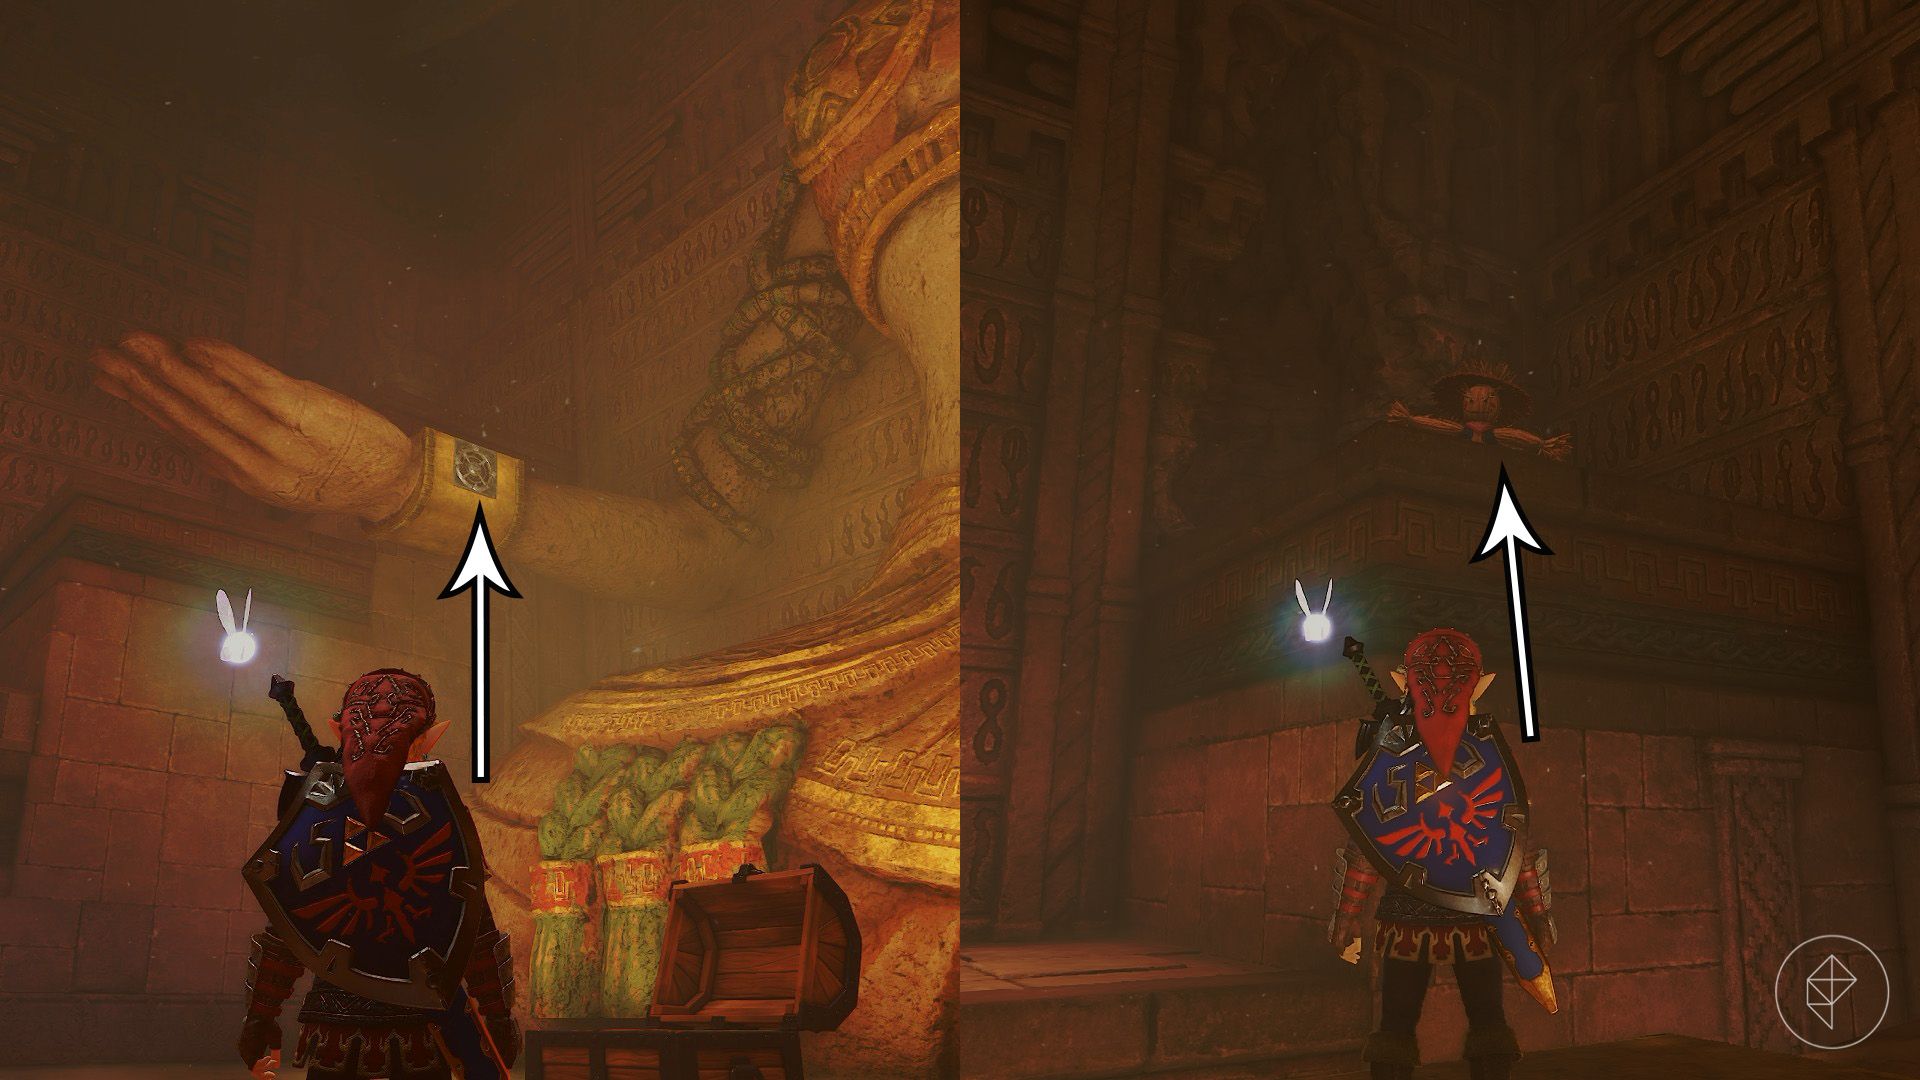
Longshot to the statue’s right wrist, on your left, and open the chest for a small key. Play the Scarecrow Song to summon Pierre on the platform above. Longshot to him and collect the Gold Skulltula on the floor, then drop down.
Go through the door in front of the statue and push the large stone block until it falls. Follow the passage and push the next block to create a route back to the starting room.
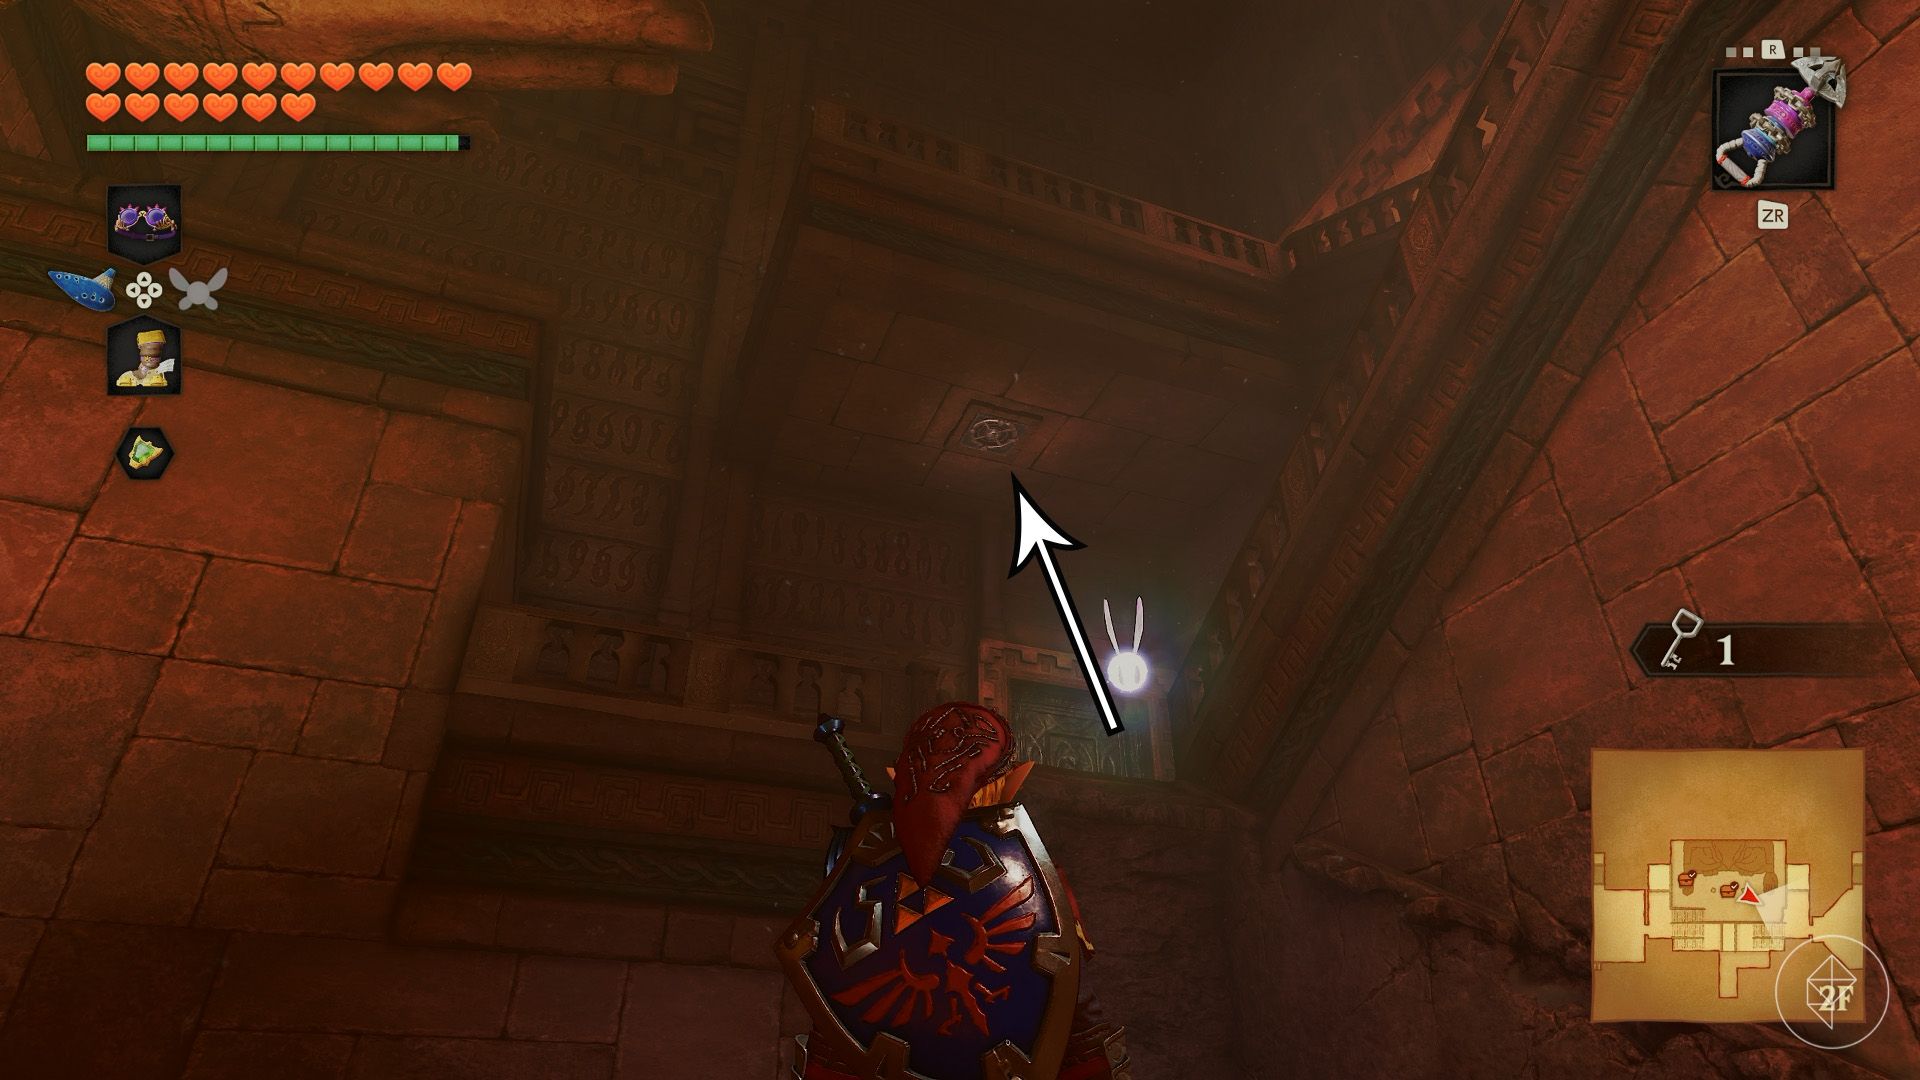
Return to the statue chamber and Longshot to the target above the southeastern door. Climb the stairs and use your small key. Destroy the Beamos waiting in the next room with a bomb, then continue into a chamber containing three Anubis and another Beamos.
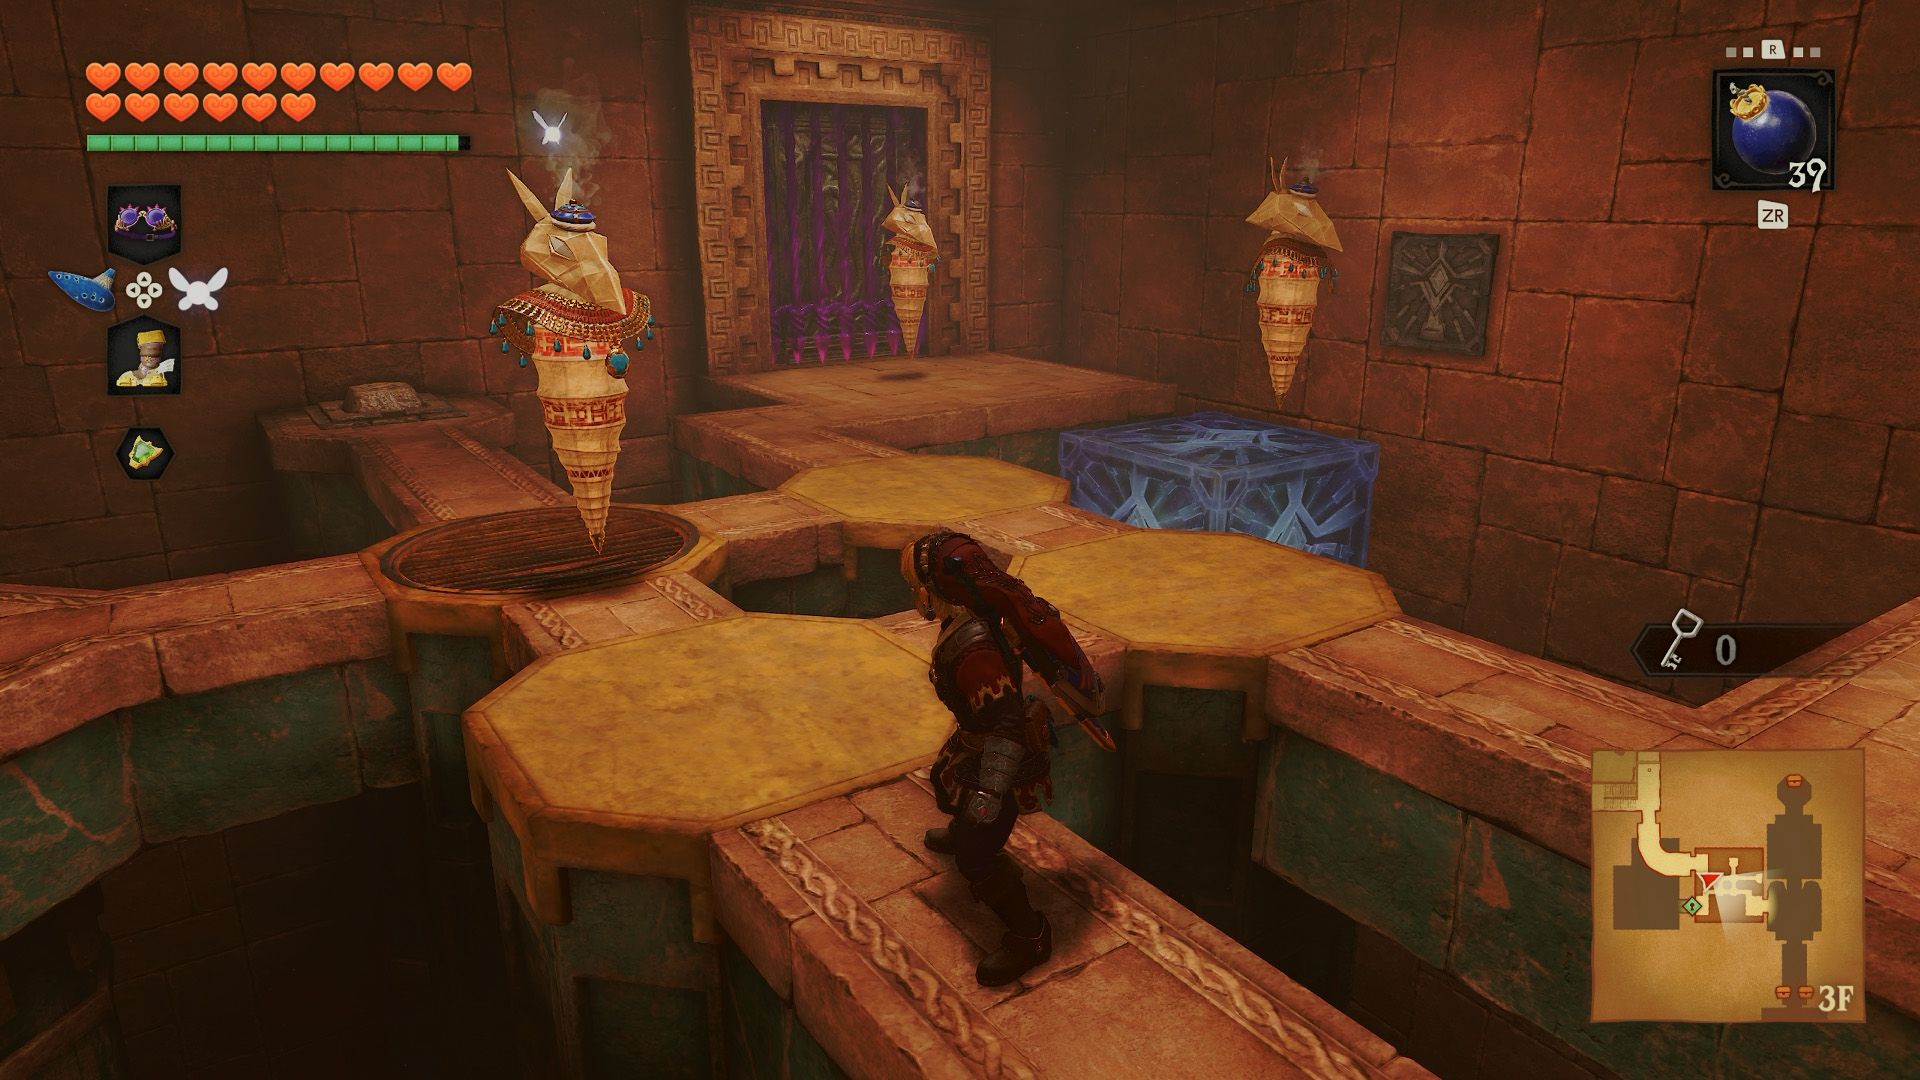
Bomb the Beamos, then play the Song of Time (A – L – R – A – L – R) in front of the symbol on the far wall. Step on the northeastern button to ignite the fire pit. Jump onto the time cube and move toward the northwest and southwest corners to guide each Anubis into the flames.
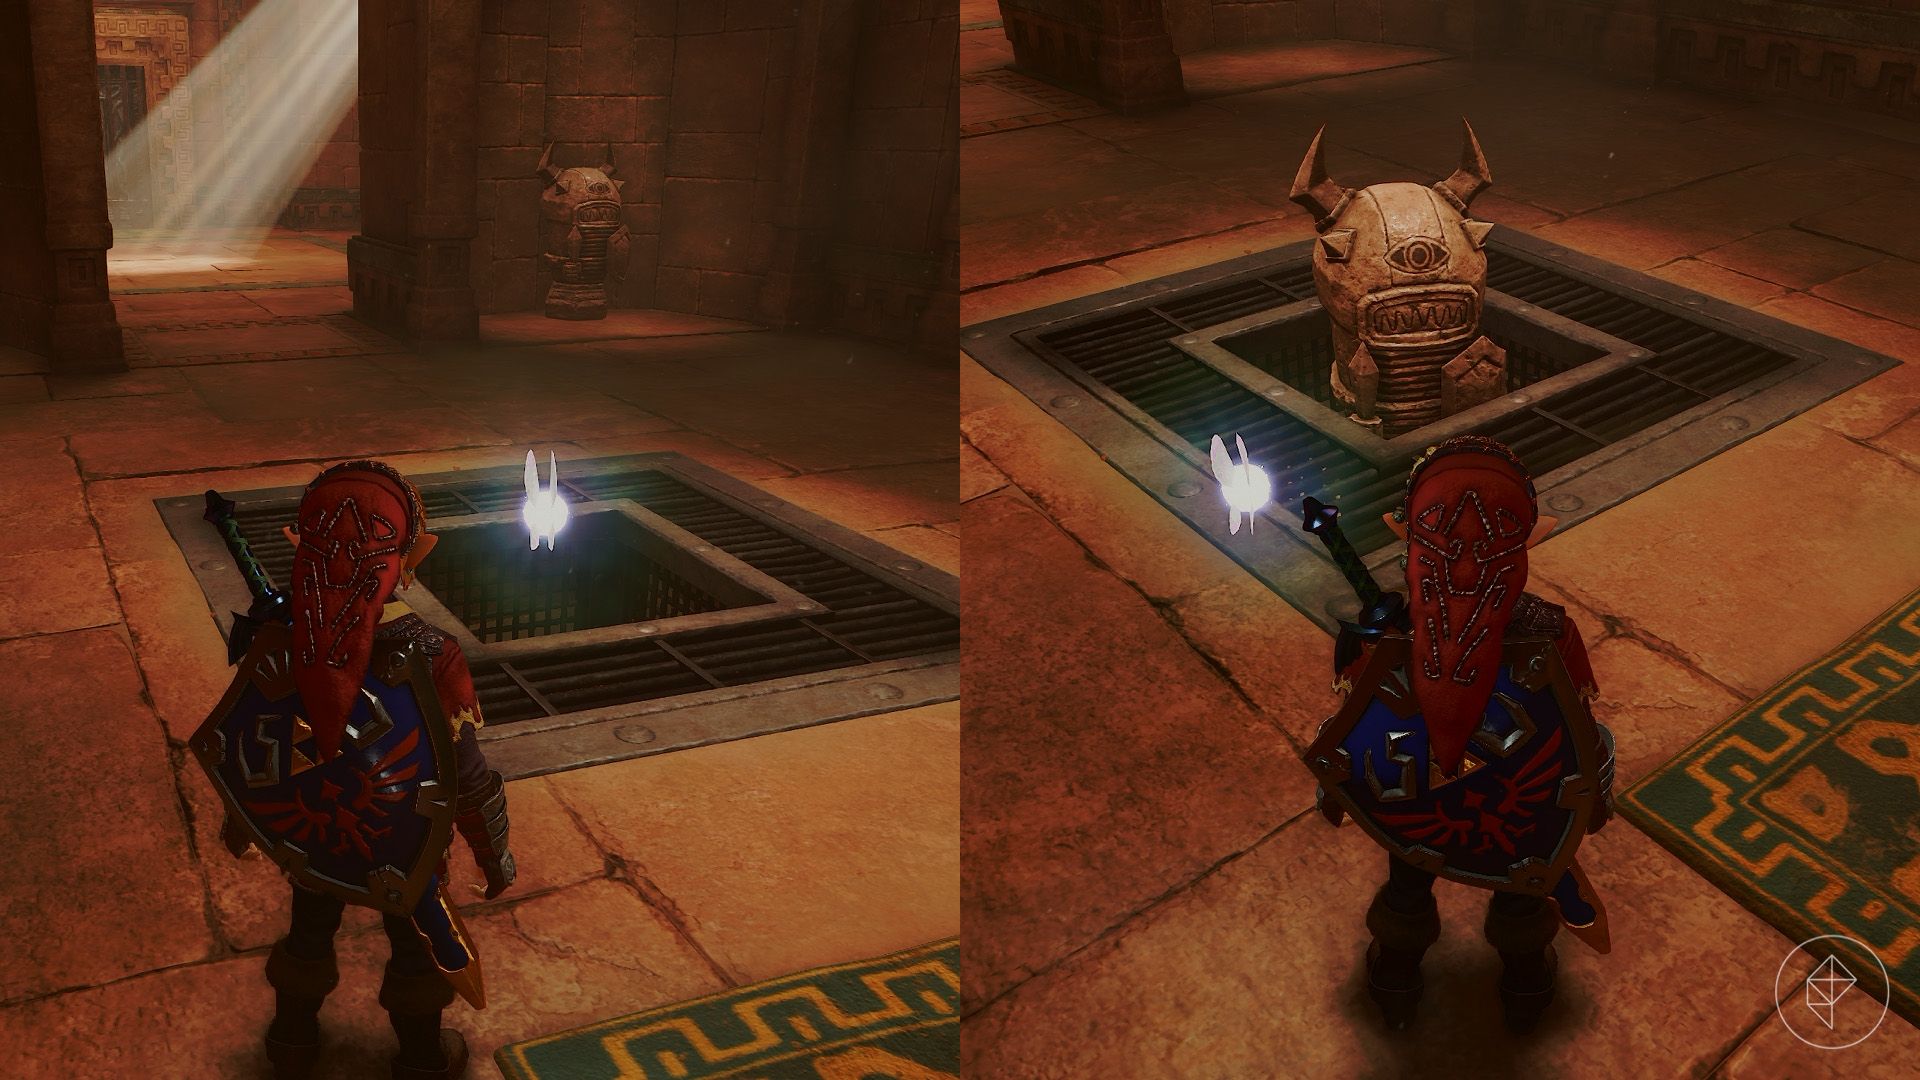
In the unlocked room, ignore the sunlight for now and head toward the floor button and Armos. The Armos is alive, so lure it into jumping onto the button rather than trying to pull it. It will become a statue again and unlock the southern door.
Use the Lens of Truth in the hallway to open two chests containing rupees. In the following room, defeat another Iron Knuckle using the same approach as before. Its attacks can break the pillars for health, although each pillar drops only one heart this time.
Follow the path outside after the battle. Step on the button to reveal a chest, then open it to obtain the Mirror Shield.
Part 6: Finding the boss key
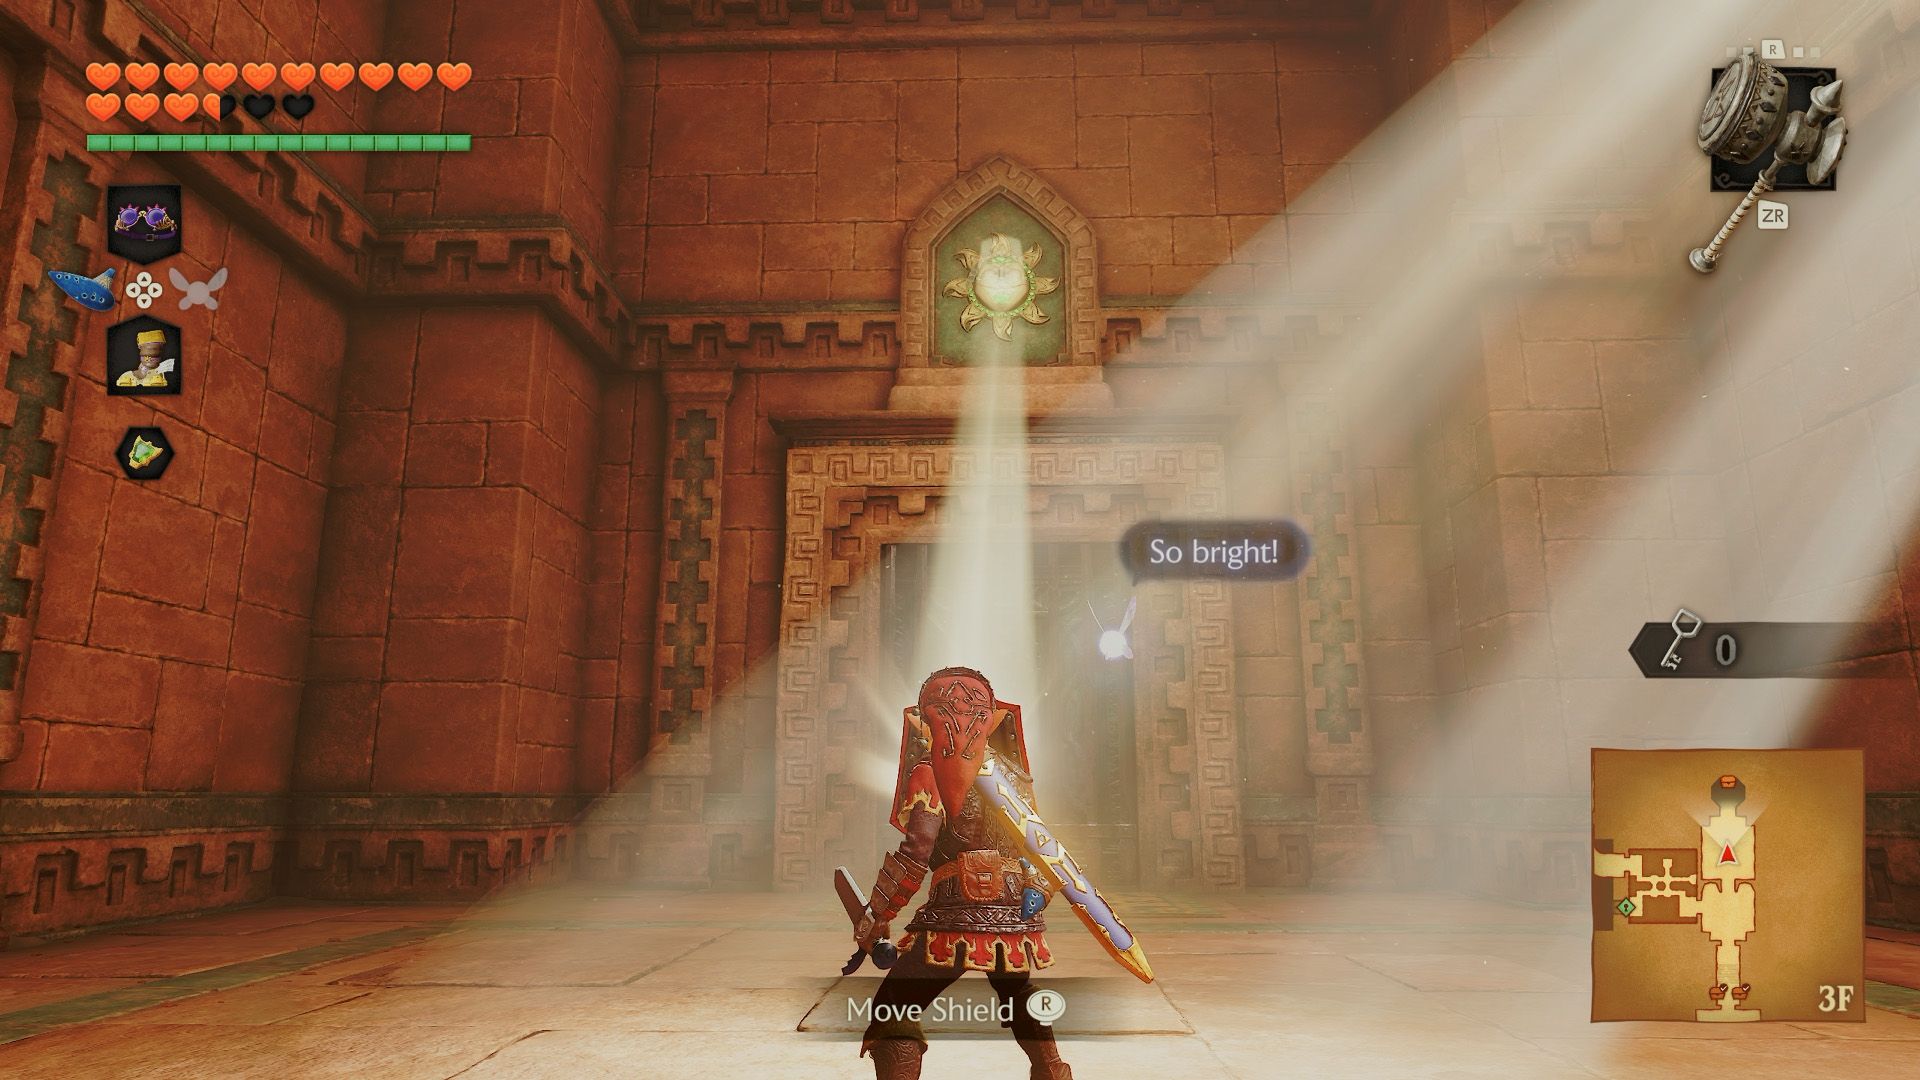
Equip the Mirror Shield and return to the room with the sunlight. Hold ZL to raise the shield, step into the beam, and reflect it onto the sun above the door. Enter and open the chest for a small key, then return to the Anubis room and unlock the door there.
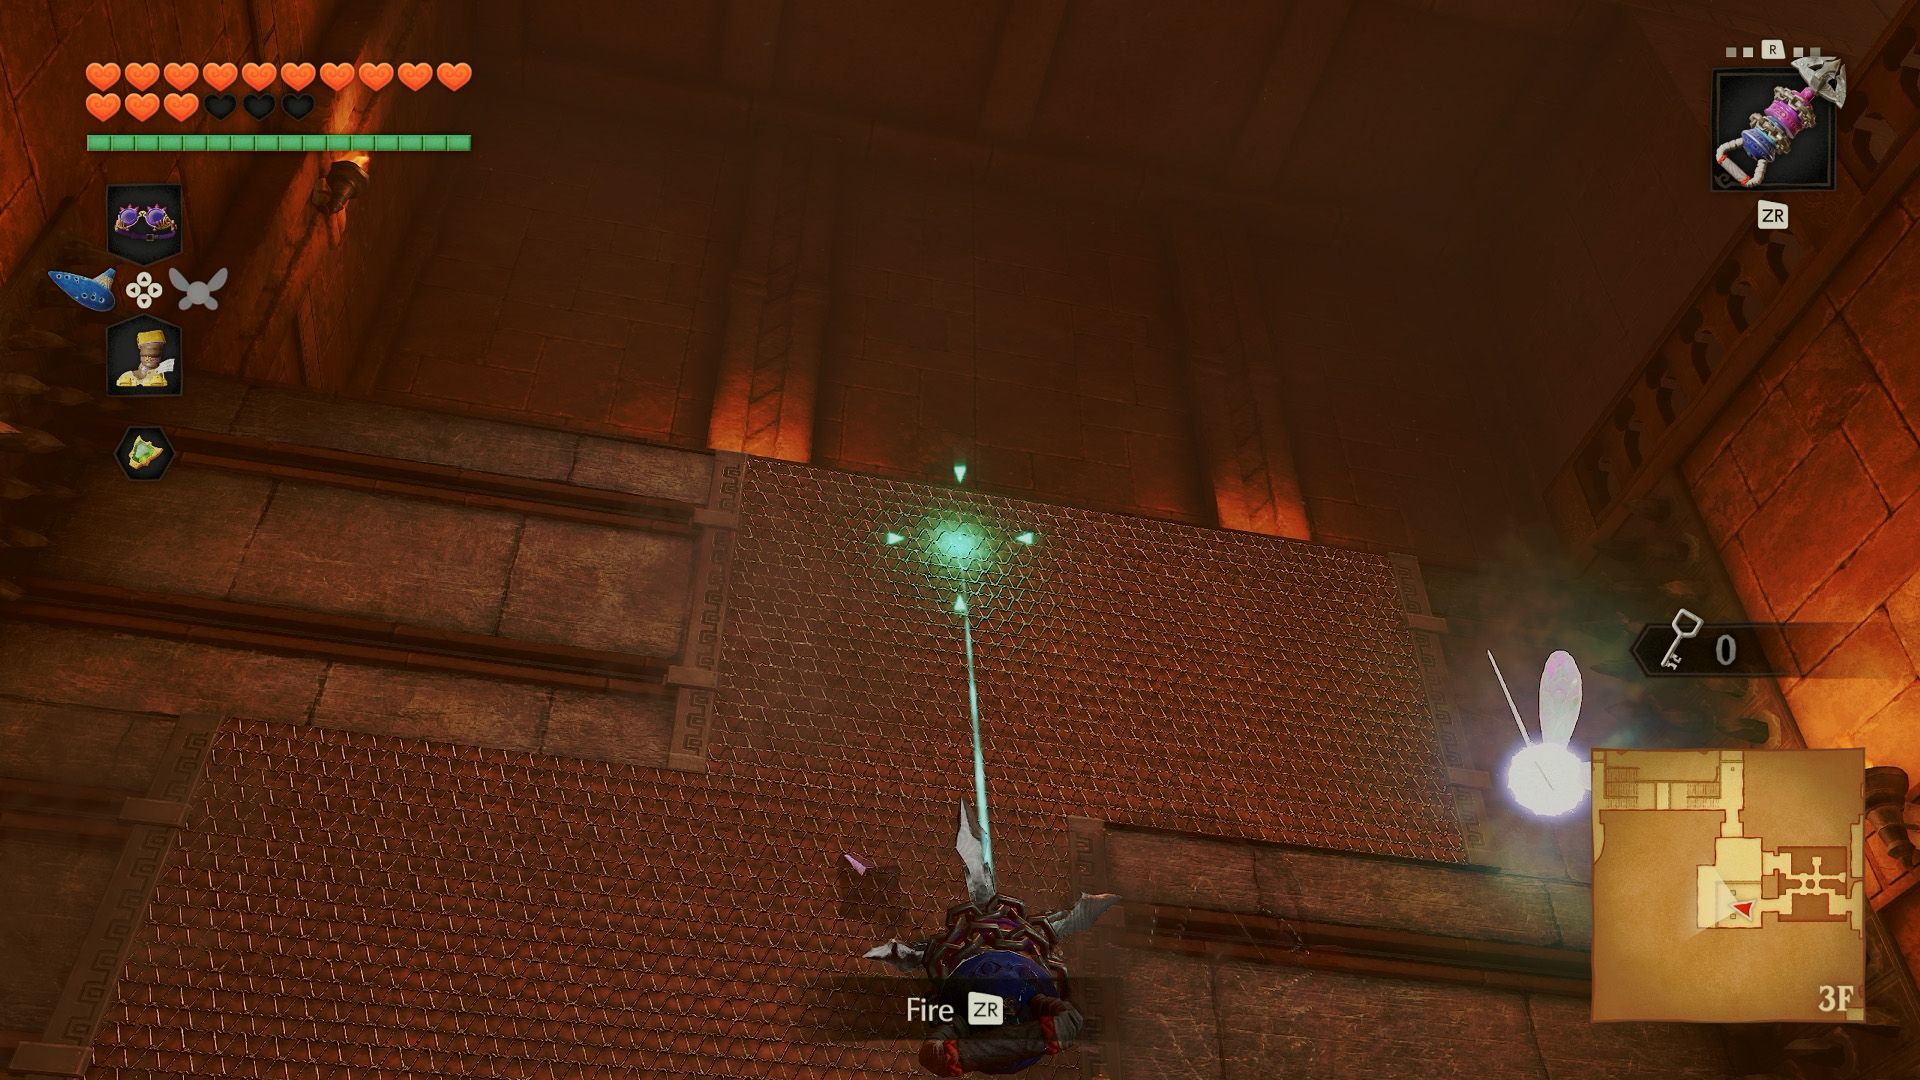
Destroy the two Beamos and approach the shifting wall. Use the Longshot on its highest reachable section, then climb the rest of the way. Defeat the two Lizalfos at the top and use the Longshot to climb the next wall in the same manner.
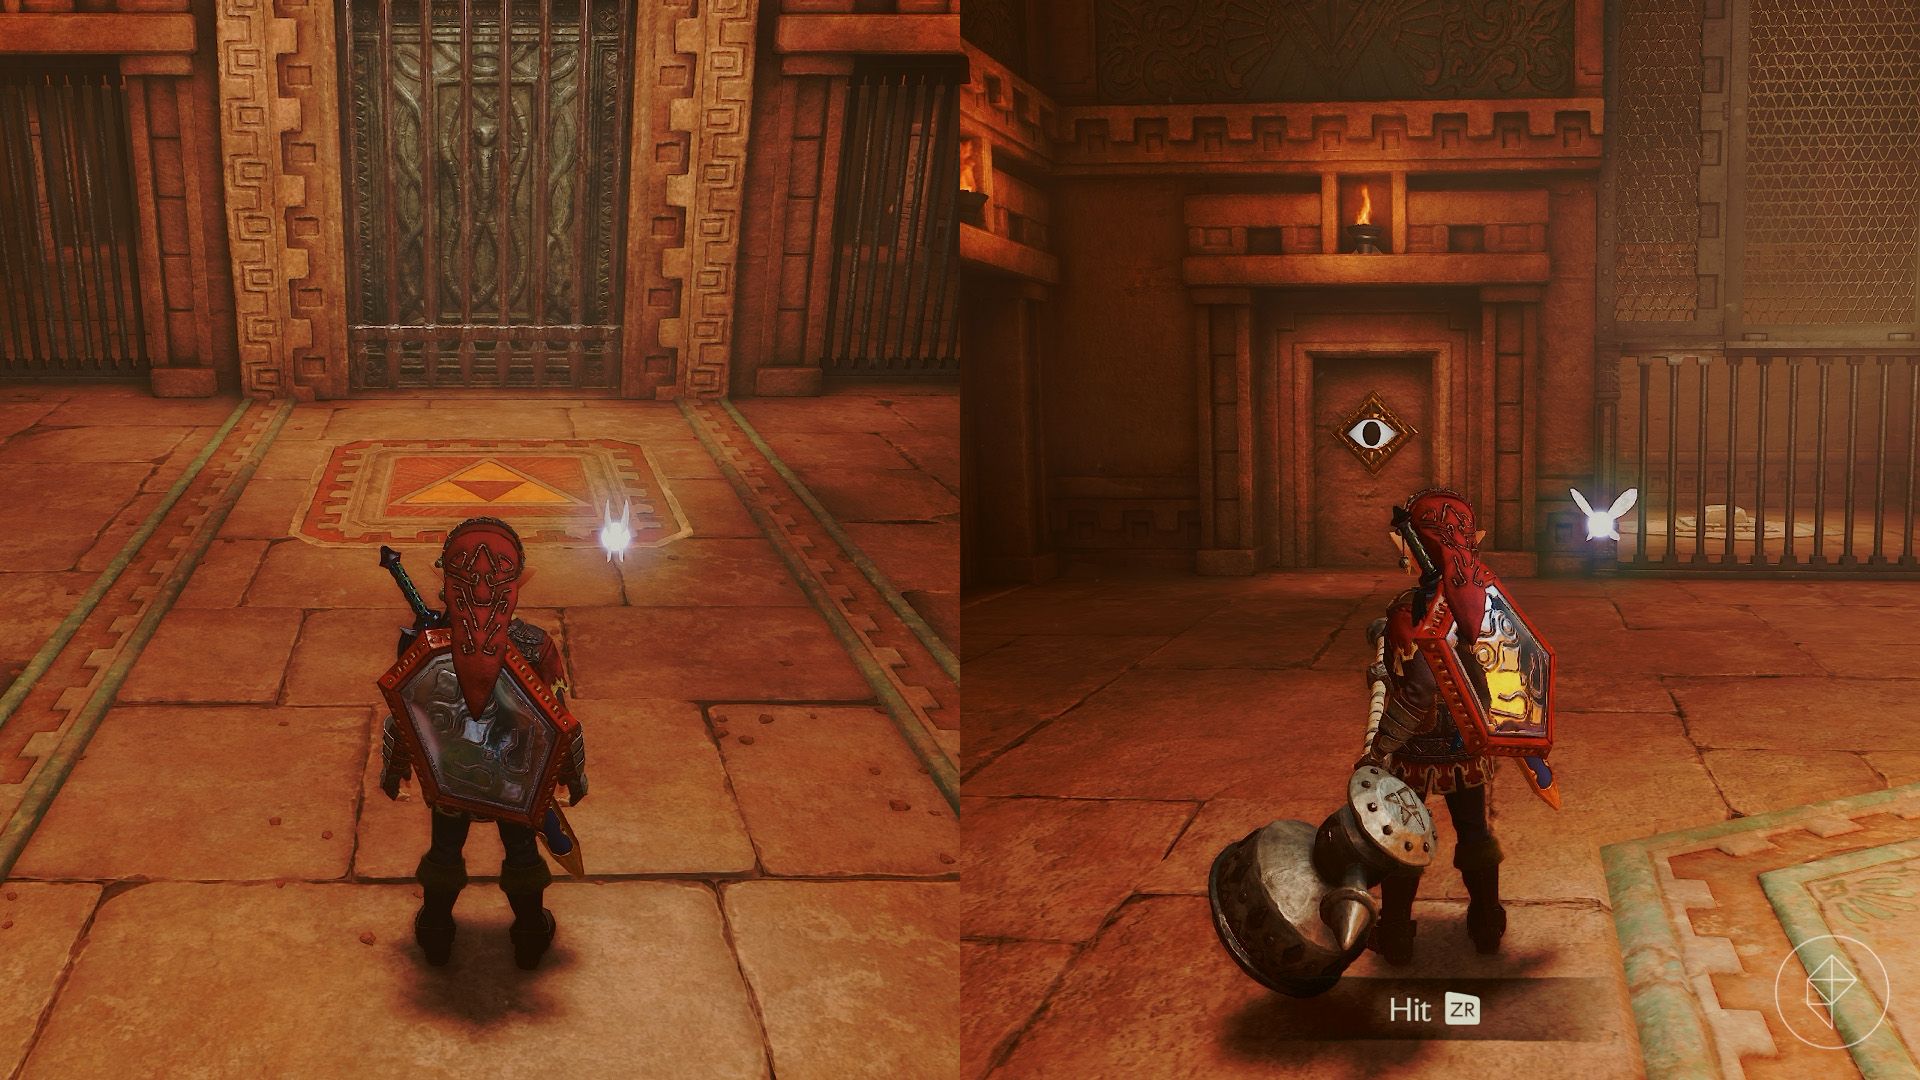
In the next room, stand on the Triforce and play Zelda’s Lullaby (Y – X – A – Y – X – A) to unlock the door. Beyond it are Torch Slugs and several fake doors. Flip the slugs with the Megaton Hammer and defeat them, then smash the fake door in the northwest corner to uncover an eye switch.
Hit the eye with your bow or Longshot to lower a wall into a platform. Longshot to the ceiling target and step on the button to extinguish the flames around the chest. Longshot back and open it for the boss key.
Part 7: Reaching the boss room
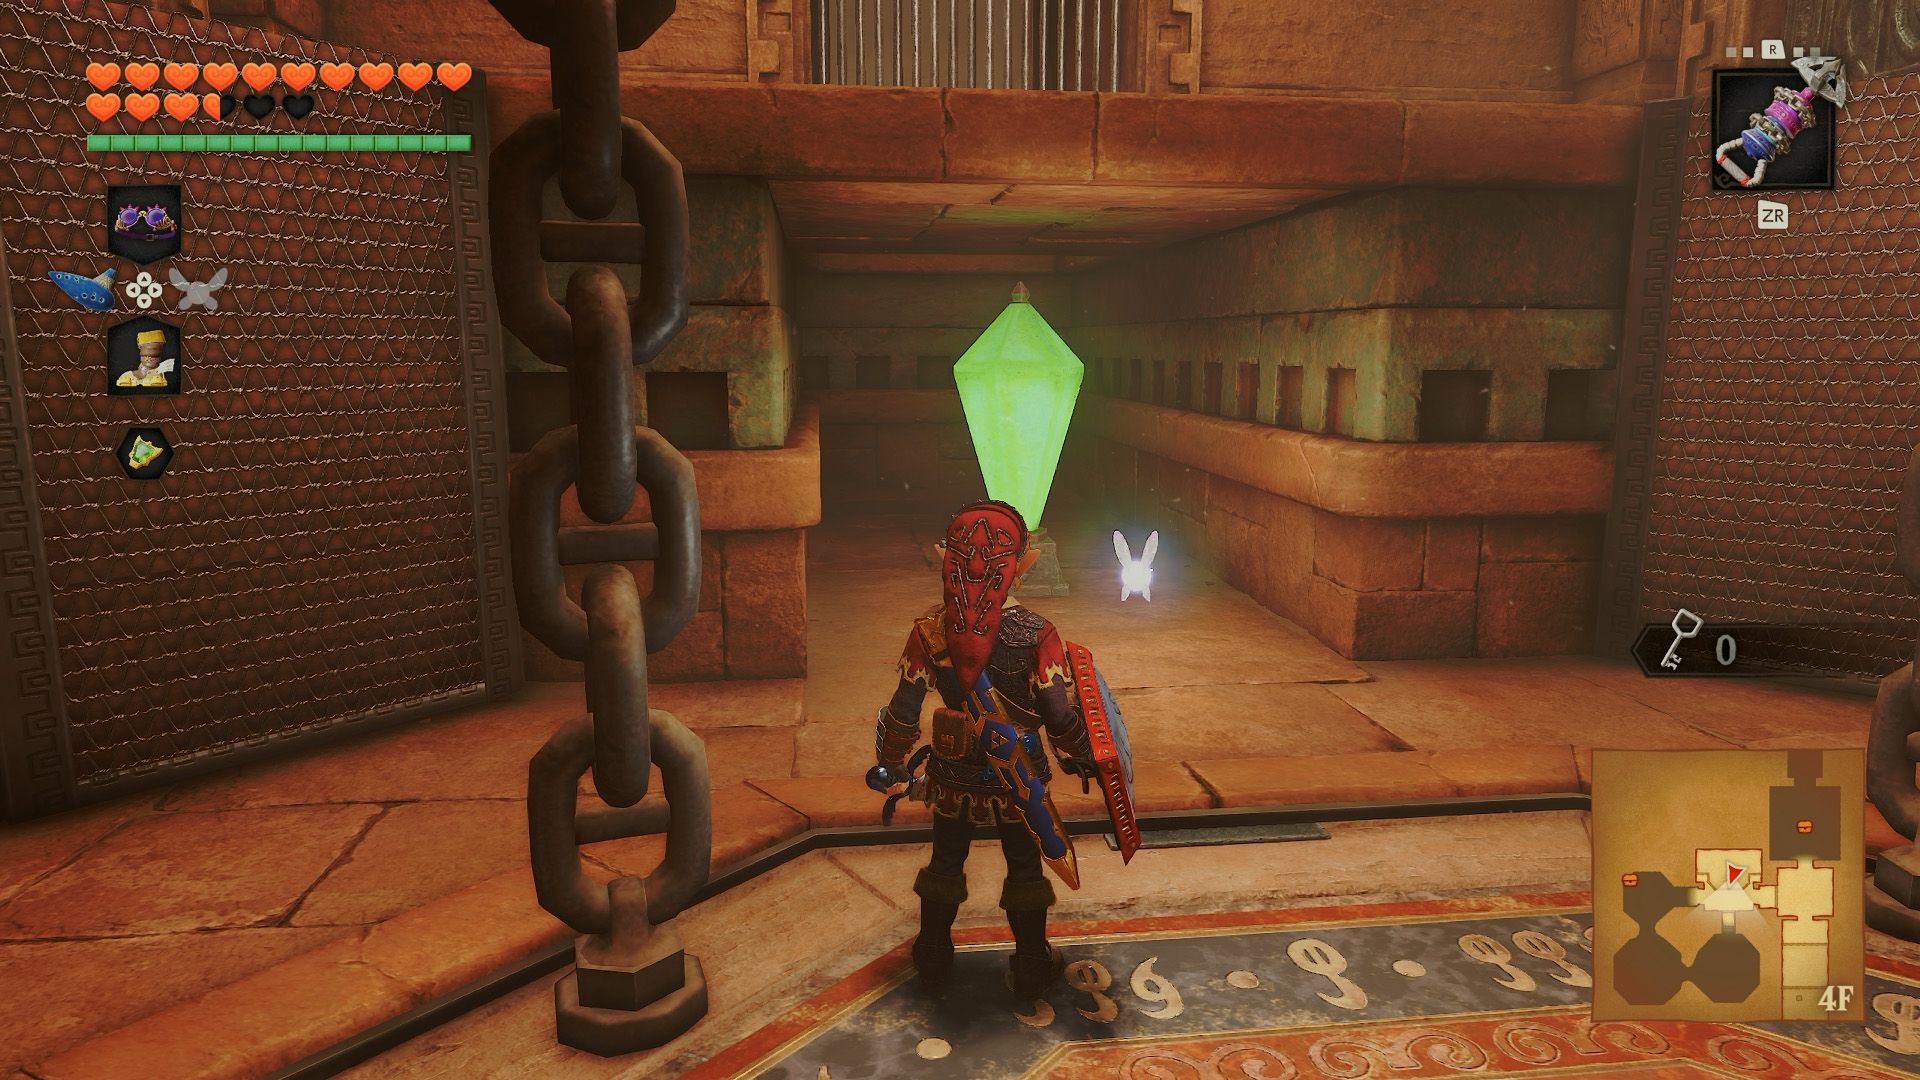
Return to the previous room, climb the wall, and go through the door. Beware: every pot in this room is a Flying Pot. Drop to the floor and hit the switch to unlock the door above.
Beyond the door is a beam of light and a sun symbol. If you need bombs, reflect the light onto the sun to reveal a chest containing five.
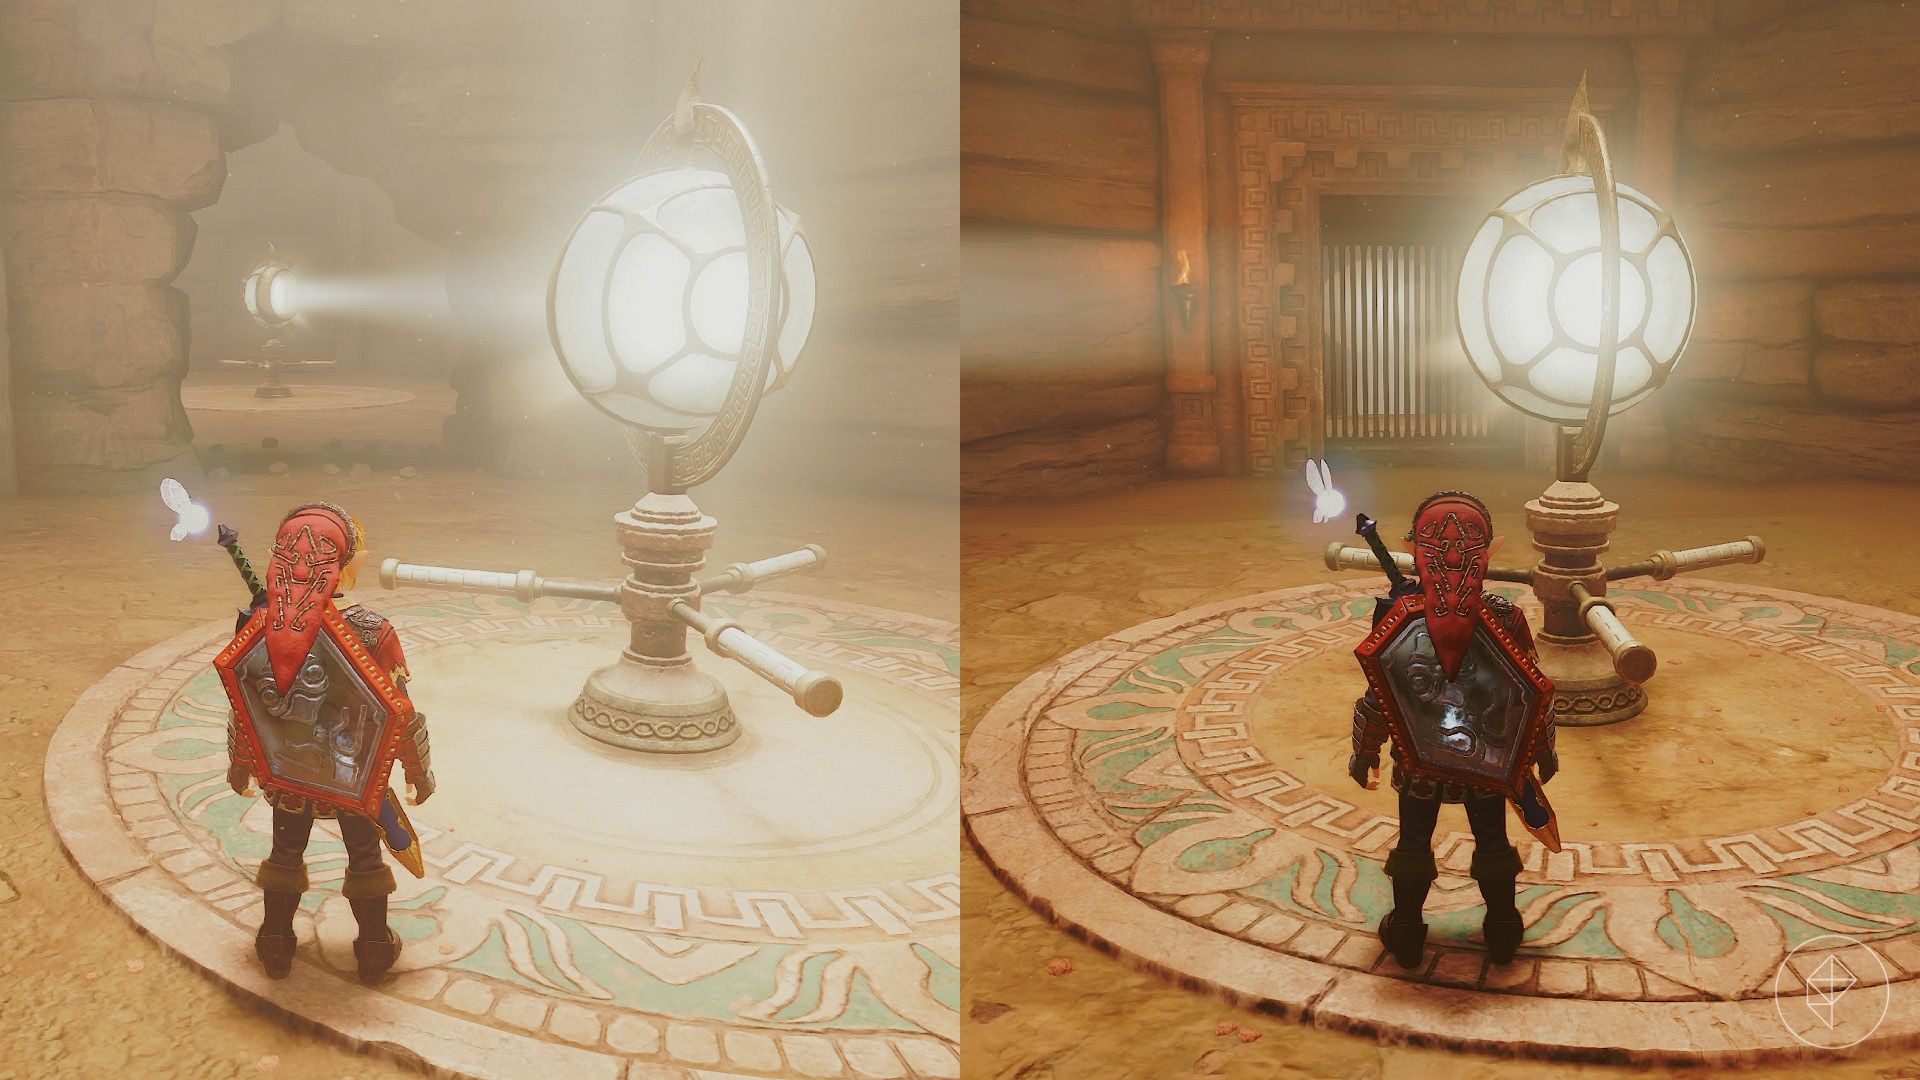
Defeat the White Bubbles in the next room and destroy the rock wall. Behind it are another reflector and two Dinolfos. Sidestep their attacks and defeat them, then return to the first reflector and aim its beam at the second. Adjust the second reflector to send the light through the bars.
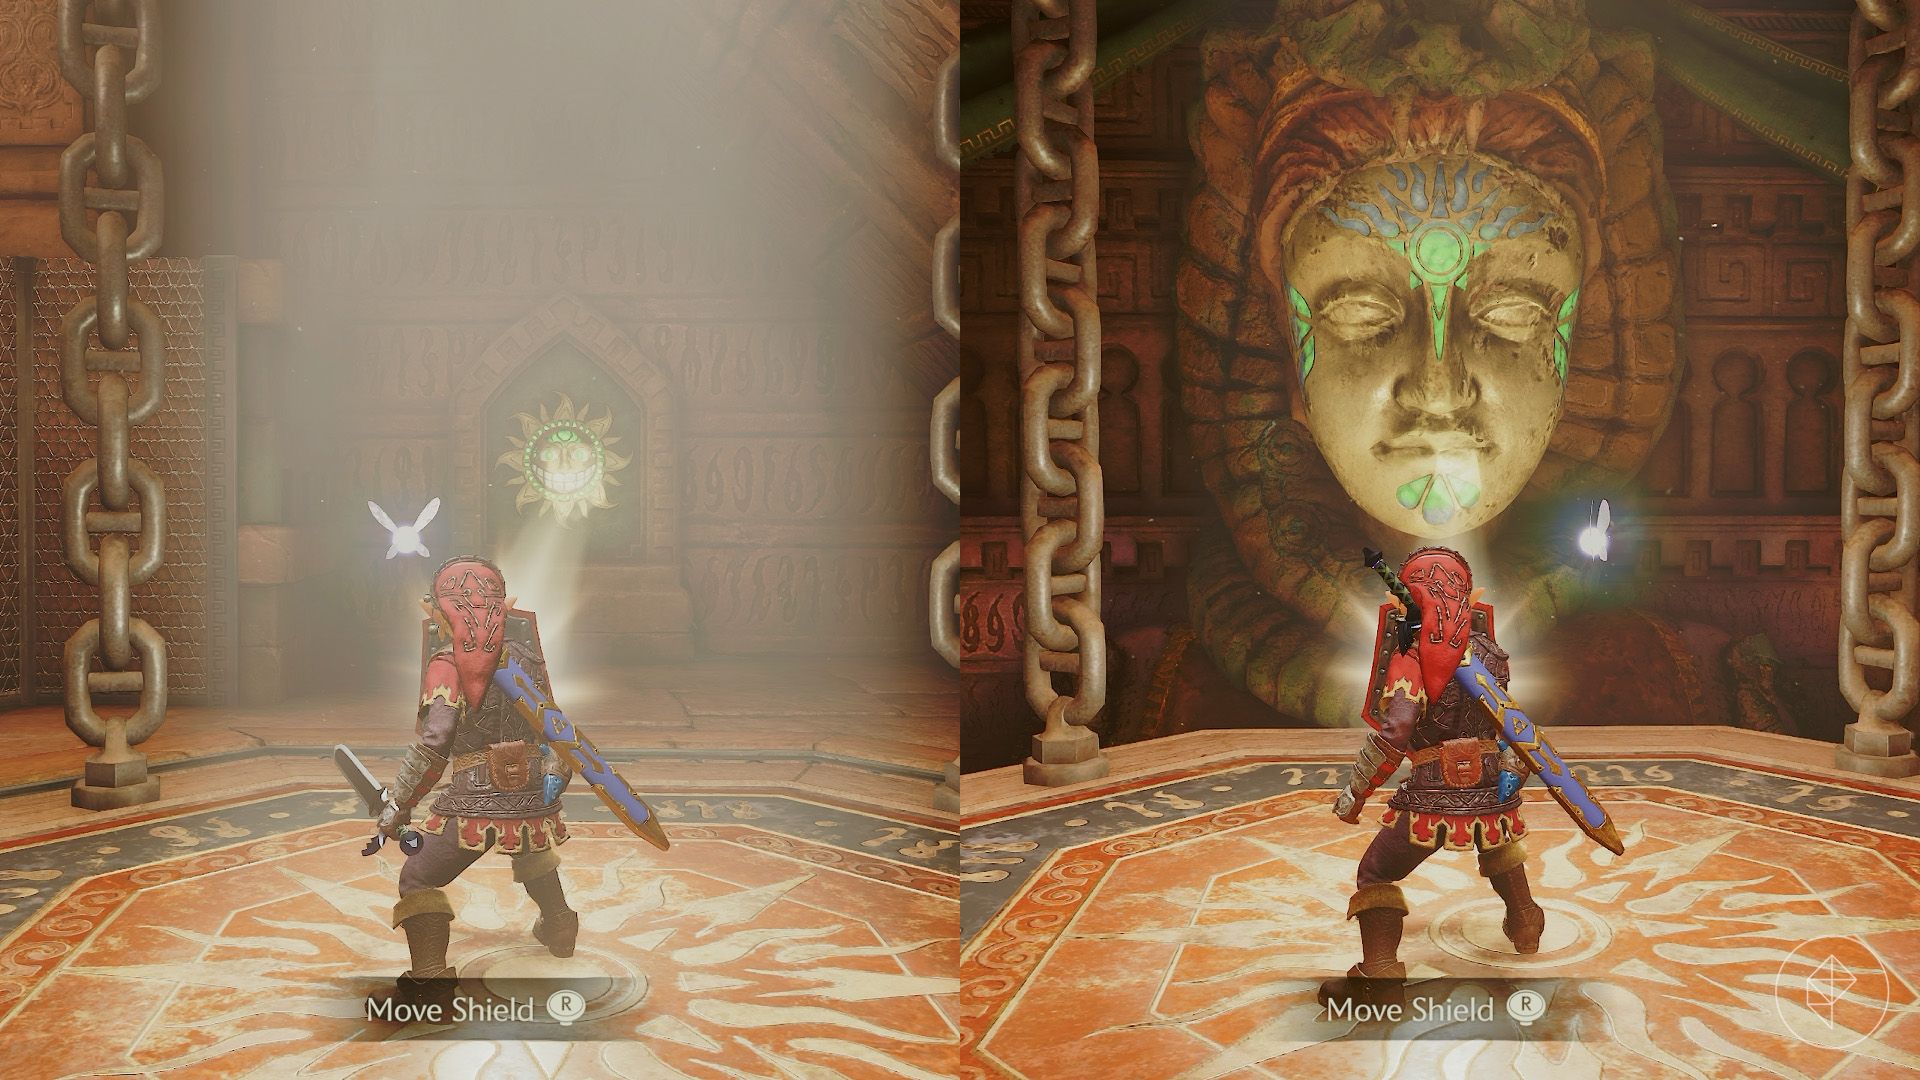
Follow the beam and drop through the hole. Stand on the sun-marked platform and reflect the light onto the sun on the wall. The platform descends in front of the giant statue’s head. Reflect the light onto its face to reveal a Longshot target and the boss-room door.
Part 8: Defeating the Spirit Temple boss, Twinrova
Longshot to the target and unlock the door. Inside, Kotake and Koume leave you to fight another Iron Knuckle. Defeat it as you did the previous ones to reveal Nabooru beneath the armor. The sisters trap her again and open the way forward.
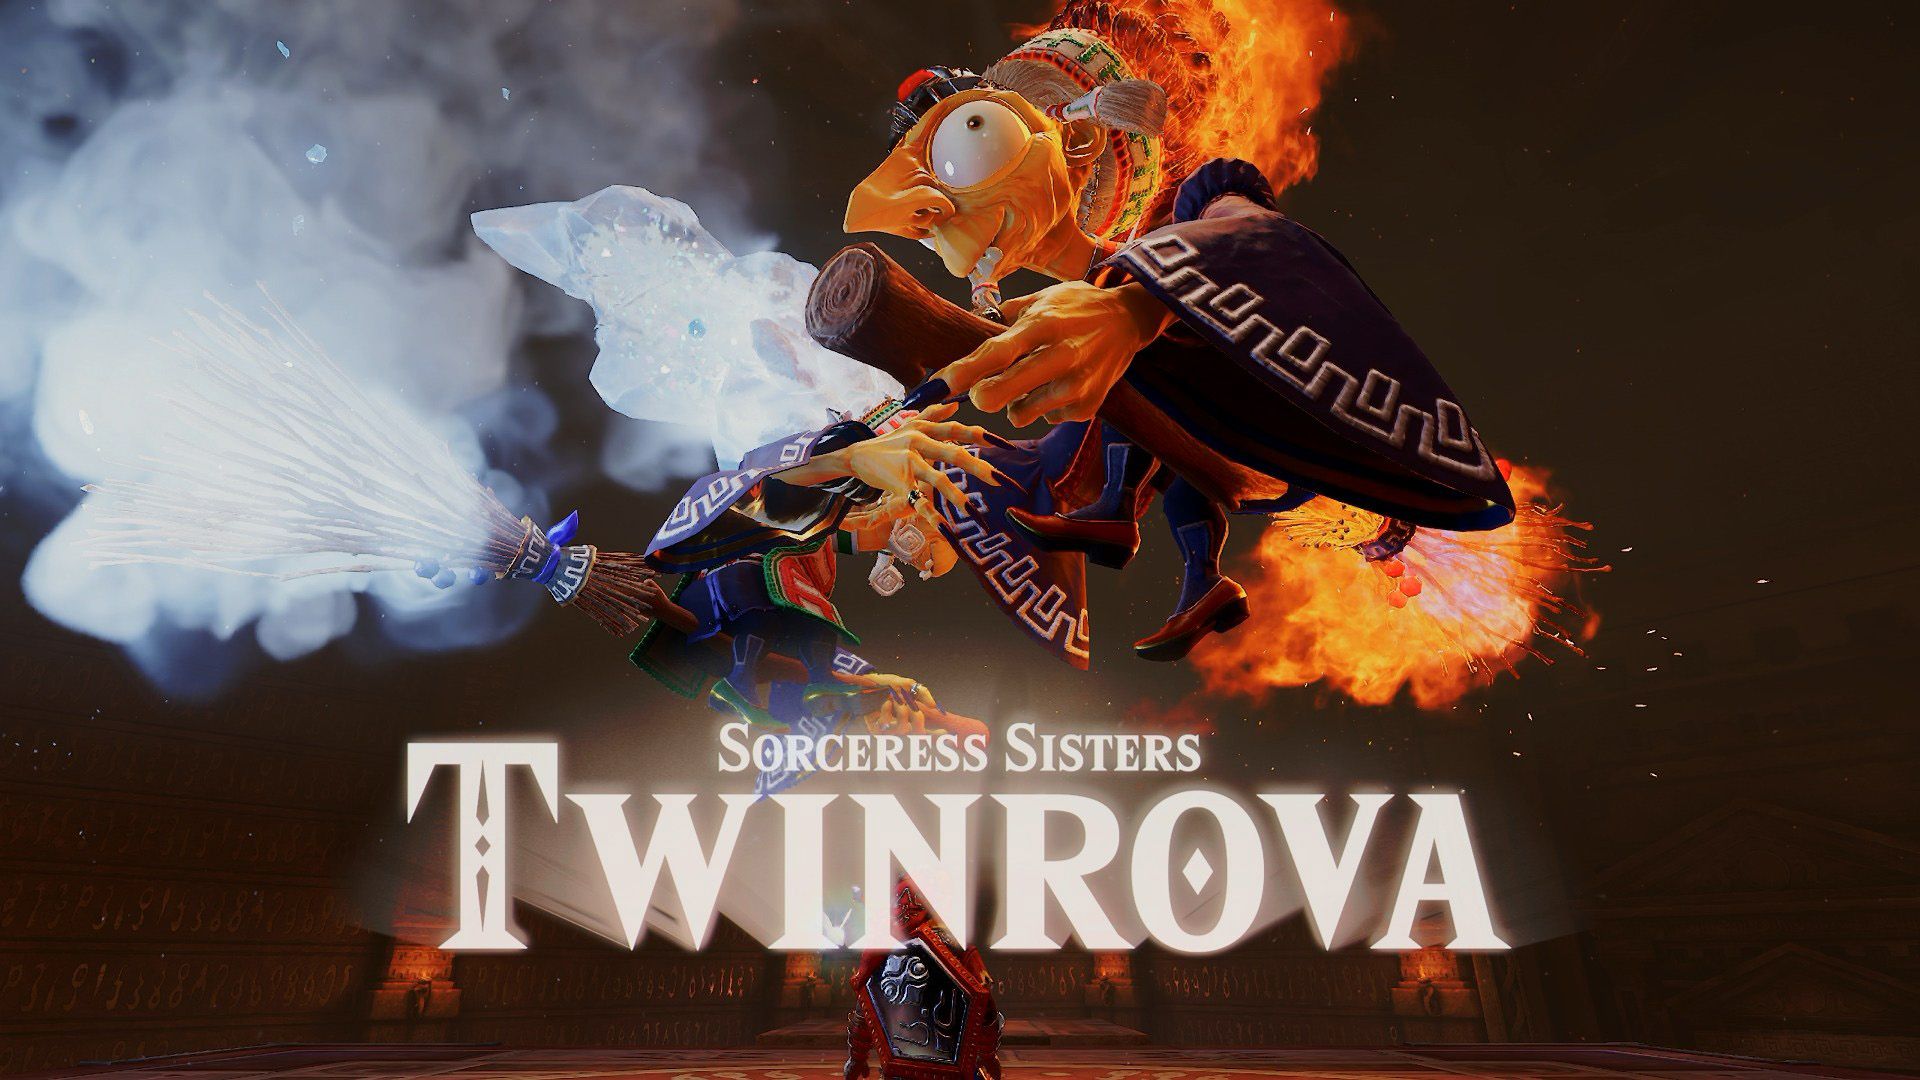
Before stepping onto the platform, keep these tips in mind:
- Be ready to hold ZL frequently to raise the Mirror Shield.
- The Mirror Shield can reflect magic as well as light.
- Use the side platforms to keep fire and ice away from the central platform.
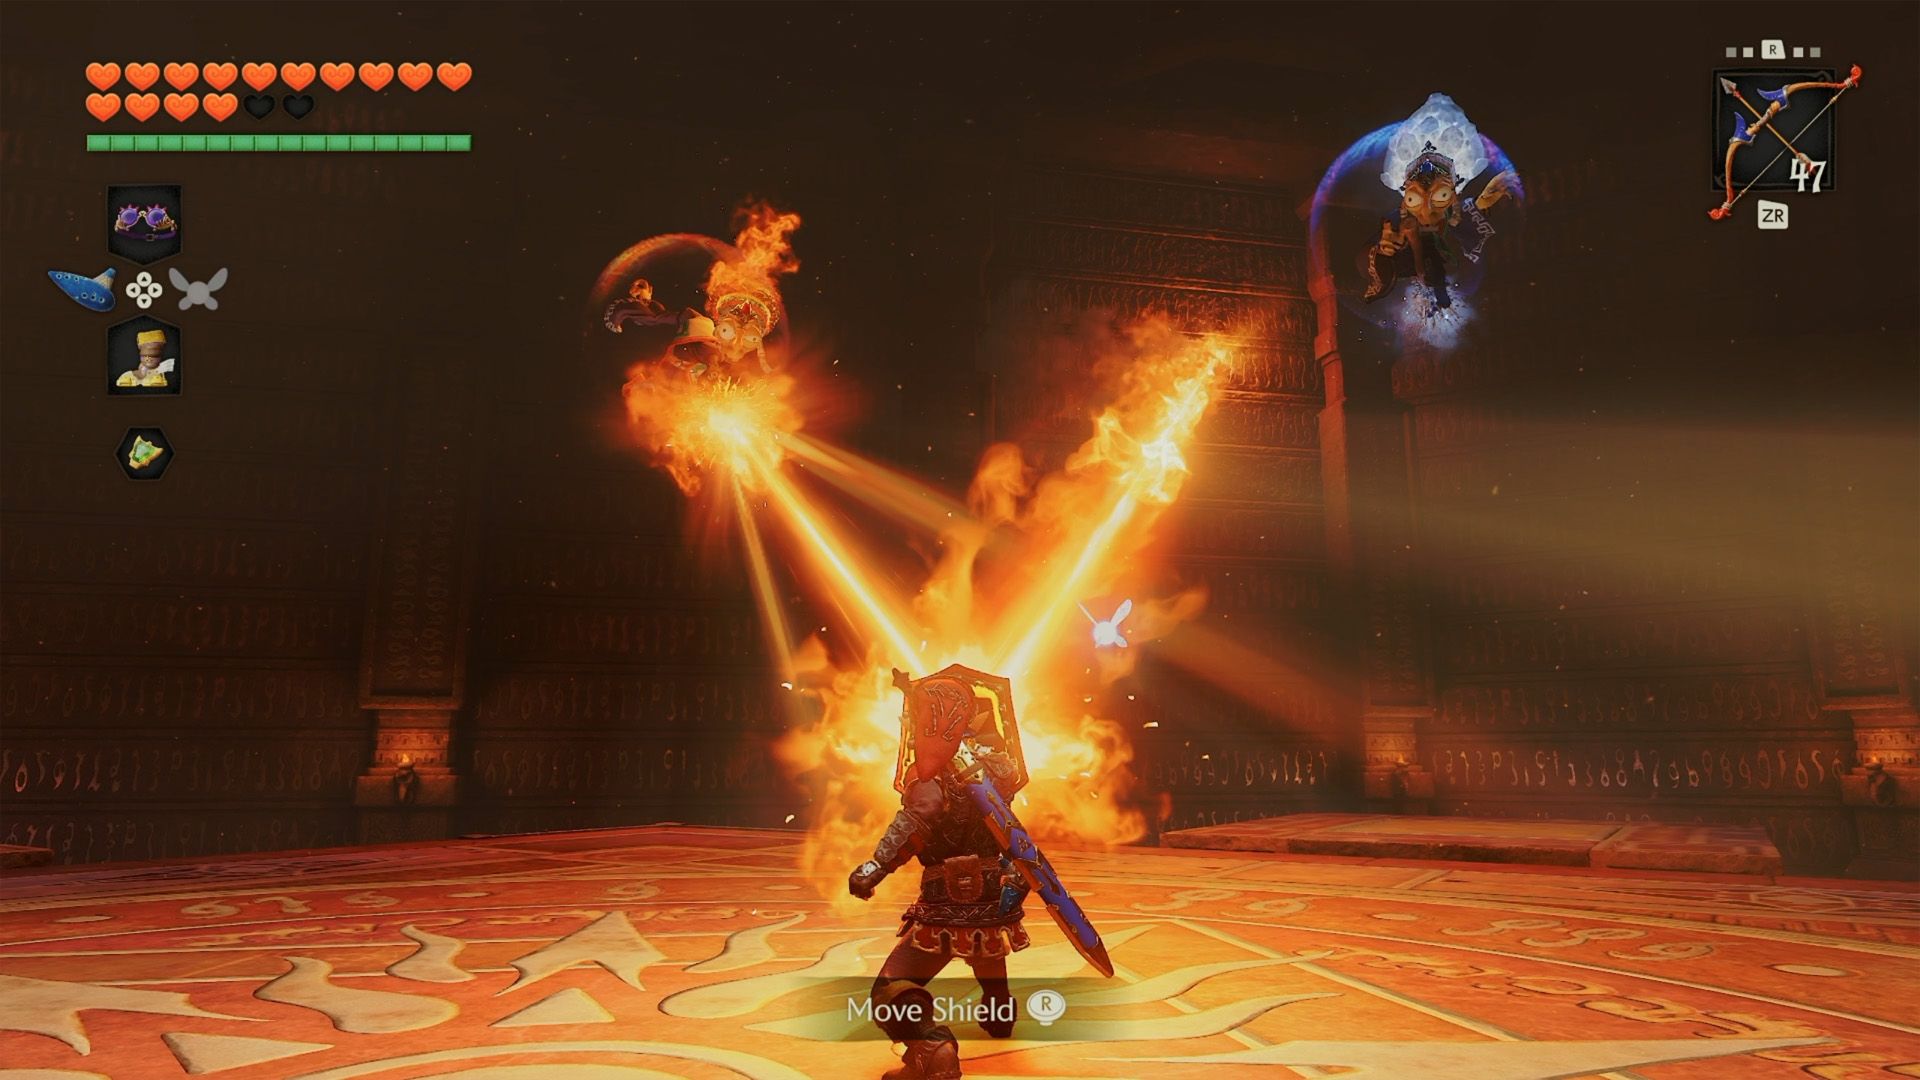
During the first phase, the sisters fly around the arena and take turns firing magical beams. Catch each beam with the Mirror Shield and direct it at the other sister. If a spell hits the ground, avoid the patch of fire or ice it leaves behind. Repeat until the sisters merge into Twinrova.
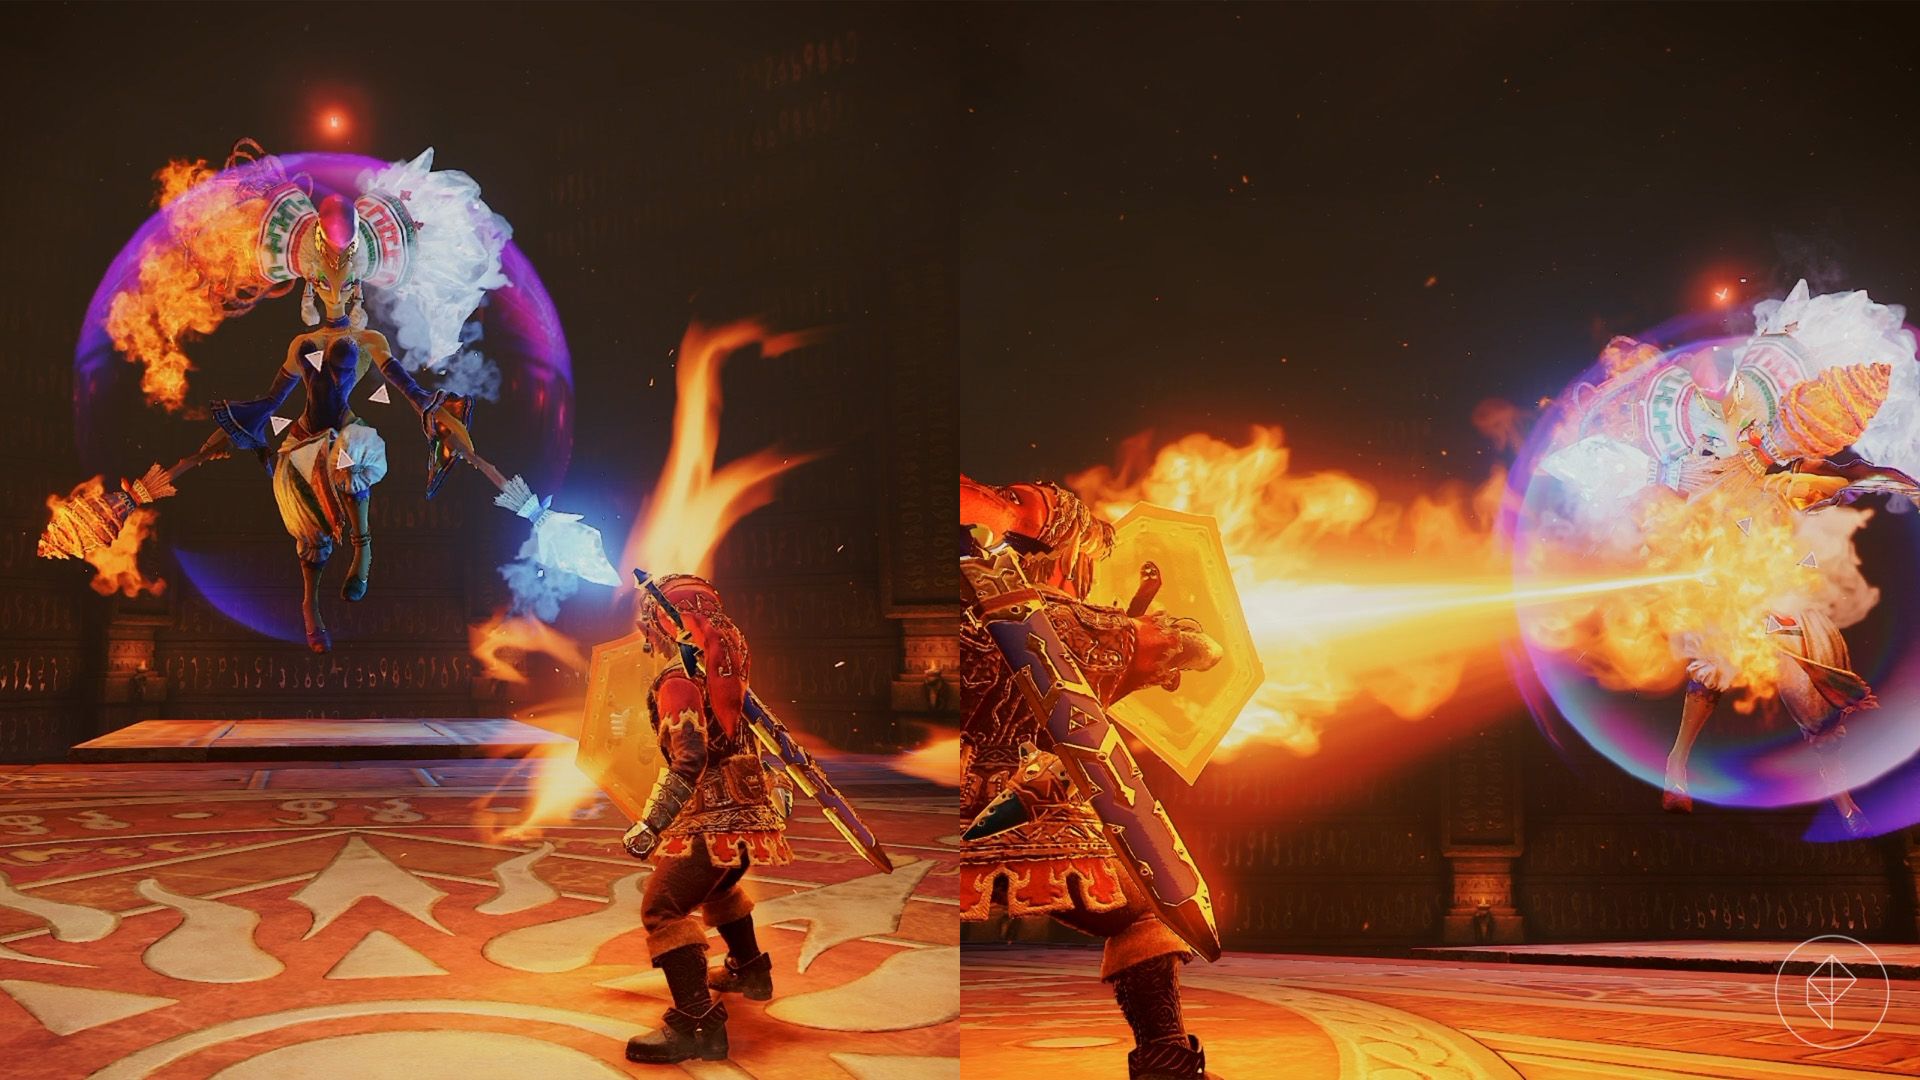
In the second phase, absorb three attacks of the same element with the Mirror Shield to send a counterattack at Twinrova. Once she’s stunned and falls onto a platform, jump across and strike her as often as you can.
She won’t necessarily use the same element three times in succession. If you’ve absorbed fire and she casts ice, dodge it and wait for another fire spell. Absorbing the opposite element removes your stored charges.
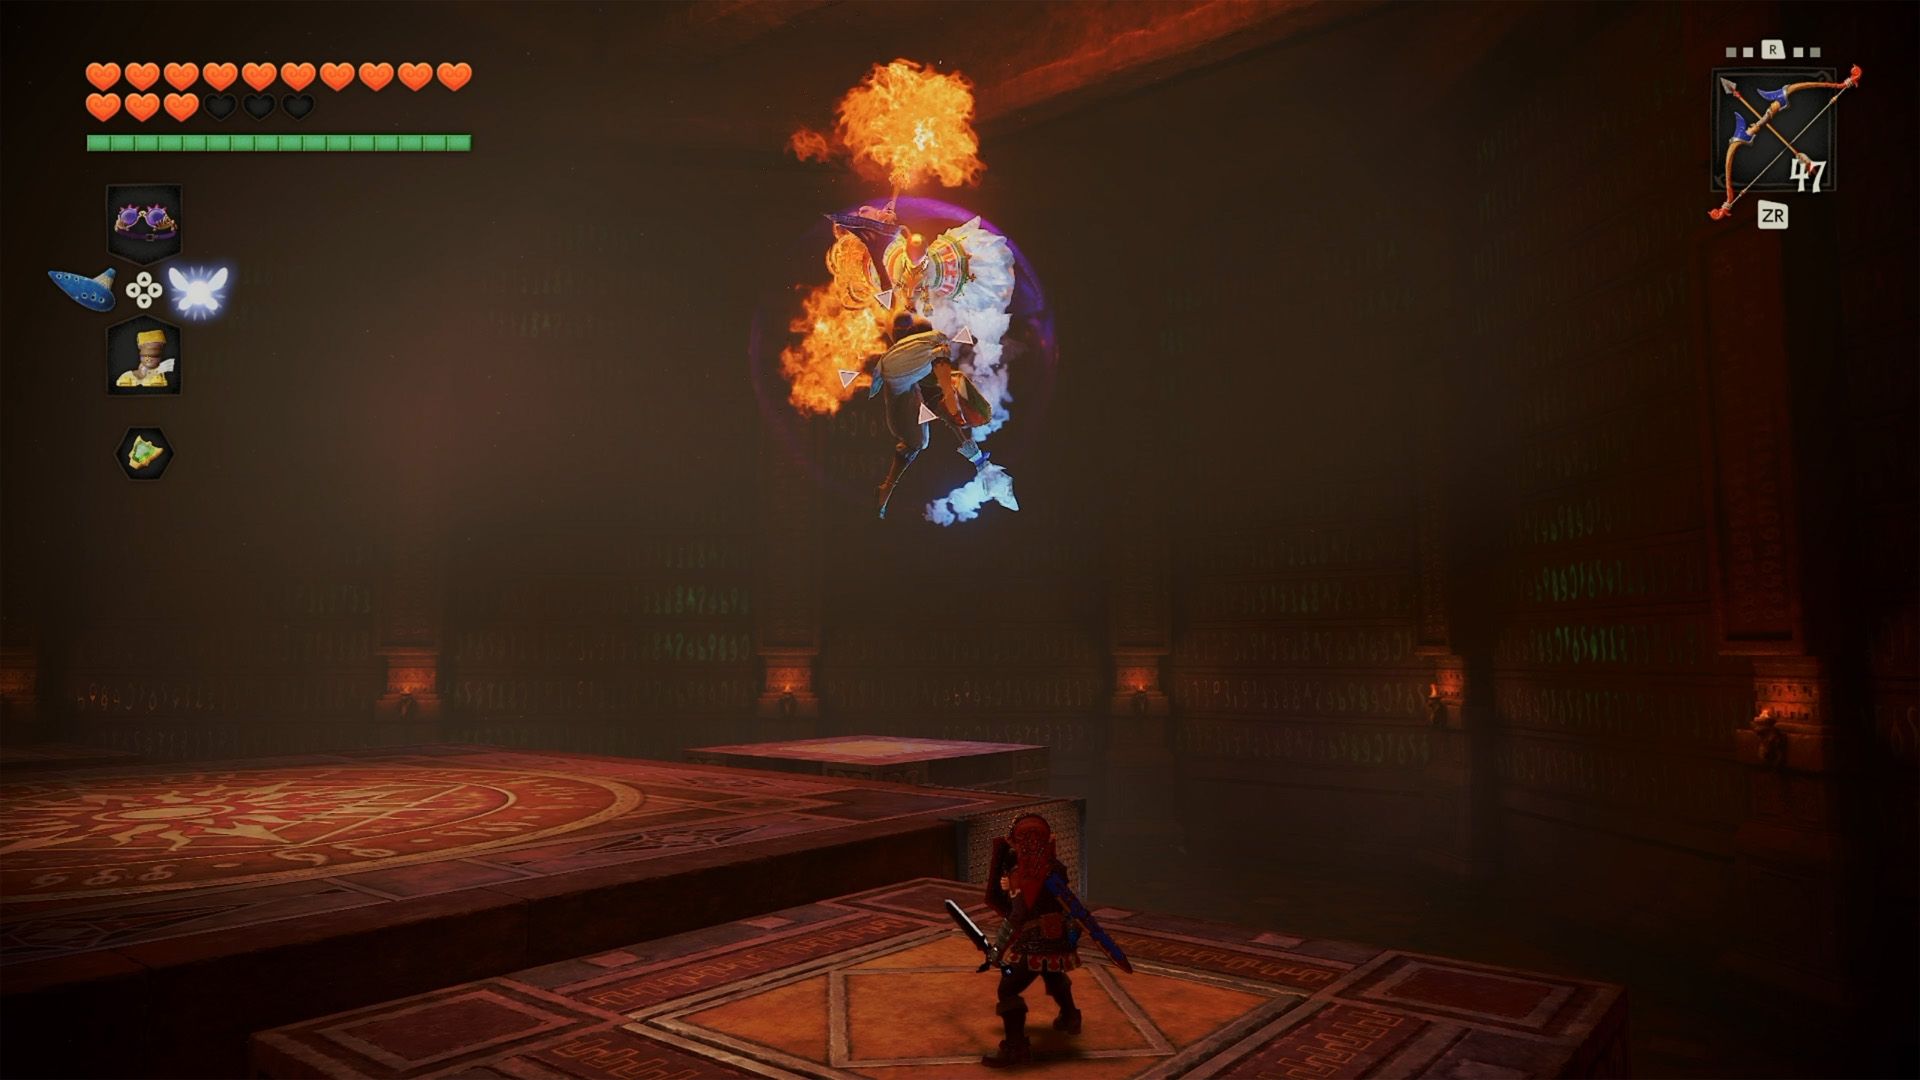
Wait on a side platform as Twinrova prepares a spell. If it matches your stored element, block it. If it doesn’t, jump back toward the center just after she casts, leaving the spell to land on the side platform. This helps keep the central area clear.
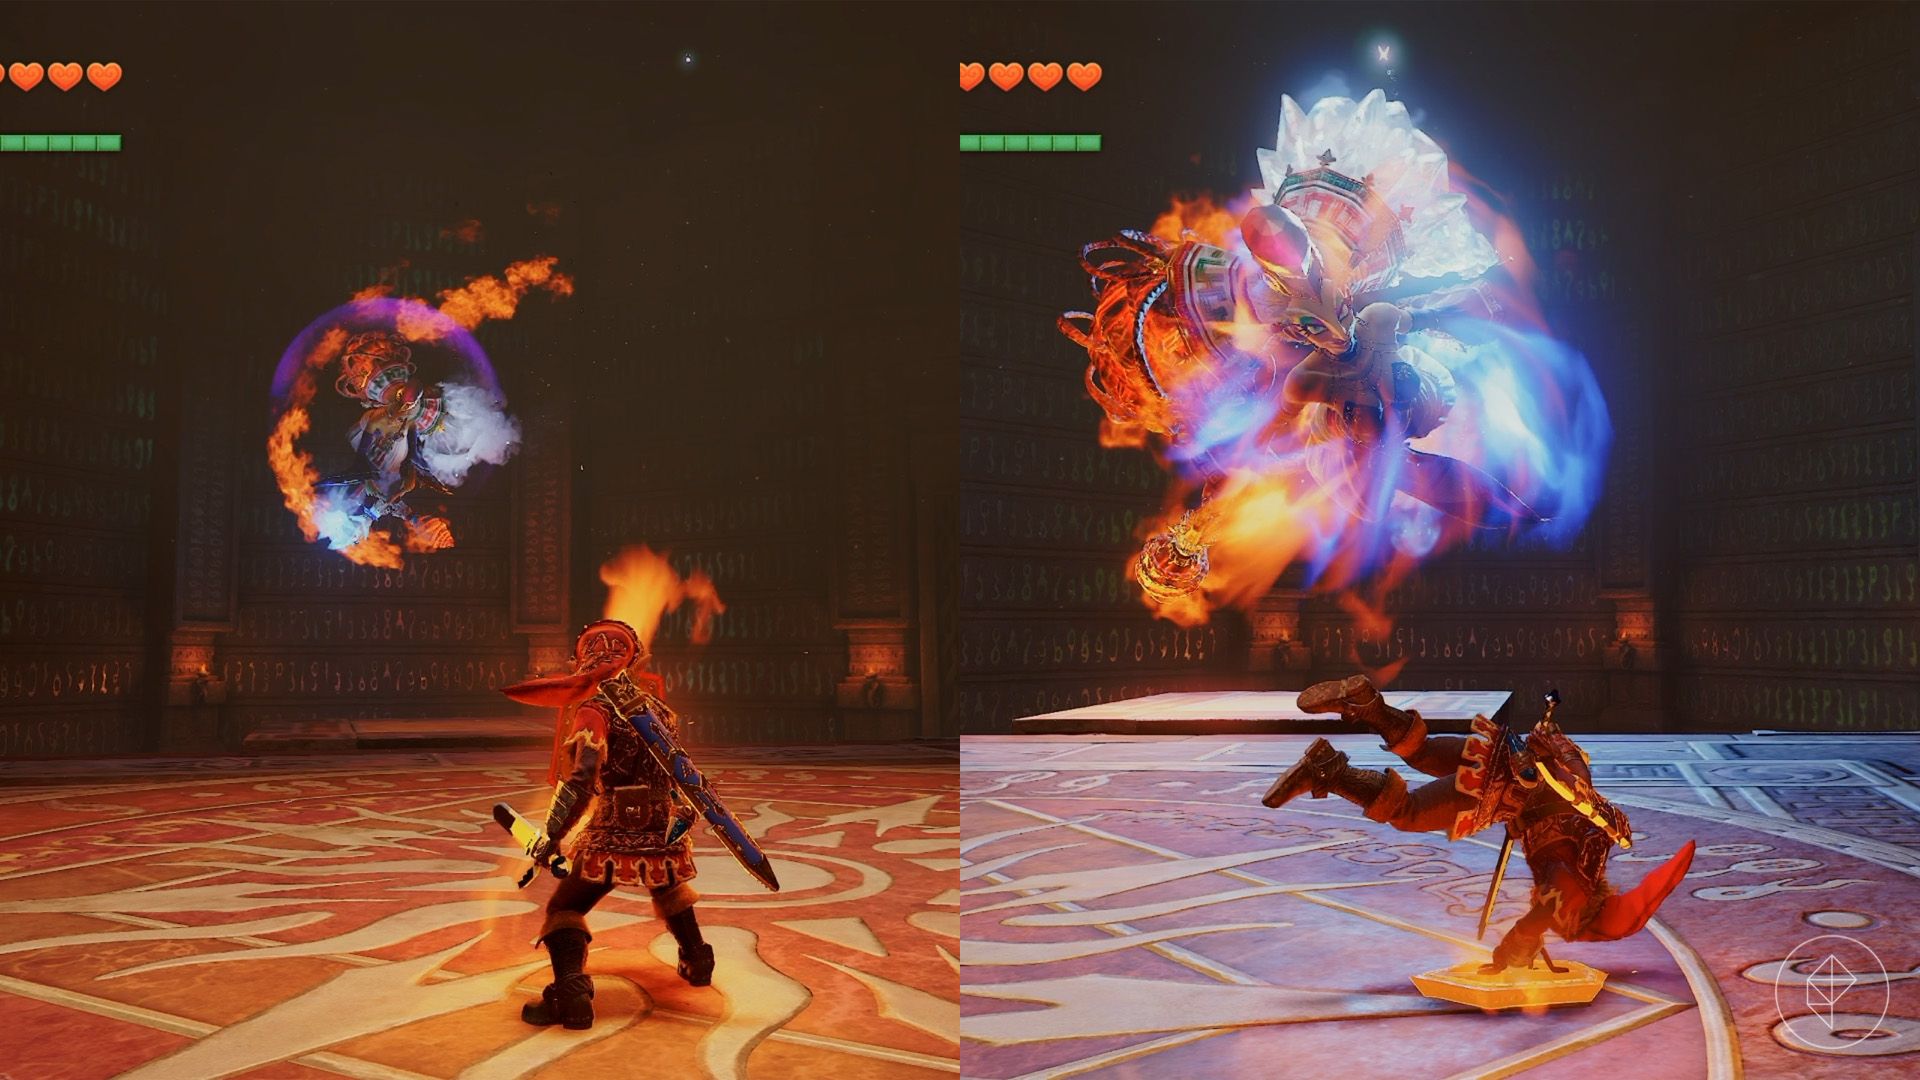
As the fight continues, Twinrova adds a charge attack between spells. She flies to the edge of the arena and rushes at you; roll quickly to the side to avoid her. Keeping the center free of fire and ice gives you room to dodge.
She may also switch wands repeatedly before casting, so watch the final spell rather than assuming which element is coming. Continue dodging unwanted attacks, absorbing three matching spells, and striking her when she’s stunned.
Once Twinrova is defeated, collect the Heart Container and leave through the ring of light.
Source: Polygon
Related articles
 Microsoft’s Alligator Xbox May Be a GTA VI Marketing Workaround
 Analysts Say Gran Turismo 7 Is Not on PS Plus Because It Has Earned Sony Hundreds of Millions of Dollars
 Mike Flanagan Hints at Unexpected Approach to Warhammer 40,000 Series Starring Henry Cavill
 The Legend of Zelda: Ocarina of Time – Shadow Temple Dungeon Walkthrough
 Ganondorf’s Castle Walkthrough in The Legend of Zelda: Ocarina of Time
 Study Confirms Impact of Social Messaging on Video Game Sales
 Blue Eye Samurai Season 2 Gets Trailer and Release Date as Mizu Heads to London
 Crimson Desert: Patch Notes for Version 2.04.07