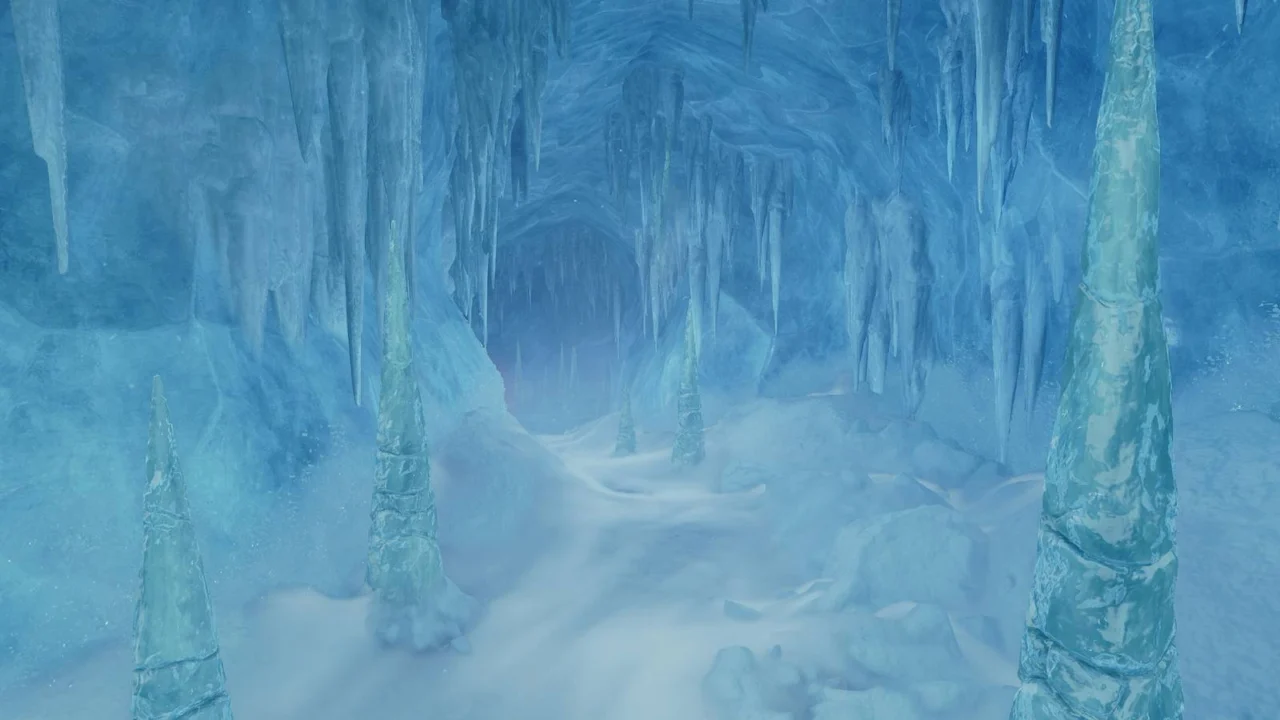
Ice Cavern Walkthrough for The Legend of Zelda: Ocarina of Time
The Ice Cavern is one of the shorter dungeons in The Legend of Zelda: Ocarina of Time remake, but it holds an essential reward. With Zora’s Domain and the surrounding area frozen over, you’ll need to venture into the cavern to claim the Iron Boots.
Along the way, you’ll face freezing enemies, gather ice crystals, move ice blocks, and battle a furry foe—all while keeping an eye out for falling stalactites.
Part 1: Finding the dungeon map
Before entering, consider putting on headphones or turning up the volume. Many stalactites can fall from the ceiling, and listening for the cracking sound they make beforehand can help you avoid them.
You’ll also need at least one empty bottle. Extra bottles are useful, but the directions below assume you have only one available.
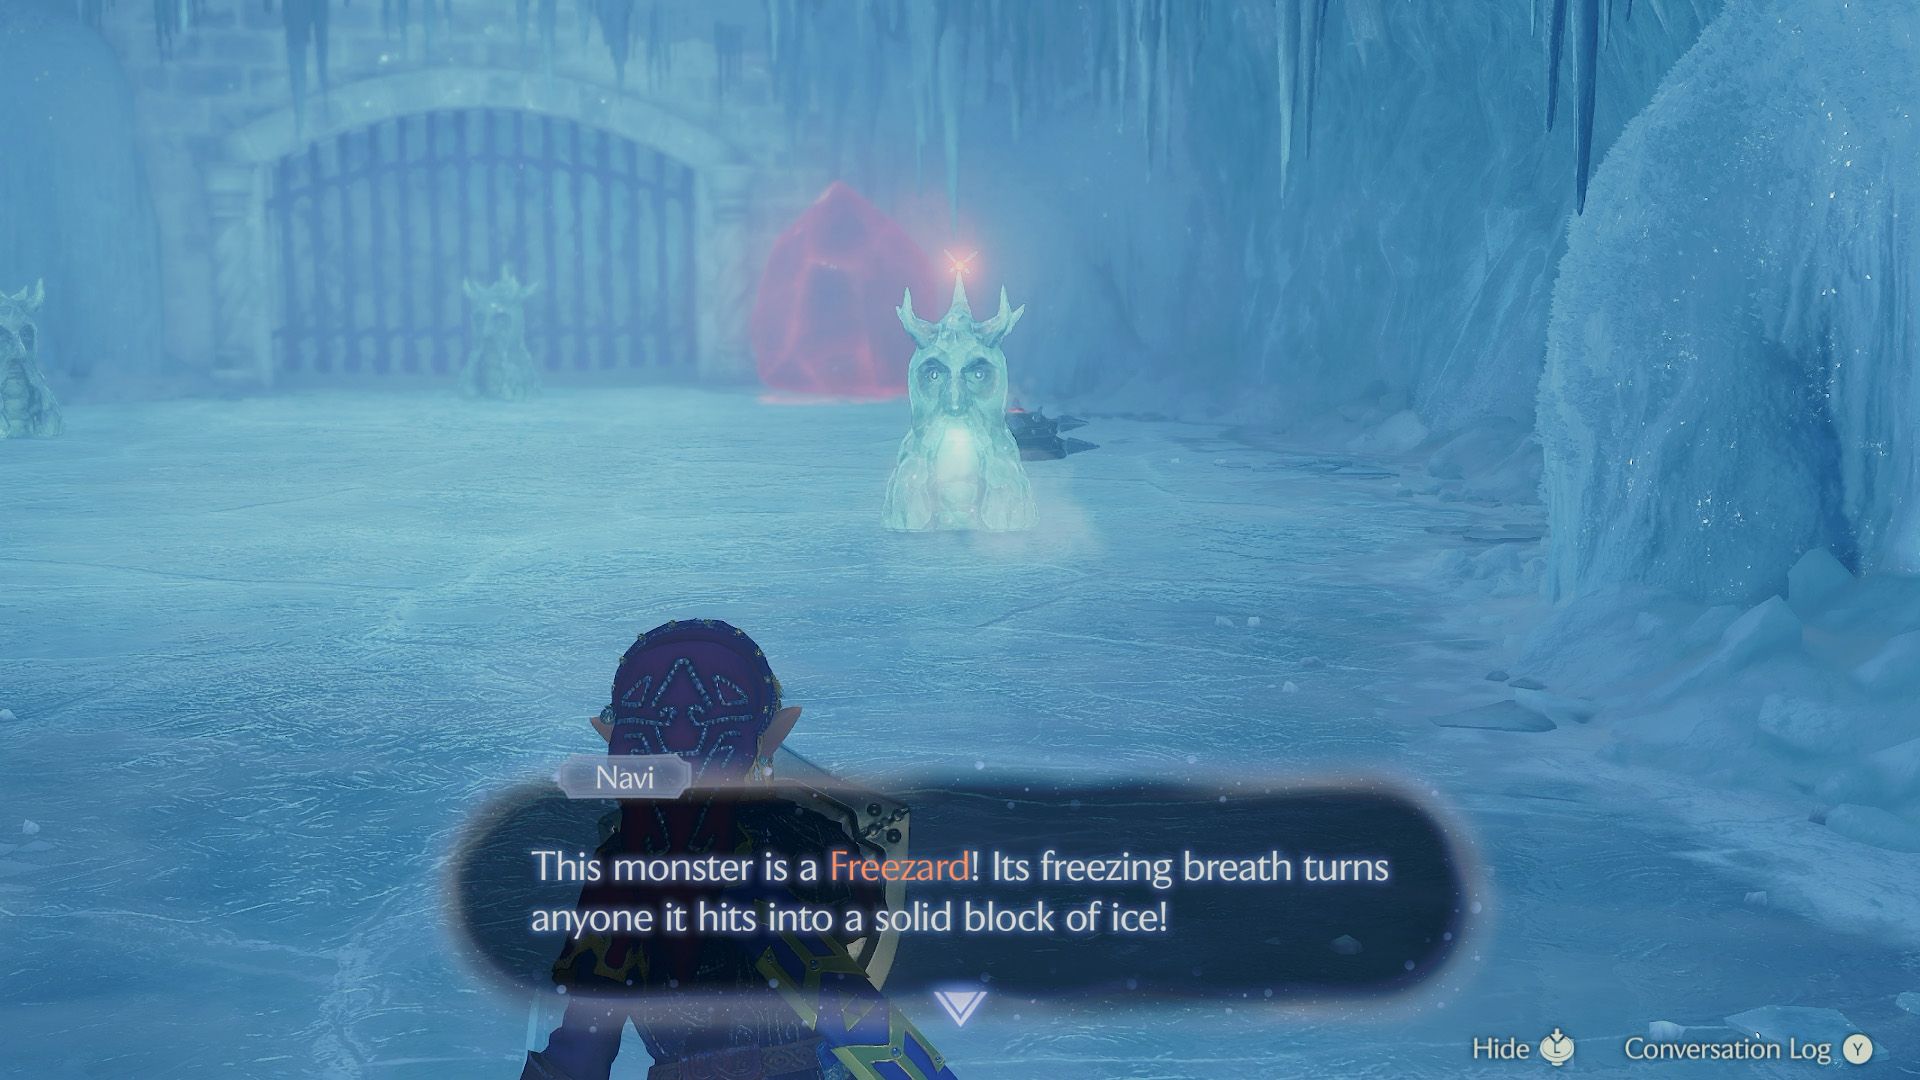
Enter the cavern, watching for falling stalactites, and cut through the stalagmites blocking your path. Near the end, you’ll encounter several Freezards. Their icy breath can freeze Link, so wait until they finish breathing before attacking. You can also use the Hookshot to close the distance quickly.
Try to lure the Freezards into breathing on the Blade Traps to freeze them in place. Defeat every Freezard to unlock the way forward.
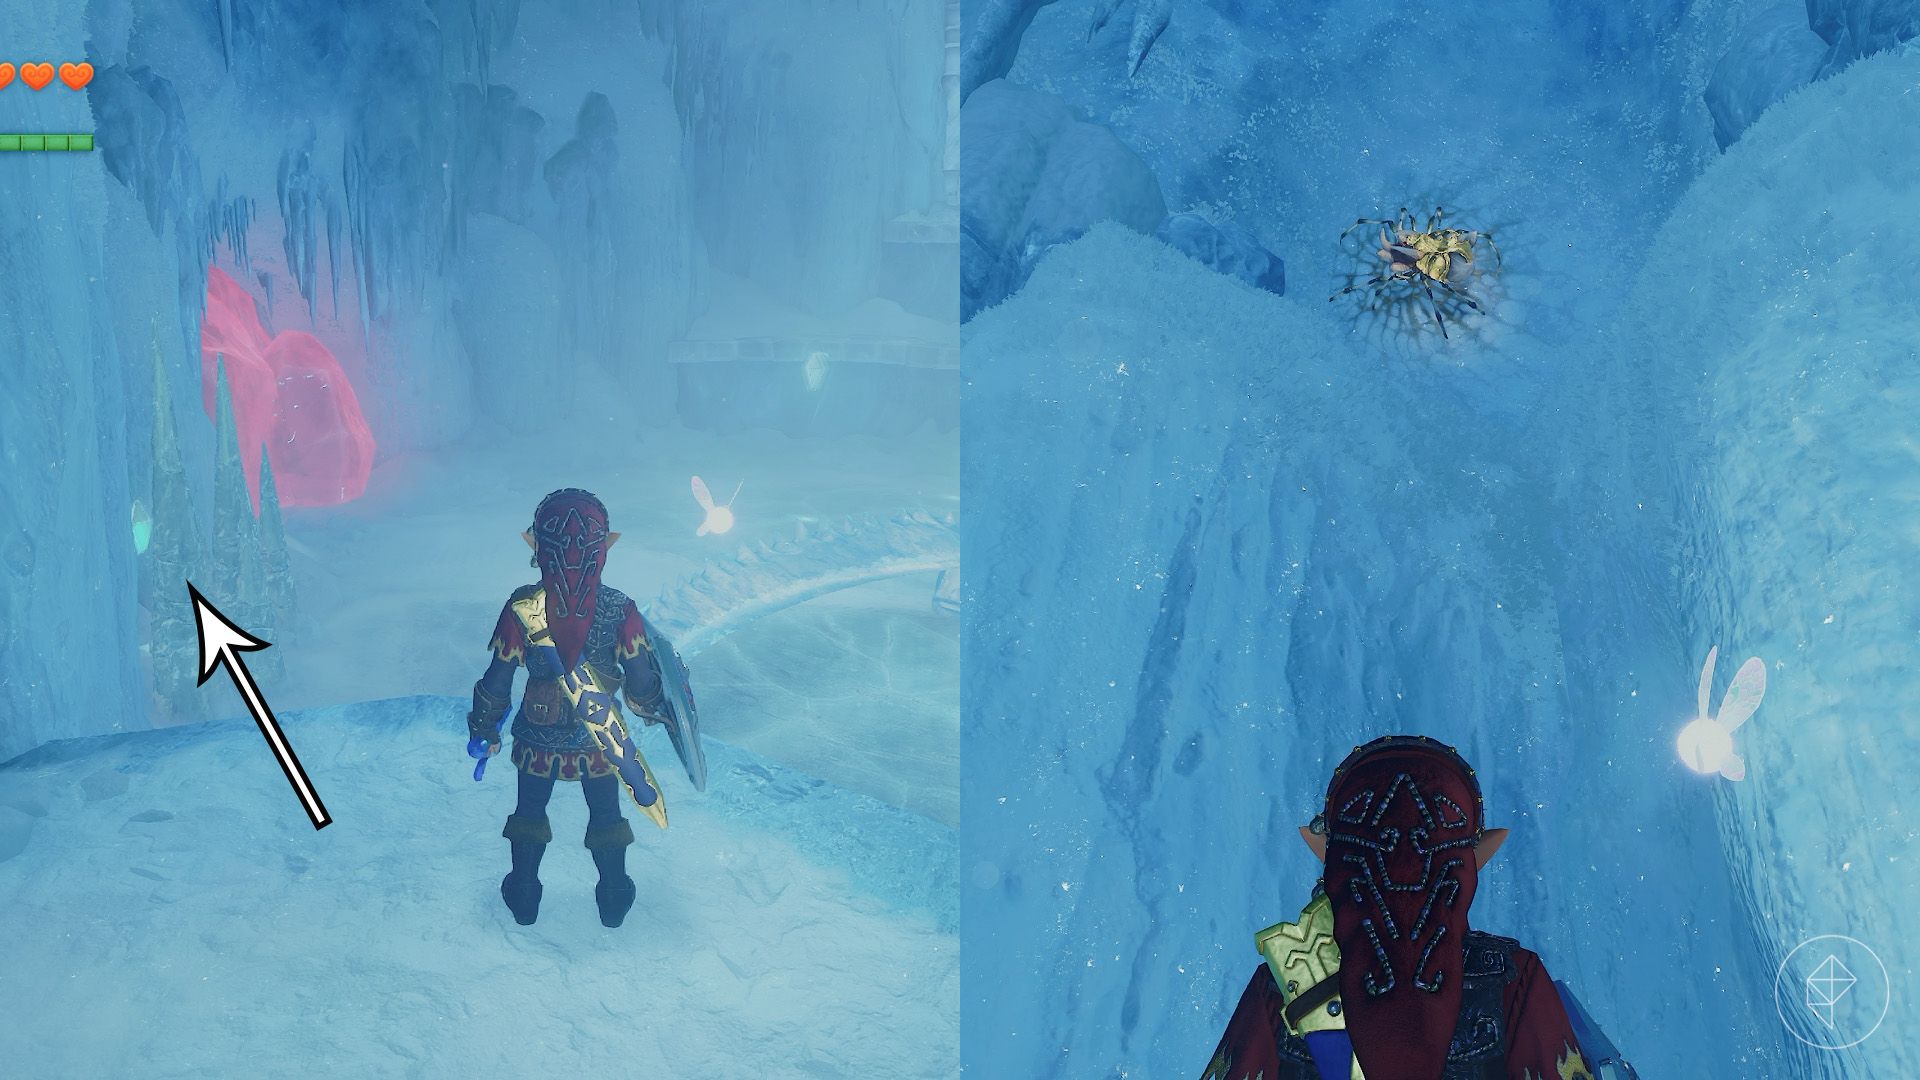
In the next room, collect five ice crystals to open the gate. Break the stalagmites on the left to reach the first crystal. Then look up at the southern wall for a Gold Skulltula and use your Hookshot to claim its token.
Three crystals float in the middle of the room. Rather than jumping over the spinning blade, move alongside it and jump when you’re beneath each crystal. For the fifth, climb the stairs, wait for the blade to pass, and jump toward the floating crystal. The gate will open once you have all five.
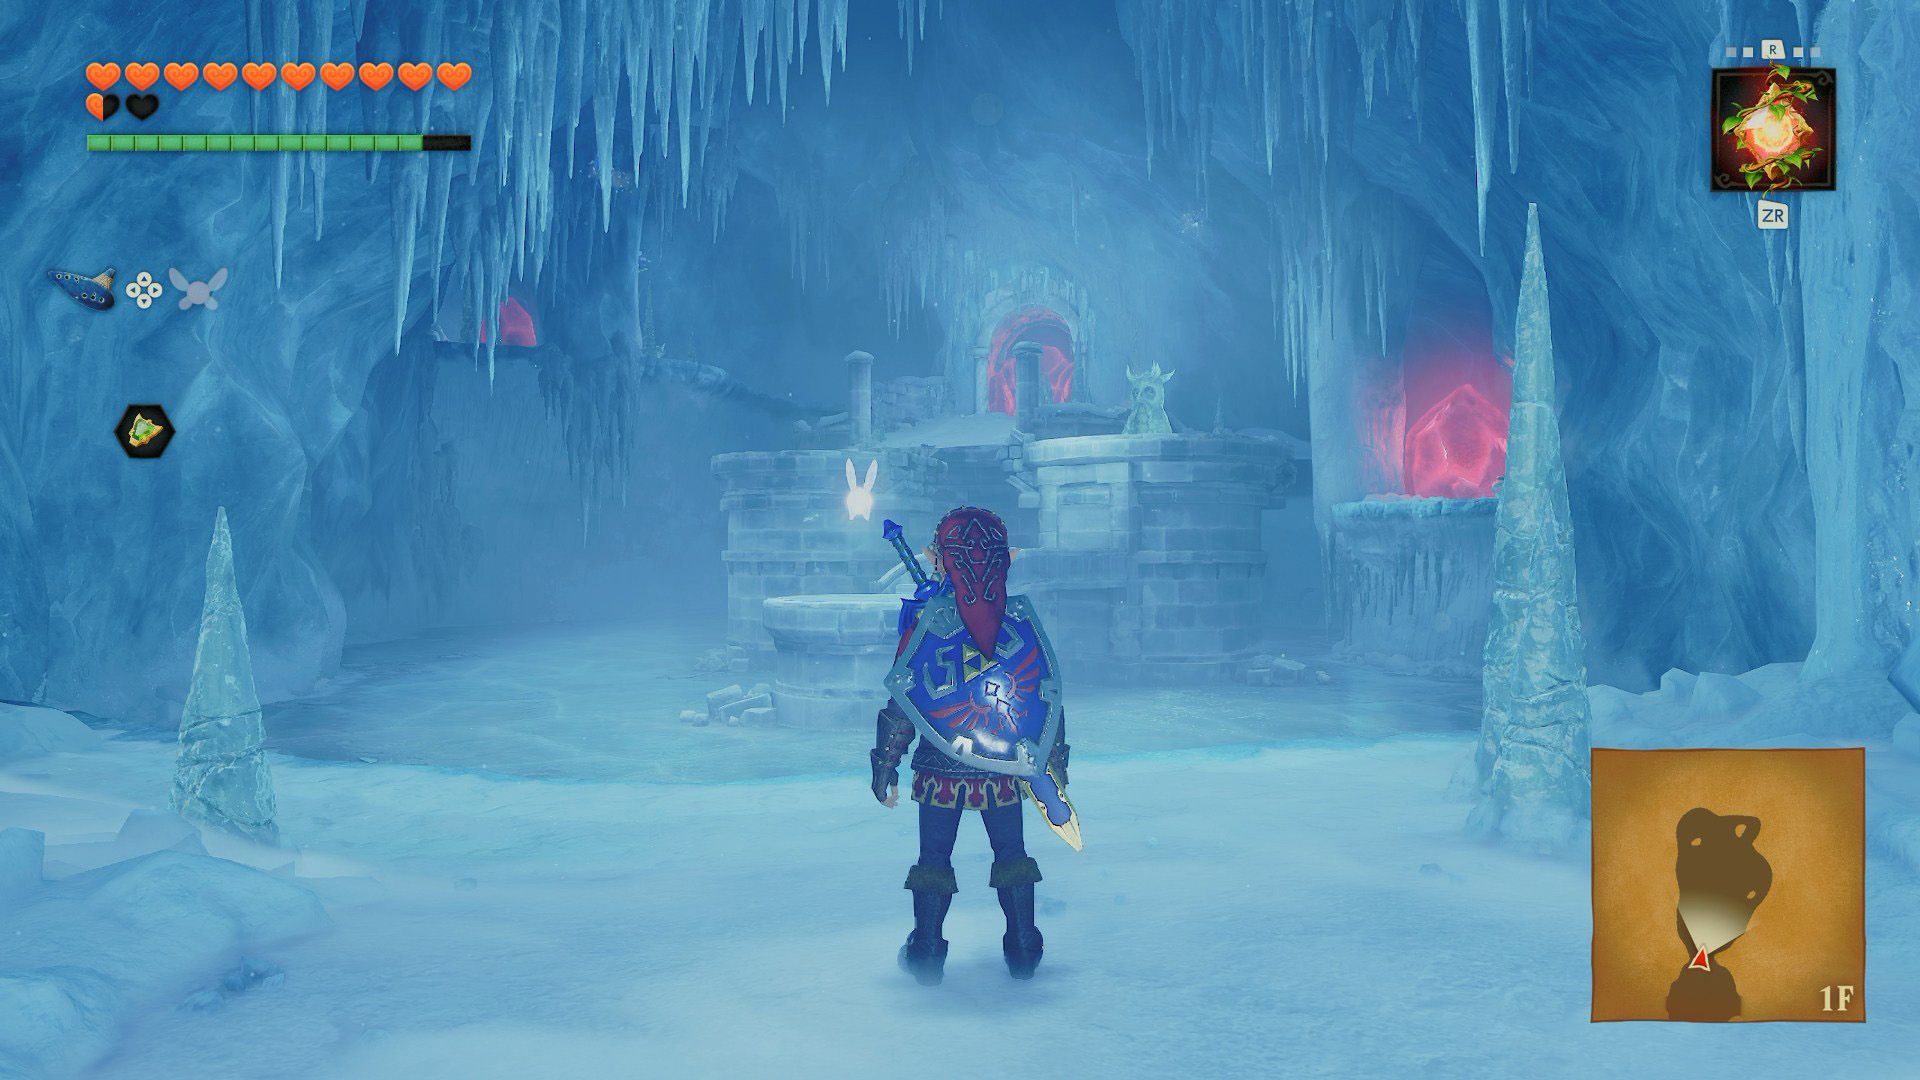
The next room contains several frozen platforms and a Freezard waiting on one of them. Climb up, quickly move behind it to avoid its breath, and defeat it with your sword. Ice Keese also fly around the room; shoot them with your bow or wait for them to swoop within reach. More Freezards appear on the ground, so take care if you fall.
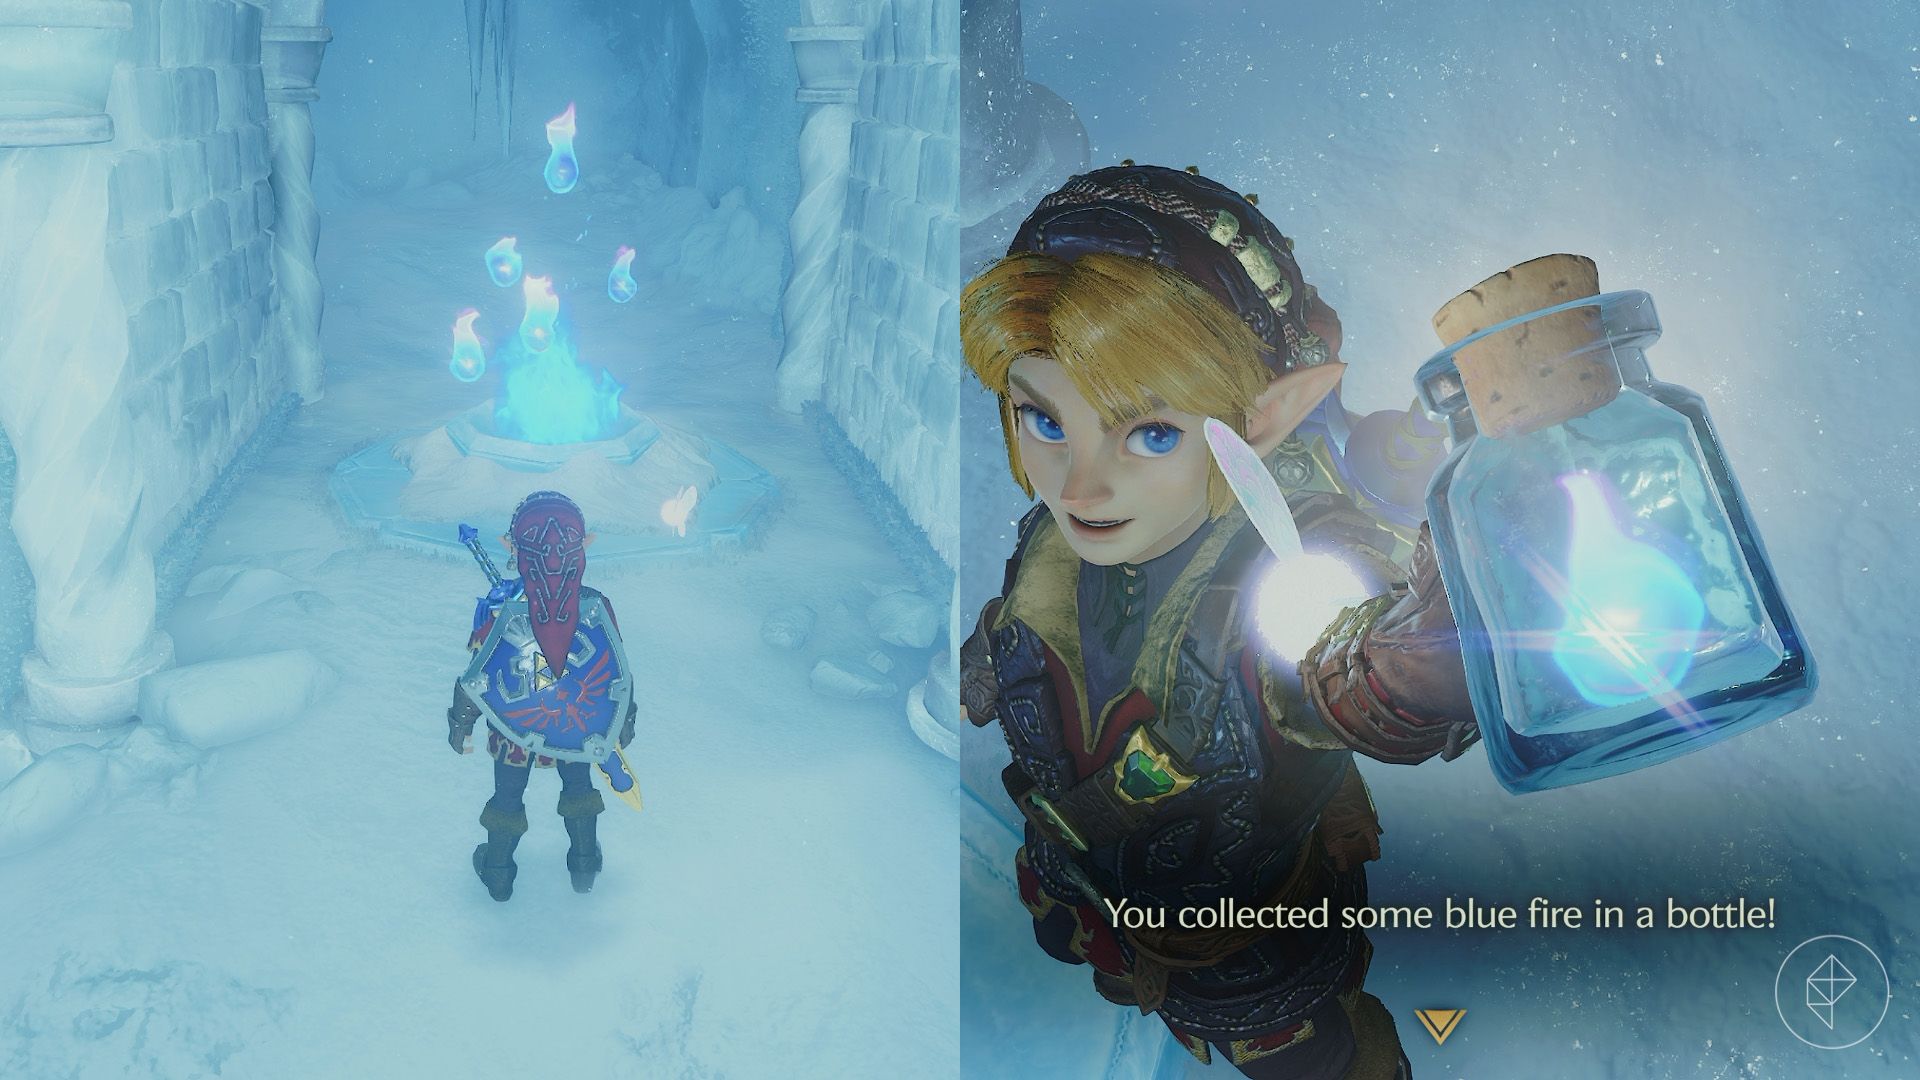
Jump to the final platform and break the stalagmite in front of the red ice. Blue fire will melt the ice, allowing you to collect some in an empty bottle. Fill any extra bottles you have as well.
Continue along the path to find a Freezard and a chest trapped in red ice. Defeat the enemy, melt the ice with blue fire, and open the chest for the dungeon map. Refill your bottle before leaving.
Part 2: Finding the compass
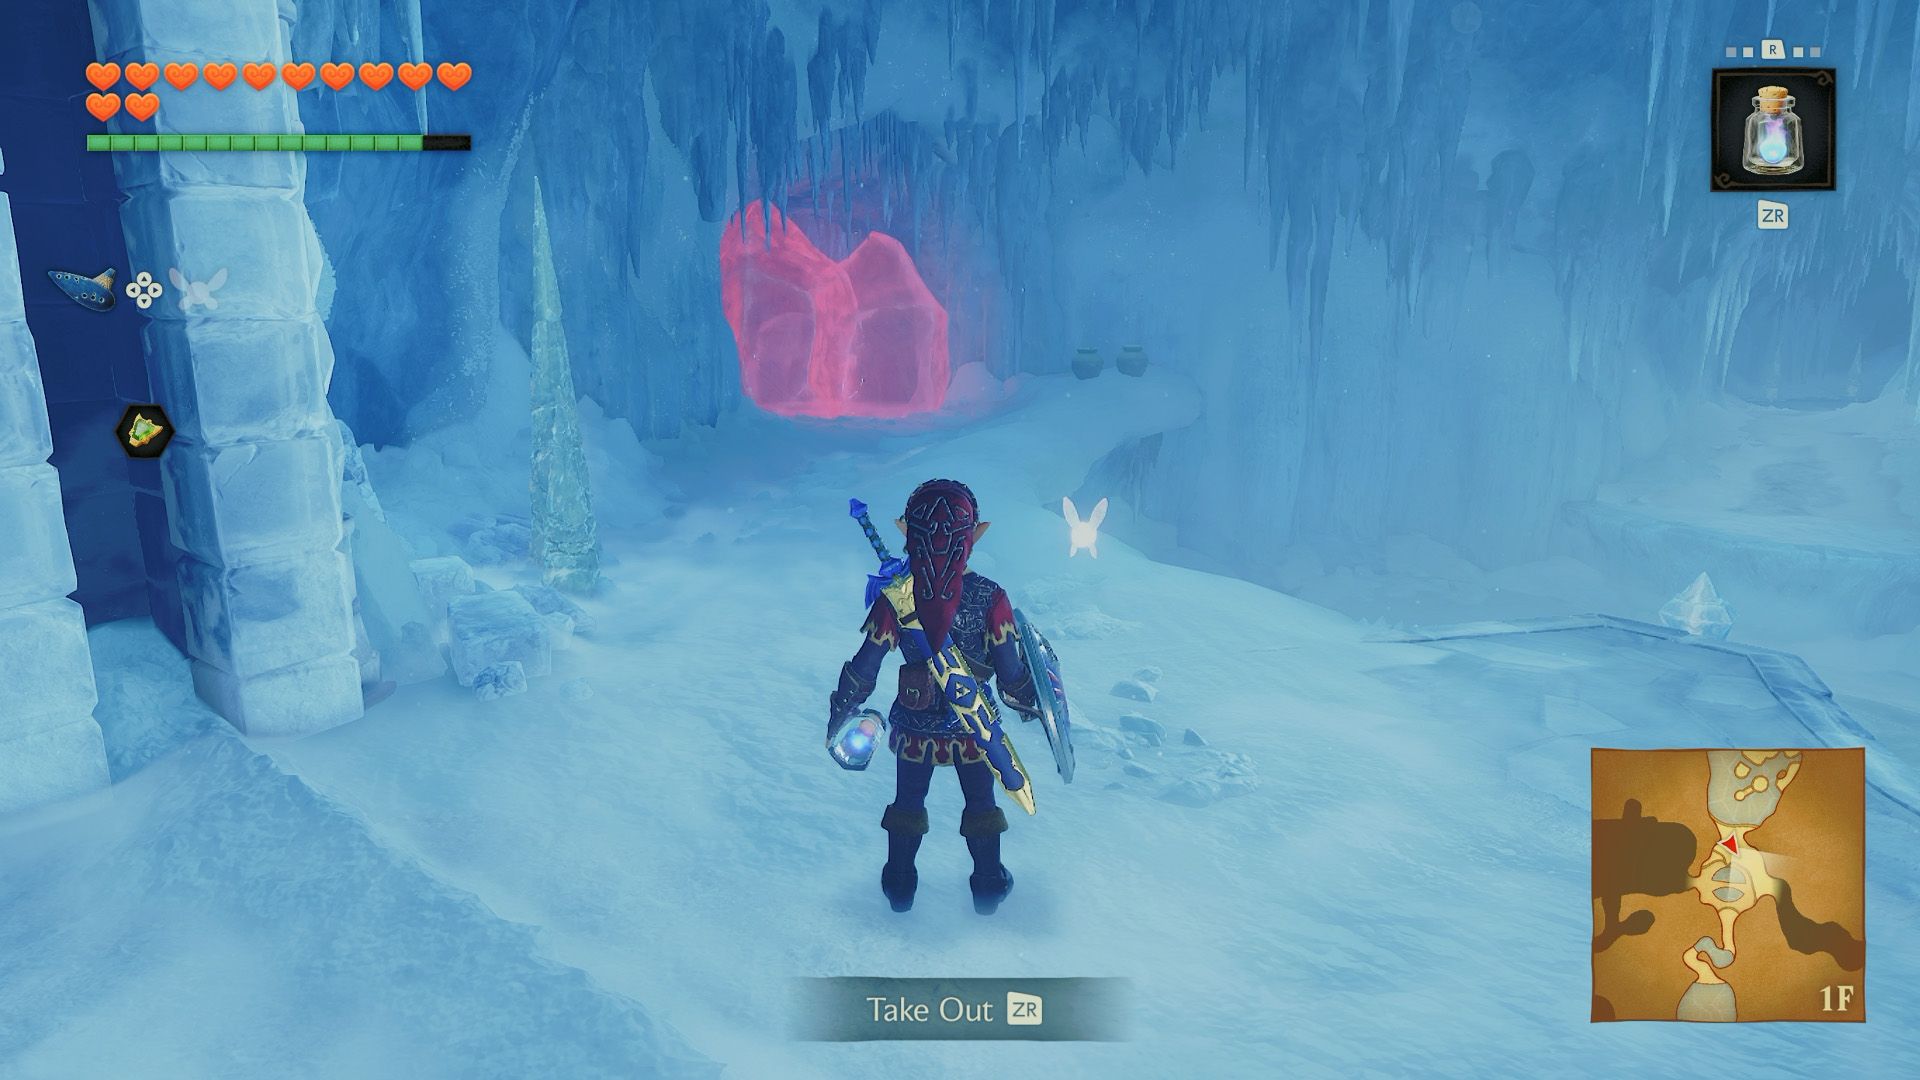
Return to the room with the rotating blade. There are two red ice barriers, one on either side. Approach the one on the left first, but watch out for the nearby Flying Pots. Block them with your shield, then melt the ice.
Follow the passage and lure the Freezard into freezing the first Blade Trap. You can do the same with the second trap, or defeat the Freezard and roll past it. Beyond the traps is a room containing red ice, a chest, and another source of blue fire. Beware of Ice Keese hiding behind the stalagmites. Clear the stalagmites, defeat the Keese, and collect some blue fire.
Melt the red ice to reveal two pots containing blue rupees and a fairy’s thoughts written on the wall. Play the Sun’s Song near the markings to restore your health and magic. Refill your bottle with blue fire before moving on.
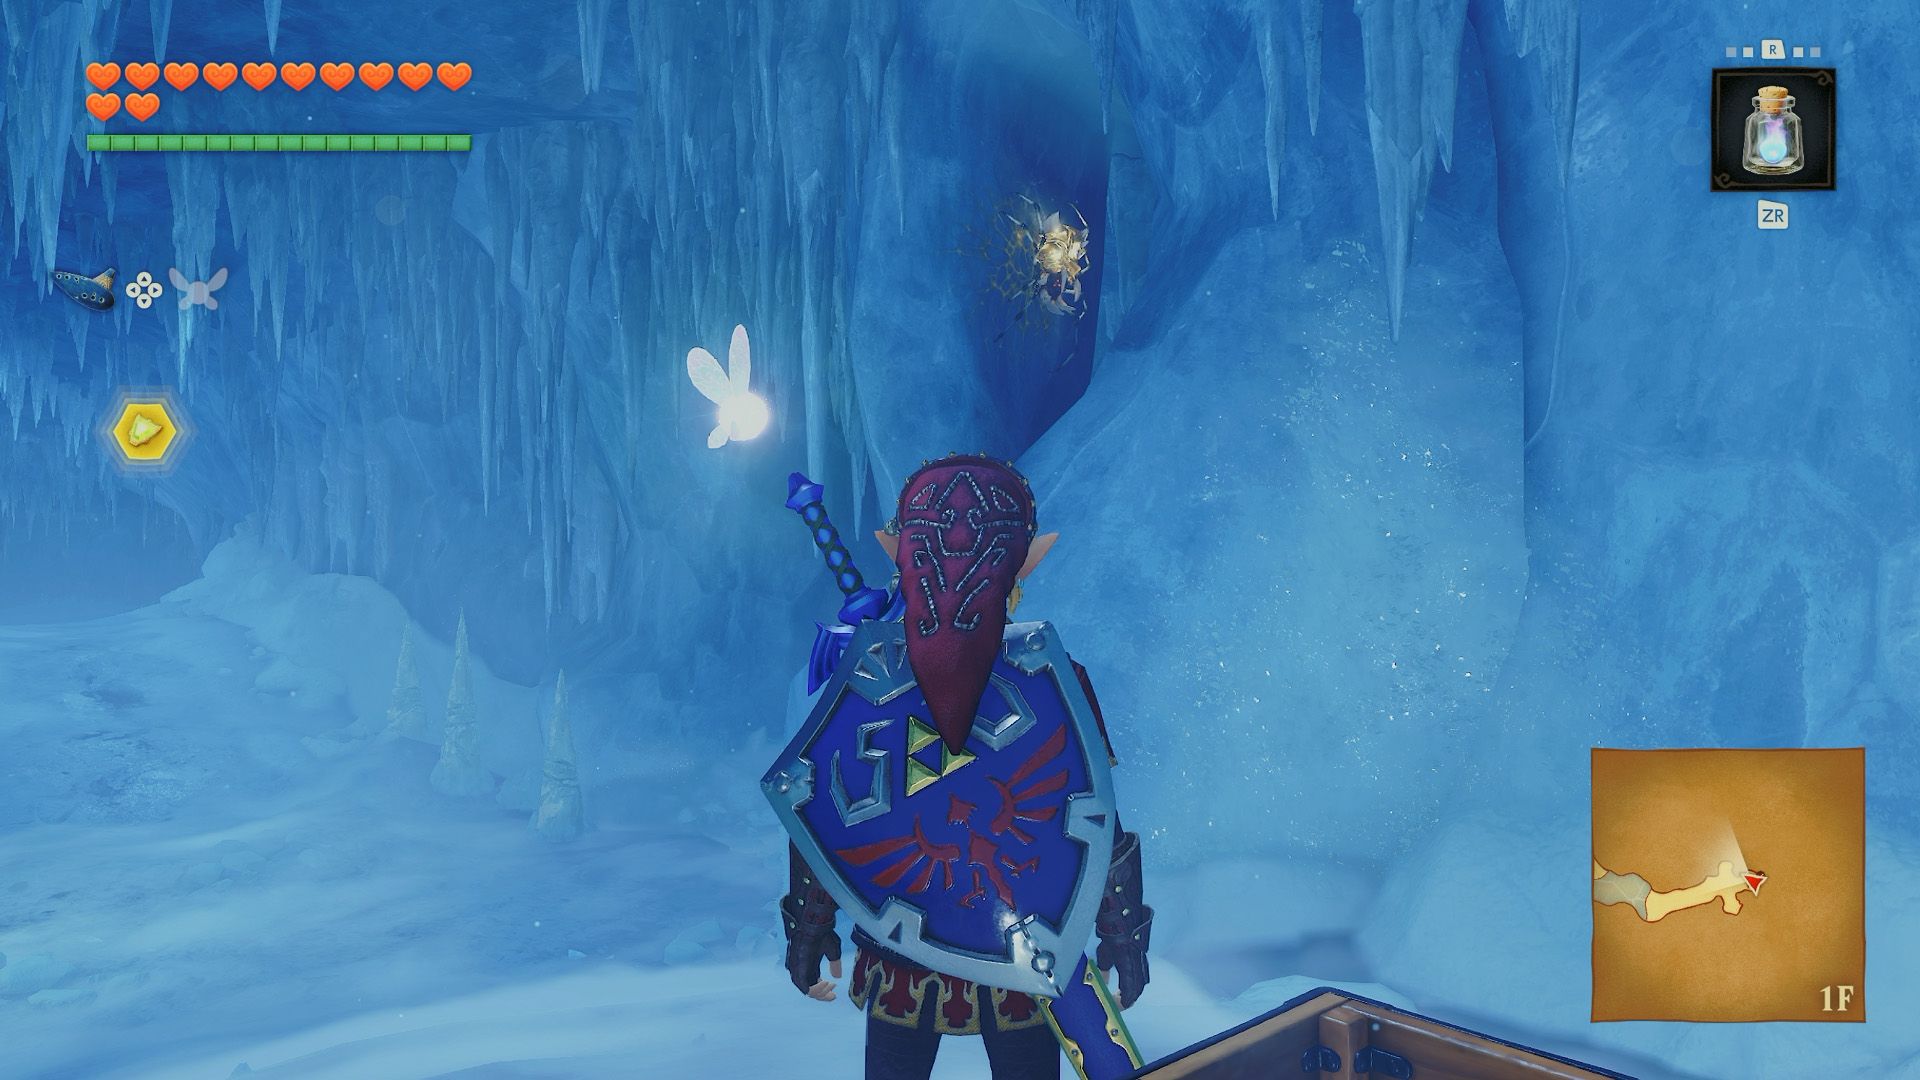
Break the stalagmites guarding the chest, deal with the Ice Keese, and open the chest to obtain the compass. Turn around to spot another Gold Skulltula on the wall, then use your Hookshot to retrieve its token.
Part 3: Getting the Iron Boots
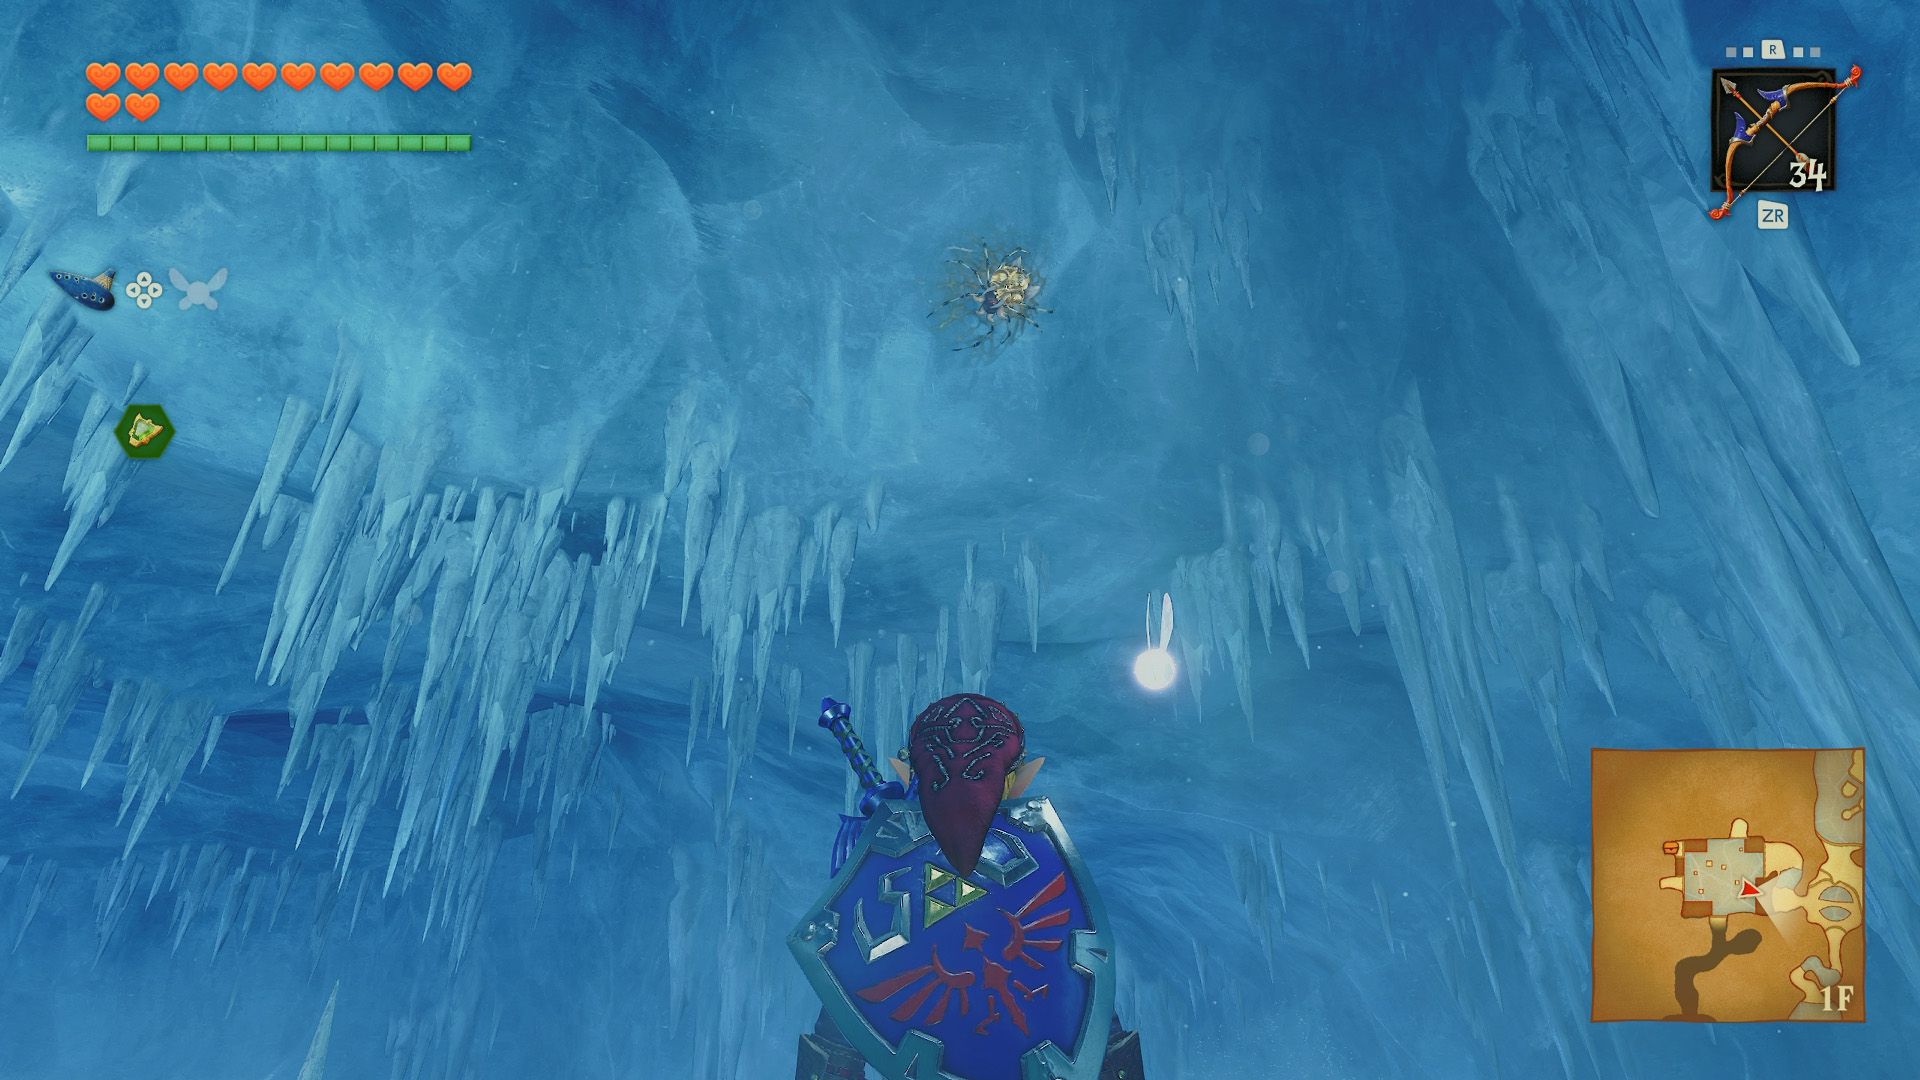
Go back to the rotating blade room and melt the red ice on the lower level. Follow the passage through the stalagmites, keeping an ear out for falling stalactites. Defeat the Ice Keese and step onto the large frozen platform. Turn around to find a Gold Skulltula on the wall, then approach the edge and collect its token with the Hookshot.
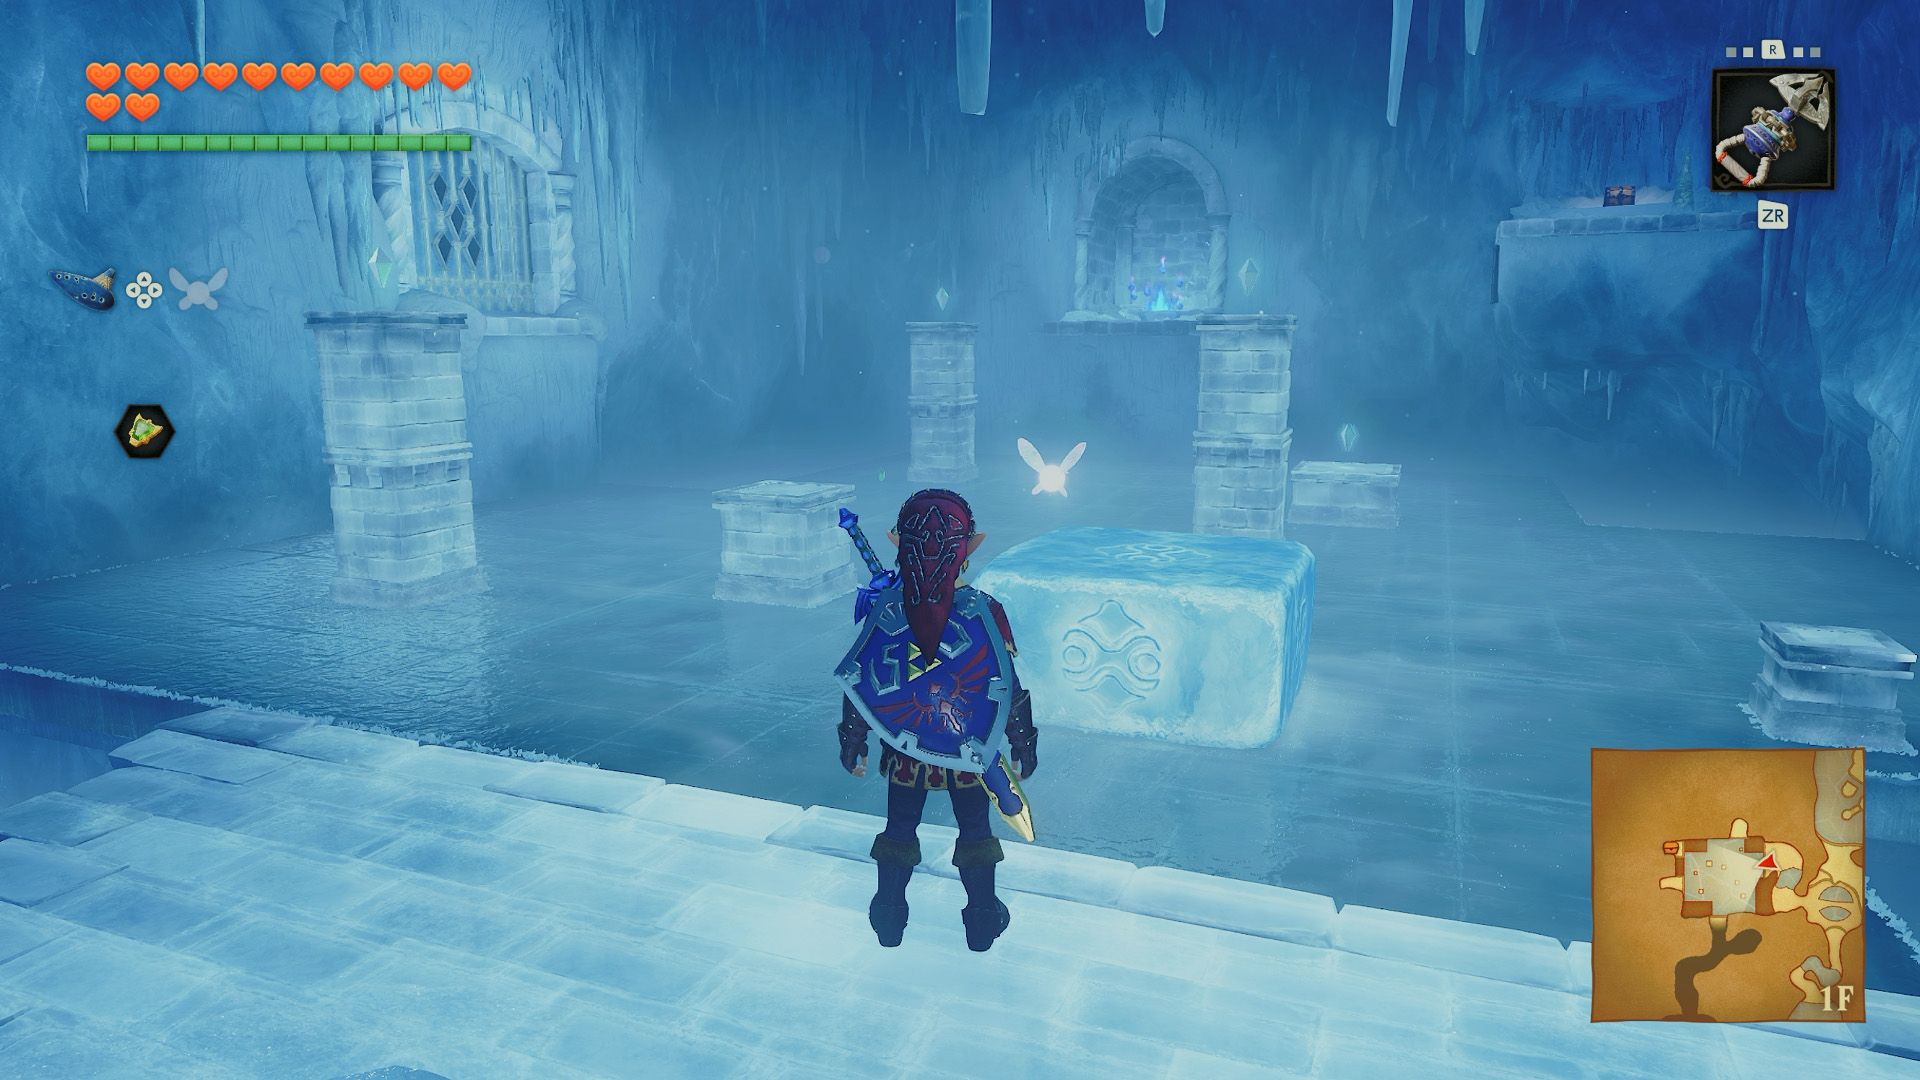
You’ll need another five ice crystals to unlock the door. Four are on the central pillars, while the fifth is trapped in red ice on the northern side of the room. Collect the crystal on the lowest pillar first, then use the square ice block as a step to reach the others.
Push the block south, west, north, and east, climbing onto the pillars to collect crystals as you go.
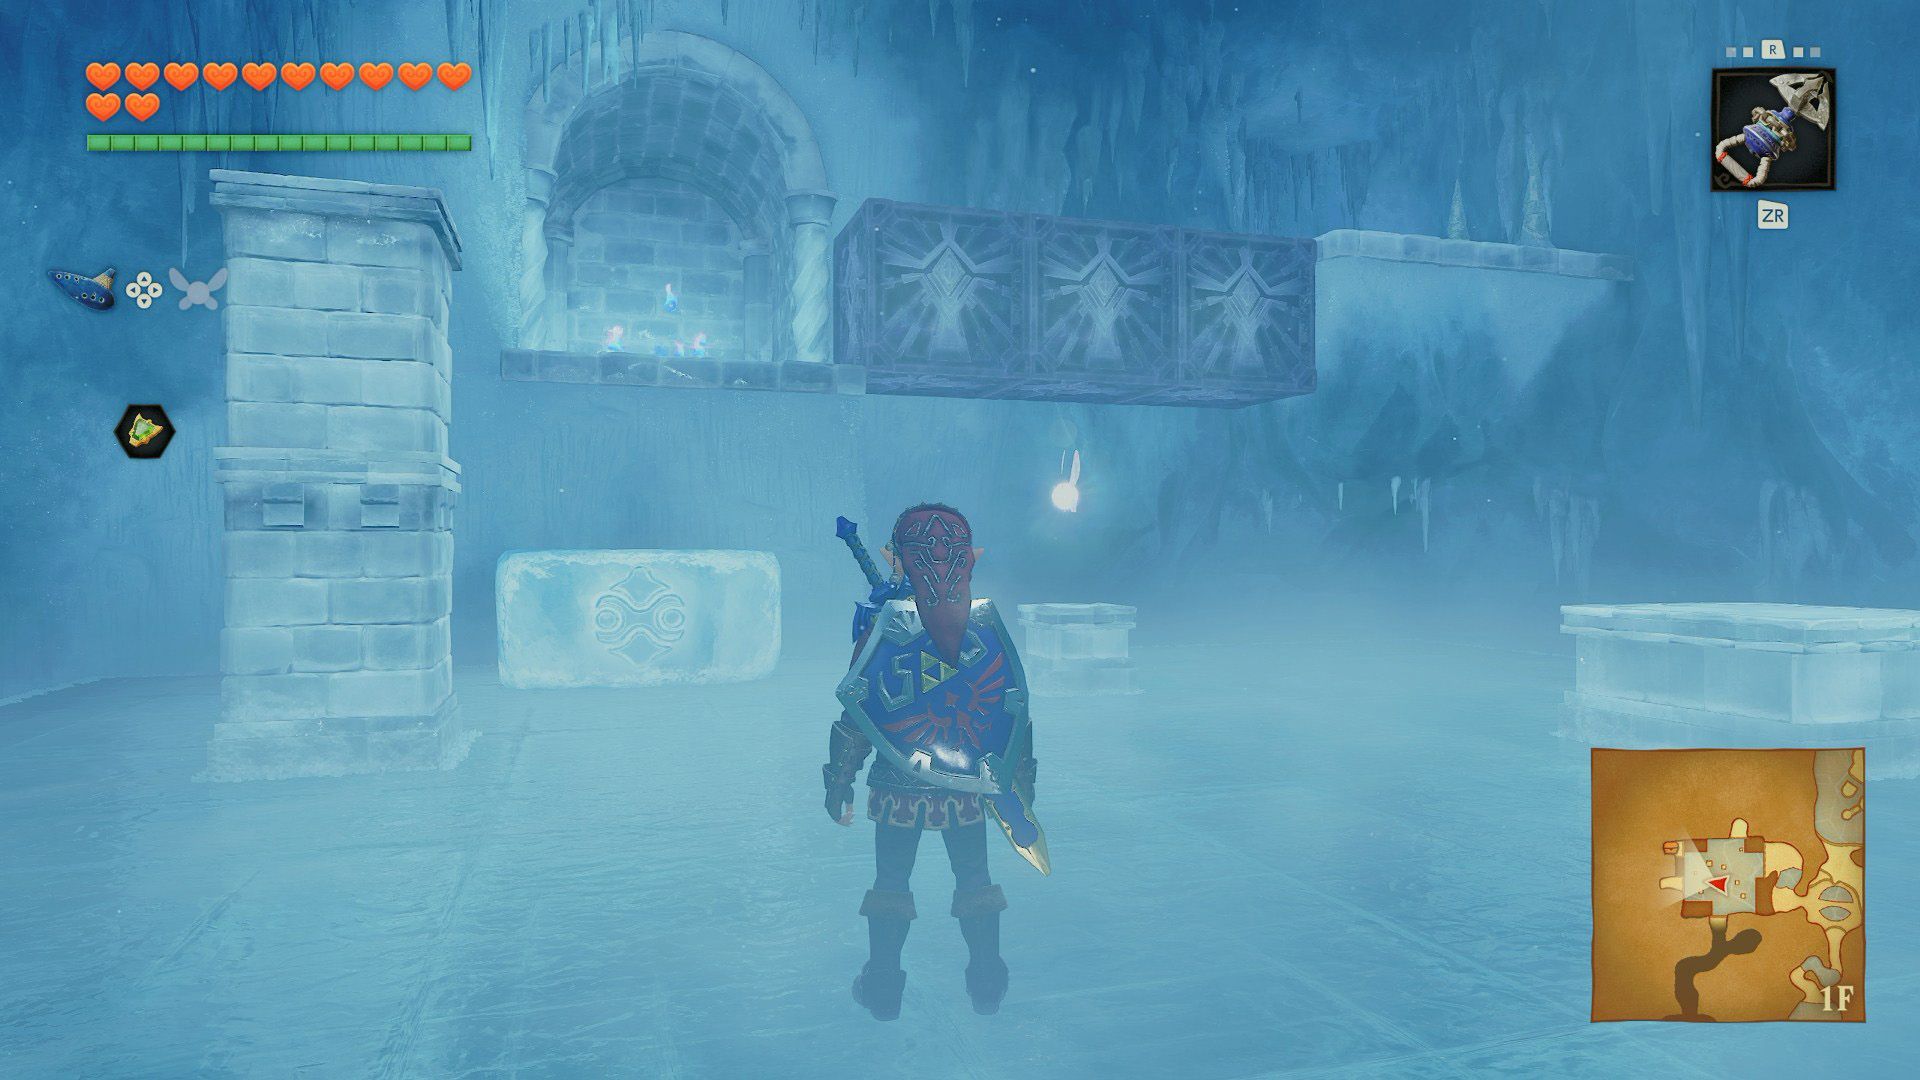
Next, push the block west, south, and west to position it beneath the blue fire. Before climbing up, move slightly north and look for the familiar Temple of Time symbol on the wall. Play the Song of Time (A – L – R – A – L – R) to create a bridge.
Climb the block, bottle some blue fire, and cross the bridge to open a chest containing a red rupee.
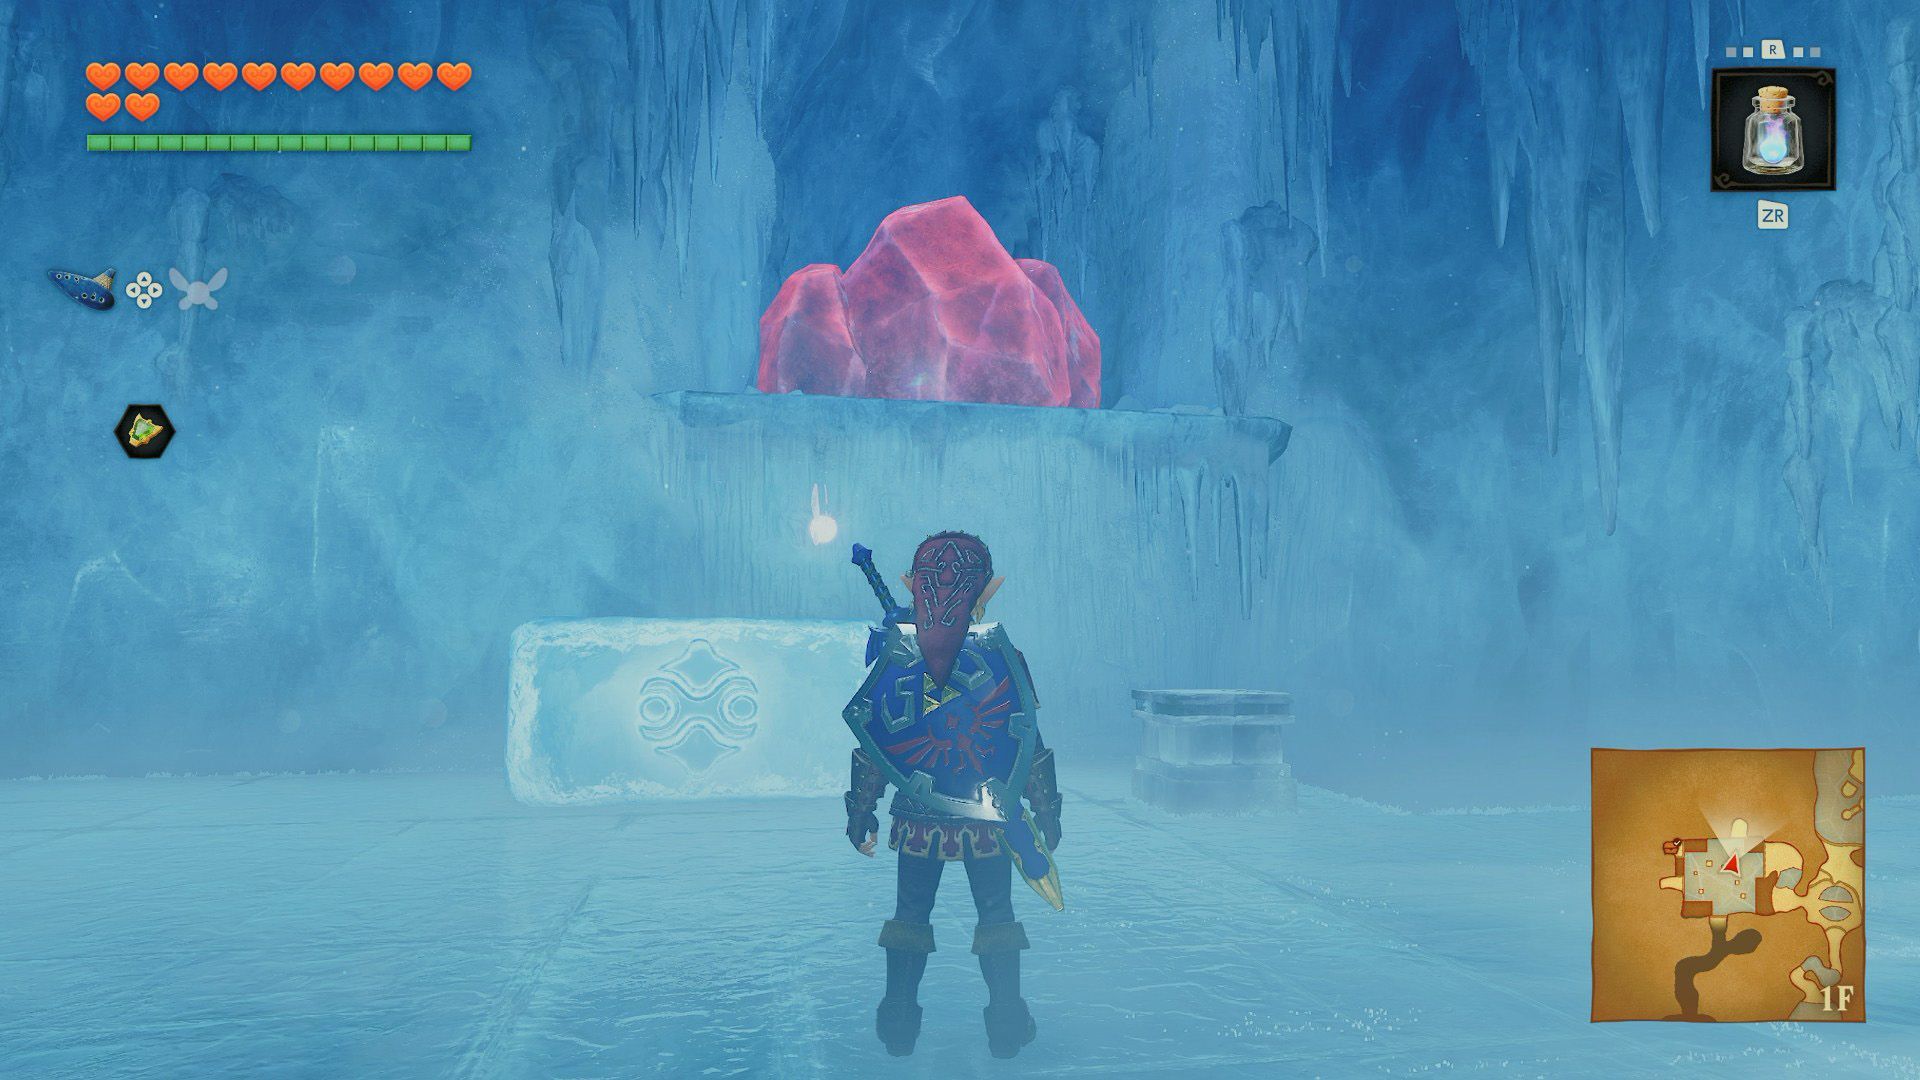
Drop down and push the block off the edge to reset it. From its starting position, push it west and then north so it stops beneath the red ice. Climb up, melt the ice, and collect the final crystal to open the southern door.
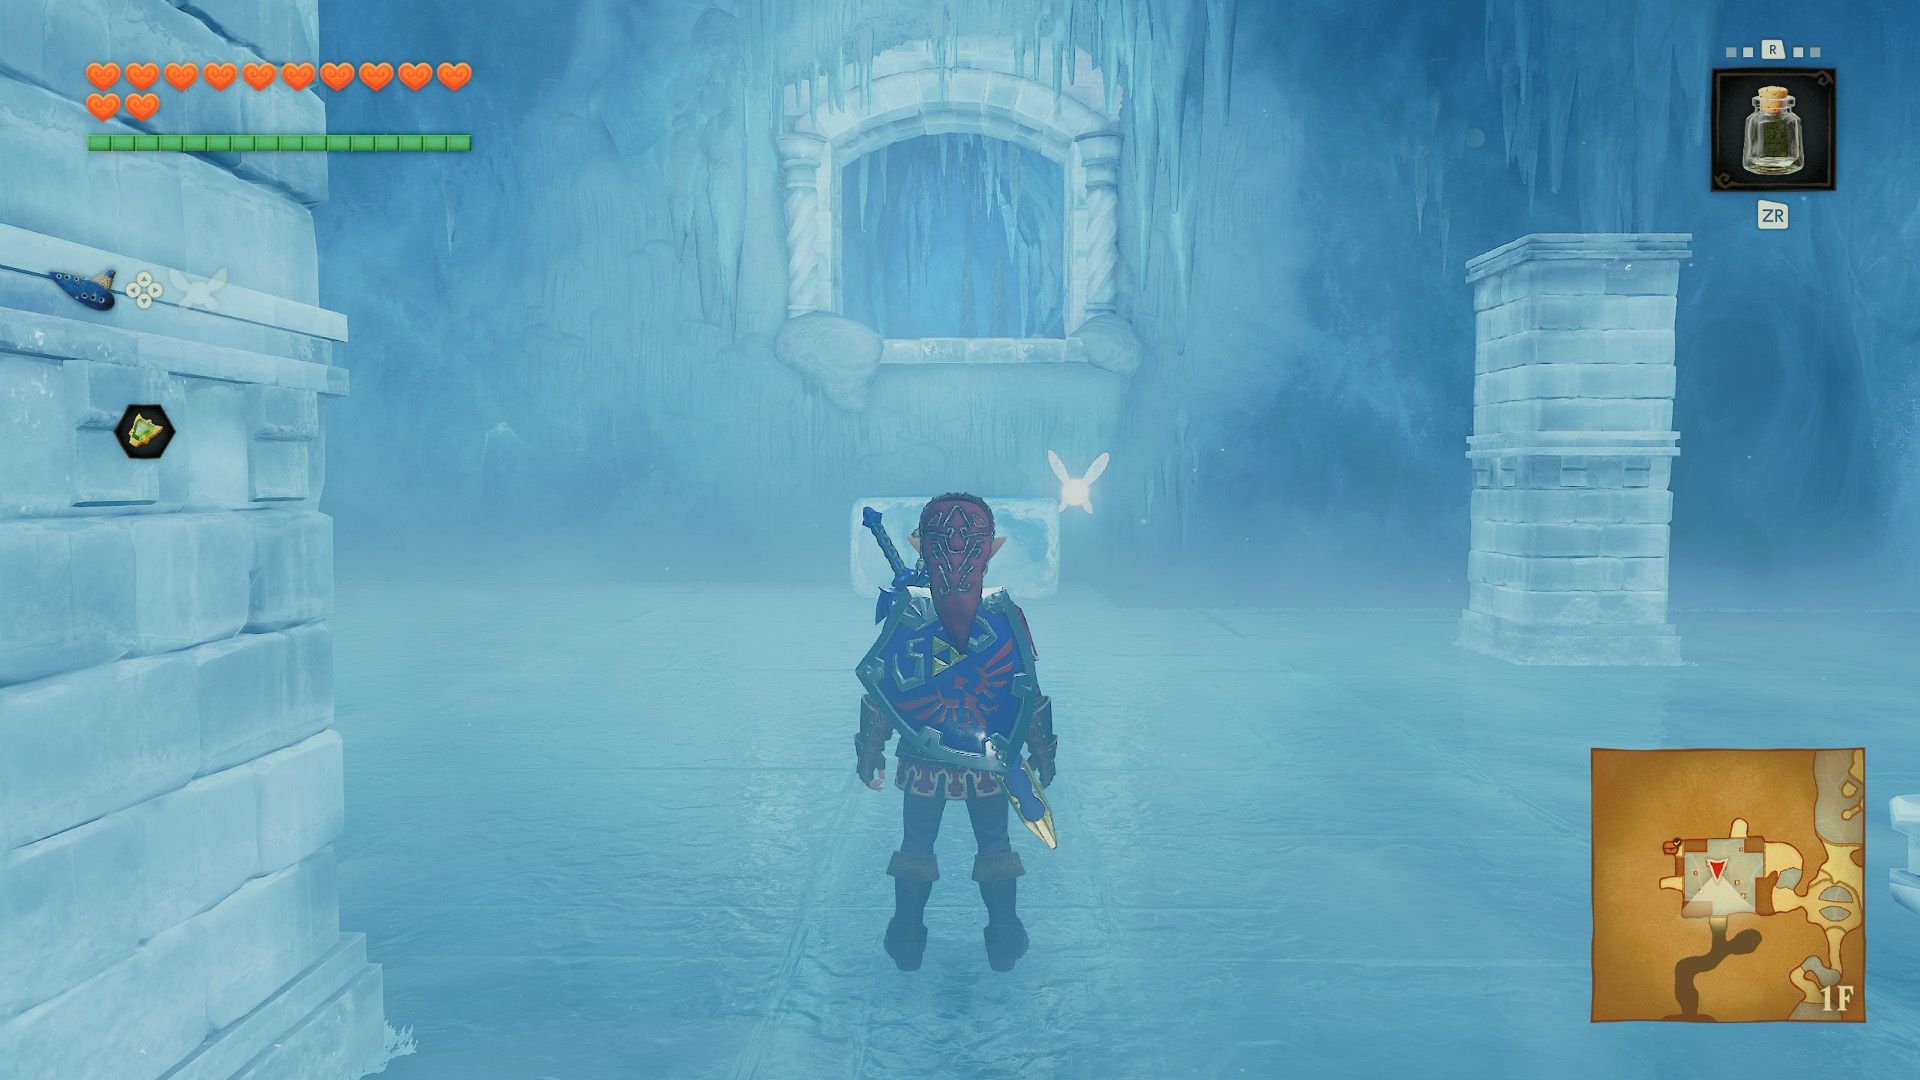
Push the block off the edge once more to reset it. This time, move it south, west, north, east, and south. It should come to rest beneath the open doorway. Climb up and head inside.
Take the steps on the left, watching for stalactites at the top. Collect blue fire in your bottle and defeat the Freezard to the south. Climb up to find another Freezard; wait for its icy breath to stop before attacking. Melt the red ice with your bottled fire and proceed through the door.
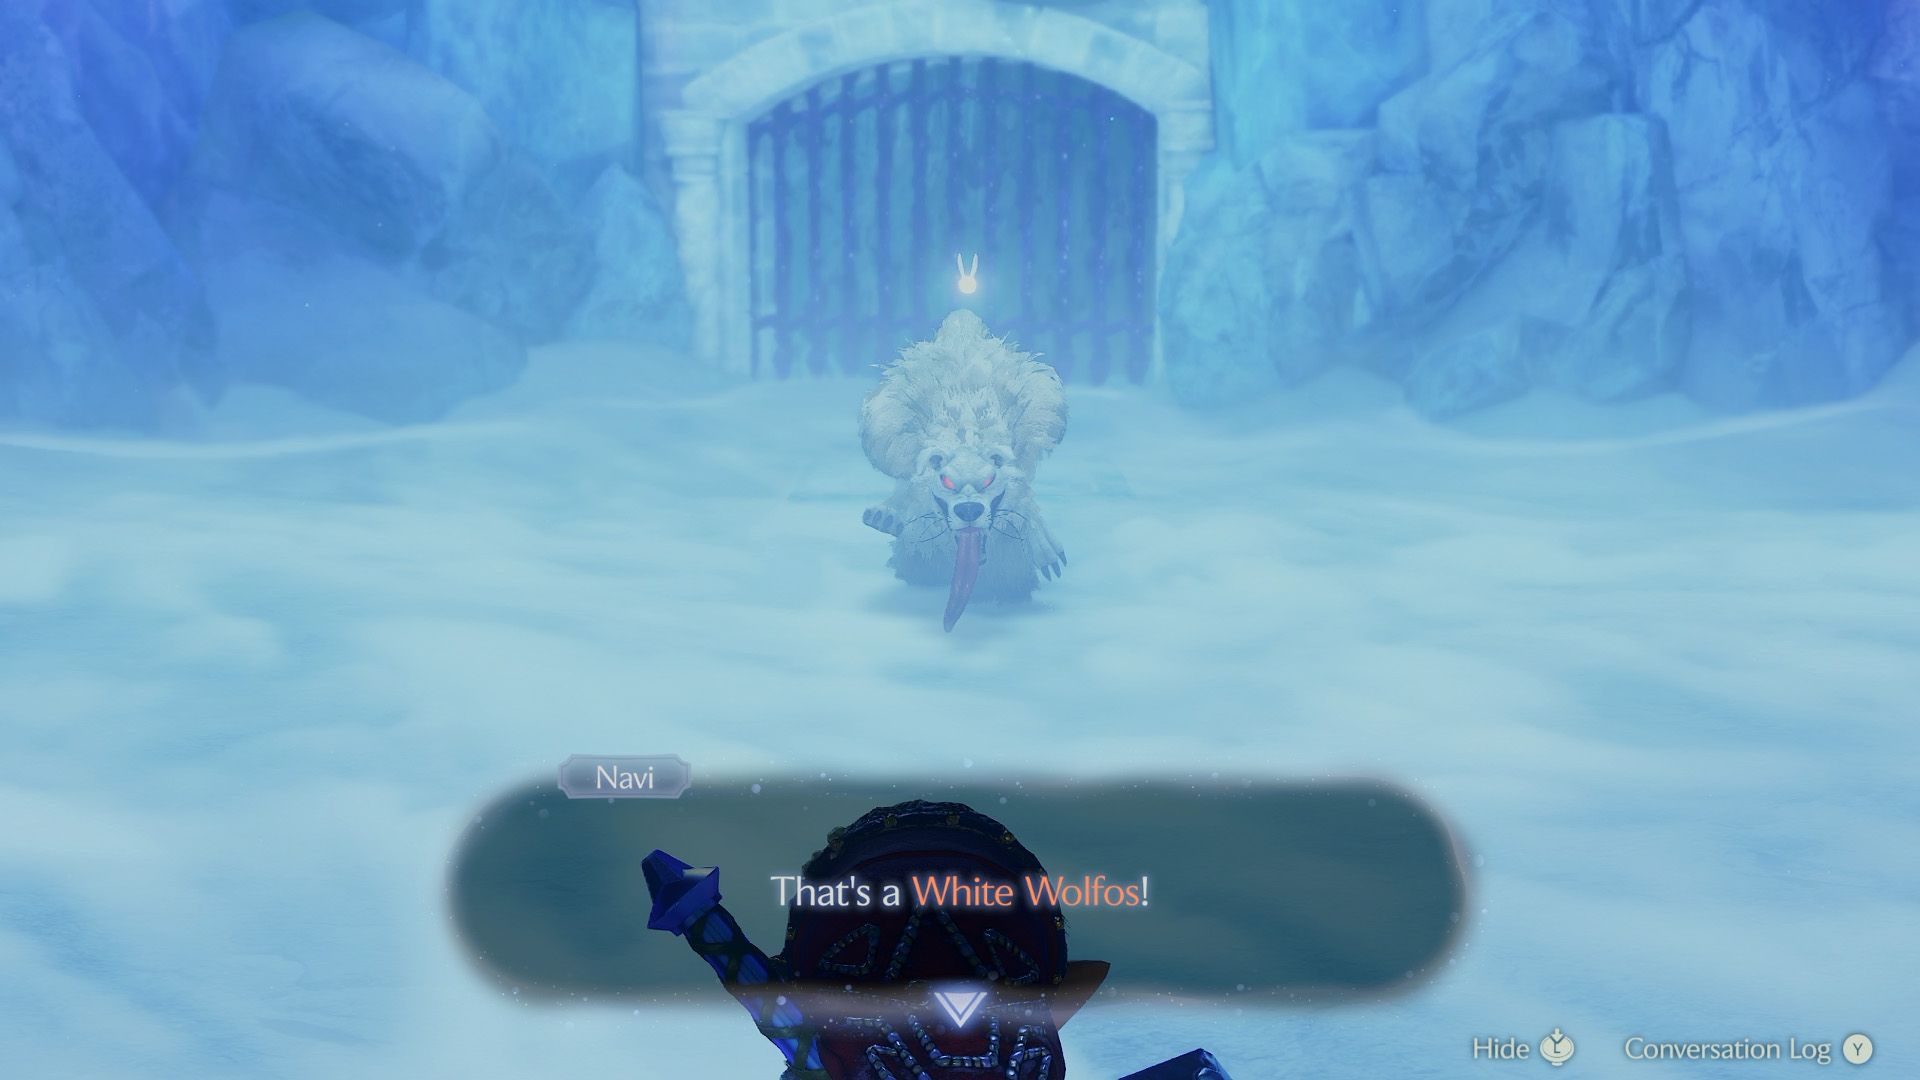
The next chamber contains a White Wolfos. It fights much like an ordinary Wolfos, but its attacks can freeze you. Backflip just before it swings to avoid both attacks, then strike when it turns and exposes its back. Once it is defeated, open the chest to claim the Iron Boots.
Sheik appears afterward and reveals that Princess Ruto has gone to the Water Temple. You’ll also learn the Serenade of Water (L – R – A – A – Y), which teleports you to the Water Temple grounds in Lake Hylia.
Follow the southern passage and bottle some blue fire to use on King Zora. Open the Equipment menu and equip the Iron Boots. Once equipped, you can quickly put them on or take them off by pressing down on the D-pad.
Walk into the water and sink to the bottom, then follow the underwater exit back to Zora’s Fountain. Remove the boots to return to the surface.
Source: Polygon
Related articles
 Phantom Blade Zero Generates Estimated Hundreds of Millions Without an Xbox Release
 Famitsu Gives The Legend of Zelda: Ocarina of Time Remake 37 out of 40 in First Review
 Switch 2 Cartridge Manufacturer Exits the Market
 Microsoft’s Alligator Xbox May Be a GTA VI Marketing Workaround
 Analysts Say Gran Turismo 7 Is Not on PS Plus Because It Has Earned Sony Hundreds of Millions of Dollars
 Mike Flanagan Hints at Unexpected Approach to Warhammer 40,000 Series Starring Henry Cavill
 The Legend of Zelda: Ocarina of Time – Shadow Temple Dungeon Walkthrough
 The Legend of Zelda: Ocarina of Time — Spirit Temple Dungeon Walkthrough