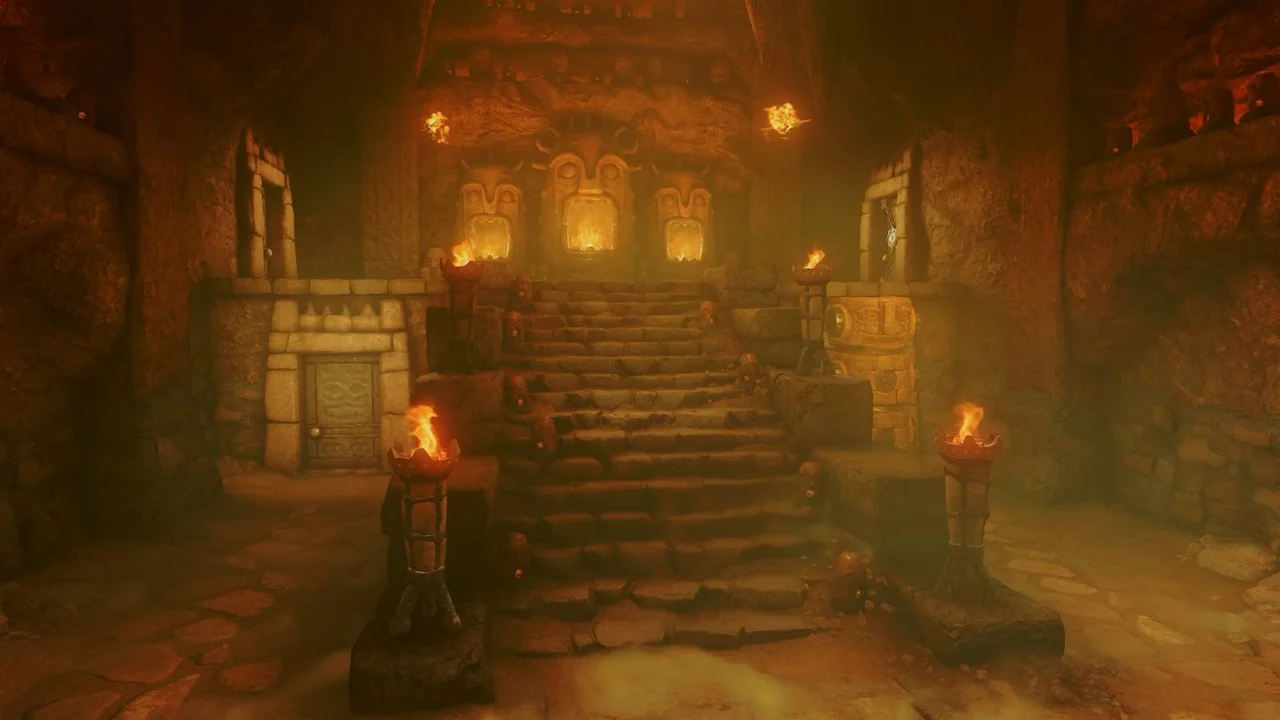
Fire Temple Dungeon Walkthrough – The Legend of Zelda: Ocarina of Time
The Fire Temple lies within Death Mountain Crater in The Legend of Zelda: Ocarina of Time remake. It is likely to be the second dungeon you explore as adult Link.
Before entering, pick up a Goron Tunic in Goron City to protect yourself from the heat. Inside, you’ll face fire traps and blazing enemies, but a powerful weapon awaits deeper in the temple.
It’s also worth unlocking the Scarecrow Song before you begin. As young Link, play a song for the scarecrows at Lake Hylia, then return and replay it after traveling to the future.
Part 1: Finding the Dungeon Map and Compass
Climb the stairs and enter the door on the left to meet Darunia. He explains that Ganondorf has resurrected the dragon Volvagia and asks you to rescue the nine Gorons imprisoned throughout the temple before you enter the boss room.
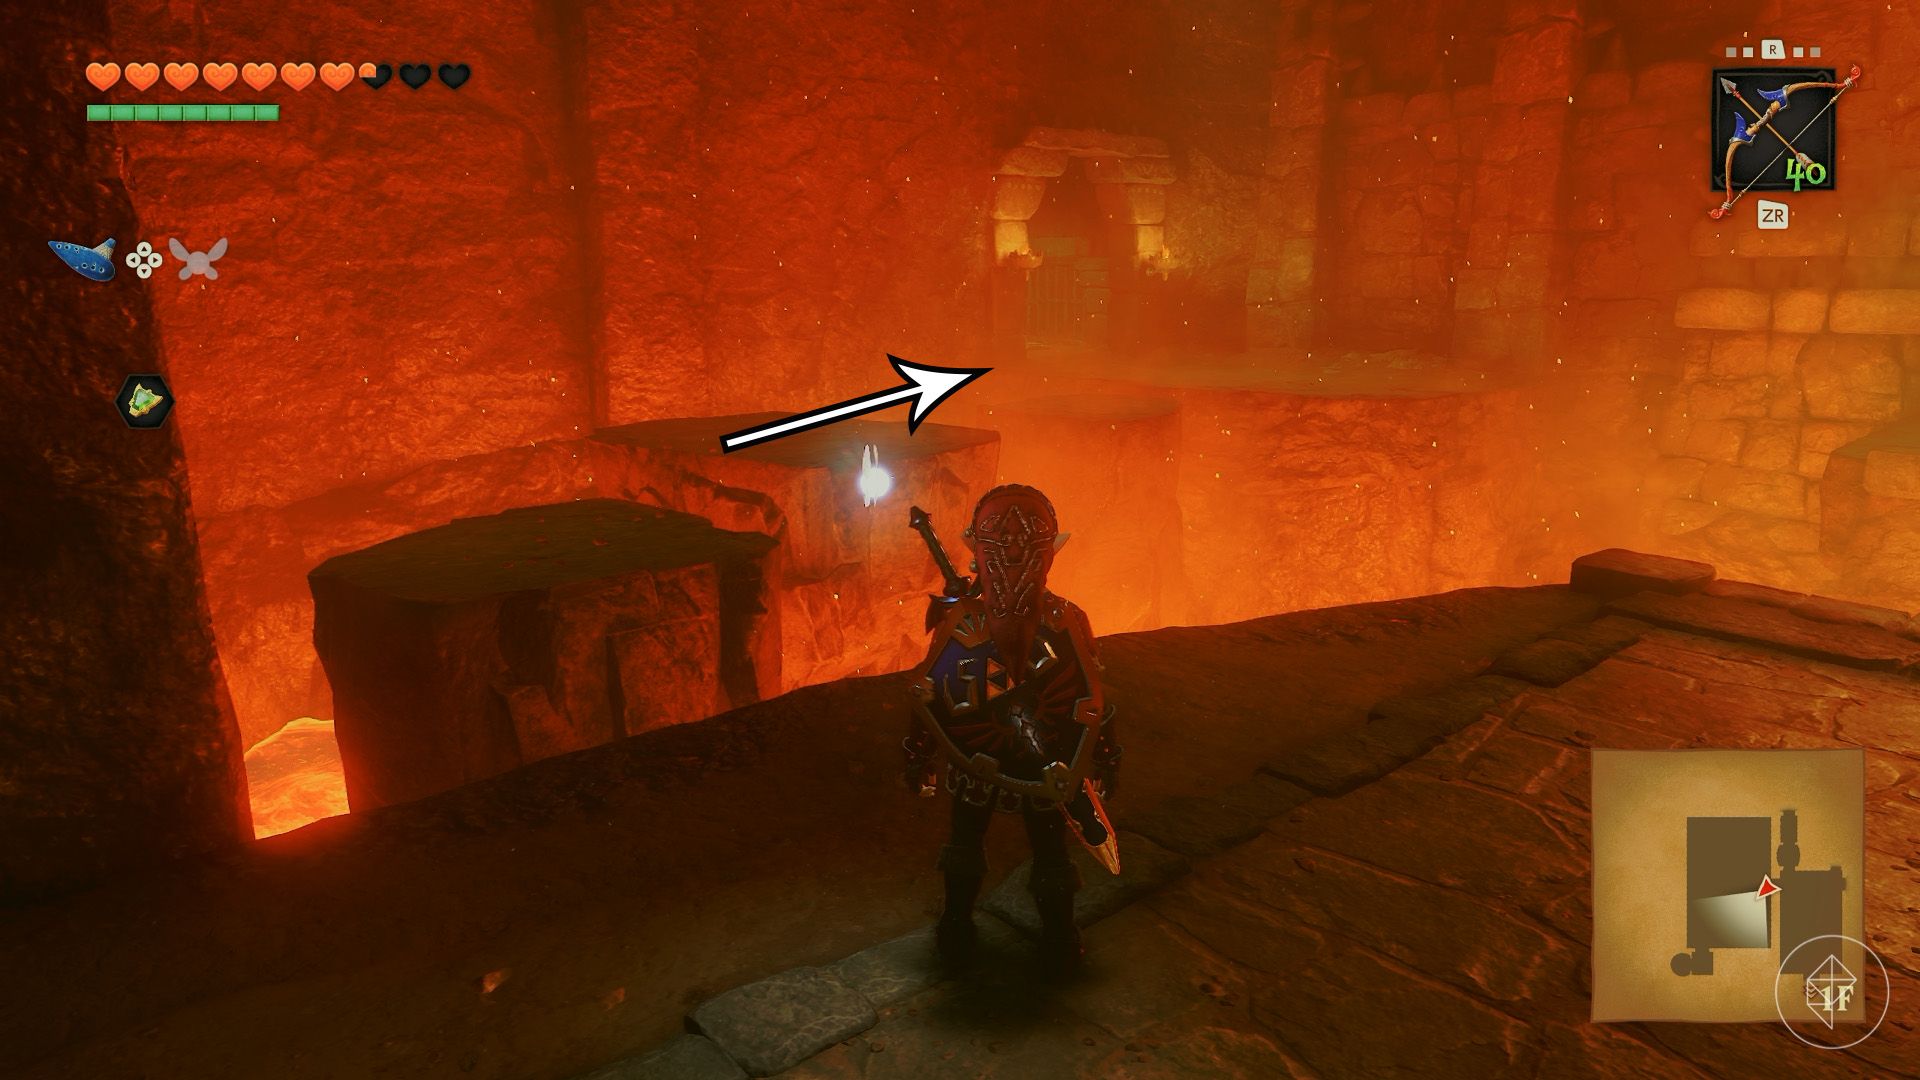
After the cutscene, cross the platforms to your left and step on the switch to release the first Goron. Open the nearby chest for a small key. The Goron mentions a rock suspended from the ceiling, but you can’t reach it yet, so return to the main room.
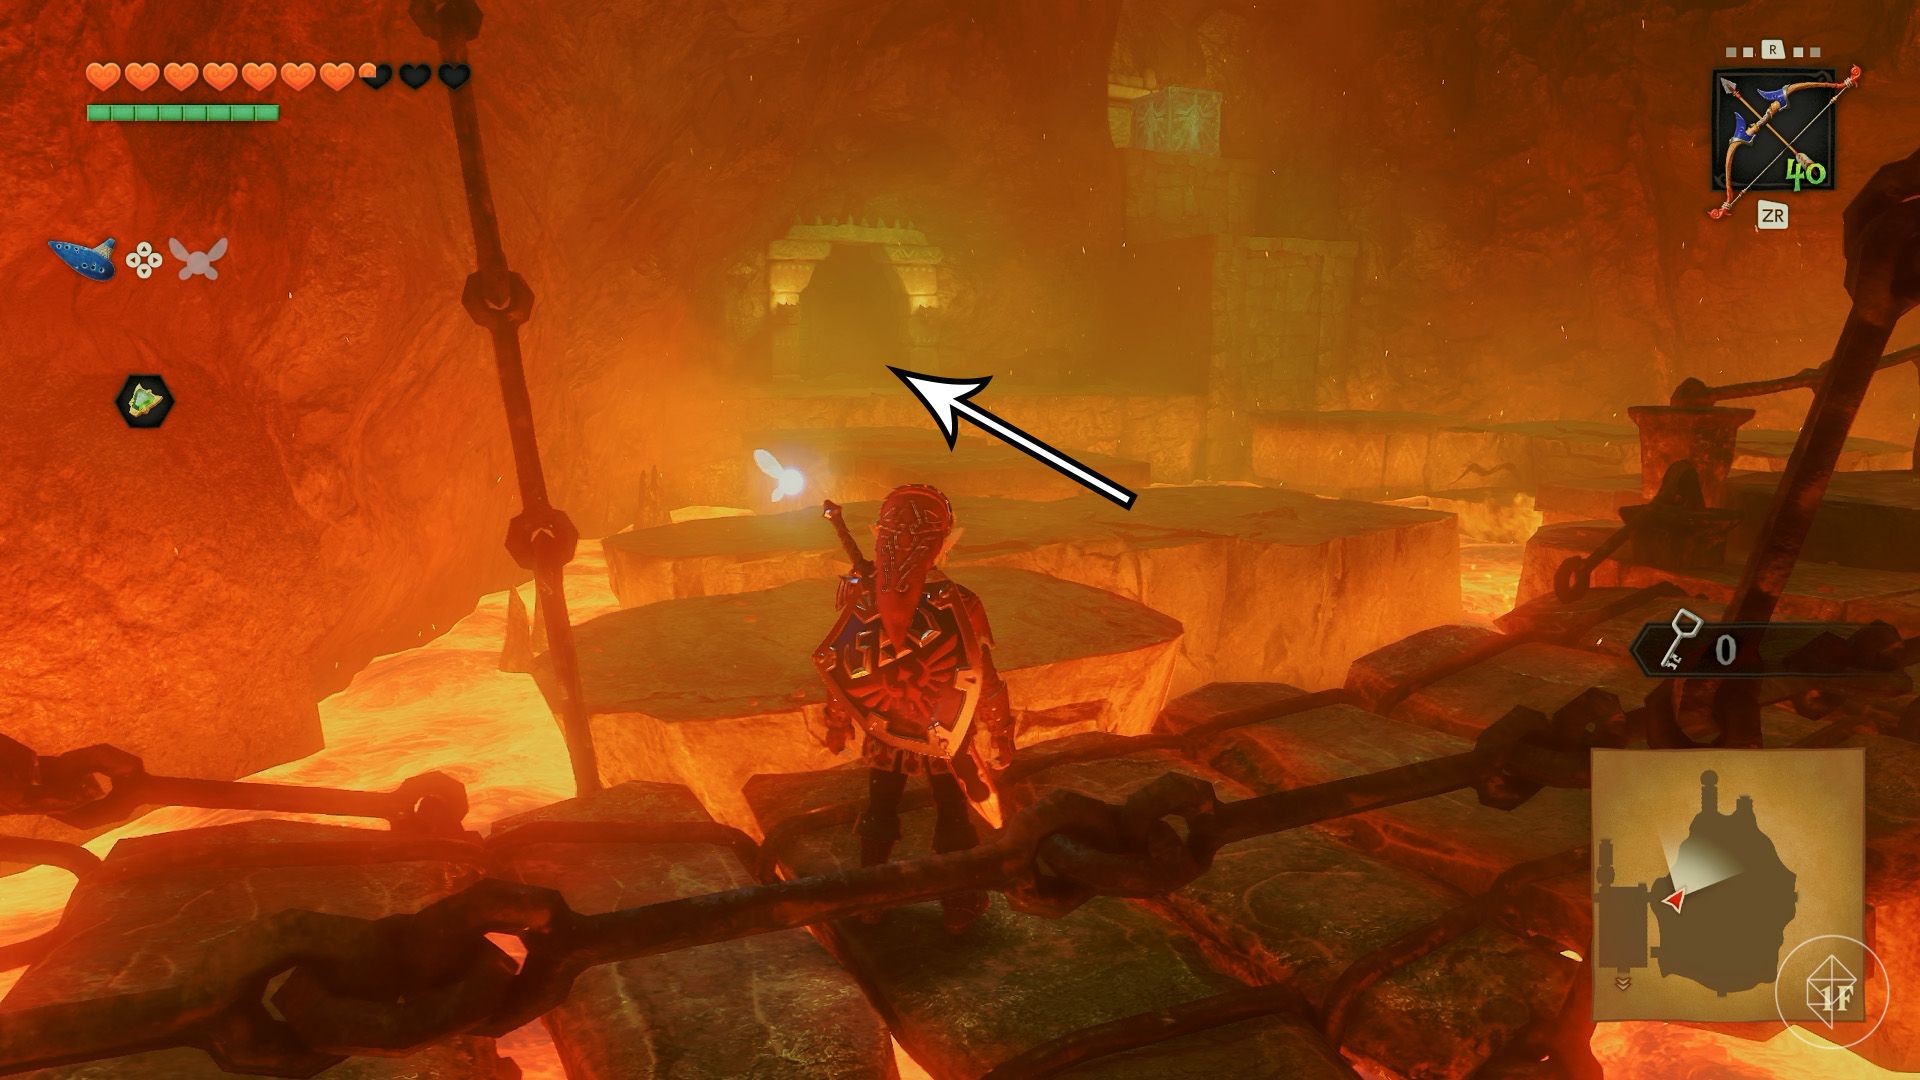
Use the key to unlock the door across the room. Beyond it, platforms float over lava on either side. Cross those on the left, moving quickly because the square platforms sink when you land on them. Enter the doorway, step on the switch to free the second Goron, and collect another small key from the chest.
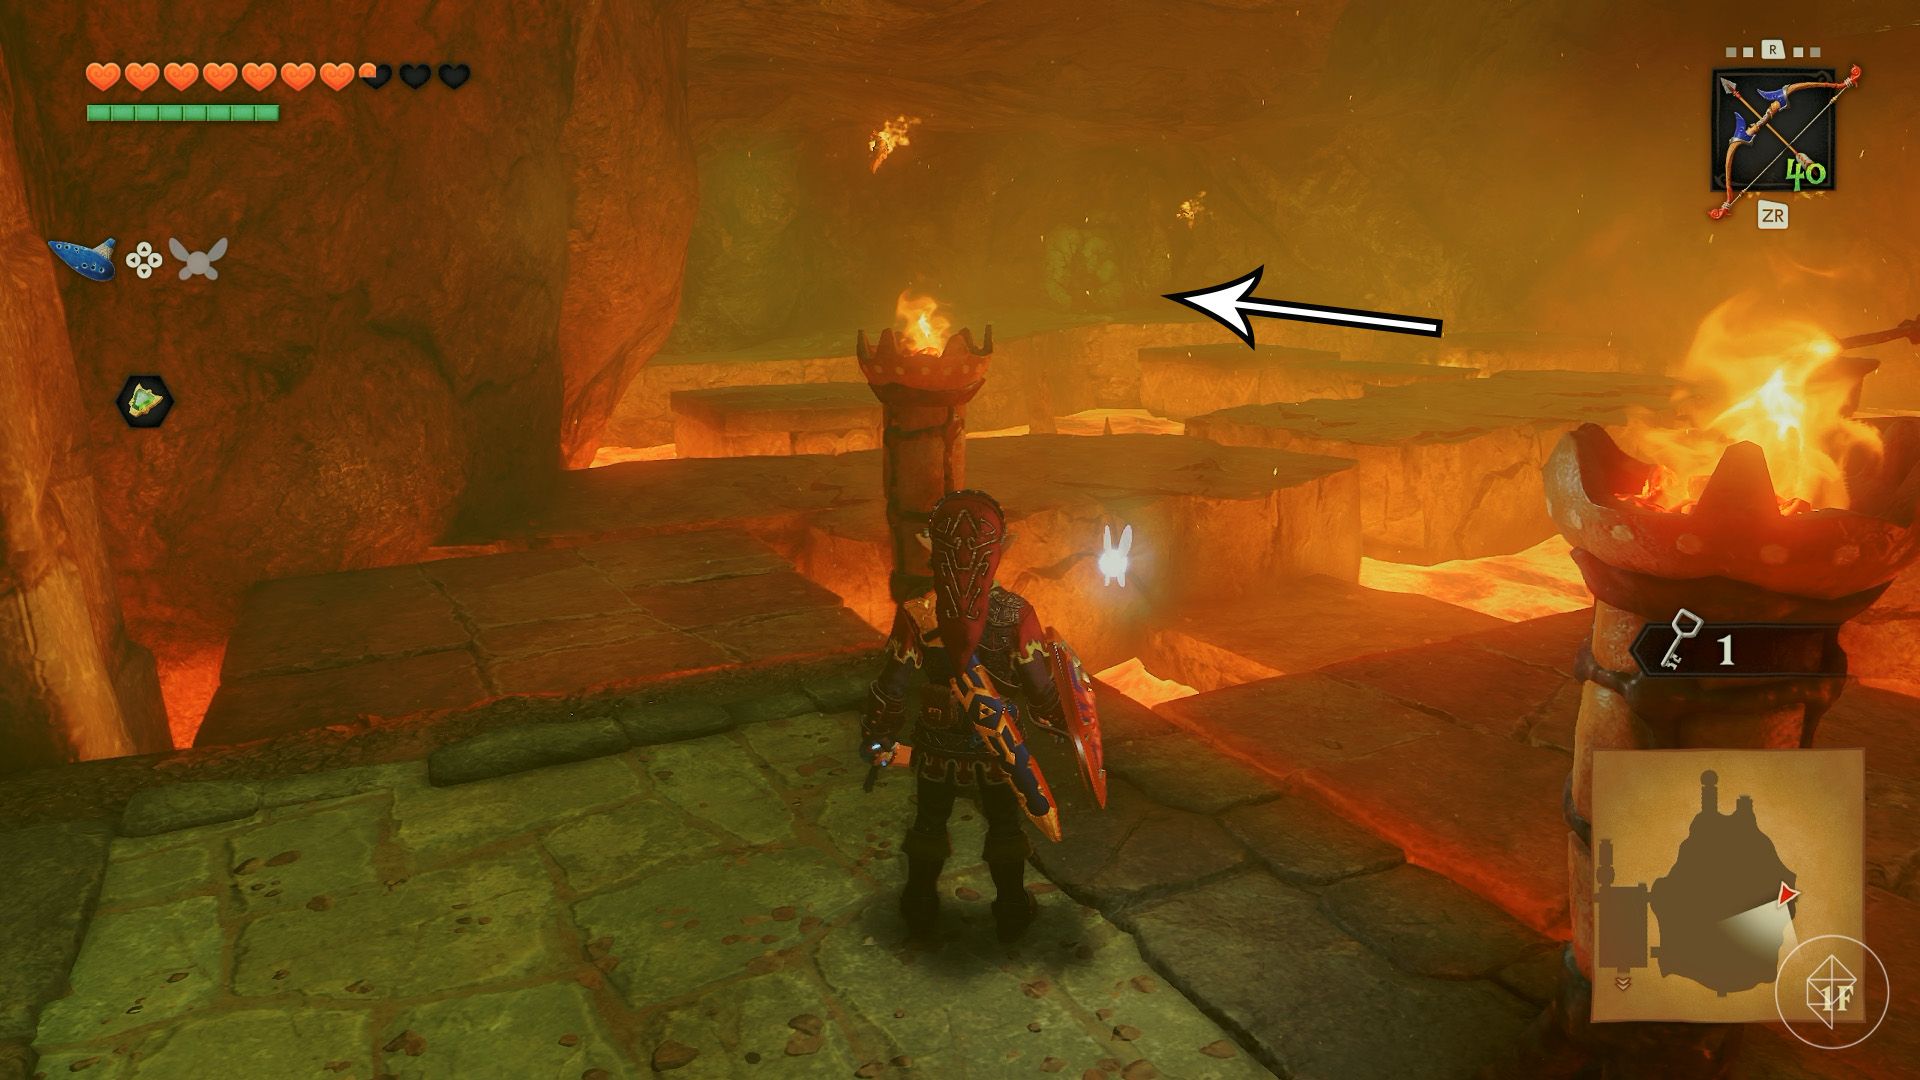
Cross to the opposite side of the room. Run toward the rock wall, deal with the nearby Fire Keese, and use a bomb to destroy the wall. Release the Goron inside and open the chest for another small key.
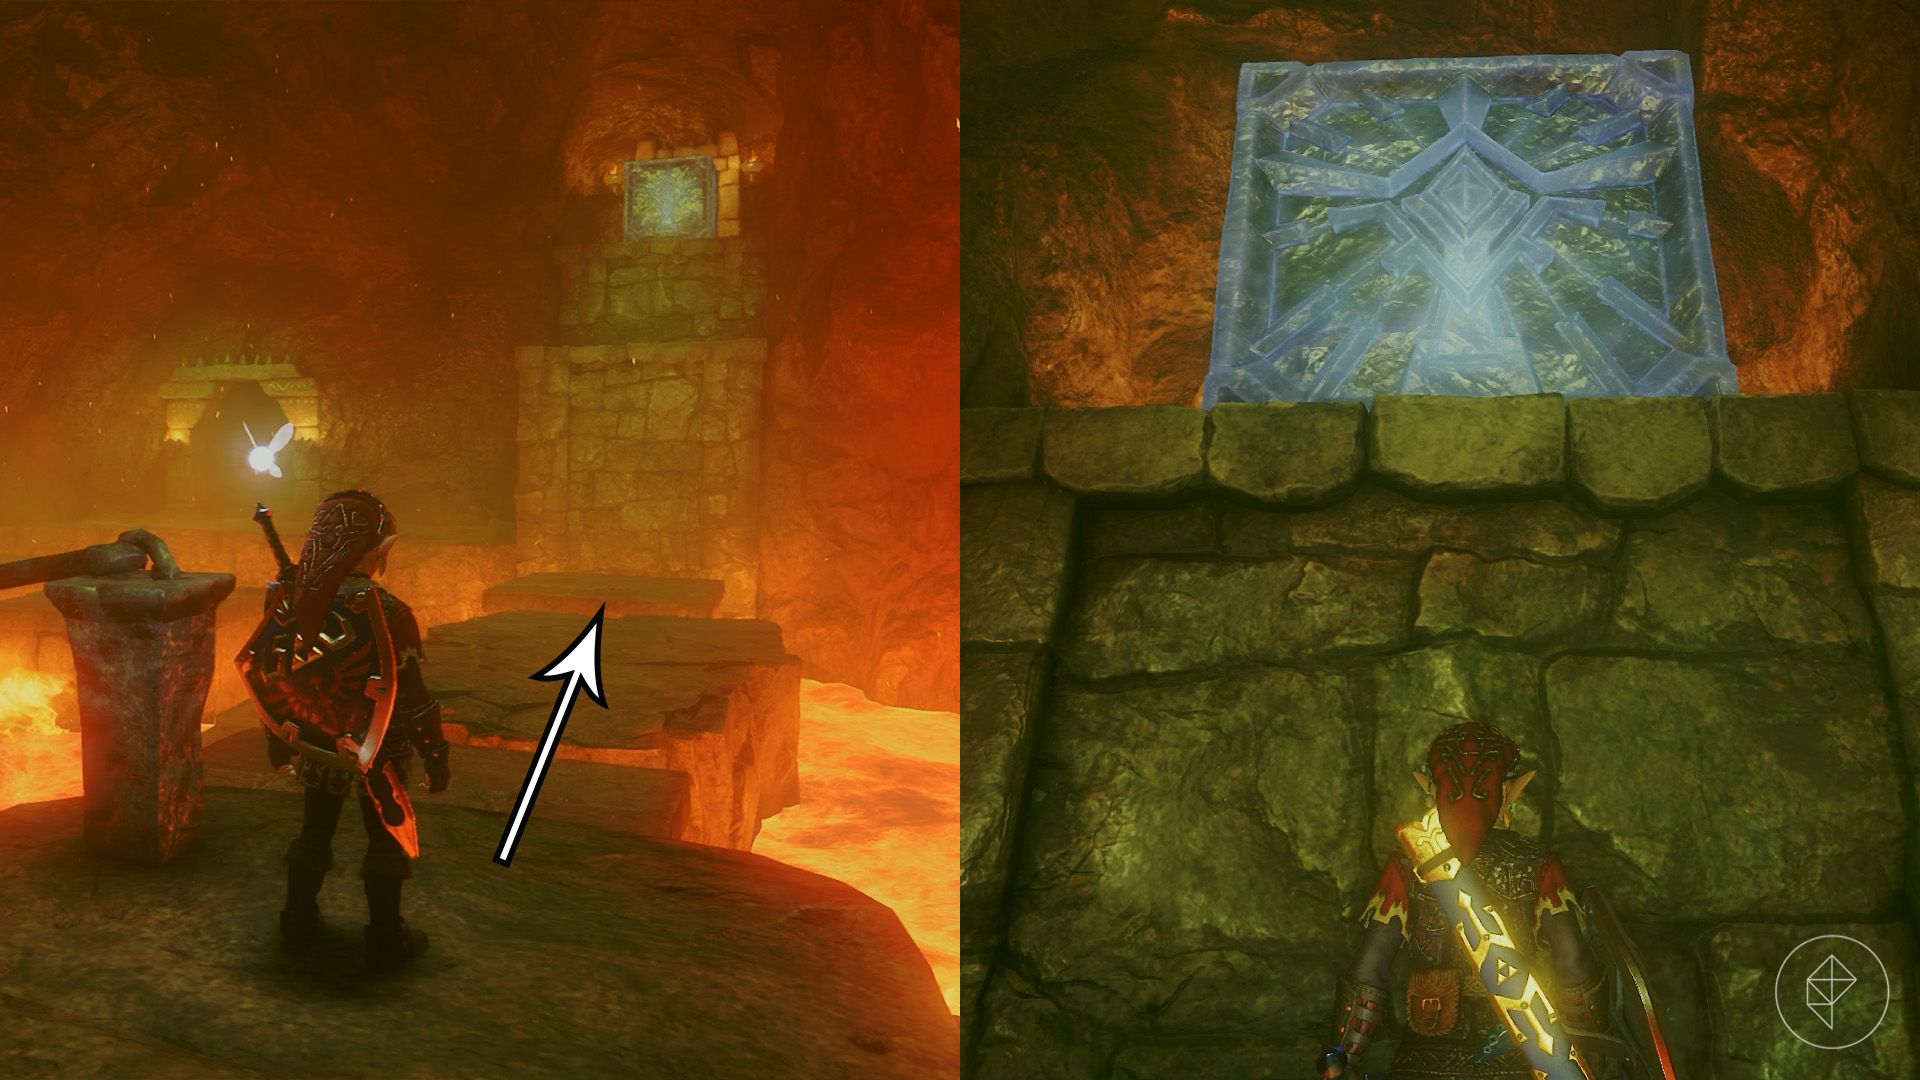
Return to the middle of the room and look north for a cube on a high ledge. Jump across the floating platforms and wait on the square platform, which rises instead of sinking. Step onto the ledge beneath the cube and play the Song of Time to move it down. Climb the cube and enter the door above.
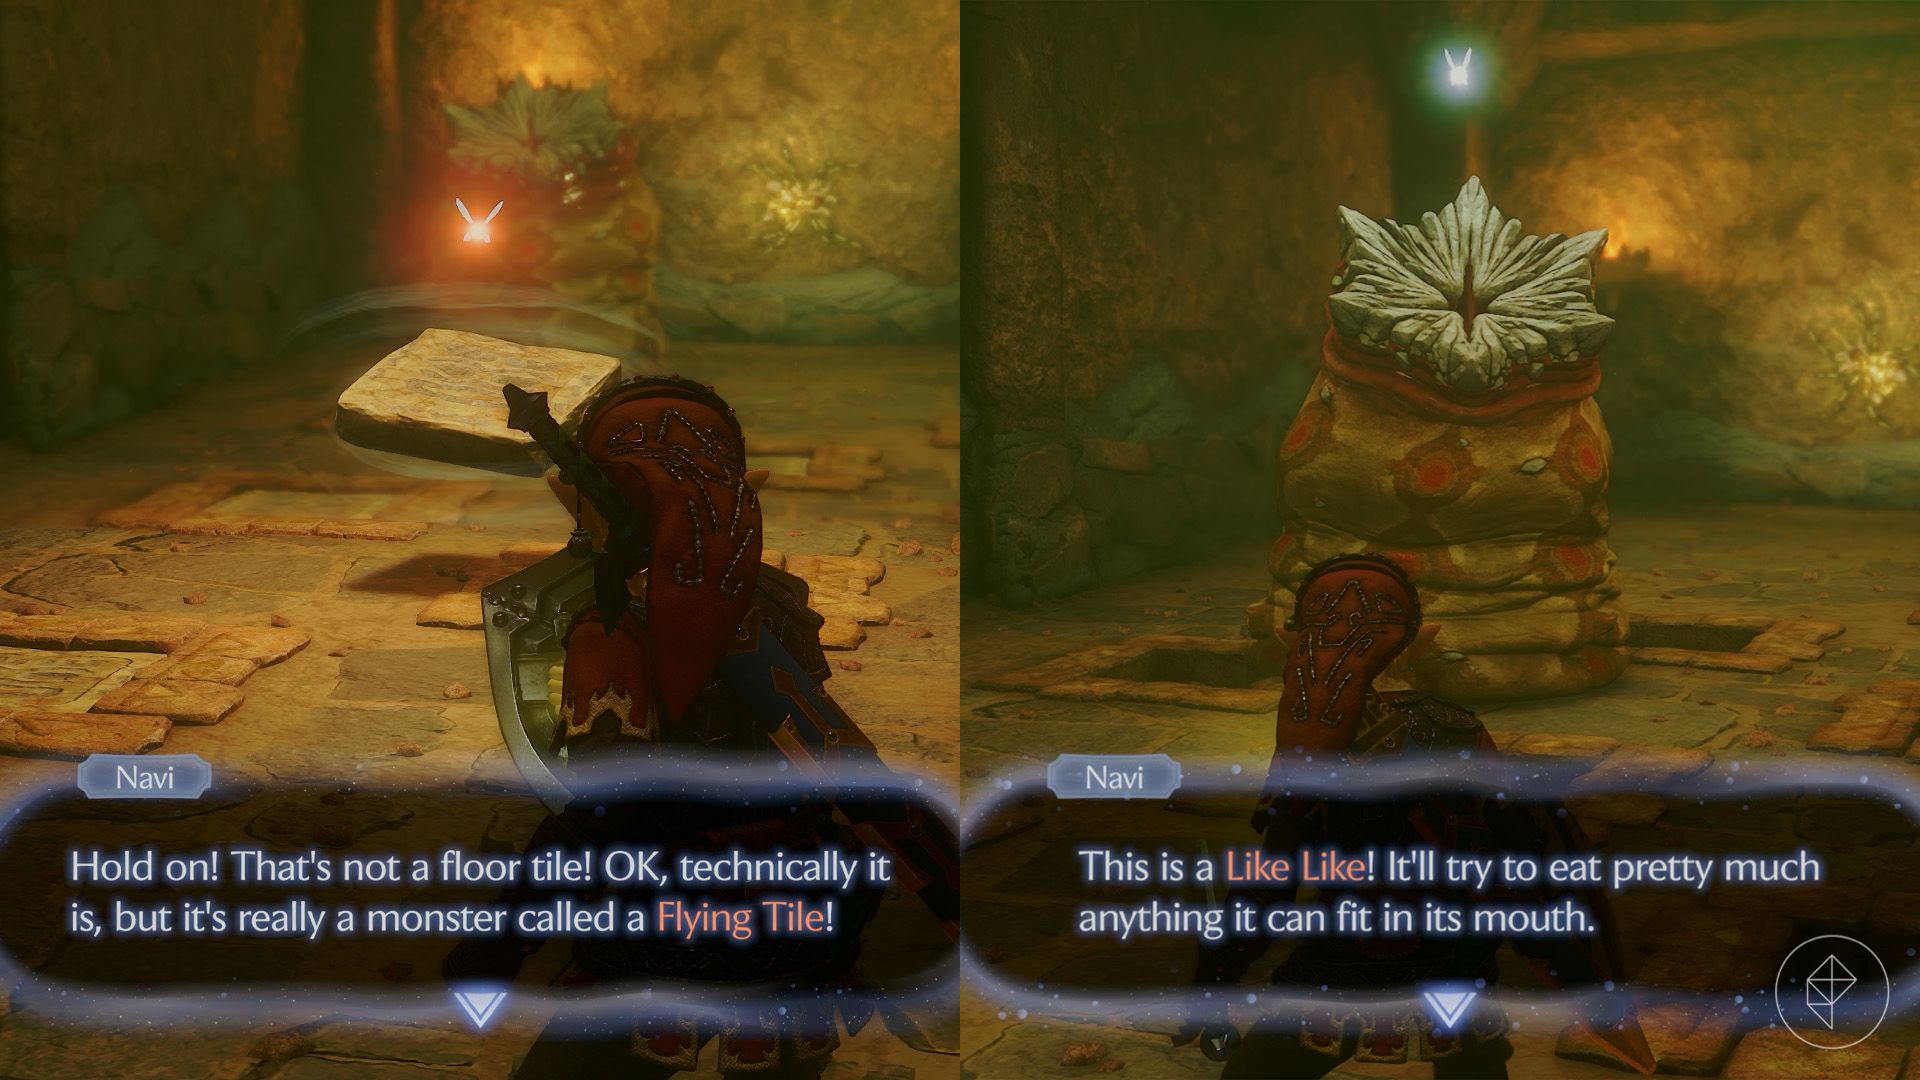
Inside, block or strike the Flying Tiles, then avoid the Like Like’s attack before moving in to hit it. Once the room is clear, collect the Gold Skulltula on the eastern wall.
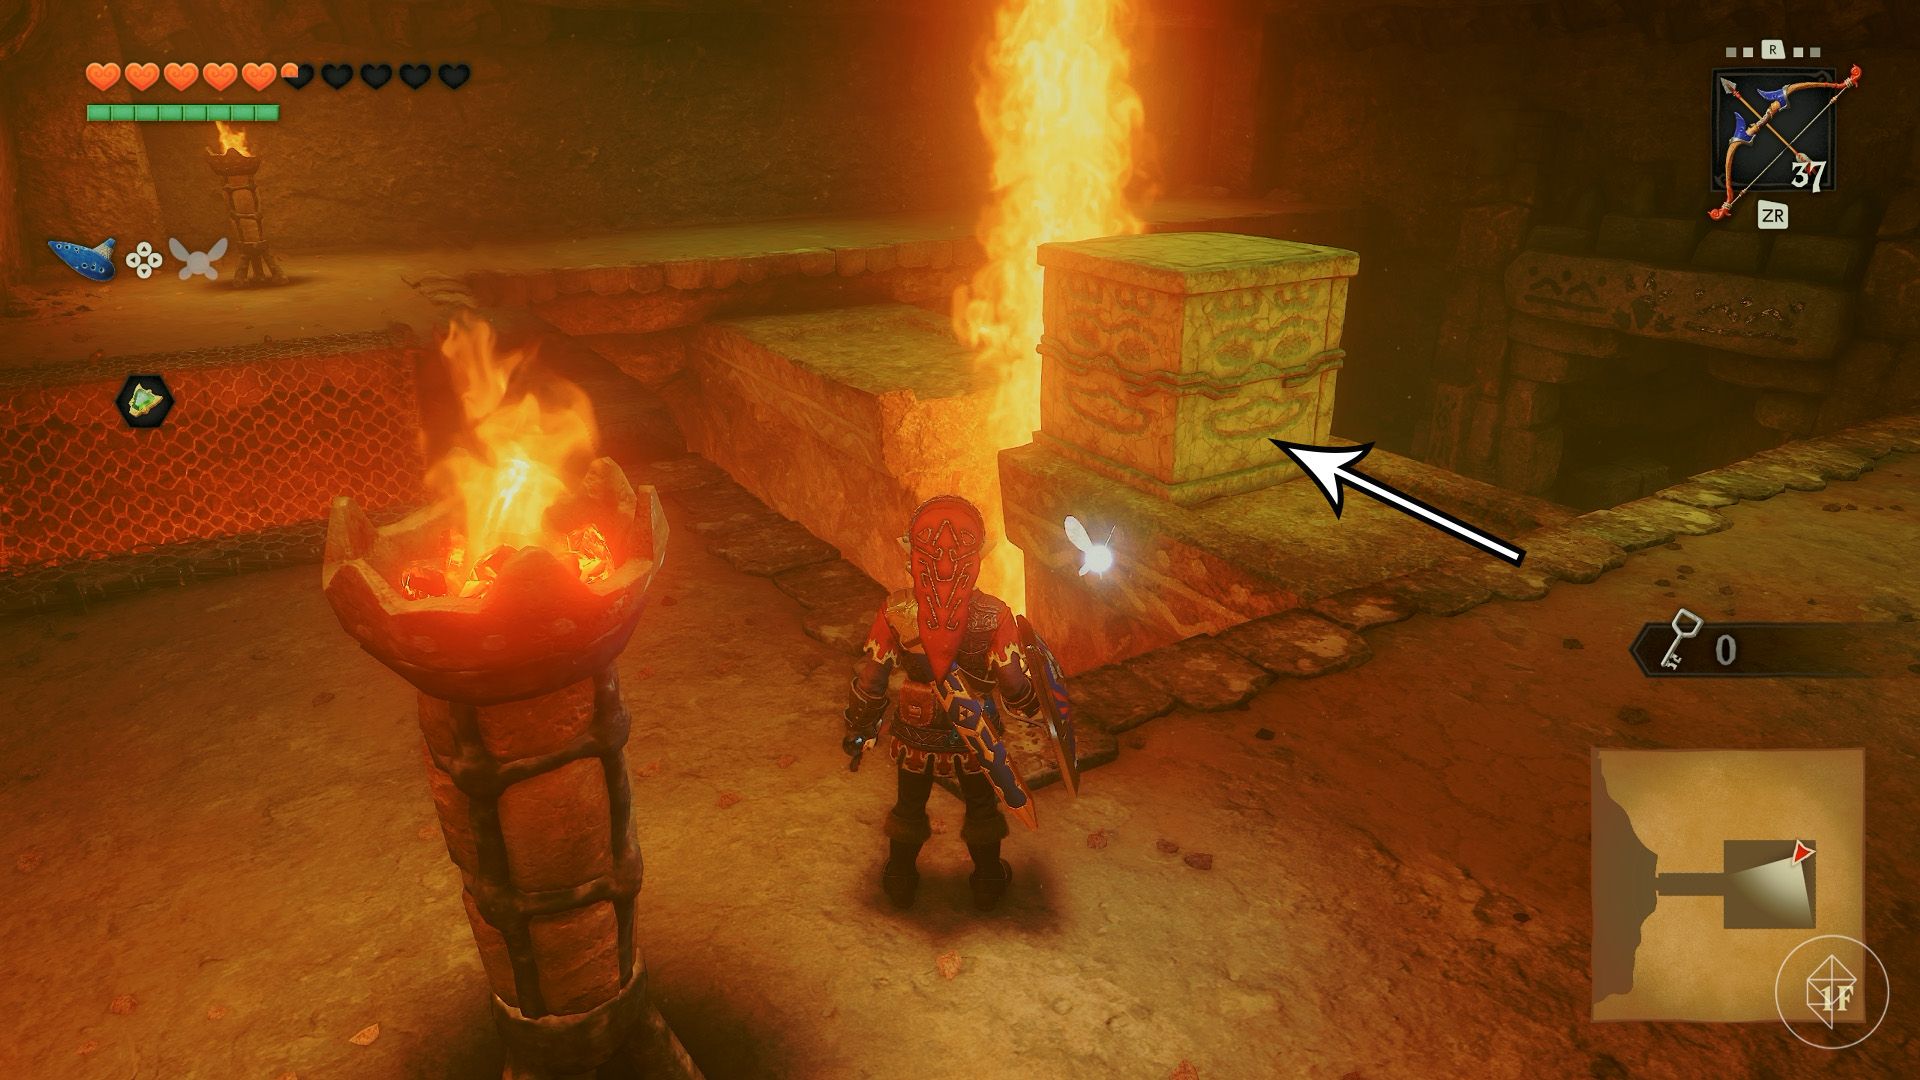
Return to the previous room and take the door on the east wall. There is a pillar of fire here, but you can’t do anything with it yet. Unlock the next door and climb either wall, watching out for Keese. At the northern end of the room, push the stone cube off the ledge, then drop onto it. The fire pillar will lift you to the next floor.
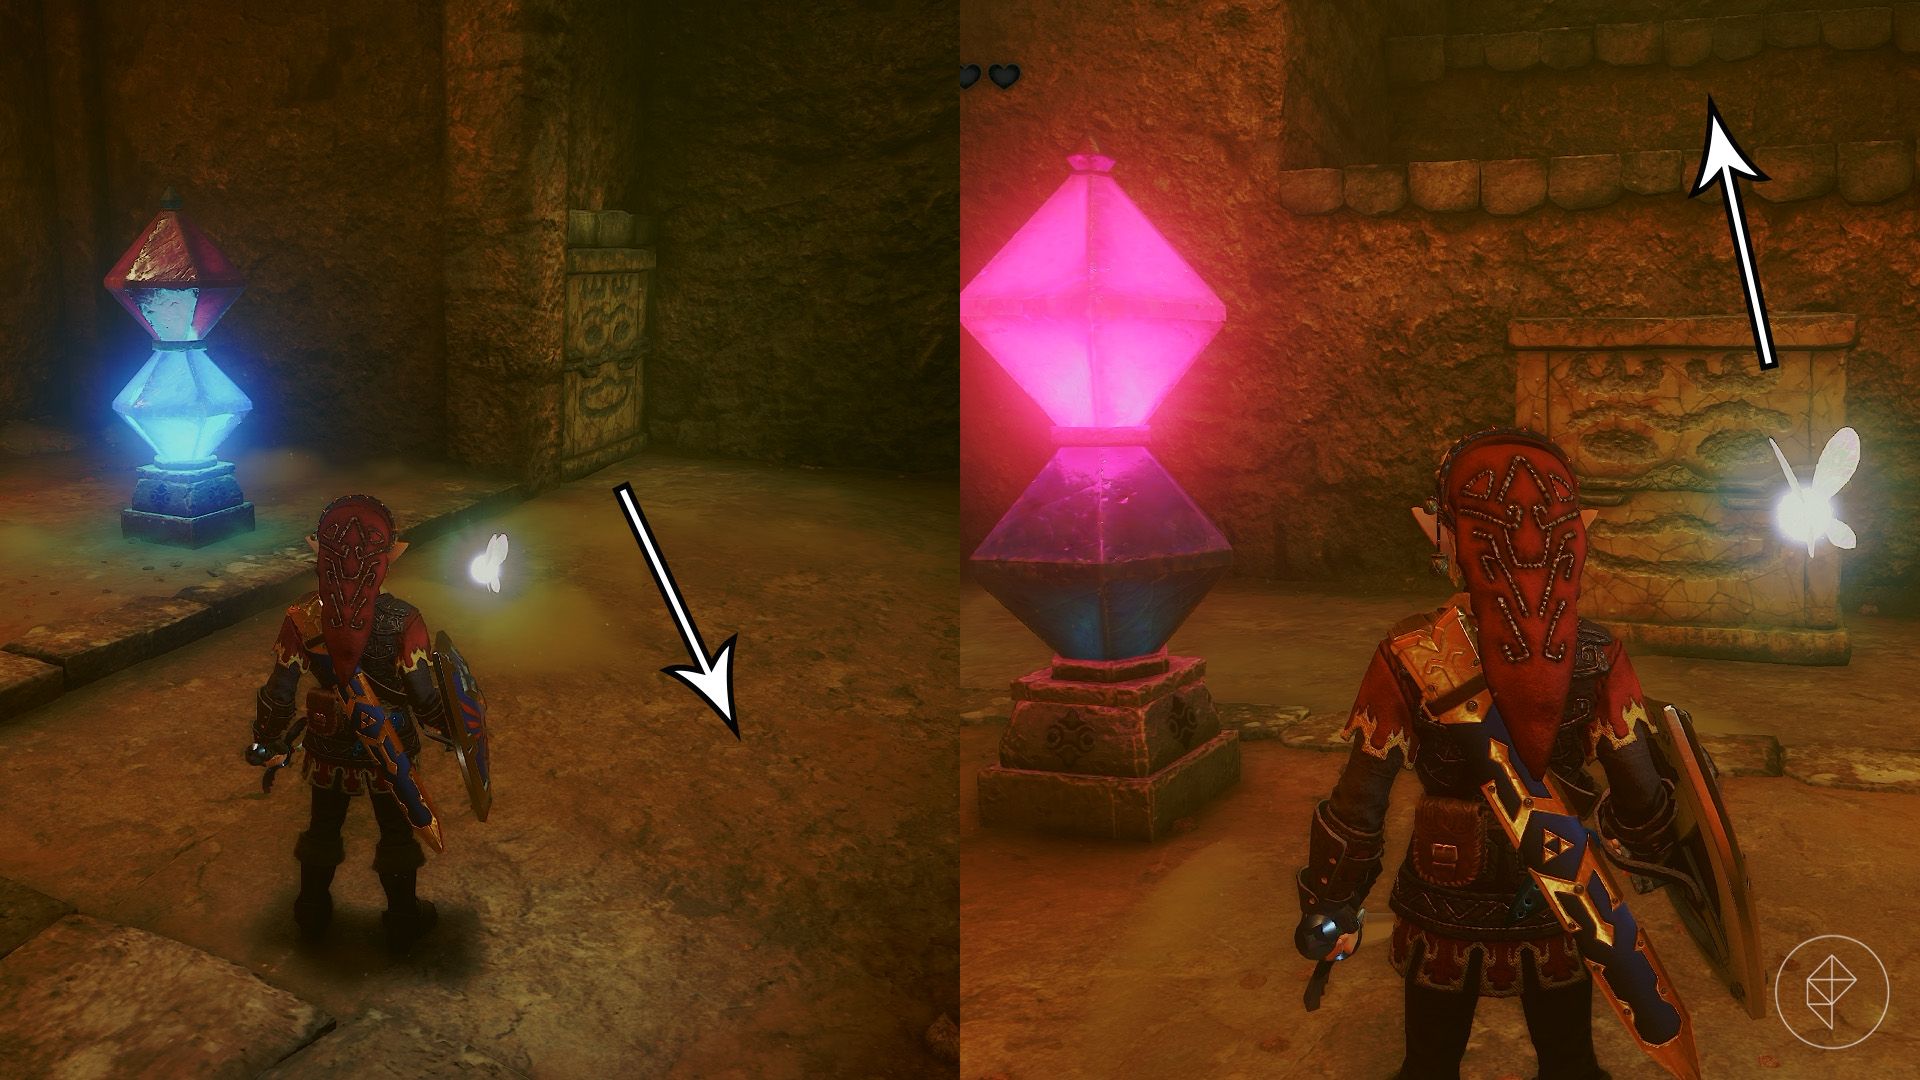
Avoid the Torch Slugs and climb the steps to a blue diamond-shaped switch. Pull the cube out of the wall to its right and position it beneath the fire. Strike the switch to turn it pink and extinguish the flames. Climb to the top of the steps, then shoot the switch with your Fairy Bow.
Climb the wall to the third floor, where red-hot orbs roll along fixed routes. Watch the markings on the floor and let each orb pass before crossing its path. There are four routes to consider:
- Short path left: A chest containing the dungeon map.
- Left corner: Nothing to collect.
- Short path right: A rock wall concealing a Gold Skulltula.
- Right corner: An imprisoned Goron.
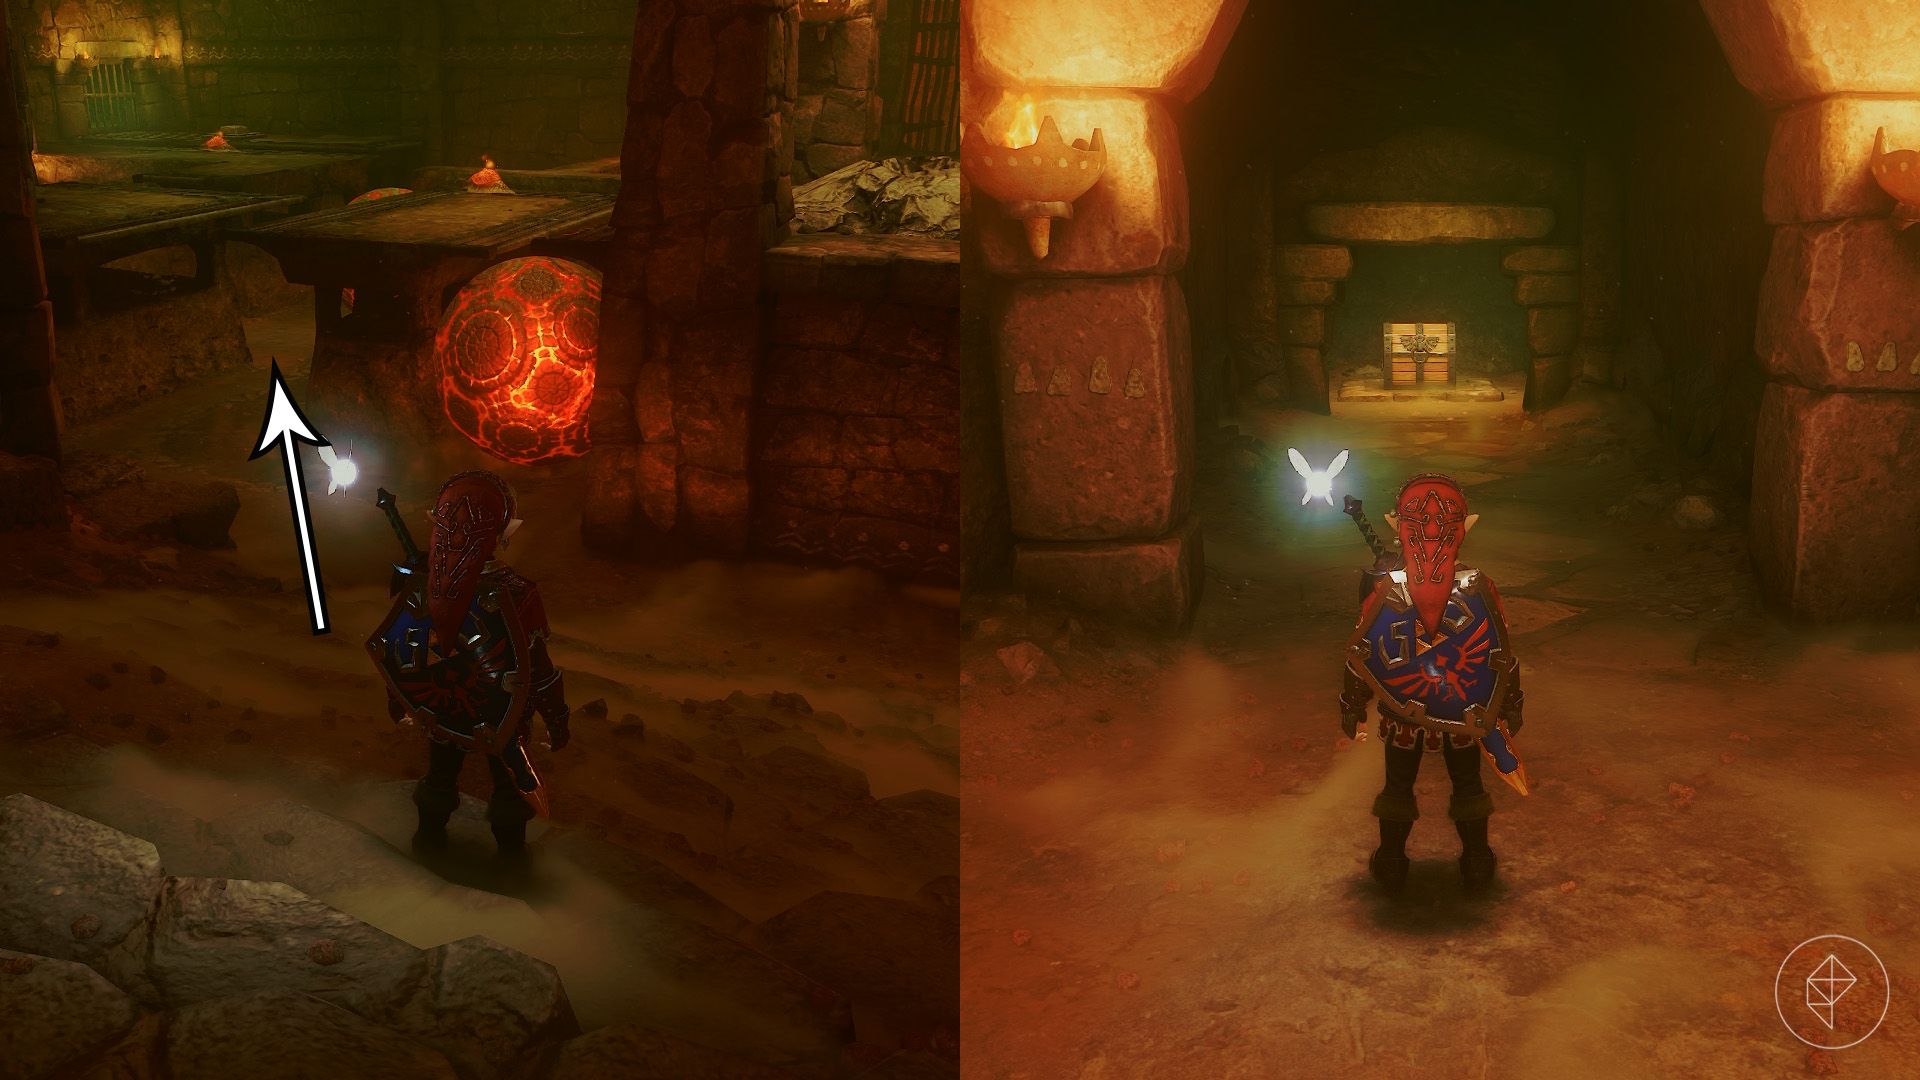
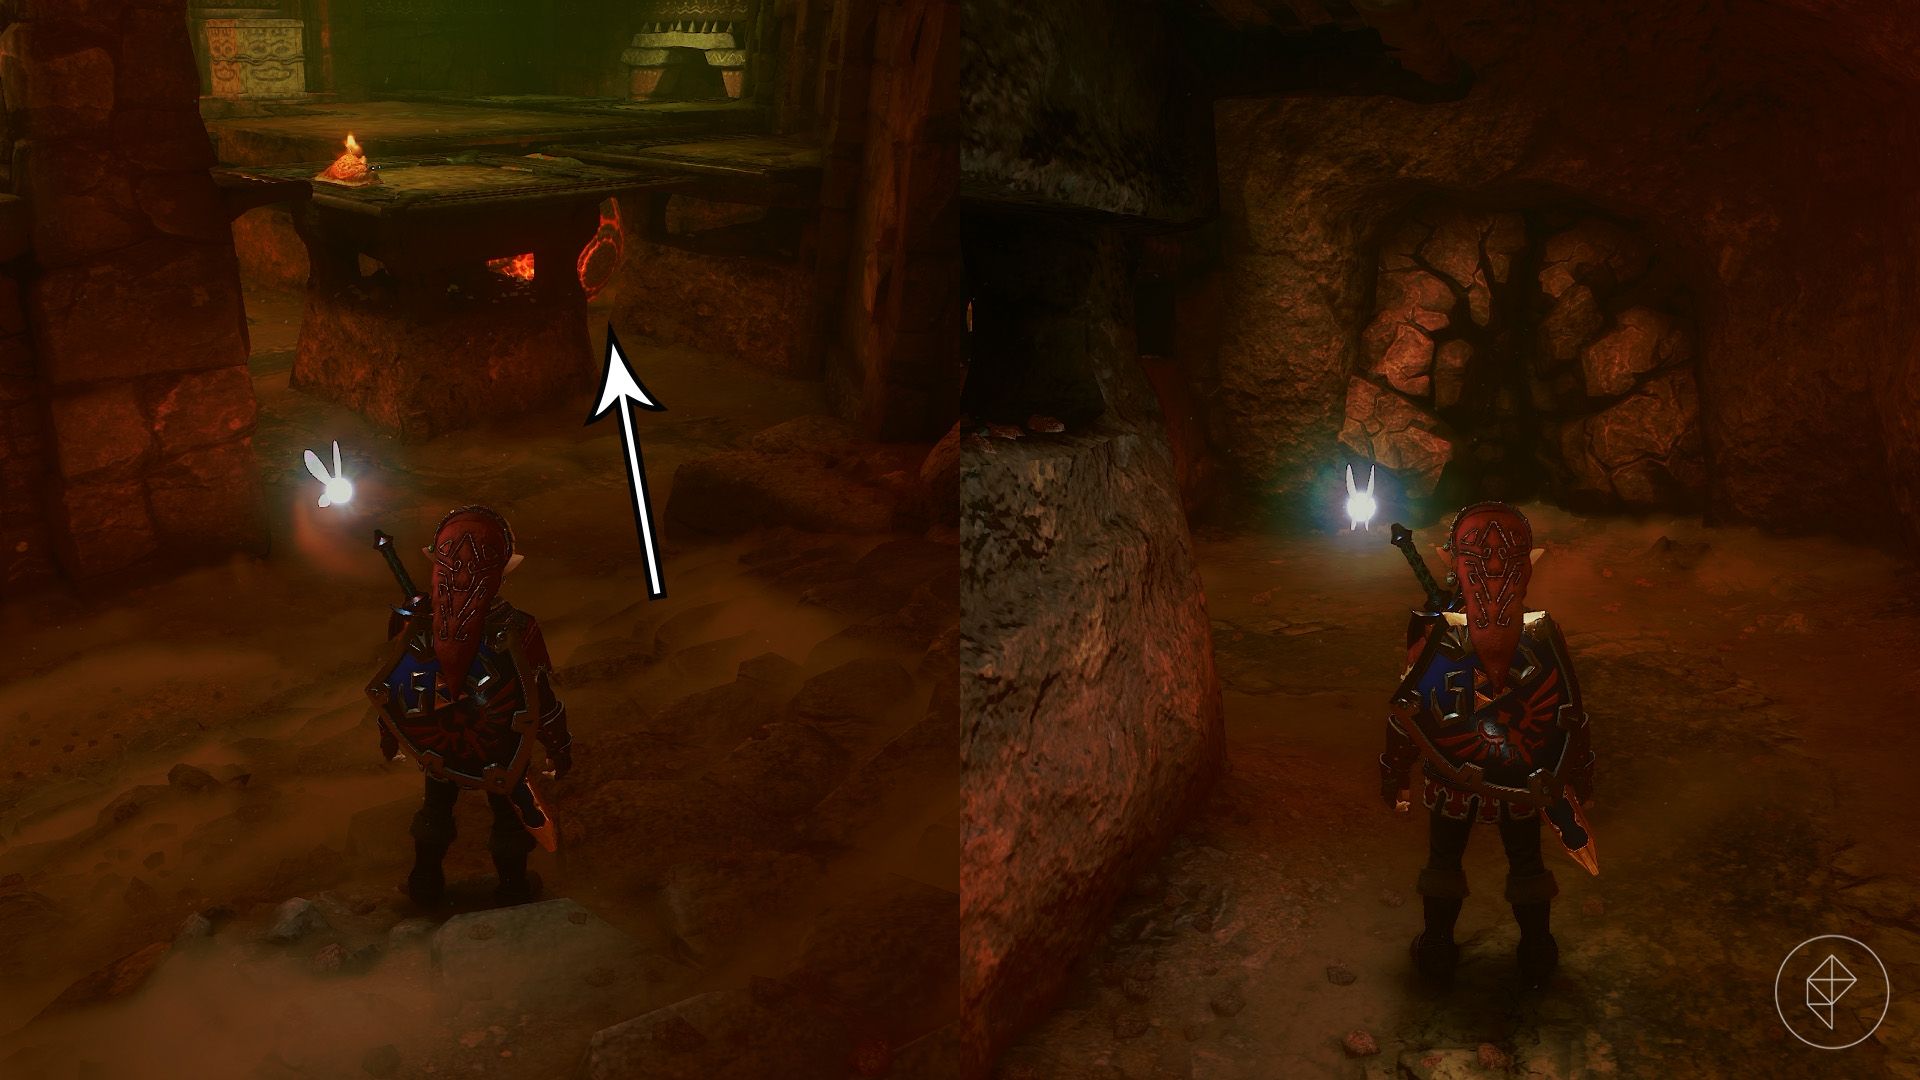
Take the short left path to collect the map, then follow the short right path and bomb the rock wall to find the Skulltula. Continue along the right-hand route, step on the switch to release the Goron, and open the chest for a small key.
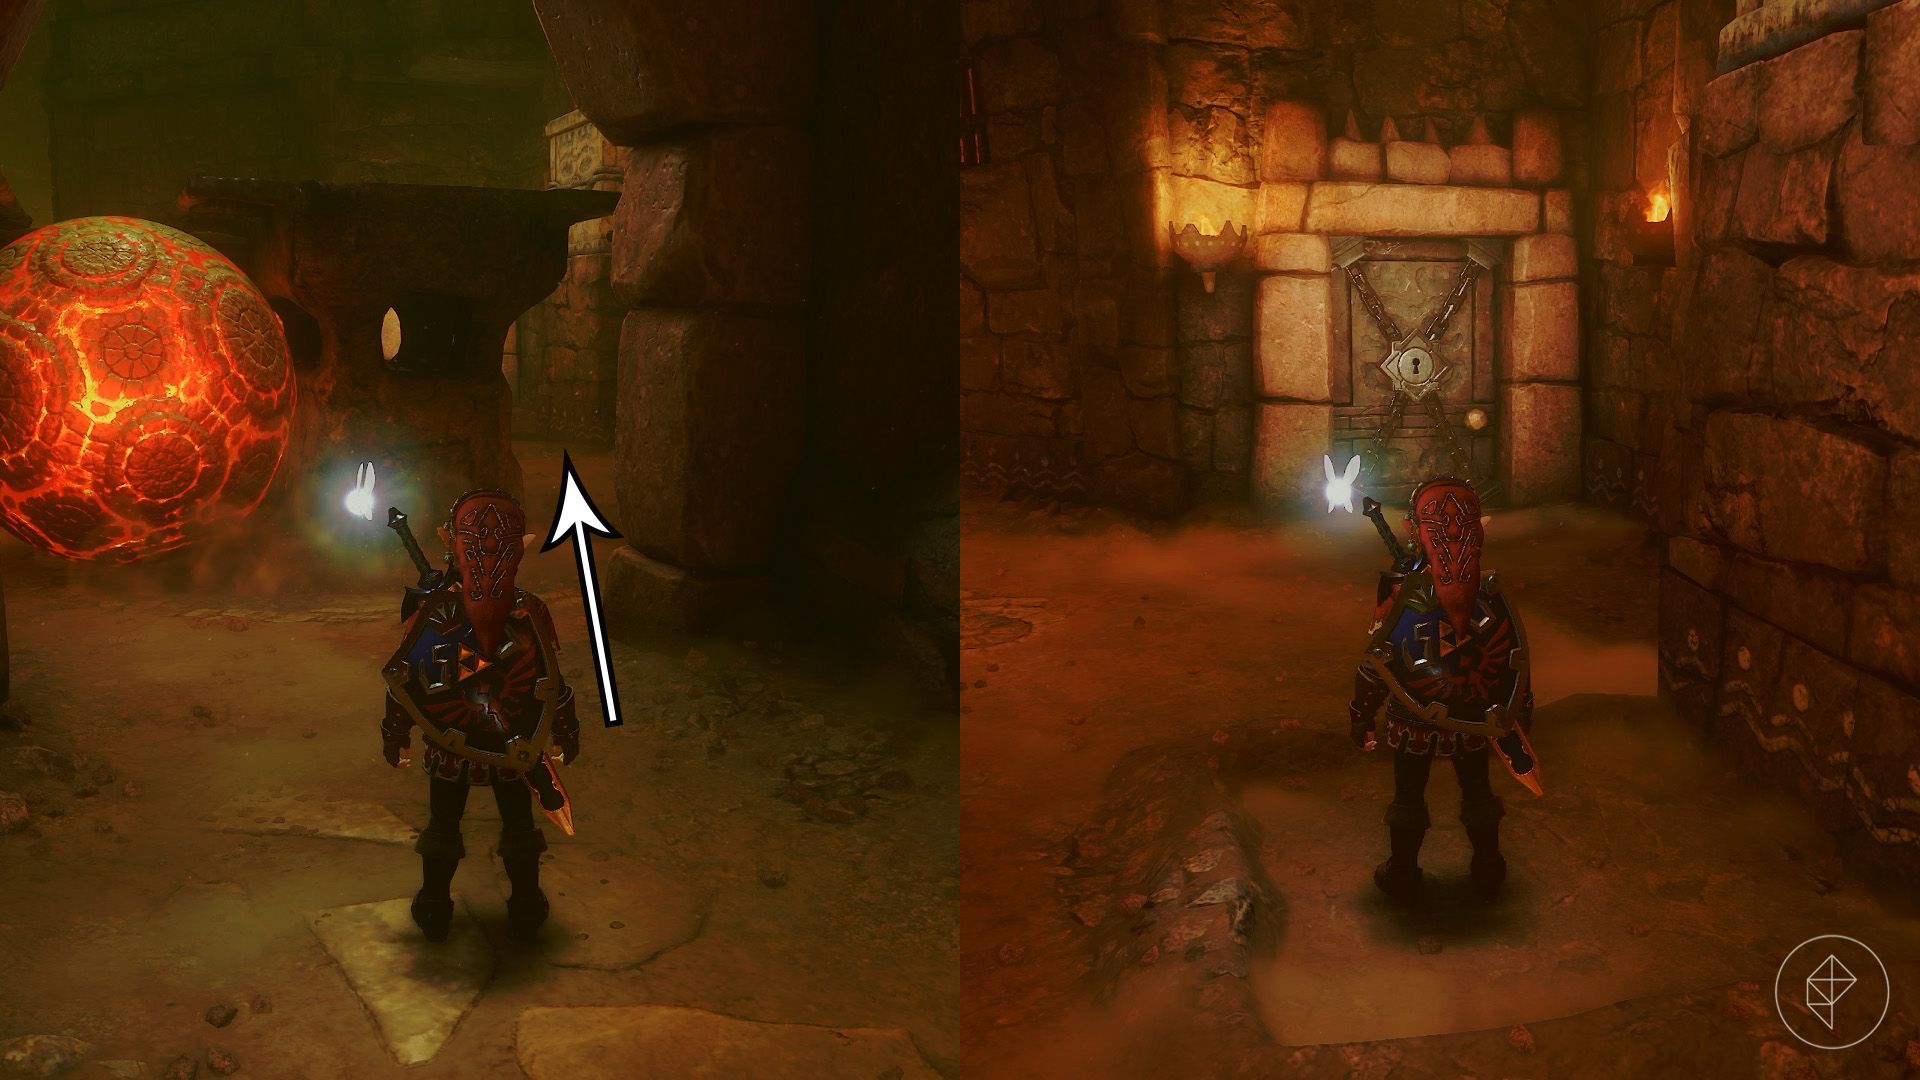
Turn around from the Goron and take the path on the right to a locked door. Use a small key to enter the room in the center of the area. Shoot the eye above the door on your right, go through it, and turn right to find the compass in a chest.
Part 2: Reaching the Secret Scarecrow
Return to the previous room and go through the door on your right.
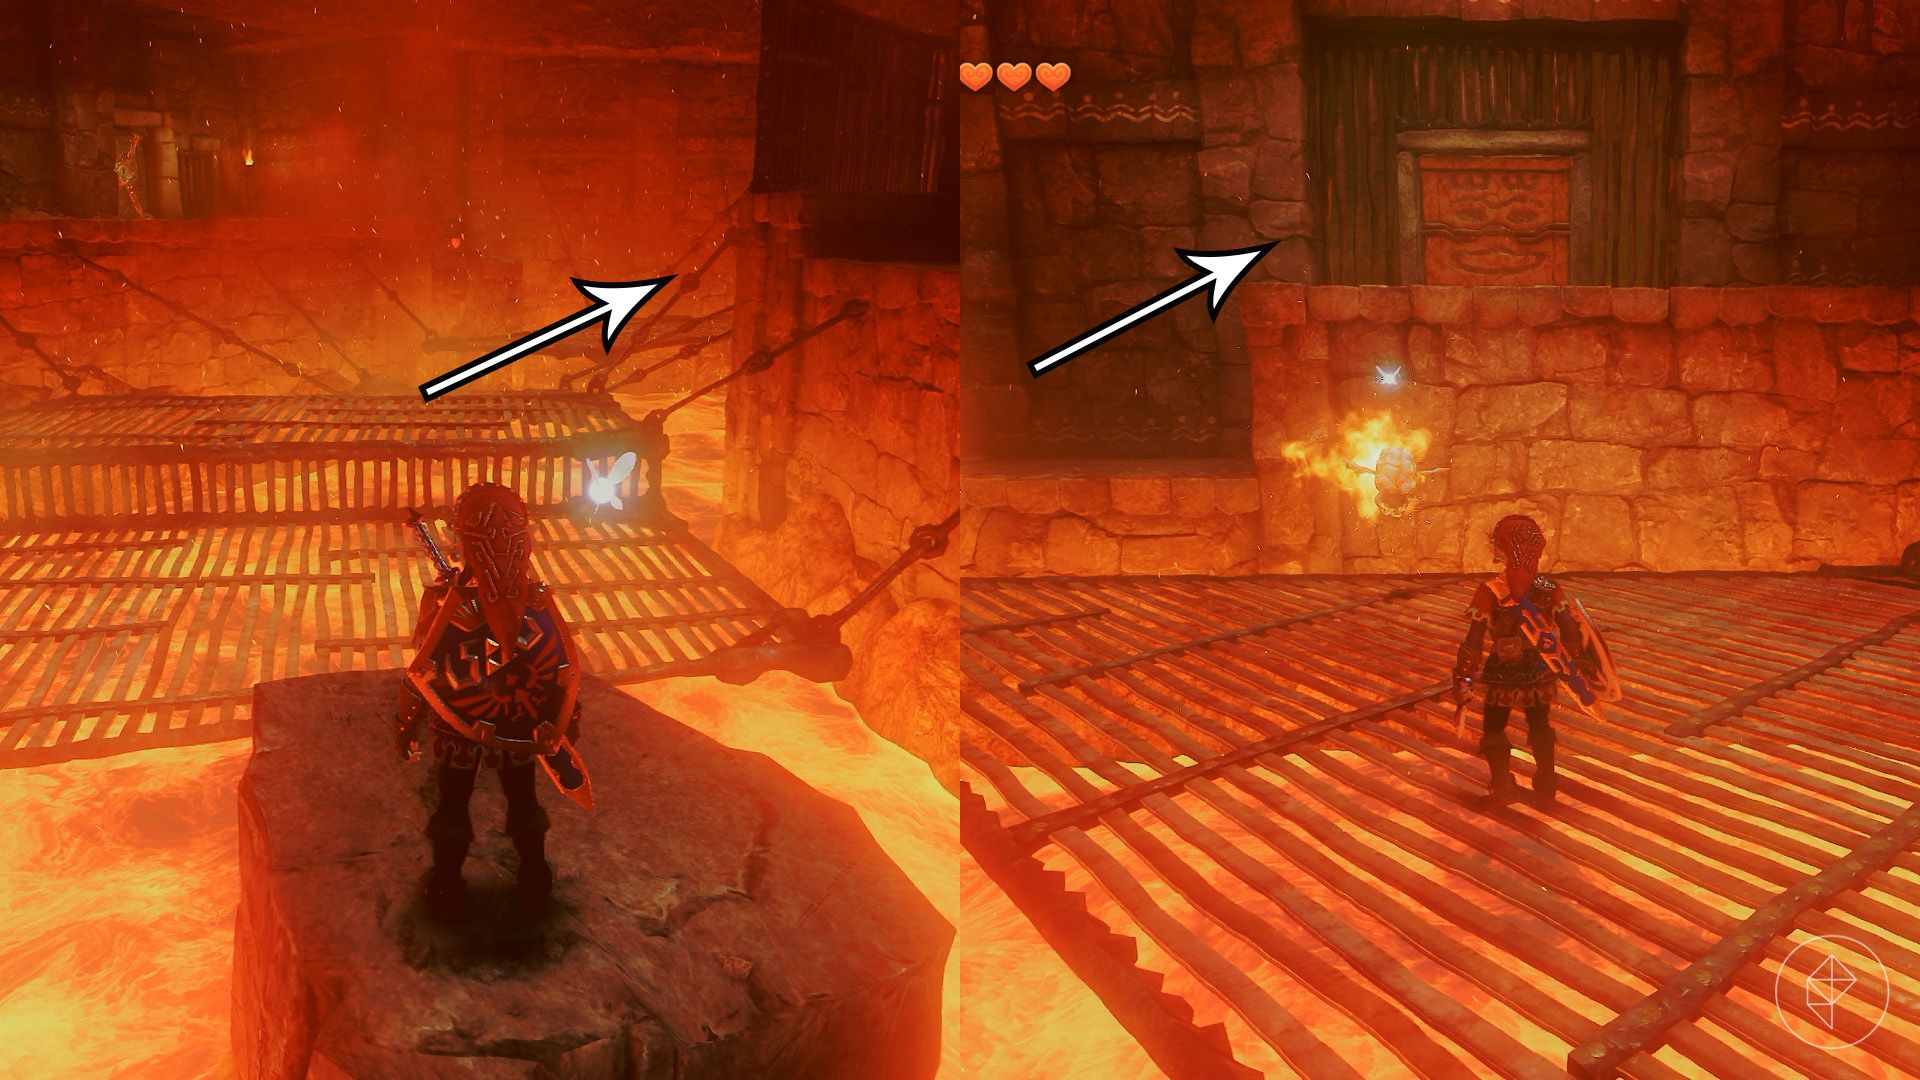
In the next room, metal platforms stretch across the lava. A wall of fire appears behind you as soon as you jump onto them, so hurry to the far end. Pass the locked door halfway across for now and run past the Red Bubbles that appear.
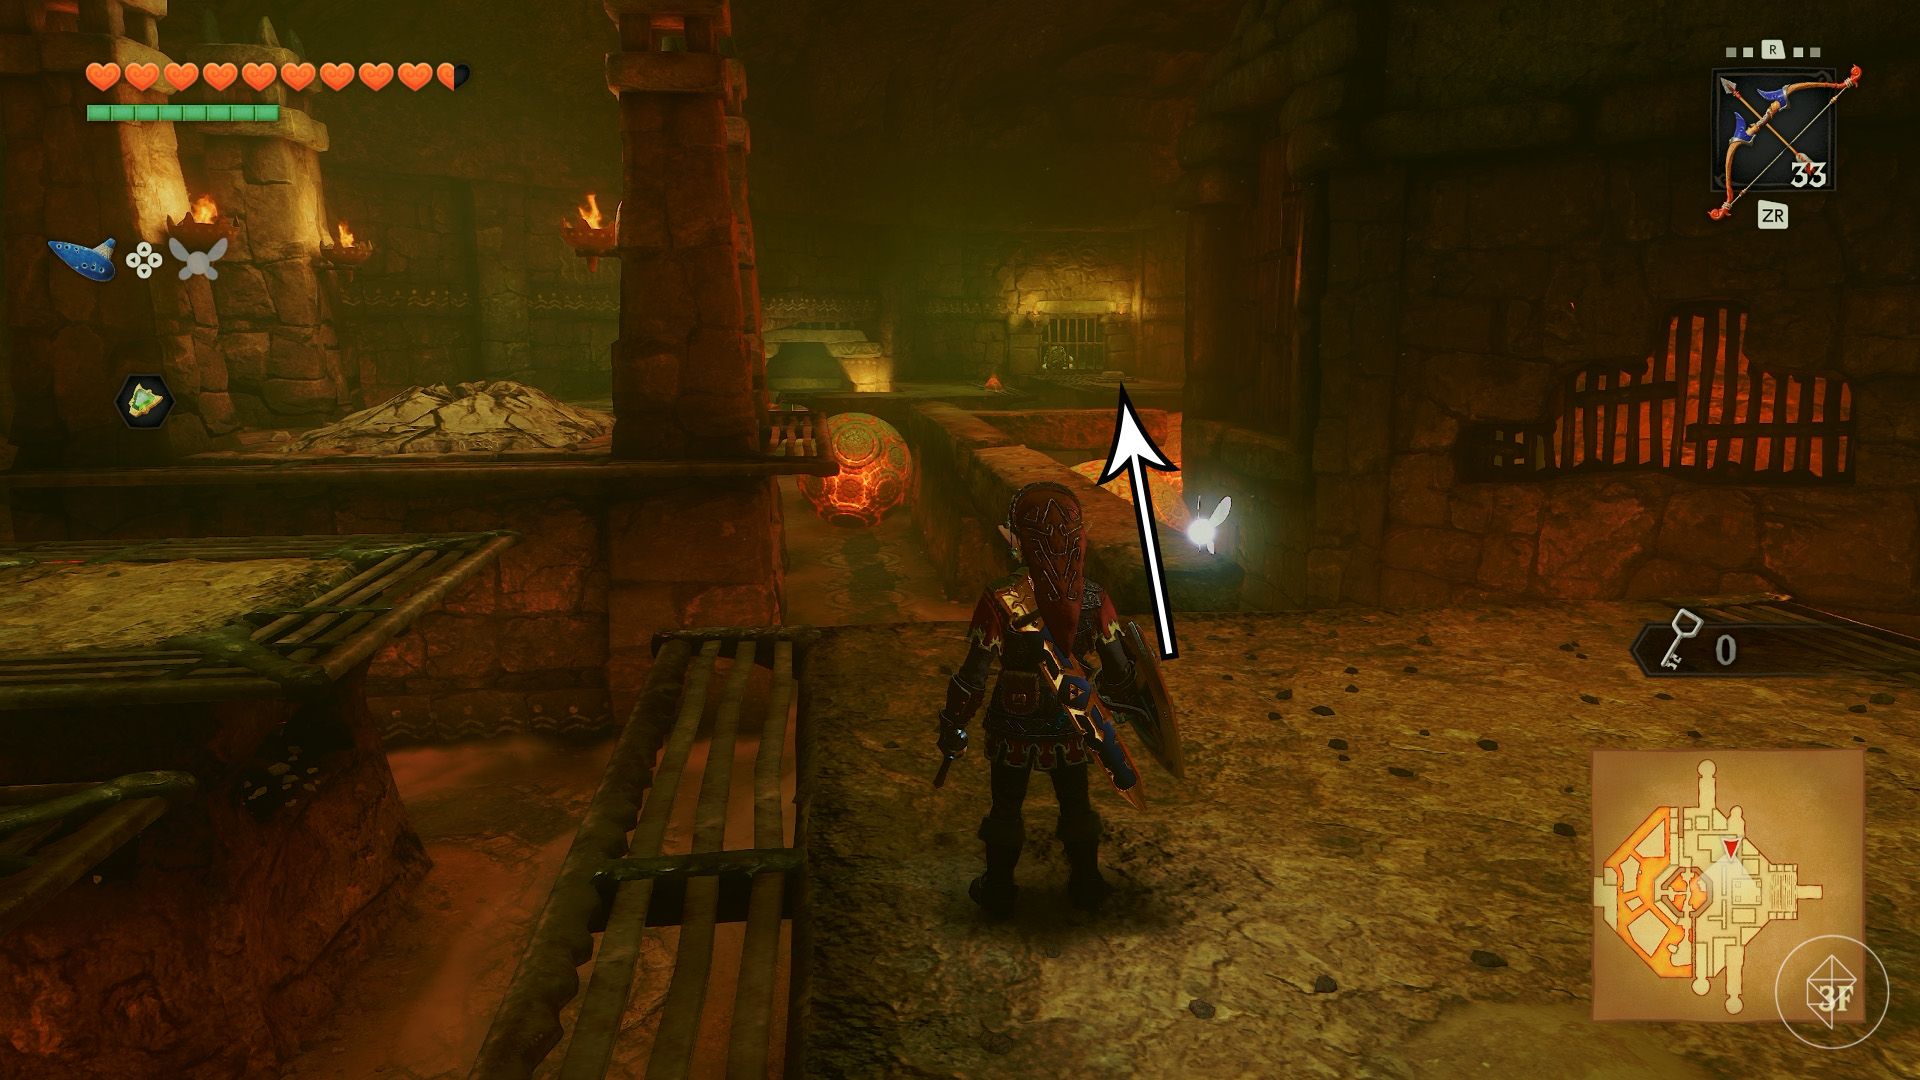
Push the red cube at the end to return to the eastern half of the rolling-orb room. The southern corner that was empty on the lower level has a captive Goron above it. Jump across, free the Goron, and collect the small key.
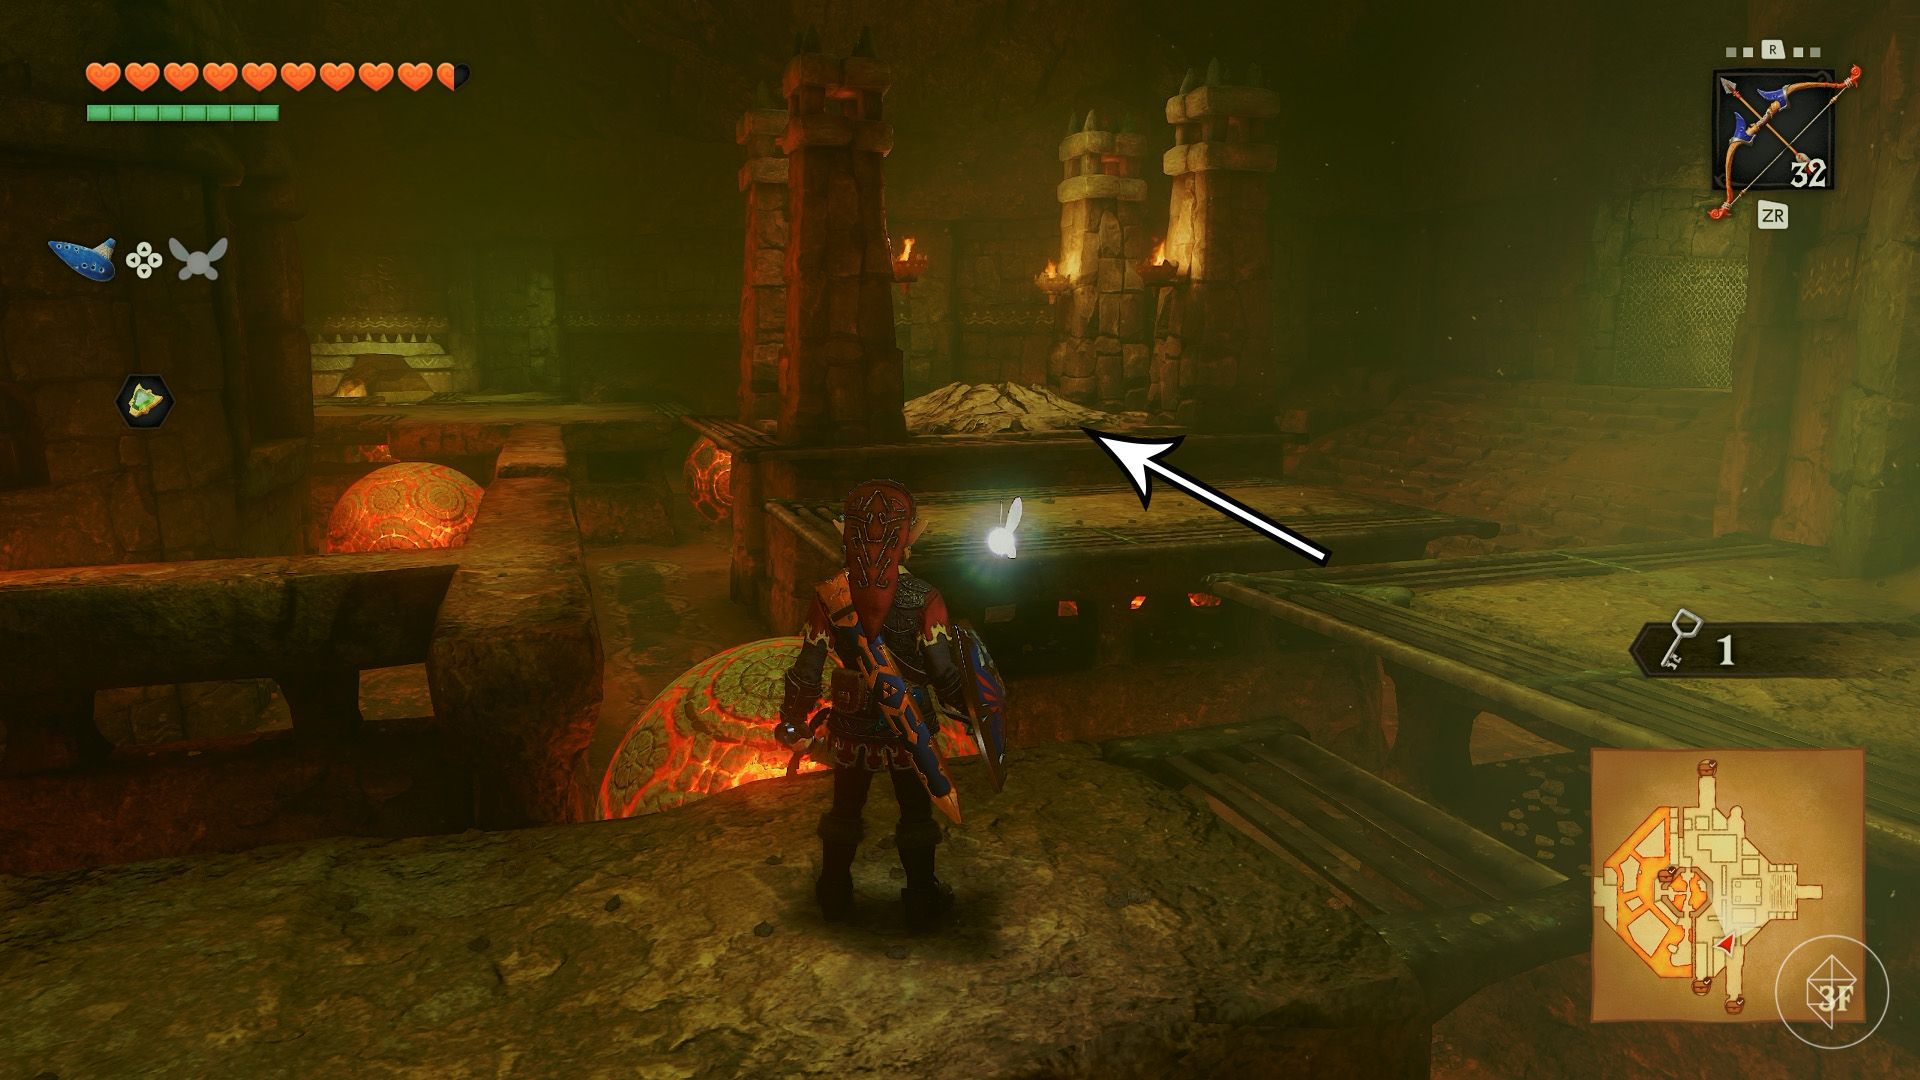
Head to the center of the room and bomb the large rock pile. Drop through the hole, release the Goron below, and take the small key from the chest.
Climb back up and return to the platform beside the cube you pushed down. Stand near it and play the Scarecrow Song. If you haven’t unlocked it, visit the scarecrows at Lake Hylia as young Link, create a song, and replay it for them as adult Link.
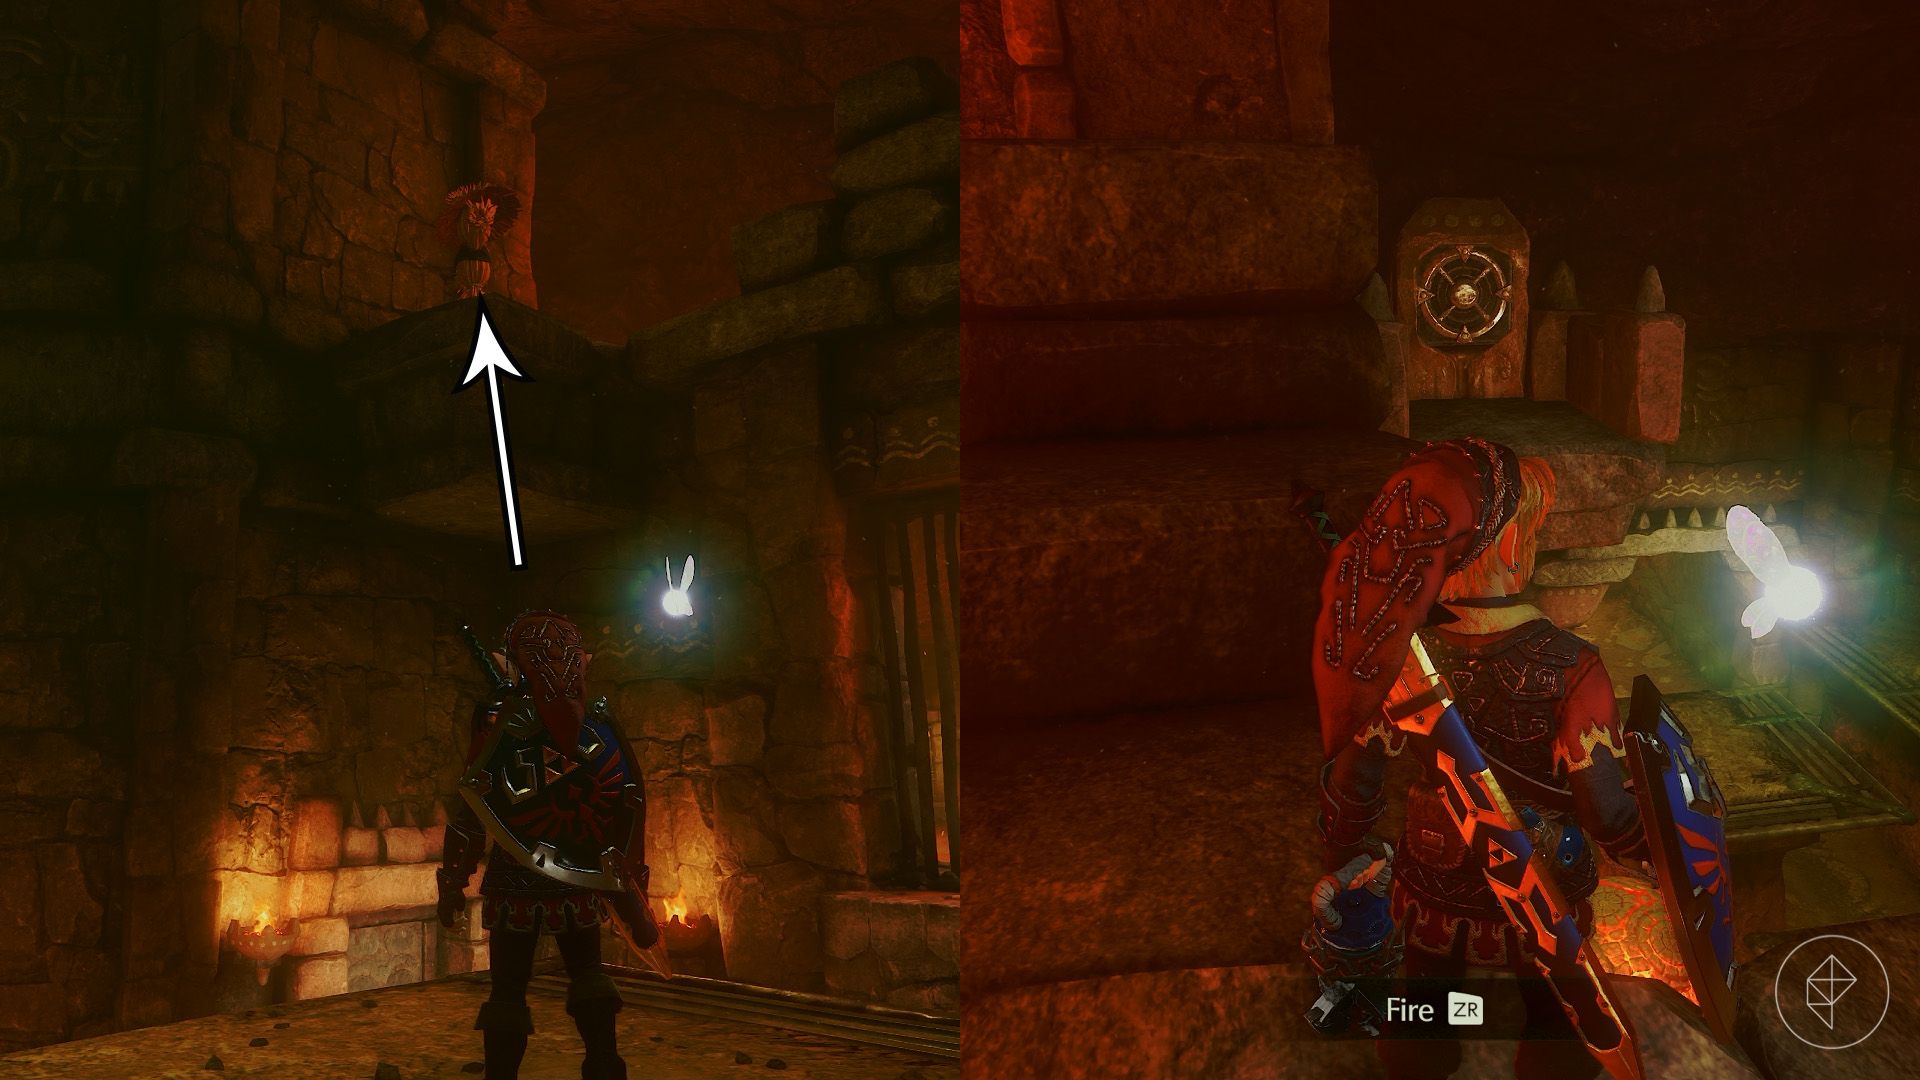
Use the Hookshot on the scarecrow above, then Hookshot to the platform leading to the fourth floor. Enter the door and climb the netting to find another door and a Gold Skulltula.
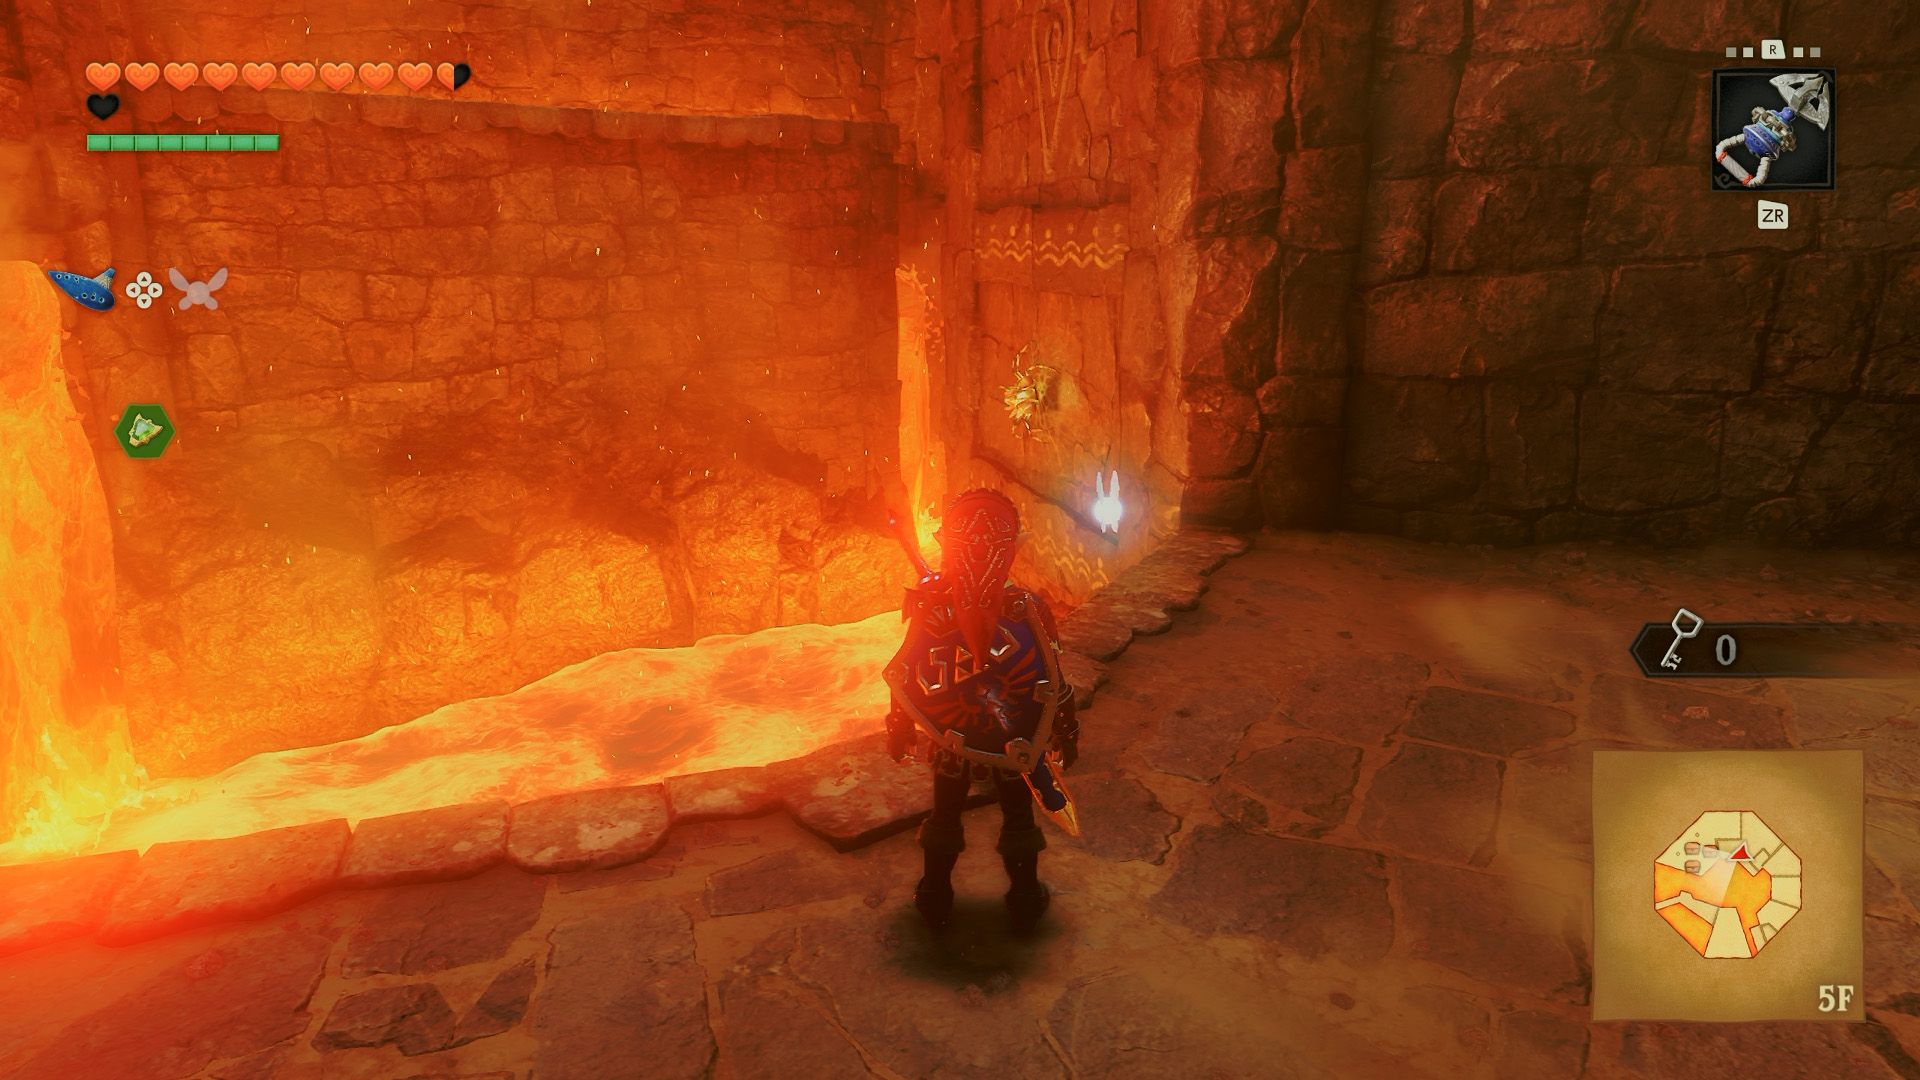
Go through the door and approach the edge. Look right to spot another Gold Skulltula on the wall, and use the Hookshot to retrieve it.
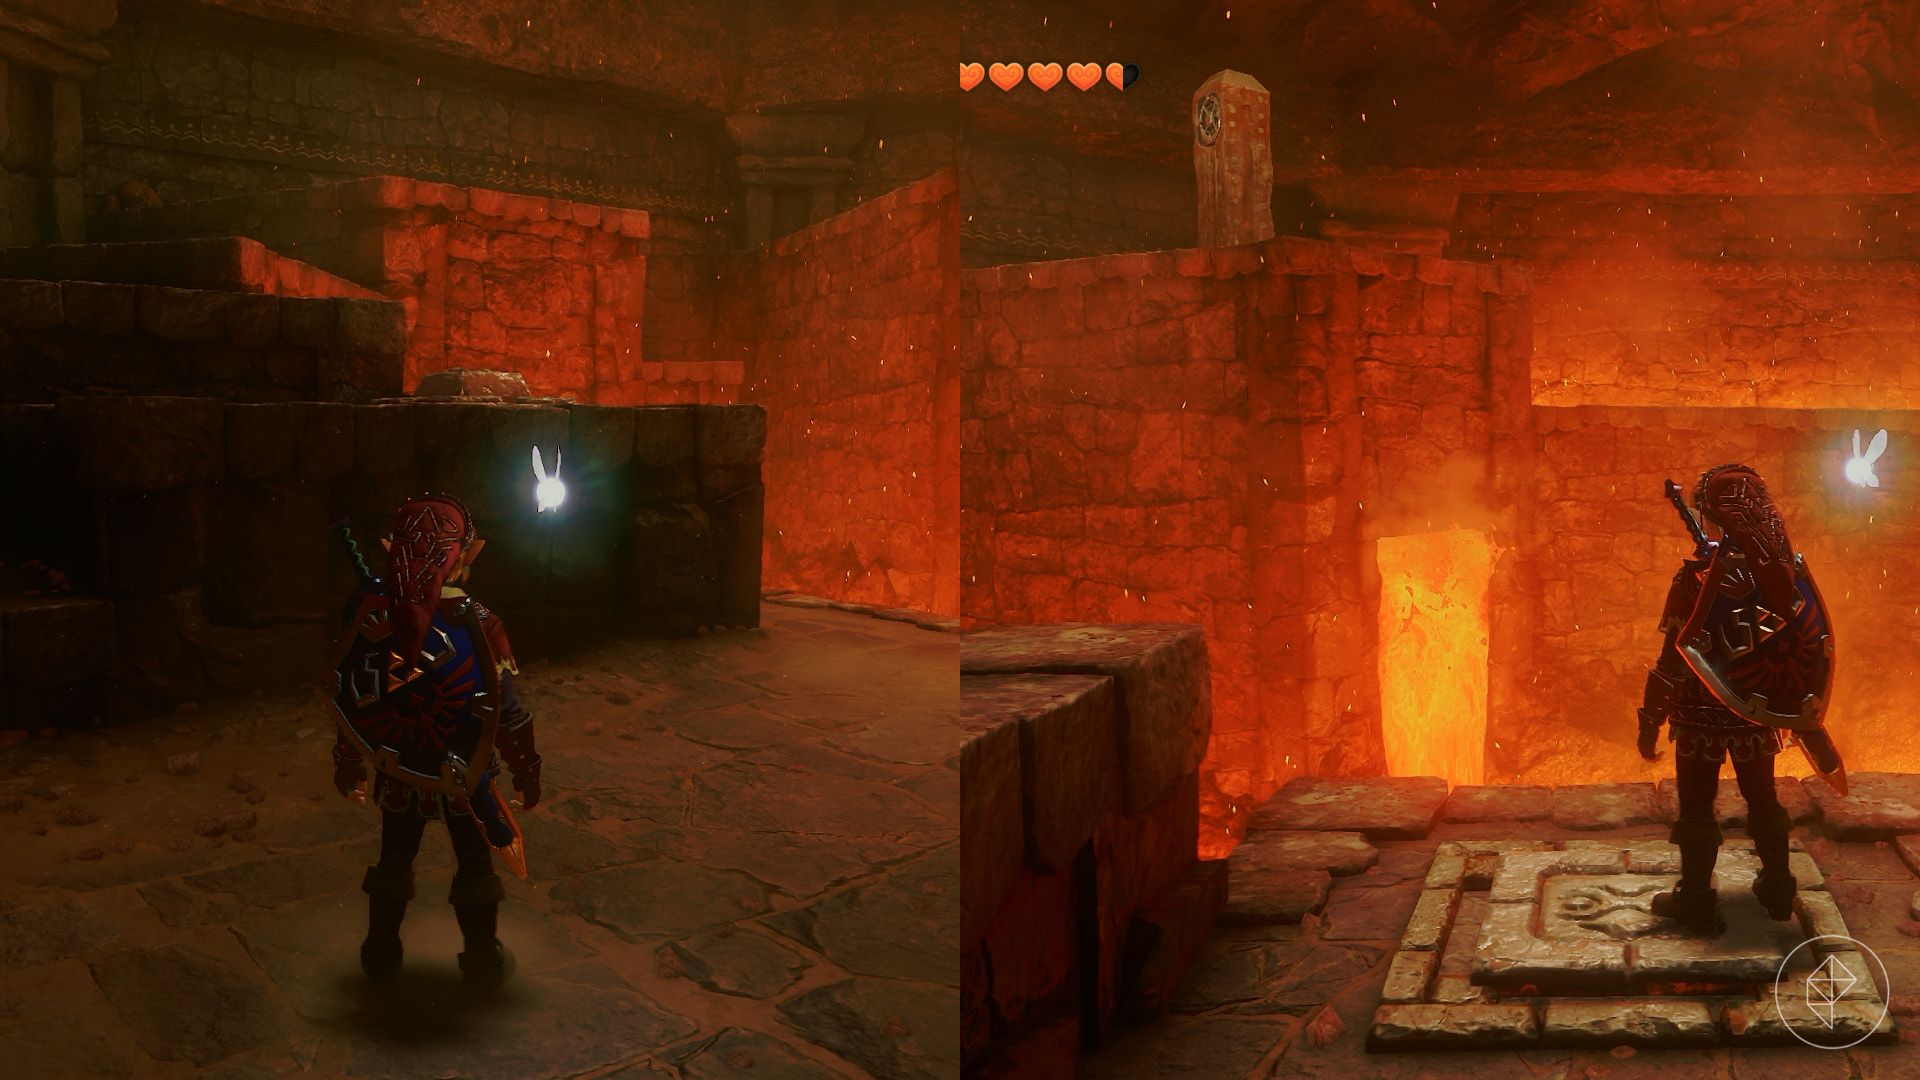
Step on the switch to the left to raise a series of Hookshot targets. They slowly sink back into the ground, so act quickly: run up the stairs, Hookshot to the first target, jump to the next platform, and Hookshot to the last target. Three chests on the final platform contain a total of 90 rupees.
Part 3: Getting the Megaton Hammer
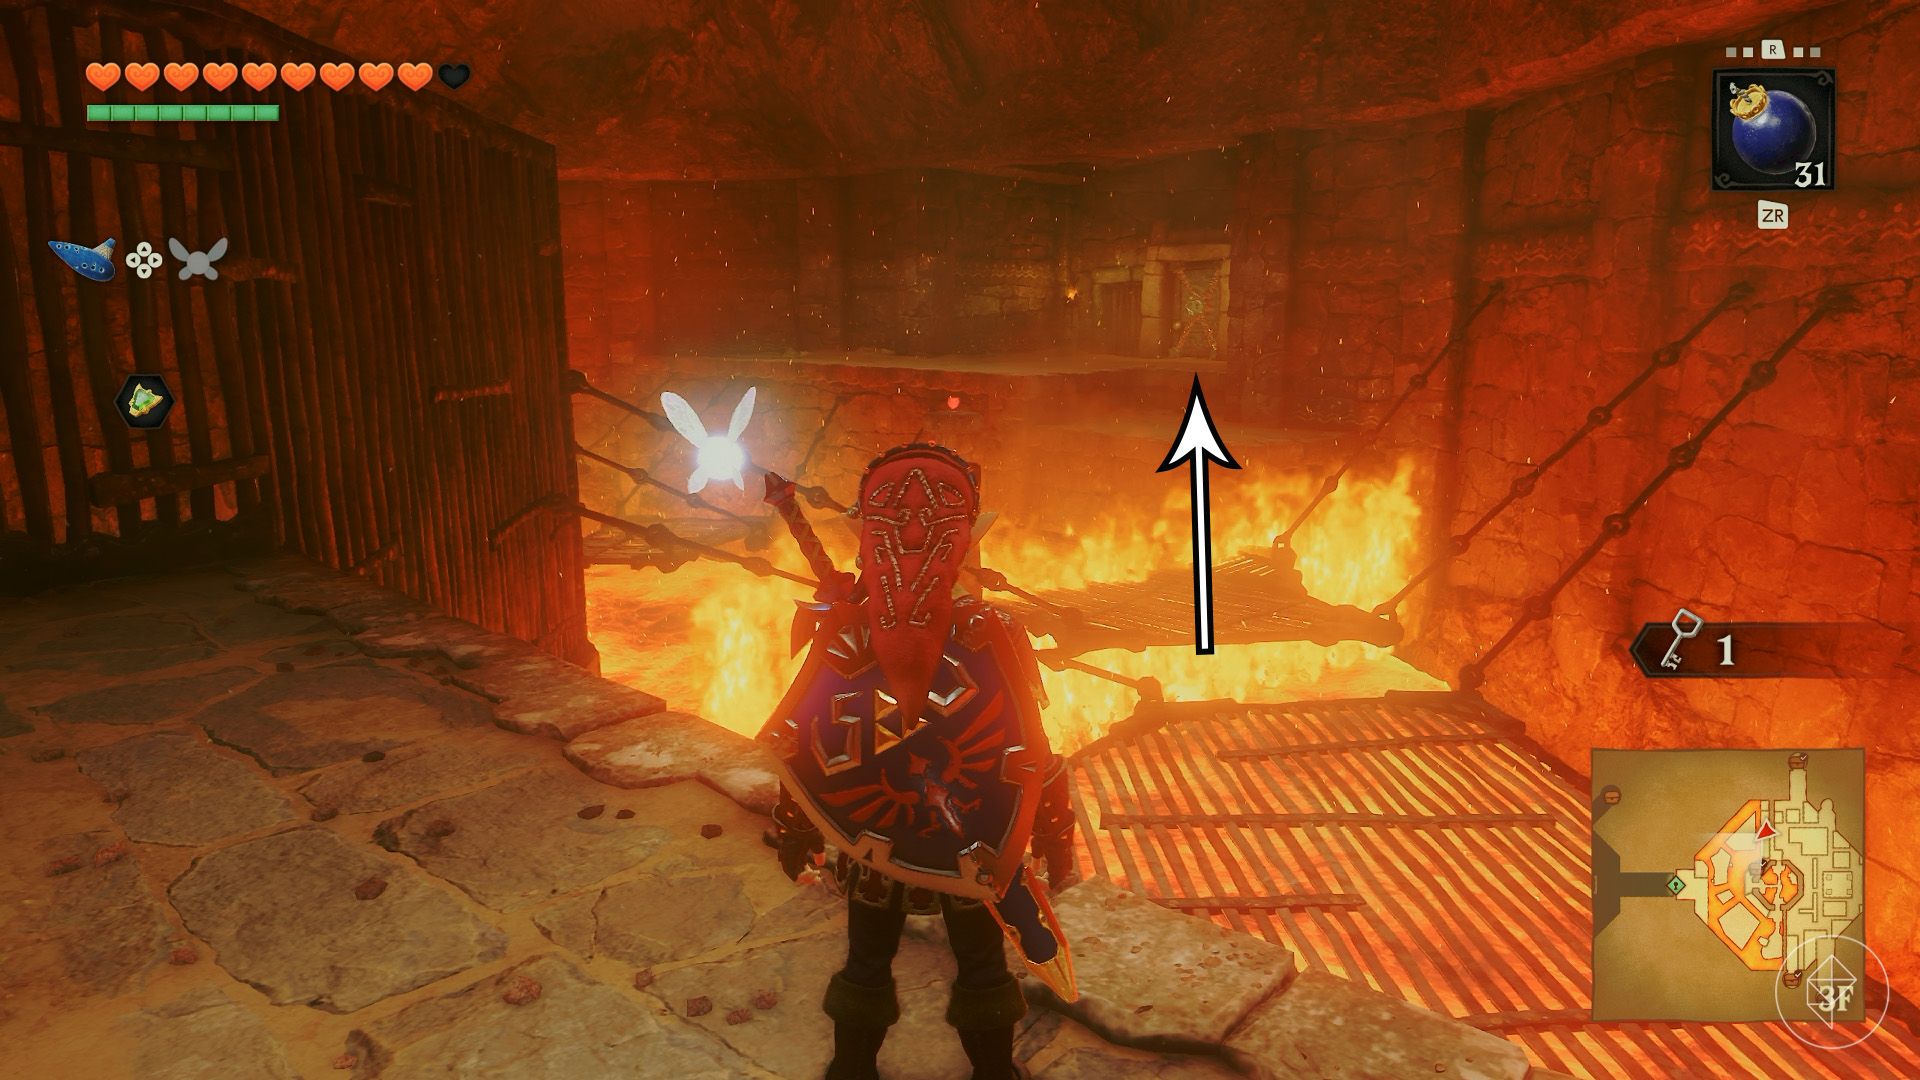
Return to the metal platforms and moving wall of fire. Use a small key on the door near the middle of the room. Beyond it is an obstacle-filled area with rotating fire pillars, flame mazes, rolling orbs, and false doors. For now, be wary of unlocked doors.
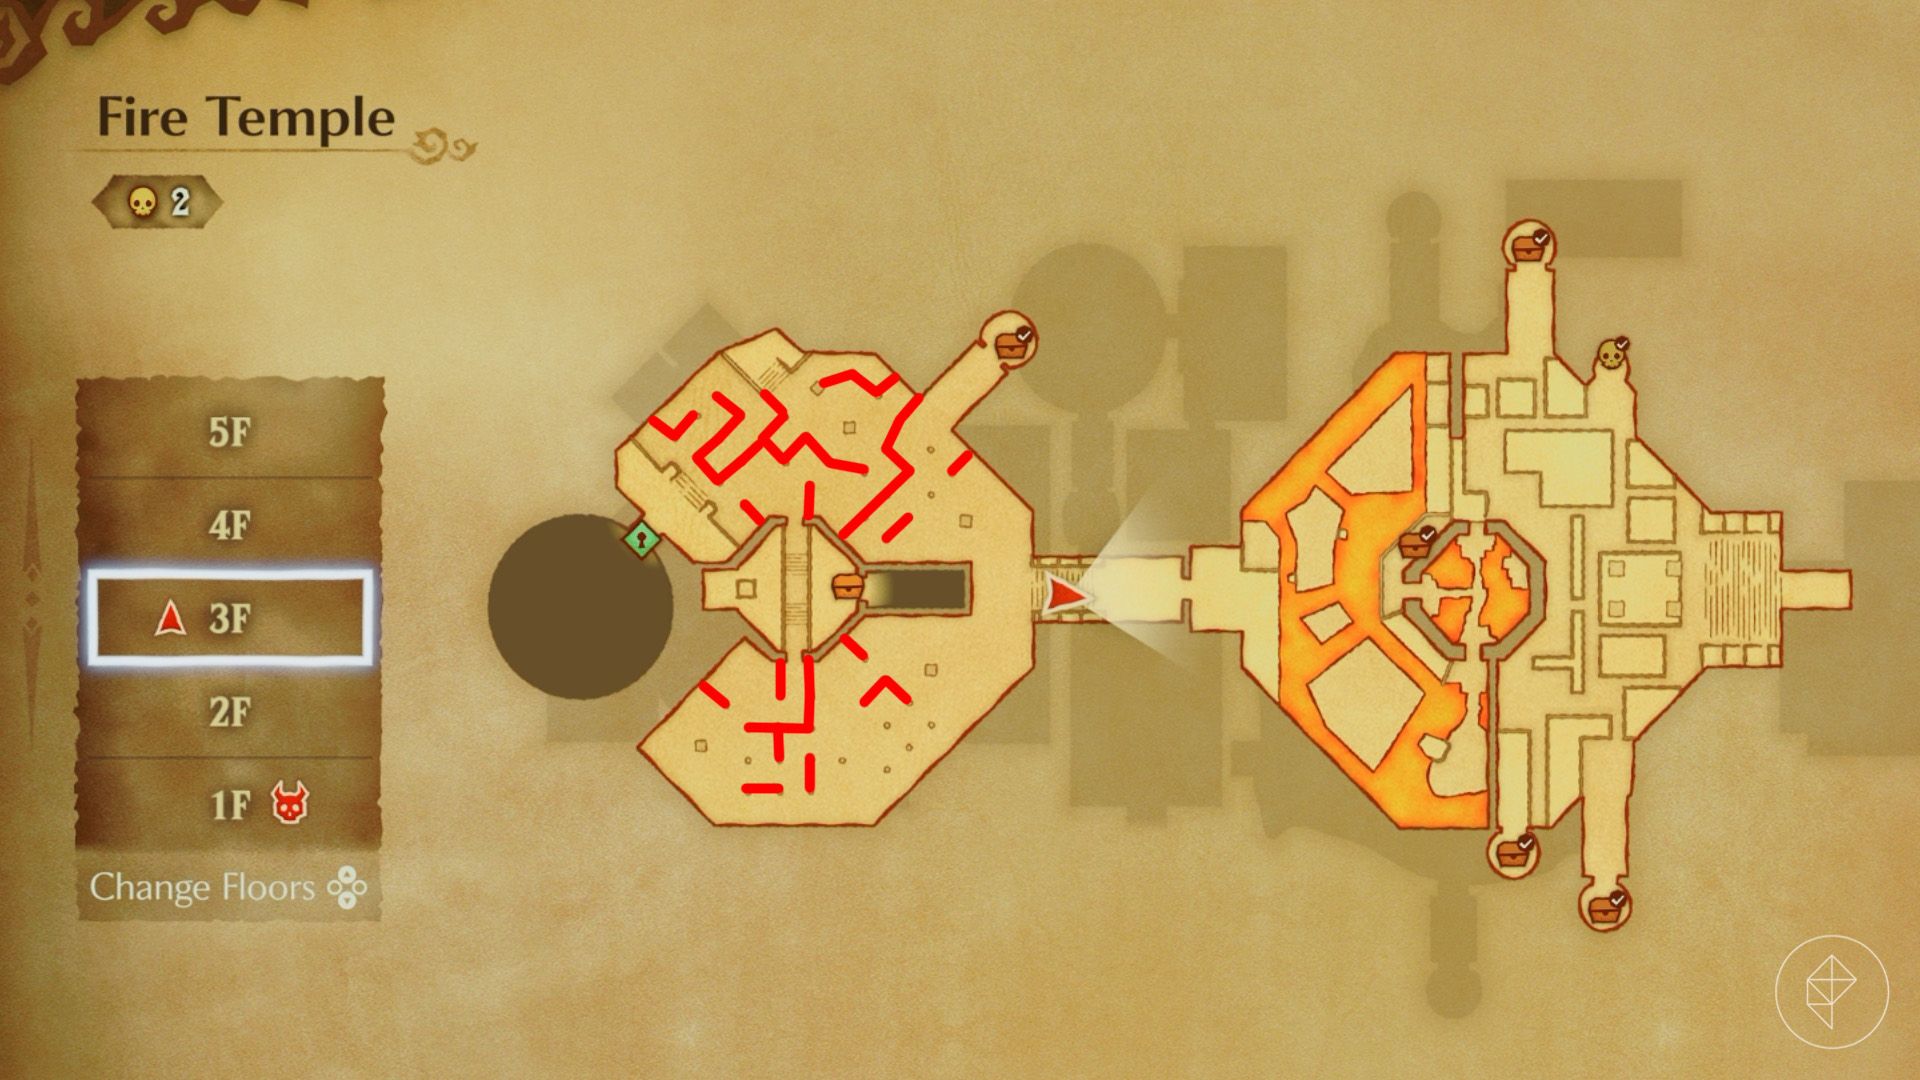
Head north past the rotating fire totem toward the rightmost pillar, but don’t go beyond it yet. Lines on the floor run between the pillars and walls; approaching some of them triggers walls of fire. The image above marks the barriers to help you navigate the maze.
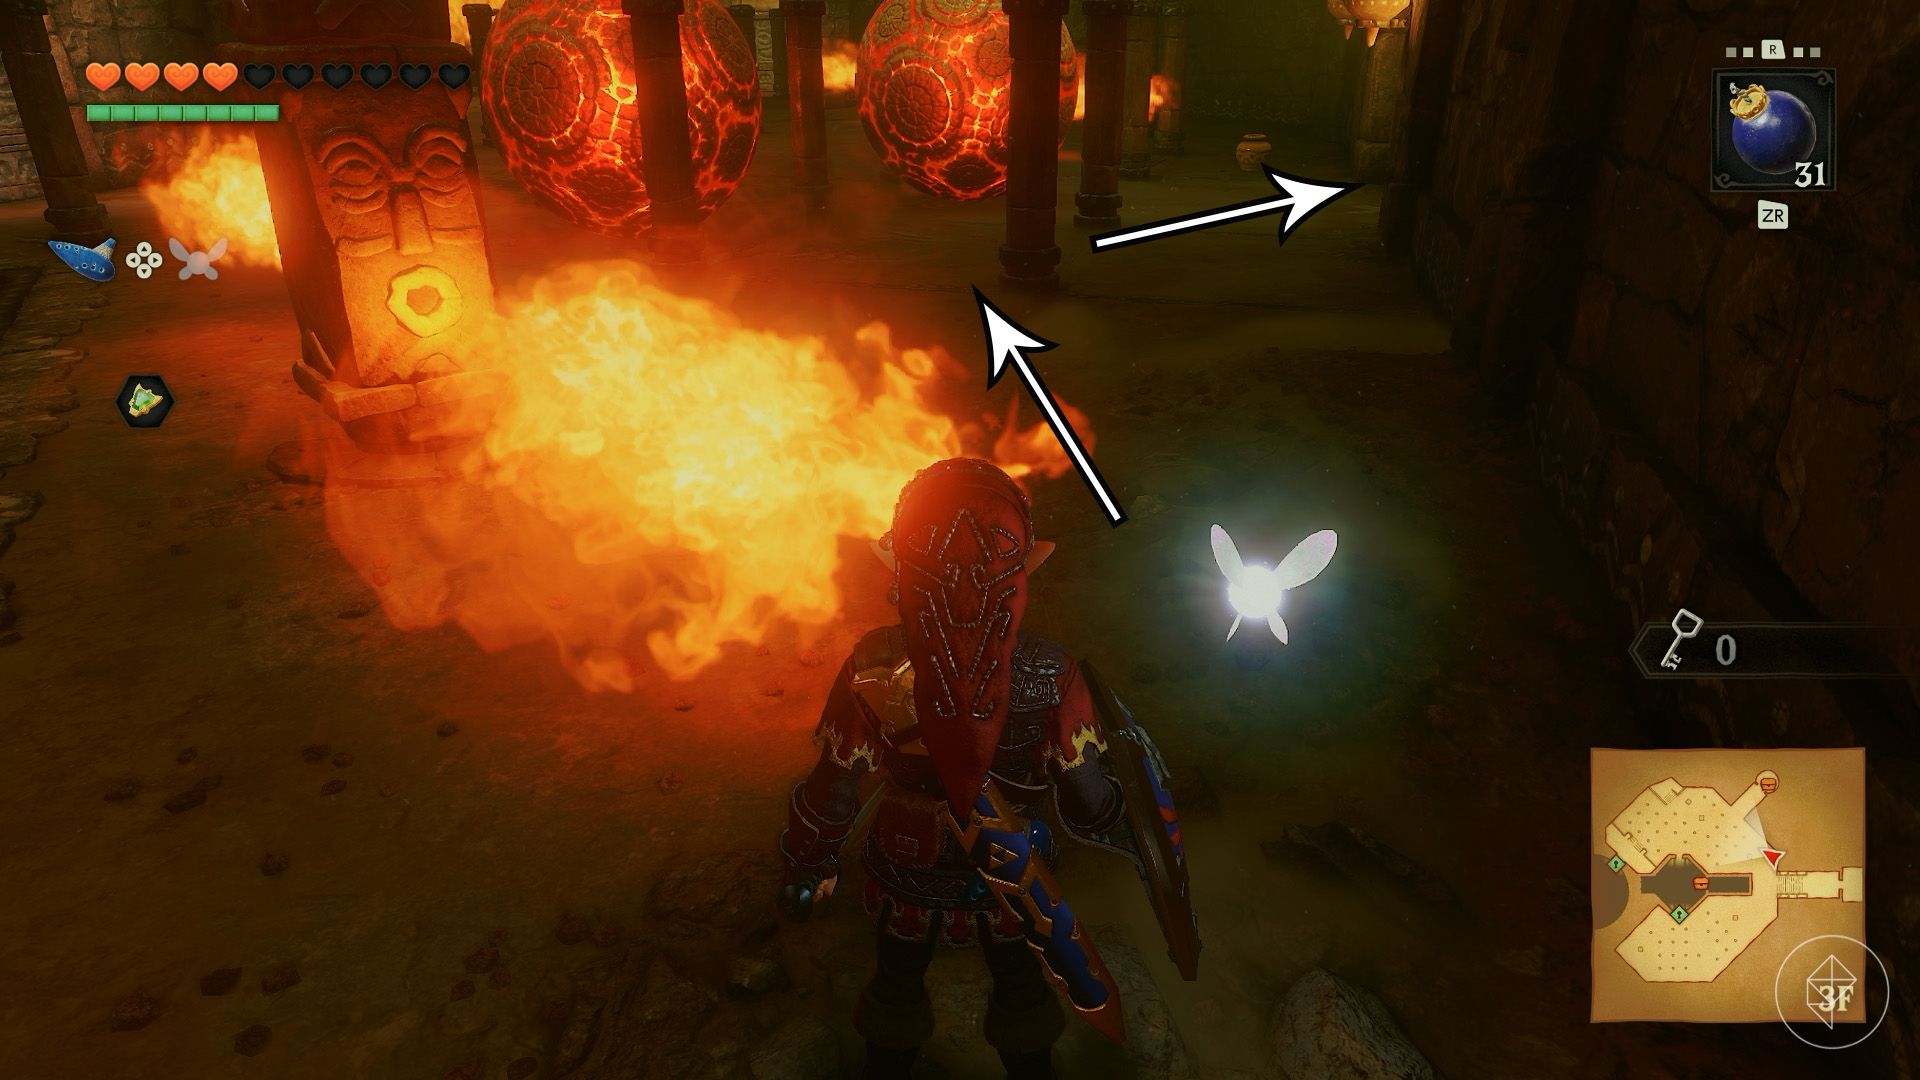
Walk to the left of the rightmost pillar, then enter the open area on your right. Free the Goron and take the small key from the chest.
Return to the starting staircase and head south. Navigate the fire maze to the locked door and use a small key to open it. Go through the next door to reach another maze.
Start by heading right to the northern corner. Pick up a stone cube and carry it back toward the entrance. Follow the path left to the stone switch northwest of the door, then place the cube on it. This disables the area’s fire traps, though the rolling orbs remain active.
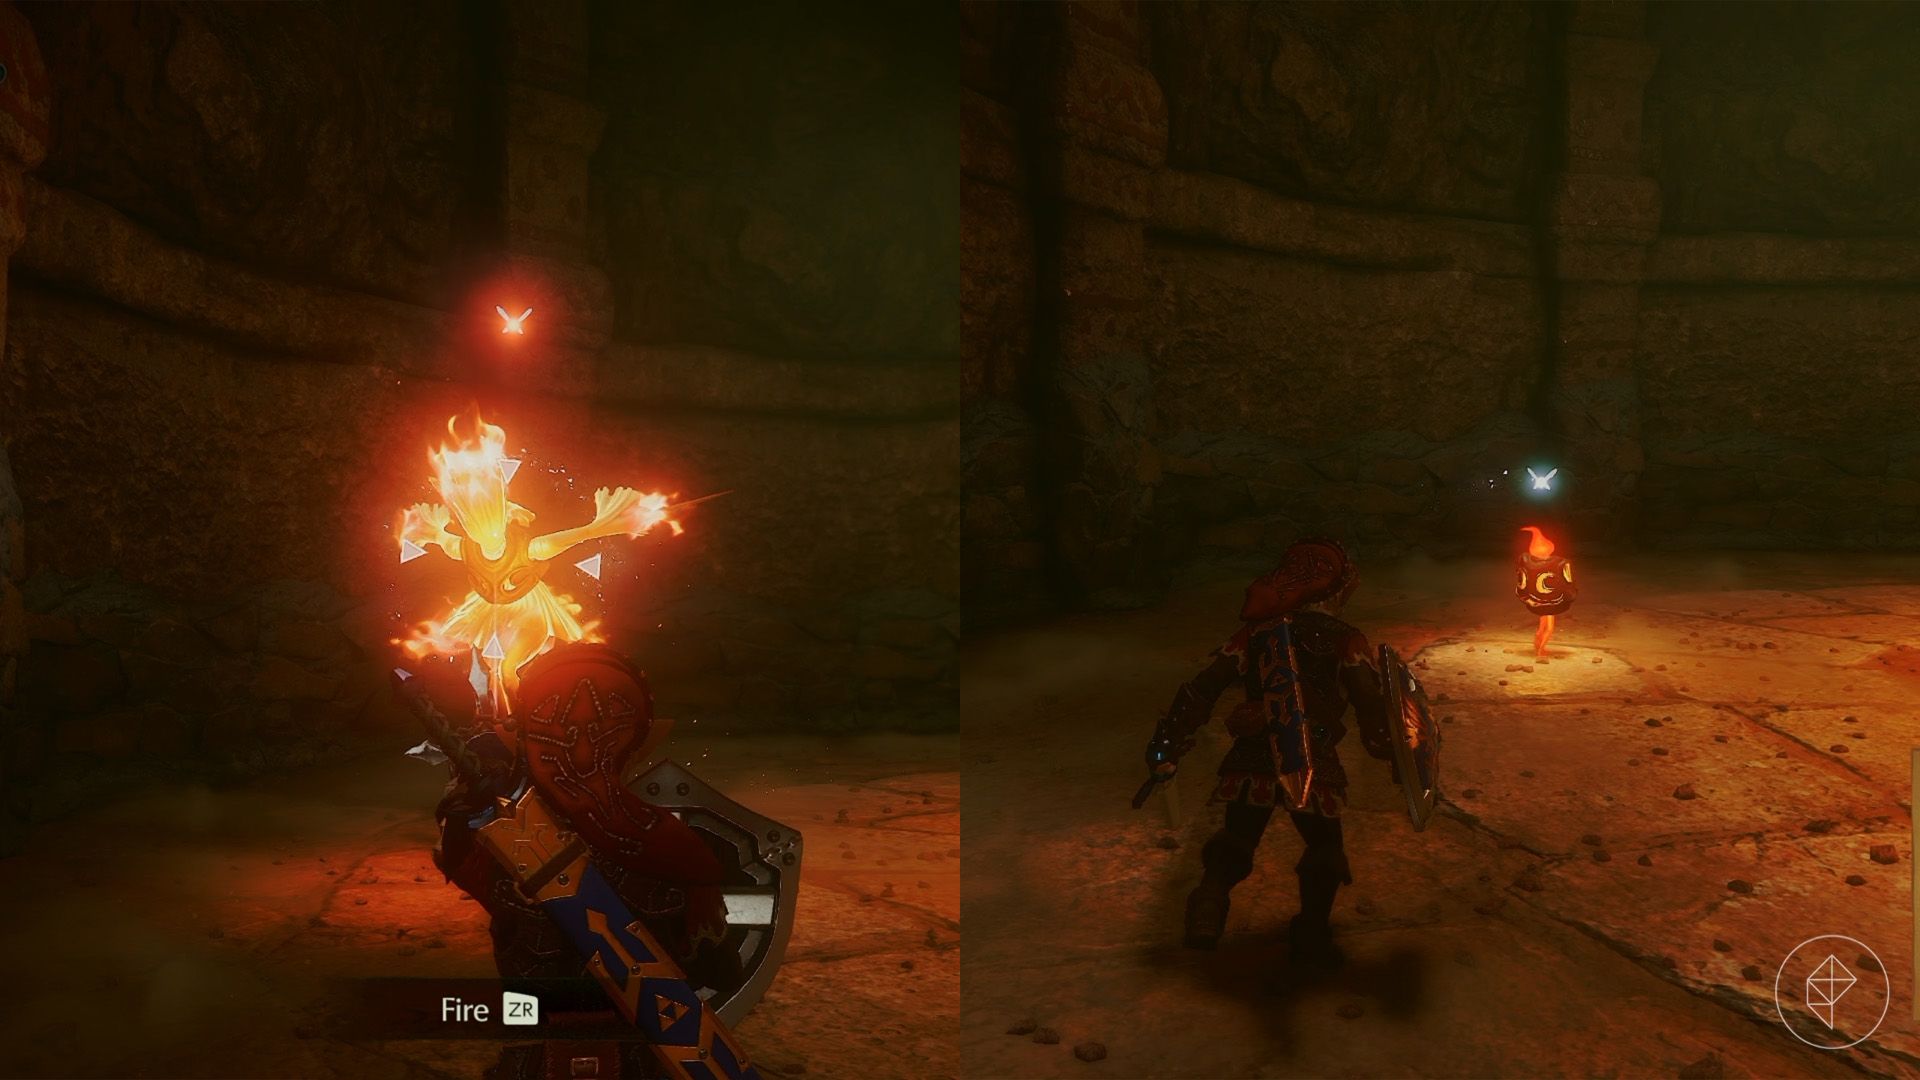
Unlock the western door to face a Flare Dancer. Its flames protect it from damage, so use the Hookshot on the metal piece in its chest to expose it. Chase the exposed enemy and strike it with your sword. If it runs too quickly, move in the opposite direction to cut it off.
The Flare Dancer will return to the fire, so repeat the process until it is defeated. Later in the fight, it may spin and surround itself with flames again; use the Hookshot to expose it once more. Step back when it is defeated, as it explodes.
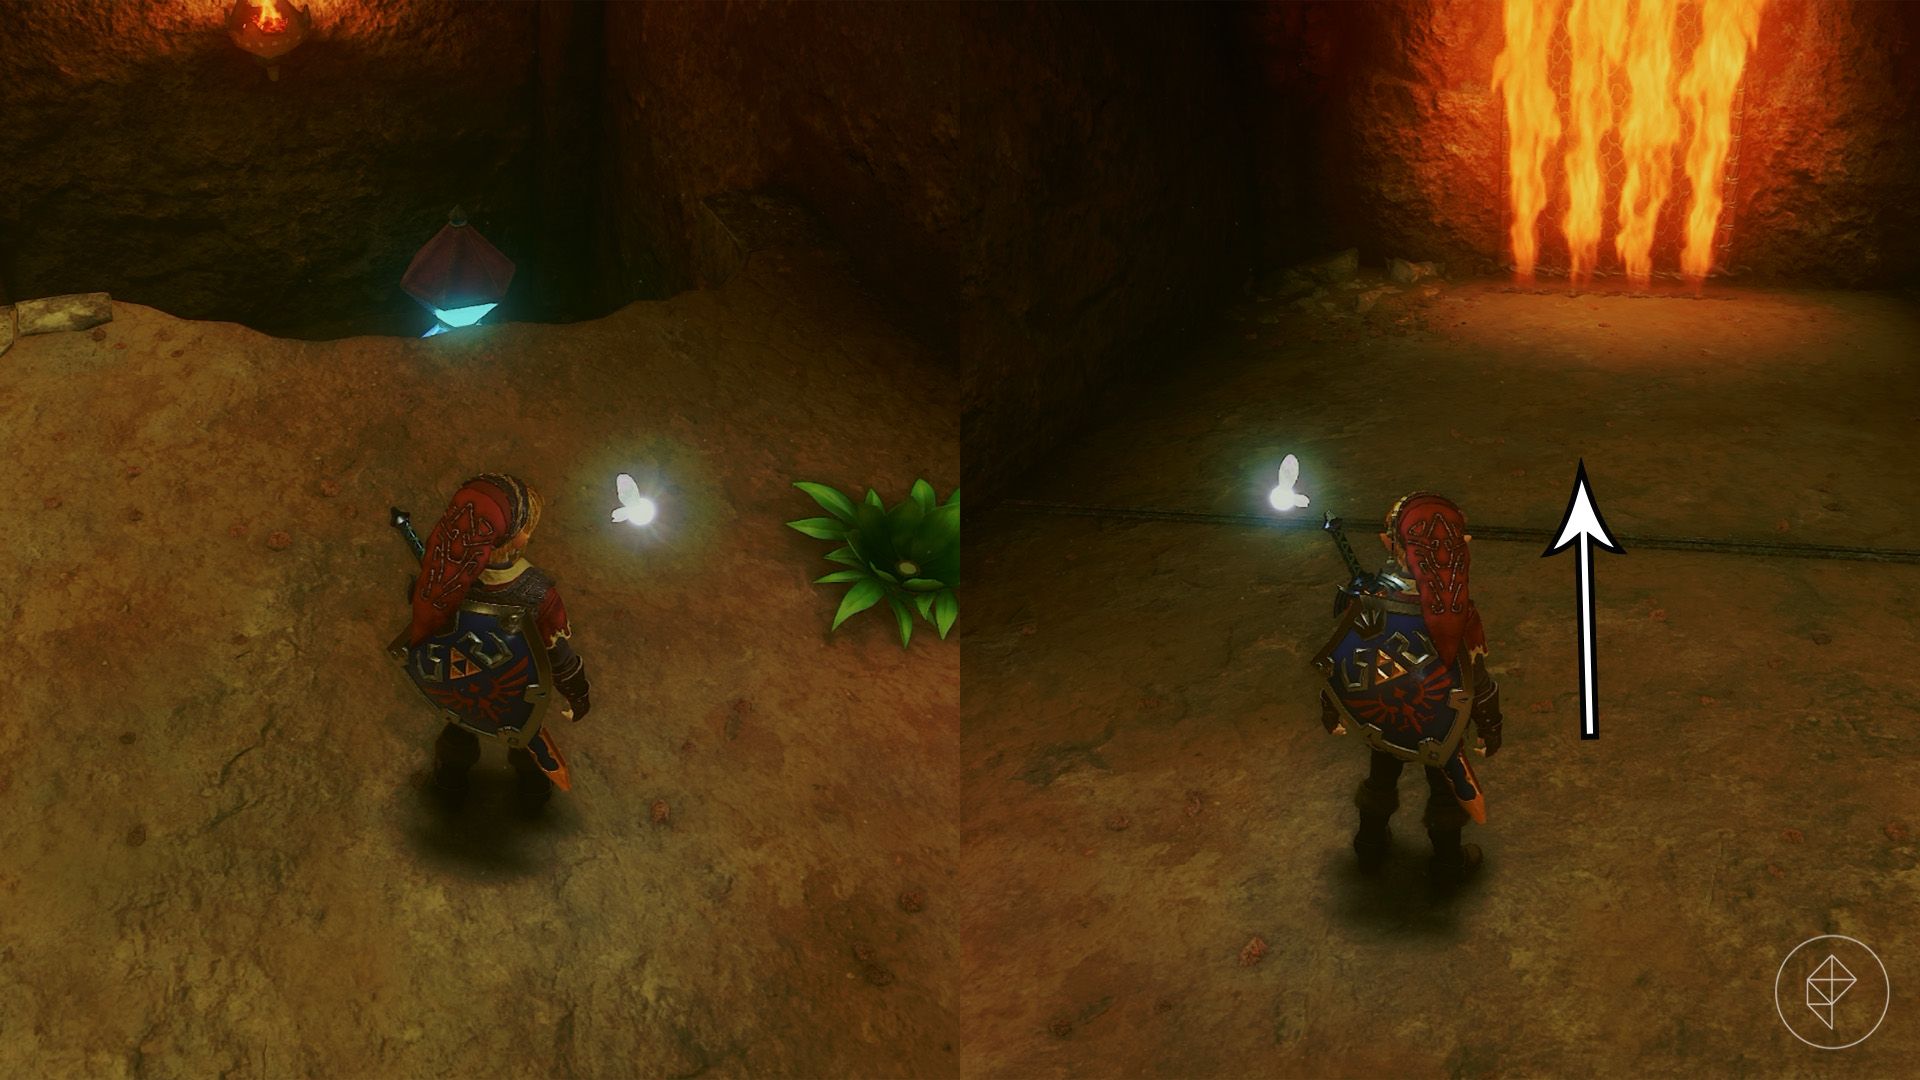
A platform drops over the central fire after the fight. Ride it to the next floor, enter the following room, and climb the wall netting. Look over the southern ledge and throw a Bomb Flower at the diamond-shaped switch. Throw a second Bomb Flower at the switch, then quickly run across the line on the floor. When the fire wall disappears, climb the netting.
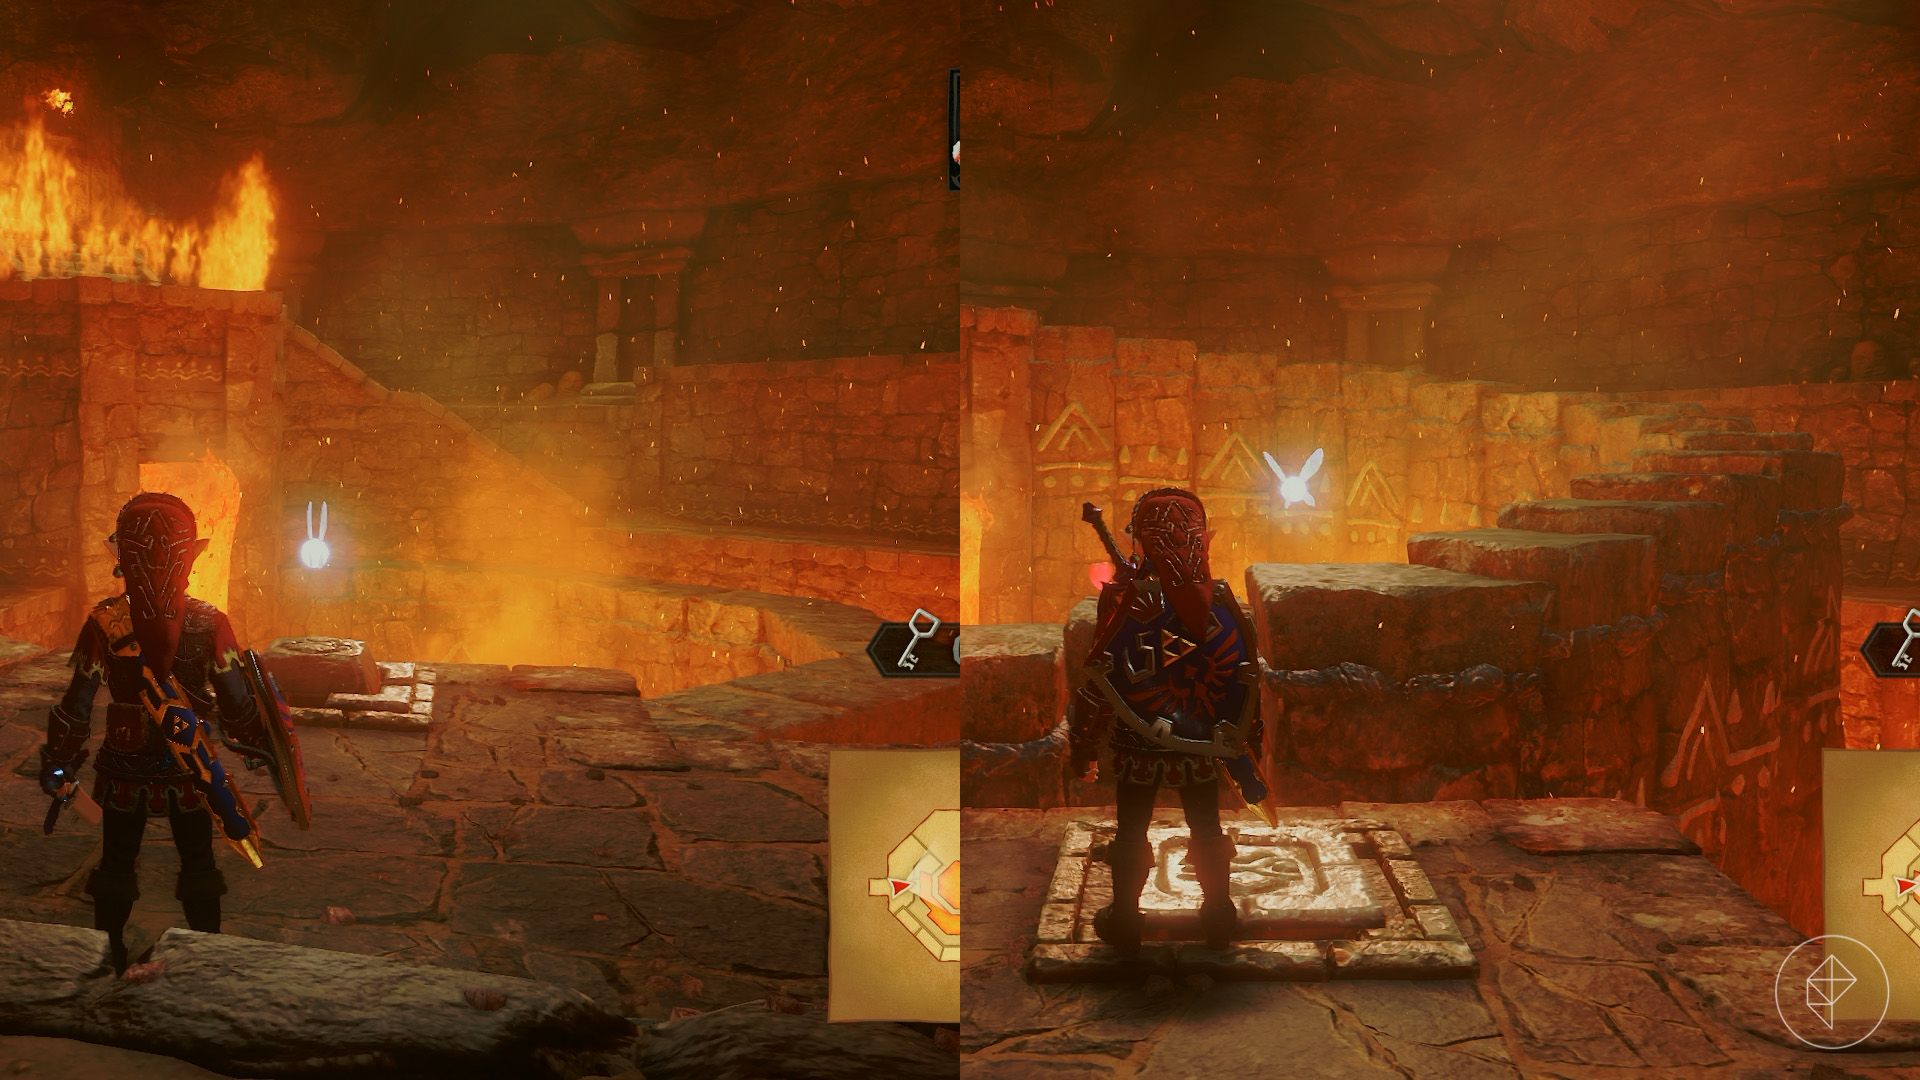
The switch ahead raises a spiral staircase for a limited time. Once you step on it, race upward; jumping to the stairs ahead can save time. Open the chest at the top to claim the Megaton Hammer.
Part 4: Finding the Boss Key
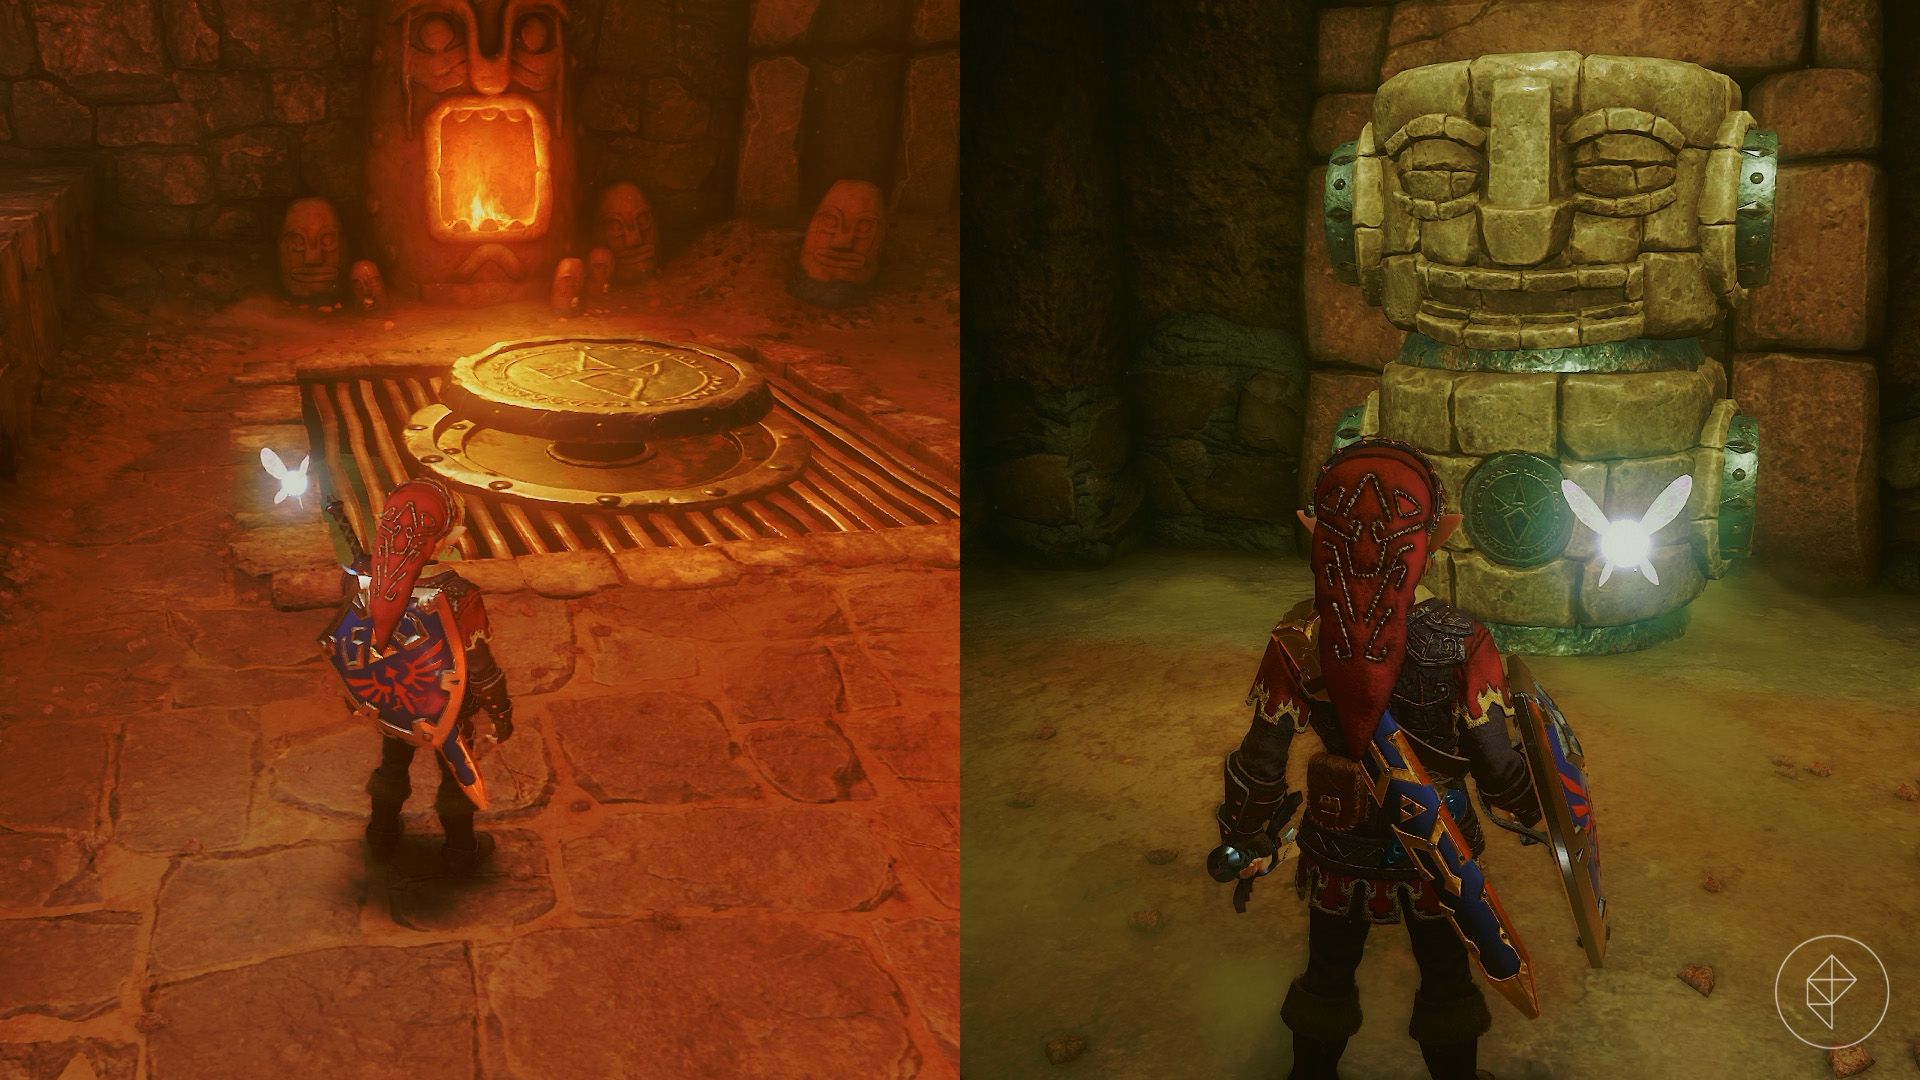
Return down the spiral staircase and strike the large circular platform with the Megaton Hammer to drop to the level below. Smash the decorated stone statue at the end of the hall to reveal a door. Inside, defeat the Fire Keese and hammer the switch to form a staircase.
Descend the stairs and go through the door. Strike the circular platform with the hammer and drop through the hole. Break the black rocks to reach a room with another time cube. Play the Song of Time (A – L – R – A – L – R) to remove it, then drop through the opening. Hit the switch to free the Goron and collect the small key.
Stand on the circular platform ahead and strike it with the hammer. This brings down the enormous rock suspended near the boss room. Return to the starting room, smash the decorated statue beside the stairs, and enter the door behind it.
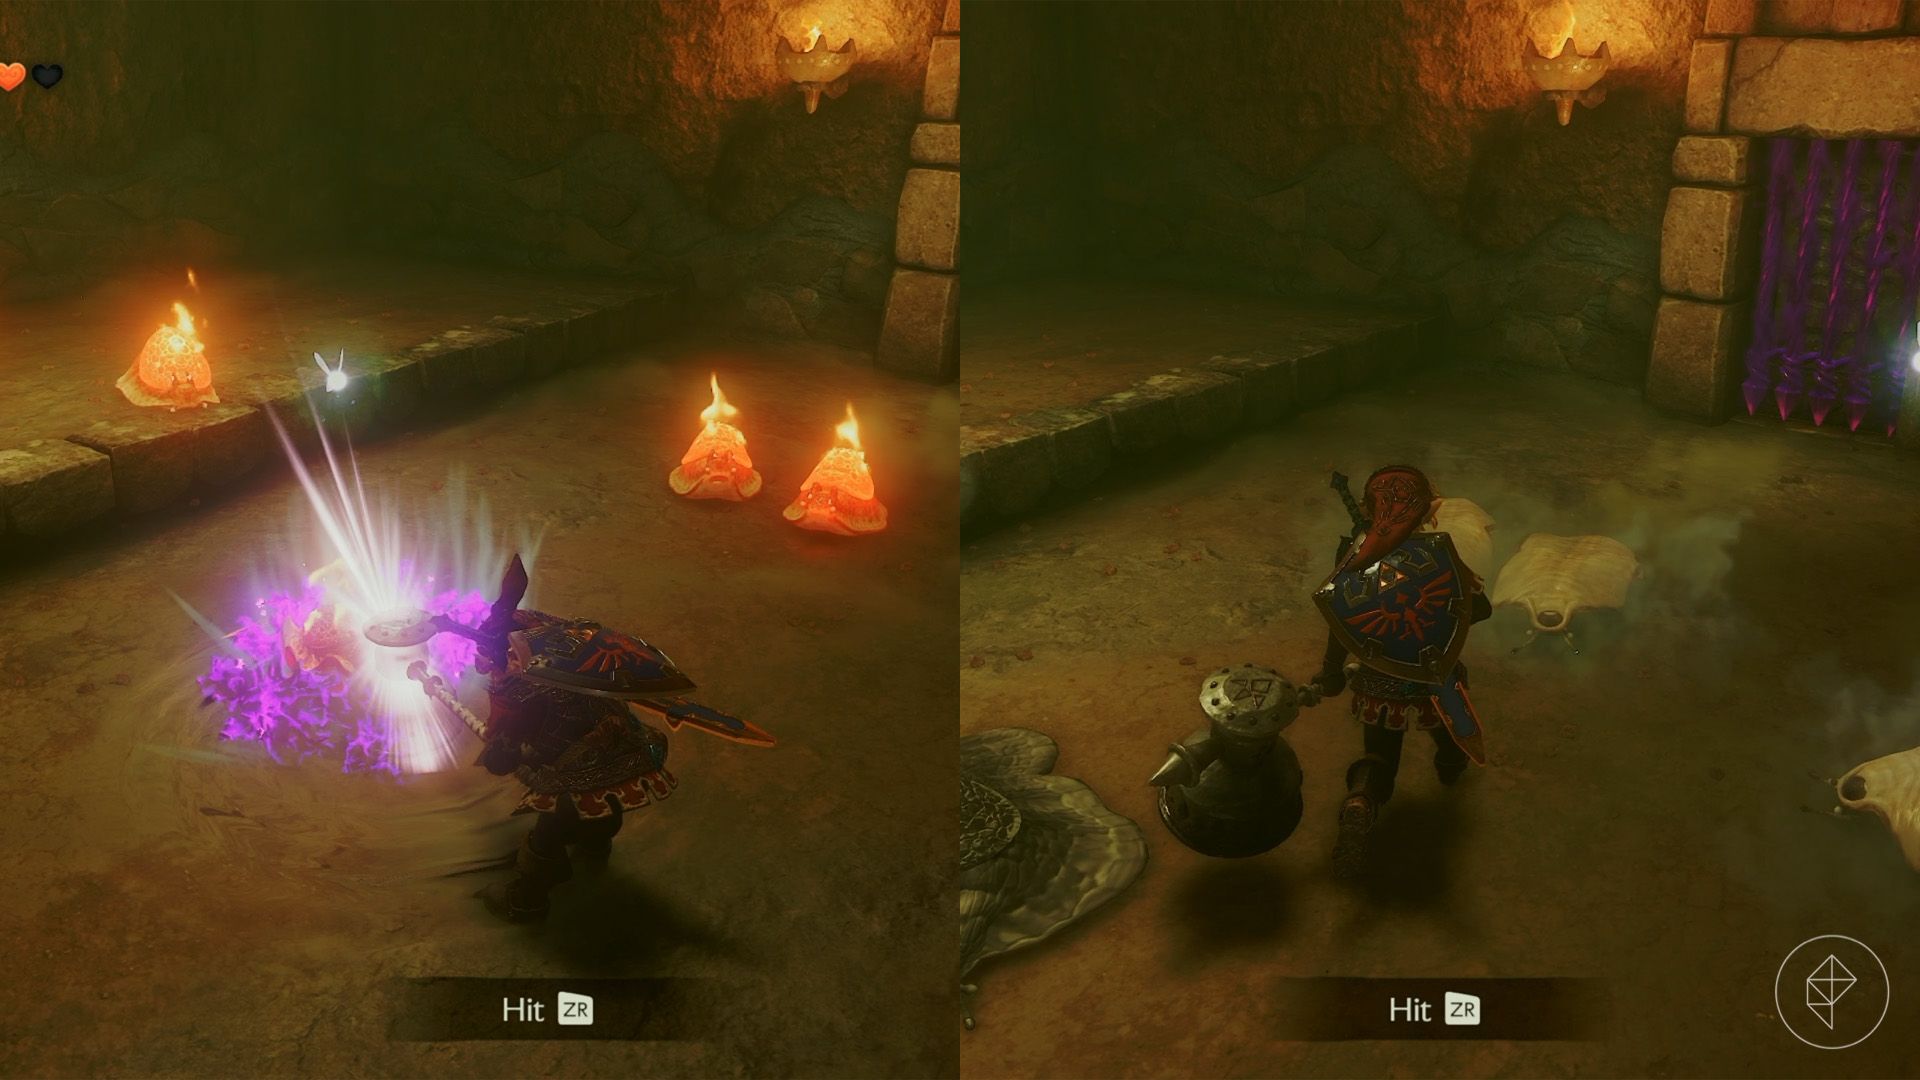
The next room contains several Torch Slugs. Strike one with the Megaton Hammer to flip the others over, then defeat them before they recover. The door unlocks once they are all gone.
In the following room, defeat the Flying Tiles and Like Like. Smash the black rock to uncover a Gold Skulltula, then break the stone statue and continue to another Flare Dancer.
As before, use the Hookshot to expose its metal core. You can also use the Megaton Hammer to knock it down if it is difficult to catch. After defeating it, open the chest in the center of the room for a red rupee.
Enter the southern room and hammer the switch to release the final Goron. Open the chest for the boss key, then go through the southern door and make your way to the boss room.
Part 5: Defeating Volvagia
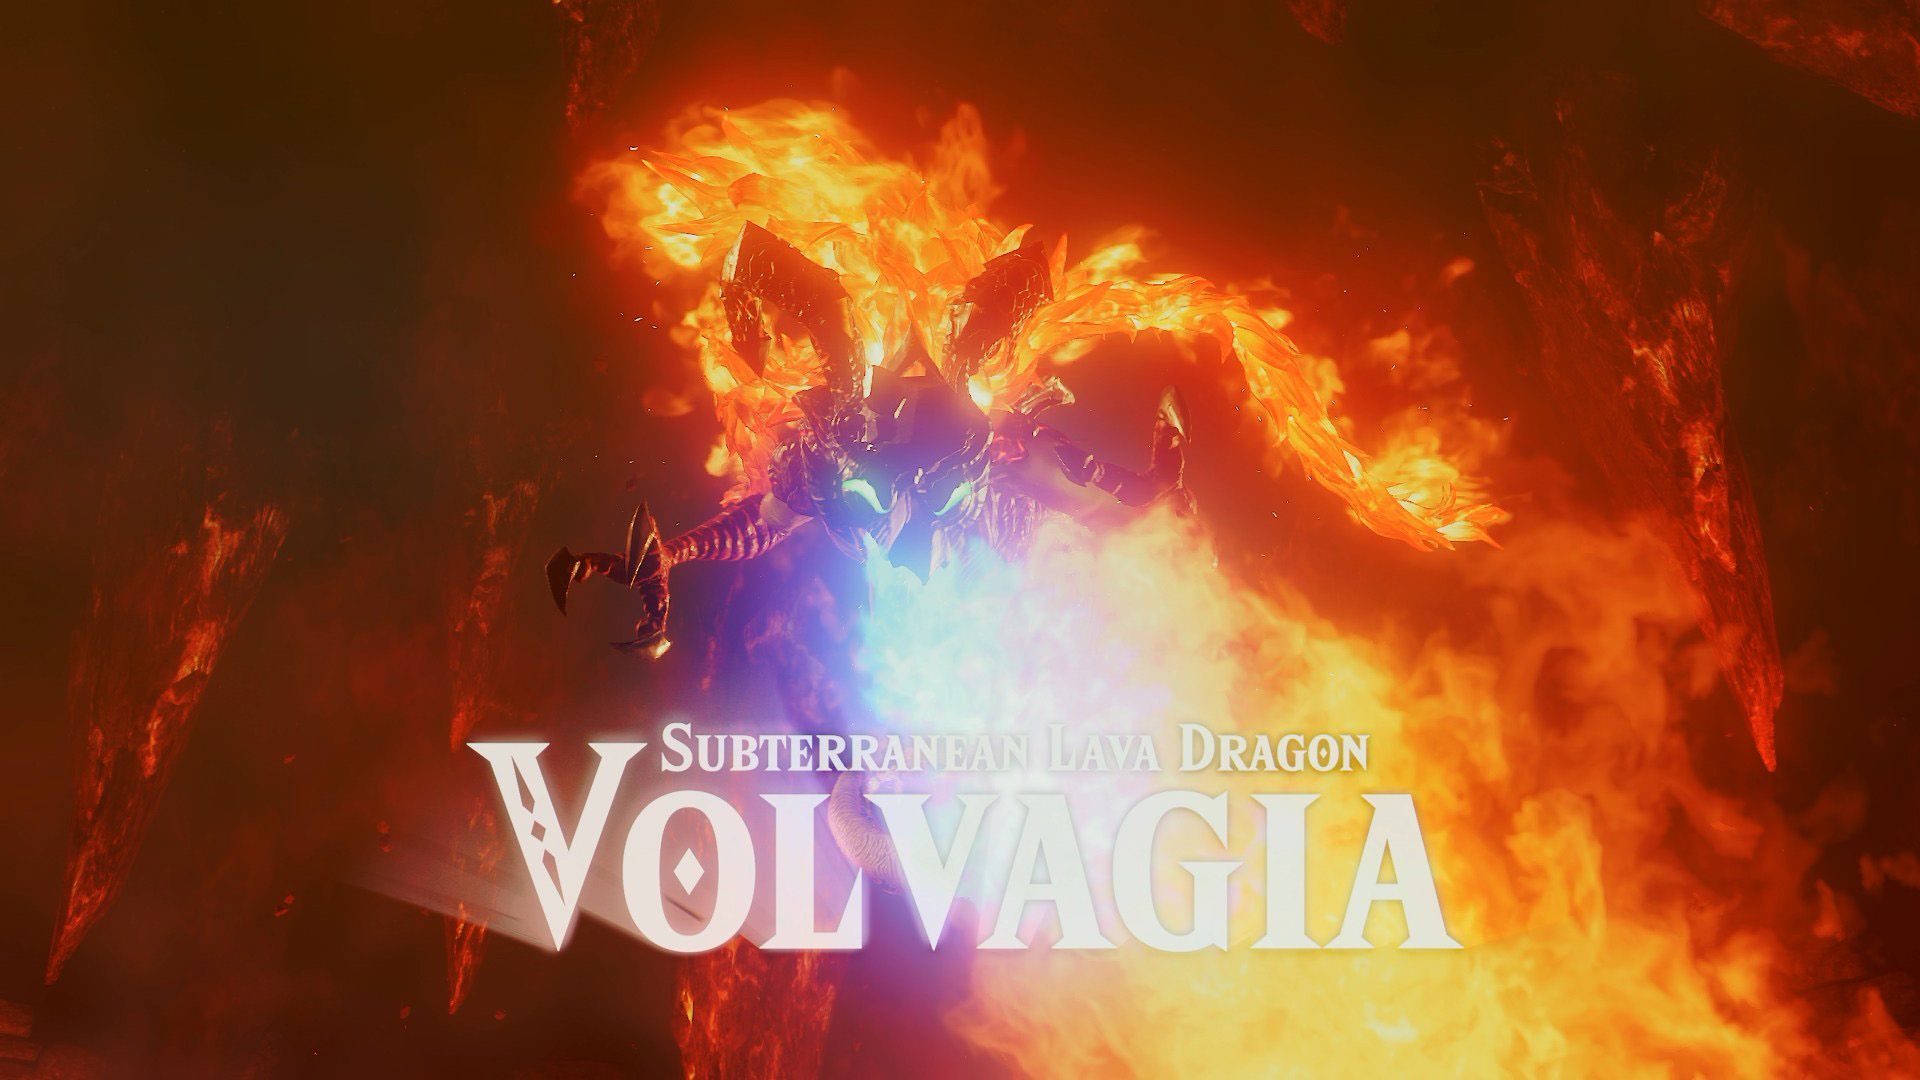
When you’re ready, enter the boss room and jump into the arena to face Volvagia, the Subterranean Lava Dragon. The fight follows a repeating pattern:
- Volvagia emerges from a hole and breathes fire.
- The dragon flies out and either circles the arena before breathing fire across the floor or flies to the center and summons falling rocks.
- Volvagia dives back into a hole. Lava splashes from the openings until the dragon emerges again.
When Volvagia’s head appears, rush over and strike it with the Megaton Hammer. If the dragon starts breathing fire, approach from the side. The hammer blow will knock Volvagia down, giving you an opportunity to attack its head with your sword.
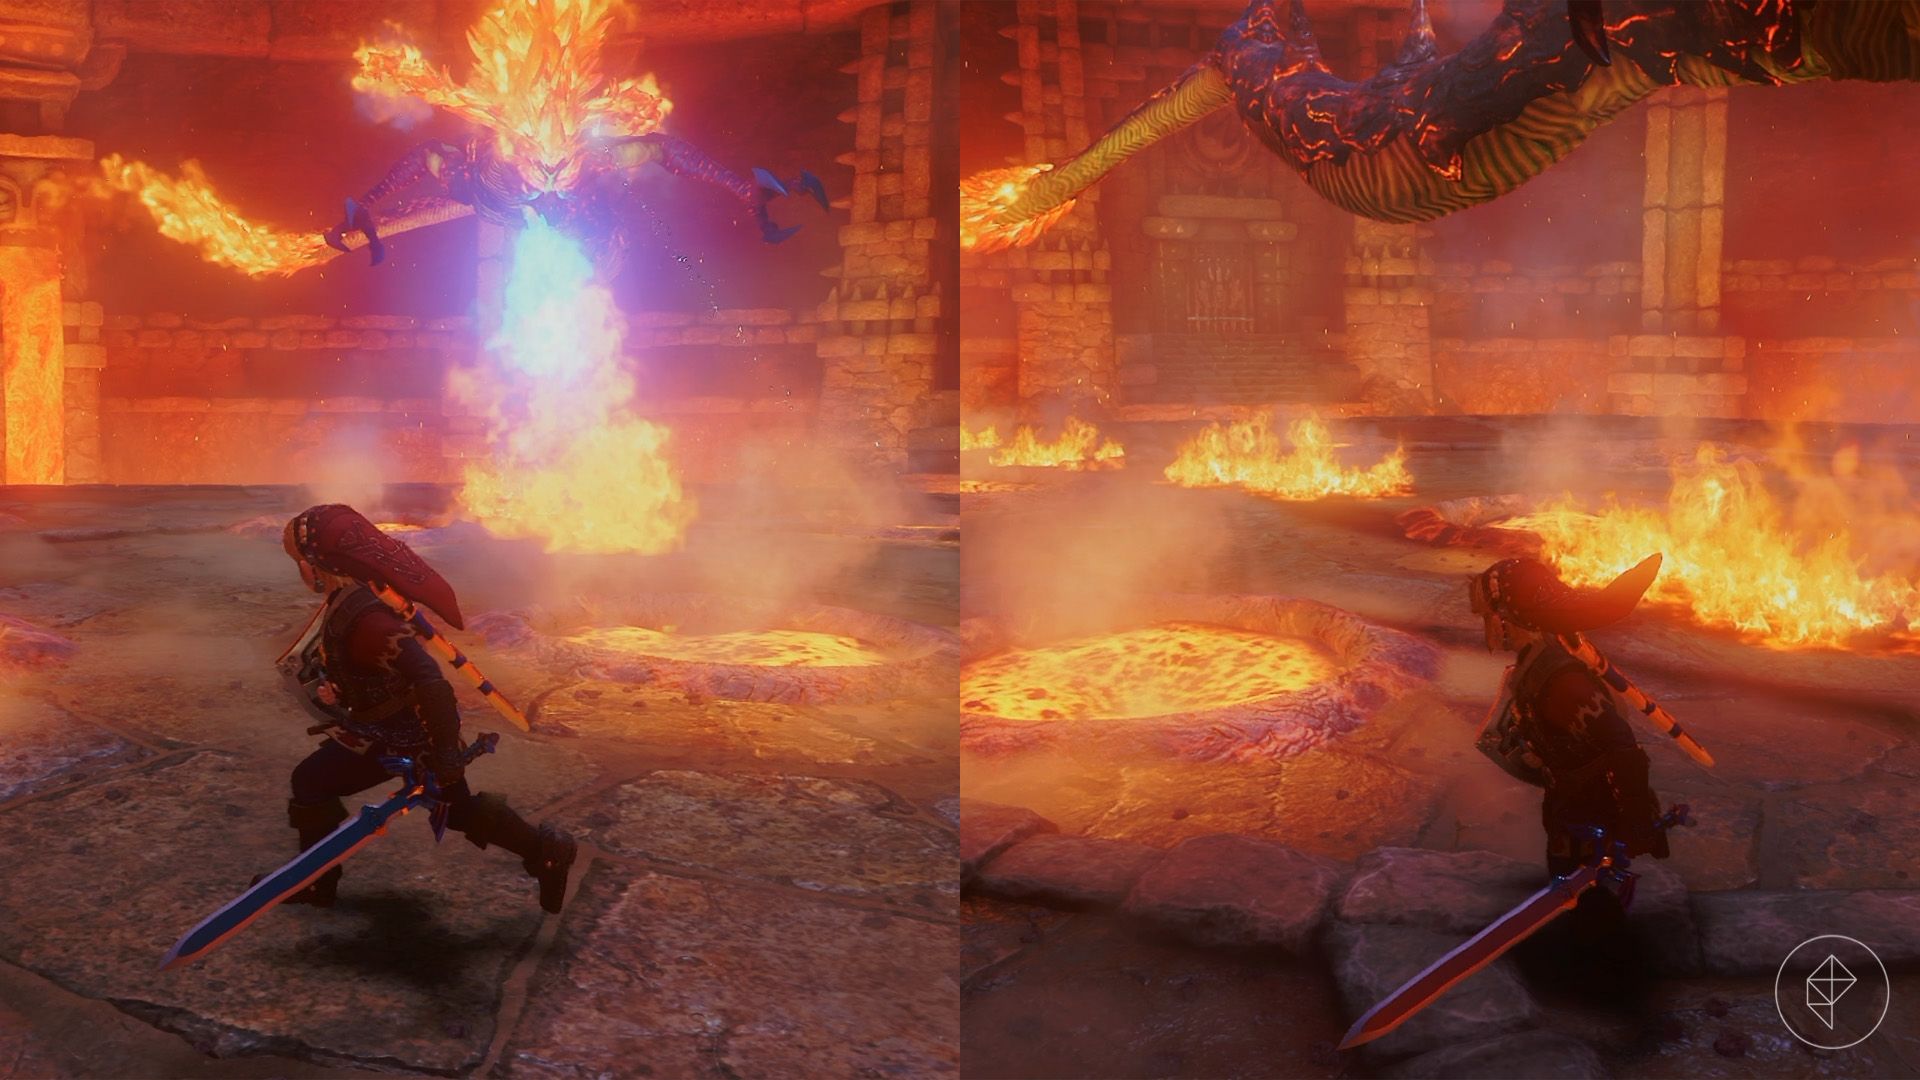
When Volvagia circles the arena, follow along the outer edge. This helps keep the resulting fire trails confined to a smaller area. Early in the fight, the dragon flies toward you once; later, it may repeat the attack at least twice.
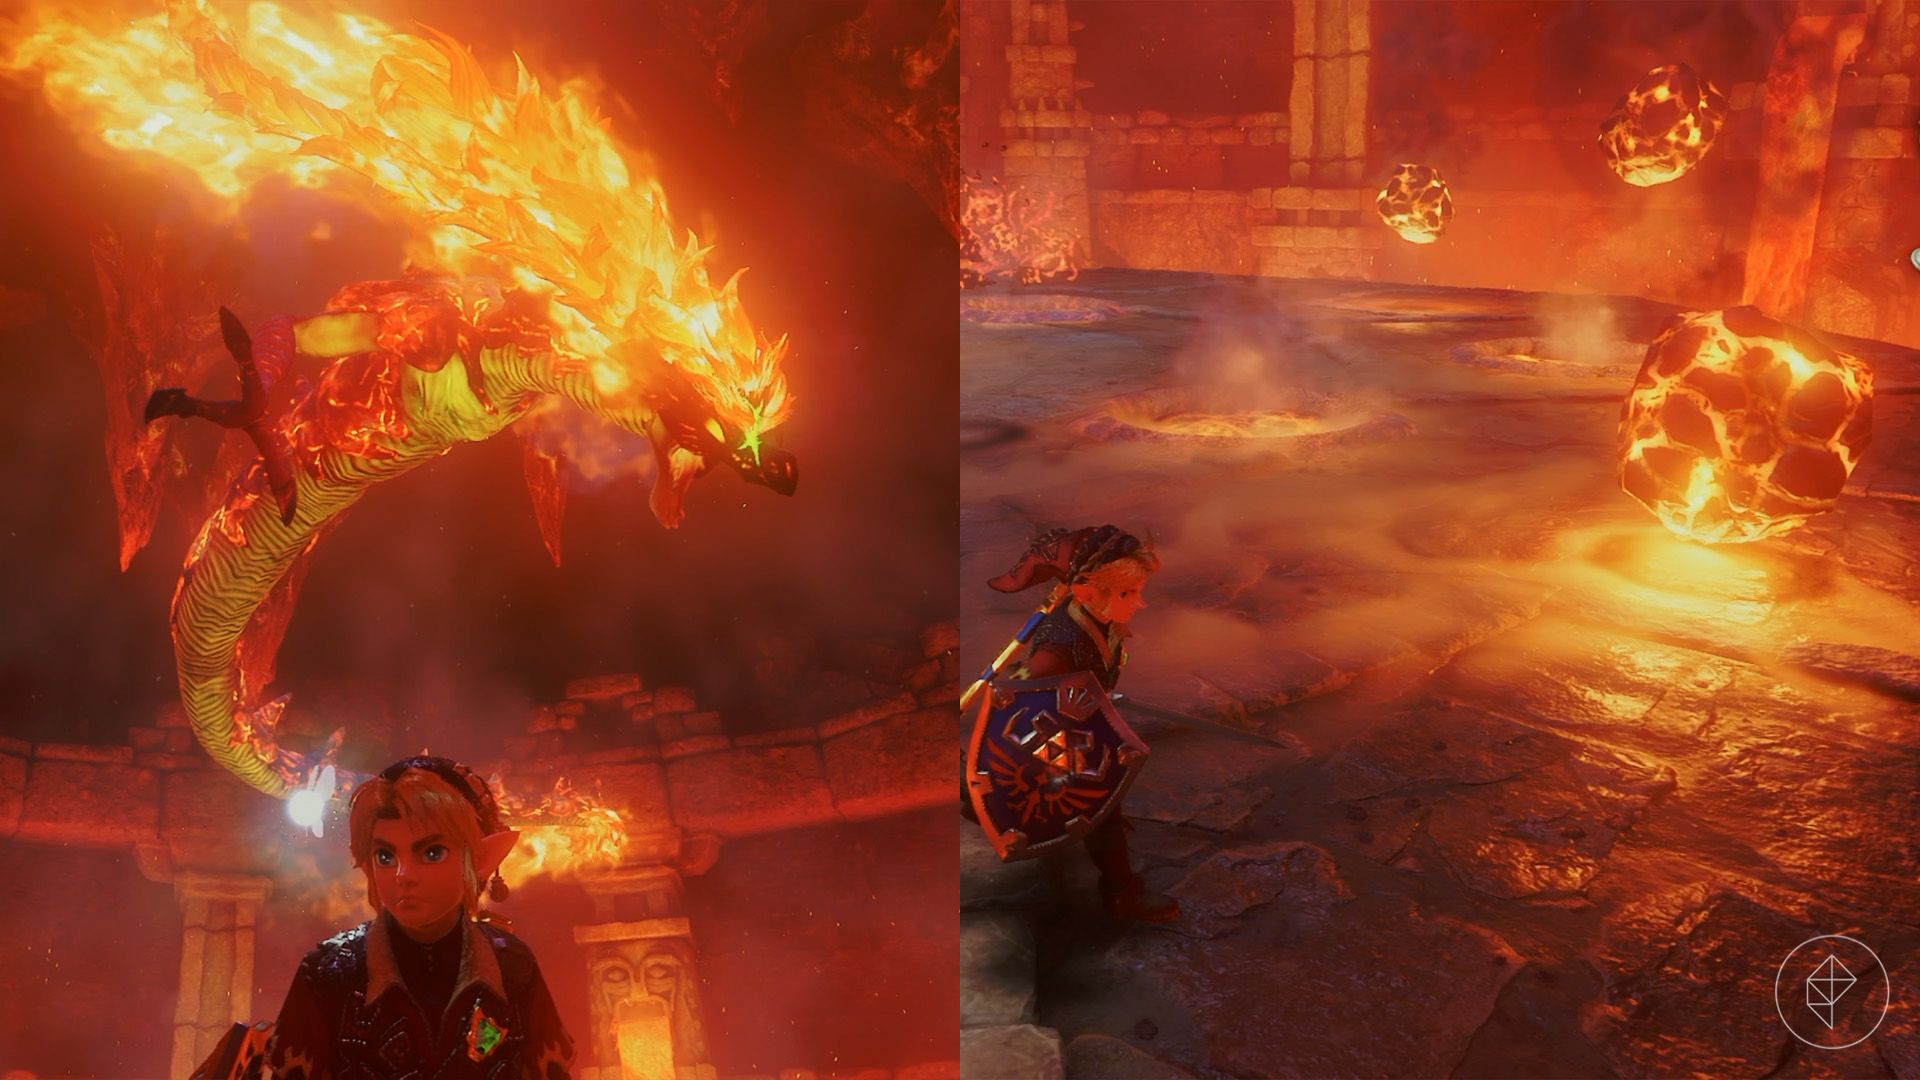
If Volvagia flies to the center, flaming rocks will fall from the ceiling. Watch for their shadows and move clear until the attack ends.
After the dragon dives into the lava, wait for it to reappear. Early in the battle, it emerges from the third hole that splashes. Later, several holes may splash at once, making its location less predictable. Keep some distance from the openings to avoid being hit as it emerges.
Repeat the hammer strike and sword attacks until Volvagia is defeated. Collect the Heart Container, then leave the Fire Temple through the ring of white light.
Source: Polygon
Related articles
 Phantom Blade Zero Generates Estimated Hundreds of Millions Without an Xbox Release
 Famitsu Gives The Legend of Zelda: Ocarina of Time Remake 37 out of 40 in First Review
 Switch 2 Cartridge Manufacturer Exits the Market
 Microsoft’s Alligator Xbox May Be a GTA VI Marketing Workaround
 Analysts Say Gran Turismo 7 Is Not on PS Plus Because It Has Earned Sony Hundreds of Millions of Dollars
 Mike Flanagan Hints at Unexpected Approach to Warhammer 40,000 Series Starring Henry Cavill
 The Legend of Zelda: Ocarina of Time – Shadow Temple Dungeon Walkthrough
 The Legend of Zelda: Ocarina of Time — Spirit Temple Dungeon Walkthrough