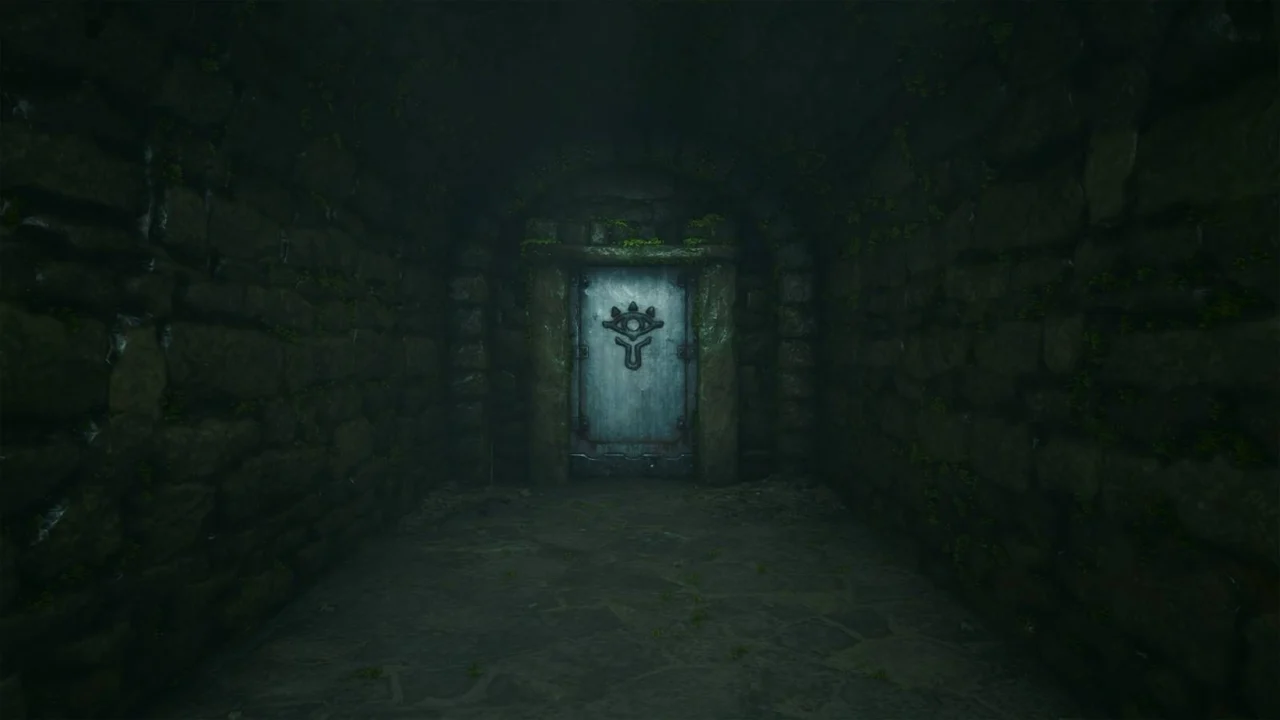
Bottom of the Well Dungeon Walkthrough for The Legend of Zelda: Ocarina of Time
The Bottom of the Well is a mini-dungeon beneath Kakariko Village in the The Legend of Zelda: Ocarina of Time remake. Its most important treasure is the Lenses of Truth, an item that reveals hidden passages and exposes illusions.
Reaching the dungeon requires a little time travel, and the depths hold plenty of unsettling enemies, including ReDead, Gibdo, and Dead Hand. Here’s how to explore the well and collect its treasures.
Part 1: Draining the well
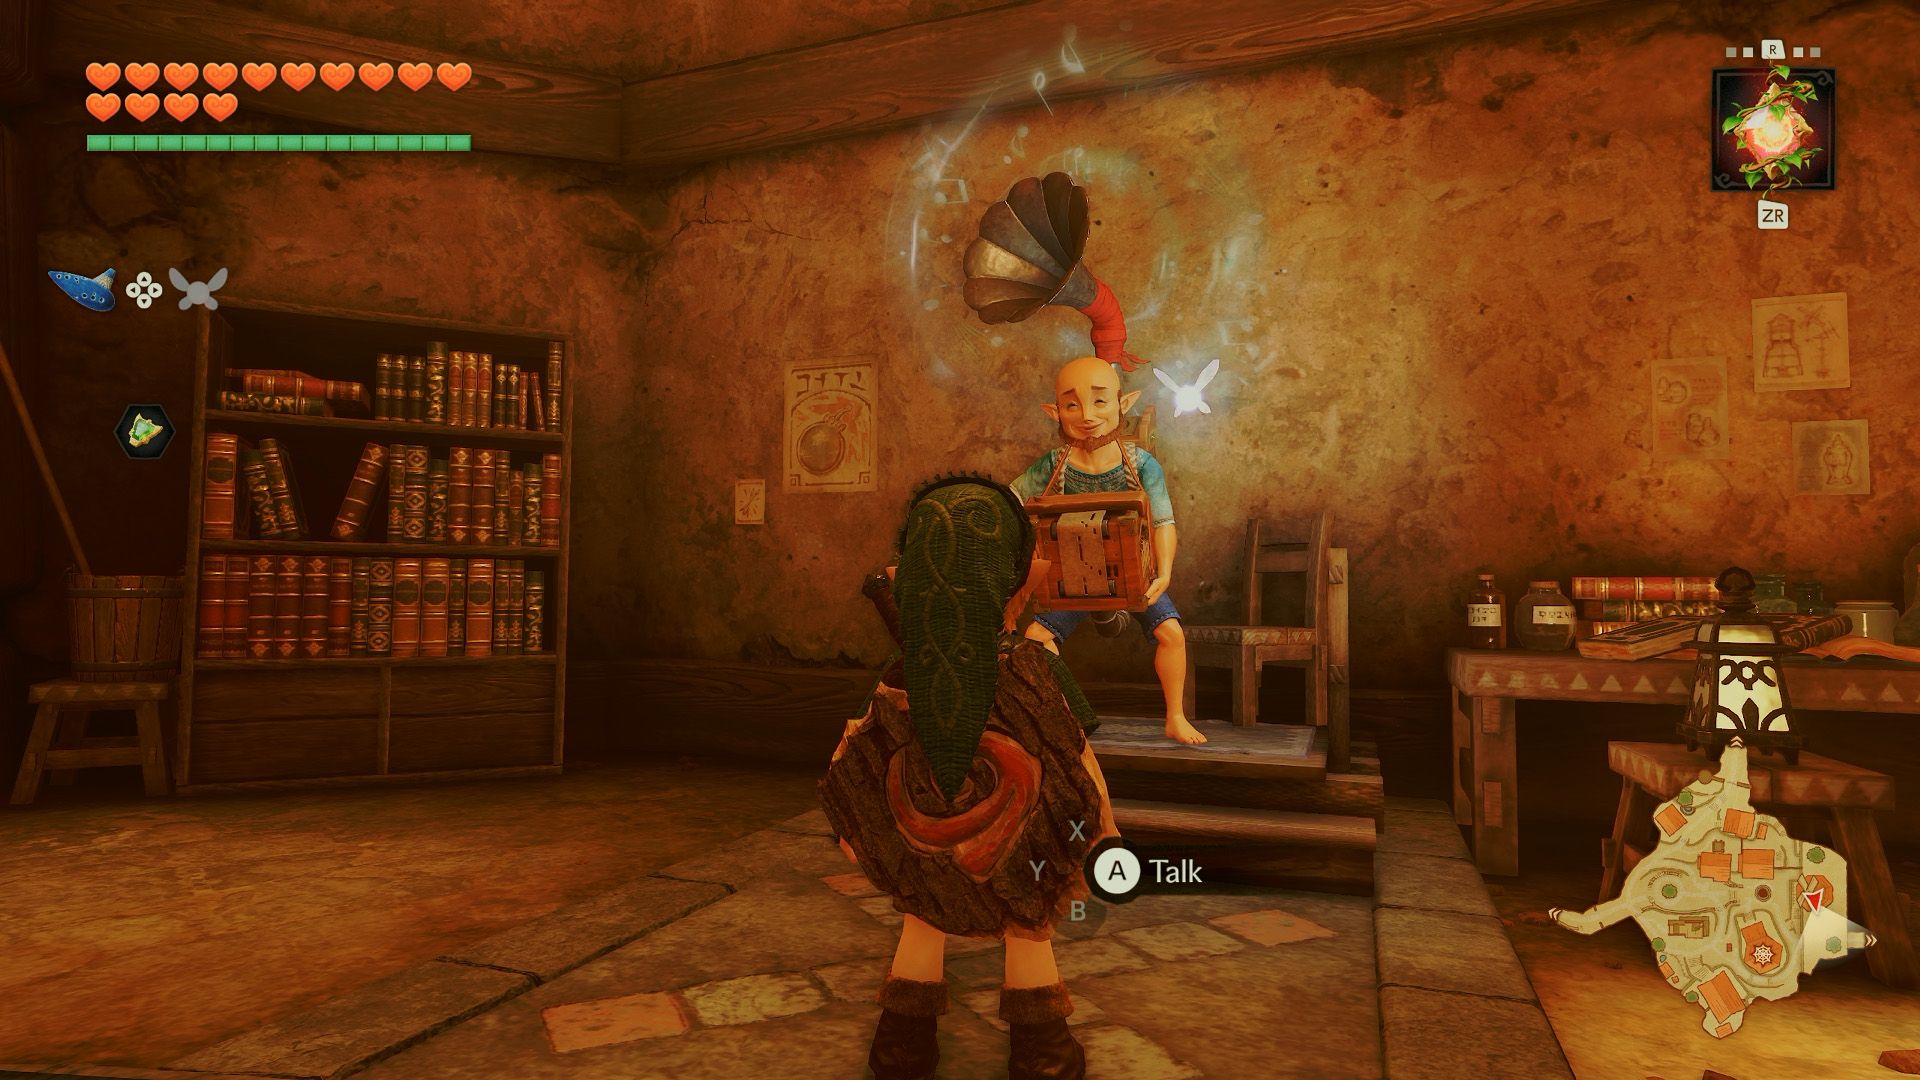
Before you can enter the dungeon, you’ll need to drain the well. Travel to the future and speak to Music Man inside the Kakariko Village windmill to learn the Song of Storms.
Return to the past as young Link and visit the windmill again. Play the Song of Storms (L – R – X – L – R – X) for Music Man to drain the water. Then jump into the well and crawl through the tunnel. Only young Link can enter.
Part 2: Getting the Lenses of Truth
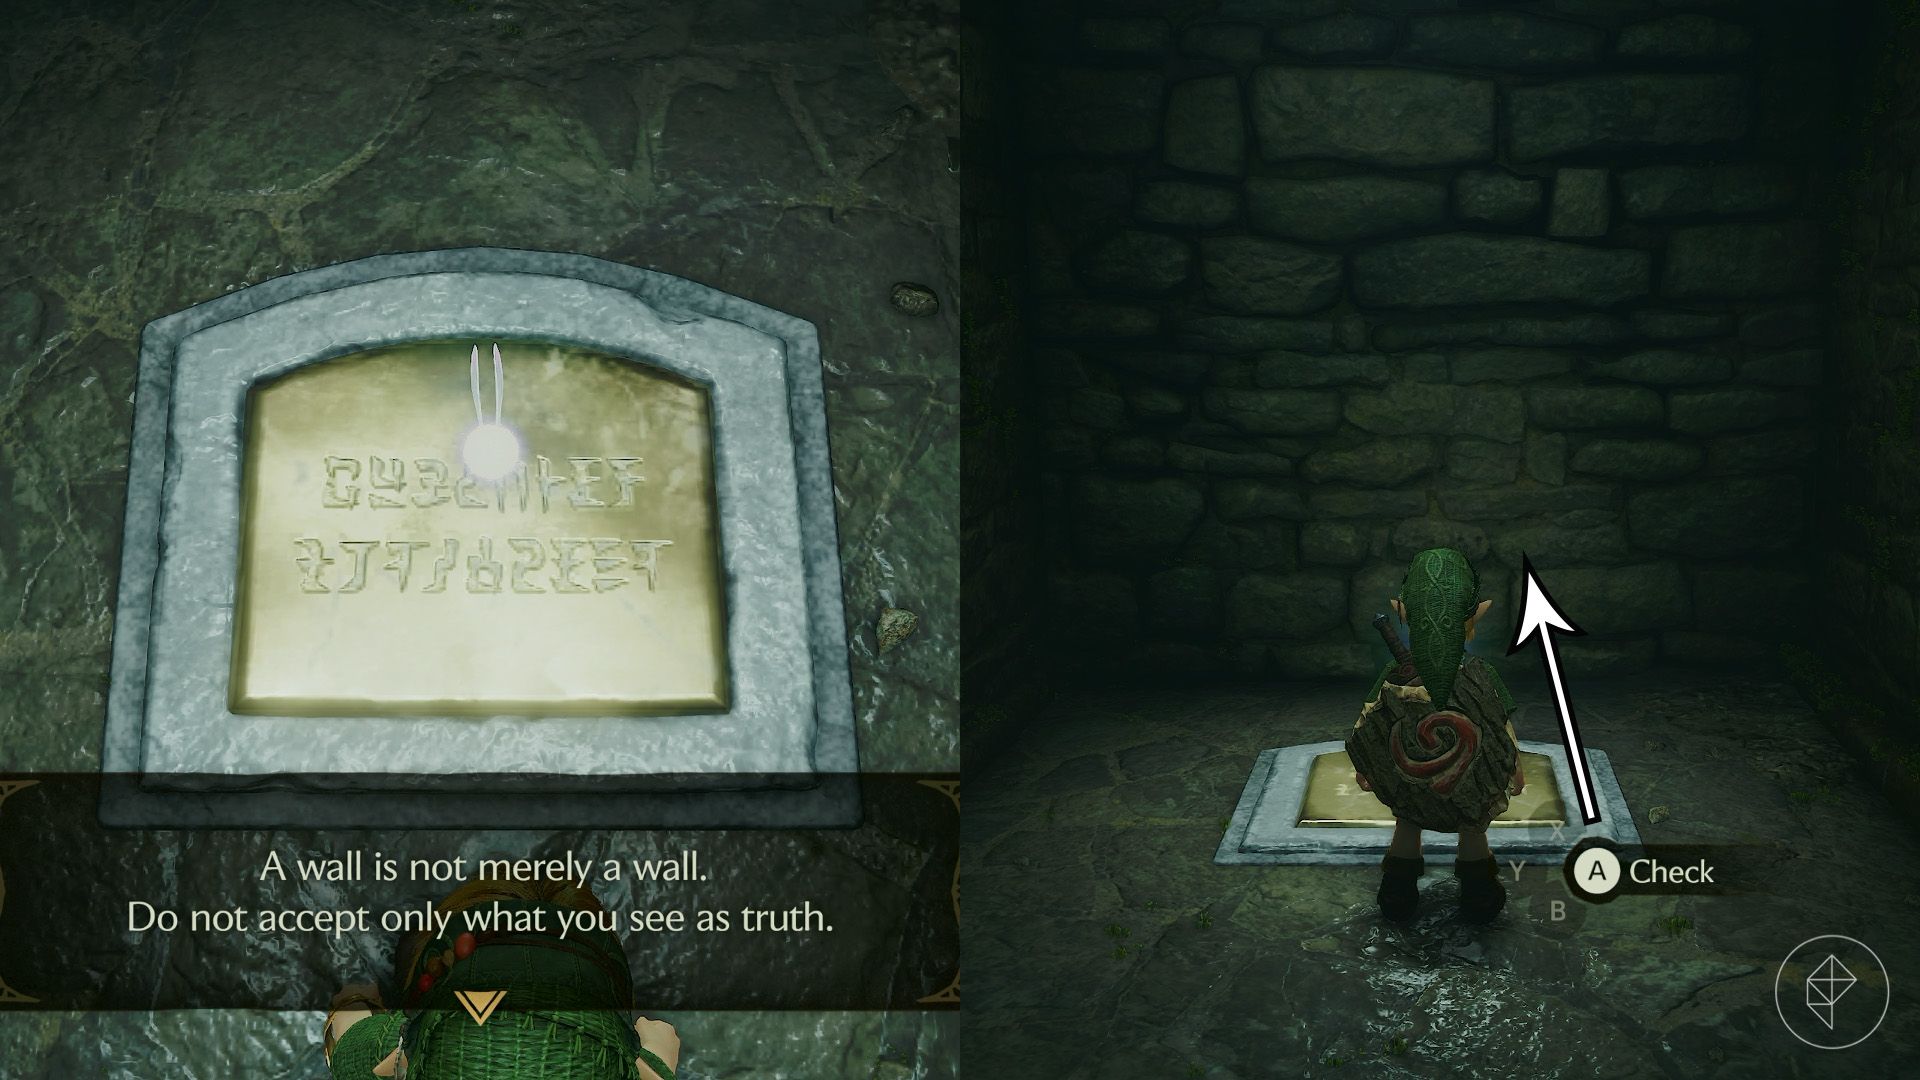
Open the door and climb down the ladder. Defeat the Skulltula ahead, then read the plaque on the floor. Its warning offers a useful hint: the wall in front of you is an illusion. Walk straight through it.
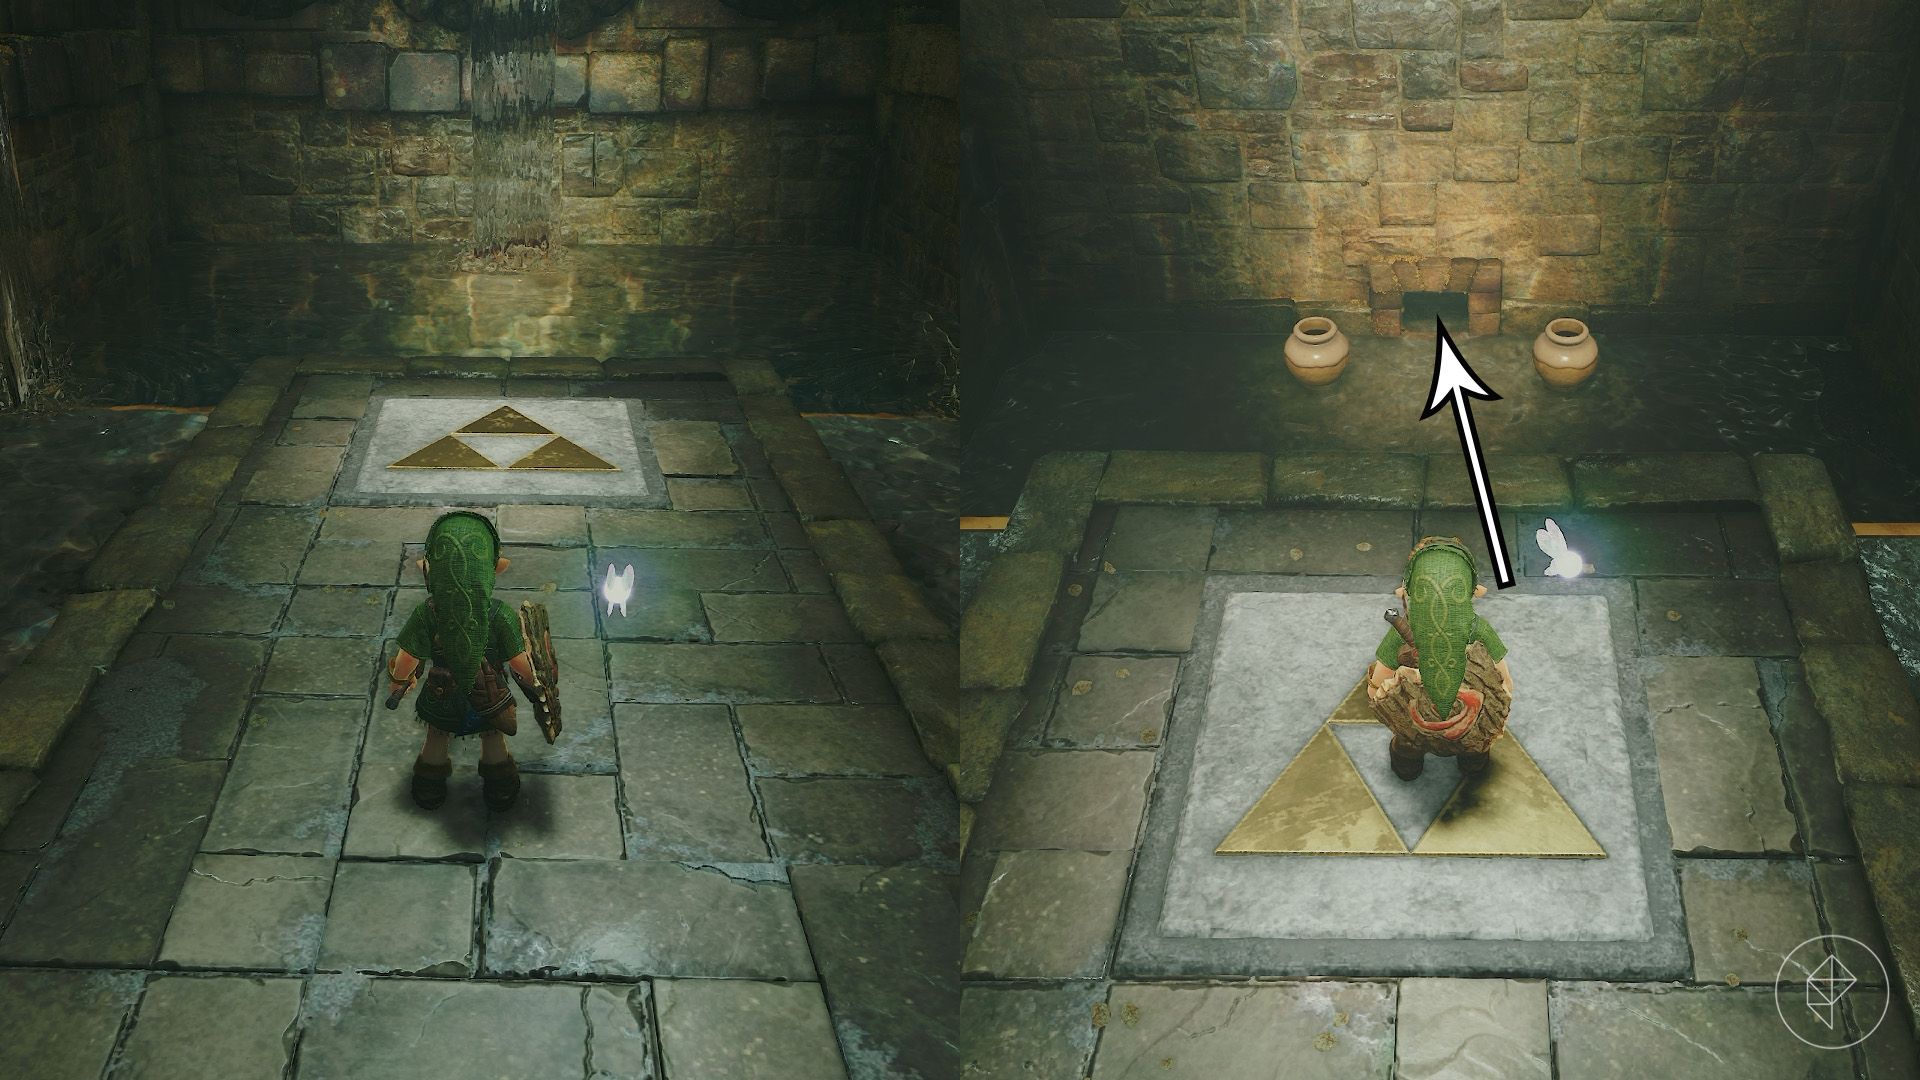
Follow the water toward the north side of the room. Stay close to the channel, since invisible holes in the floor can drop you into the basement. You’ll eventually reach a Triforce symbol in front of a frog statue.
Play Zelda’s Lullaby (Y – X – A – Y – X – A) to lower the water. Step off the ledge and crawl through the opening in the wall.
Continue along the passage, defeat the Skulltula that drops from the ceiling, and enter the next room. An invisible hole lies between you and the chest ahead. Drop through it to reach a foggy chamber.
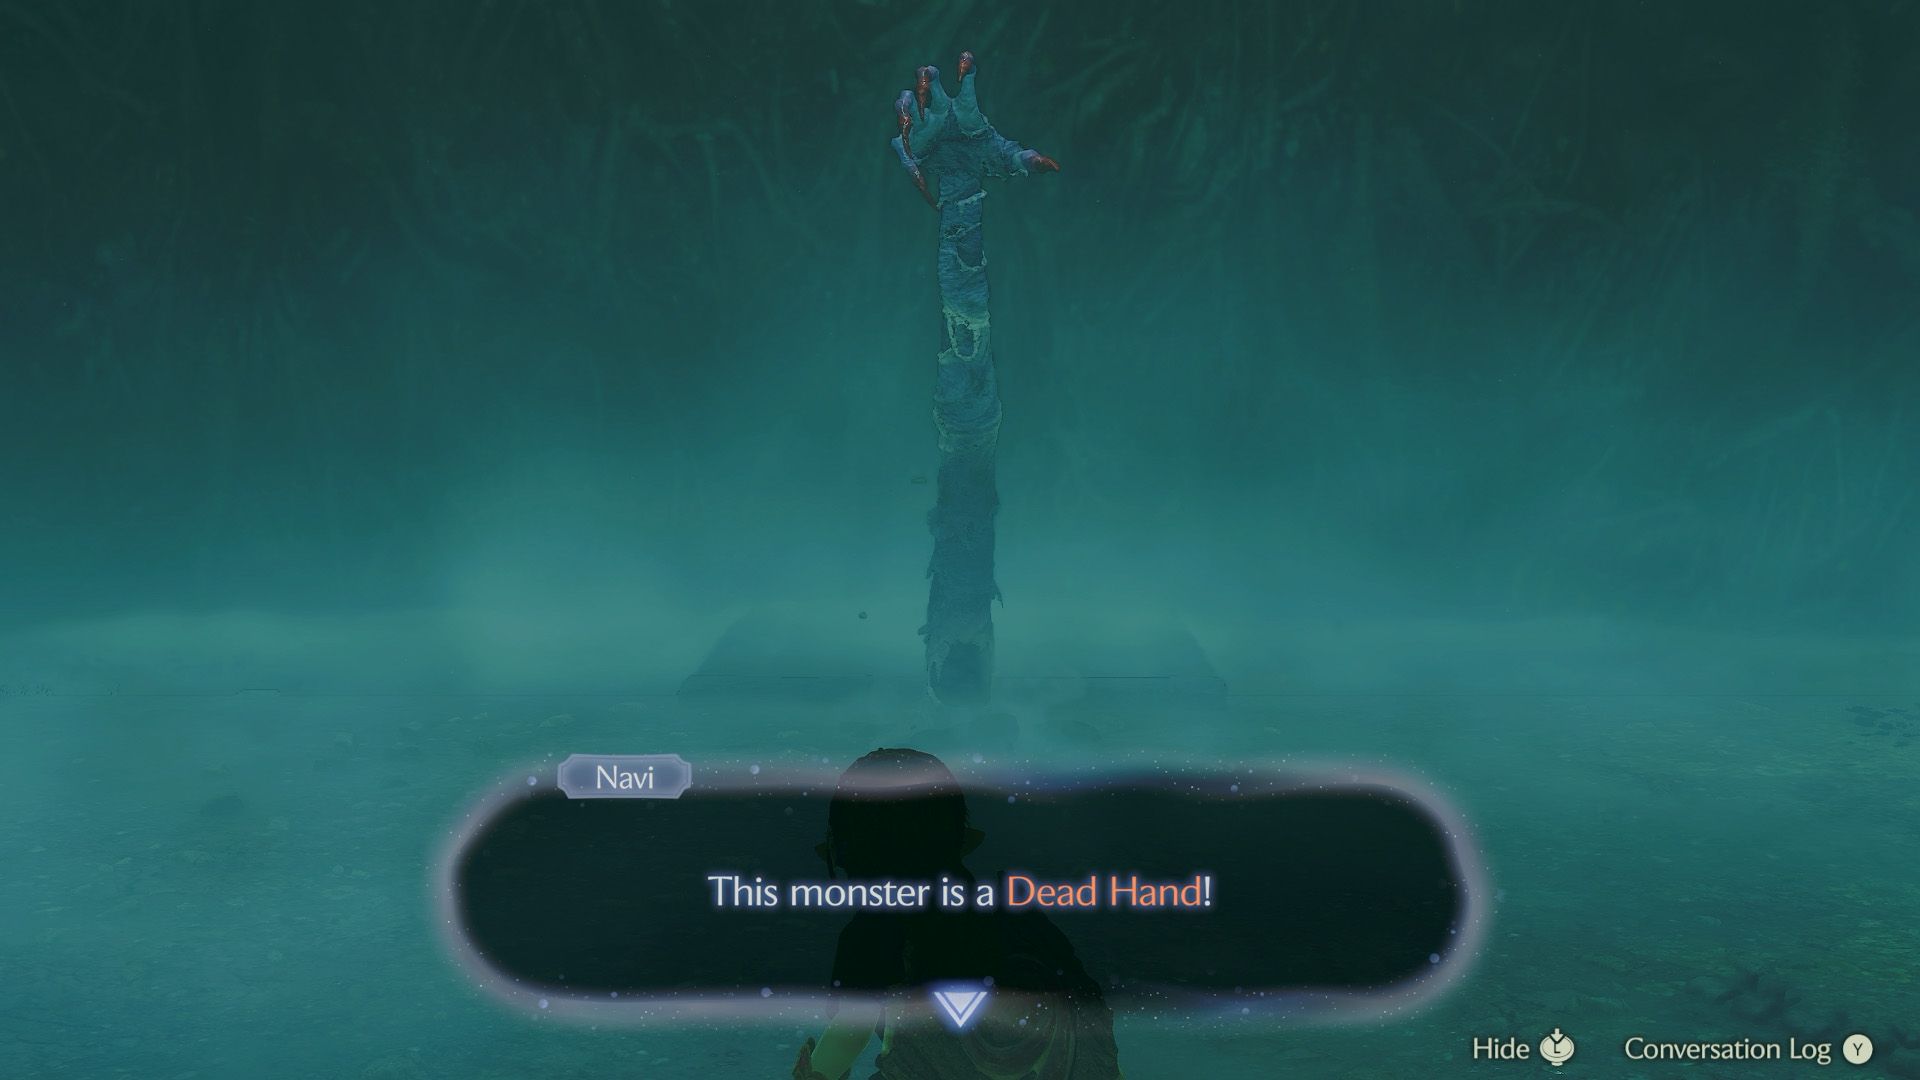
Approach the mound of dirt to make an arm emerge. Move close enough to trigger its lunge, then back away before it can grab you. Attack while you have an opening. If it catches you, press the buttons repeatedly to break free.
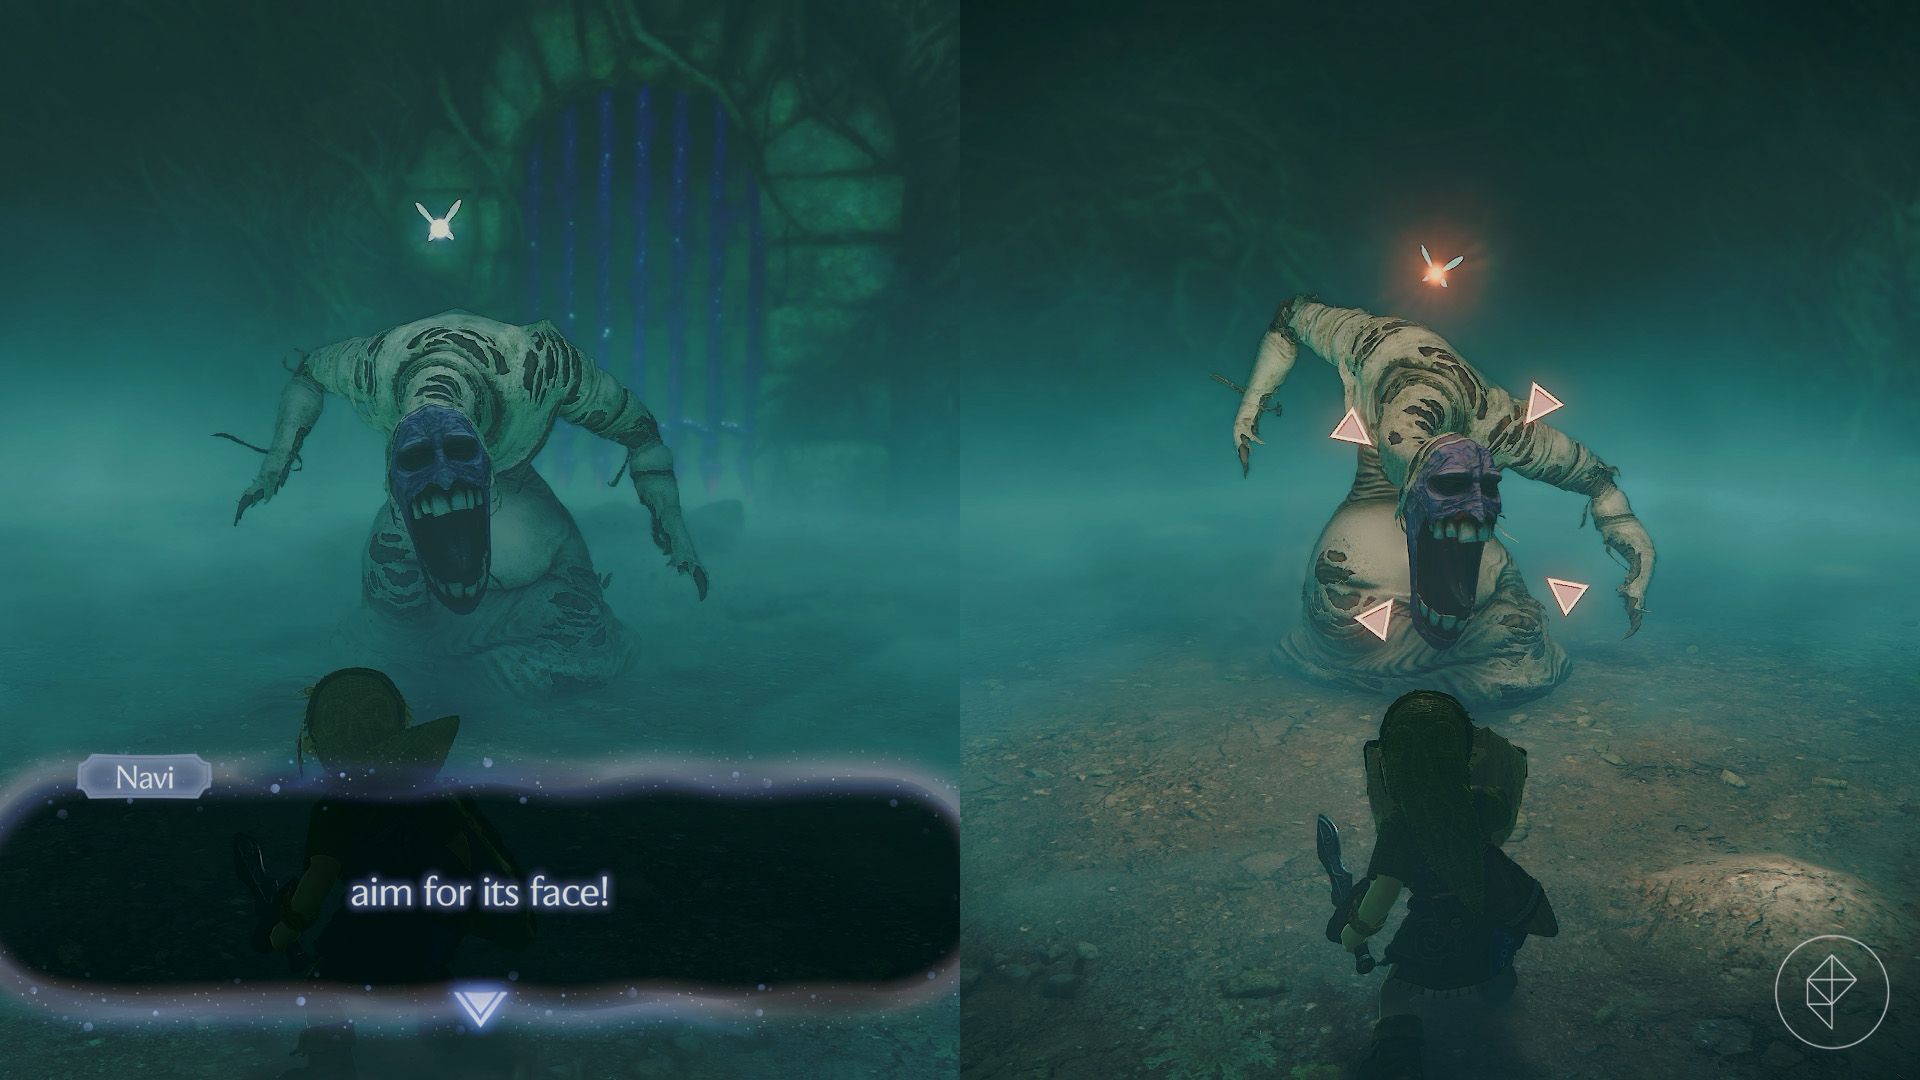
Once the arm is defeated, Dead Hand’s body emerges. Raise your shield and let the creature approach, then attack its face when it lowers its head. After taking enough damage, it retreats underground and its arms reappear. Defeat the arms to draw the body out again, and repeat the process until Dead Hand falls.
Open the chest that appears to claim the Lenses of Truth.
If you’re focused on progressing through the story, you can leave the well and head for the Shadow Temple now. There is no final boss or another key item to collect here. To find the remaining dungeon treasures, continue below.
Part 3: Finding the dungeon map
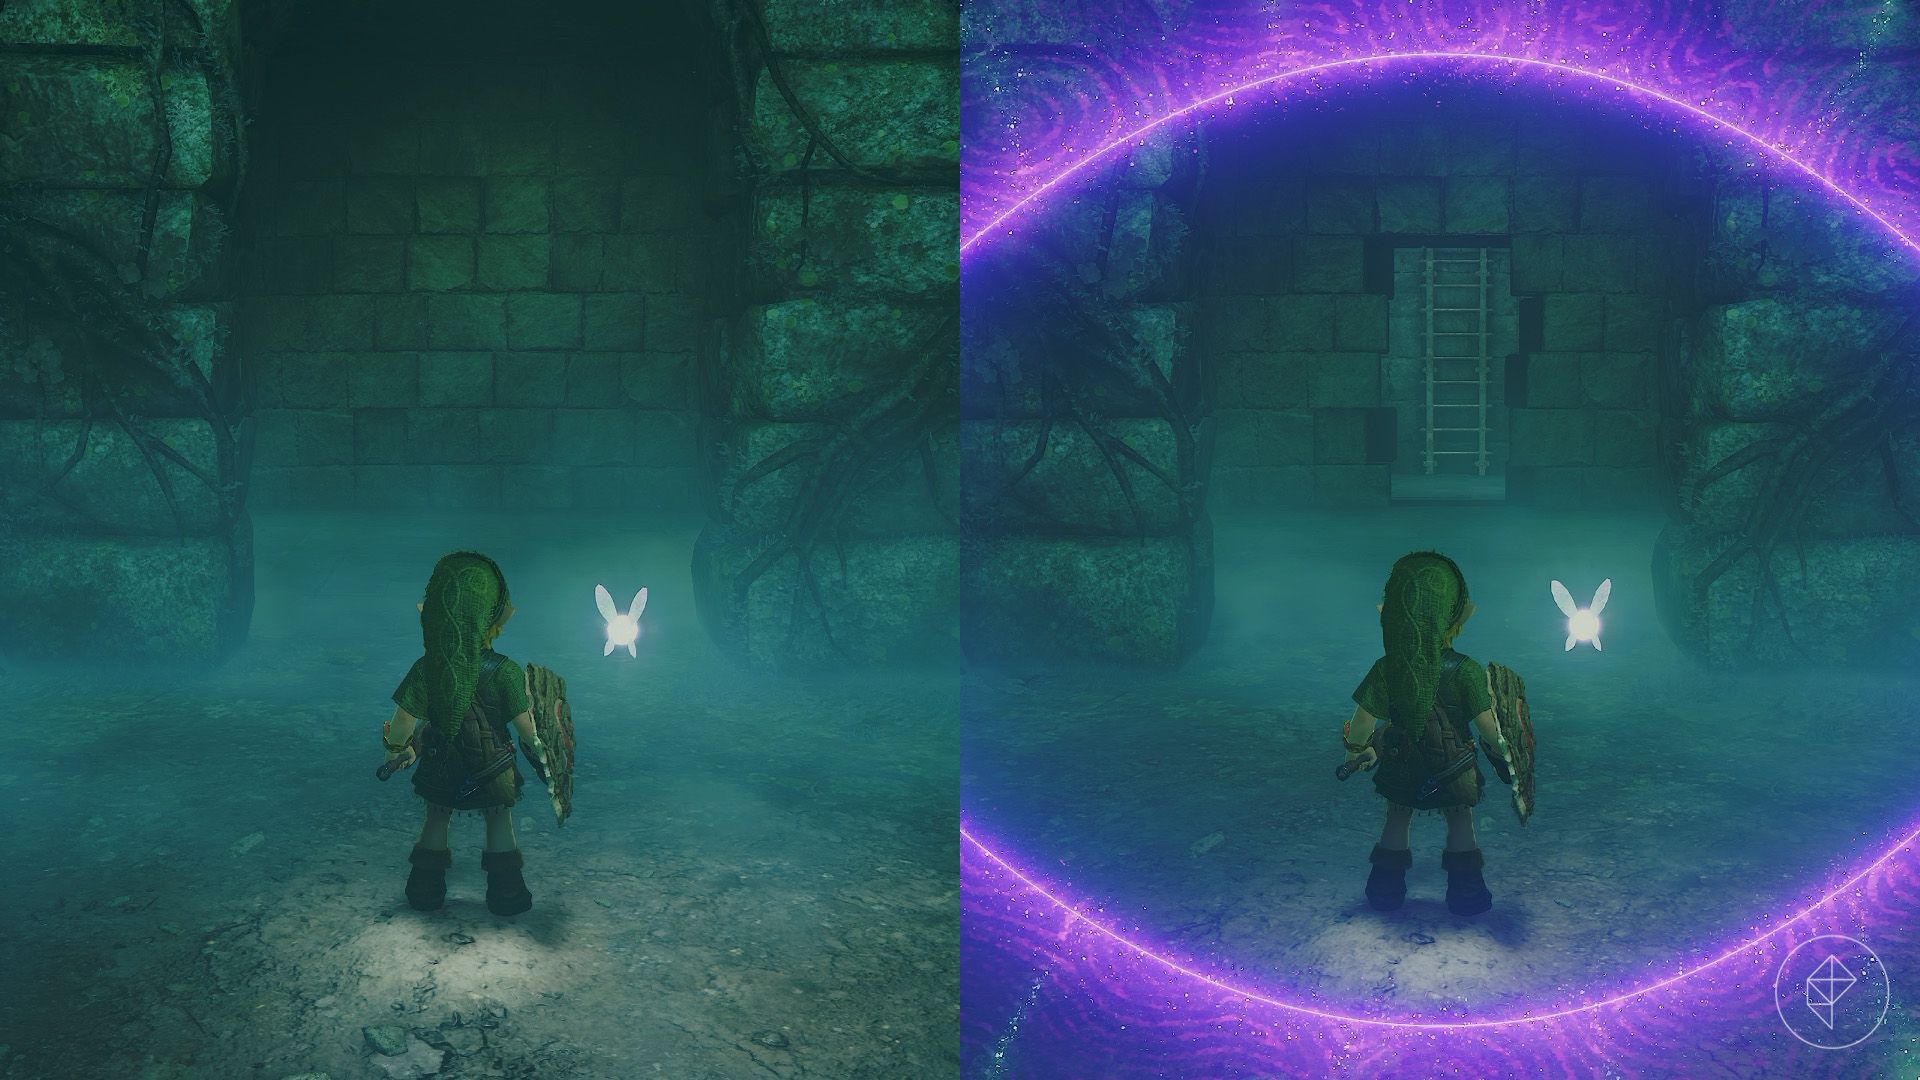
Equip the Lenses of Truth in the Equipment menu, then press Up on the D-Pad to put them on or take them off. They reveal hidden objects and illusions but consume magic while active. Look south to uncover an opening in the wall that leads to a ladder.
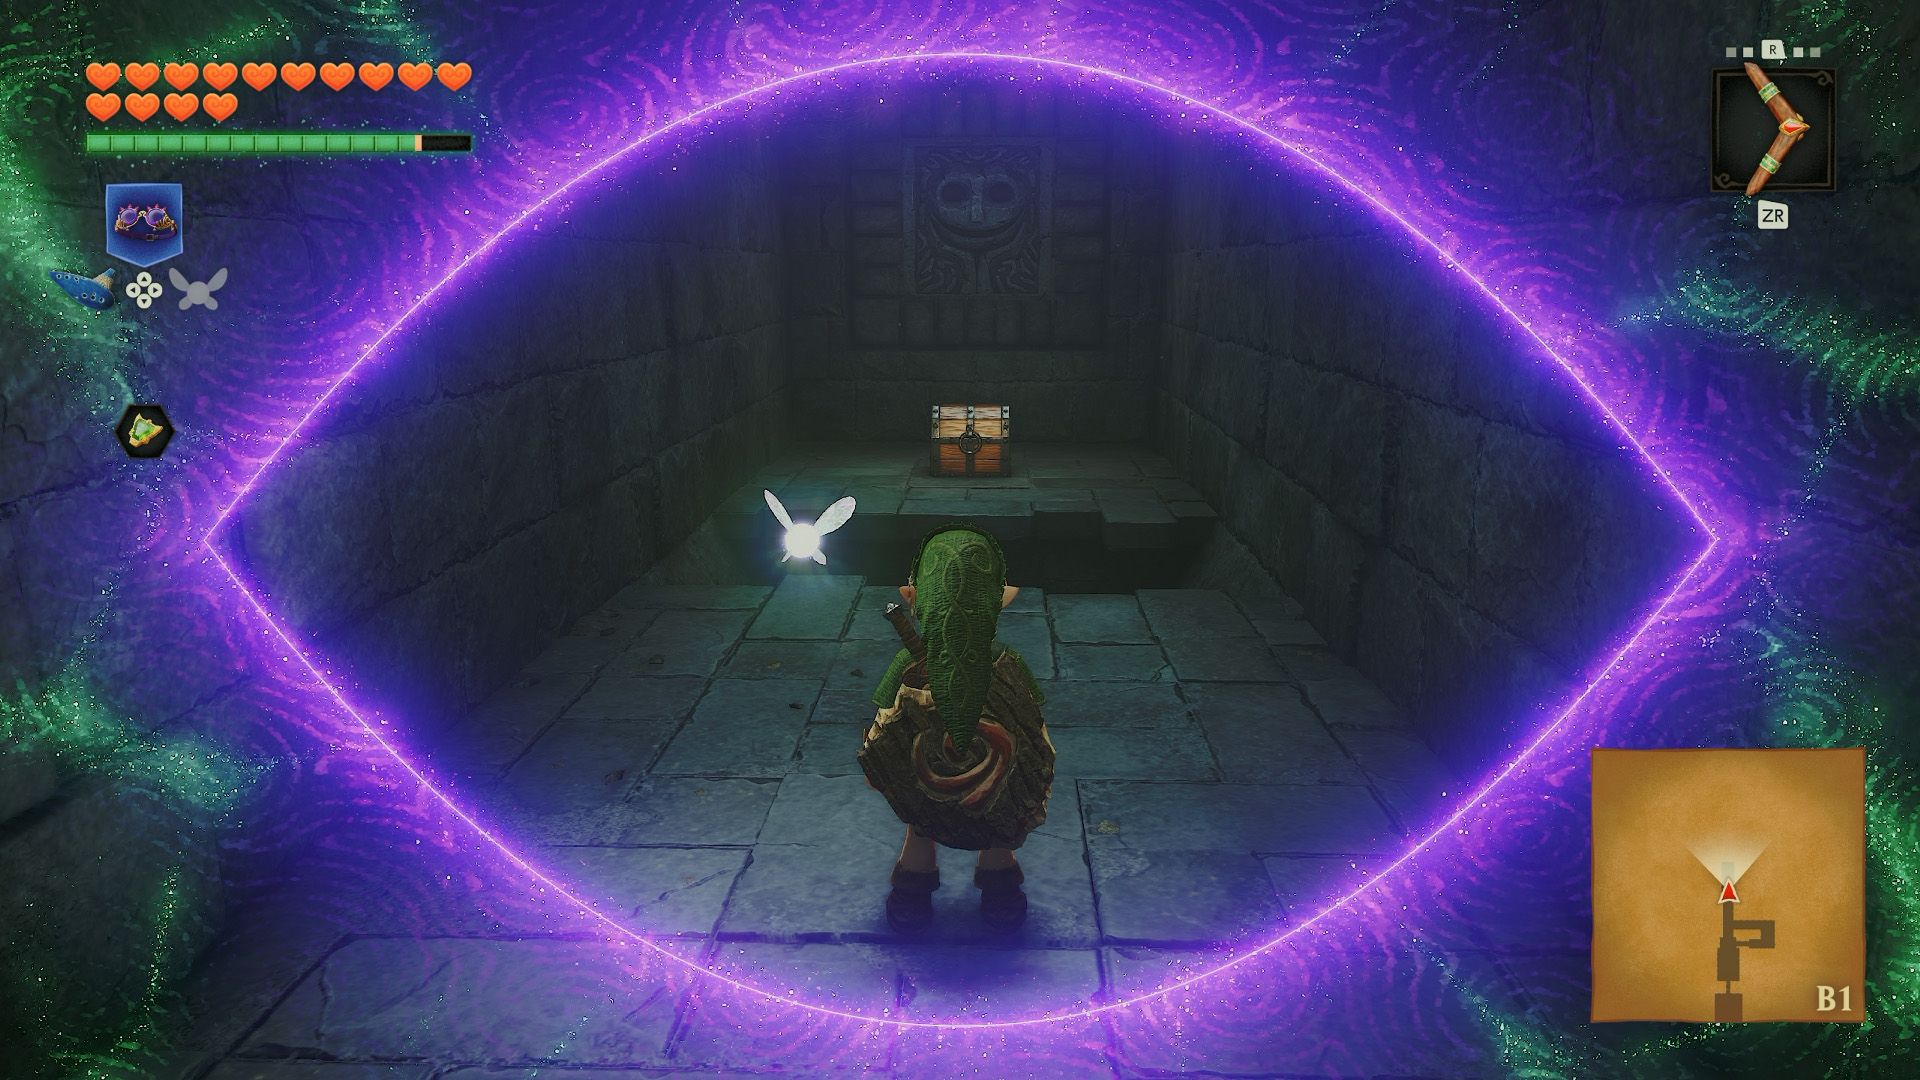
Climb the ladder, breaking the pots behind the false walls if you need supplies. Climb the next ladder and pass through the wall at the top of the stairs. Open the invisible chest on your right for a purple rupee, then drop down to the area below.
For an optional Business Scrub Seed, turn around and re-enter the room that led to Dead Hand. Use the Lenses of Truth to spot the hole, jump over it, and open the chest. Otherwise, crawl through the nearby opening to return to the Triforce symbol.
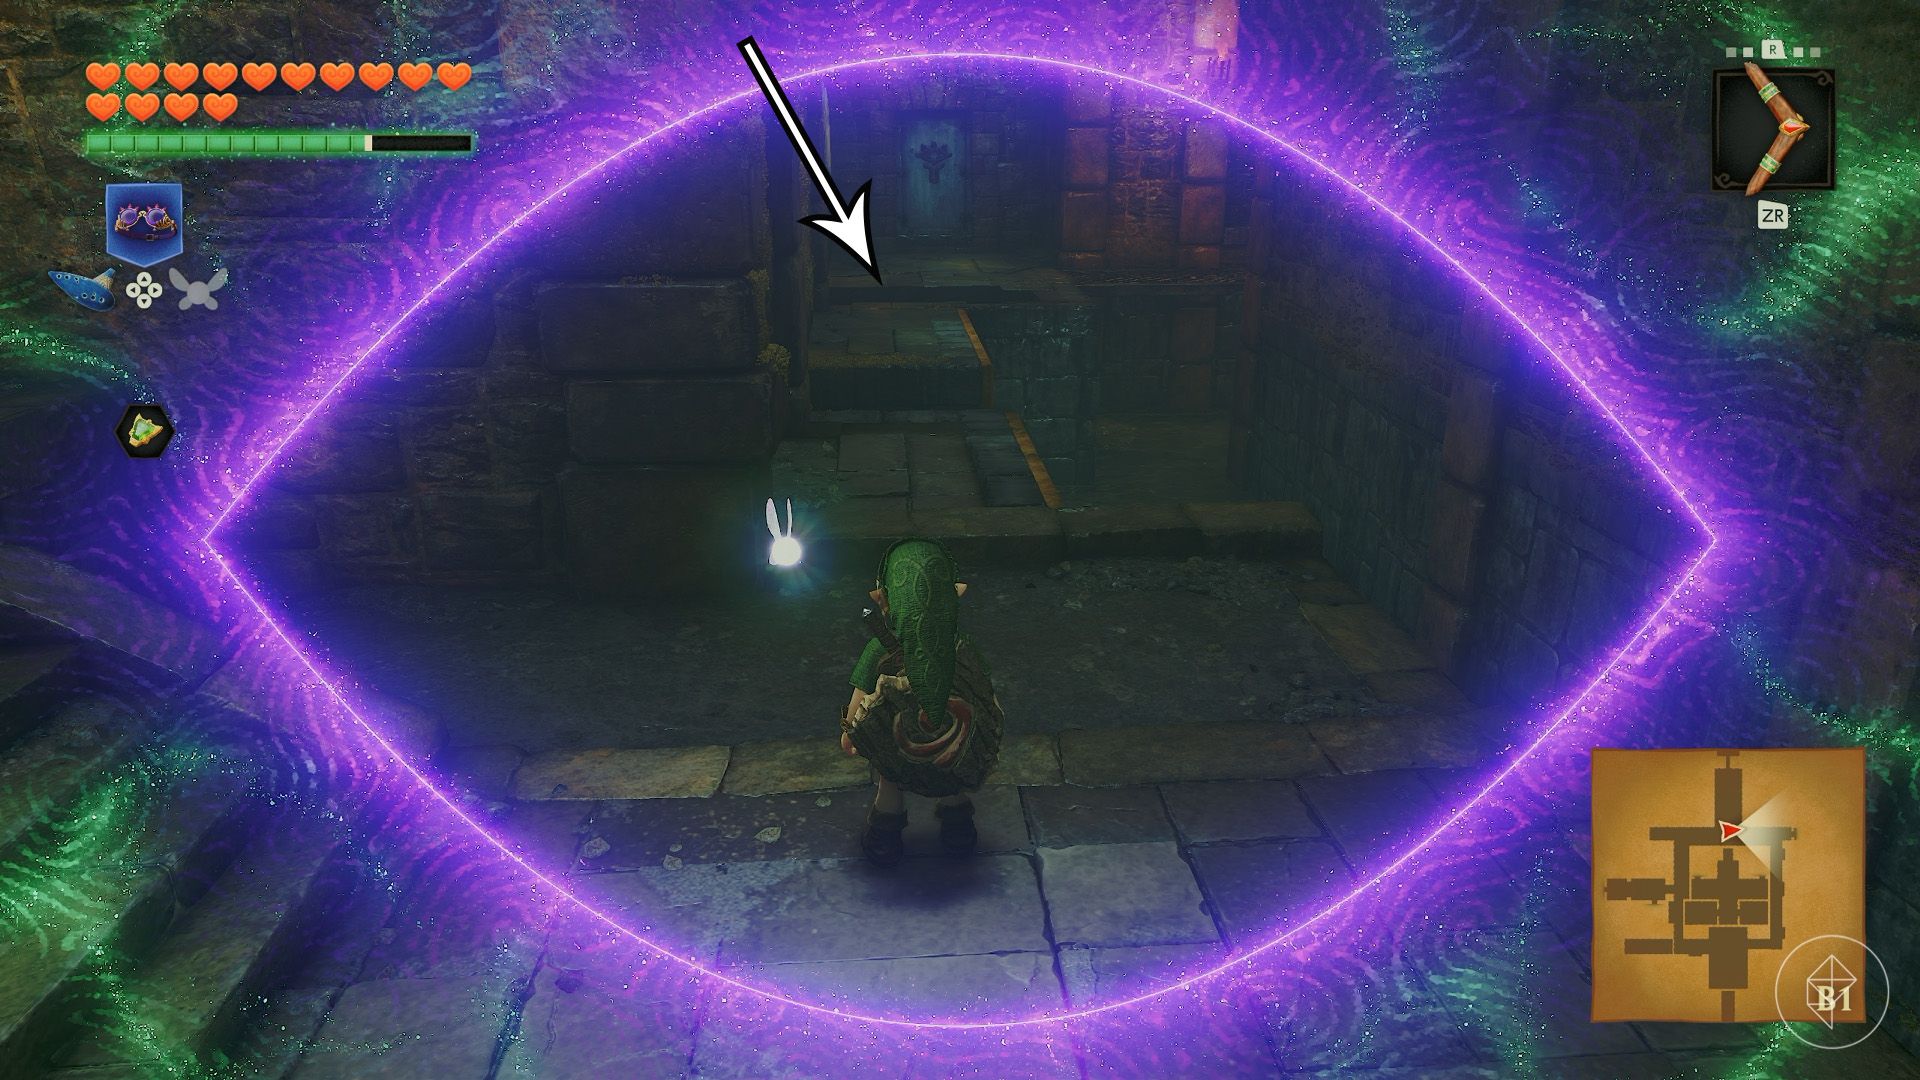
Back in the main room, put on the Lenses of Truth and take the path to the left. There’s a hidden pit just in front of the door. Drop through it to reach the basement and the dungeon map.
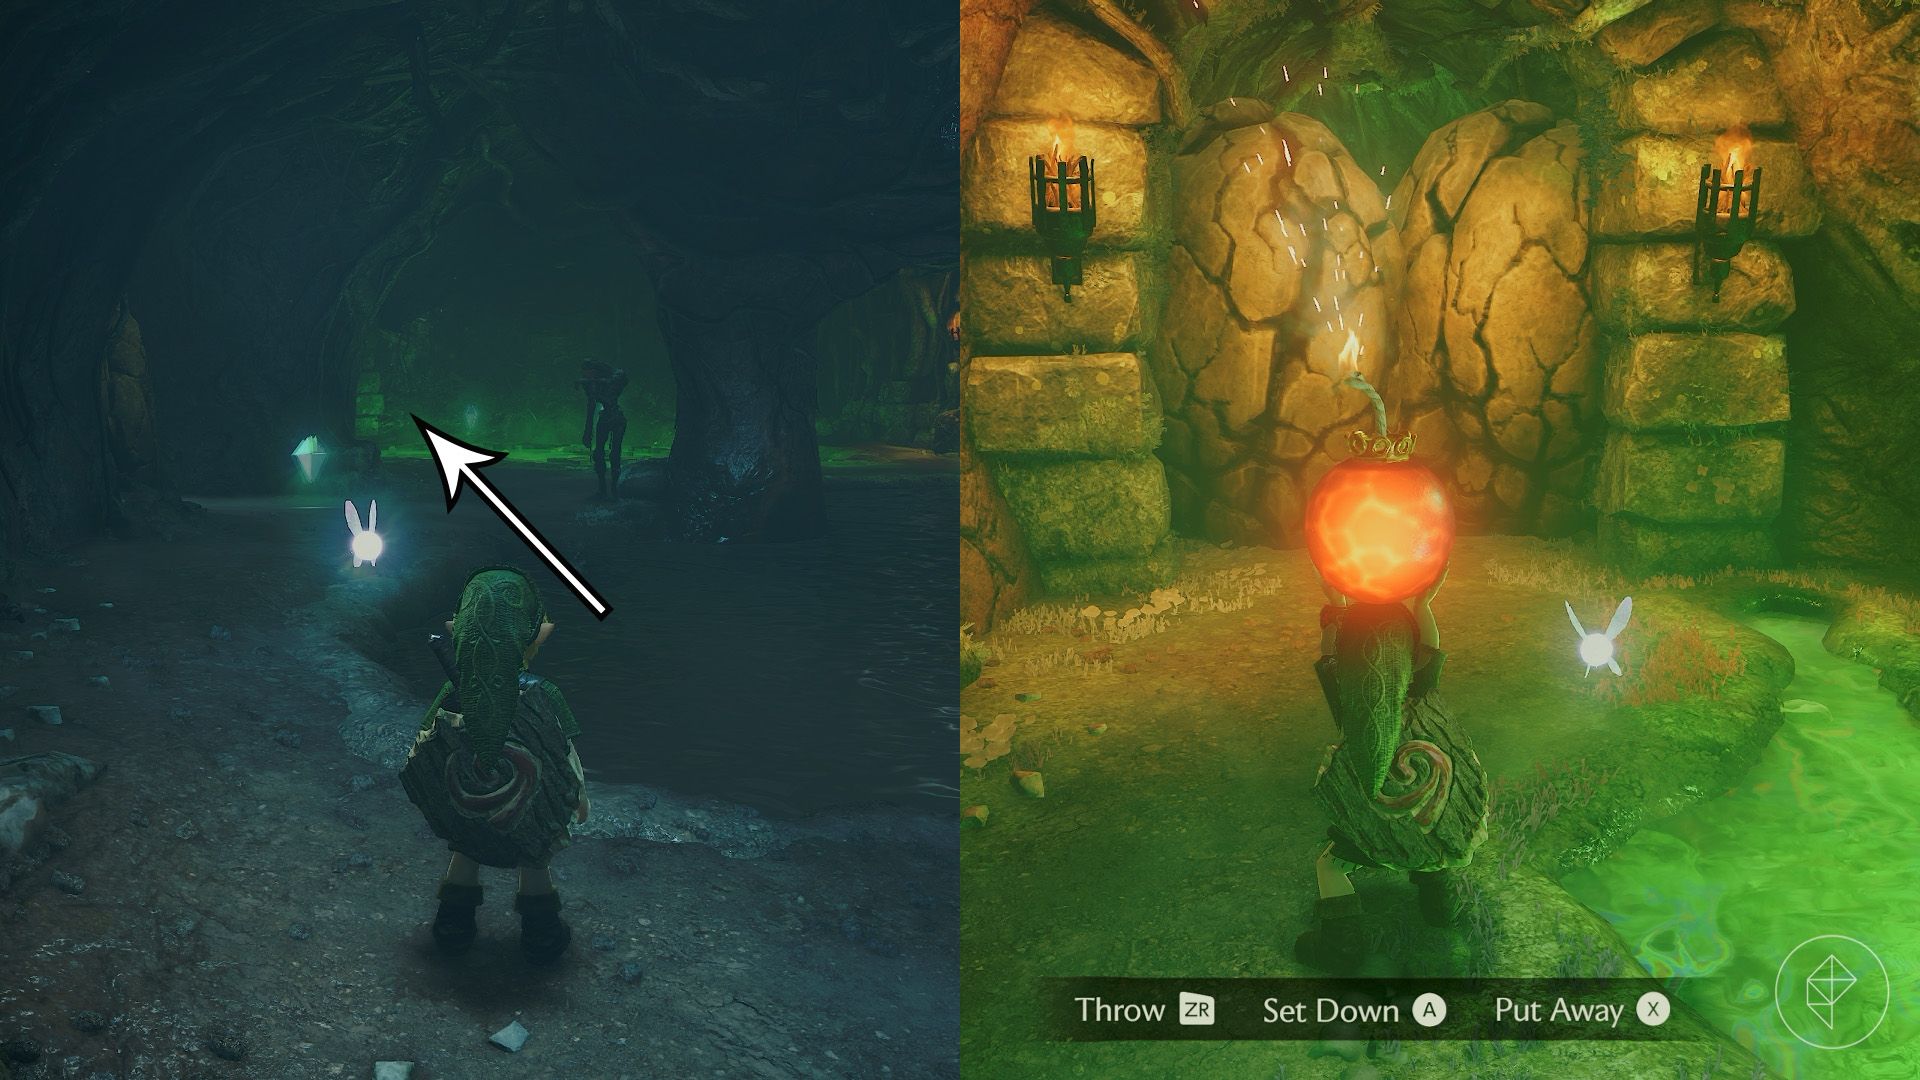
The basement is occupied by ReDead, zombie-like enemies that can stun you with their gaze. You can fight them or simply run past. Enter the central room to reveal five crystals; collecting all five unlocks the exit.
Pick up the crystal ahead and head toward the pool of green liquid. Throw a bomb at the rocks in the corner, collecting the crystals above the liquid while you wait. Once the rocks are destroyed, pick up the crystal behind them and open the chest at the end of the path for the dungeon map.
Collect the last crystal floating above the water, pass through the unlocked door, and climb the ladder to leave the room.
Part 4: Finding the compass
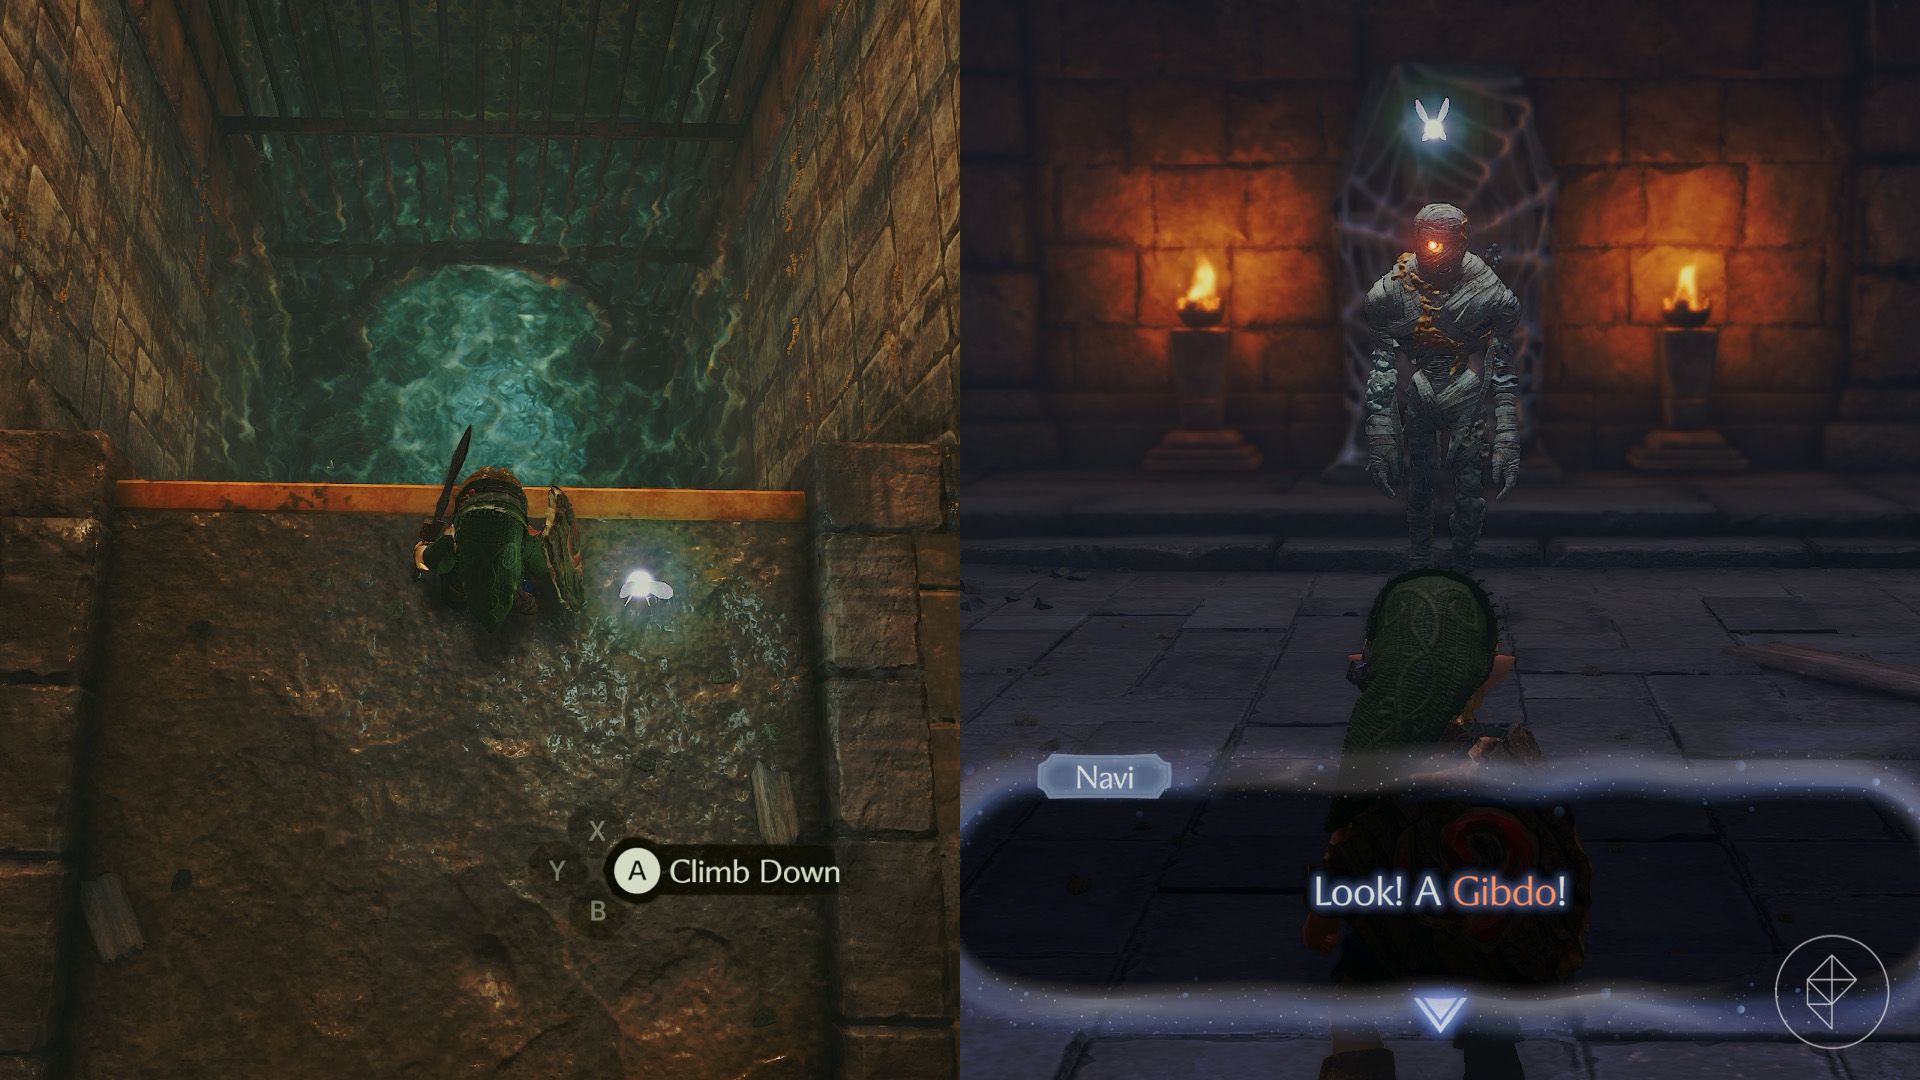
Look left for a pool of water. Drop in, dive across, and climb the wall on the other side. Enter the door at the top to find a room filled with coffins and a mummy-like Gibdo. Play the Sun’s Song (A – R – X – A – R – X) to stun it, then attack.
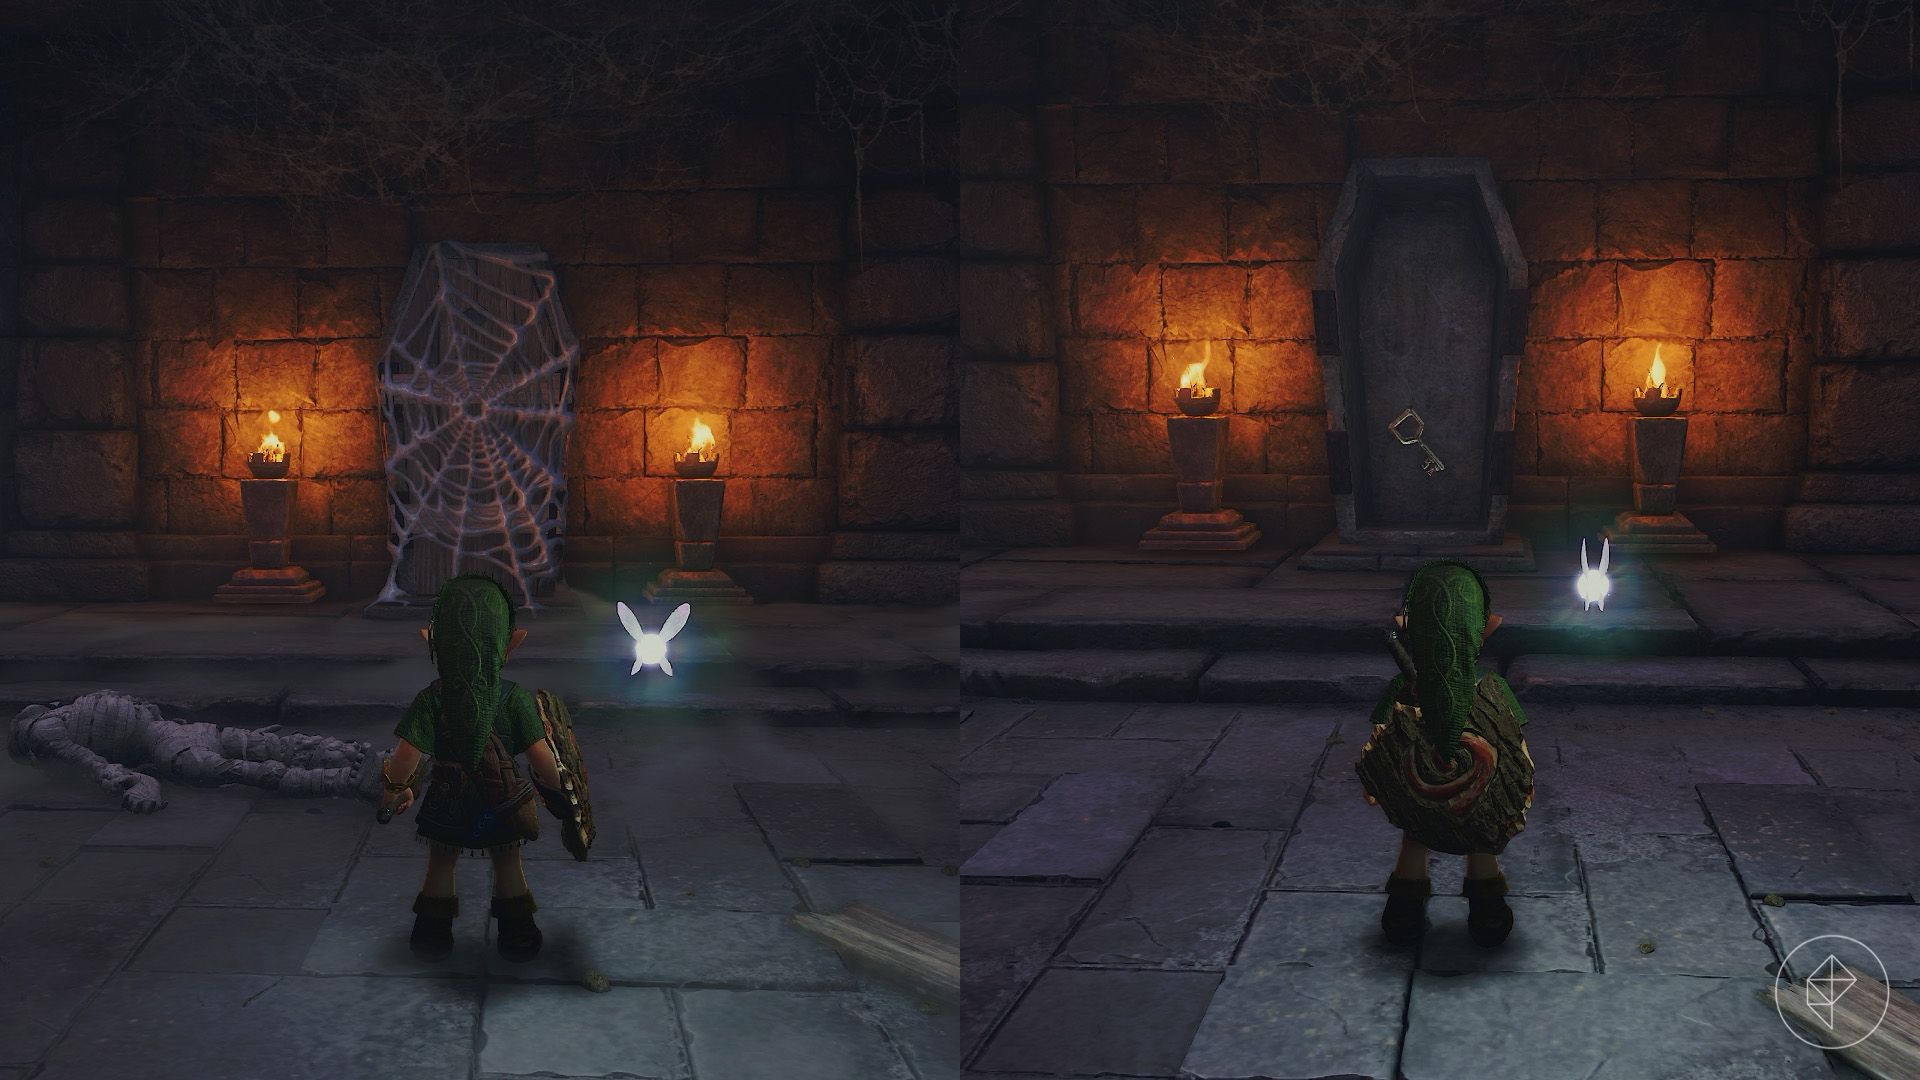
Light a Deku Stick and strike the western coffin to open it. Take the small key inside, then return to the main room.
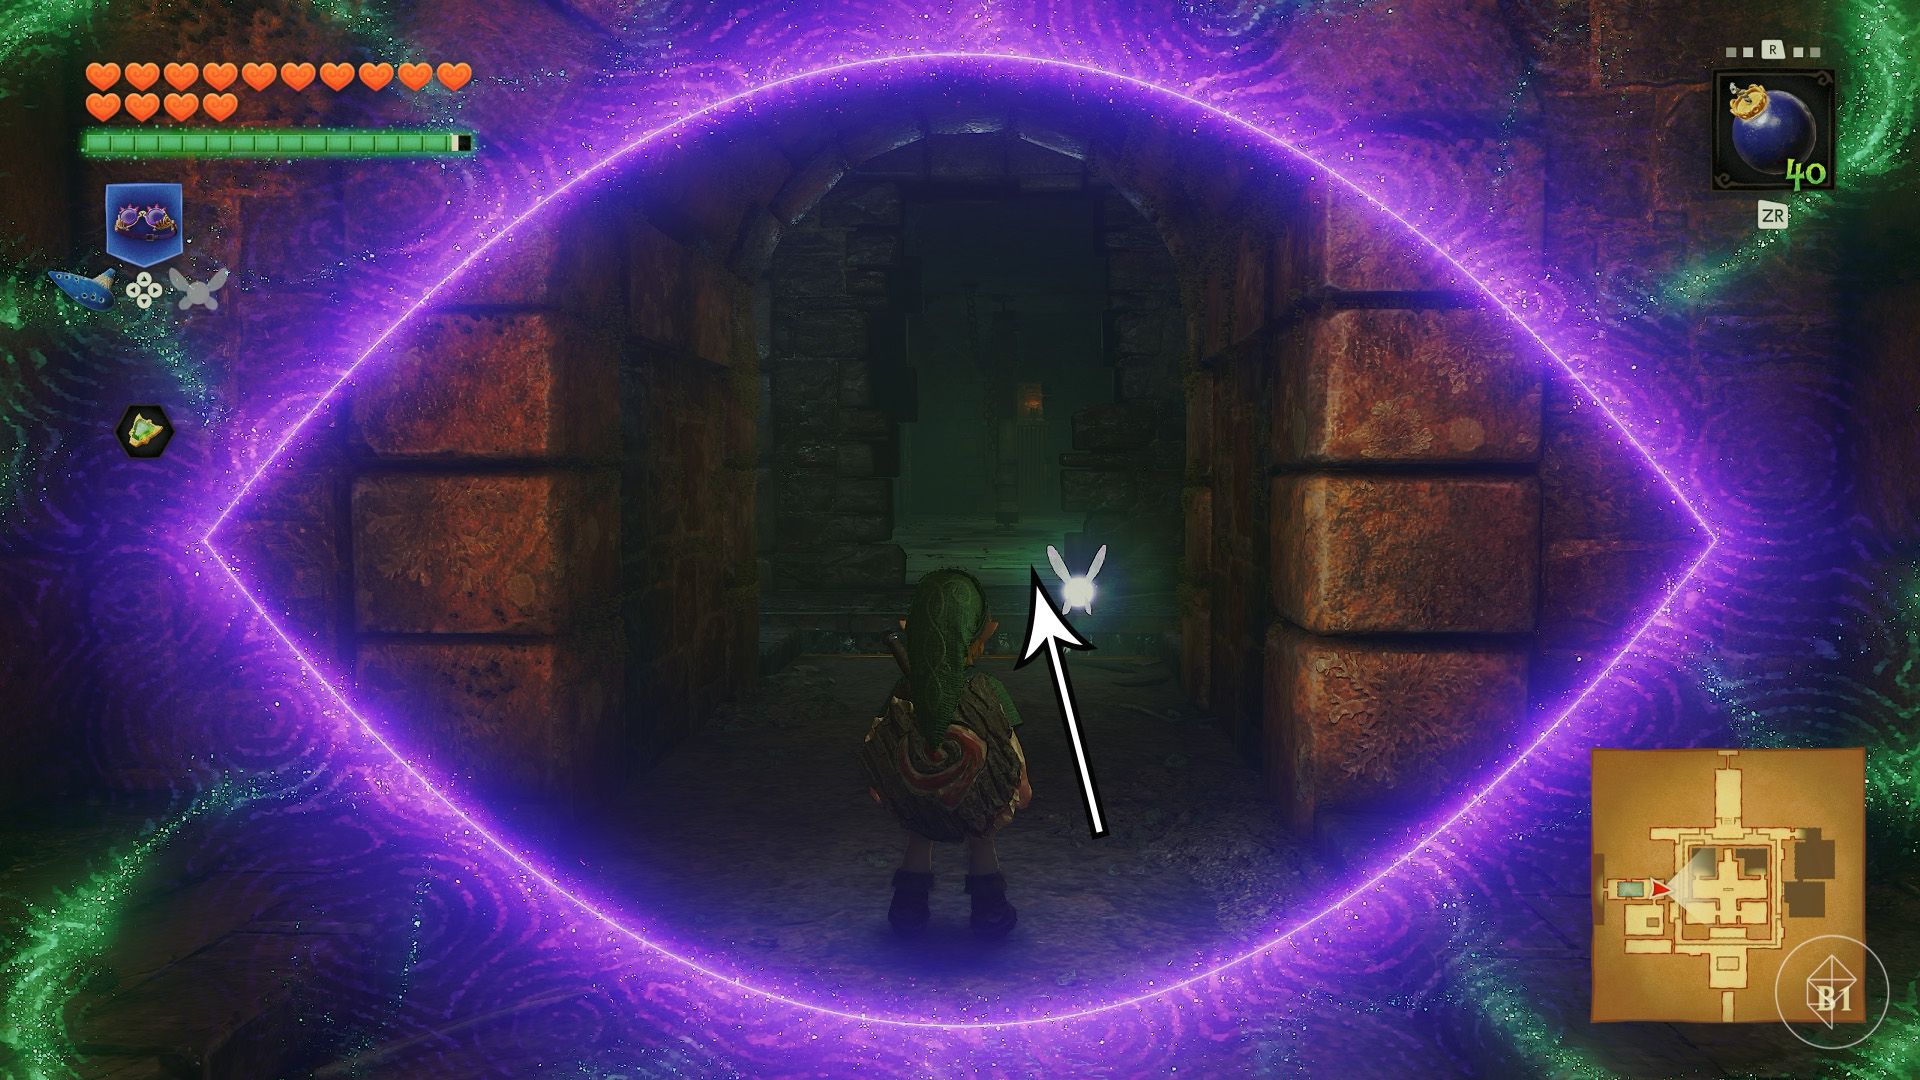
Use the Lenses of Truth in the hallway to reveal an opening leading to the room at the center of the area. Jump inside and watch for a spotlight from above. Move out of it before the Wallmaster drops, then defeat the enemy.
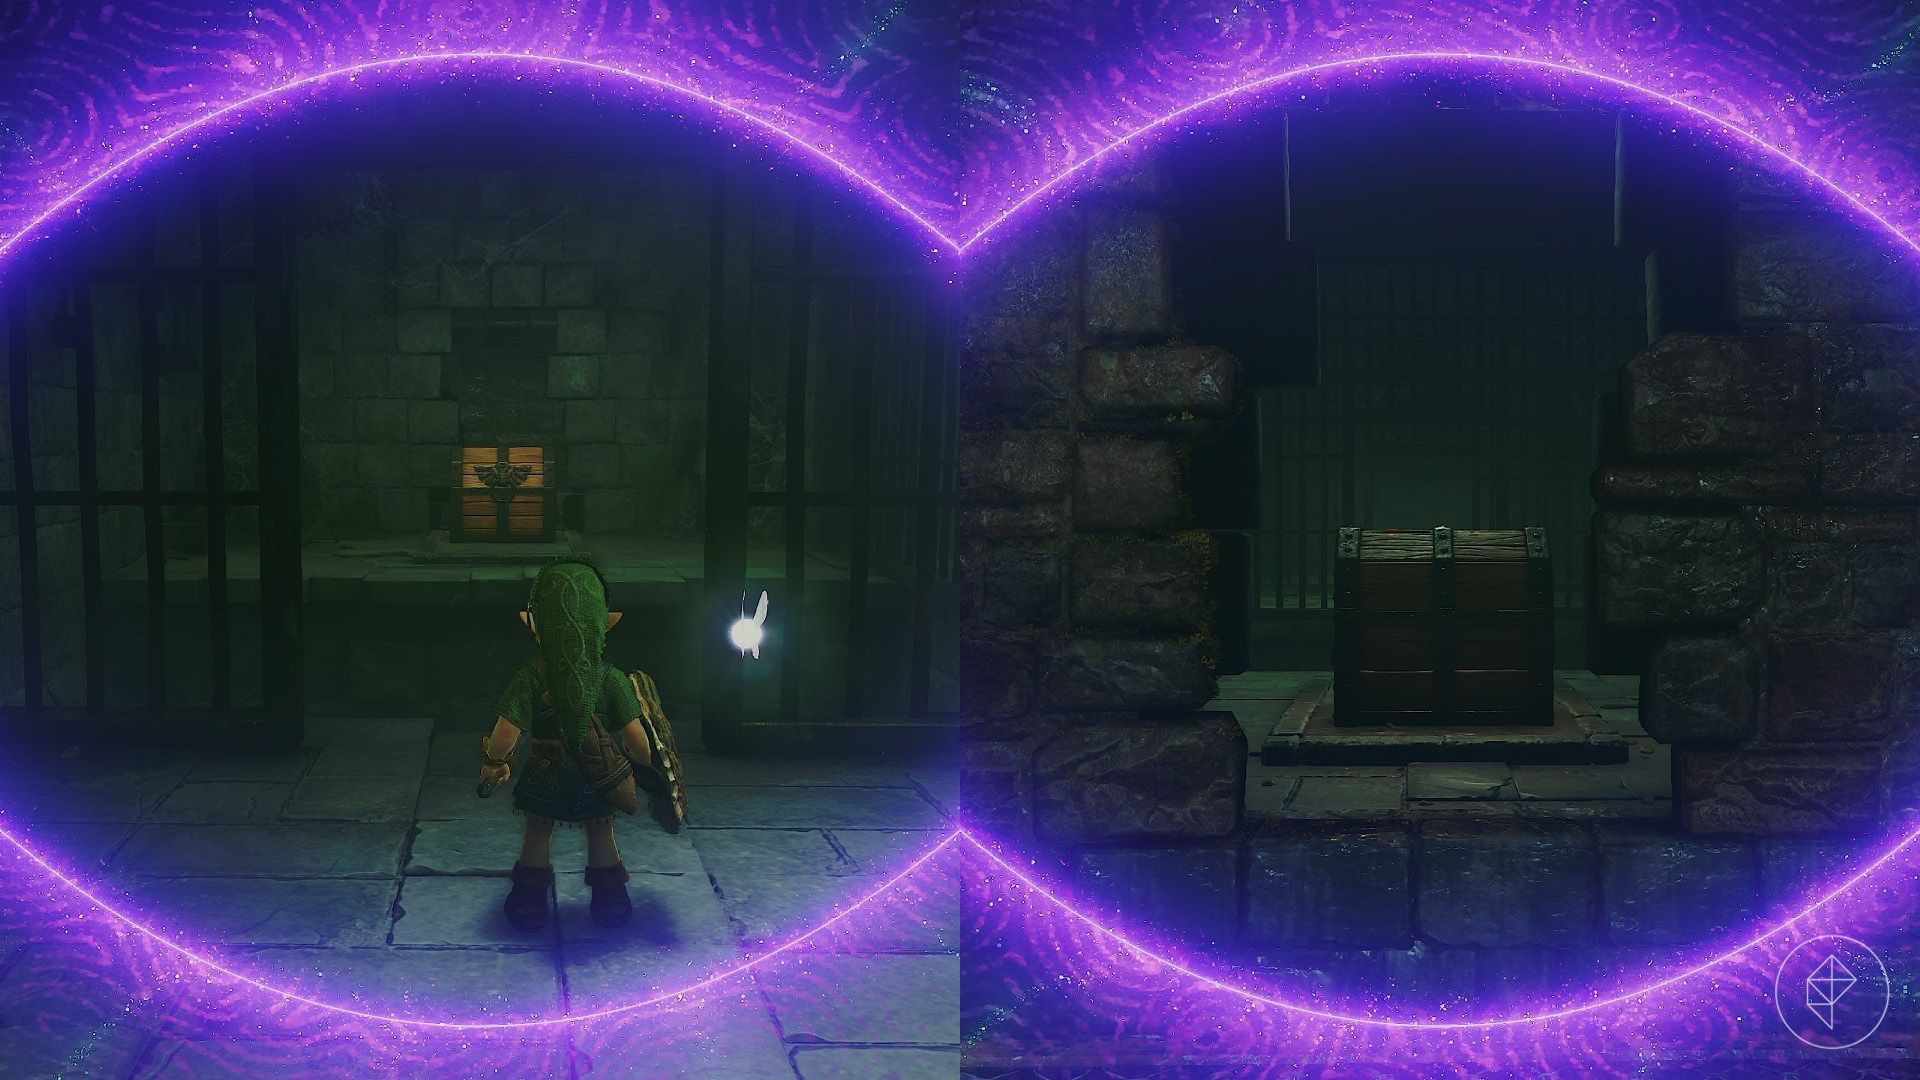
The central room contains two barred enclosures. One holds a small chest with a blue rupee; the other contains a large chest. The Lenses of Truth reveal a wide pit in front of the larger chest and an opening in the wall behind it.
Leave the central room through the western opening, then use the lenses to locate the opening behind the chest. Jump through and open the chest to obtain the compass.
Part 5: Collecting the remaining Gold Skulltulas
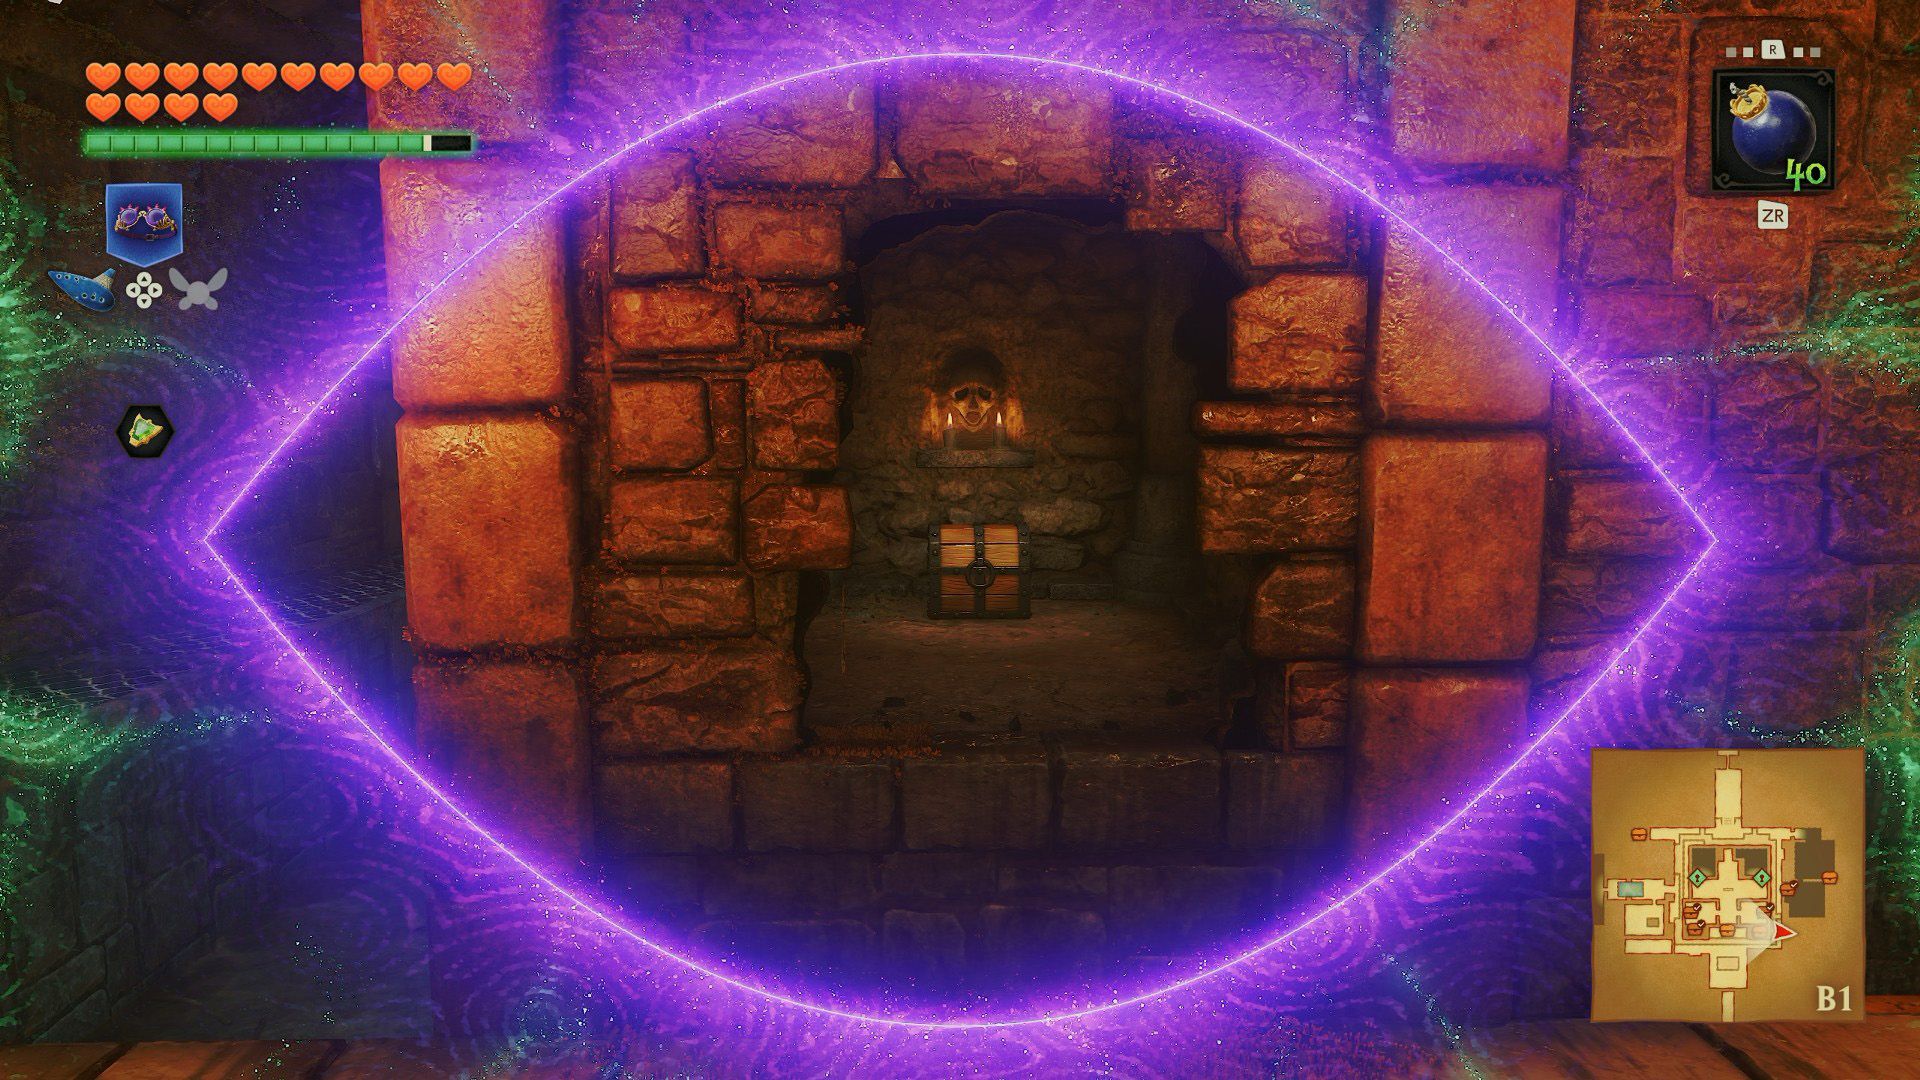
Head to the southeastern corner of the area and examine the central wall with the Lenses of Truth. Jump through the hidden opening and open the chest for another small key.
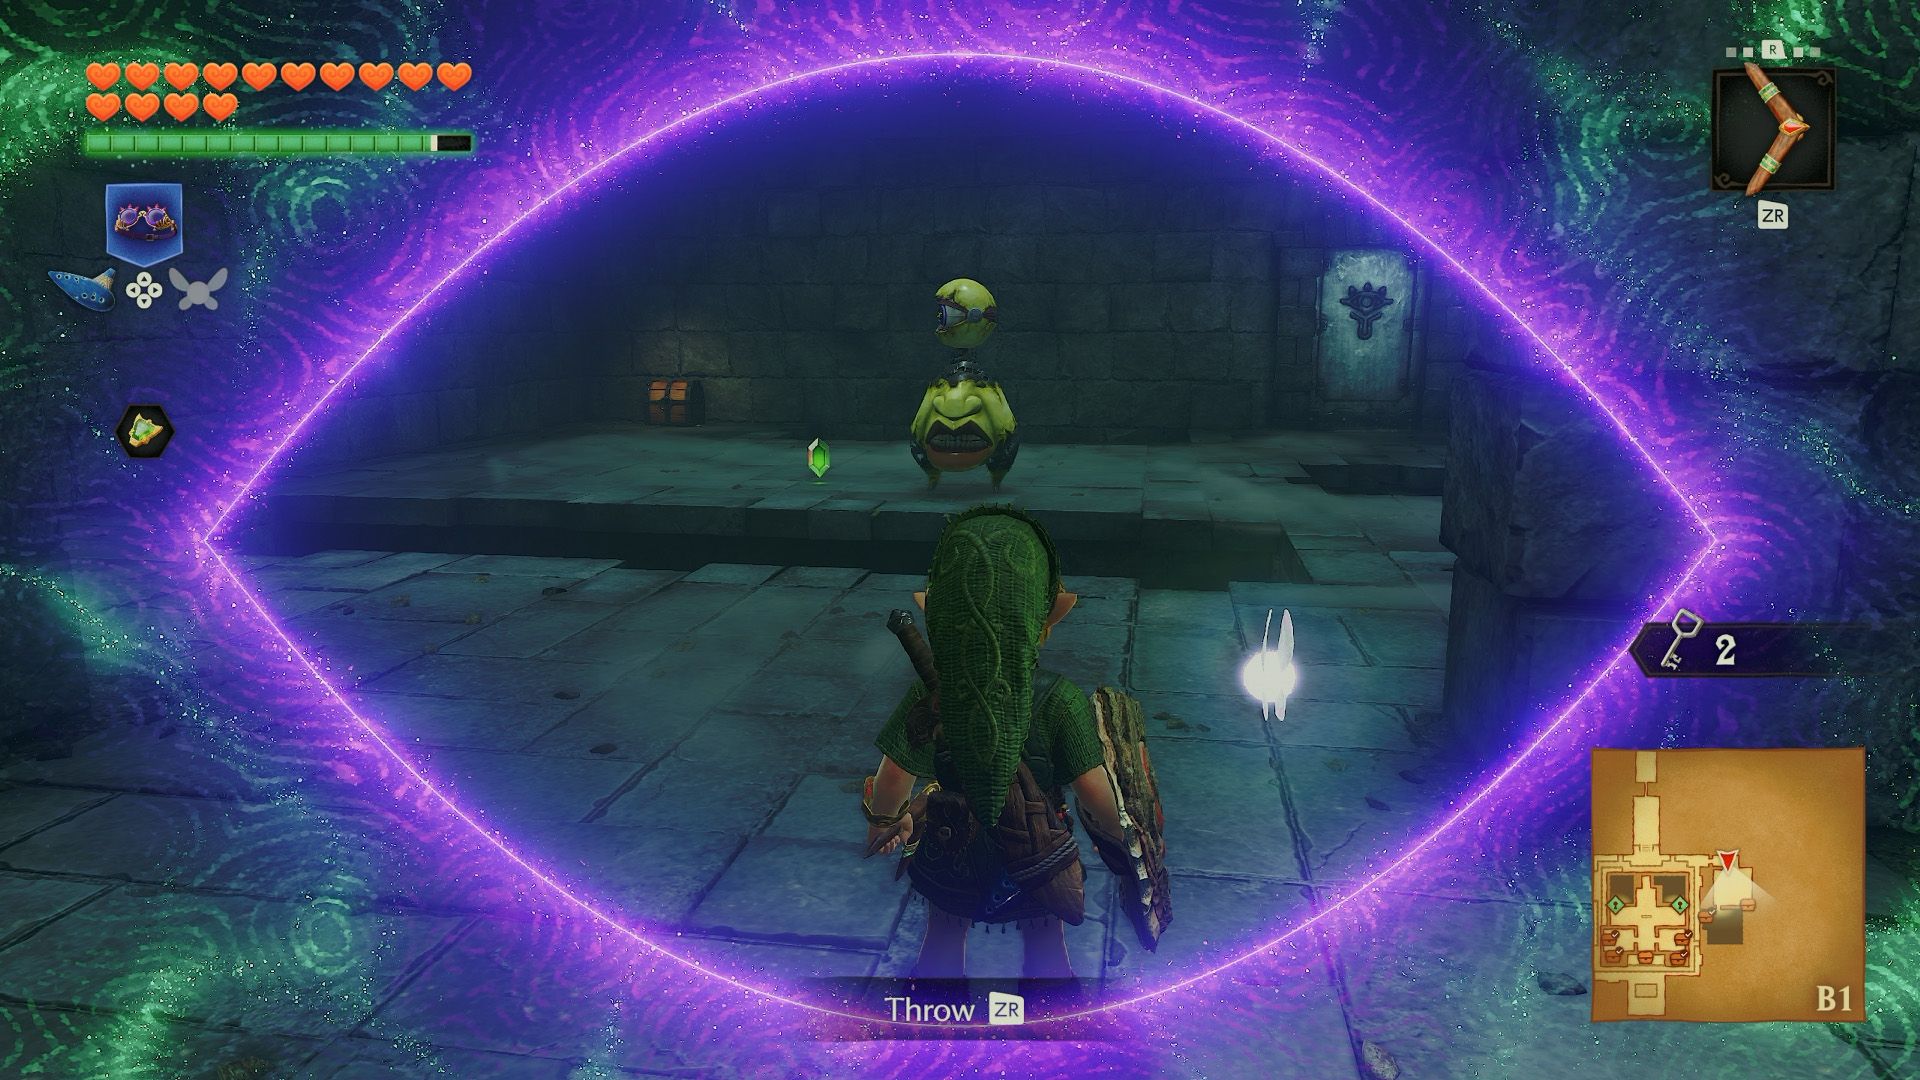
Go through the door in the northeastern corner, taking care to avoid the pit that leads to the basement. The next room contains three Fire Keese and a Beamos, with another hole in the floor directly in front of the Beamos.
Use your Boomerang to defeat the Keese and a bomb to destroy the Beamos. If you need more bombs, carefully reach the chest in the room to collect five. Then enter the door in the corner.
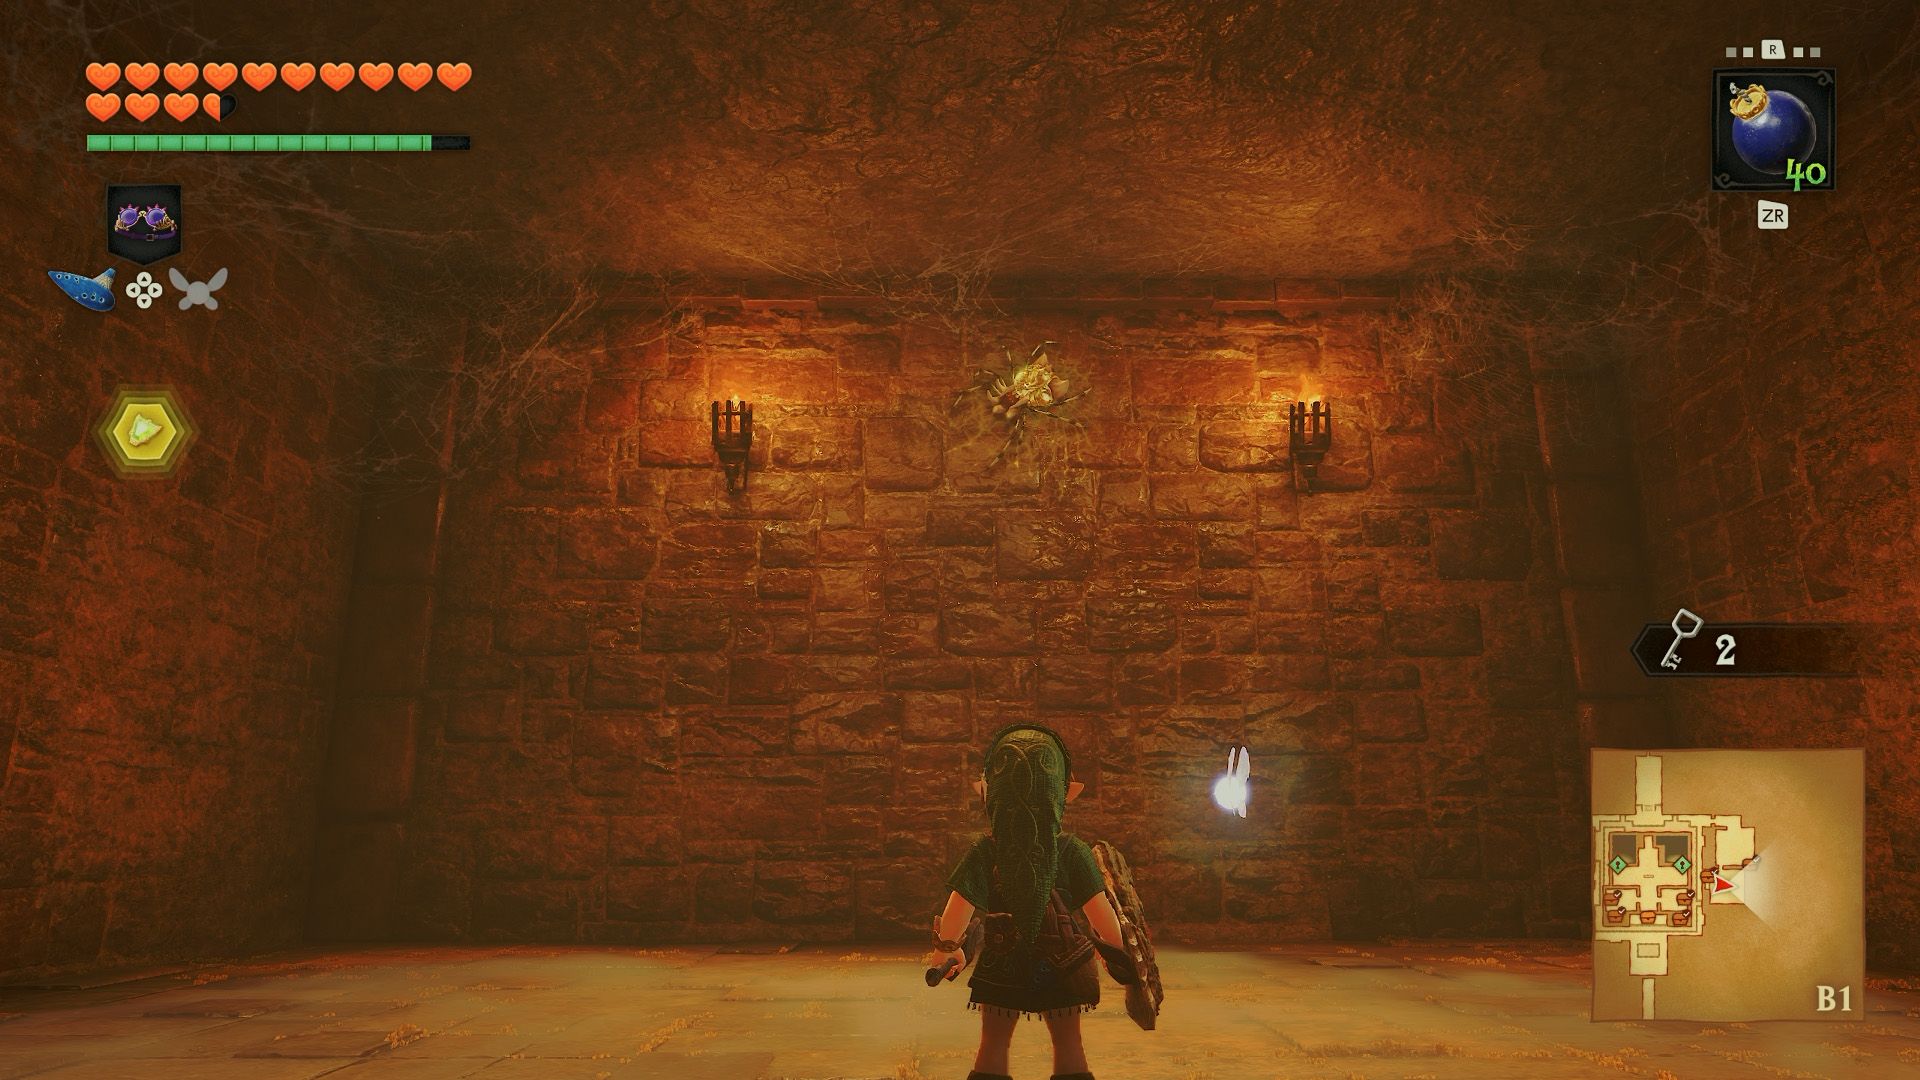
In the locked room ahead, defeat the Like Like. There are no invisible floor holes to worry about here. Hit the Gold Skulltula on the eastern wall and retrieve its token with your Boomerang. Climb the ladder and return to the hidden central room.
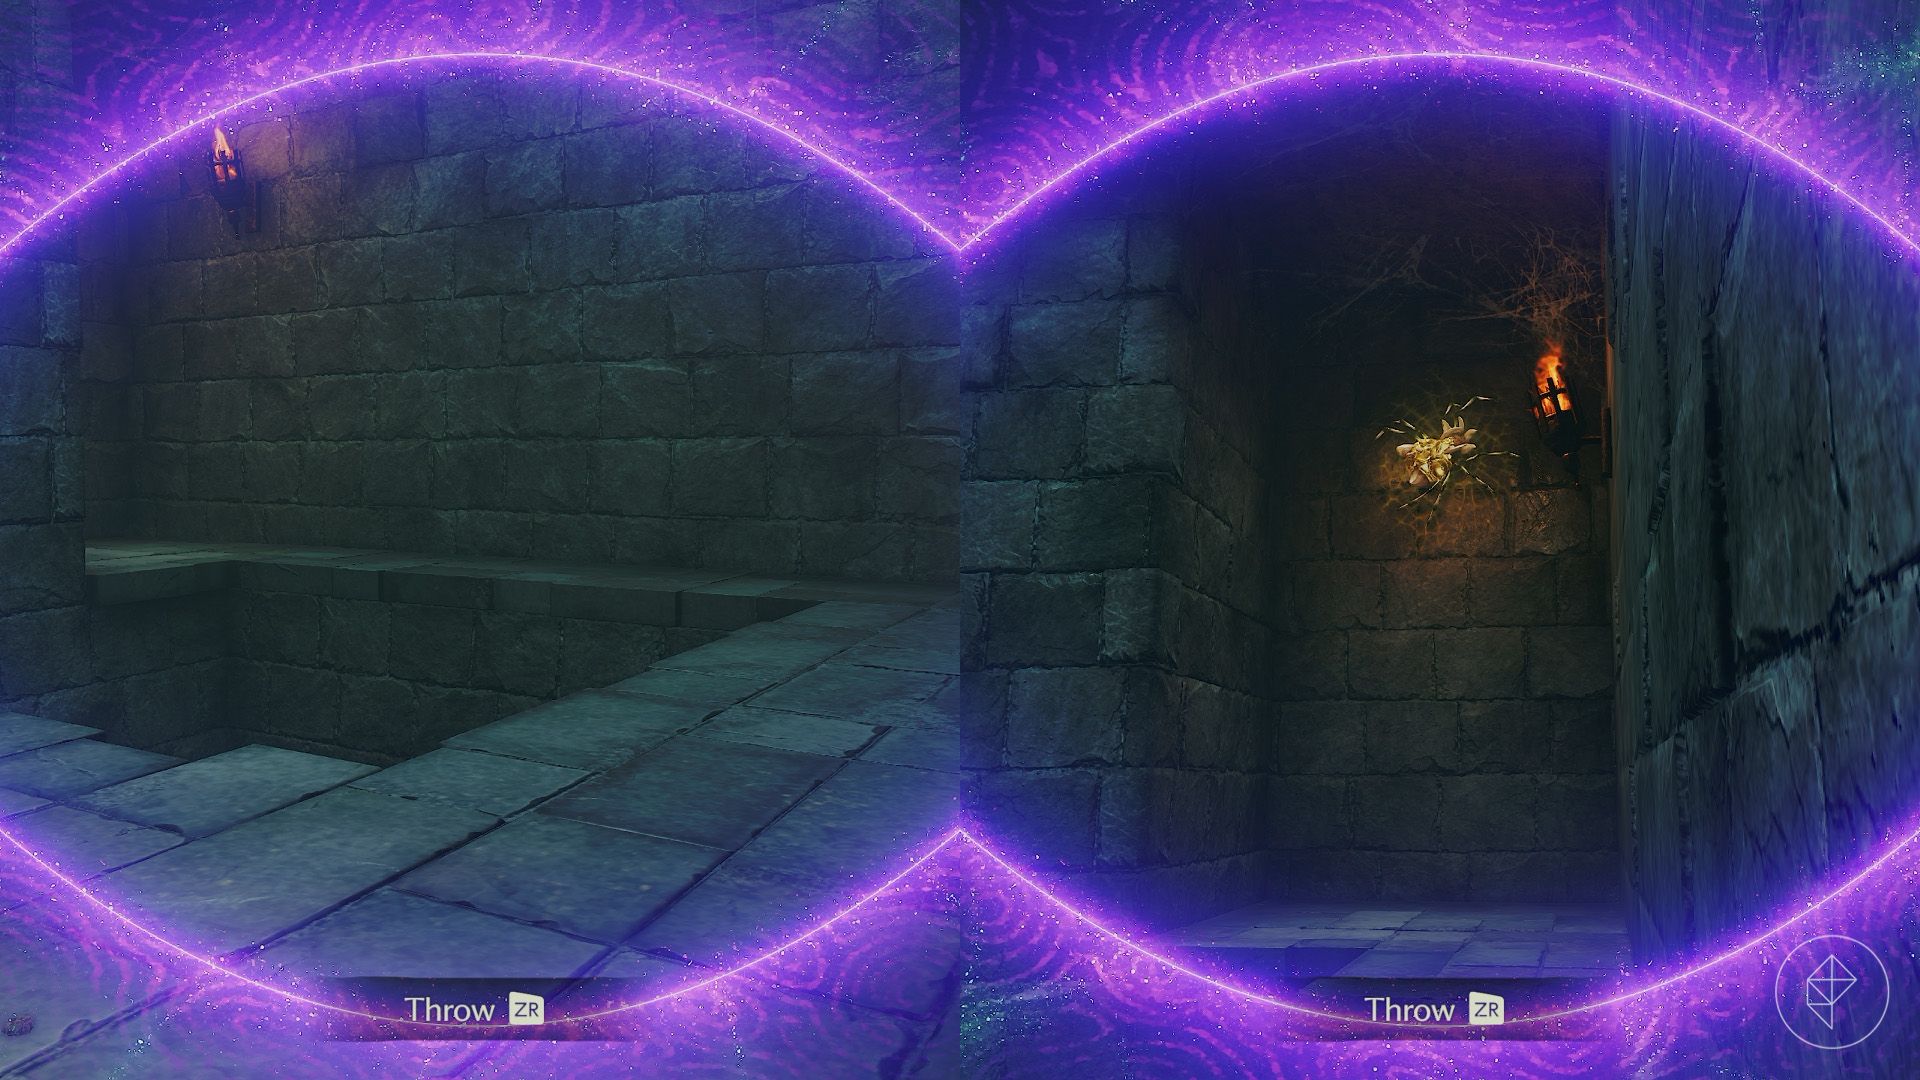
Unlock the eastern door and defeat the Keese resting on the walls. Put on the Lenses of Truth to reveal a hidden path along the wall. Follow it to another Gold Skulltula and collect its token with the Boomerang.
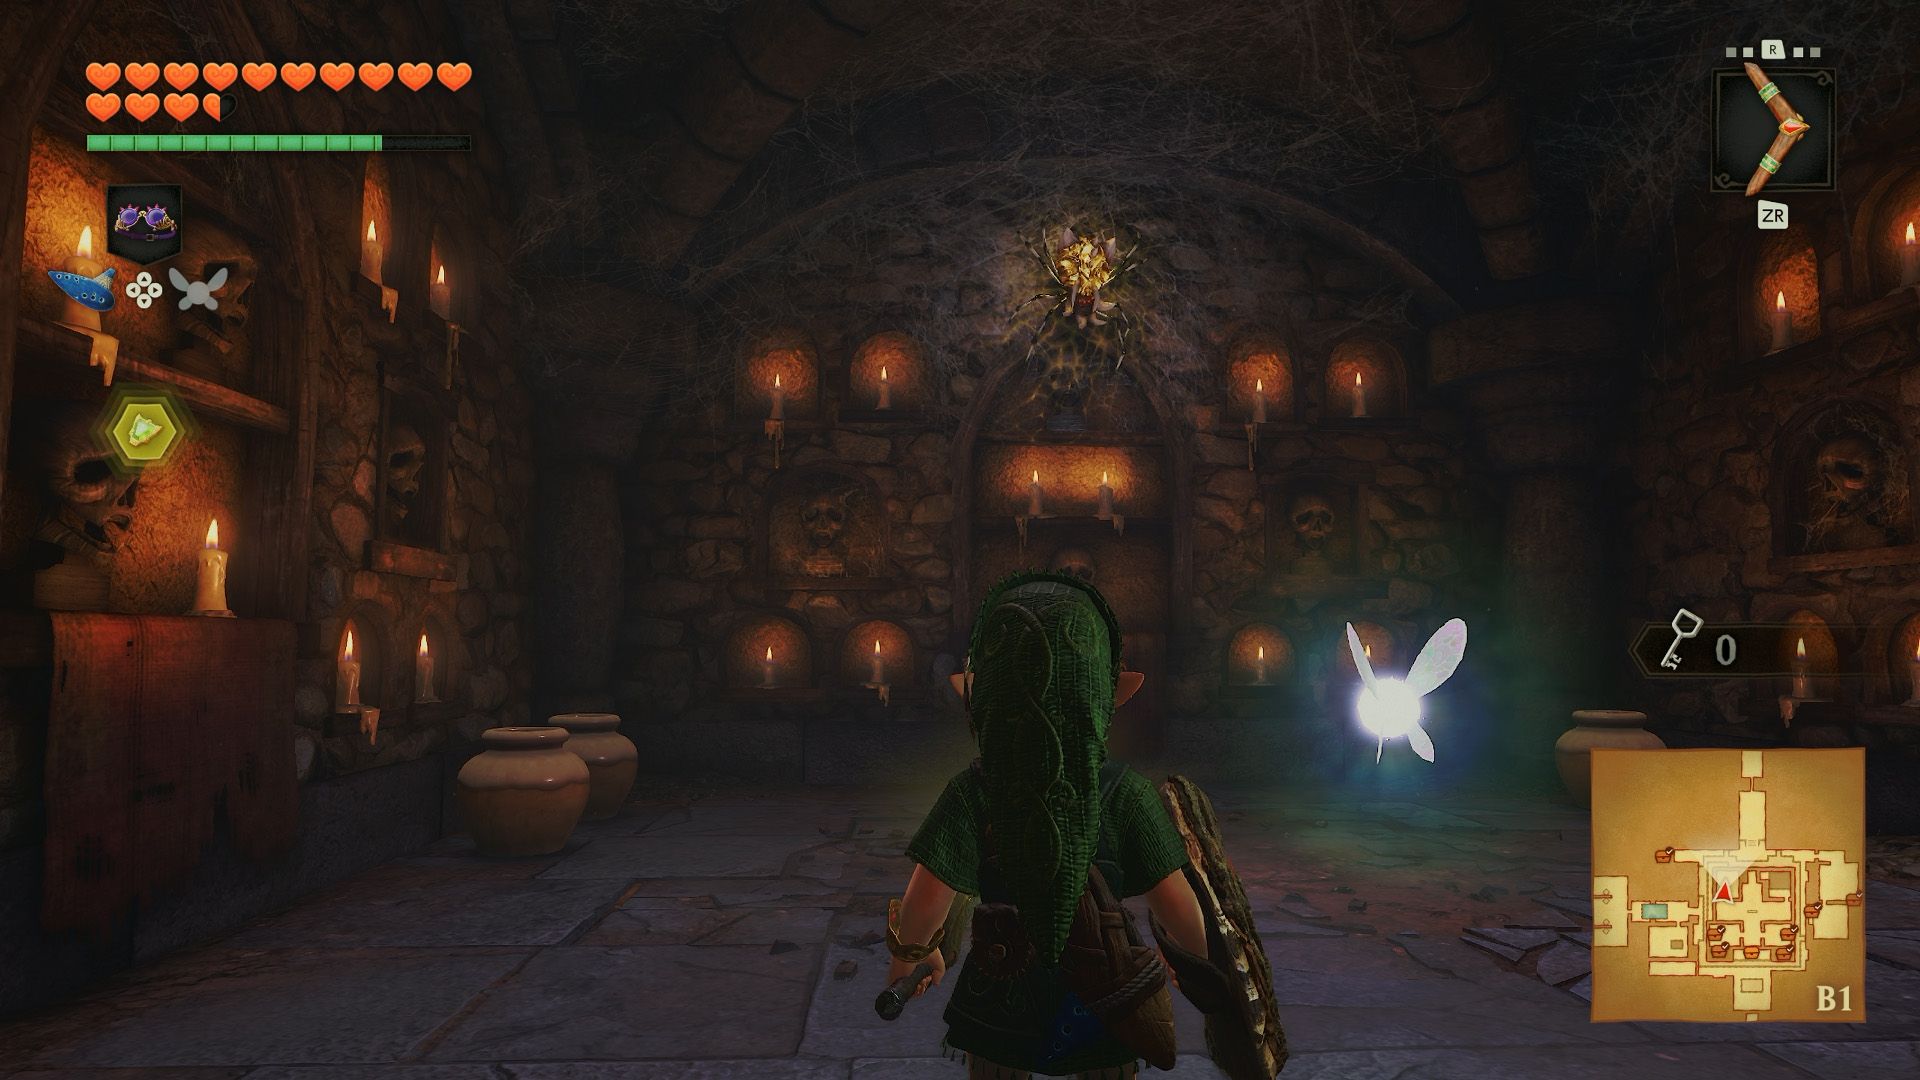
Finally, unlock the western door. Defeat the Deku Baba inside, then take down the Gold Skulltula and collect its token.
That completes the major objectives in the Bottom of the Well. You can still open any remaining chests for extra rupees, or return to Hyrule Castle Town and put the Lenses of Truth to use in the chest game.
Source: Polygon
Related articles
 Switch 2 Cartridge Manufacturer Exits the Market
 Microsoft’s Alligator Xbox May Be a GTA VI Marketing Workaround
 Analysts Say Gran Turismo 7 Is Not on PS Plus Because It Has Earned Sony Hundreds of Millions of Dollars
 Mike Flanagan Hints at Unexpected Approach to Warhammer 40,000 Series Starring Henry Cavill
 The Legend of Zelda: Ocarina of Time – Shadow Temple Dungeon Walkthrough
 Ganondorf’s Castle Walkthrough in The Legend of Zelda: Ocarina of Time
 The Legend of Zelda: Ocarina of Time — Spirit Temple Dungeon Walkthrough
 Study Confirms Impact of Social Messaging on Video Game Sales