
How to Defeat the Queensbury Crypt Boss in Mina the Hollower
In Mina the Hollower, the Duchess serves as the formidable warden of the Queensbury Crypt. Depending on your chosen path, she often acts as your first major skill check. This encounter features a deceptive opening that might bait you into burning through your healing resources prematurely.
Below, we outline a comprehensive strategy to conquer the Duchess, covering her attack patterns, optimal defensive maneuvers, and essential preparation tips to ensure your victory.
Preparing for the Duchess
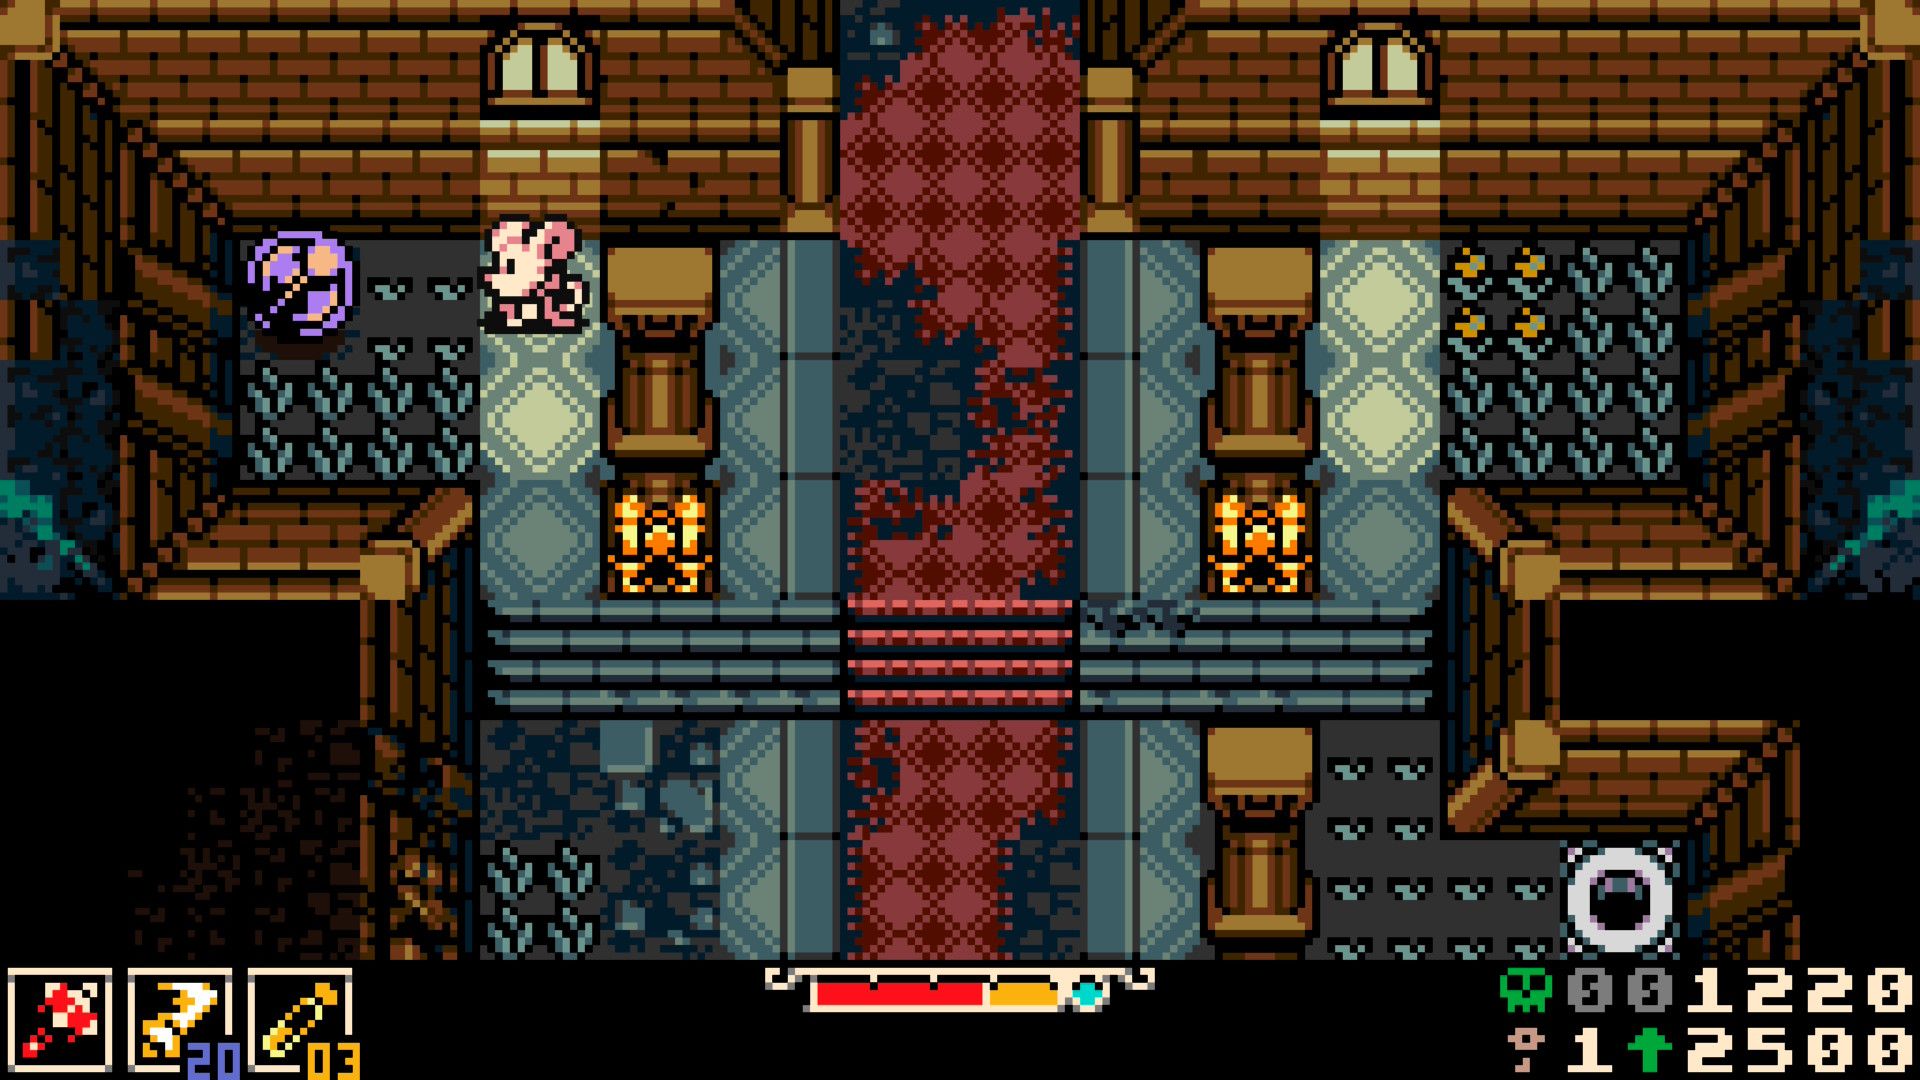
Before stepping into the arena, maximize your odds by unlocking the Underlab respawn point located in the room with the Duke, just left of the mummy-filled corridor. This prevents an unnecessarily long trek back if you fall in battle.
Search the top-left section of the approach corridor for a cracked gravestone; striking it reveals a rotating sidearm selection. We highly suggest securing the Mist Jar. This allows you to generate plasma from a distance without needing to commit to melee strikes, granting you safer windows to heal and observe the boss’s telegraphs.
Additionally, locate the cracked wall in the middle-left of the corridor to retrieve the statue’s head—you’ll need this item to initiate the boss fight.
If you have the capacity, equip these helpful trinkets:
- Lace Glove: Grants a +1 attack bonus; obtained by defeating the rabbit harassed by children in the Eastern Heath or Western Wilds.
- Seismic Belt: Purchased from Susan in Ossex, this allows you to release a damaging shockwave while burrowing.
- Chain Capacitor: Acquired via the Choppe Shoppe minigame in the Eastern Heath, this buffs your damage output for consecutive hits.
Mastering the Duchess Encounter
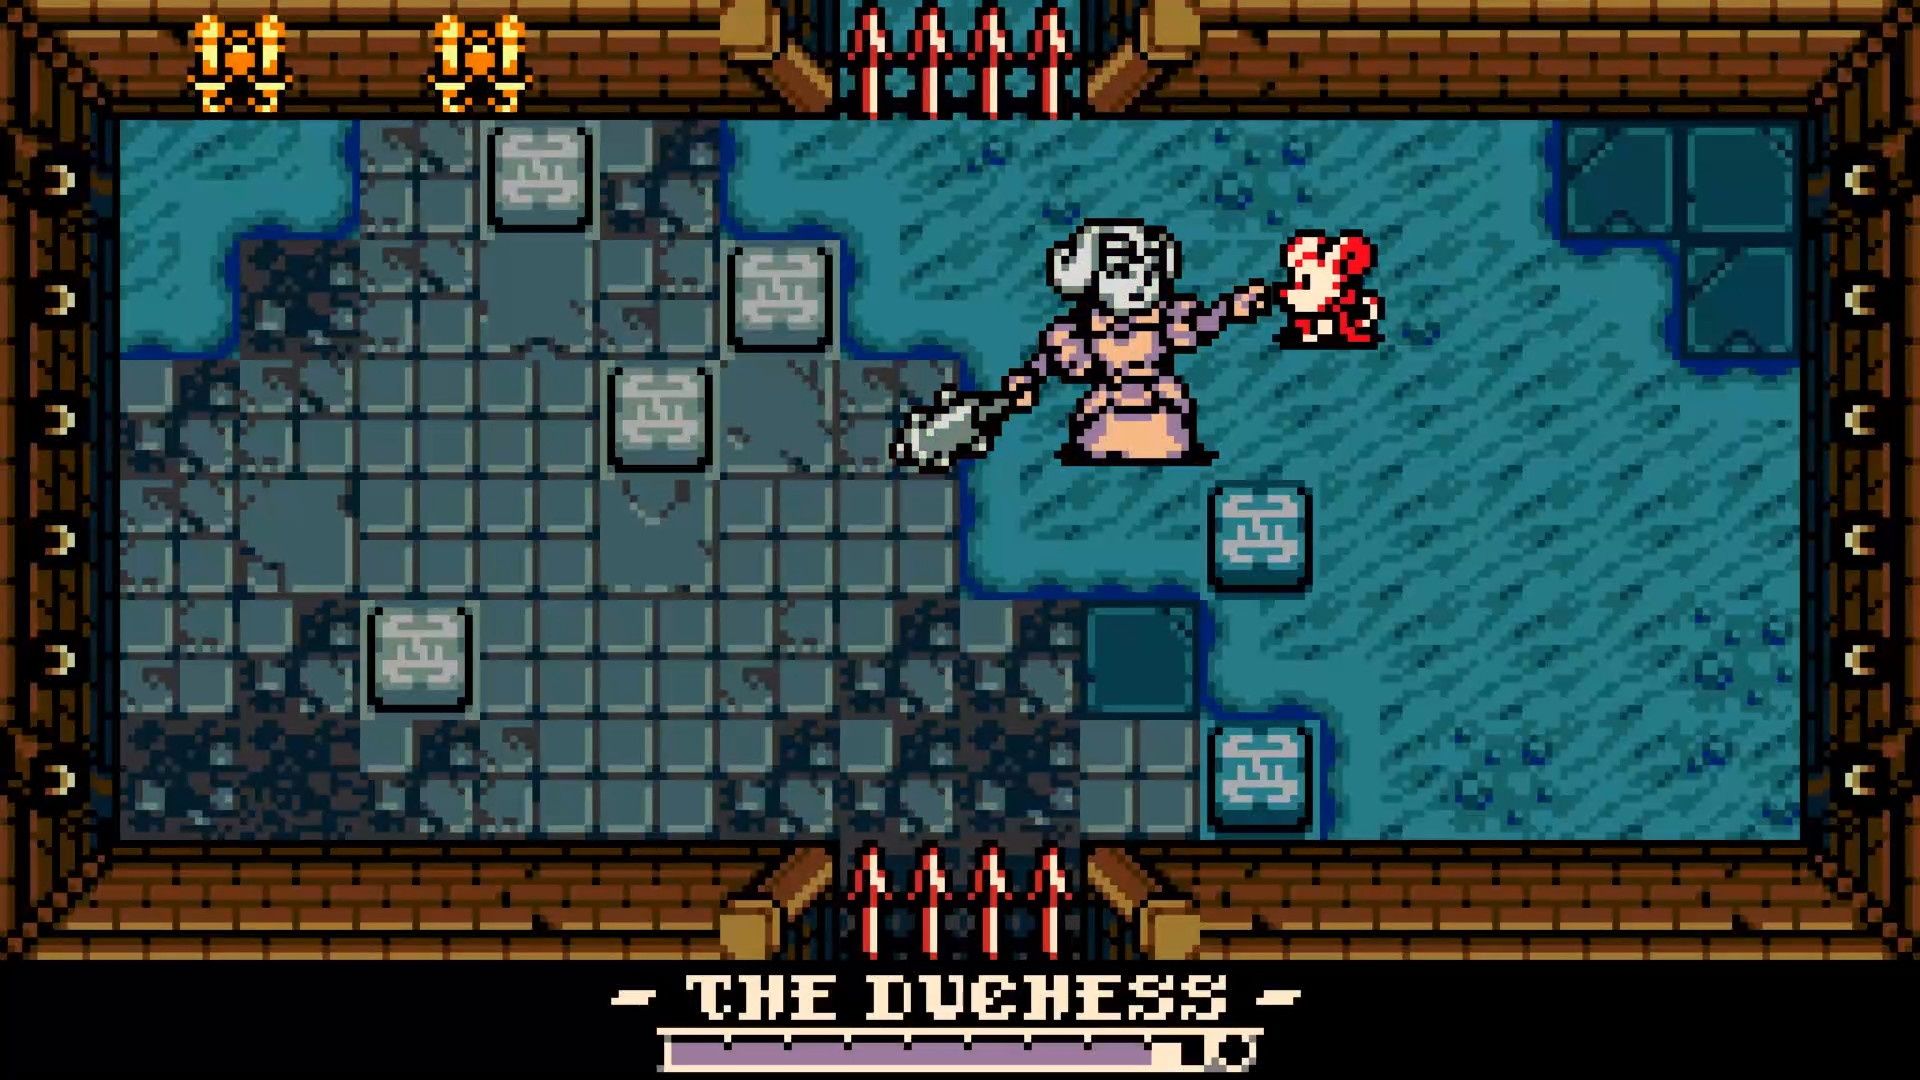
The fight is divided into two distinct phases. During the first, the Duchess moves as a rigid, stone statue using two primary attacks:
- Mace Swing: She telegraphs this by winding up for two seconds. She will lunge toward your position at the start of the animation. Simply burrow underneath her to emerge behind her, leaving her vulnerable to a counter-attack.
- Leap: She performs a short jump and slams down. This has limited range, so step aside, wait for her to land, and punish her recovery.
Beware of the floor panels; stepping on them triggers wall-mounted arrow traps. You can dodge these, burrow beneath them, or destroy the projectiles mid-air with your weapon.
Once you deplete her health, she shifts into a much more aggressive form. Aim to enter this second phase with at least two or three healing vials intact.
In her final stage, the statue erupts with tentacles, and her severed head begins to roam independently. Do not waste attacks on the head, as it is invulnerable.
- Tentacle Thrust: She coils up before launching tentacles horizontally and vertically. Positioning yourself diagonally is the safest way to avoid this spread.
- Tentacle Eruption: She plunges her limbs into the floor, creating an area-of-effect strike where you were last standing. Use your burrow ability to stay mobile. Immediately after a tentacle surfaces, she is briefly open for a single strike.
- Hop: She uses a faster, shorter jump if you stay in close proximity—stay ready to reposition quickly.
The arena’s pressure plates are even more dangerous in this phase due to her chaotic movement. Stay alert, keep your distance when necessary, and capitalize on the brief cooldowns between her tentacle attacks.
Source: Polygon
Related articles
 Nintendo Patent Details Game-Key Cards Functionality
 Rumor: AMD is Developing New Ryzen Z3 Chip for Gaming Handhelds
 PlayStation Creator Cites Modern Gaming Industry Problem
 Warner Bros. New Owners Will Retain DC Studios Leadership, Keeping James Gunn Safe
 Hot Toys Adds Interactive Tech to Robocop and RoboCain Figures From Robocop 2
 Creator of Heroes 3 Plays Remake and Shares Feedback
 John Boorman’s Excalibur Transcends Fantasy Genre 45 Years After Release
 Dead by Daylight Announces Collaborations with Diablo IV and Stranger Things in VHS-Style Trailer