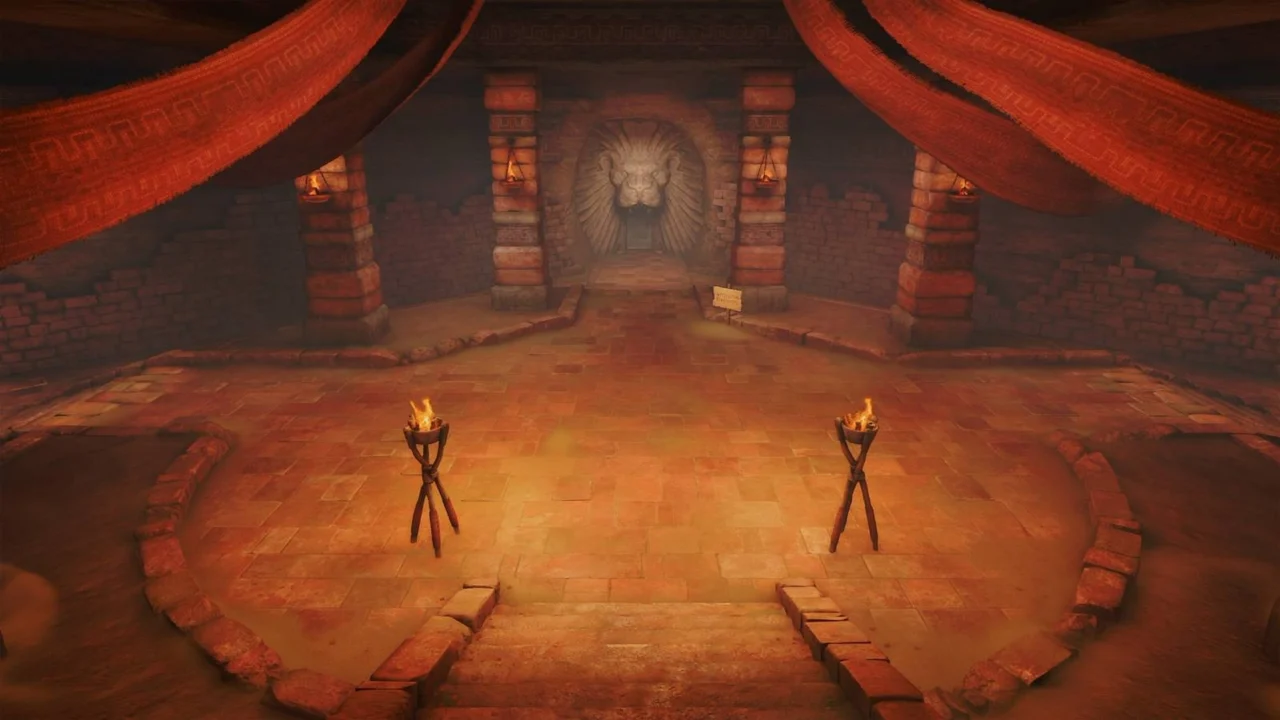
Gerudo Proving Grounds Walkthrough – The Legend of Zelda: Ocarina of Time
The Gerudo Proving Grounds is a combat and puzzle challenge in Gerudo Fortress in the The Legend of Zelda: Ocarina of Time remake.
Once you have rescued all the carpenters in Gerudo Fortress, you can enter for 30 rupees per visit. Inside, three routes branch off from the starting room. The left and right paths contain challenges that award small keys, which you can use to unlock doors along the center path. Bring the right equipment before setting out if you want to explore the entire area.
Your reward for reaching the end is the Ice Arrows.
Part 1: Entering the Gerudo Proving Grounds
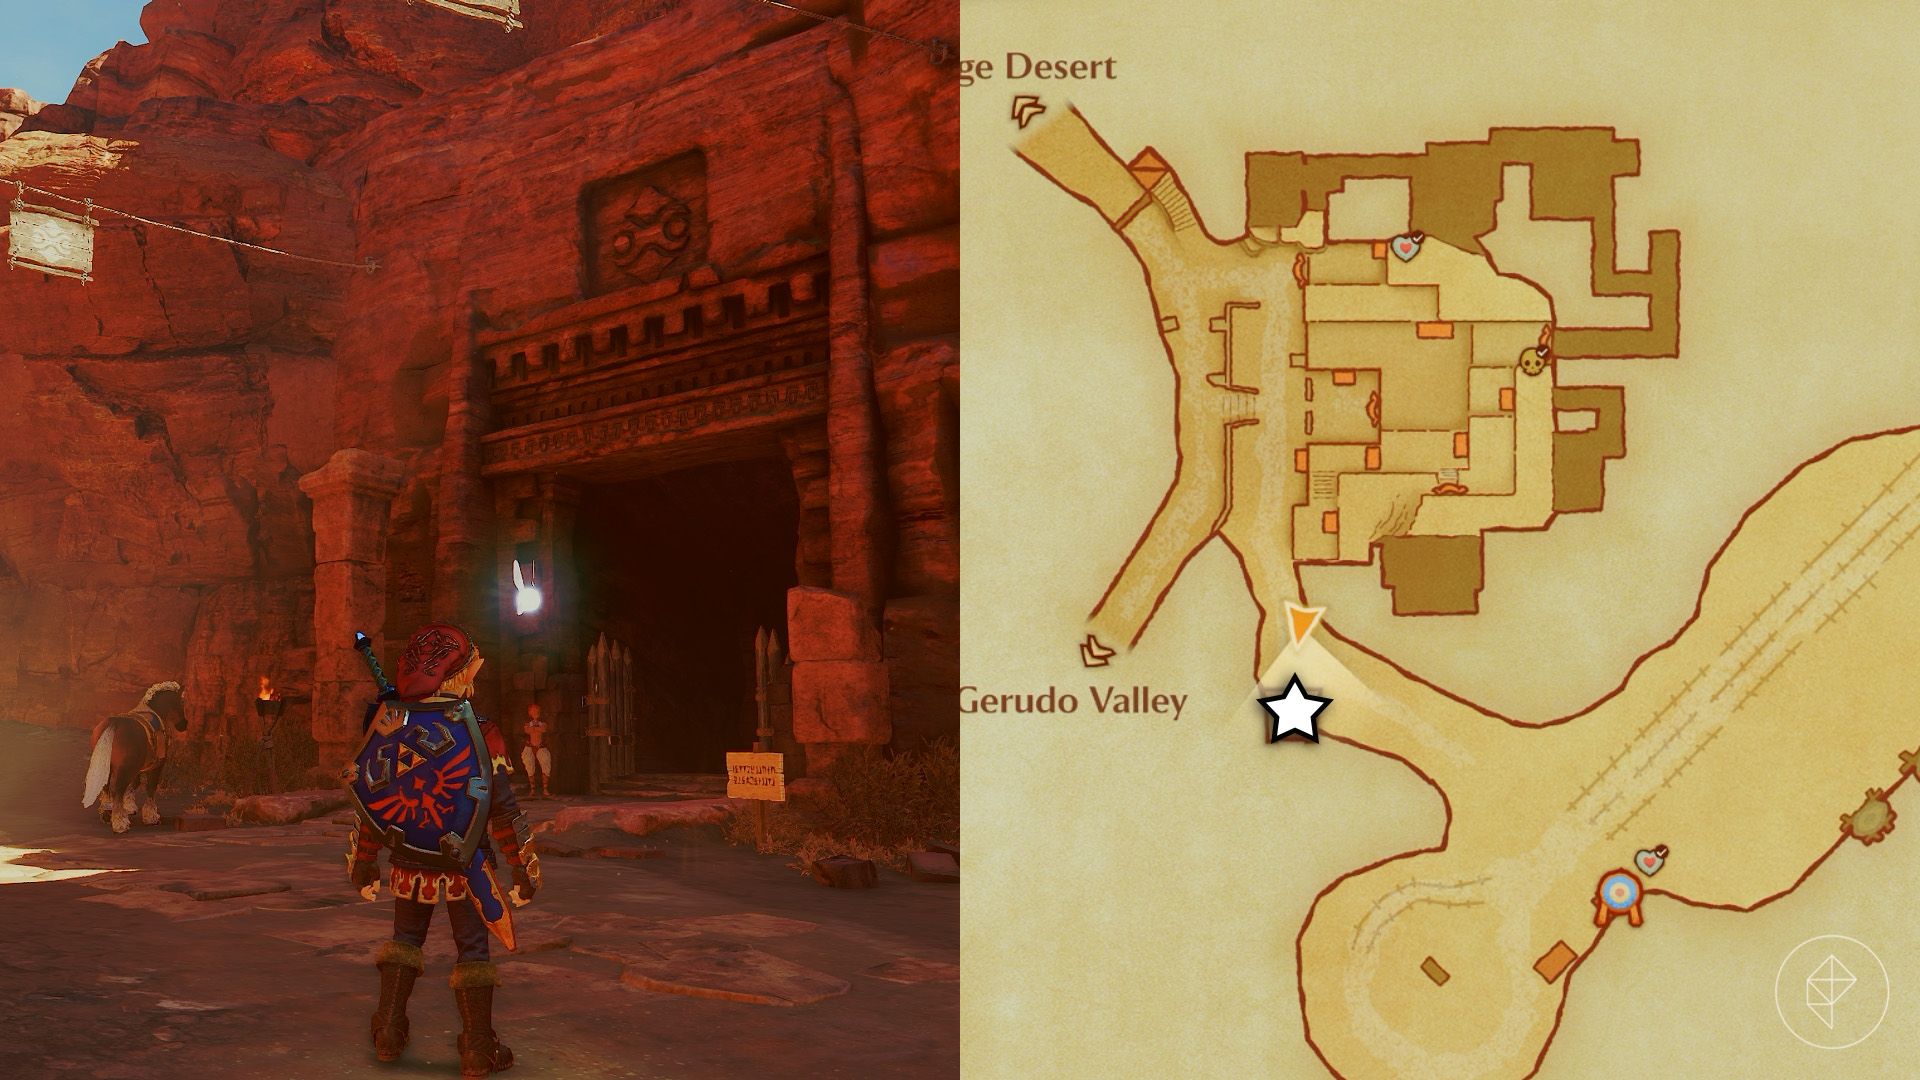
The entrance is just south of Gerudo Fortress, and each visit costs 30 rupees. Your progress is preserved if you leave, but bringing bottled healing items, such as Lon Lon Milk or fairies, can save you from paying for another trip.
To reach the Ice Arrows, bring the following:
- Fairy Bow
- Goron Tunic
- Song of Time
- Hookshot
- Iron Boots
- Zora Tunic
- Megaton Hammer
- Scarecrow Song
To explore the entire Gerudo Proving Grounds, you will also need the Lens of Truth and Silver Gauntlets.
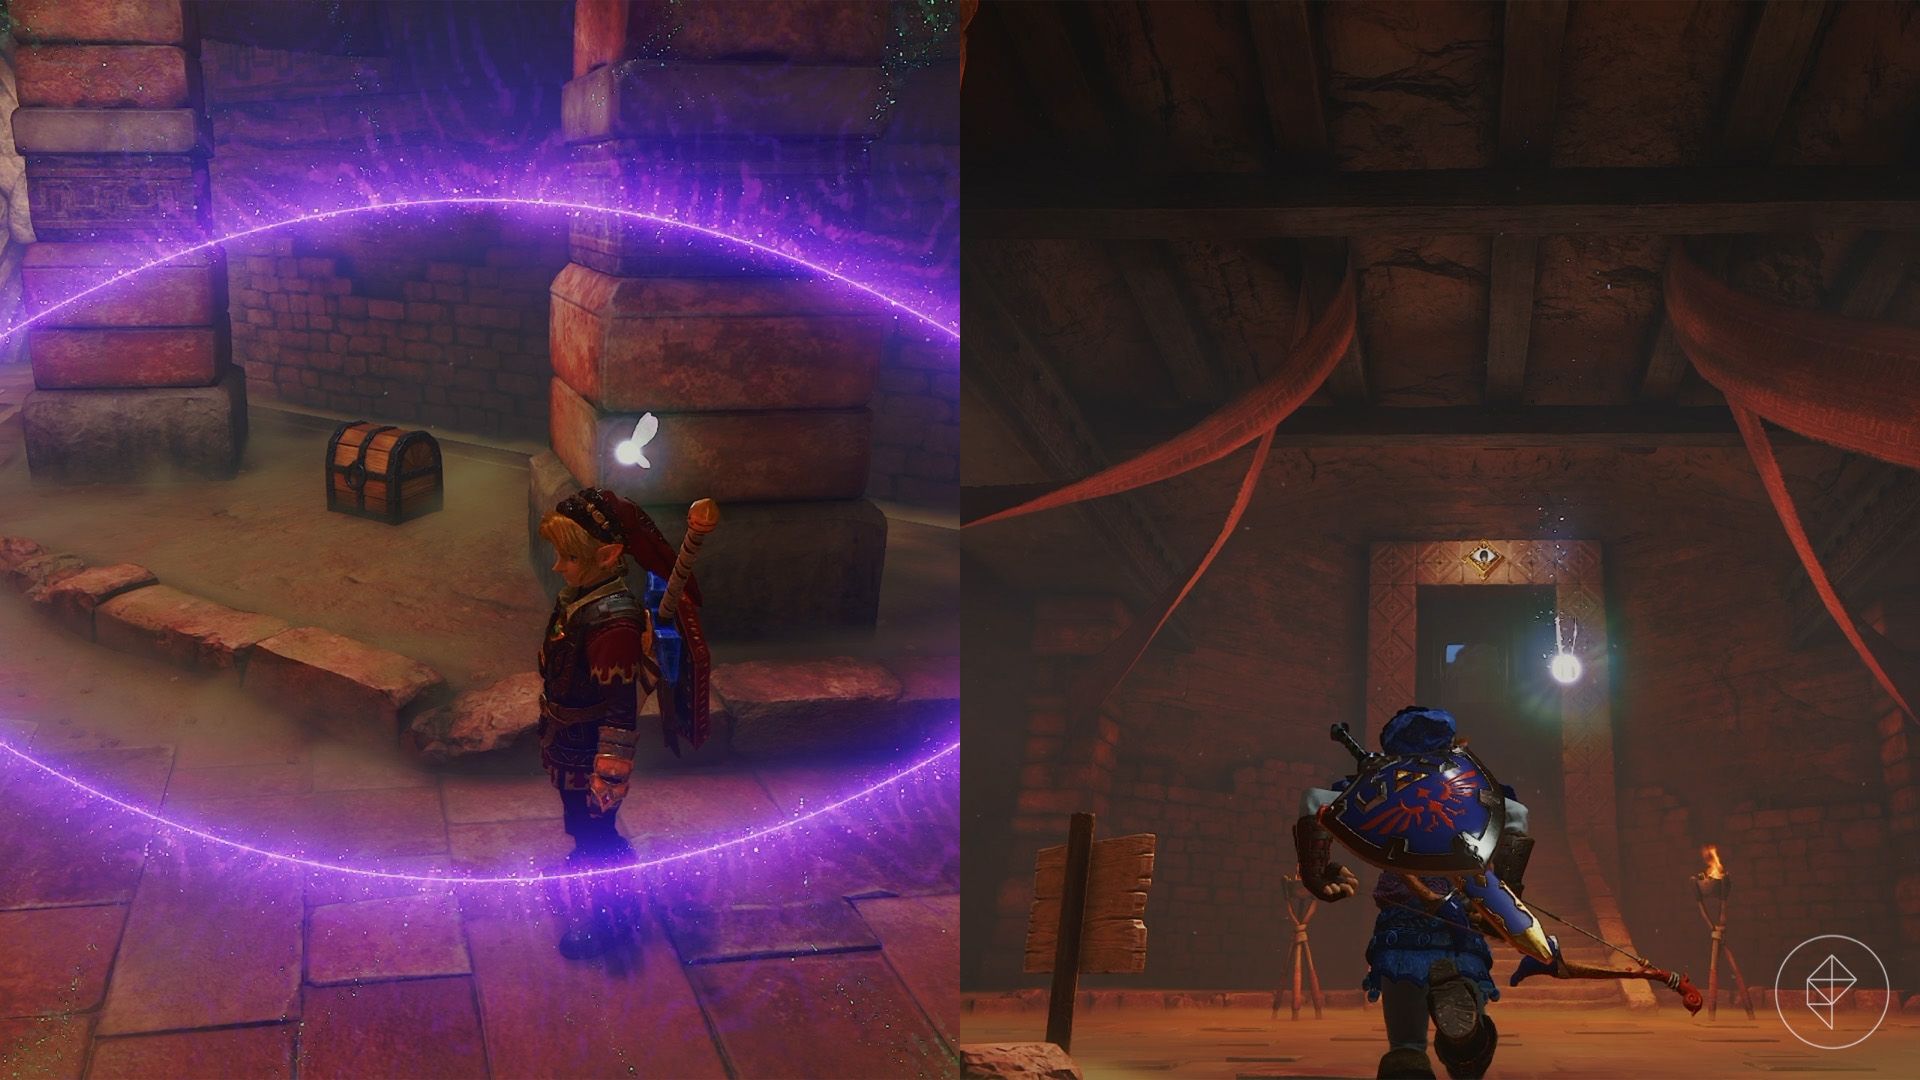
Before choosing a route, search the starting room. Two sets of pillars stand in front of the center path. Use the Lens of Truth between the pillars on the left to reveal an invisible chest containing five arrows. Look back toward the main entrance to spot an eye on the wall.
You can start with either side path. They eventually connect if you have the Lens of Truth or the Scarecrow Song. This walkthrough begins on the right because that route provides enough keys to reach the Ice Arrows.
Part 2: Clearing the right path
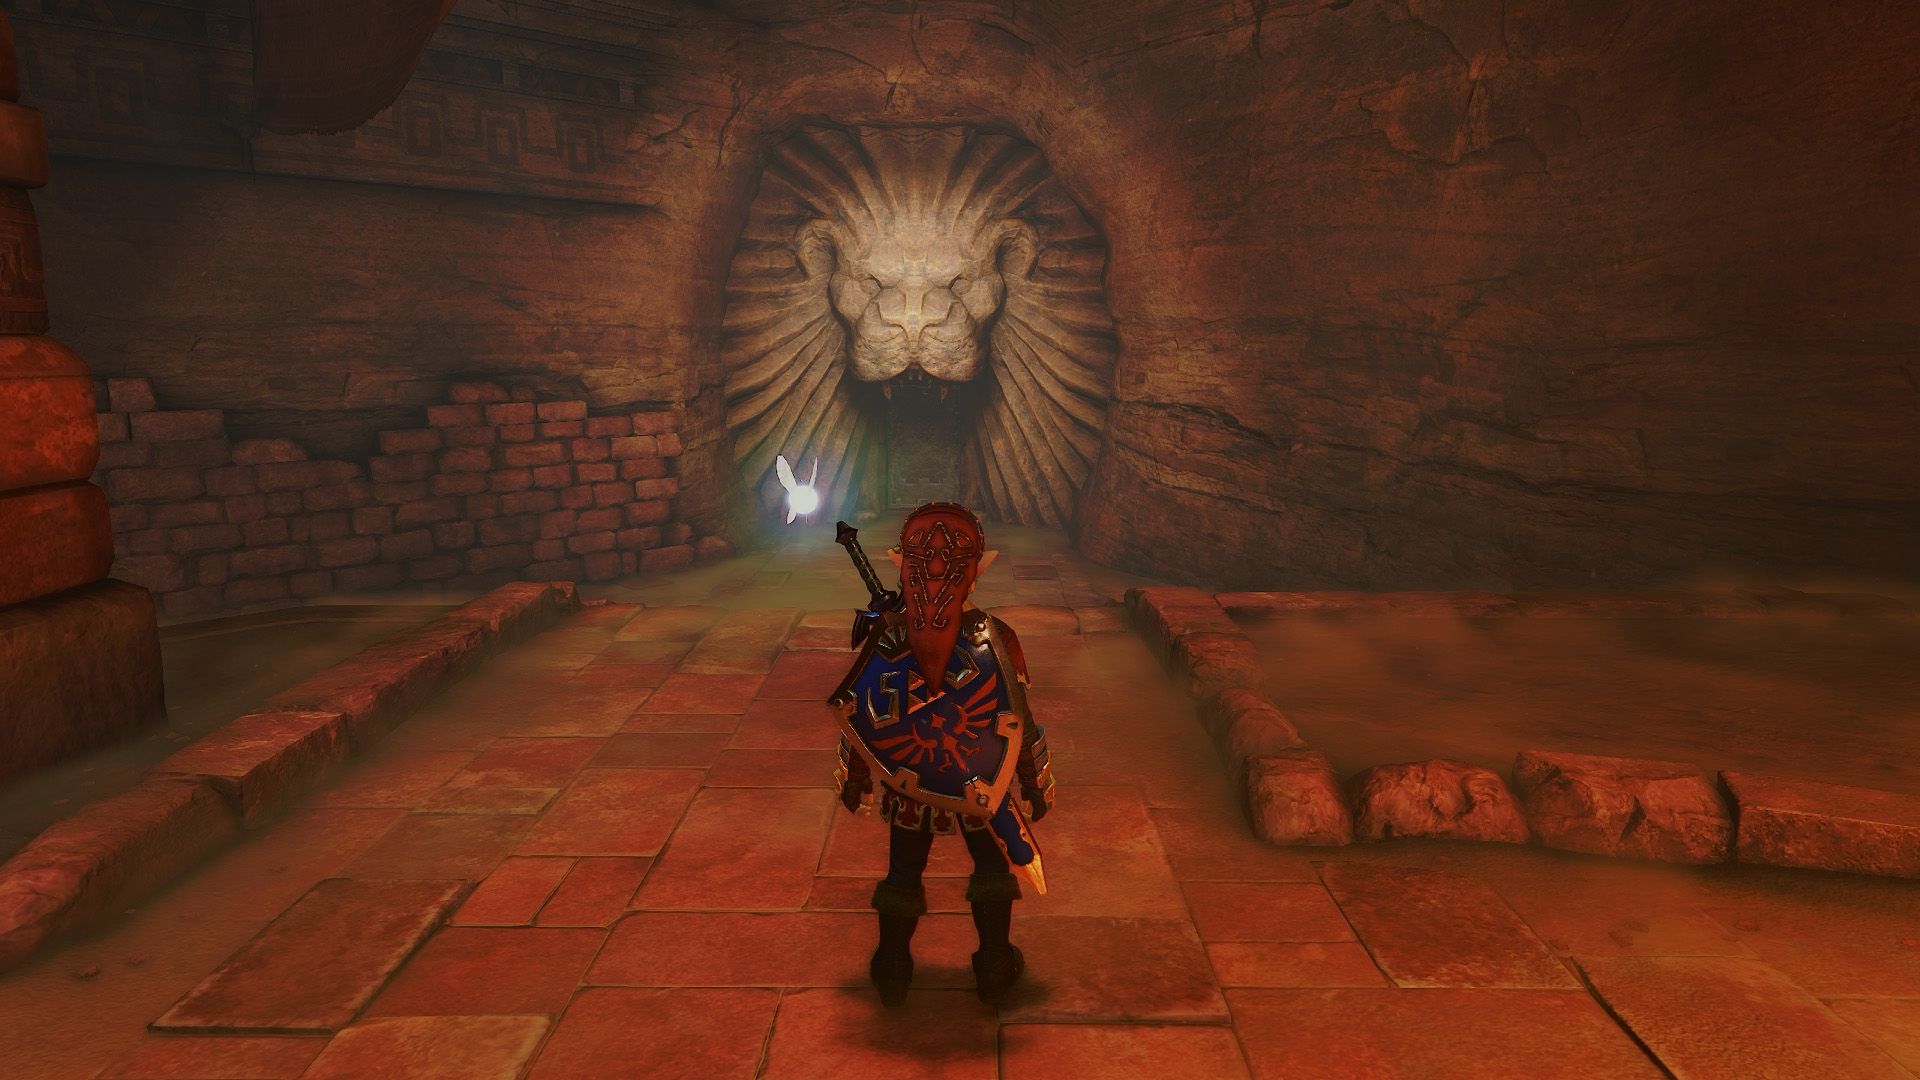
Enter the door on the right to face two Lizalfos and a Beamos. Destroy the Beamos with a bomb to remove its laser threat, then keep your shield raised while fighting the Lizalfos. Their swords flash just before they launch a jumping attack.
Defeat both Lizalfos to reveal a chest containing a small key. Before entering the next room, equip your Goron Tunic to withstand the heat.
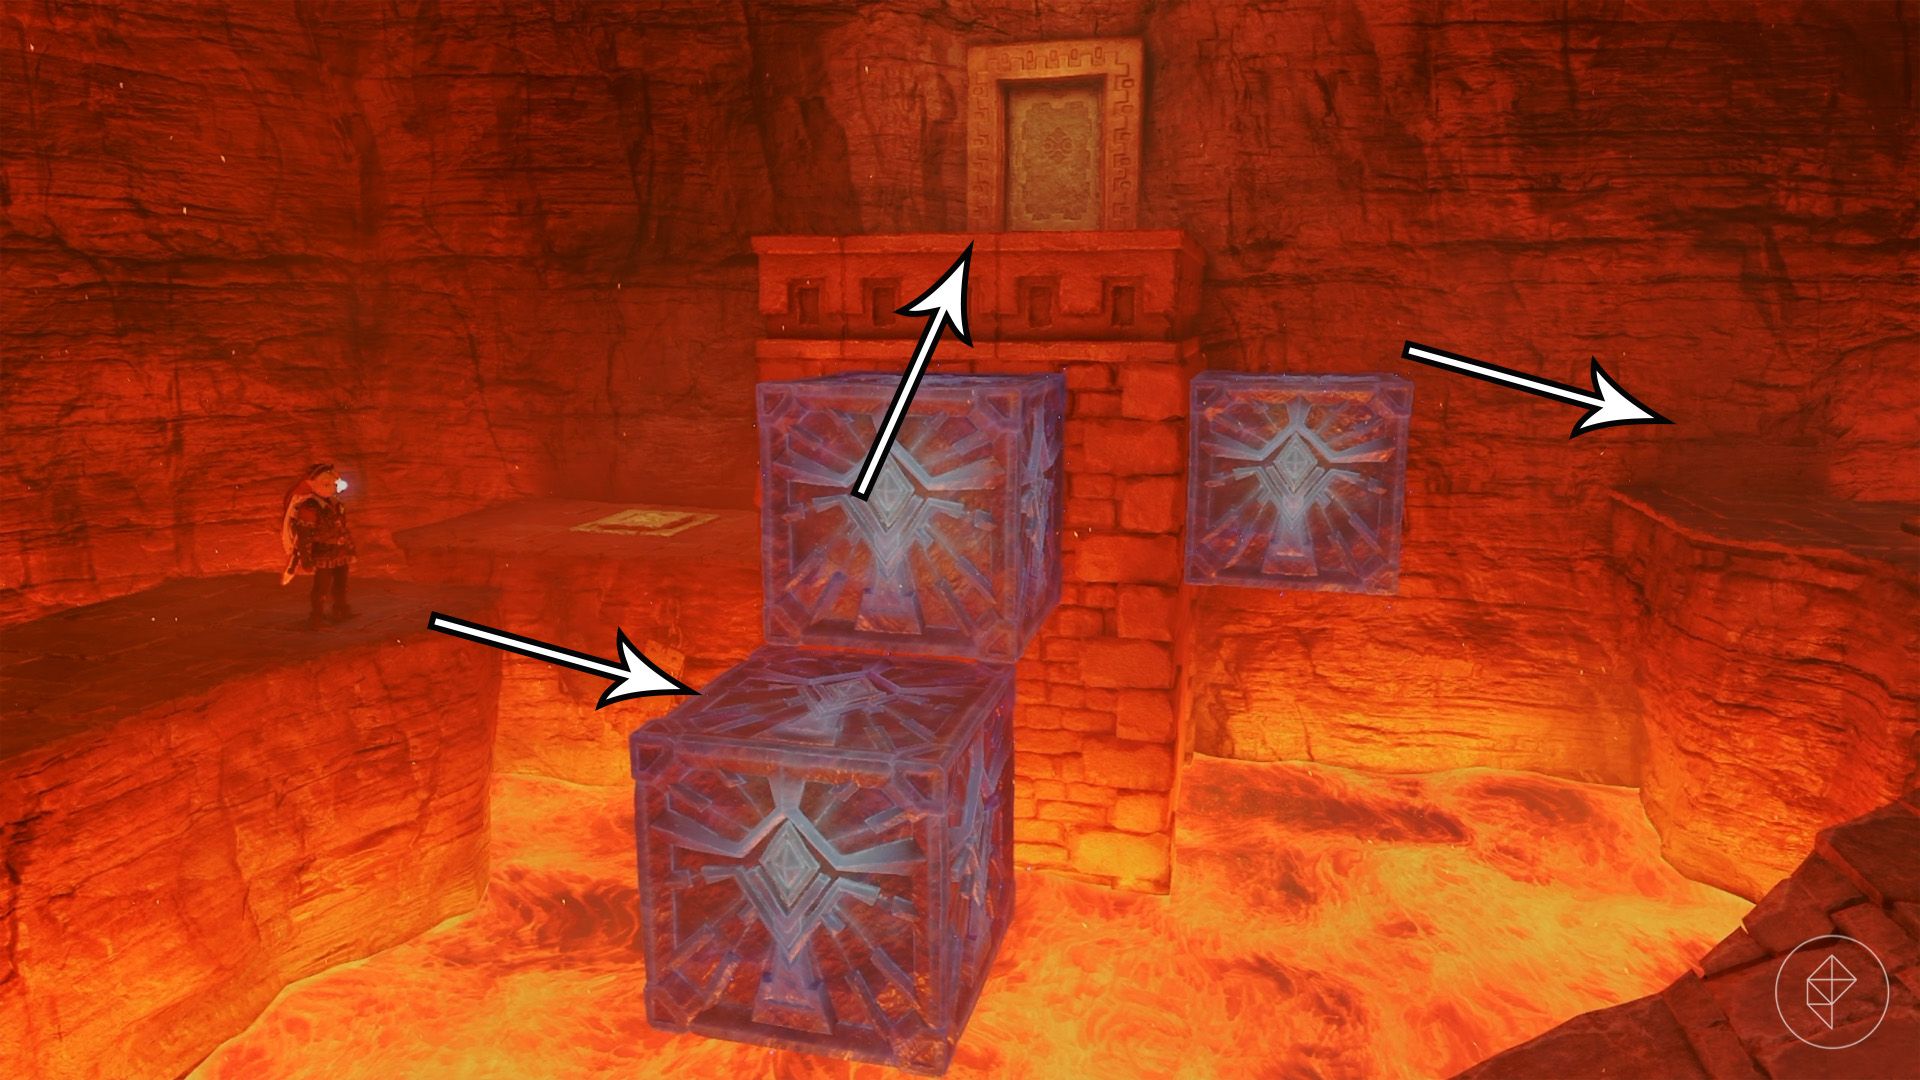
In the lava room, collect five crystals to unlock an adjacent door. Pick up the crystal at the foot of the stairs, then jump to the platform ahead. Play the Song of Time (A – L – R – A – L – R) near the familiar symbol on the wall to summon time blocks.
Jump onto the platform with the floor switch and press it to extinguish the flames in the corner. Quickly cross to the time blocks, climb them, and collect the crystal above the spot where the fire was burning.
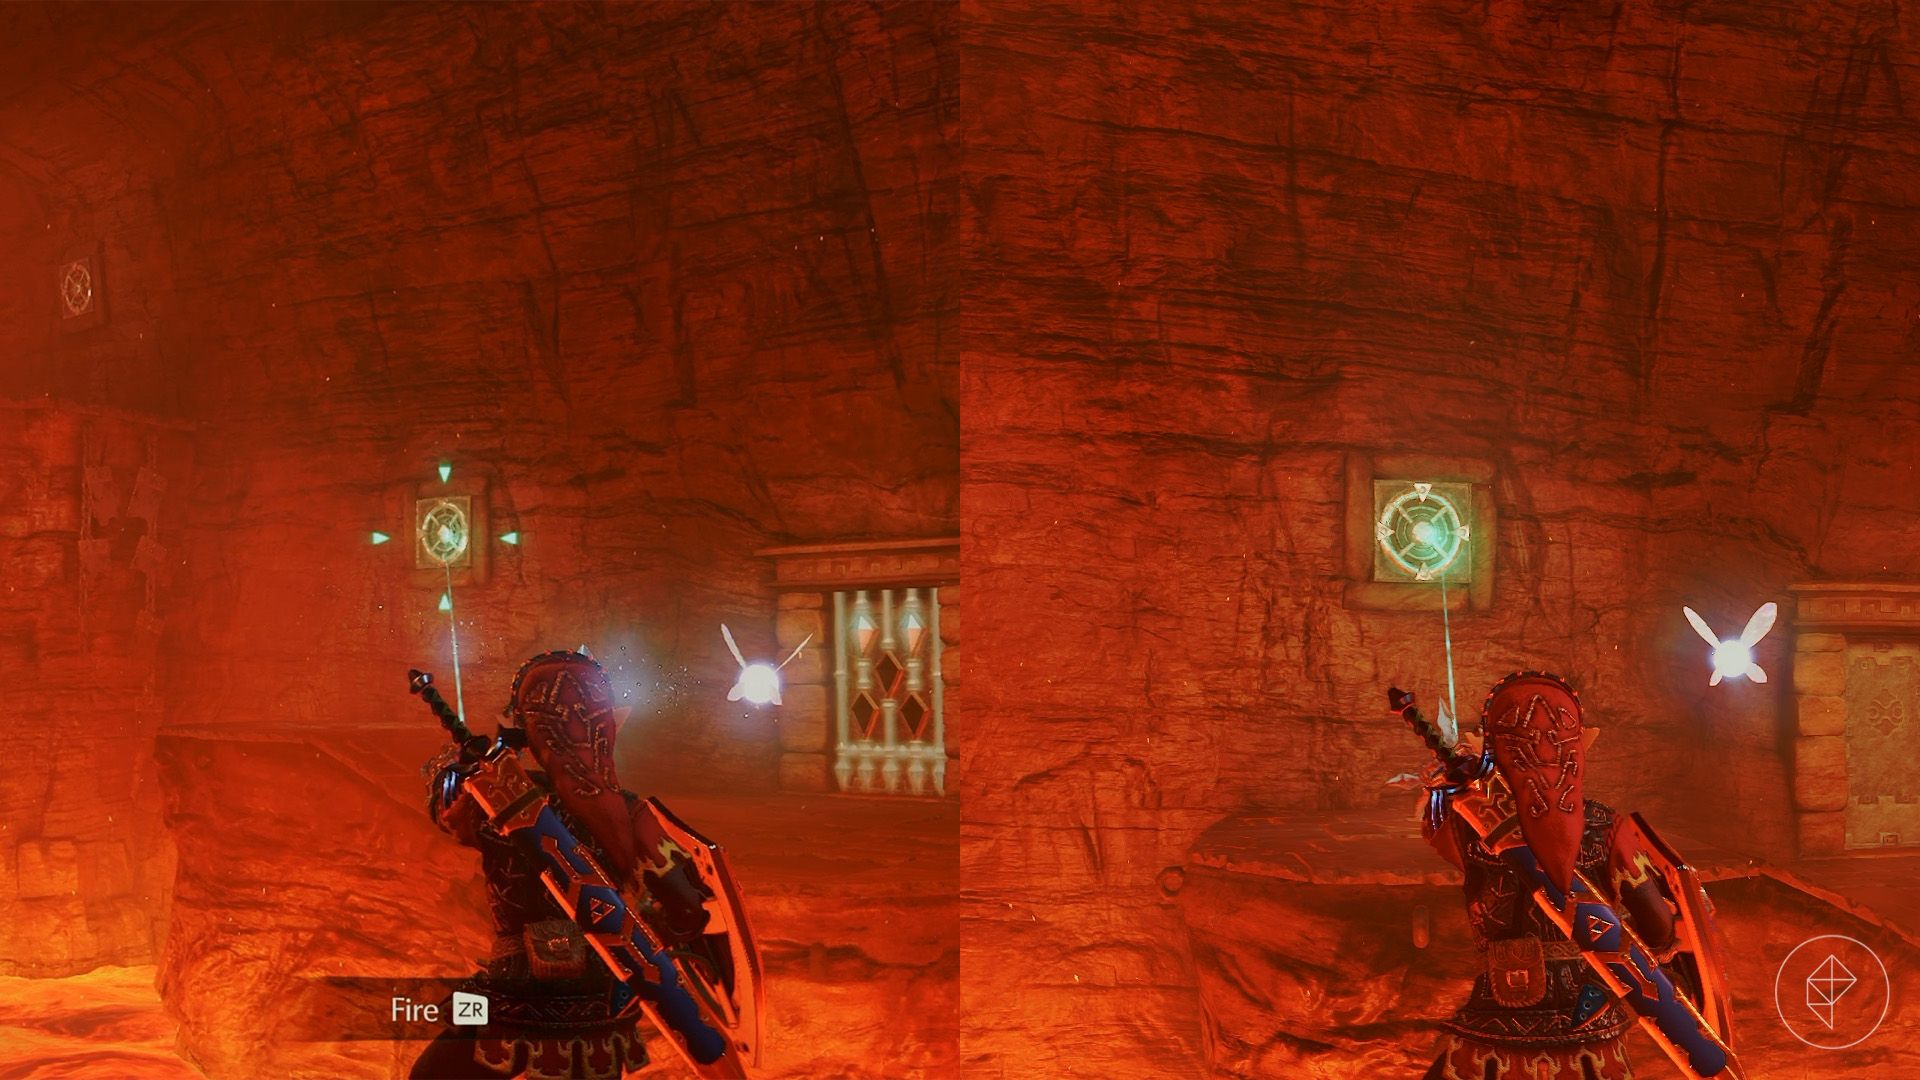
If you have the Longshot, return to the platform in front of the stairs and use it on the target to the left of the door to reach another crystal. With the regular Hookshot, jump onto the time block and then to the central platform. The jump is tight but possible. From there, Hookshot to the target and jump back to the platform to collect the crystal. Watch for the Red Bubble that appears.
For the final two crystals, the Longshot can spare you several jumps. If you have the Hookshot, return to the central pillar, jump to the next pillar for one crystal, and use the Hookshot to reach the last one.
Once all five are collected, enter the newly unlocked door opposite the time blocks.
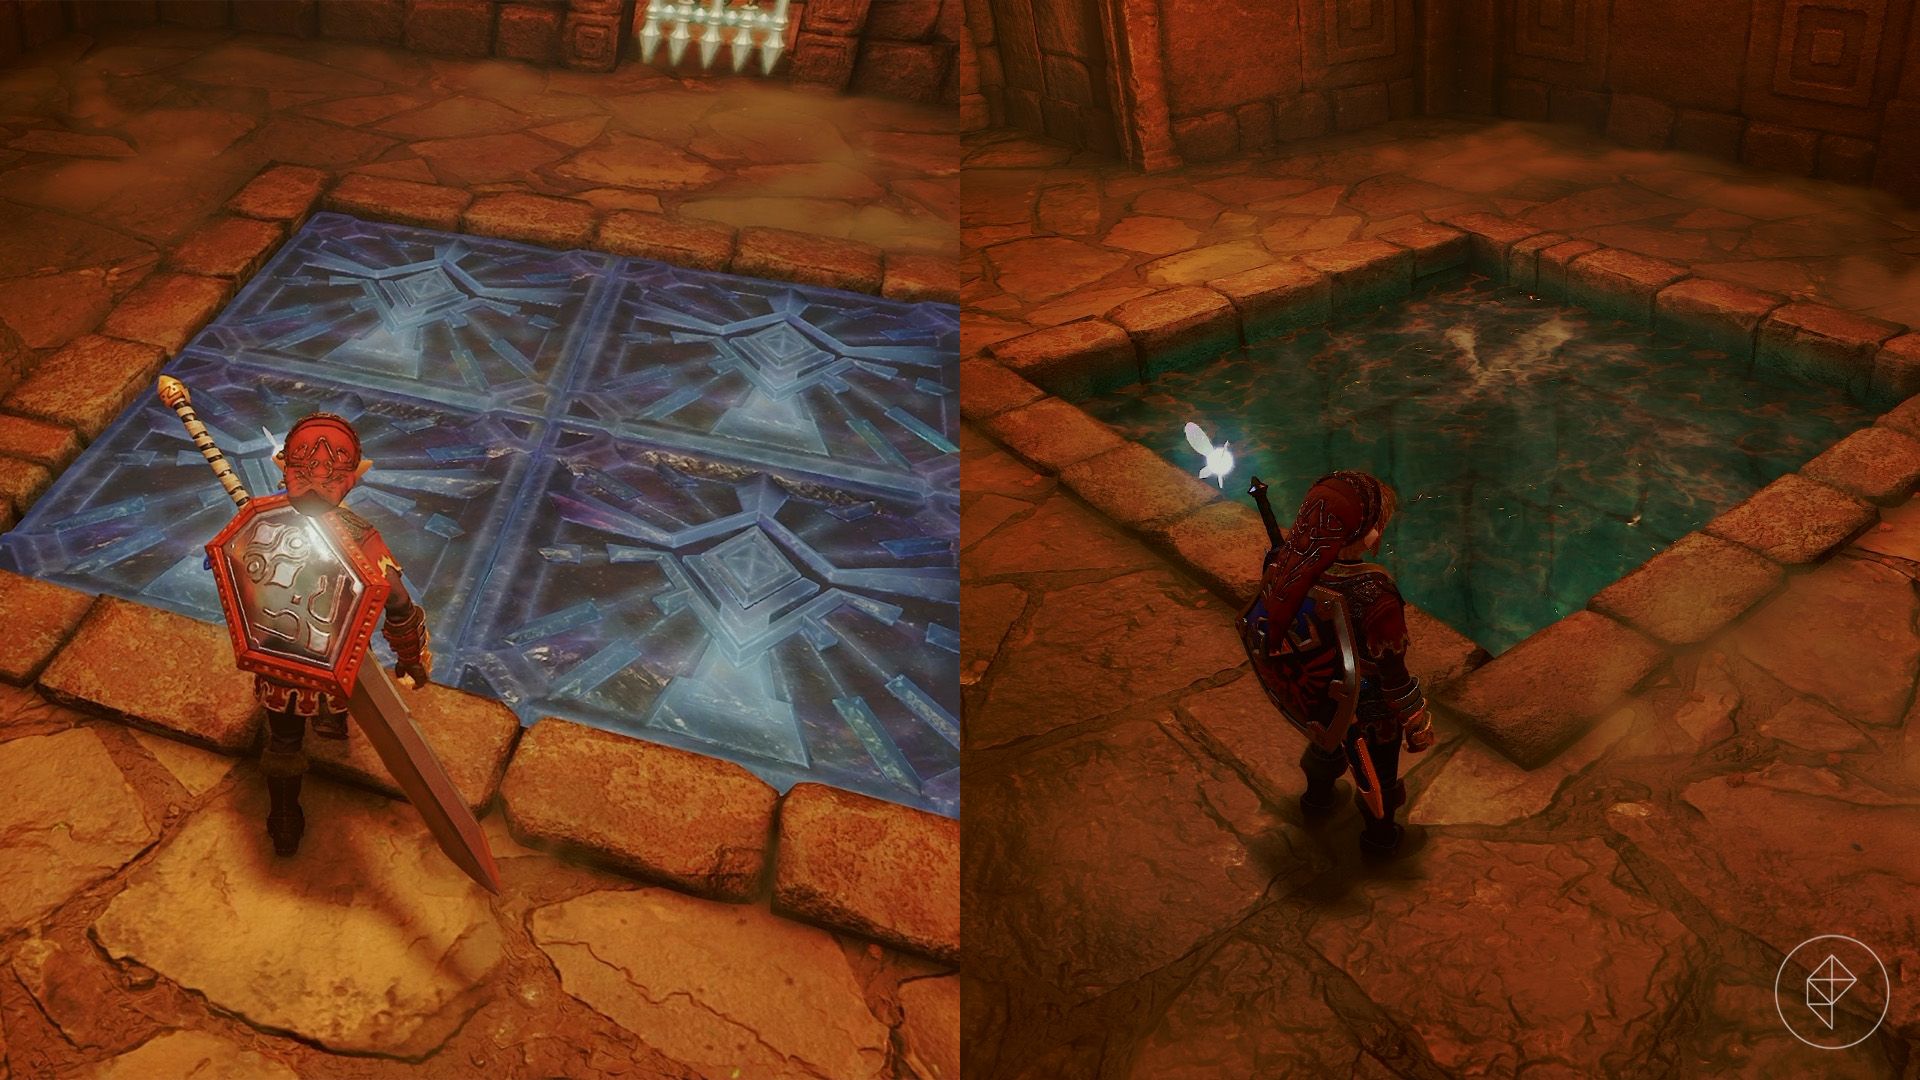
The next room also contains five crystals, though they are not immediately visible. Play the Song of Time over the blocks in the floor to reveal a whirlpool. Jump in and equip the Iron Boots and Zora Tunic.
At the bottom, move aside to avoid the circling Blade Trap. Defeat the two Shell Blades by firing the Hookshot into their open mouths. You should collect one crystal on the way down; use the Hookshot targets and switch the Iron Boots on and off to swim around and gather the other four.
Collecting all five lets you open a chest containing a small key. Reequip your Goron Tunic after leaving the water.
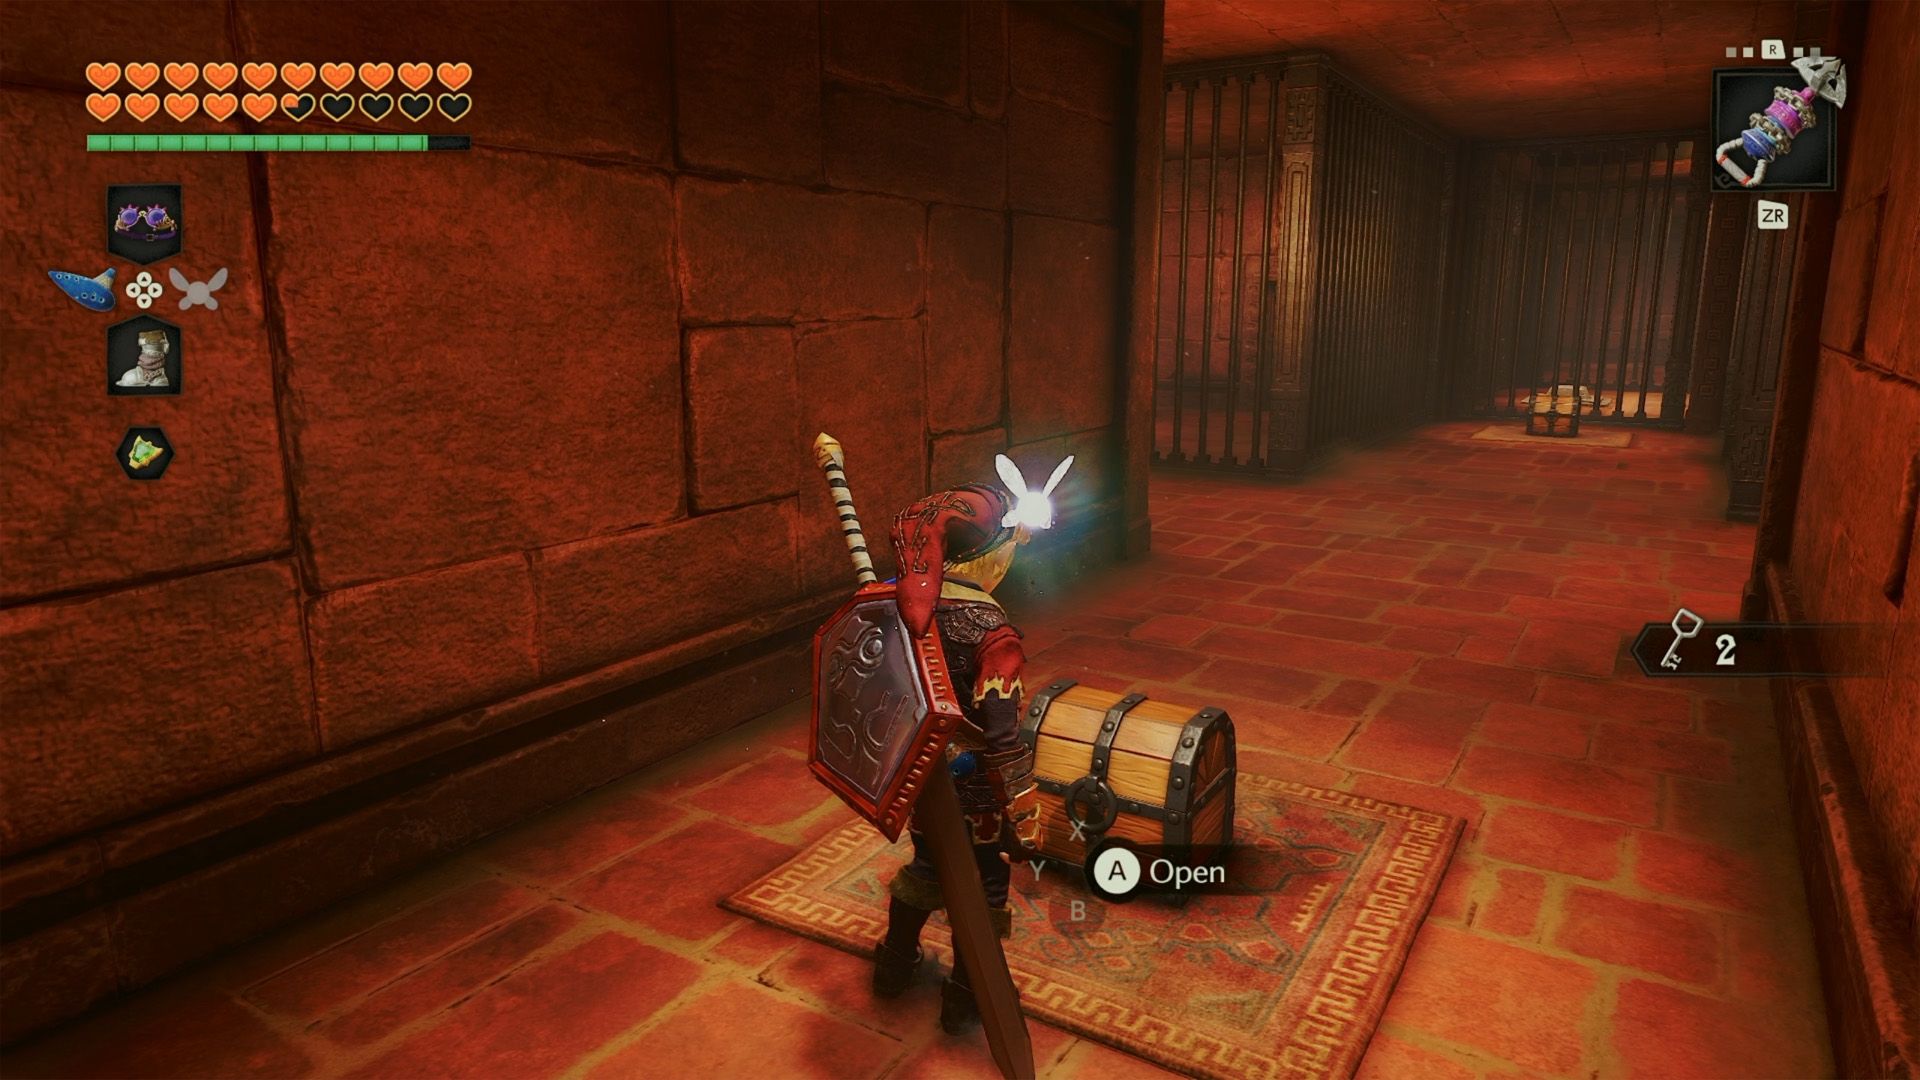
Return to the lava room and enter the door near the time blocks. The first chest contains a small key, the chest ahead holds Bombchus, and the one on the right contains arrows. Do not spend a key on the locked door to the left; save it for later.
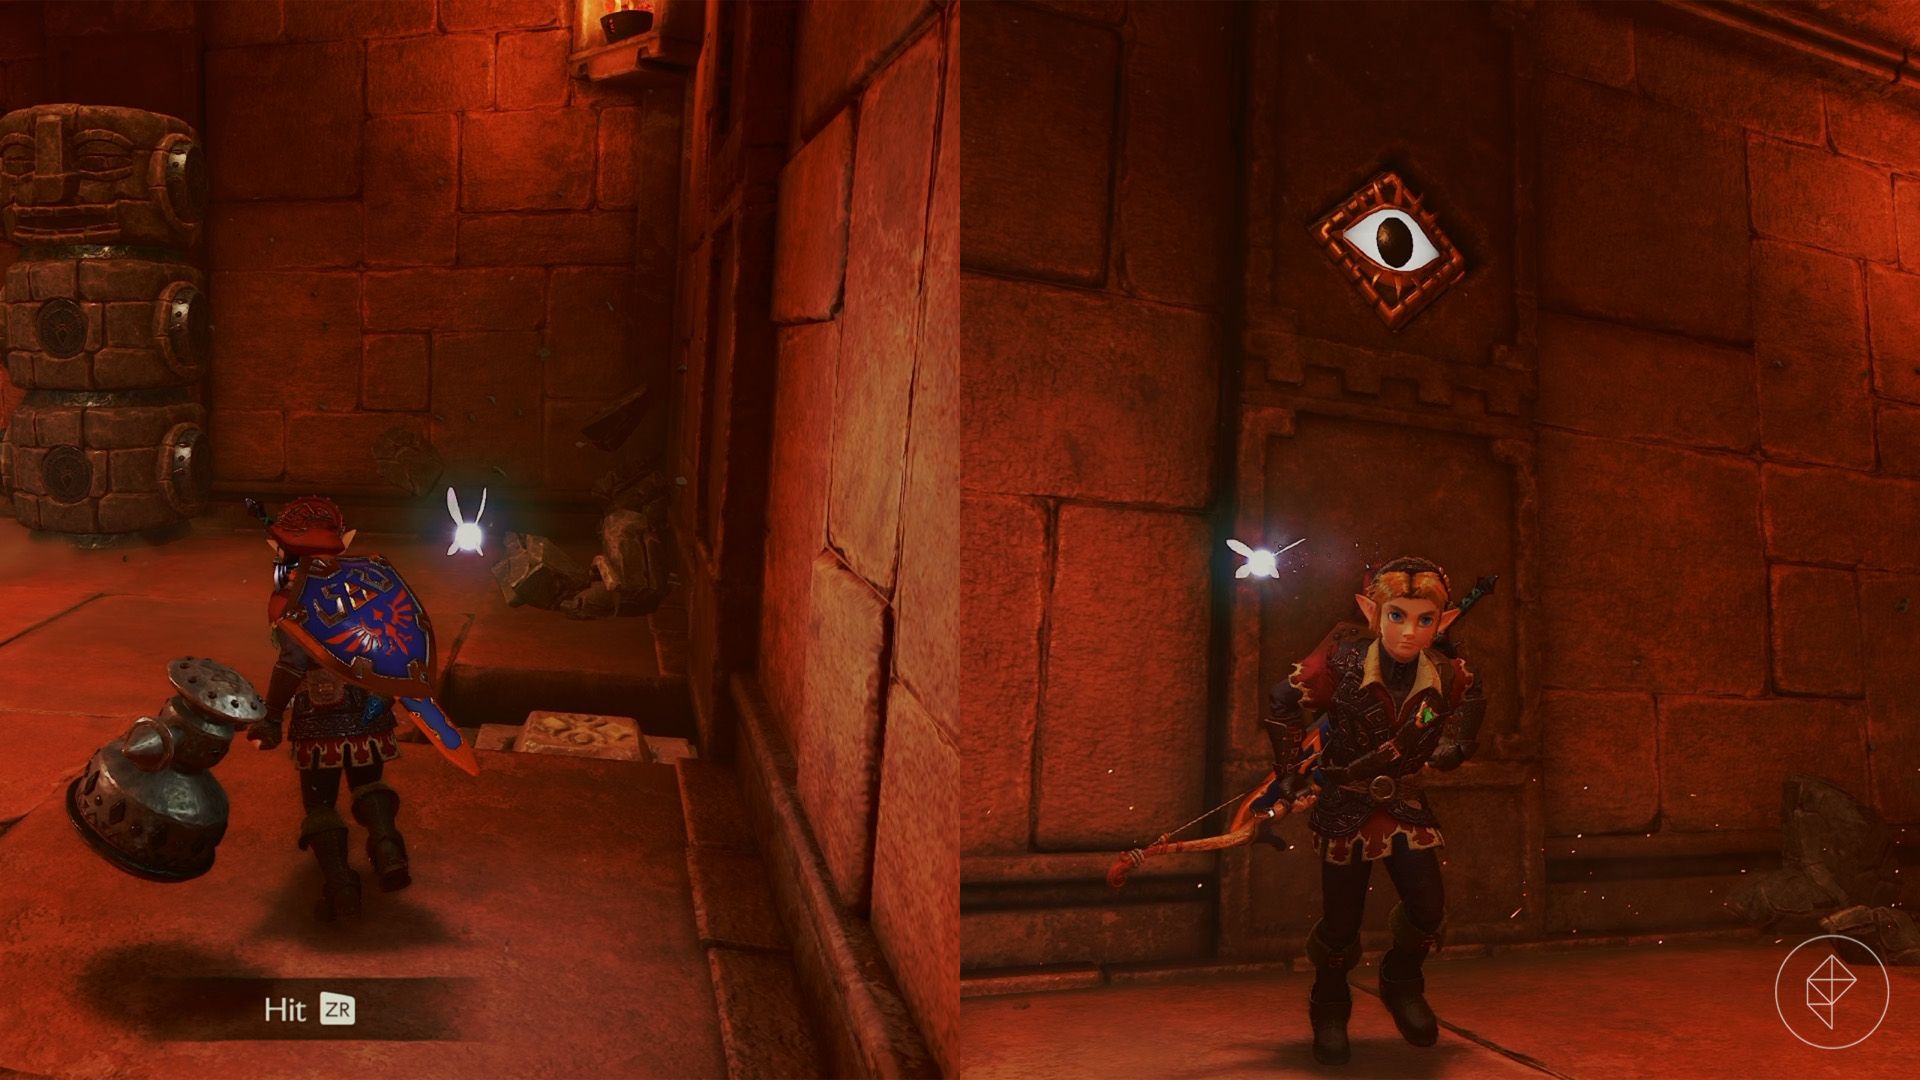
Go back to the lava room and enter the door with a target above it. Inside are Torch Slugs, Fire Keese, and tiered statues like those in the Fire Temple. Defeat the enemies, then smash the statues with the Megaton Hammer.
One statue conceals a switch that removes the flames around the central chest. Another hides an eye that unlocks the next door. Open the chest for a small key, then proceed through the unlocked door.
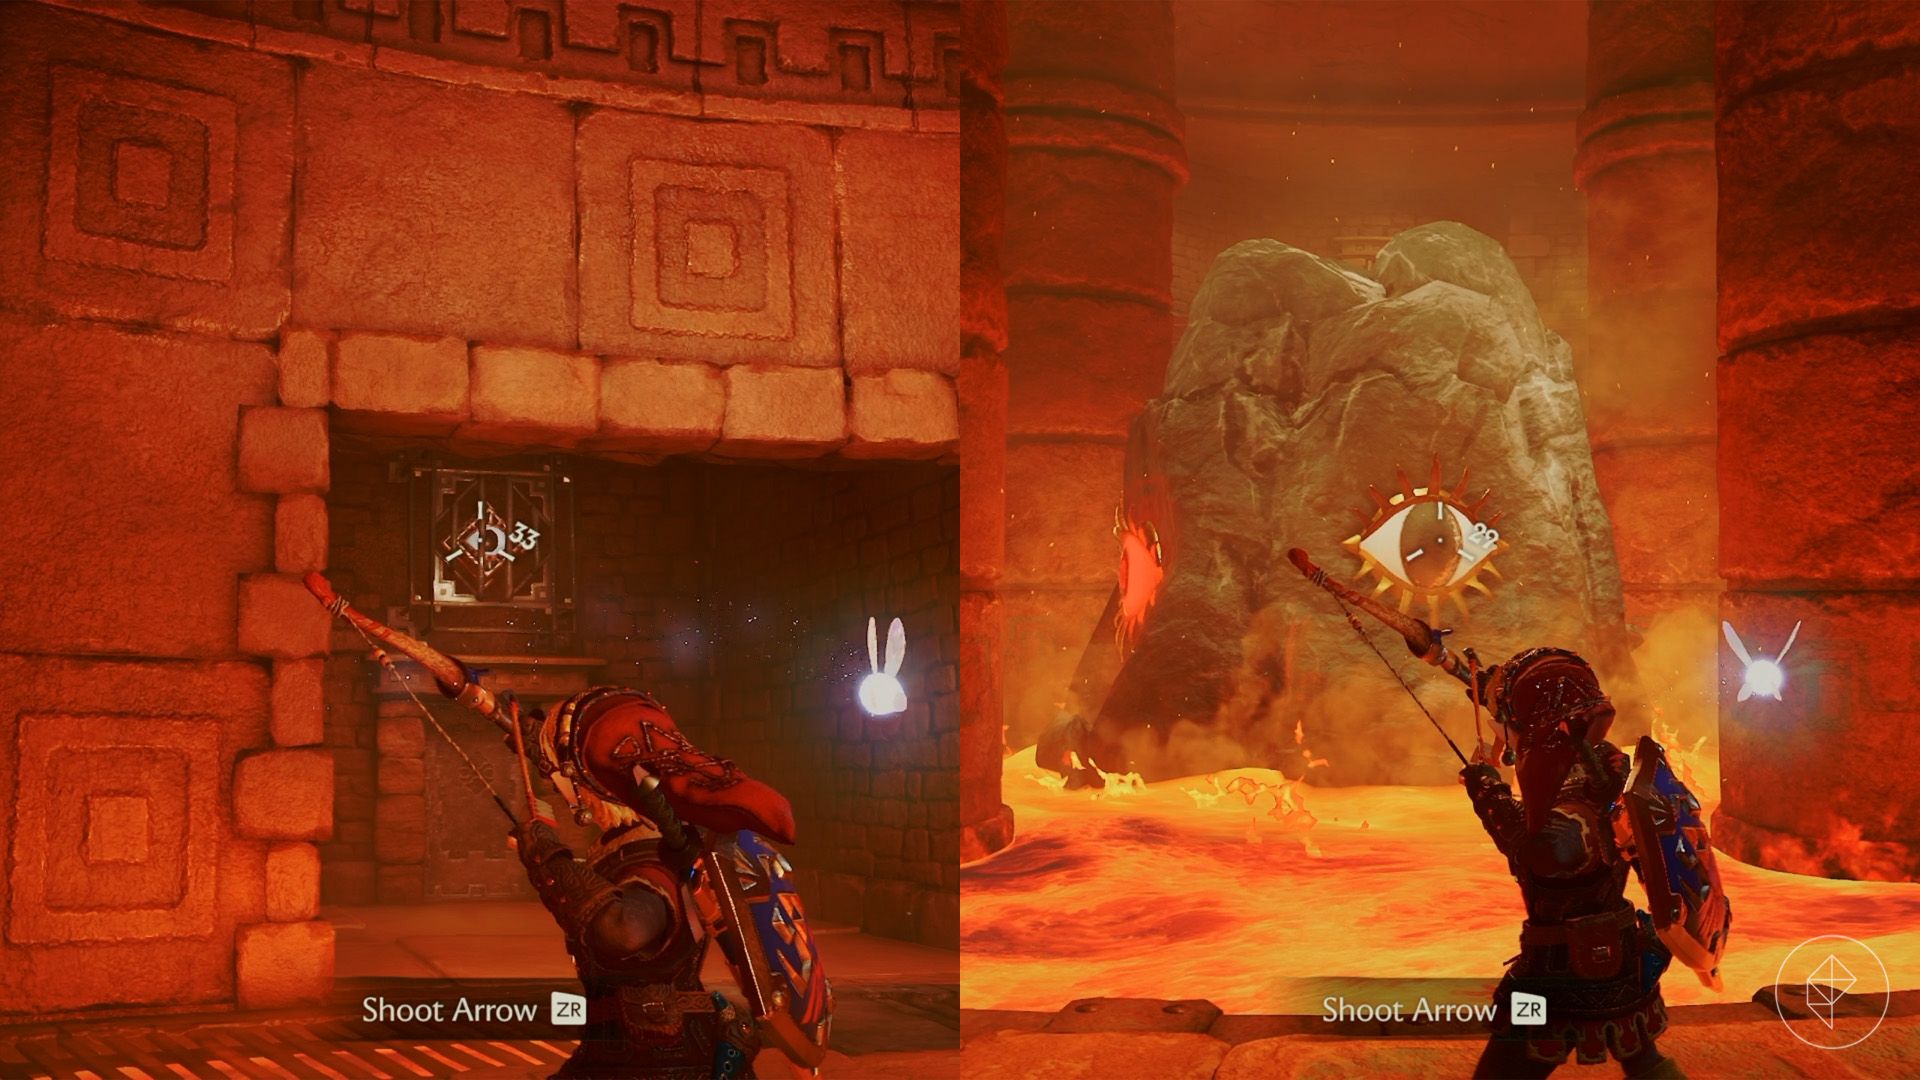
Immediately turn around and shoot the eye above the entrance. A rock will rise from the lava in the middle of the room. Shoot the eyes on the rock to lower the lava and reveal a chest containing another small key. A door on the floor above will also unlock.
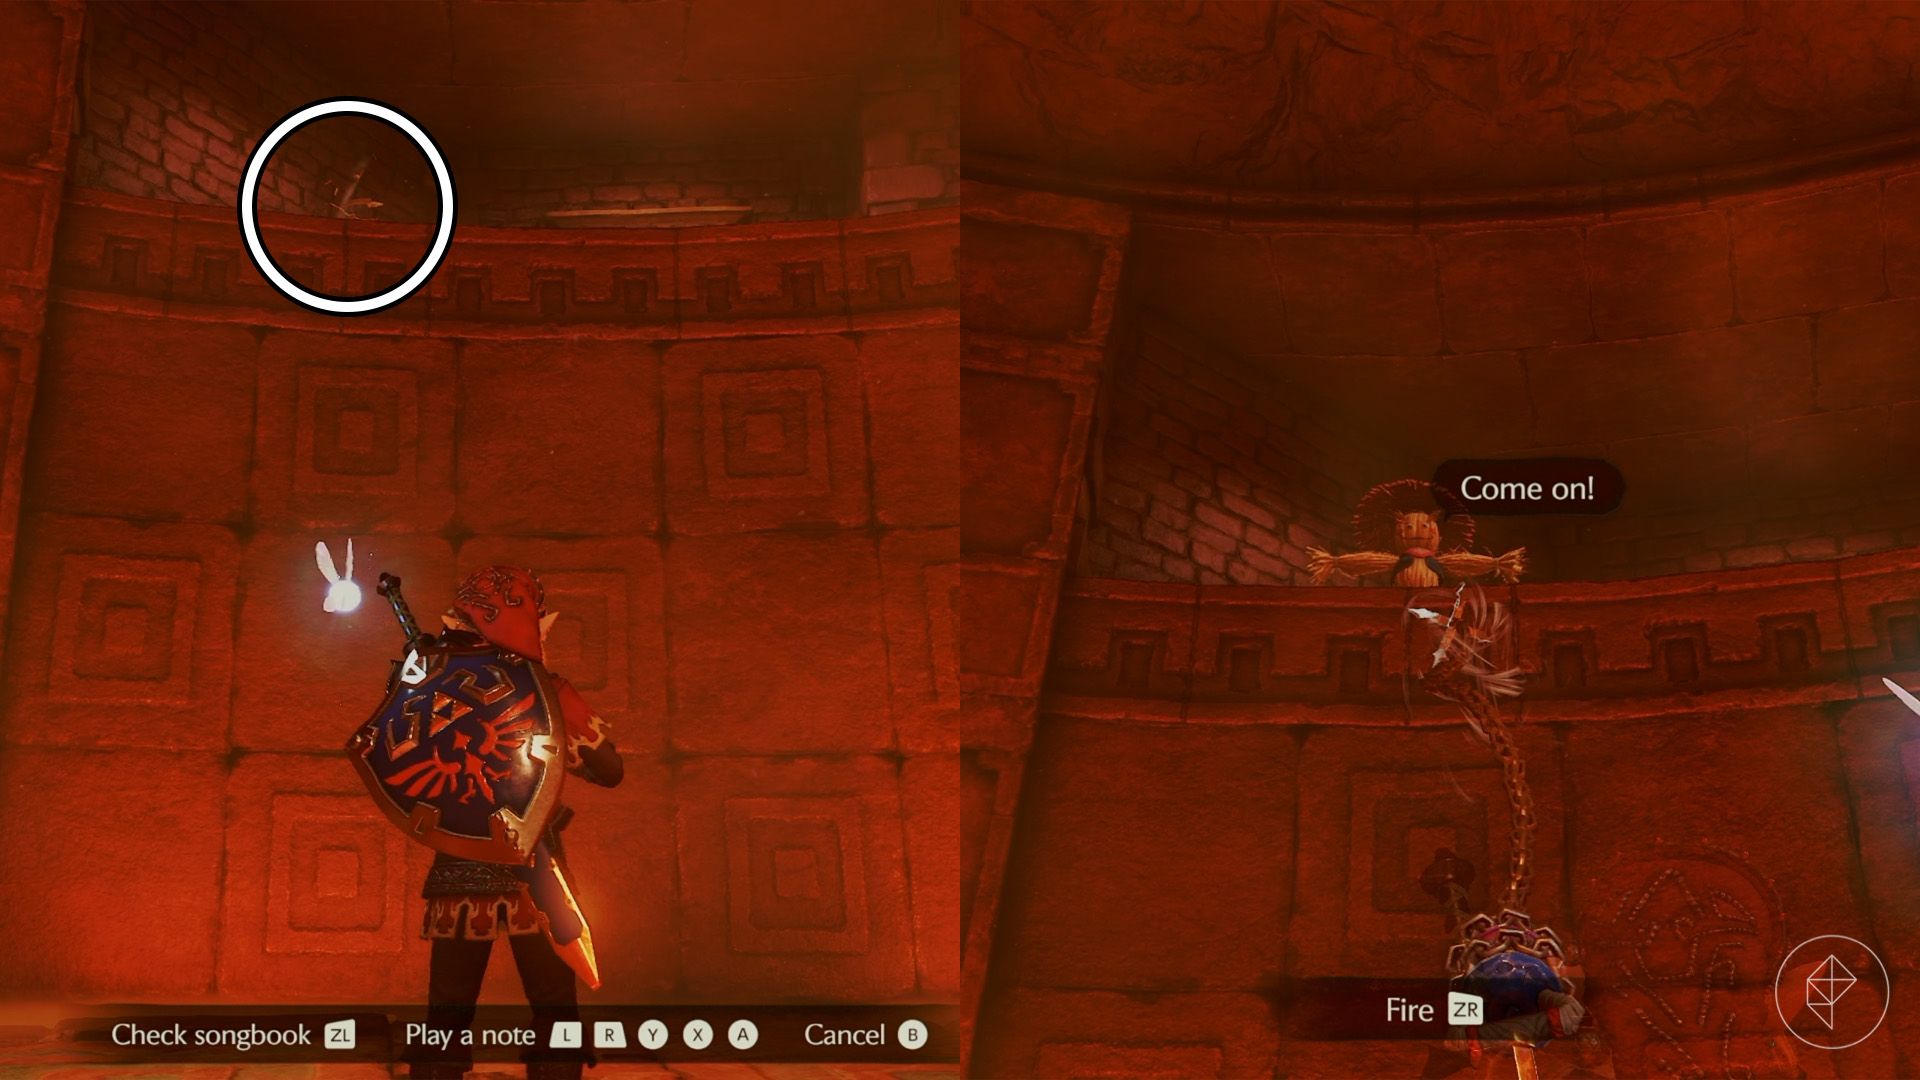
Floating hay on the upper floor marks a spot where you can play the Scarecrow Song. Summon Pierre and Hookshot up to him. Go through the door behind the scarecrow to find a chest with a small key.
The other door leads toward the left path, but you now have enough keys to claim the Ice Arrows. If that is your only goal, skip to Part 4: Getting the Ice Arrows. To explore the remaining rooms, continue through the other door.
Part 3: Clearing the left path
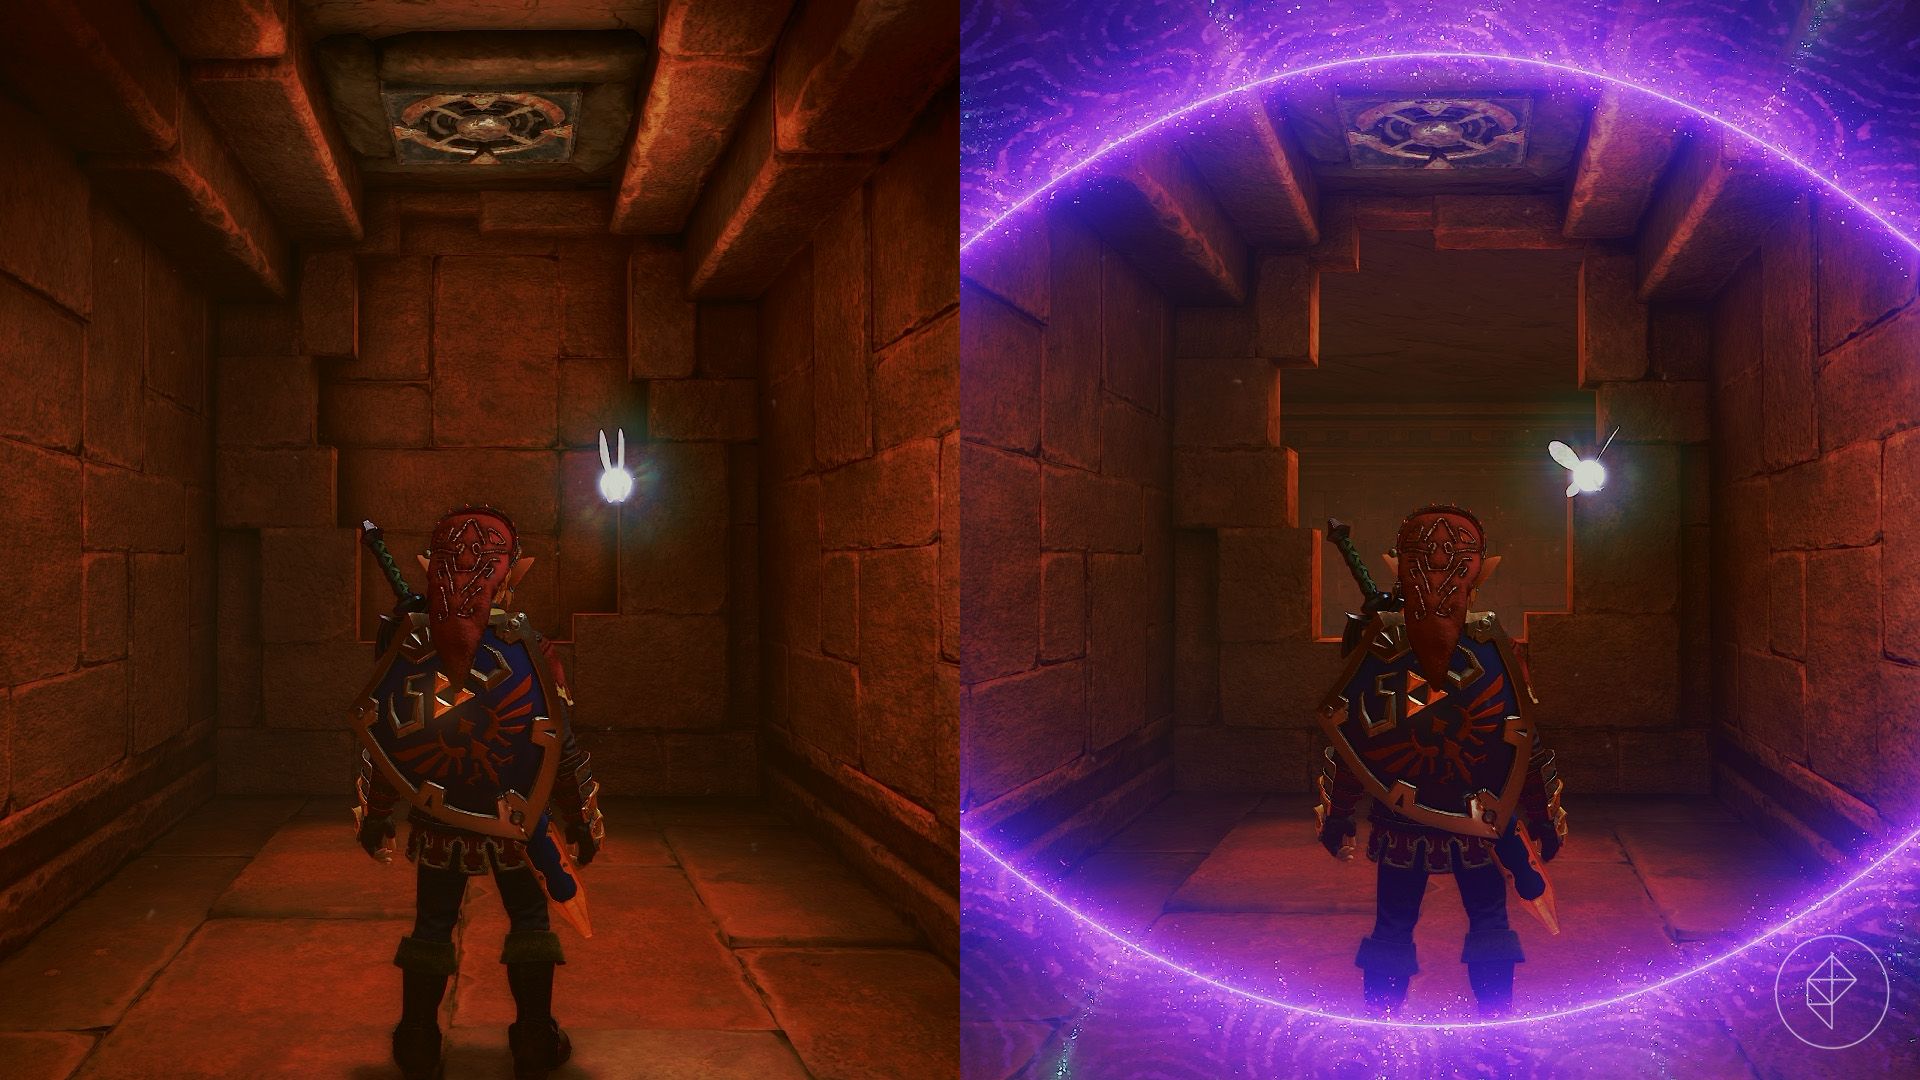
Use the Lens of Truth to reveal an opening in the wall, then jump through it. The next room contains two Wolfos, two White Wolfos, and a fake door. Dodge backward as the Wolfos swing; their missed attacks will turn them around and leave their backs vulnerable.
Defeating them reveals a chest containing a blue rupee. You can ignore the fake door or destroy it with a bomb or the Megaton Hammer.
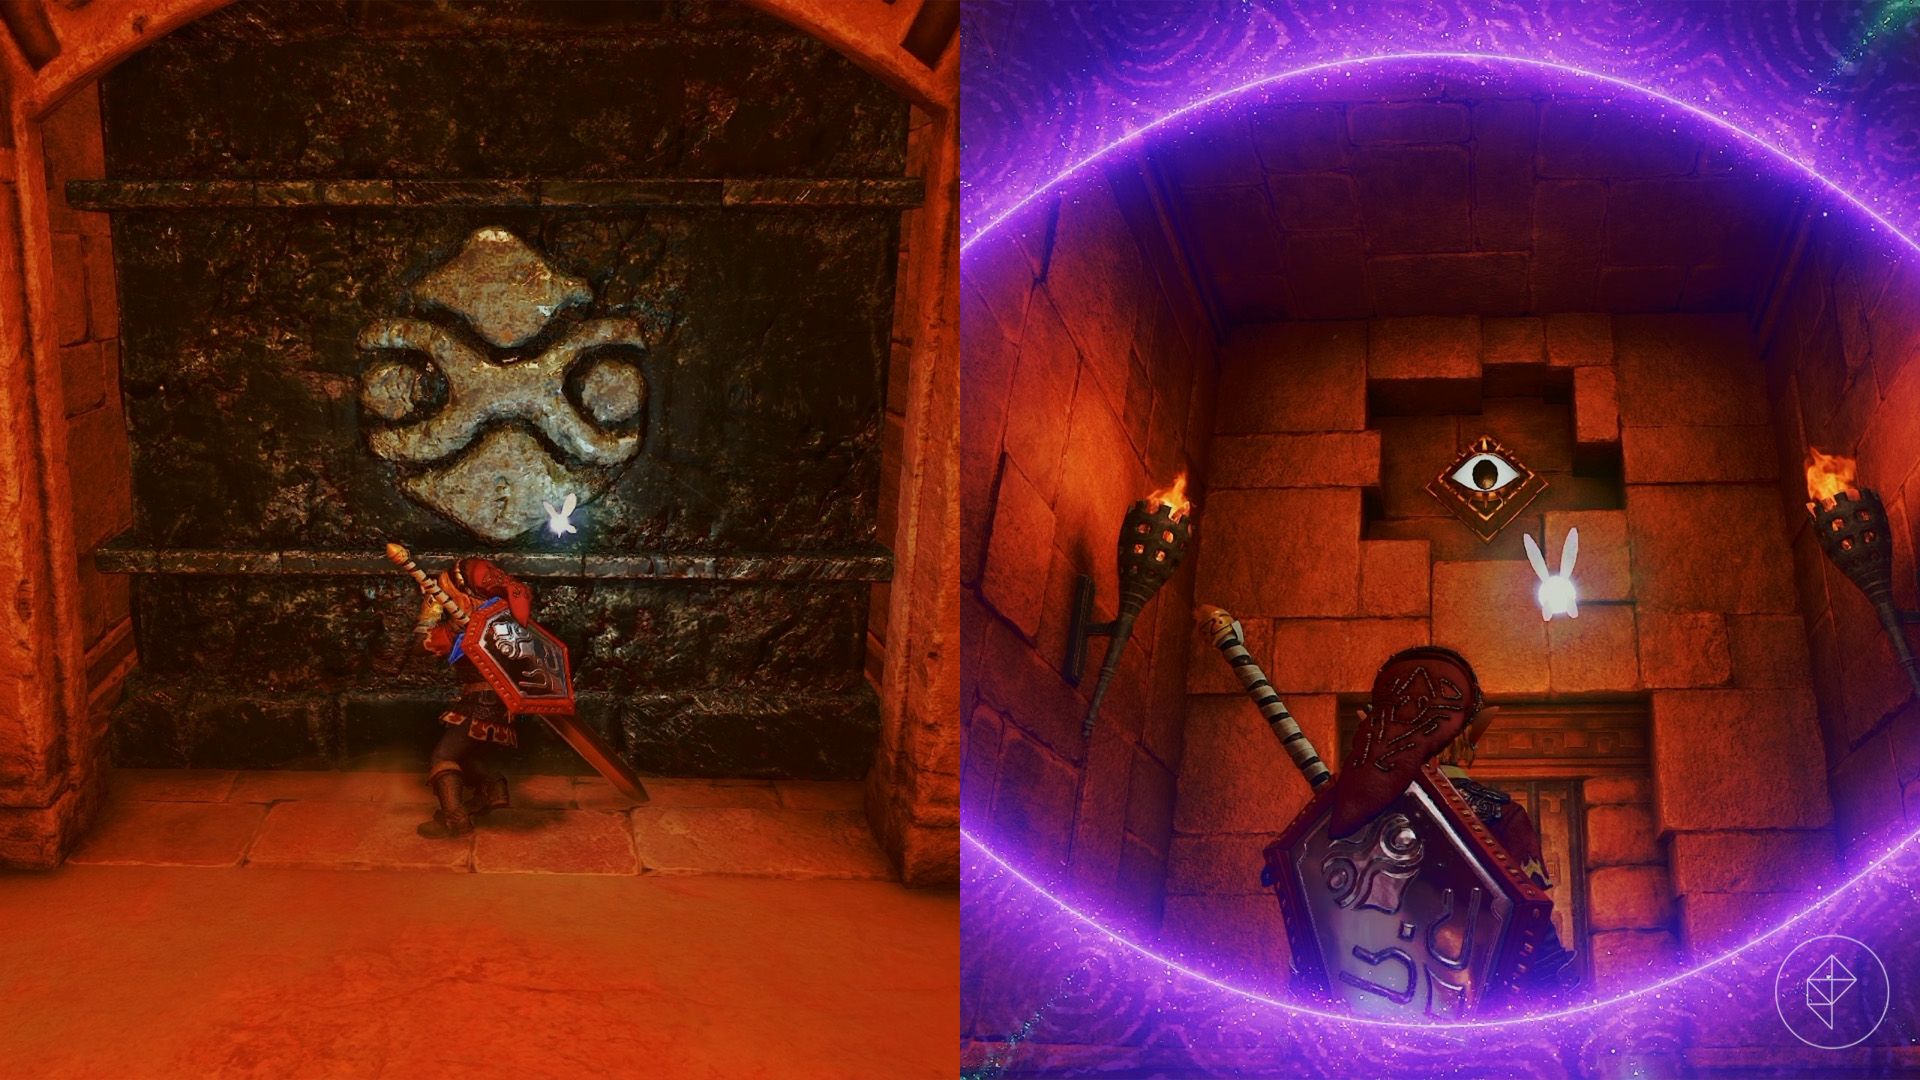
Use the Silver Gauntlets to push the black-and-silver block until it falls. Then use the Lens of Truth to reveal an eye on the wall. Hit it to unlock the door and go through.
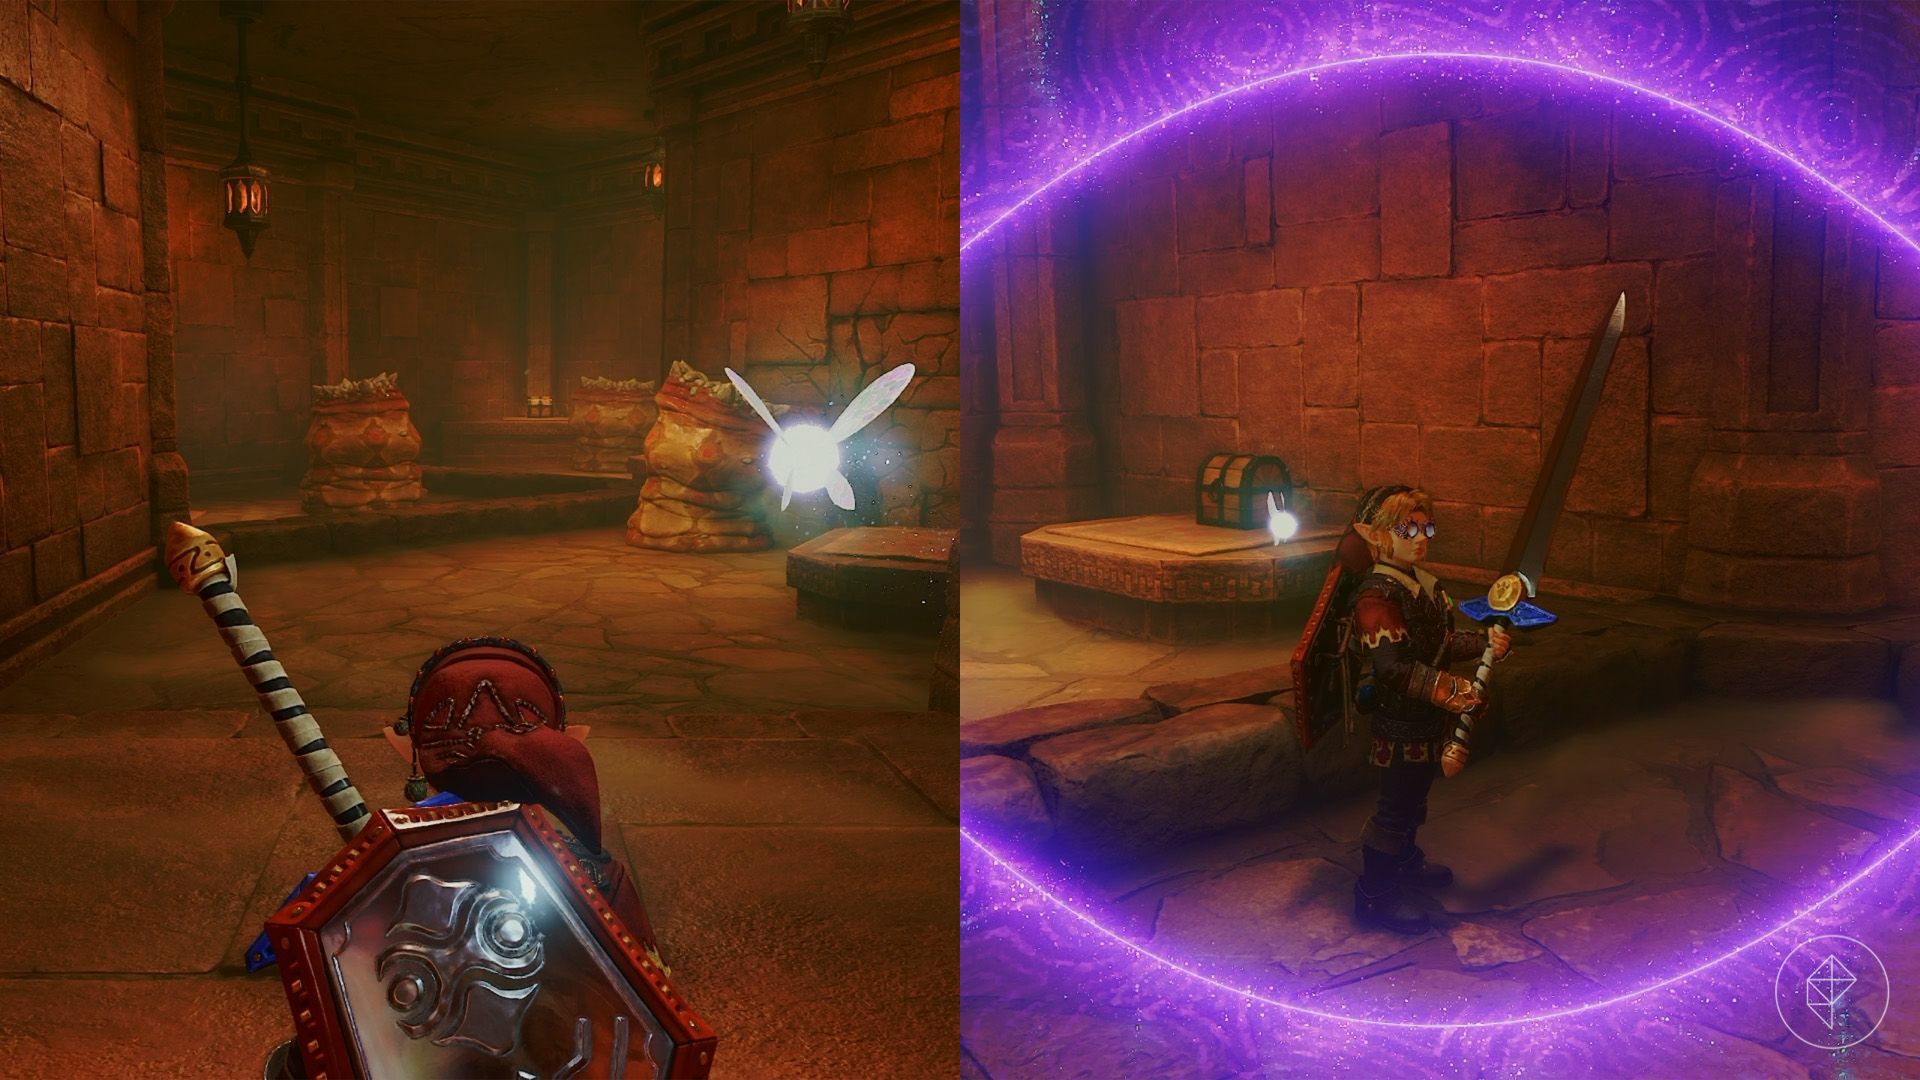
This room contains three Like Likes and a fake chest. Defeat the enemies, then use the Lens of Truth to reveal an invisible chest holding a small key. Open the newly appeared chest for a red rupee.
For extra supplies, break the rock wall to find bombs. You can also hit the eye to obtain a Business Scrub seed.
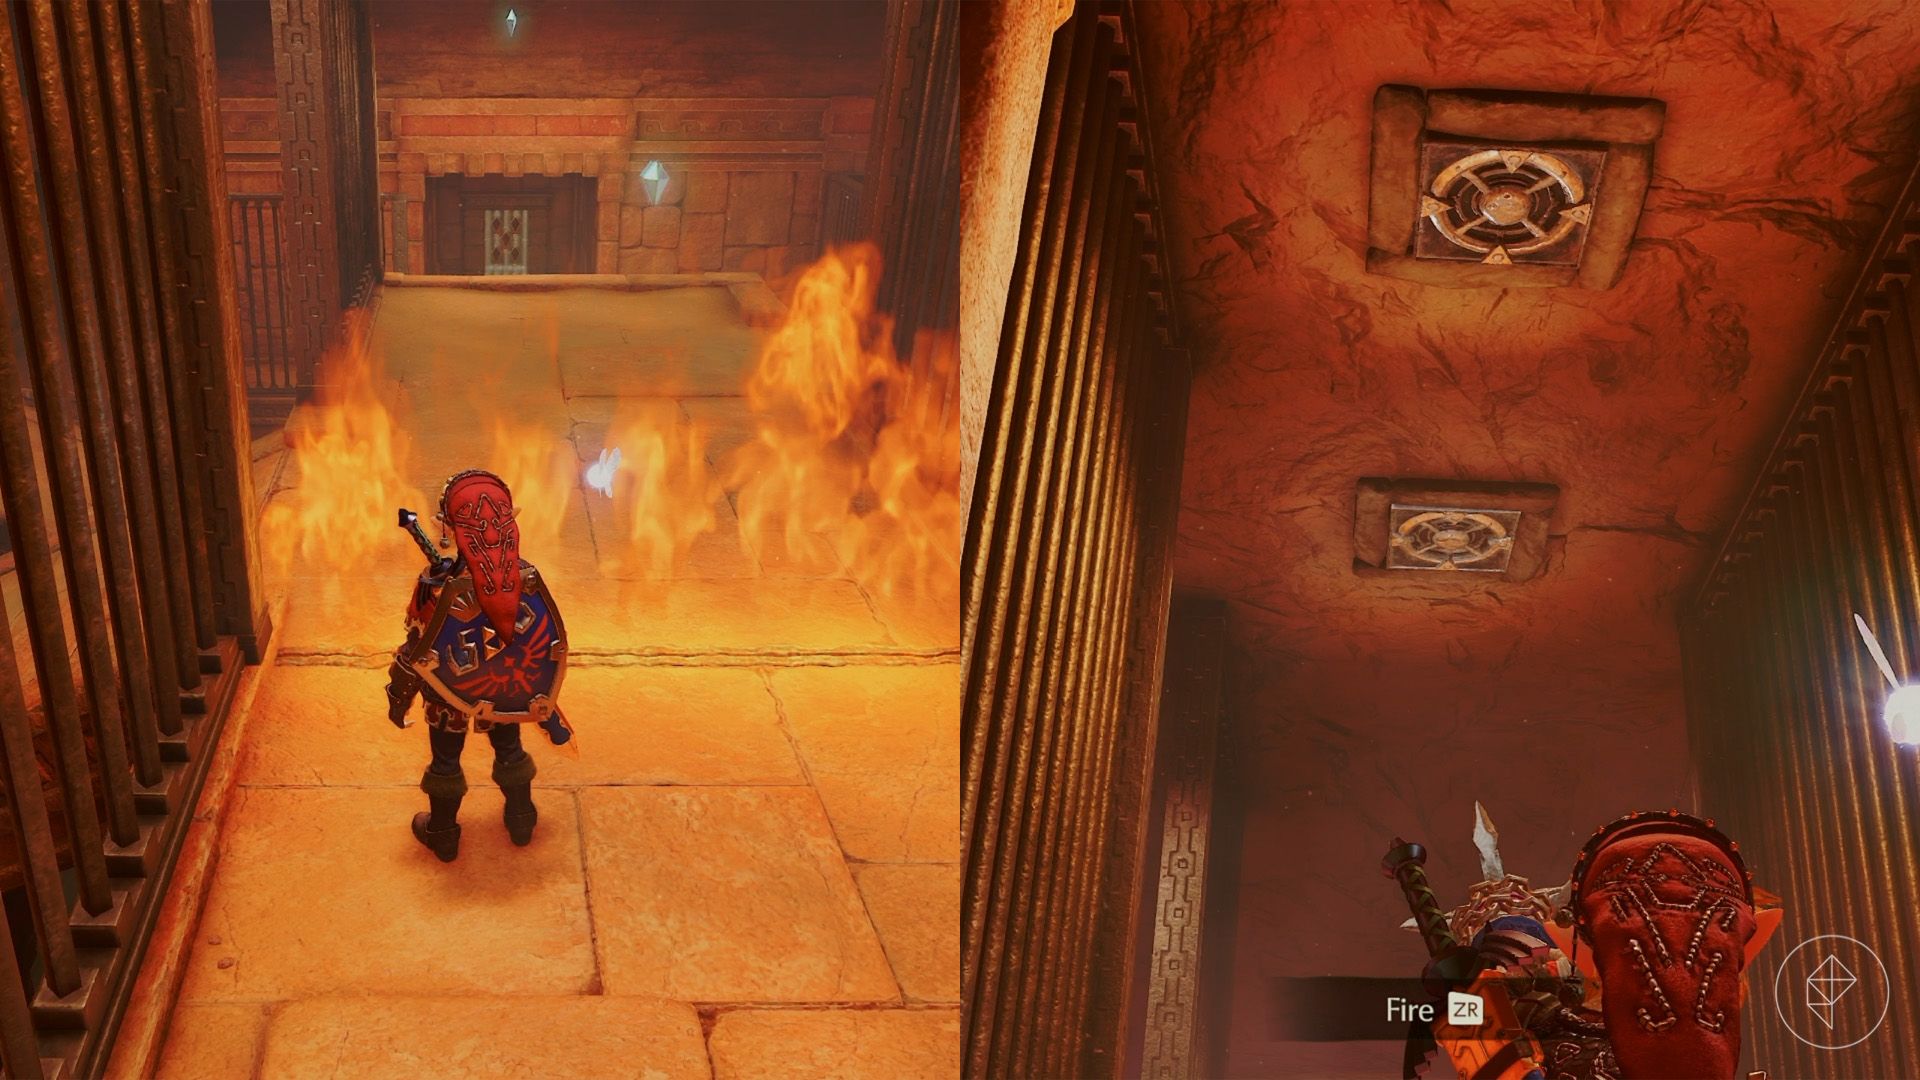
Return to the Wolfos room and go through the door opposite you. Here, you must collect five crystals while avoiding rolling stones and walls of fire.
There are fire walls directly ahead and to your right. You cannot cross the one on the right, but you can use the ceiling target to Hookshot over the one ahead. Jump to the crystal in front of you, then Hookshot to the ceiling near the door to collect the next one.
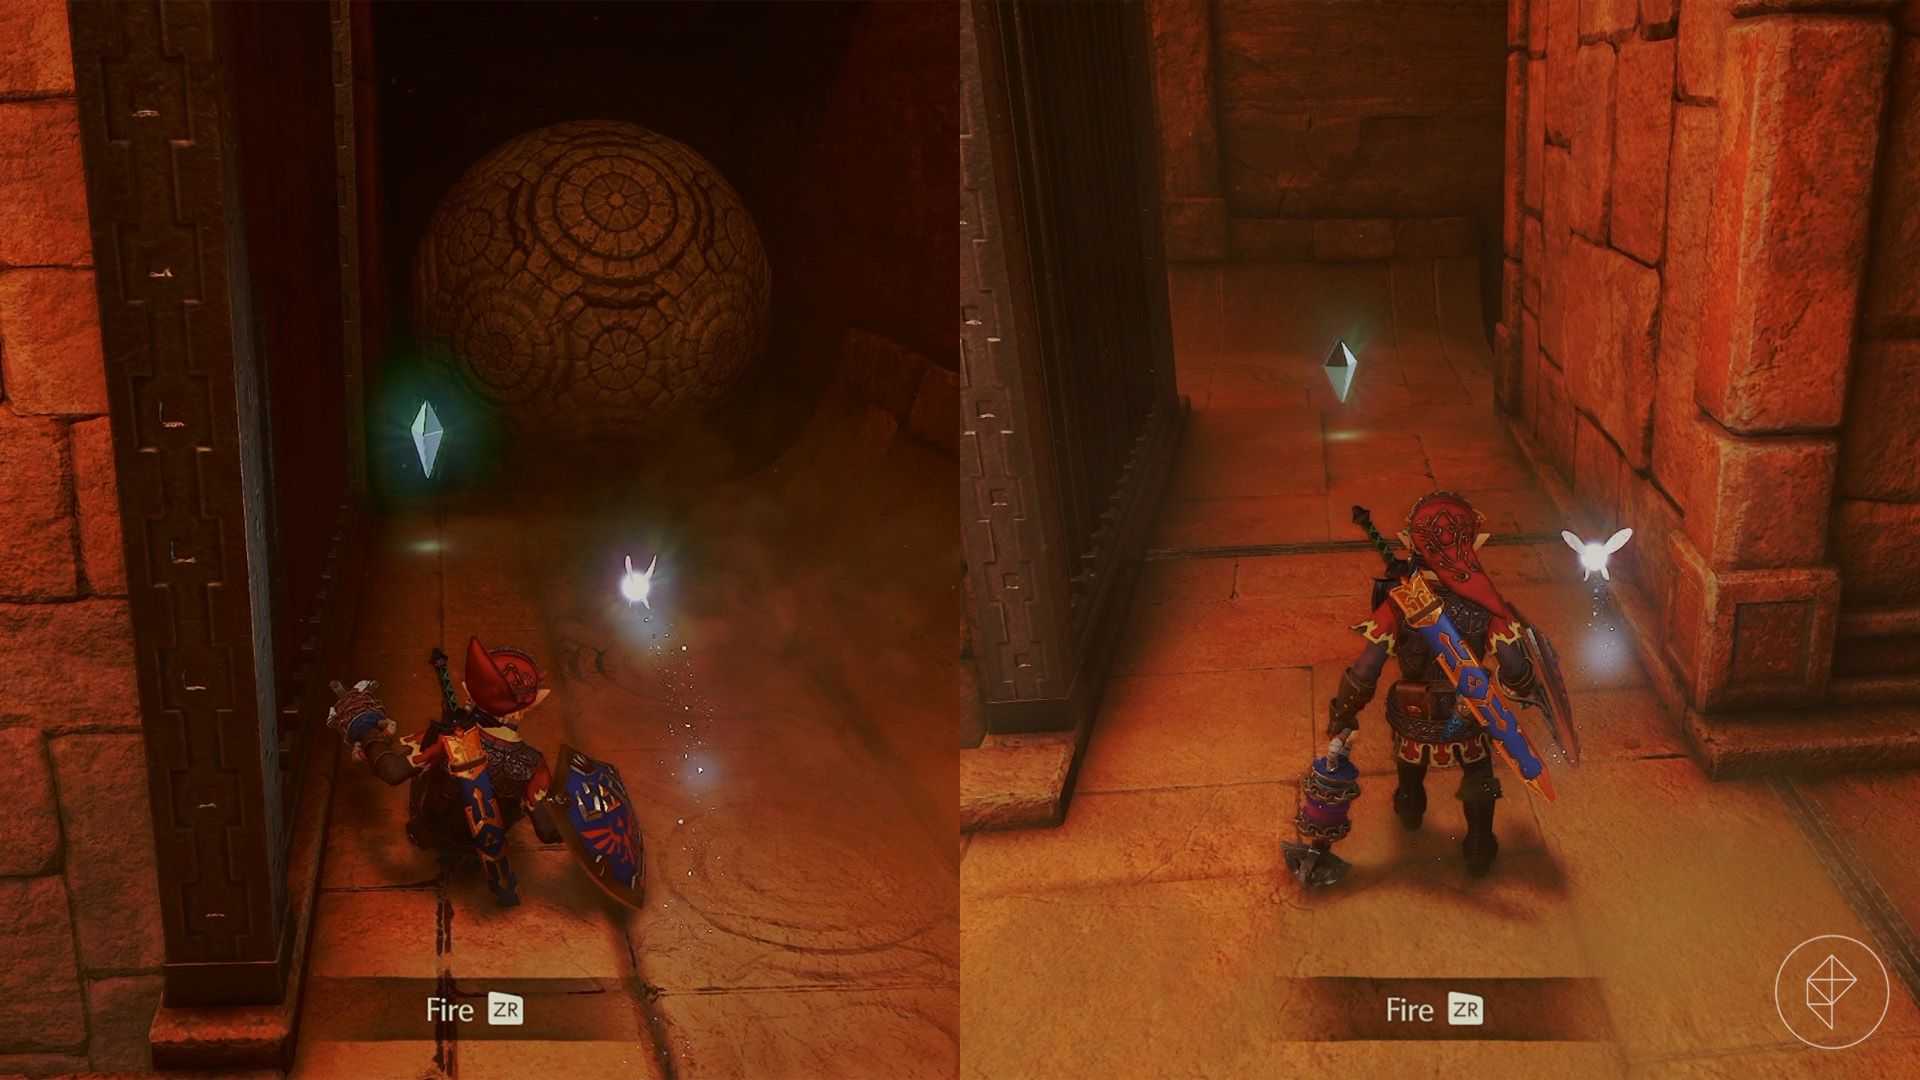
Facing away from the door, look for a crystal behind a fire wall on the right and another behind bars on the left. Head left first. Wait for a rolling stone to pass, follow it to the crystal, and quickly retreat from its path.
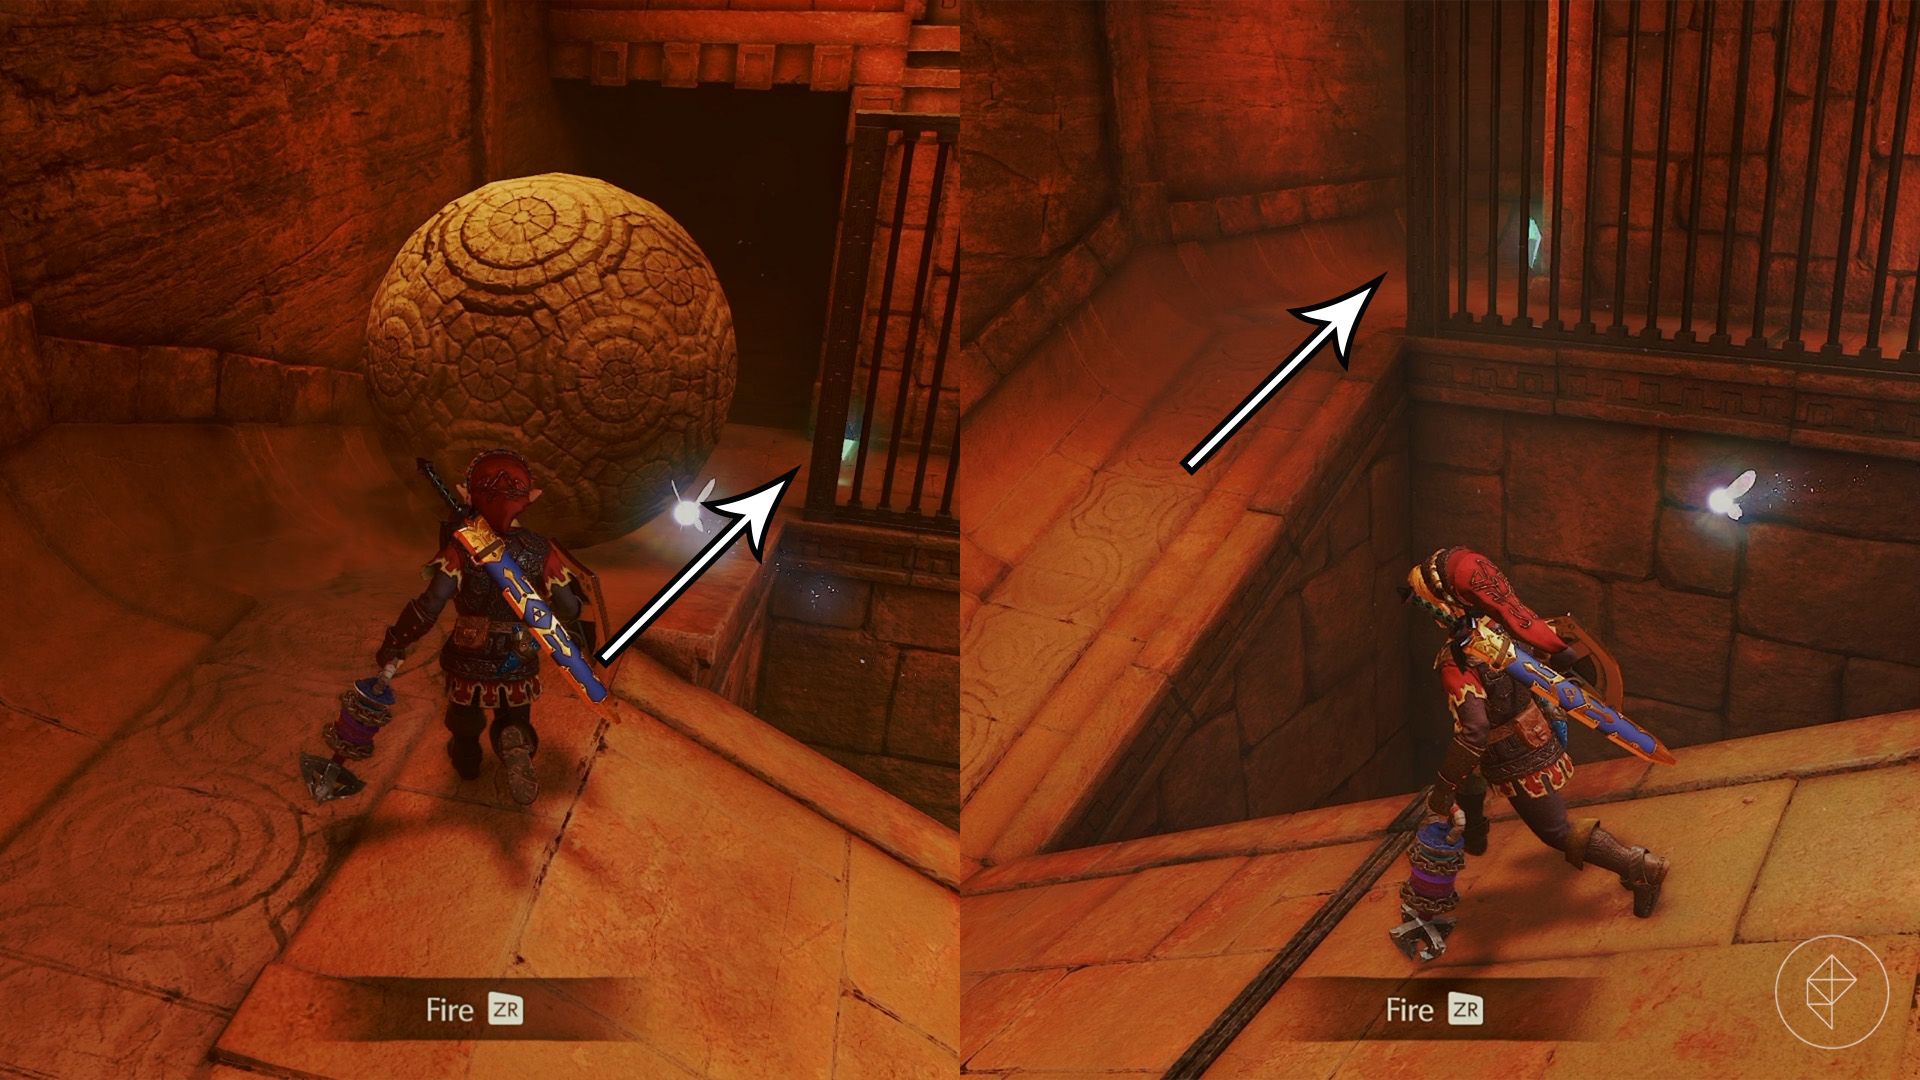
For the next crystal, move to the other side of the room. Follow a passing stone to the crystal, then wait for another stone to pass before running back to safety. Hookshot to the platform you jumped from and repeat the process for the final crystal in the corner. Once you have all five, enter the unlocked door.
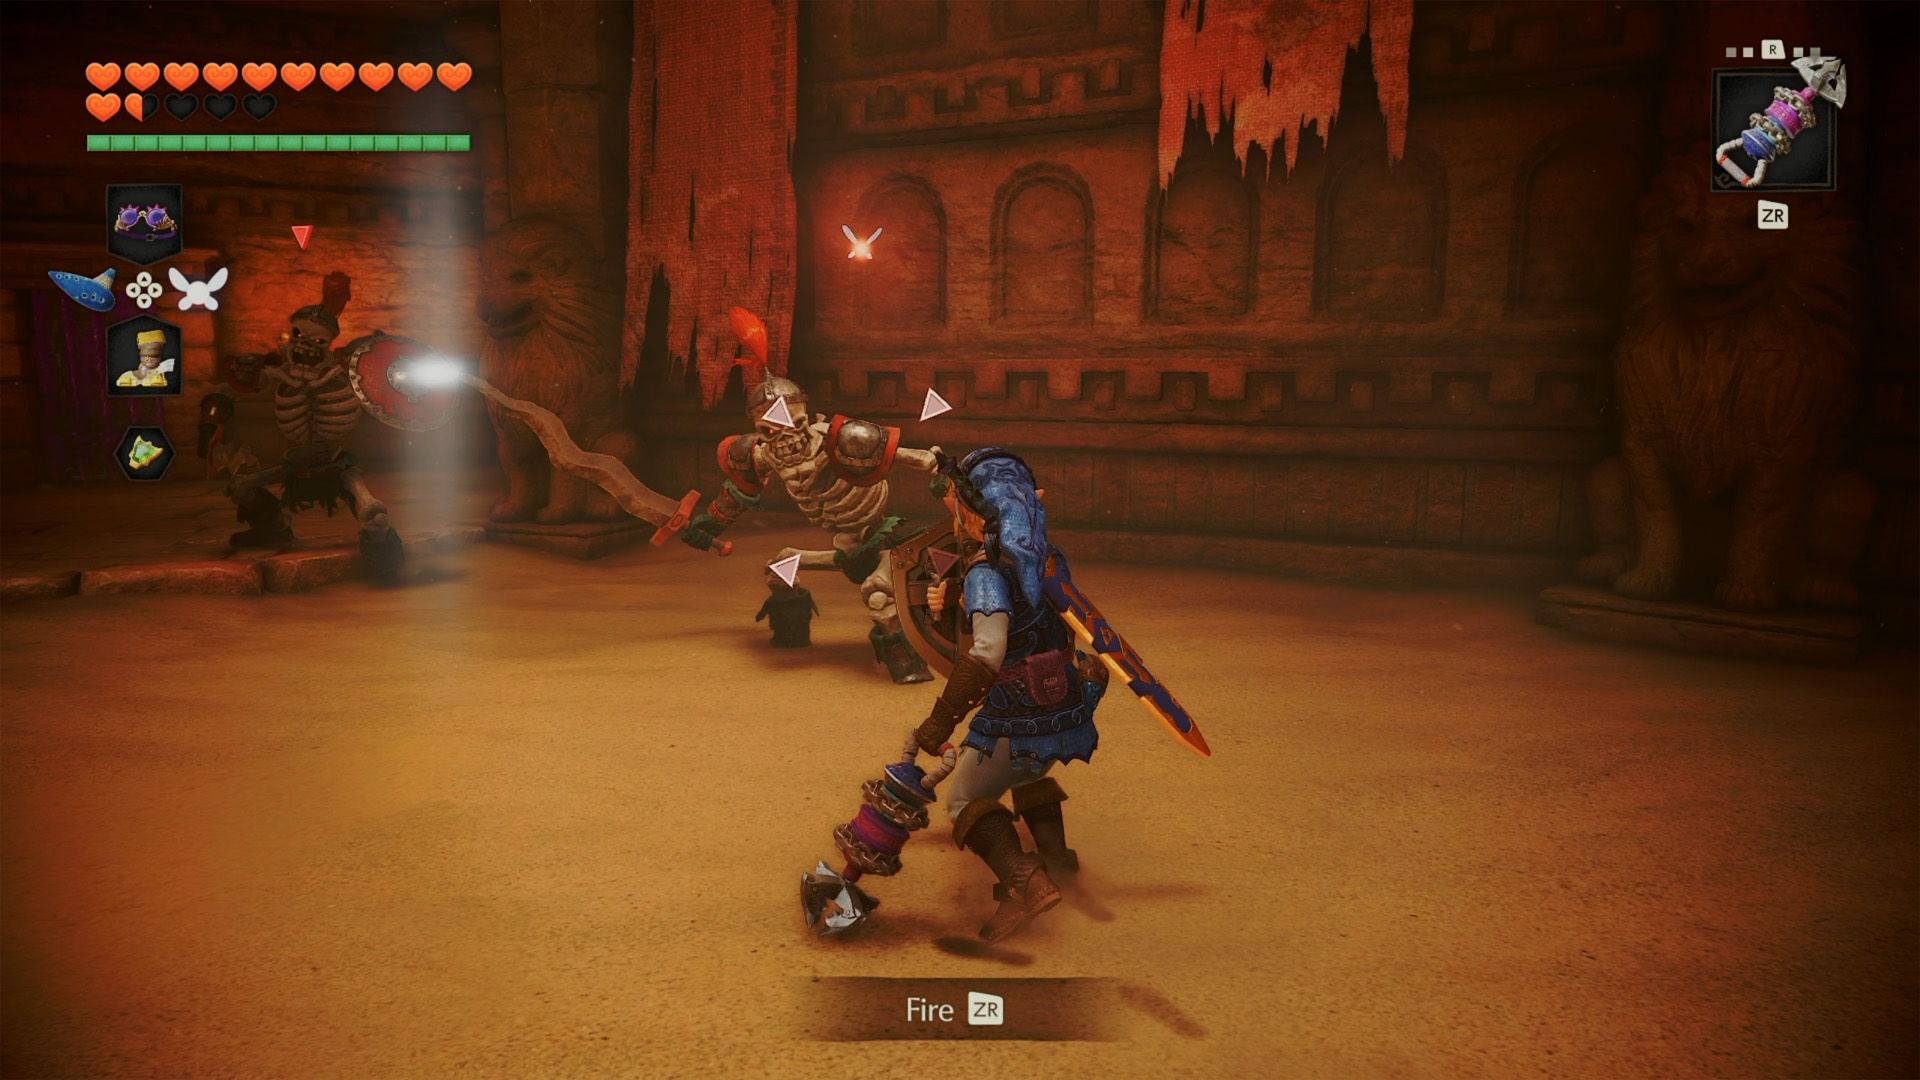
The last room contains two Stalfos. When a sword flashes, prepare to dodge a jumping attack. Step aside, then counter with a few strikes. Defeat both enemies to reveal a chest with a small key, and continue through the next door to return to the starting room.
Part 4: Getting the Ice Arrows
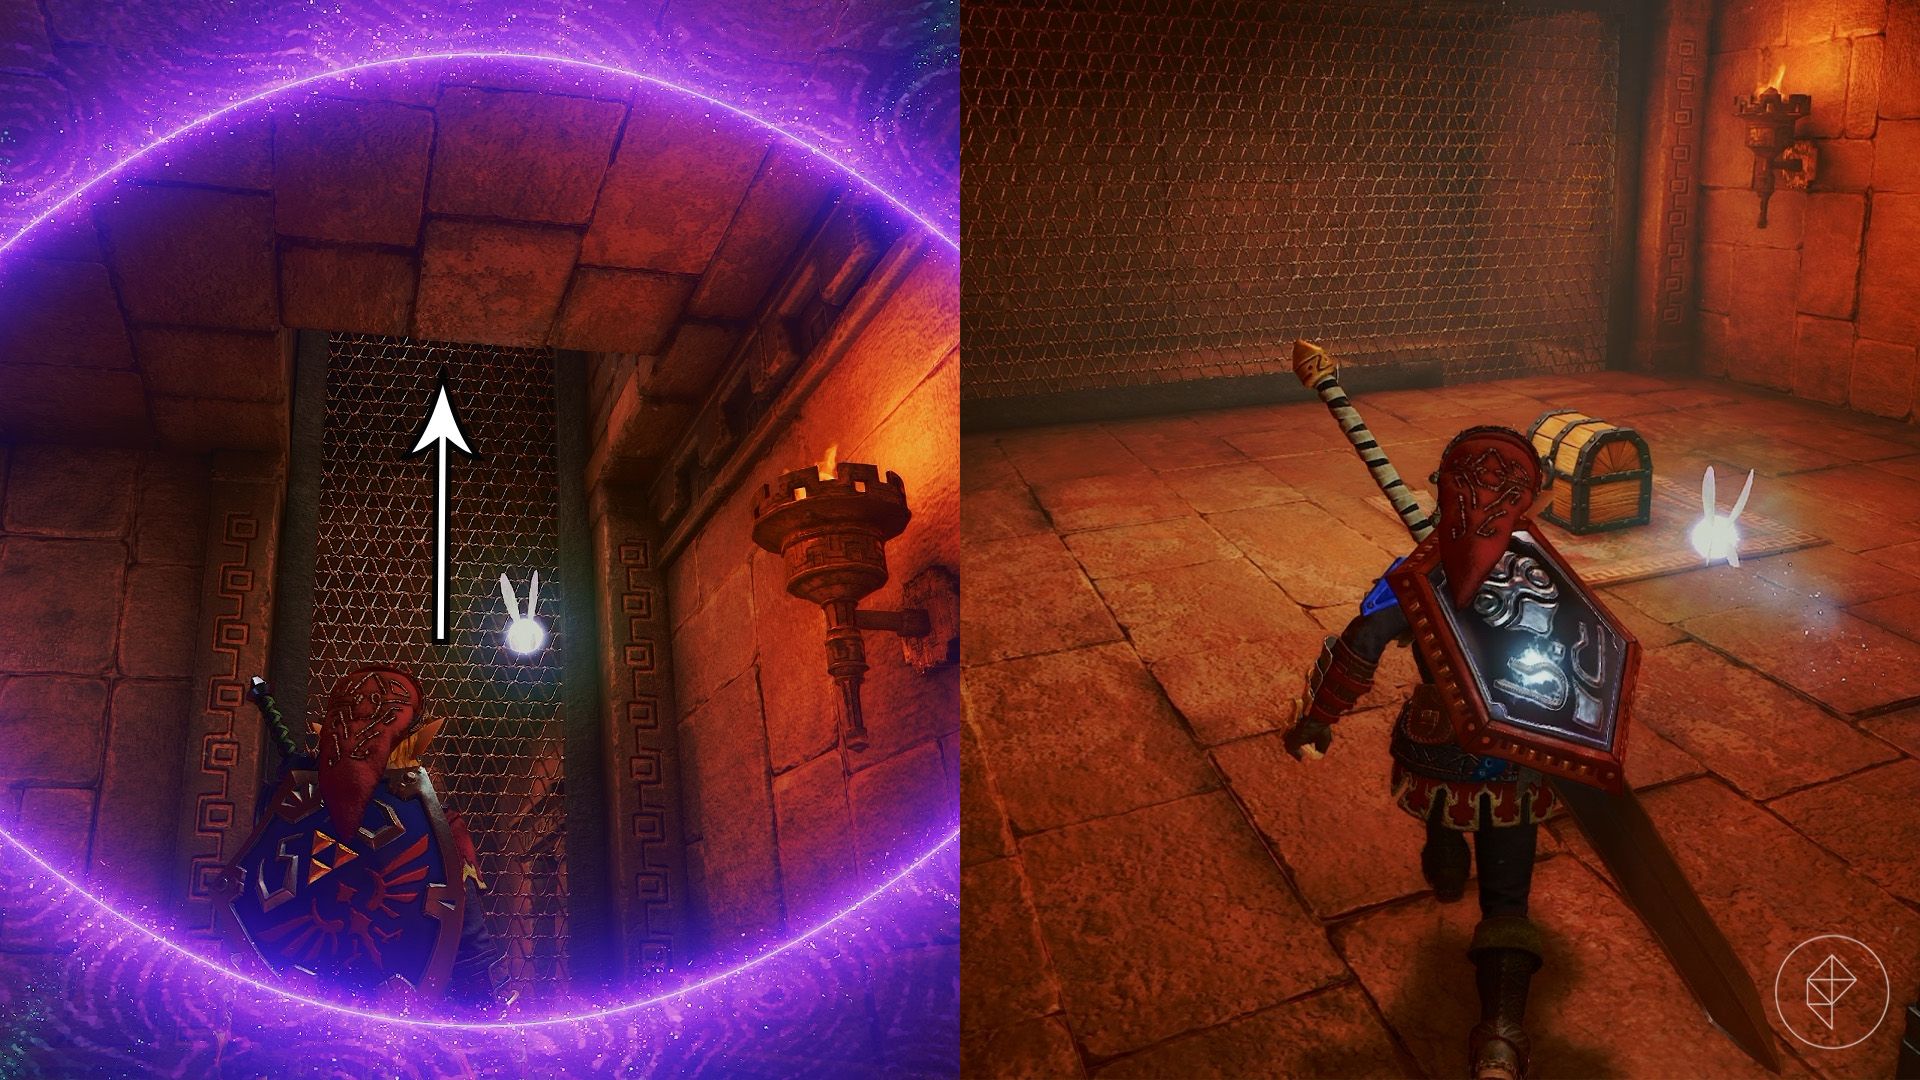
Enter the center door and unlock the door on the left. Inside, turn left to find a climbable wall. The ceiling above it is false, so climb through to reach a chest containing a small key. Drop down and use a key on the next door.
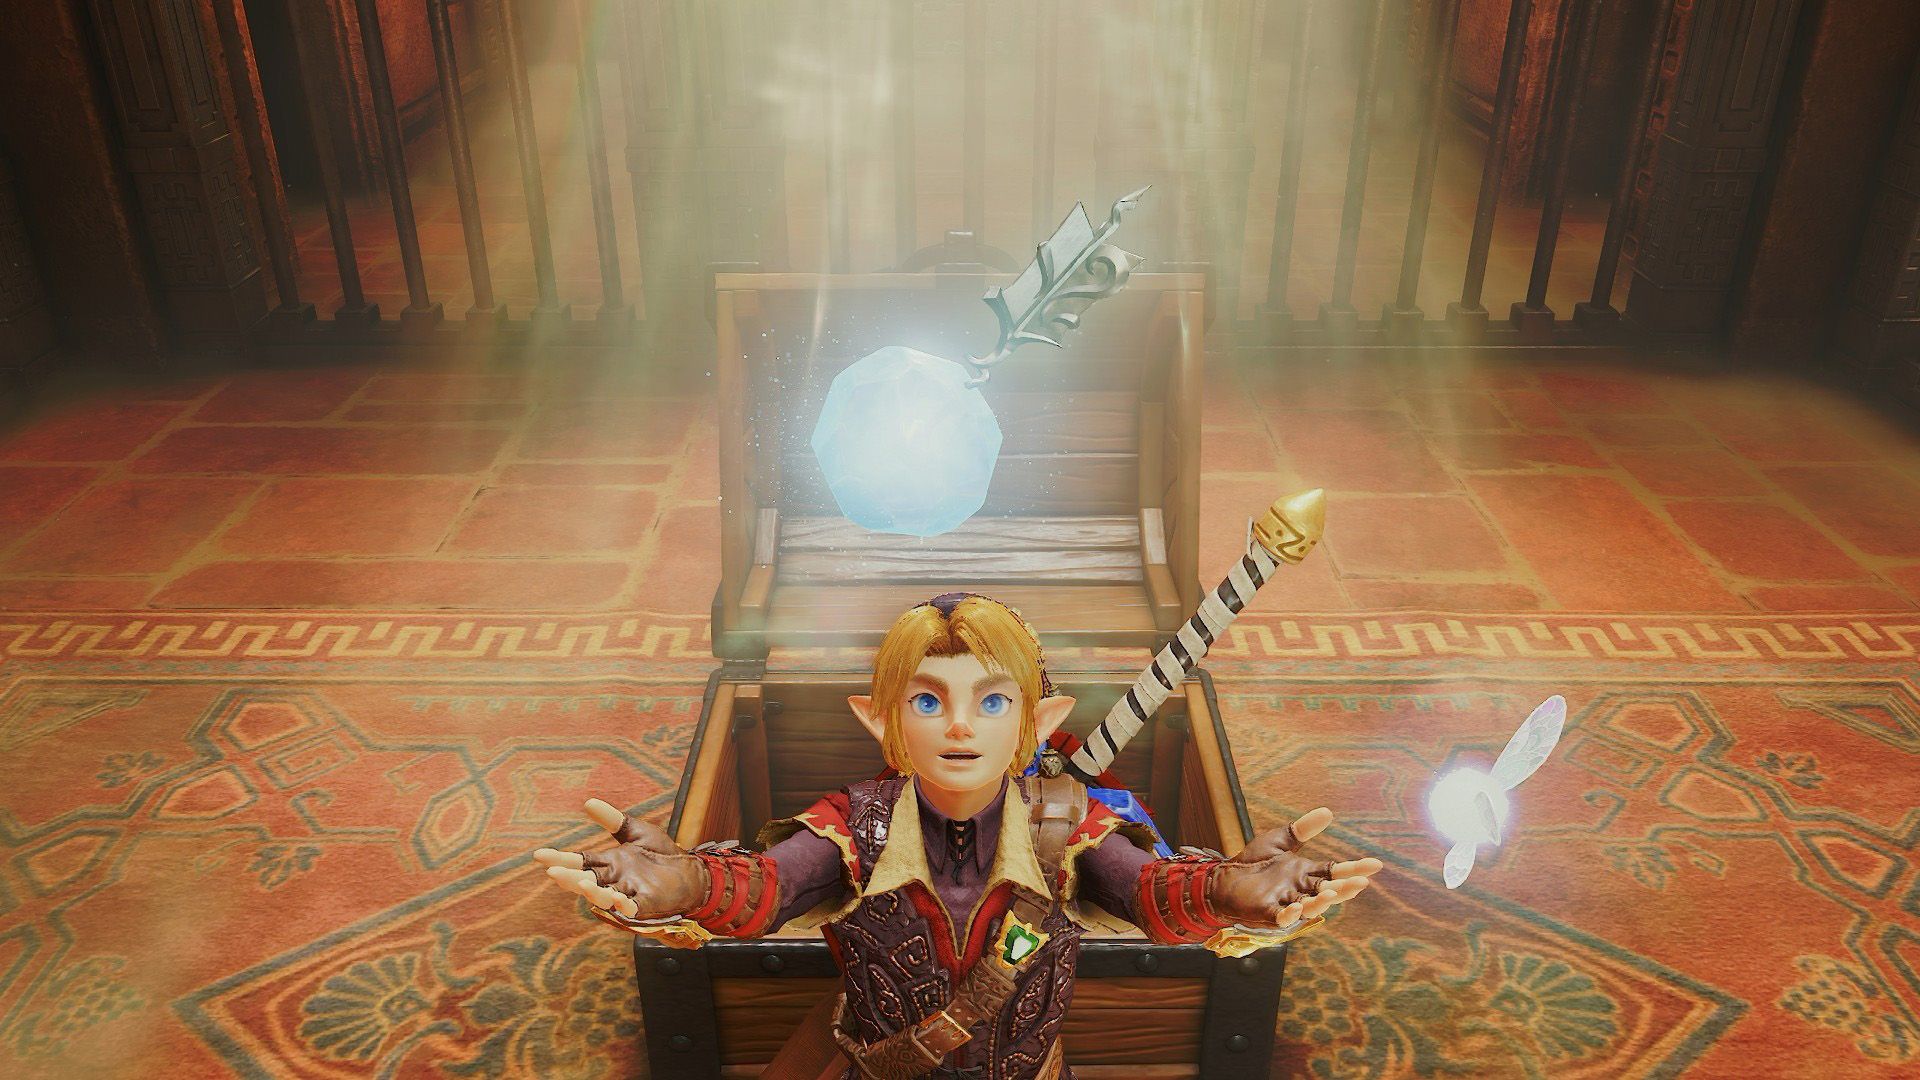
Continue along the path, unlocking doors and opening chests as you go. The chests contain a purple rupee, a red rupee, and arrows. The final chest holds the Ice Arrows.
The Ocarina of Time remake differs in places from the original, with challenges ranging from the Deku Tree and Ganondorf’s Castle to finding Richard the dog and rounding up Cuccos.
For full completion, look for every Piece of Heart and Gold Skulltula token, and find every spot where you can plant a Magic Bean.
Source: Polygon
Related articles
 Rockstar Is Ready to Take the Grand Theft Auto Series Outside the US
 Resident Evil Requiem Wins Game of the Year at Golden Joystick Awards 2026, With GTA VI Not in the Running
 Square Enix Profit Nearly Tripled in First Half of Fiscal 2026
 All Deku Nut Bag Upgrade Locations in The Legend of Zelda: Ocarina of Time
 All Deku Stick Bag Upgrade Locations in Zelda: Ocarina of Time
 Sony Cancels Development of Fairgame$
 Penza Factory to Give Employees a Paid Day Off to Play GTA VI
 The Lord of the Rings: The Hunt for Gollum Wraps Filming