
Assassin’s Creed IV: Black Flag – Blackbeard’s Treasure Quest Walkthrough (Resynced)
The “Blackbeard’s Treasure” quest in Assassin’s Creed Black Flag Resynced is no walk in the park. The legendary pirate saw fit to stash his prized possessions deep underwater, hiding them behind sealed stone doors and surrounding them with prowling sharks. It is safe to say this will be one of the most treacherous swims you’ll undertake.
Here is your step-by-step guide on how to uncover Blackbeard’s hidden loot in Assassin’s Creed Black Flag Resynced.
Locating Blackbeard’s Treasure
Once you finish the main story mission “Do Not Go Gently,” the treasure map will be added to your inventory. Unlike standard maps in Assassin’s Creed Black Flag Resynced that rely on specific coordinates, this one triggers a dedicated side quest titled “Blackbeard’s Treasure.”
You’ll need to travel to Anotto Bay, a coastal enclave situated north of Kingston. If this is your first visit, be prepared for a naval skirmish, as hostile ships will engage you on sight. However, if you’ve already discovered this location, you can simply fast travel there to skip the combat entirely.
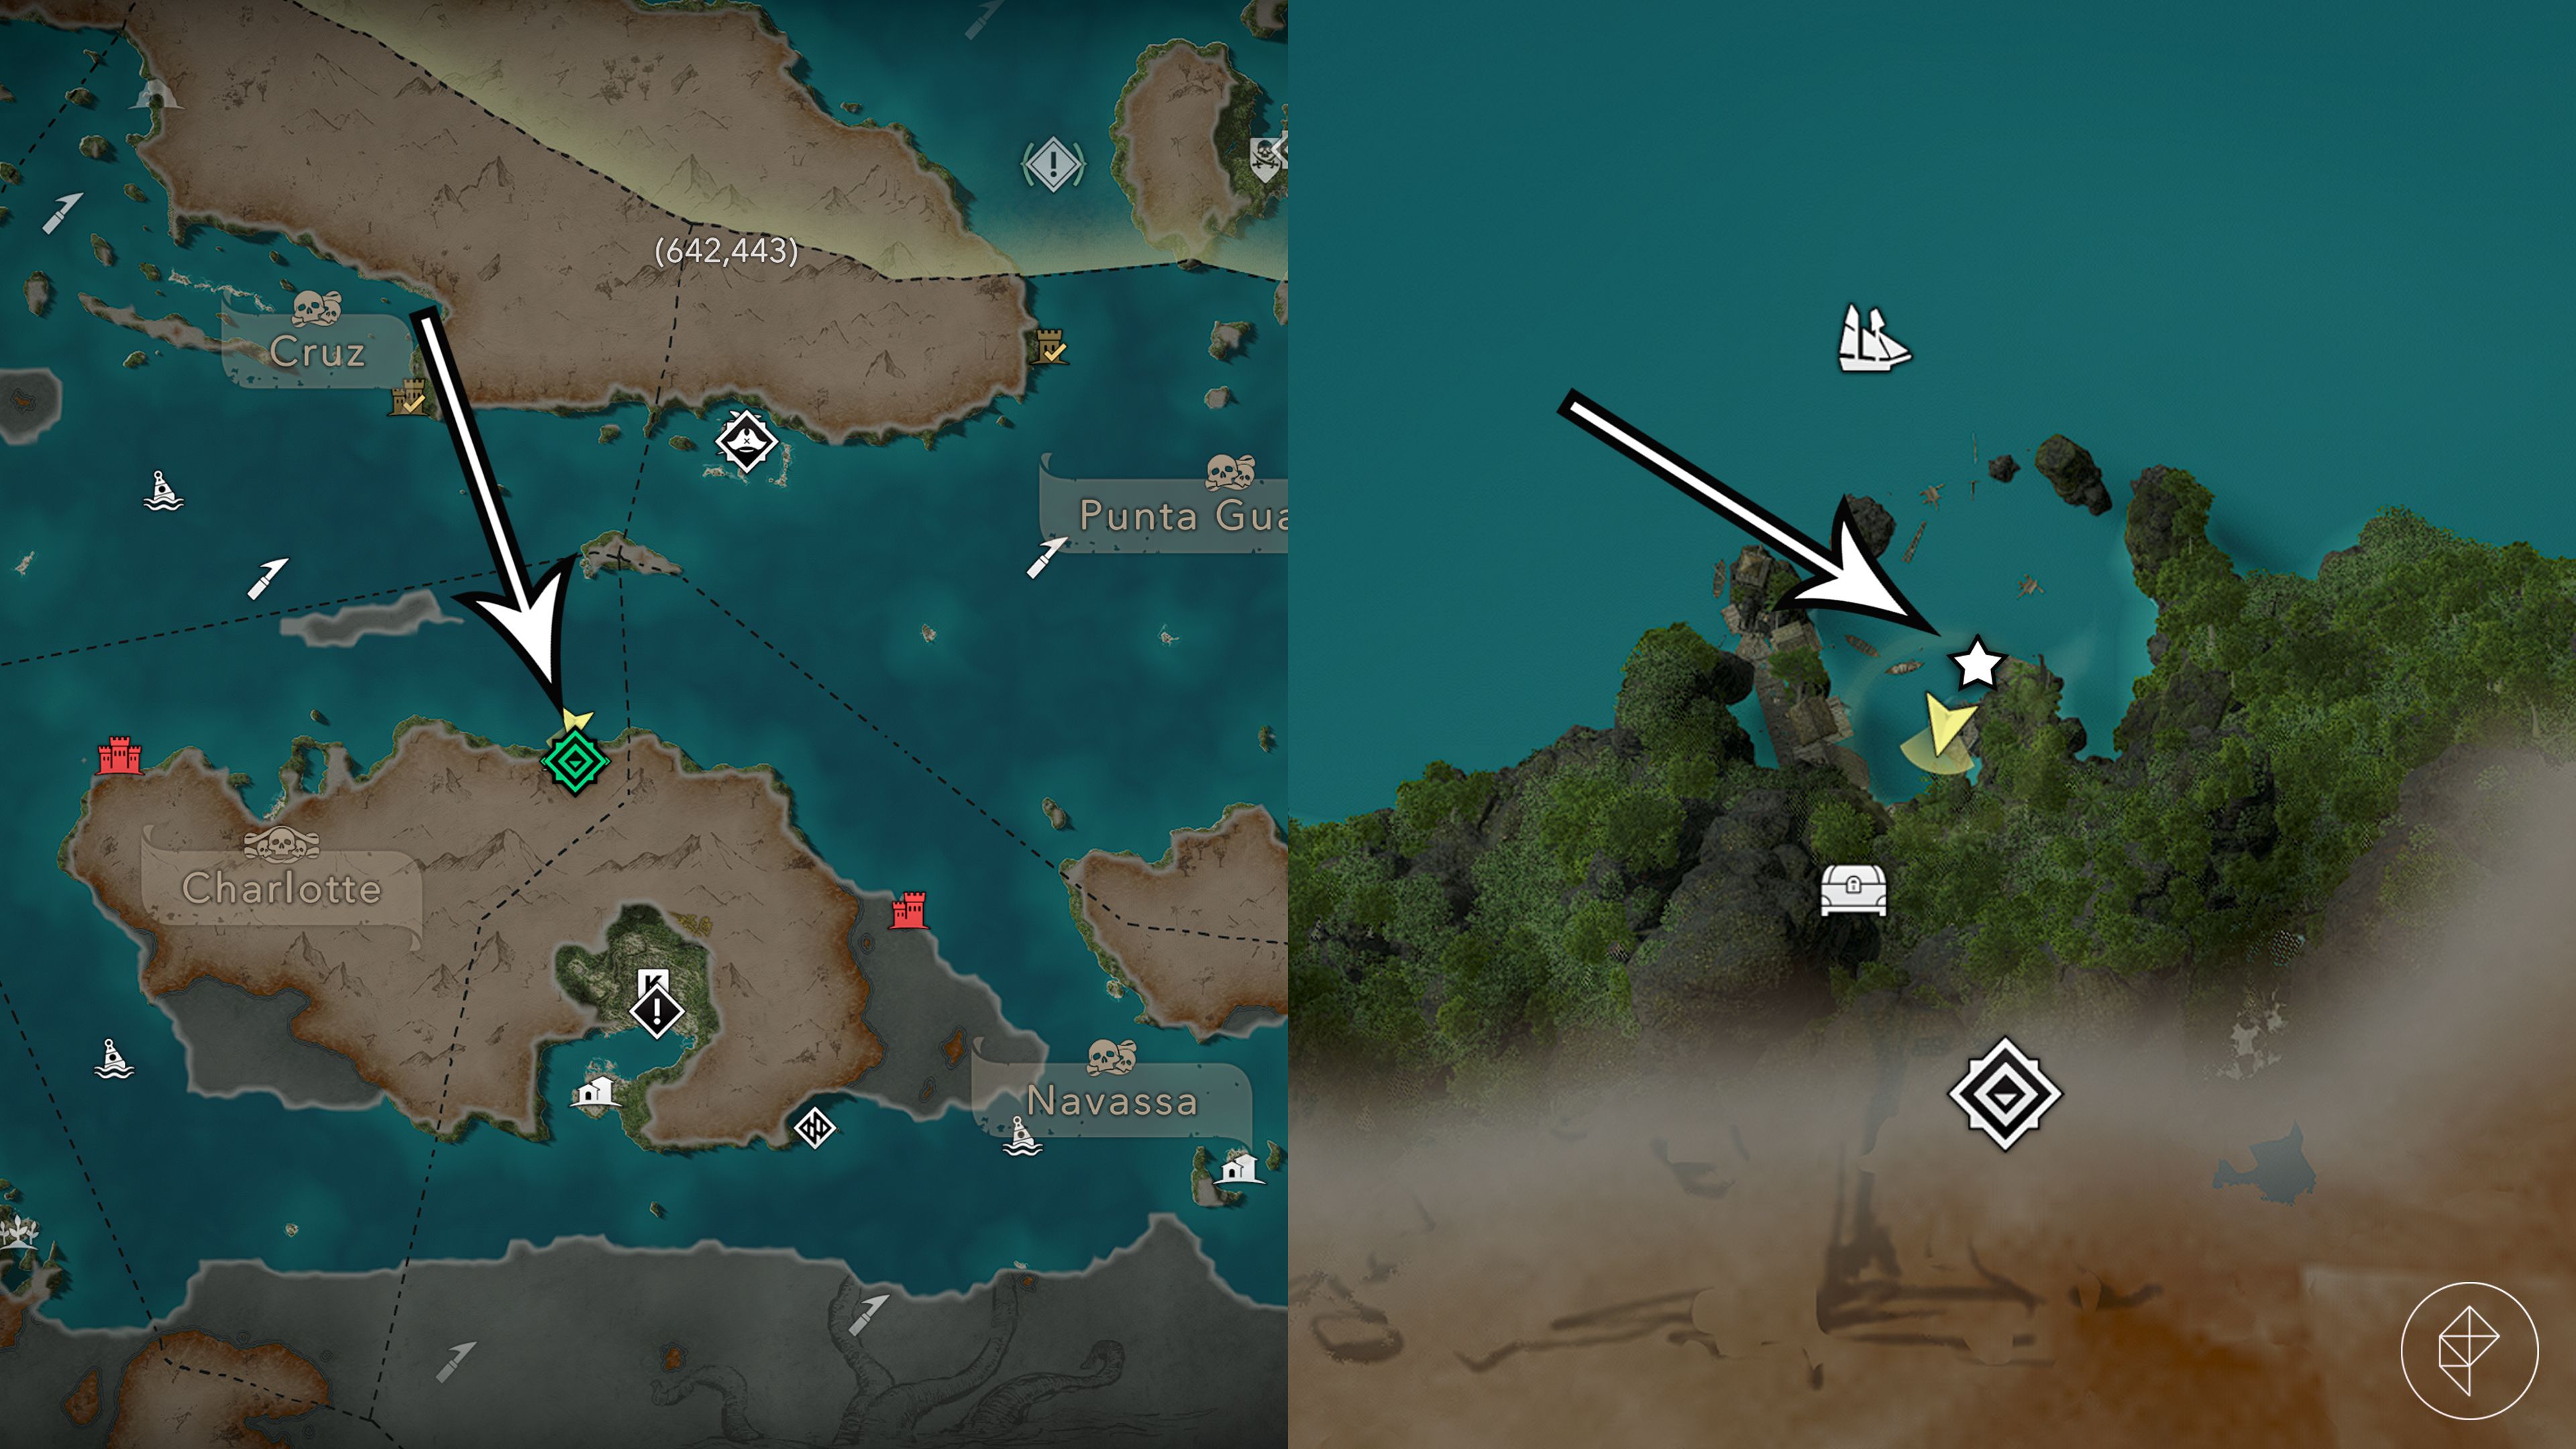
To begin the hunt, head to the western side of the bay where the diving bell and wooden stairs are located. Dive down and locate the tunnel entrance tucked away behind the cluster of colorful fish and the rusted minecart.
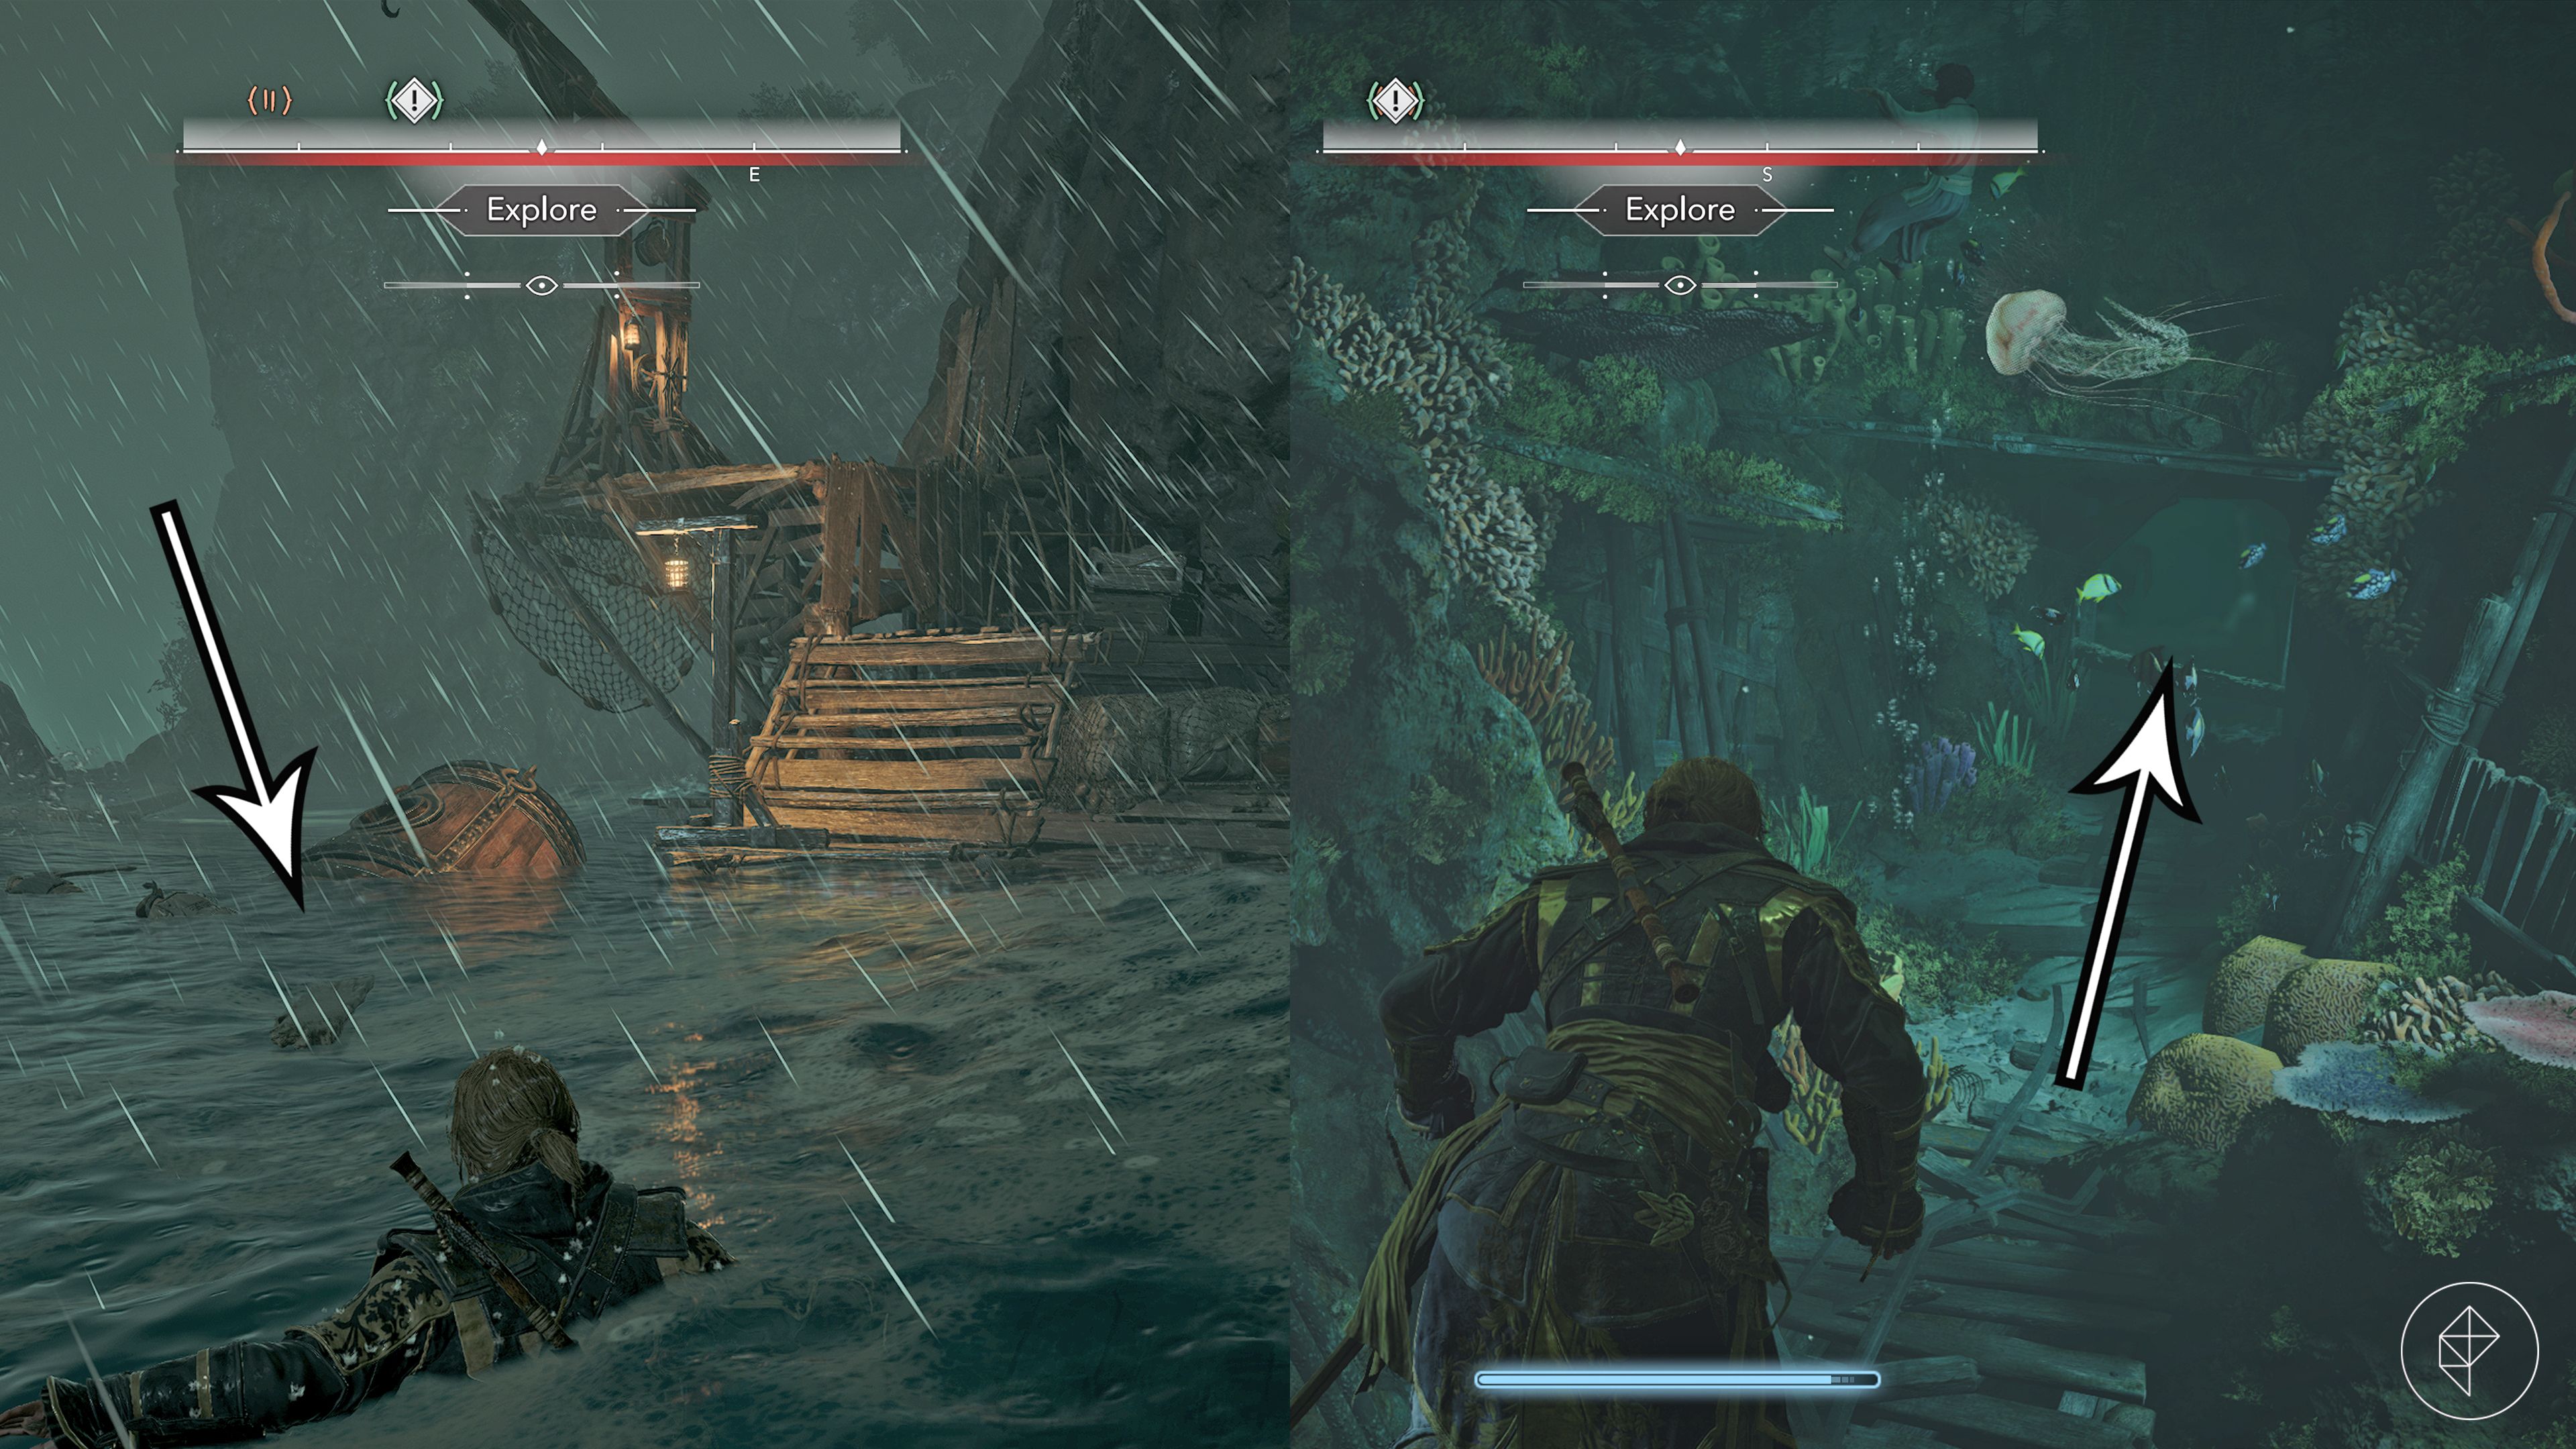
Stay sharp—a shark will strike as you round the first bend. When the tunnel forks, keep to the right and swim upward, following the ladder to proceed toward the treasure. You can take a brief detour to the left to scavenge a standard treasure chest near some sea urchins, but be ready for another shark encounter if you choose to grab it.
Follow the air current upward until you reach a bubble of air to refresh your oxygen. Keep pushing forward until you reach a current near two large jellyfish and a ladder; climb this to emerge into a dry tunnel. There is an additional chest available if you continue swimming past this point before ascending.
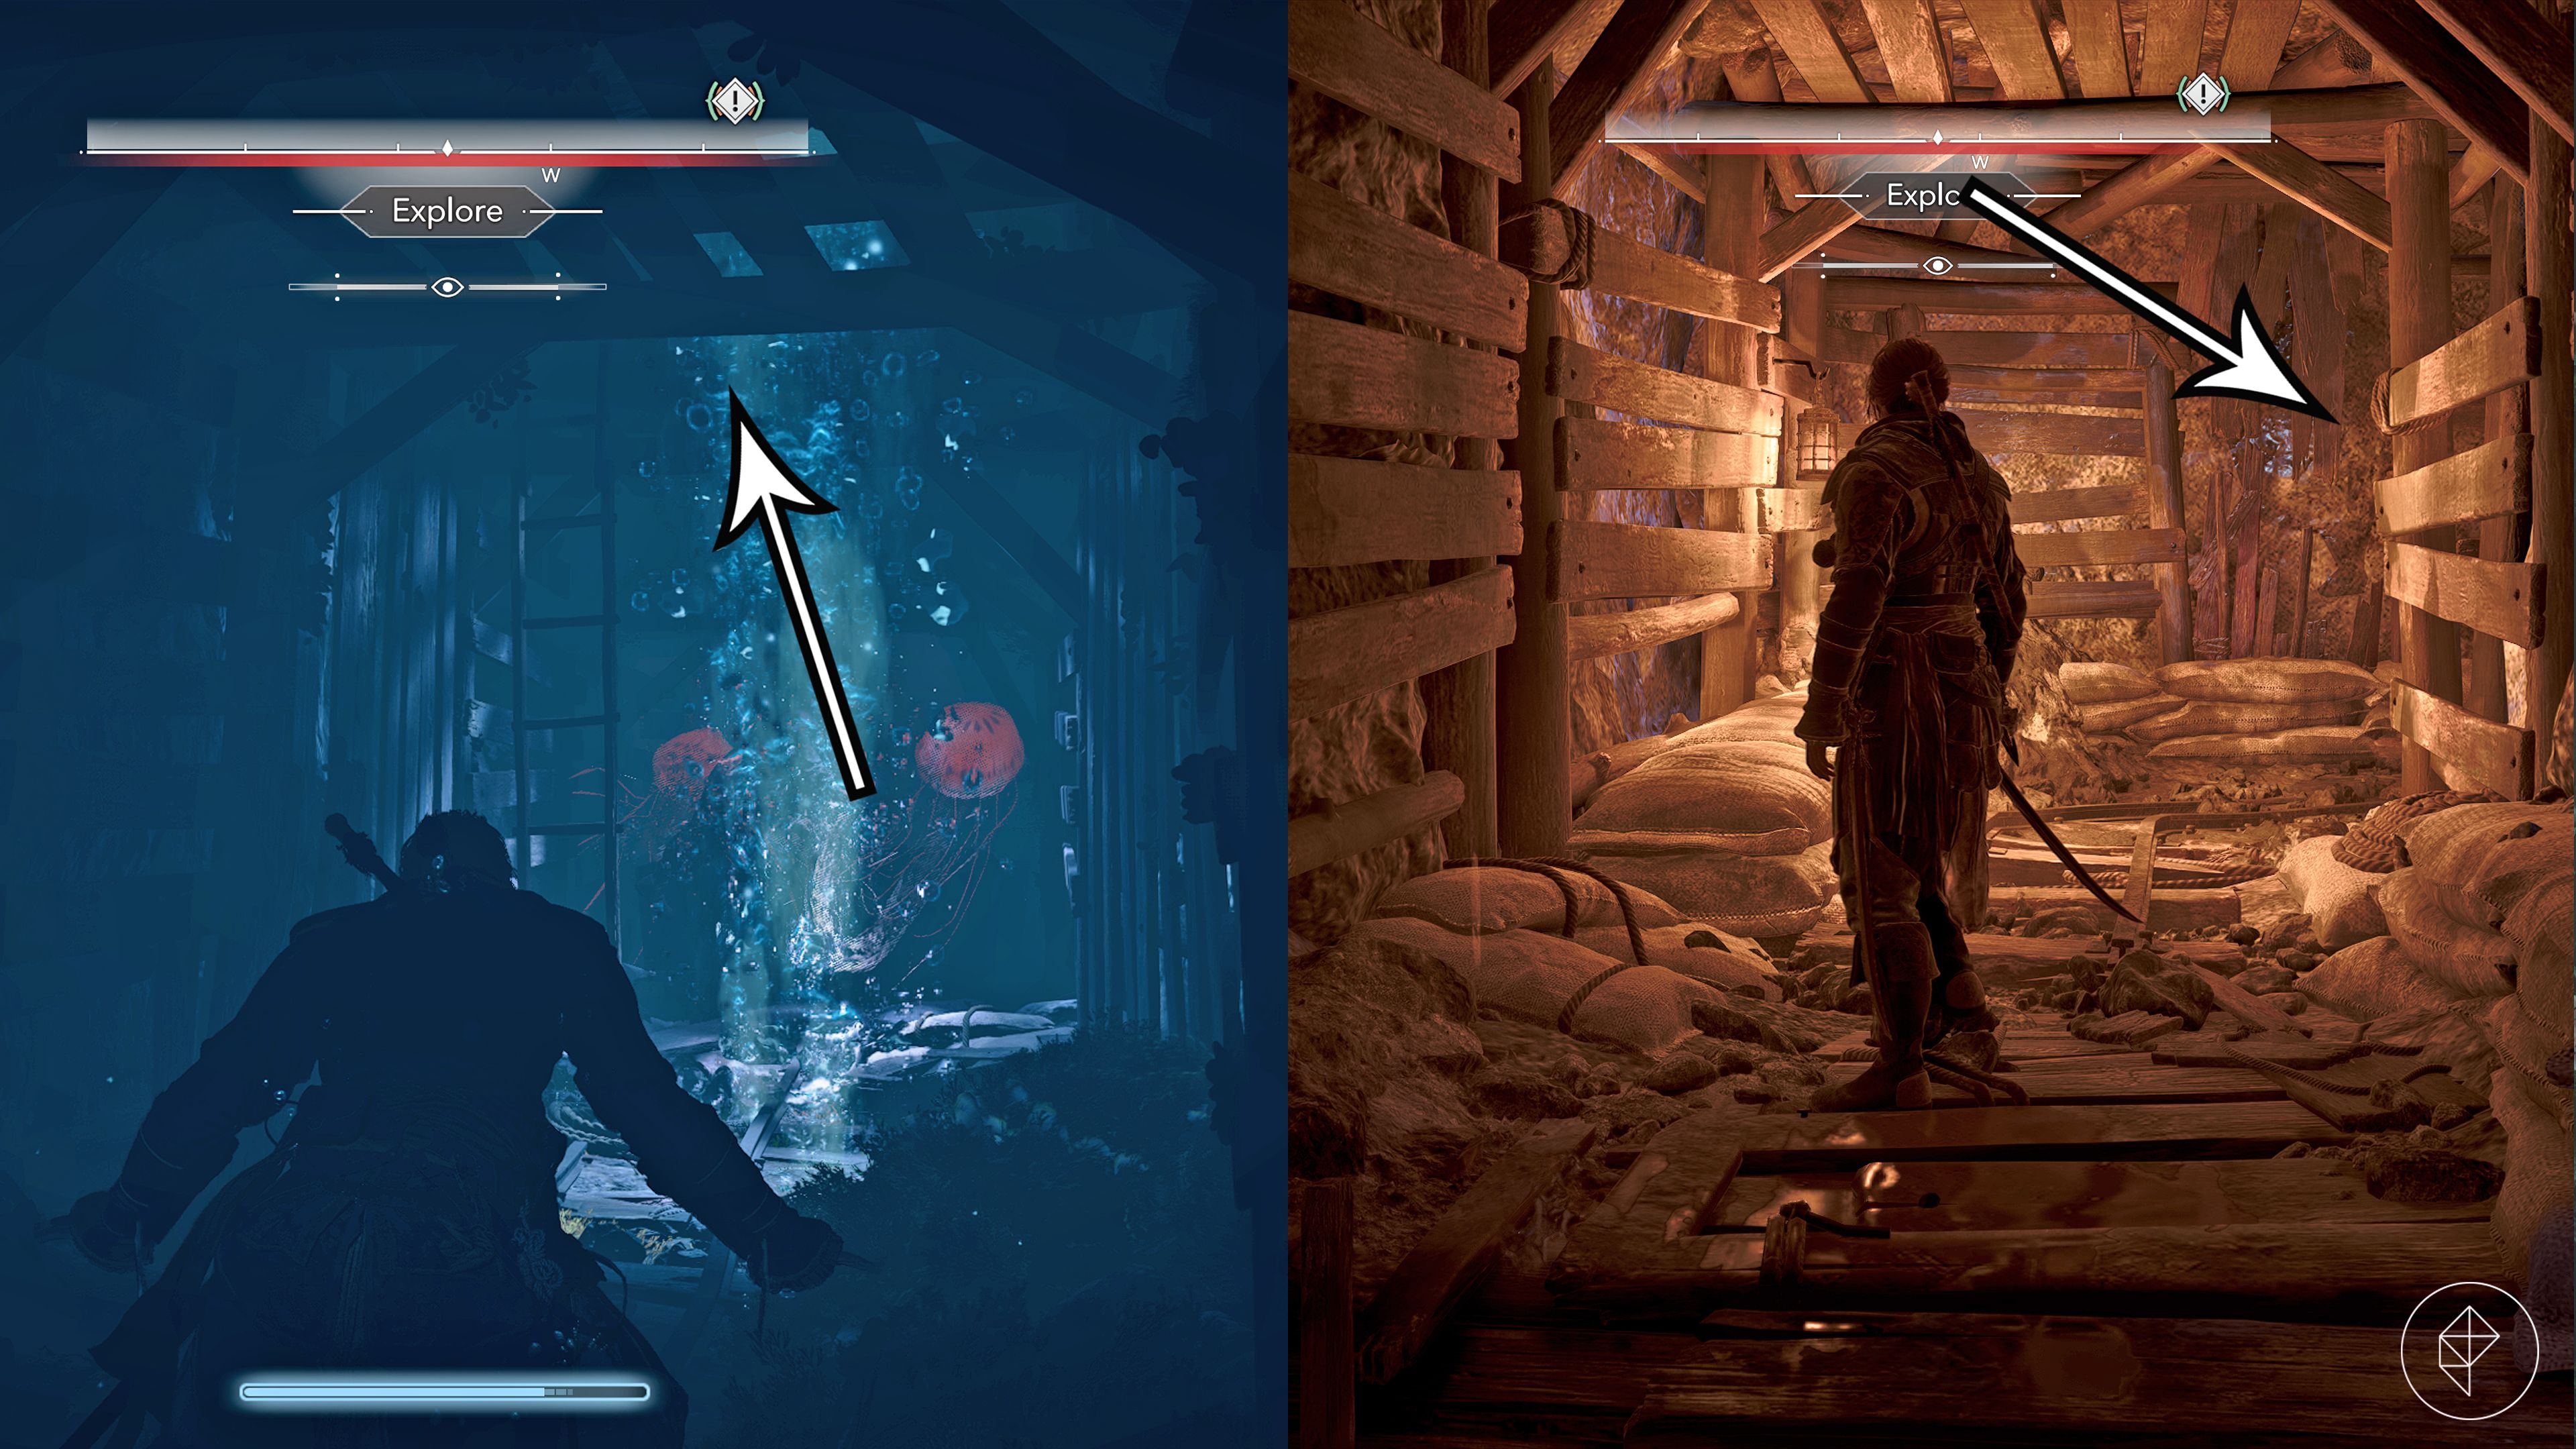
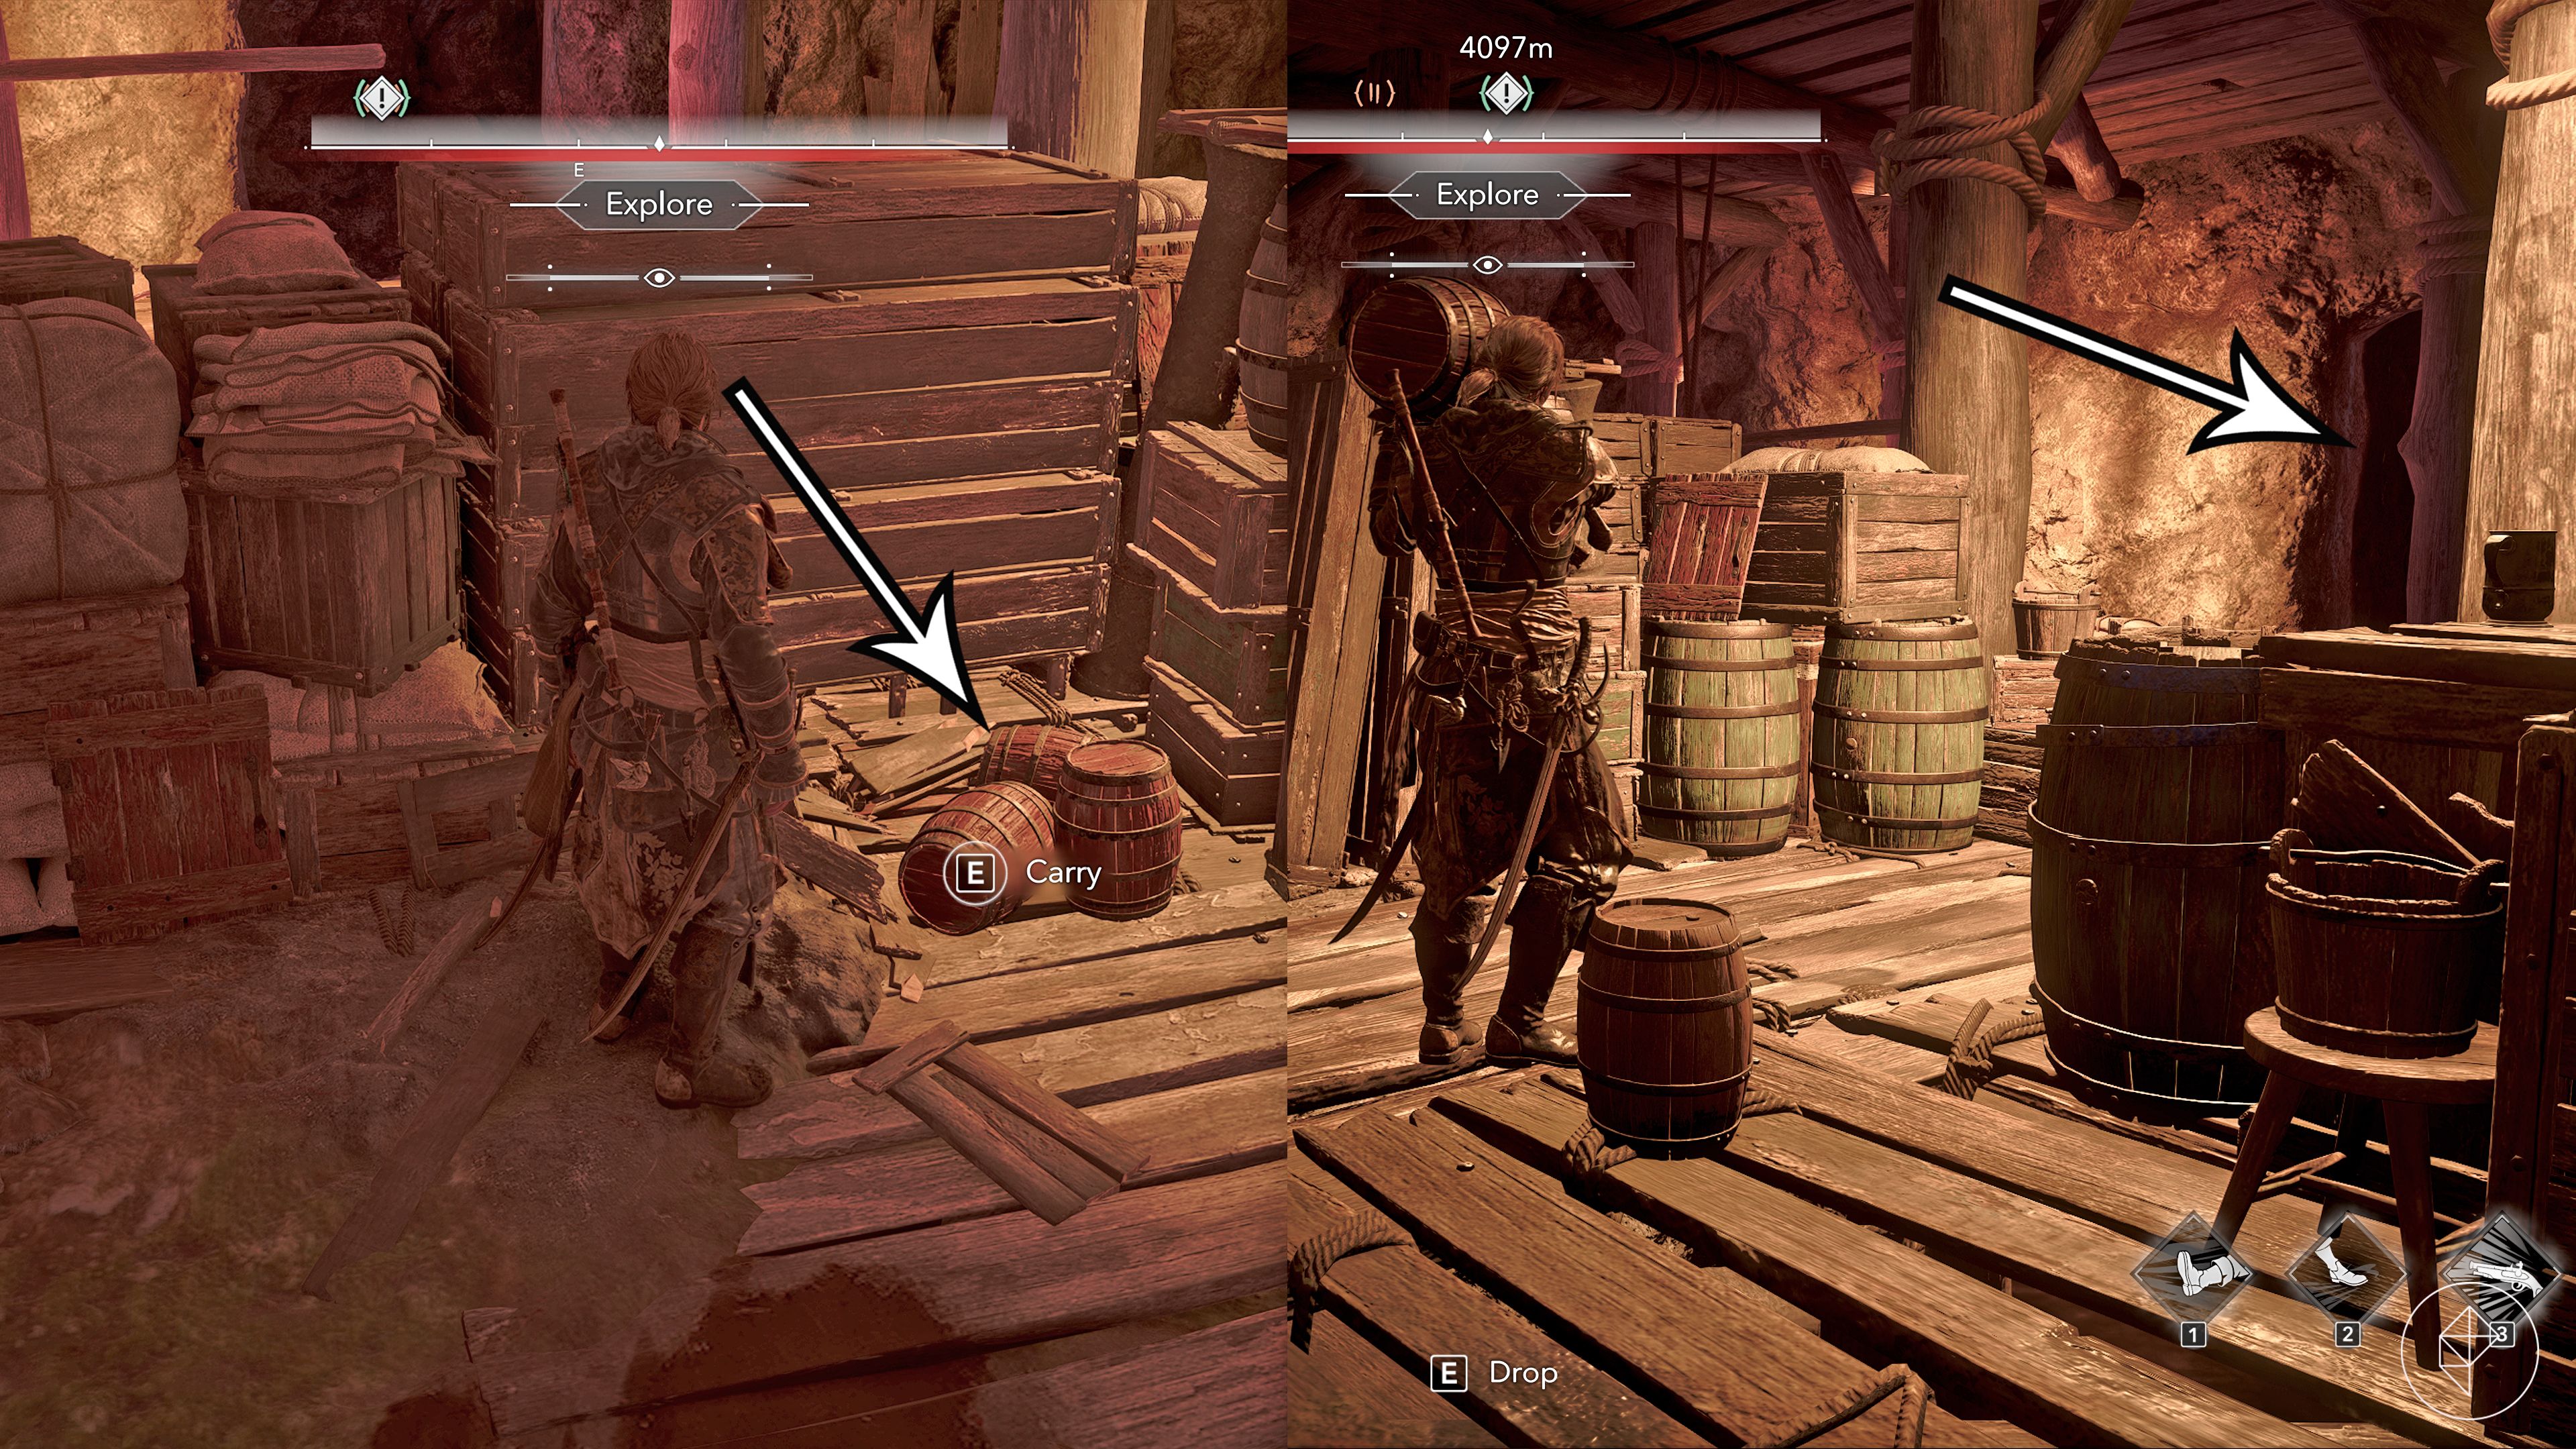
Eliminate the pirate patrolling the corner and emerge into the main cavern. You’ll spot two pirates bickering; wait for them to accidentally trigger their own explosives, saving you the ammo. Once the area is clear, use an explosive barrel to clear the blocked path. Simply place one red barrel against the eastern stone wall, back away, and detonate it with your pistol.
Note: If you encounter a locked chest in this area, you must wait until you have finished this quest to return; the NPC holding the required key will not spawn while the mission is active.
Proceed through the opened wall into the final chamber. Take out the remaining hostiles—shooting the nearby red barrels is the most efficient method—then grab another red barrel. Carry it to the northeast wall behind the waterfall and blast through the rocks to reveal the final room.
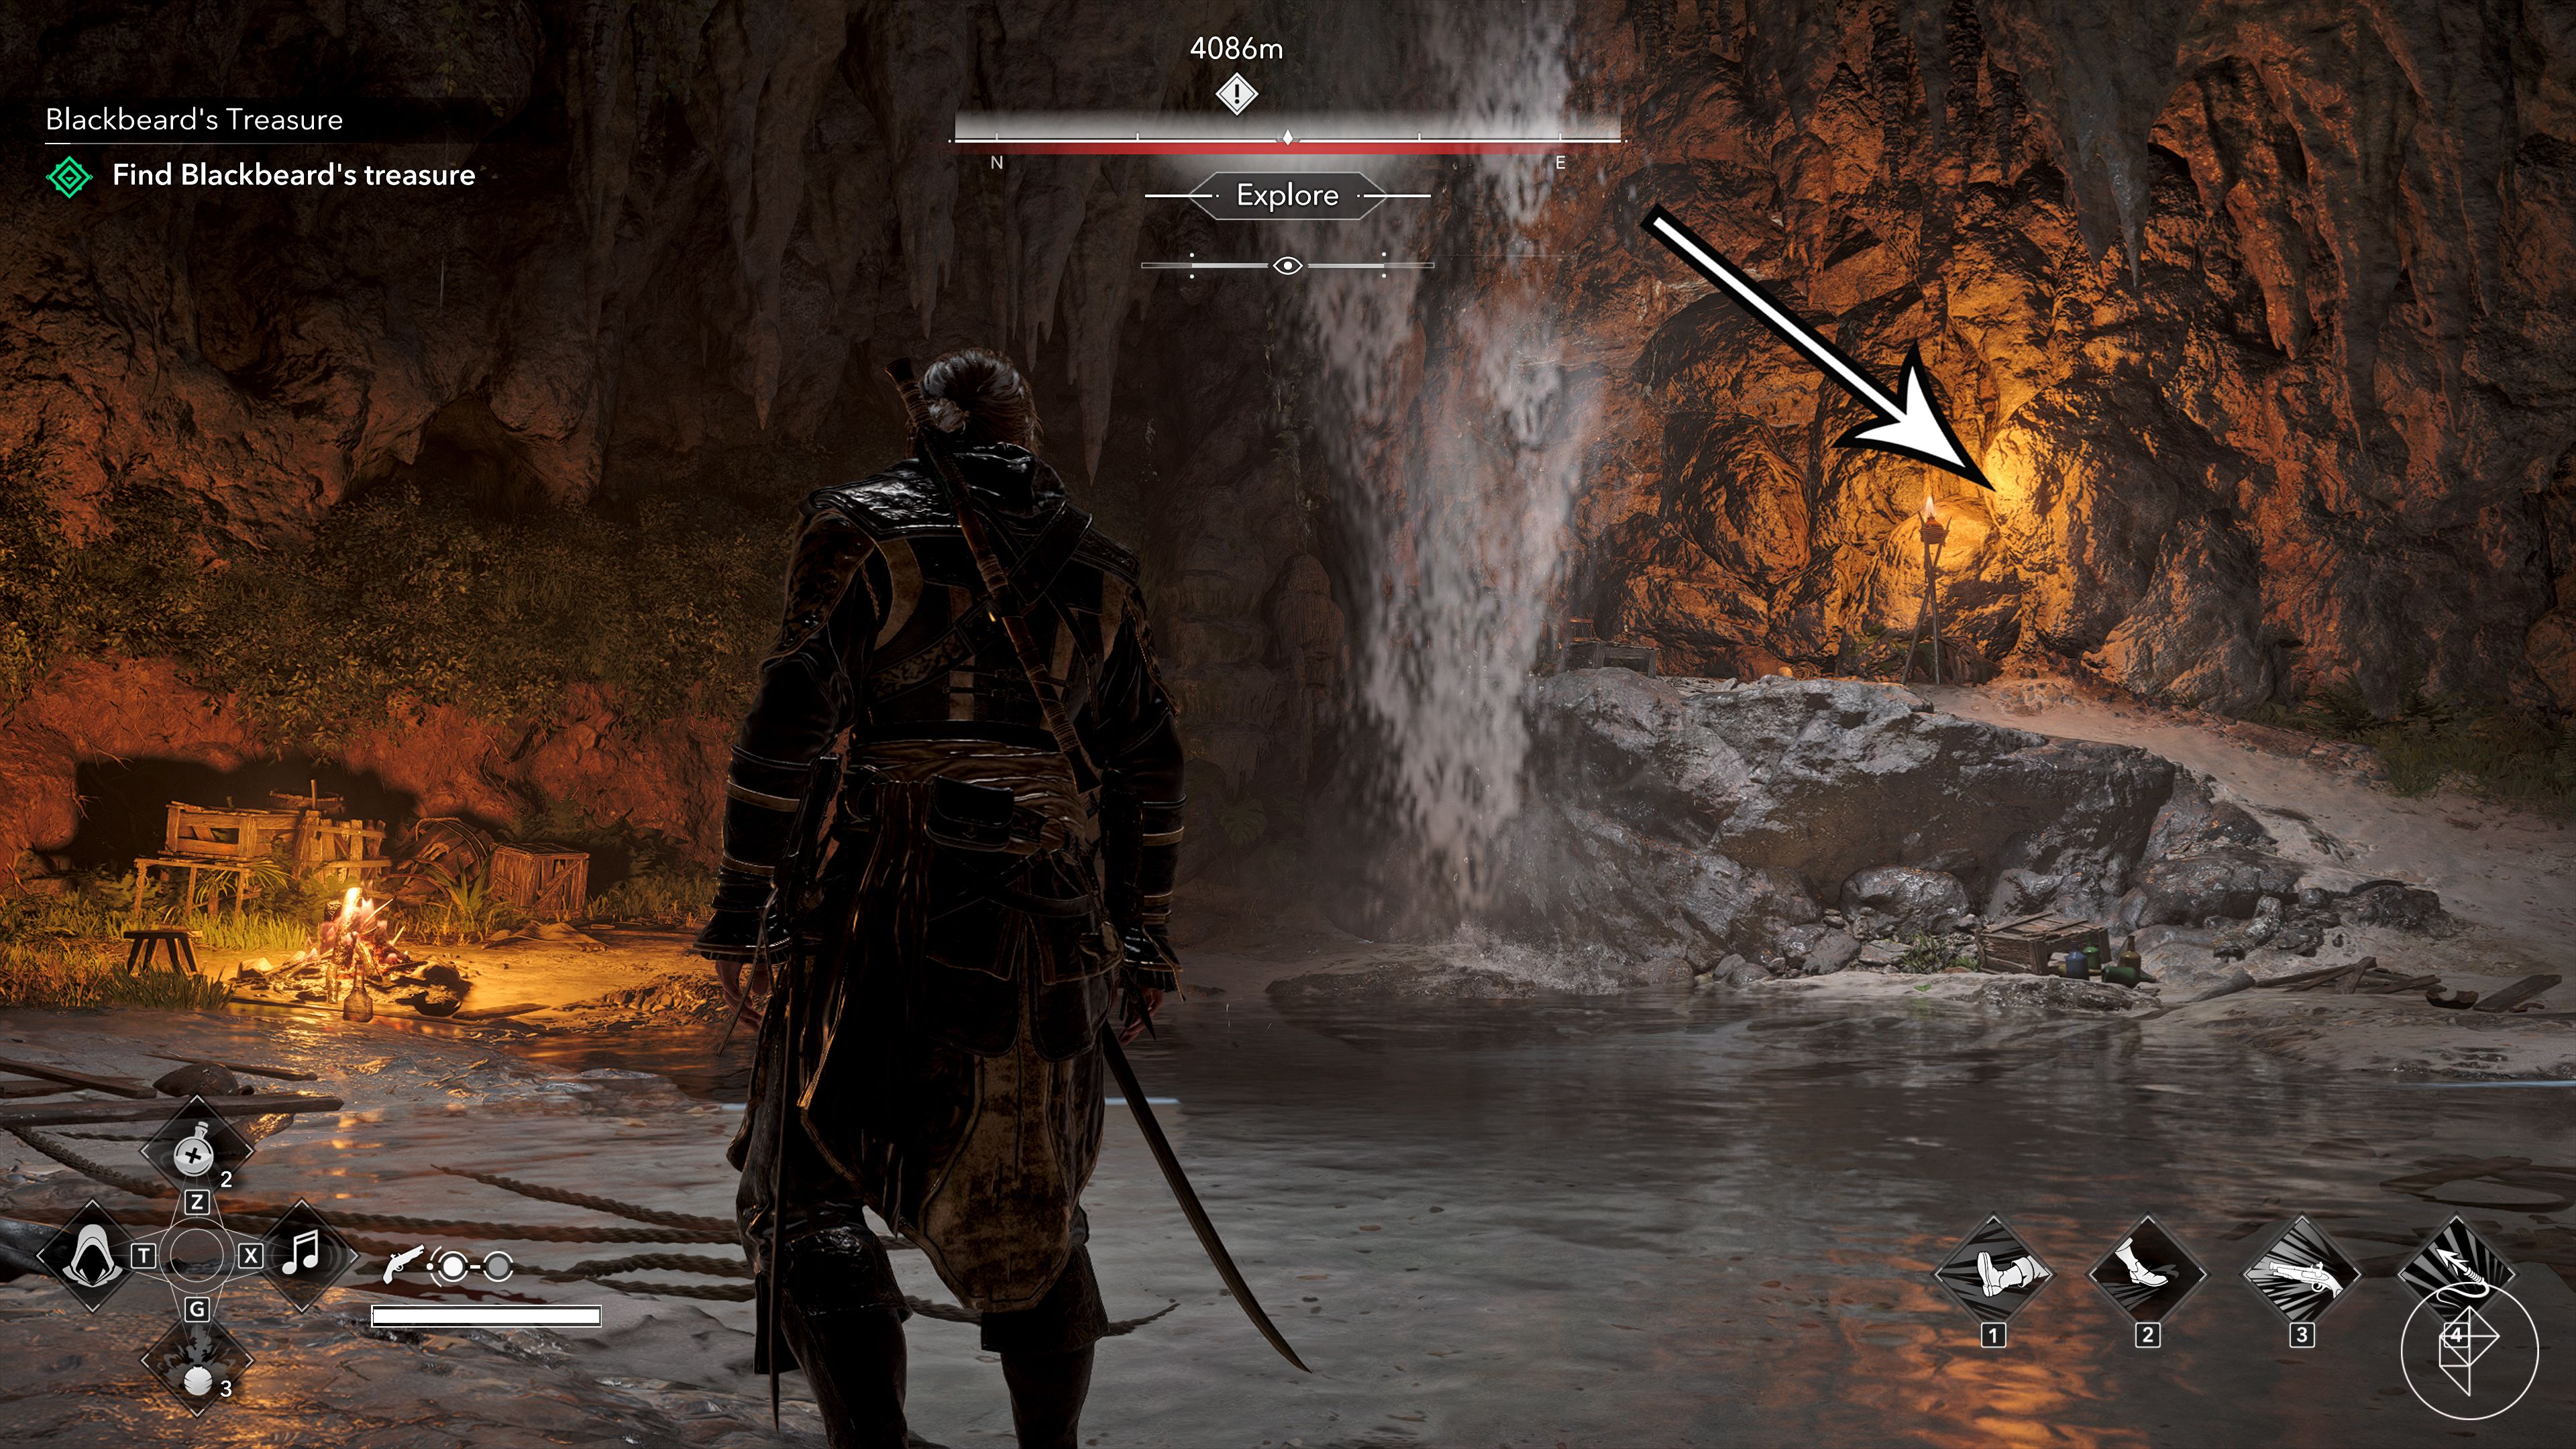
With the path cleared, claim your prize. Following the cutscene, return to Great Inagua and interact with the chest at the docks to finalize the quest. You won’t be walking away with gold, but you will secure a much more prestigious reward: Blackbeard’s portrait.
Source: Polygon
Related articles
 Ananta gets release date and new trailer
 ASUS Announces $1,300 Price for ROG Xbox Ally X20
 Naval RPG Sea of Remnants set for early 2027 release, closed beta begins in December
 007 First Light Major Graphics Update Gets Release Date
 HoYoverse’s Petit Planet Set for Winter 2026 Launch, New Trailer Released
 Star Wars VFX Interview Confirms Fan Theory on Grogu’s Force Powers
 Ridley Scott’s American Gangster Remains an Enduring Crime Drama
 Xbox Names Console Frame Rate for New Fable