Warzone tips and tricks for beginners
Real, practical Warzone tips and tricks to prepare you Rebirth Island and Verdansk

Published on
If you're looking to start strong with the latest season of the ever-popular Call Of Duty: Warzone, you've come to the right place. Below are 70 Call Of Duty: Warzone tips for consistently surviving and dishing out death all across Verdansk. We've got tonnes of good stuff here, so let's get stuck in!
- Make the most of the early game
- Prep your loadouts and weapons
- Combat strategies
- Make the most of Armour Plates
- Pick the right Perks
- Equipment and Killstreaks can turn the tide
- Cash, Contracts, and Buy Stations
- Know the Verdansk map
- Use vehicles
- Win in the Gulag
- General Survival
Make the most of the early game
- The first skill to master in Warzone is how to land properly. The fastest method for landing depends on the distance you want to travel. Check out our in-depth Warzone how to land fast guide to be shown how to land perfectly every time!
- If you cut your chute while high above the ground, there's a few-second gap where you're able to shoot with your starting pistol. This means it's often better to fall slightly above those around you, so you can harass them into landing prematurely, or even kill them.
- As long as you haven't cut your chute during the drop, your chute will auto-deploy shortly before hitting the ground. But if you have cut your chute, this auto-deploy won't happen, so you'll have to remember to deploy manually to avoid a quick and miserable death.
- Your three objectives in the first couple of minutes after landing should be: get some decent starting weapons; find and use Armor Plates to maximise your HP; and then accrue enough money to buy a Loadout Drop Marker from a Buy Station (more on this below).
Prep your weapons and loadouts
- Make the most of your time in the pre-game lobby, because any kills you earn will actually earn you permanent XP for that weapon, unlocking new attachments and skins you can use in future matches.
- If you're playing in a squad with an underleveled teammate, it's a good idea to create a loadout for them using all the attachments at your disposal, and drop it for them in-game. Check out our Best Warzone Caldera loadout guide for ideas!
- Annoyingly, there's no easy way to swap the order of your two weapons in Warzone. However, if there's a weapon on the floor nearby, you can swap between them until your existing weapons are in the correct positions.
- The color of a weapon is determined by how many of its attachment slots are filled. This means a grey MP7 will hit every bit as hard as a gold MP7, but it may lack attachments that turn it into a better or easier to use weapon.
- In the enormous and rooftop-dotted map of Verdansk, sniper rifles dominate. The AX-50 and the HDR sniper rifles can one-shot-kill with a headshot. Be wary of a white glint on the horizon. It means someone with a sniper scope is aiming at you.
- C4 has been heavily nerfed in Season 6. I recommend using semtex or thermite instead.
- Most weapons have four different damage stats depending on where in the body you hit: the head, the chest (and shoulders), the stomach, and the limbs. Assault Rifles only have two damage stats: one for the head, and one for everywhere else.
- Some of the top-tier weapons in Warzone are, in no order: FiNN, HDR, MP5, MP7, M13, SP R-208, Grau, and FAL. For more information on the best weapons in Warzone, check out our Best guns in Warzone Caldera guide!
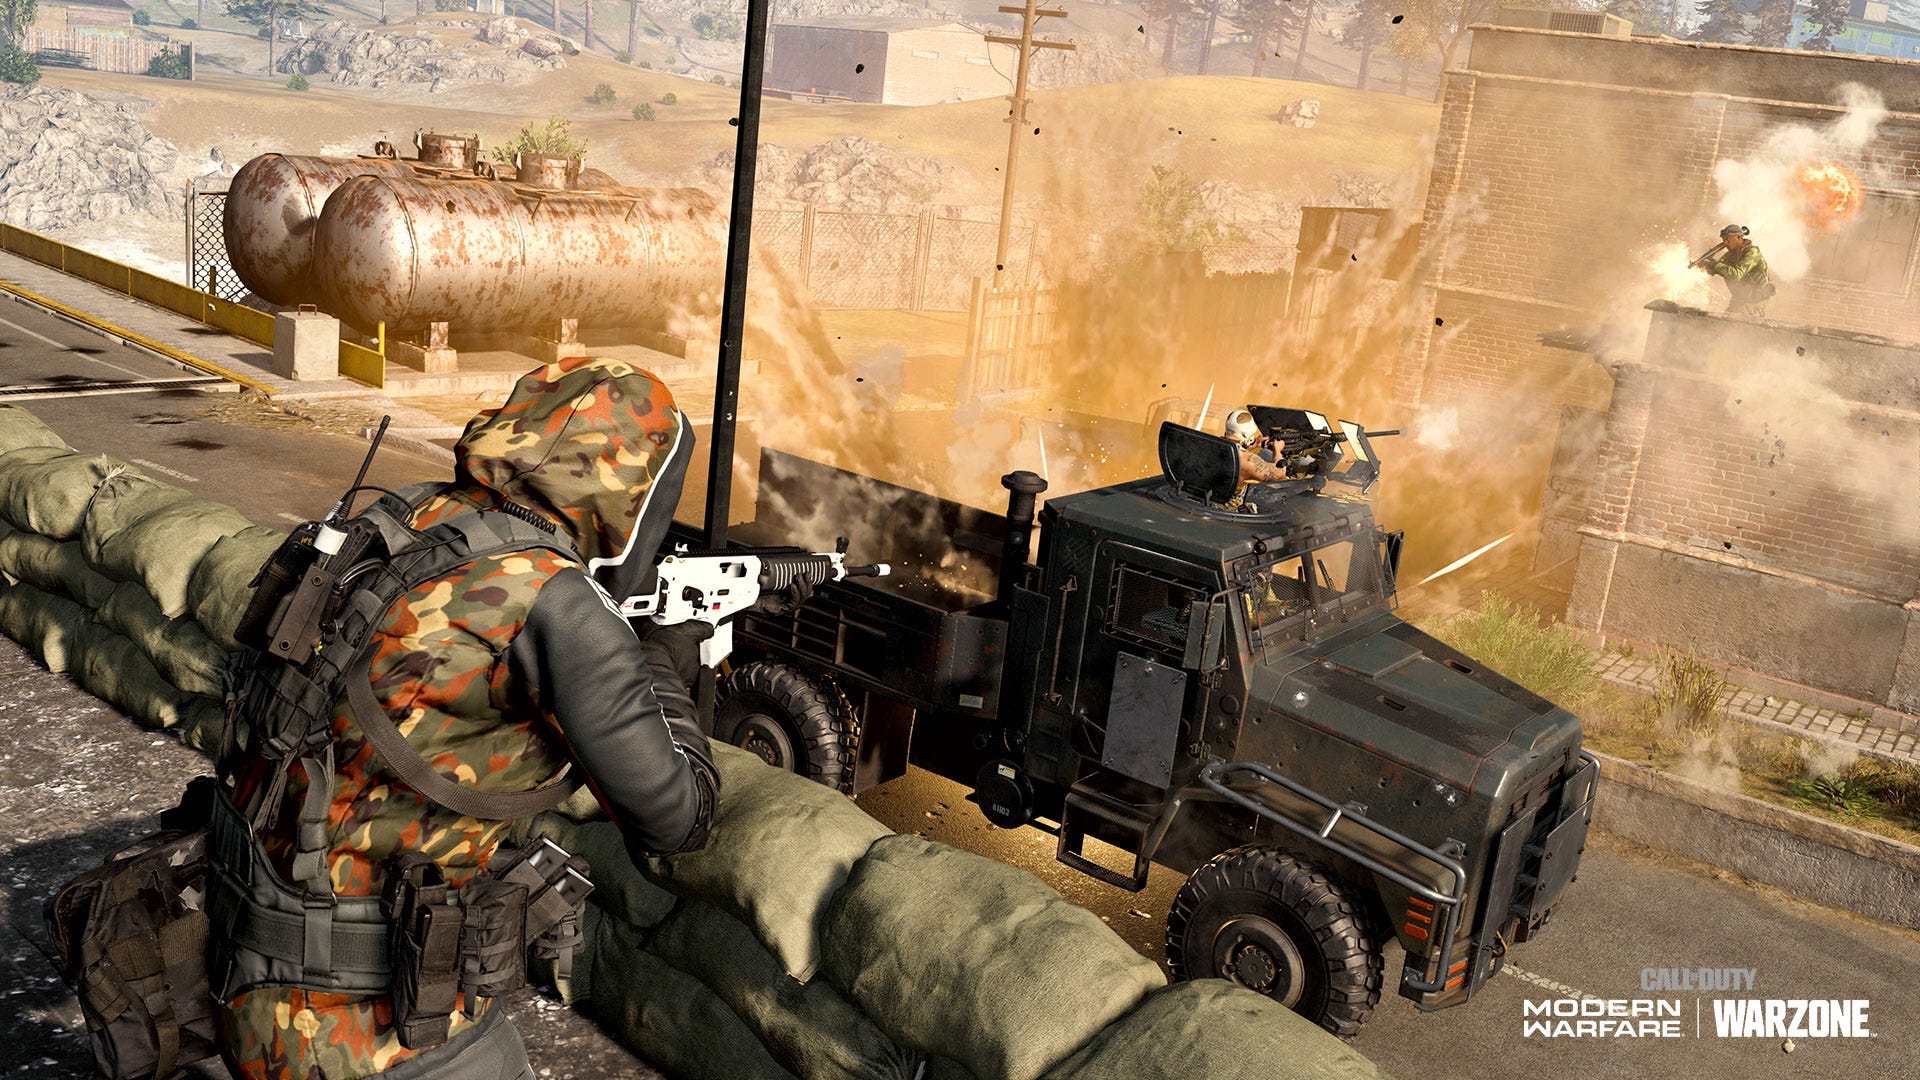
Combat strategies
- Warzone has a comparatively low time-to-kill (TTK) compared to other Battle Royales. Even if you're fully armored up, you can be burst down in half a second with the right weapon. Always prioritise your safety.
- Because of the low TTK, it's very difficult to win a straight gunfight in Warzone if you're outnumbered. If two players shoot at you simultaneously, you're almost always dead. Your only hope is to outplay the larger team using positioning and the element of surprise.
- Pay attention to your minimap and compass, because if a nearby enemy shoots with a non-suppressed gun, they will show up as a momentary red dot on both compass and minimap. It's a good idea to ping these dots on the map to help with hunting them down.
- "Drop-shotting" is when you go immediately prone while shooting at an enemy. Not only does it present less of a target for your enemy, but you can do it so quickly in Warzone that it often wrongfoots your opponent, making it a powerful tactic in combat.
- Aim Walking Movement Speed is a very undervalued trait when building weapons and loadouts. The ability to strafe quickly while aiming down sights is a very powerful asset during fights across all ranges. Most weapons have at least one stock attachment for this.
- Spend time learning and internalising which sorts of materials can and cannot be shot through in Warzone. Thin cover (particularly wooden) can be shot through, but trees and thick walls can't. Use the FMJ weapon perk to maximise damage through cover.
- Warzone gives you an unparalleled number of extra chances after being killed, what with the Gulag and the ability for teammates to redeploy you. Because of this, the tendency is to be more aggressive with pushing and seeking out enemies.
- There's a sound that plays when someone who you've recently downed is revived by their teammate. It's the same noise that plays when you revive someone or you get revived. Keep an ear out for it, because it's extremely useful information.
- Because of the ease with which players can purchase Self-Revives from Buy Stations, it's important to fully kill downed enemies as quickly as possible to make sure they can't get back up. But it's only worthwhile if you can do this without putting yourself in danger.
- Pay attention to the icons next to your reticule while shooting enemies, because it tells you how armored your opponent is and also notifies you when their armor is broken. The audio for hit markers also tells you this information, so pay attention to it.
- You know that yellow text that appears when you knock or kill someone? The really important thing to look out for is whether "Team Wiped" appears here, because if it does, that means you've completely destroyed every element of the team.
Make the most of Armor Plates
- You must put away your currently held weapon in order to apply Armor Plates. This means you can apply APs faster if you're carrying a lighter weapon - and also that the Amped Perk will help minimise the time it takes to heal up to full Armor.
- You can do quite a lot while you're applying Armor Plates, such as sprinting and opening things like crates and doors. Don't just stand still while healing up - get on with things.
- Applying an Armor Plate will fill your Armor up to the top of the current bar. Which means if you're only slightly damaged, it will still take a full Armor Plate to heal up that tiny bit of missing Armor.
- Armor is globally applied to your entire body, so it protects against headshots and limb shots too. There's no damage reduction involved; Armor literally just gives you a higher effective Health pool. The only thing that can bypass Armor is the Gas.
Pick the right Perks
- You should spend as much time on Perks as on weapons when creating your loadouts. The following Perks are widely considered to be the most beneficial and therefore the most used in Warzone.
- High Alert gives you an early warning if an enemy outside your field of view is looking at you. This is always tremendously useful, but it's particularly so in Solos. If you're after more useful tips when playing solos, our Call Of Duty: Warzone Solos tips guide is here for you!
- Cold-Blooded is one of the most useful Perks in Warzone. Not only does it render you undetectable to an enemy's High Alert perk, but it also means you aren't highlighted when seen through thermal scopes. Staying off the radar is huge in Warzone.
- On that same note, Ghost is another ultimate tool for someone looking to stay off the radar. UAVs and Heartbeat Sensors are extremely widely used in Warzone, so the ability to stay hidden from these devices is an enormous benefit.
- Overkill is useful if you need a fully kitted loadout as soon as possible - for instance, if you've just respawned and need to assist your team in a fight as quickly as possible. I always have one loadout kitted out with Overkill for this reason.
- Spotter allows you to hack equipment such as Claymores and Proximity Mines through walls. So always check the color of your Claymores/Mines before you step over them, because they may have been hacked since you placed them.
Equipment and Killstreaks can turn the tide
- If you manage to get a direct hit on an enemy with Semtex, a Molotov, or a Thermite Stick, it's a guaranteed kill after a couple of seconds.
- If you want to detonate you C4 without placing down a second C4, just double-tap your Use button. You can also do this immediately after throwing C4, and it will explode on contact with the ground - or the enemy.
- The Heartbeat Sensor is extremely powerful in Warzone for detecting enemies, but gets less useful as the game goes on. This is due to enemies picking up loadouts containing the Ghost Perk.
- If your team activates three UAVs at once, you gain the effect of an Advanced UAV for a short time: every single enemy on the entire map is displayed, along with their rotation. Even enemies with Ghost are highlighted, though their rotation is still hidden.
- The Cluster Strike and Precision Airstrike killstreak rewards are overpowered when it comes to the final circles of a match. Sometimes these killstreaks can even kill enemies that are indoors if they're caught through doors or windows.
Cash, Contracts, and Buy Stations
- When playing in squads, it's often a good idea to pool your Cash by dropping it on the ground from your inventory. This way you can give all your funds to a single player for them to buy an item from a Buy Station.
- Buy Stations are incredibly important and powerful tools in Warzone - and therefore, it's become commonplace for players to camp near Buy Stations and take out players while they're distracted. Always scout out the area before using a Buy Station.
- You can use a Buy Station to redeploy a fallen teammate for $4,000. Just know that doing so will cause a flare to fire upwards from the Buy Station, highlighting your whereabouts for any enemies nearby.
- Apart from redeploying fallen teammates, by far the most useful things to buy from a Buy Station are Loadout Drops, UAVs, and Self-Revive Kits. Check out our Call Of Duty: Warzone Buy Stations guide for more in-depth tips!
- If you complete numerous Recon missions in a short space of time, you'll be able to see the position of the circle many stages in advance, even down to the final circle.
- If you are the target of a Bounty mission, then surviving beyond the time limit will earn you Cash. Conversely, if you pick up a Bounty contract but your target is killed before you get there, you're still rewarded some Cash - just not as much as if you'd killed them.
- Scavenger contracts are an excellent way to quickly earn high-quality loot shortly after spawning (or respawning). Scavenger Crates are always gold, which means you're guaranteed at least one gold-level item inside each one.

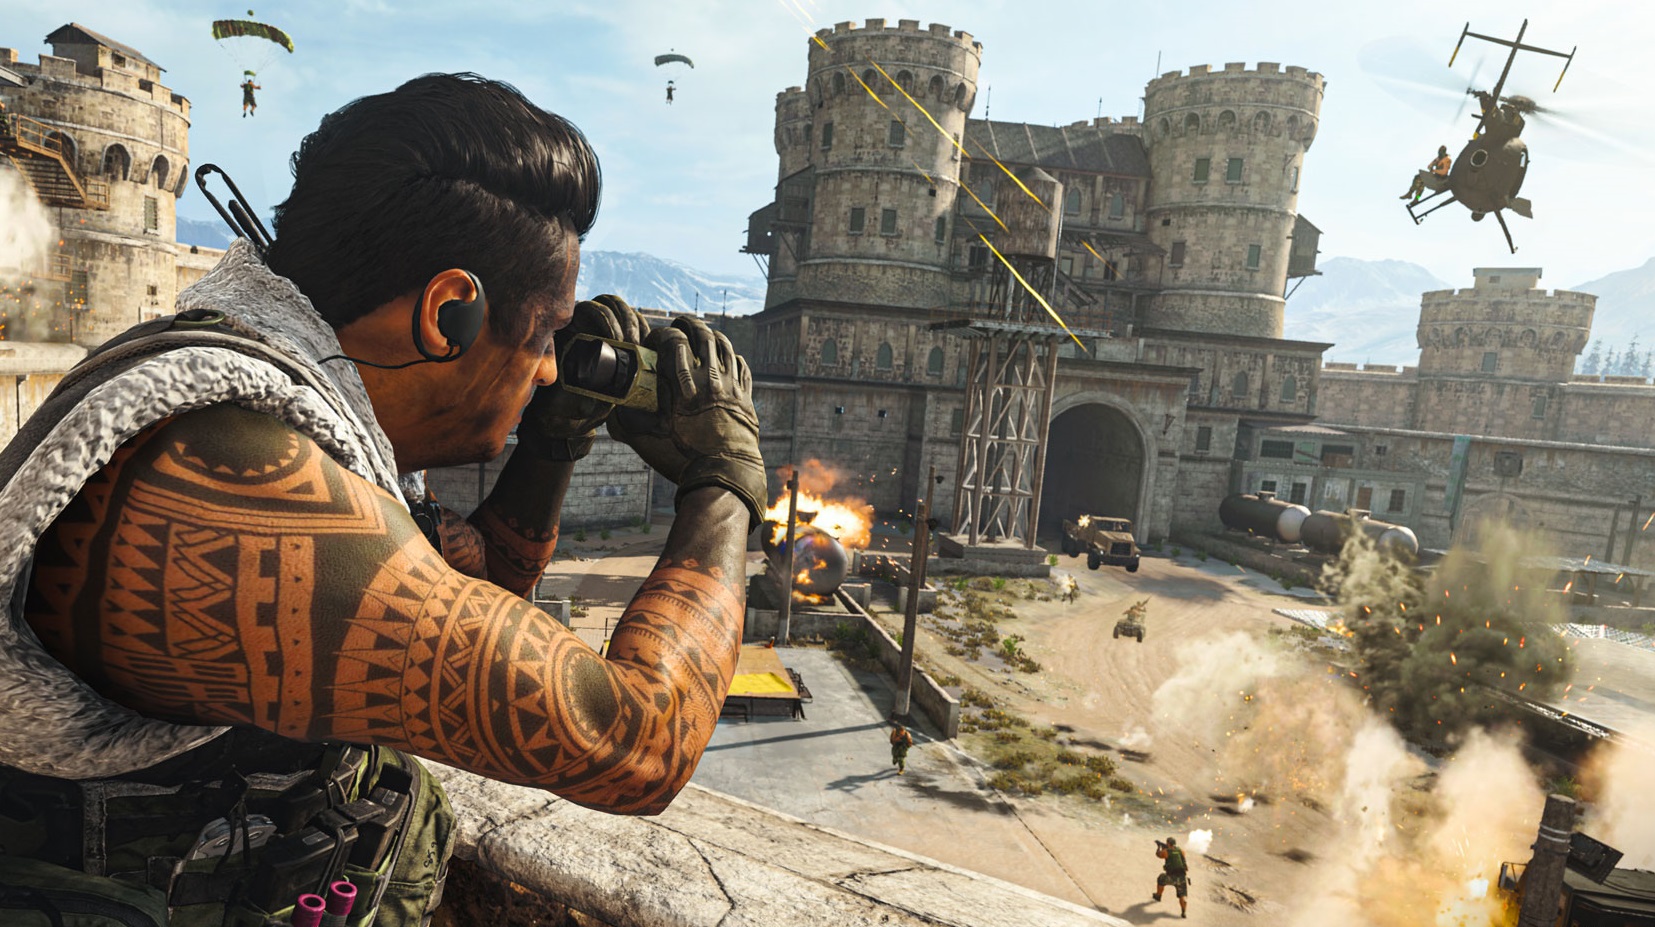
Get to know the Verdansk map
- Verdansk is one of the largest maps we've seen in any Battle Royale game. So if you find yourself on the opposite side of the map from the next circle, you'll need to give yourself lots of time to get there - or use a vehicle (more on vehicles below!).
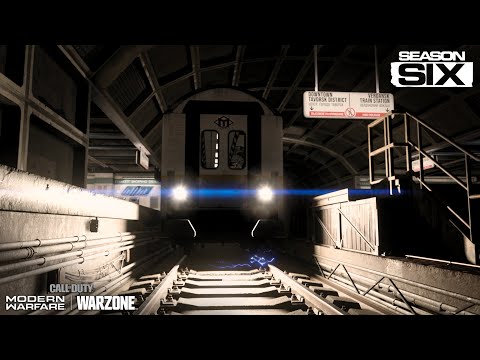
- With Season 6, several key features have been added to Verdansk - the primary of which is a subway system that can be used to fast-travel around the map. You can read more about that here.
- Loot is randomised with each new match, as are vehicle and Buy Station locations. Contract locations are also randomised, but contracts differ in that new ones will appear with each new circle throughout a match (up to a point).
- Loot may be randomised, but certain buildings and overall areas have a higher chance of high-quality loot than others. Our Warzone map locations guide features a guide to the best loot locations across Verdansk.
- The Gas border that slowly contracts and brings players closer together is no pushover. It's far more punishing than its equivalent in most other games, dealing chunks of damage from the very start - and it deals damage to both health and armor simultaneously.
- You can protect yourself from the Gas for a short time using a Gas Mask, but beware when fighting around the border, because the animation of pulling on or taking off a Gas Mask can interrupt your fighting.
- If you're having trouble gauging distance in the enormous map of Verdansk, Ping the map. By looking at the marker in-game you'll be able to see the exact distance you are from that location. This is useful for landing, hunting enemies, or escaping the border.
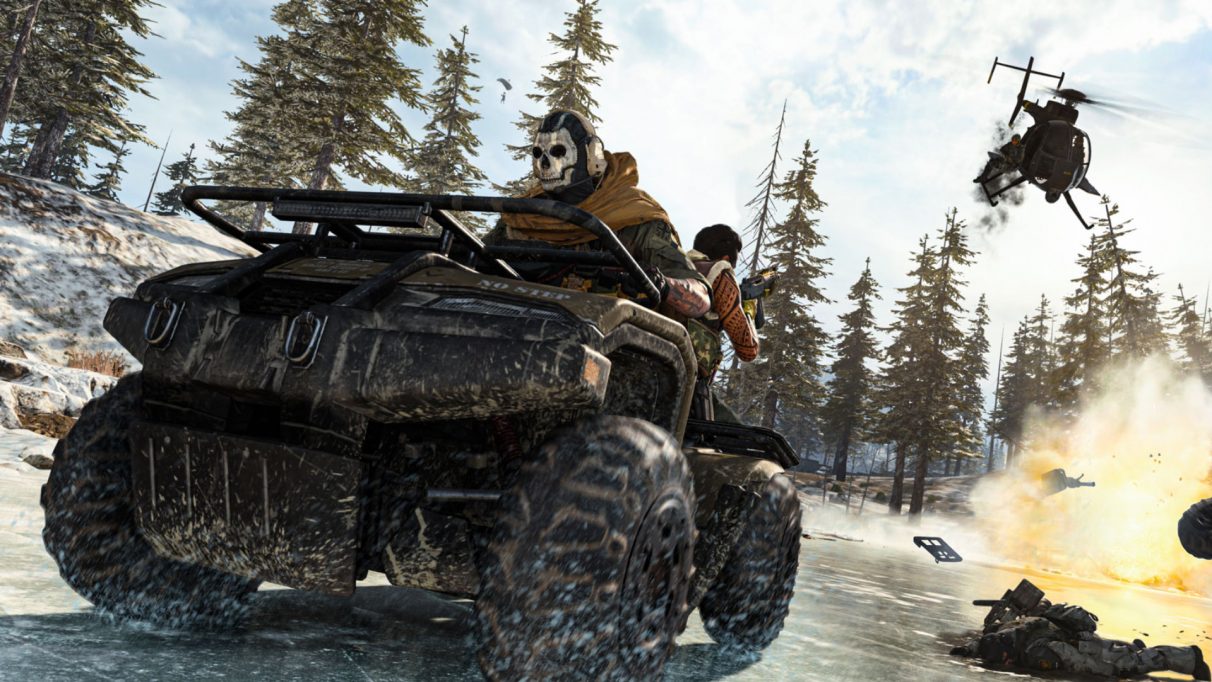
Use vehicles
- There are currently five vehicles in Warzone (four ground vehicles and one helicopter), and their spawn locations are visible on the map from the start of a match. Vehicles controlled by enemies are highlighted in red on the minimap if they're nearby.
- Vehicles are incredibly powerful killing machines in Warzone. If you are touched by an enemy vehicle, you're instantly reduced to zero health. Be very wary when enemy vehicles are nearby. Your top priority should always be to find cover.
- Minimise risk of being shot while driving a Cargo Truck or an SUV by driving backwards. You can drive backwards as quickly and easily in Warzone as you can drive forwards.
- If you're a passenger in a vehicle and you're being shot at by enemies, it's often a good idea to switch positions in the vehicle. This happens instantaneously, so it can be used to great effect to evade shots.
- Explosives are a very powerful tool against vehicles. C4, Thermite, Missile Launchers, and especially the ultra-rare and unique Grenade Launcher, are all capable of heavily damaging or even destroying even the toughest vehicles in seconds.
- Another very powerful tool against vehicles is the Shield Turret. Not only are its shots incredibly powerful against vehicles and anyone who tries to get out of them to kill you; but the Turret is also incapable of being run over even by a Cargo Truck.
- It's commonplace in squads to climb into the back of a Cargo Truck, because it only has one designated "seat". But this means only the driver can see the Cargo Truck's health. So the driver must communicate clearly if the Truck is in danger of being destroyed.
Win in the Gulag
- While spectating in the Gulag, you can throw rocks both at other spectators and at those fighting below. These rocks only deal 1 damage, but they can still be used to distract combatants, or even to detonate Claymores or Proximity Mines.
- If you and your teammate are sent to the same Gulag, the teammate spectating should communicate the enemy's position to you while you're fighting, and vice versa. Use simple callouts like "left", "right", "mid", and "spawn". Information overload is bad.
- The key to success in the Gulag is to use your equipment effectively. Most fights in the Gulag provide you with Stun or Flash grenades. If you hit with one of these, the fight is almost always already over. For more info, check out our Call Of Duty: Warzone Gulag guide!
- If both Gulag combatants are alive at the end of the timer, there is an overtime phase where whoever captures the central flag wins. Importantly, touching the flag will heal you up to full health the first time you do it, providing extra incentive to reach the flag.
- While waiting in the Gulag, go around spraying every enemy you come across in bright colors. That way, when you come to fight them, they'll stand out more against the drab colors of the Gulag.
General Survival
- Normally, when falling from a great height you can deploy your chute to save yourself. But sometimes if you drop off the edge of a building and you're too near to the building's edge when falling, you won't be able to deploy. So be careful with this.
- You can crouch or go prone while you are reviving a teammate. There's no reason not to always do this when reviving, because it minimises the risk of being seen and set upon by enemies while you're preoccupied.
- Unlike many other Battle Royales, in Warzone if you stop reviving a teammate, their revive meter will slowly diminish over time, rather than being set back to zero. This means if you're downed you can use a Self-Revive Kit to complete most of the progress bar, and then your teammate can finish the revive. This won't use up your Self-Revive Kit, so again there's no reason not to do this!
- As well as pooling Cash between teammates, you should always make sure you share out ammo and Armor Plates so that everyone's on a level pegging. Just like with Cash, you can drop these items using the inventory overlay.
- In the Settings for Warzone you can switch your minimap from the default circle to a square. This is a very good idea, because it means the minimap shows more of your surroundings, giving you a slight advantage over circular-minimap users.
- While you're unable to fight, reload, or interact with much while downed, you can still crawl around and - importantly - ping enemies for your teammates that are still fighting. Winning fights in Warzone is all about maximising the amount of information available to you.
And there you have it! Hopefully the above tips will help you to start racking up kills and wins in Call Of Duty: Warzone. But that's not all we've got on Warzone! Check out our guides on the two new Warzone weapons: the SP R-208 and the AS VAL.