Dauntless Embermane - how to kill it

Your first real monster that you have to slay that may give you a few issues is the Embermane. While the Lesser version is more of a tutorial fight than anything else, the older cousins have a few more attacks that you should be aware of, as well as a ton of parts to break for resources.
Those new to hunting Behemoths should brush up on the basics. Head over to our Dauntless Behemoths guide to find the rest of the bosses, or head back to our Dauntless guide & tips for more tips and tricks.
Dauntless Embermane guide
This guide has the full tips and tricks to killing the Embermane boss in Dauntless. It also has the resource table for the Behemoth and how to obtain the resources for each part.
Embermane Stats
- Lesser Embermane: Threat Level 1 (Recommended power: 50)
- Embermane: Threat Level 5 (Recommended power: 200)
- Bloodfire Embermane: Threat Level 10 (Recommended power: 350)
- Bloodfire Embermane Heroic: Threat Level: 15 (Recommended power: 475)
Embermane Elements
- Strong: Blaze
- Weak: Frost

How to kill the Embermane
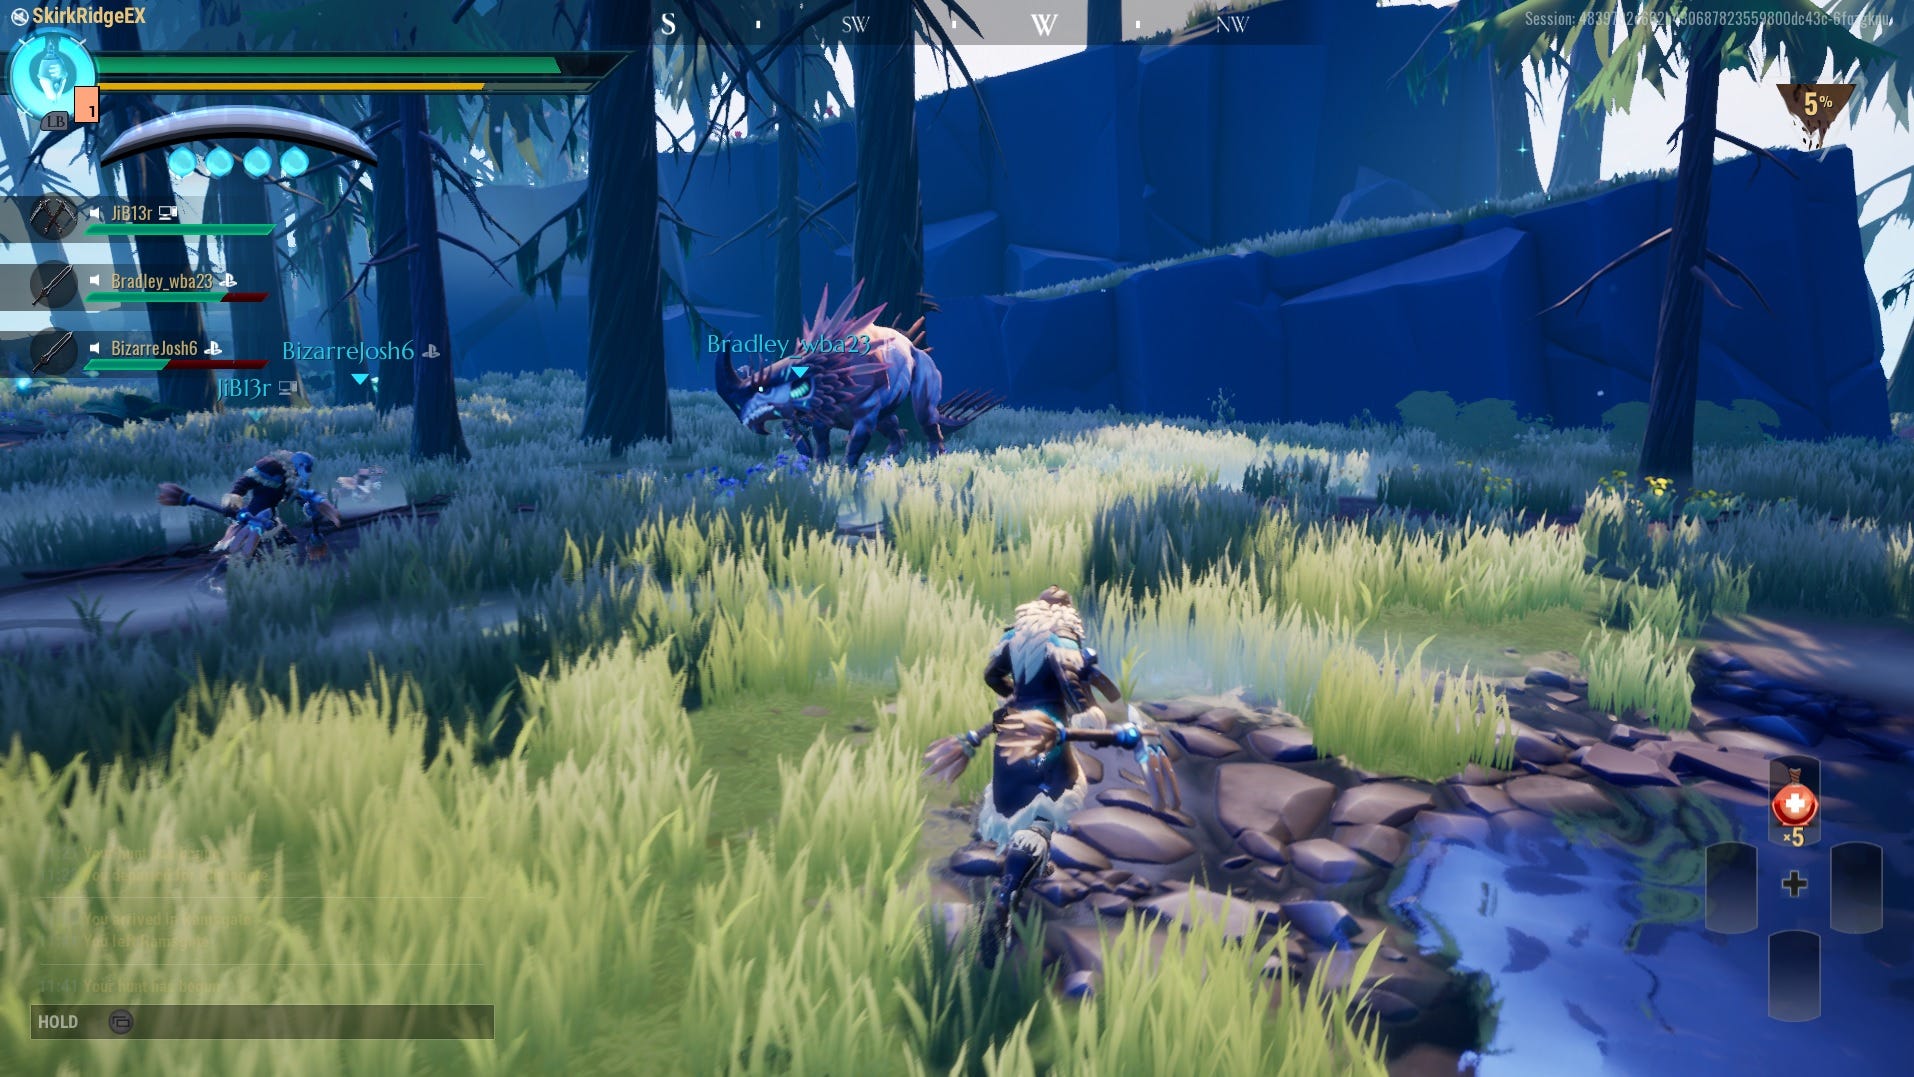
Its main attack is a charge where just before it attacks, you will see a sort of angry flash. This is an opportunity to execute your special attack, so for example, if you have built up charges on your War Pike, this is where you fire off a shot. Doing so will knock it over for a spell, allowing you and your teammates to wail on it. The idea of this fight is to knock it down, while at the same time dodging all of its other attacks. It does have other attacks too. When it's stopped, it can pounce and swipe with its tail, but don't see the time between these moves as a great opportunity to get more than just a couple of hits in. Lesser Embermanes only have the charge attack, pounce and swipes, so should be easy to take down.
As for the regular Embermane and above, it will get annoyed and start running far away. If it bows its head, it's likely to throw a few fireballs into the air. These will land in your last known position, so move out of the way to avoid them. This is usually followed up by a charge, so get ready to topple it. Should you ever be burned, just roll three times to get the fire off of you.
When it becomes Aether-Charged, indicated by flames coming from the beast, there are a few more attacks it can do. It can either breathe one wave or multiple waves of fireballs, depending on how close to death it is. Try to run towards it if you suspect the multiple wave of fireballs as you can sneak around to the side and pummel it with attacks. It can also jump backwards when you're close to it, which will rain fireballs in an arch in front of it. Rolling towards it should solve the issue of getting caught in the flames. It's relatively easy to kill thanks to its severe weakness to being hit in the head, especially with strong attacks, so try to keep into a pattern and you should overcome this beast.
Embermane resources
Before we go, here are the resources you can obtain for slaying and damaging the Embermane. These are a 100% chance to obtain the items, as long as you break specific parts.
| Resource | How to get resource | Variants |
|---|---|---|
| Embermane Hide | Slay the Embermane | All |
| Emberhorn | Break its horn | All |
| Savage Hooktooth | Break its head | All |
| Smoked Dewclaw | Break its legs | All |
| Burning Tailspike | Sever its tail | All |
| Smoldering Bloodhide | Slay the Embermane | Bloodfire Embermane |
| Bloodsoul Shard | Slay the Embermane | Bloodfire Embermane |
| Bloodfire | Slay the Embermane | Heroic Bloodfire Embermane |
That's it for our Embermane guide, but we'll have more boss guides coming soon. For more on what you can build with the Embermane resources, go to our Dauntless weapons and or Dauntless armor guides respectively.