The Division 2 activities - Bounty, Propaganda Broadcast, Resource Convoy tips and tricks
Sorting your Bounties from your Public Executions

Tom Clancy's open-world rendition of Washington D.C. in The Division 2 supplies players with a wide variety of activities and objectives besides the plethora of Main Missions and Side Missions to conquer on your way to Level 30. At any given moment you're likely to be only a street or block away from some sort of altercation with an enemy faction; a Public Execution, perhaps, or a contested Control Point. Our The Division 2 activities and world events guide will walk you through each of these objectives one at a time, so you know what to expect and how best to deal with each one.
If you're after a more general overview on Tom Clancy's latest open-world loot-and-shooter, check out our main The Division 2 guide, which is packed with beginner's tips and links to our sections of our guides series, from stats and explanations of the different The Division 2 weapons/guns to all The Division 2 best builds, and much more.

The Division 2 activities guide - tips for all world events
There are nine different types of smaller The Division 2 activities and world events that you may come across during your travels across D.C., and the vast majority of them involve dealing with incoming waves of enemies as you work to complete a certain task. Click on any of the links below to skip to a specific activity explanation.
| Bounties | Control Points | Contaminated Zones |
| Propaganda Broadcasts | Public Executions | Rescue Operations |
| Resource Convoys | Supply Drops | Territory Controls |
Bounties
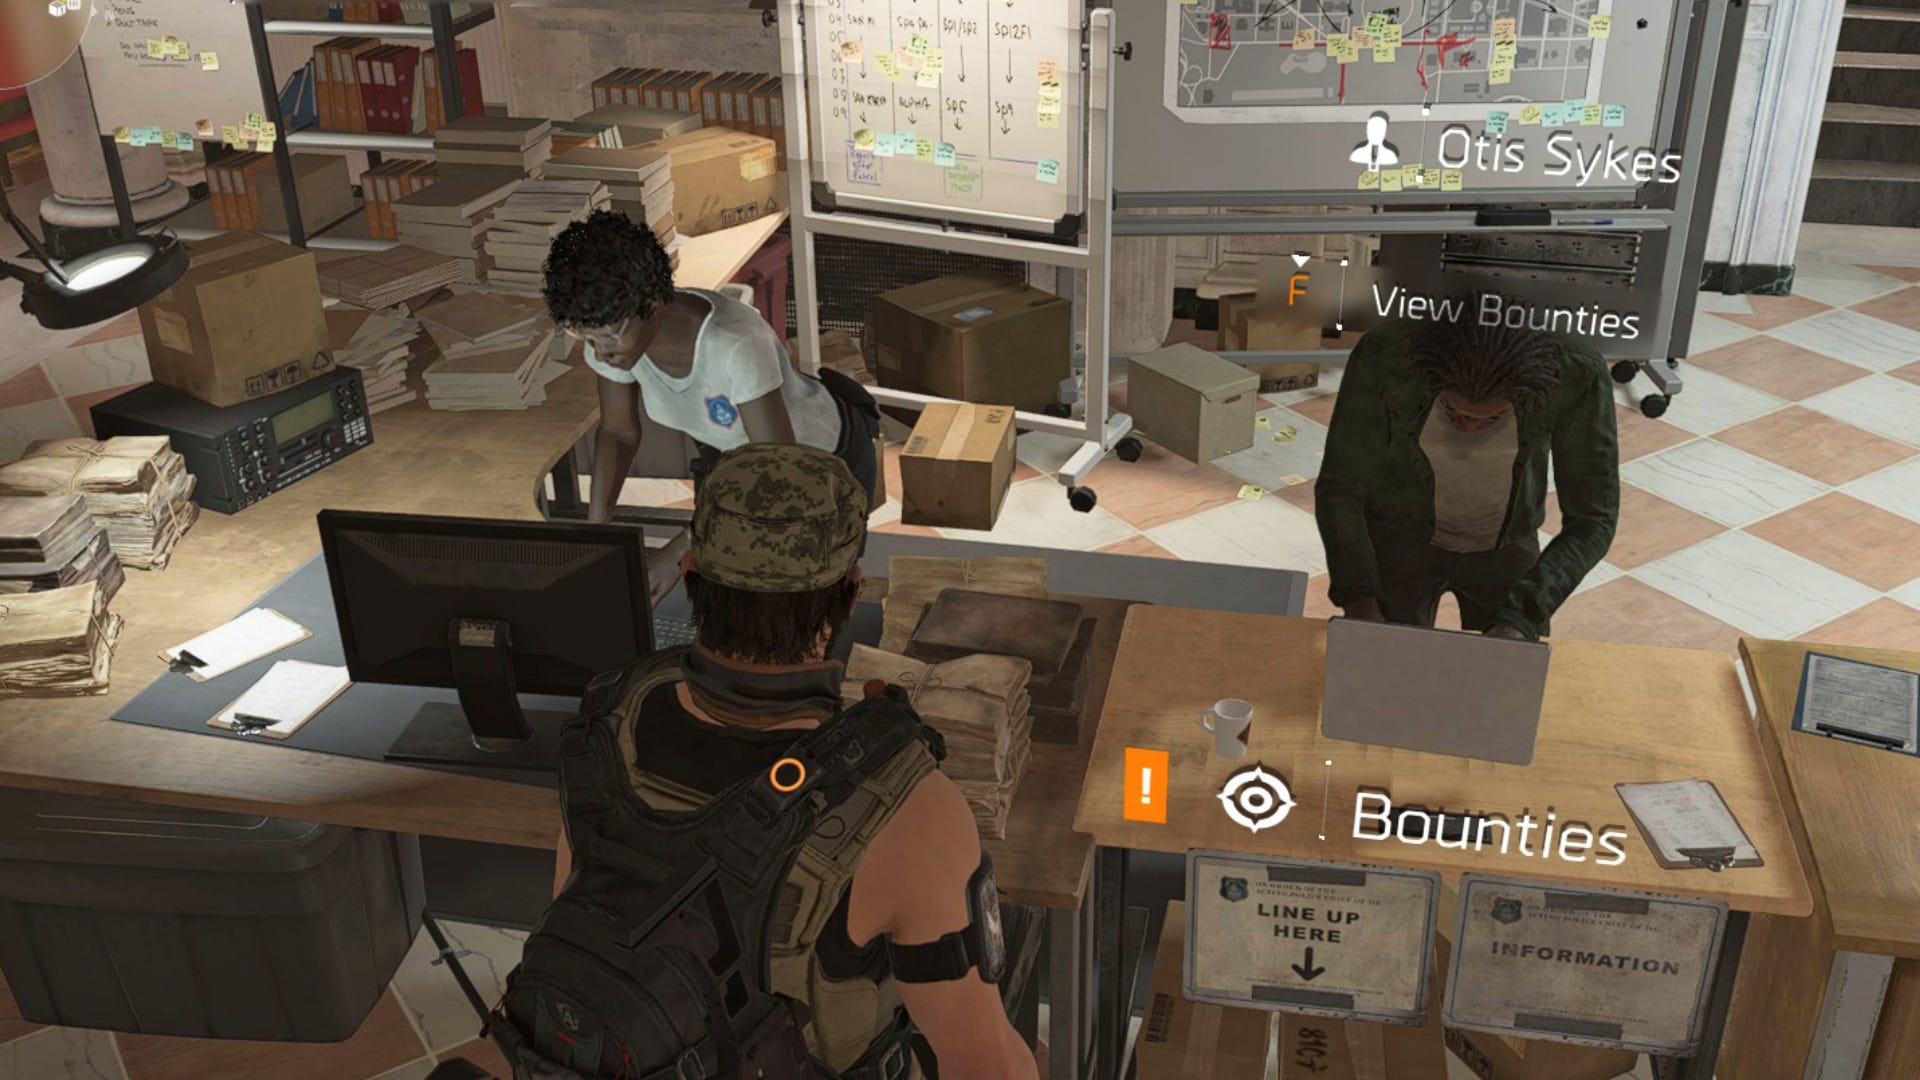
Bounties only become available after you recruit Otis Sykes by completing two of the main missions for the Campus Settlement (for more information on unlocking each of the different staff members, check out our dedicated The Division 2 staff guide). After this, you can speak to Otis back at your Base of Operations, and trade Intel for new Bounties on various procedurally generated NPC bosses.
This Bounty system completely replaces the High Value Target system employed in The Division 1, and unlike in The Division 1 if you fail a Bounty mission then you will still get a chance to try it again - but the enemy will relocate and deploy extra protective measures to defend themselves from the attack they now know is coming.
Bounty targets are powerful Elite enemies that act like Division agents in that they can utilise certain perks and skills available to players. Once a Bounty has been activated you'll only have a limited time (15 minutes) to track them down, and force them to show themselves by killing their entourage of enemy troops.
Bounties become even more important and dangerous in the Endgame, with more powerful enemies that earn you even greater rewards.
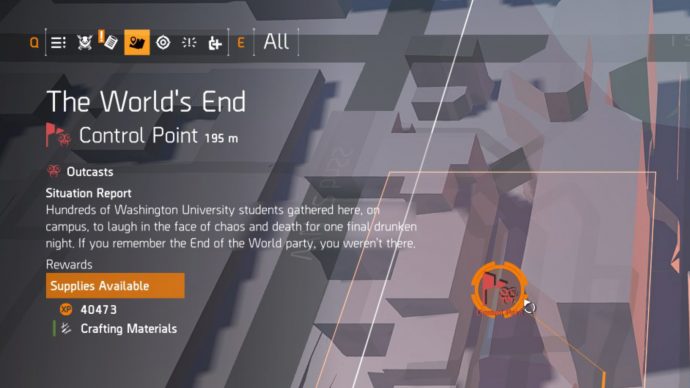
Control Points
Control Points are perhaps the most important of all world events in The Division 2, for several reasons. Firstly, while all the other events listed here provide a 5% XP gain towards your next Level, completing a Control Point objective nets you a lucrative 15% in Experience - that's half the amount of a whole Side Mission. What's more, once you have captured a Control Point, you can use it as a Fast Travel point at any time from your map. This, in addition to the unlocking of a Supply Room which usually grants some excellent weapons and gear, along with the ability to contribute resources to further the goals of the Resistance.
Control Points are marked on the map by a flag icon - red if they're controlled by an enemy faction, white if they're neutral/contested, and green if they're controlled by the Resistance. You'll know if you walk into an enemy Control Point because there'll be a red border in-game that you step through, and you'll receive a prompt (if you're under the open sky) to call nearby allies to help take over the Control Point.
Begin the objective either by attacking the enemies there or by calling nearby allies (which will attract the attention of all nearby enemies as you shoot a flare up into the sky). I prefer to deal with all the enemies first before calling for your allies - this way, you'll have to deal with one wave, headed by a single Elite gold enemy, and then you can shoot the flare, which will begin the second wave, headed by another Elite enemy.
It's very common with Control Points for the second wave to come from a different direction than the enemies of the first wave, so be careful where you position yourself, and pay close attention to your minimap, which will notify you of the directions of nearby enemies. Once all enemies are defeated and your allies arrive, the mission will be completed; you can then follow the white indicator on your HUD to the Control Point's Supply Room, which always contains 5 different items to loot, providing you with a variety of resources and new gear.
You can also speak to the main officer of the NPC allies that came to your aid in order to deliver resources to the Control Point. If you've unlocked the Detection Perk(s), then delivering all the required resources will enable you to detect loot and enemies around the area for the next 10 minutes.
For more information on Control Points, check out Dave's The Division 2 Control Points guide.
Contaminated Zones
Contaminated Zones are marked by a red biohazard icon - not to be confused with the purple biohazard icons of the various The Division 2 Dark Zone areas. The entrances to these Contaminated Zones can be quite cleverly hidden away, requiring you to do some searching around the general vicinity to figure out how to get into the area itself.
The good news is that, once inside, you'll have access to three hidden collectibles (in the form of Phones) per Contaminated Zone. Each collectible will give you a 1% XP boost towards your next level, meaning the full Zone gives you 3% XP. Not as much as the other side activities you can encounter, but that's to be expected, as Contaminated Zone activities don't involve dealing with any enemy forces.
Propaganda Broadcasts
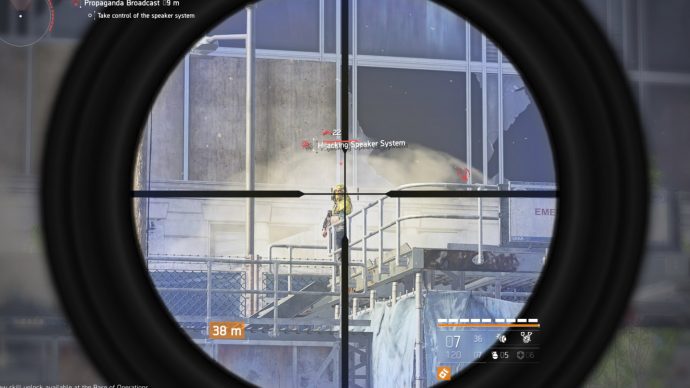
Propaganda broadcasts are dotted all about Washington D.C., and will provide you with a nice 5% XP towards your next level upon completion. These tasks are usually not very difficult either. Simply head towards where the Broadcast is taking place (you'll start to hear the broadcast itself as you approach), and then kill the handful of enemies that are standing guard around the tower.
You must then approach where the broadcast is being controlled, and interact with it to start shutting it down. Doing so will display a progress bar that fills up in steps, with further waves of enemies approaching between each step. These enemies will usually emerge from different directions, so be sure to reposition yourself with each wave to ensure you are incapable of being flanked. After each wave is defeated, you must return to the broadcast and continue the process of shutting it down.
After 2-4 iterations, the Propaganda Broadcast will be shut down and the mission completed. You'll be rewarded with a handsome sum of XP for your troubles, after which you may continue along your way to the next activity that requires your attention.
Public Executions
Public Executions are (unfortunately) happening all over the place in The Division 2. The good news is it's not too hard to stop one from taking place if you happen across it.
Speed is necessary in completing this task to the best of your ability, because the enemies will usually have captured multiple NPC allies, and the rewards you gain depends on how many of the hostages you manage to keep alive. The moment you emerge to disrupt the execution, the hostages will attempt to fight with you, which somewhat of a mixed blessing as they can get themselves killed quite easily when left to their own devices.
Aim to take out the first group of enemies (the ones actually doing the executing) as quickly as possible, taking advantage of their obliviousness to your presence to kill them off before they have a chance to duck behind cover. Another wave or two of enemies will emerge at this point, which you'll need to deal with in the same way to avoid the deaths of your allies.
Once the final enemy is defeated, you'll be rewarded with 5% XP towards your next level, along with a sum of credits and/or resources for your trouble.
Rescue Operations
Rescue Operations are very similar to Public Executions, and behave quite like a Main Mission or Side Mission in structure. Your task with these activities is to battle through enemies to reach the area where the hostages are being held. Unlike Public Executions these hostages will stay put, and cannot die, so you don't need to worry about one of them suddenly being overcome with a desire to run forward and headbutt the lead shotgun-touting enemy.
Rescue Operations tend to be a little more tricky and numerous in enemy forces than Public Executions, but still not on the same level as a Control Point. You'll be rewarded for defeating all the enemies with 5% XP towards your next level, along with credits, items and/or resources.

Resource Convoys
Resource Convoys are a world event you won't come across until you complete a handful of Main Missions for the Campus Settlement. After this, you'll start seeing them all over the place, in two forms: friendly, and enemy convoys. Both types require your attention at times - friendly convoys can come under attack, requiring you to help defend the Resistance forces against 2 or 3 waves of enemies. Enemy convoys, however, are up to you to take over, by defeating all the enemies escorting the convoy.
Capturing enemy Resource Convoys is one of the most efficient methods of gaining crafting materials and other resources such as food and water, and they're not too difficult to take down either. They'll also provide you with a 5% XP boost towards your next level.
Supply Drops
Supply Drops are an interesting departure from regular world events and activities in The Division 2, mostly because of how the enemy forces behave with this activity. Supply Drops appear in the form of big yellow/orange crates, and when you see that one has landed nearby, you should aim to get to it as quickly as possible, because in less than a minute you'll have to contend with multiple enemies from all sides looking to take the Drop's contents for themselves.
What's important to recognise here is that the enemies will be less focused on killing you (though that would of course be a plus from their perspective) and more focused on stealing the contents of the Drop. As such, it's important to pick a location close to the Drop itself, and don't take your eyes off it while you're fighting. I'd also refrain from looting the Drop yourself until the enemies are defeated, because you'll need to interact with the crate for several seconds to open it, during which you are exposed and will receive additional damage from all incoming enemy fire.
Aside from the 5% XP boost you'll receive for completing this activity, the Supply Drop itself will often bestow upon you a high-level item or weapon, making them well worth going for.
Territory Controls
Territory Control activities are like a cross between a Control Point and a Supply Drop. They'll occur all over Washington D.C., and they generally involve a single outdoor location guarded by a multitude of enemies, much like a Control Point.
Killing all these enemy forces will prompt another wave containing a similarly large group of enemies, and this time you don't get the element of surprise as they all know where you are. One of these reinforcements is holding a key on their person that will drop when you kill them. This key allows you to unlock a supply chest that can usually be found in the centre of the Territory Control area.
Defeating all the enemies and completing the activity will result in a 5% XP gain towards your next level, along with the contents of the supply chest, which usually contains a variety of materials and items for your looting pleasure.
And that's all we've got for now on the various kinds of side activities and world events in The Division 2. Now you can go out and free-roam the streets of Washington D.C. in full confidence of your ability to deal with any situation that arises.