Sekiro Shichimen Warrior - how to defeat him
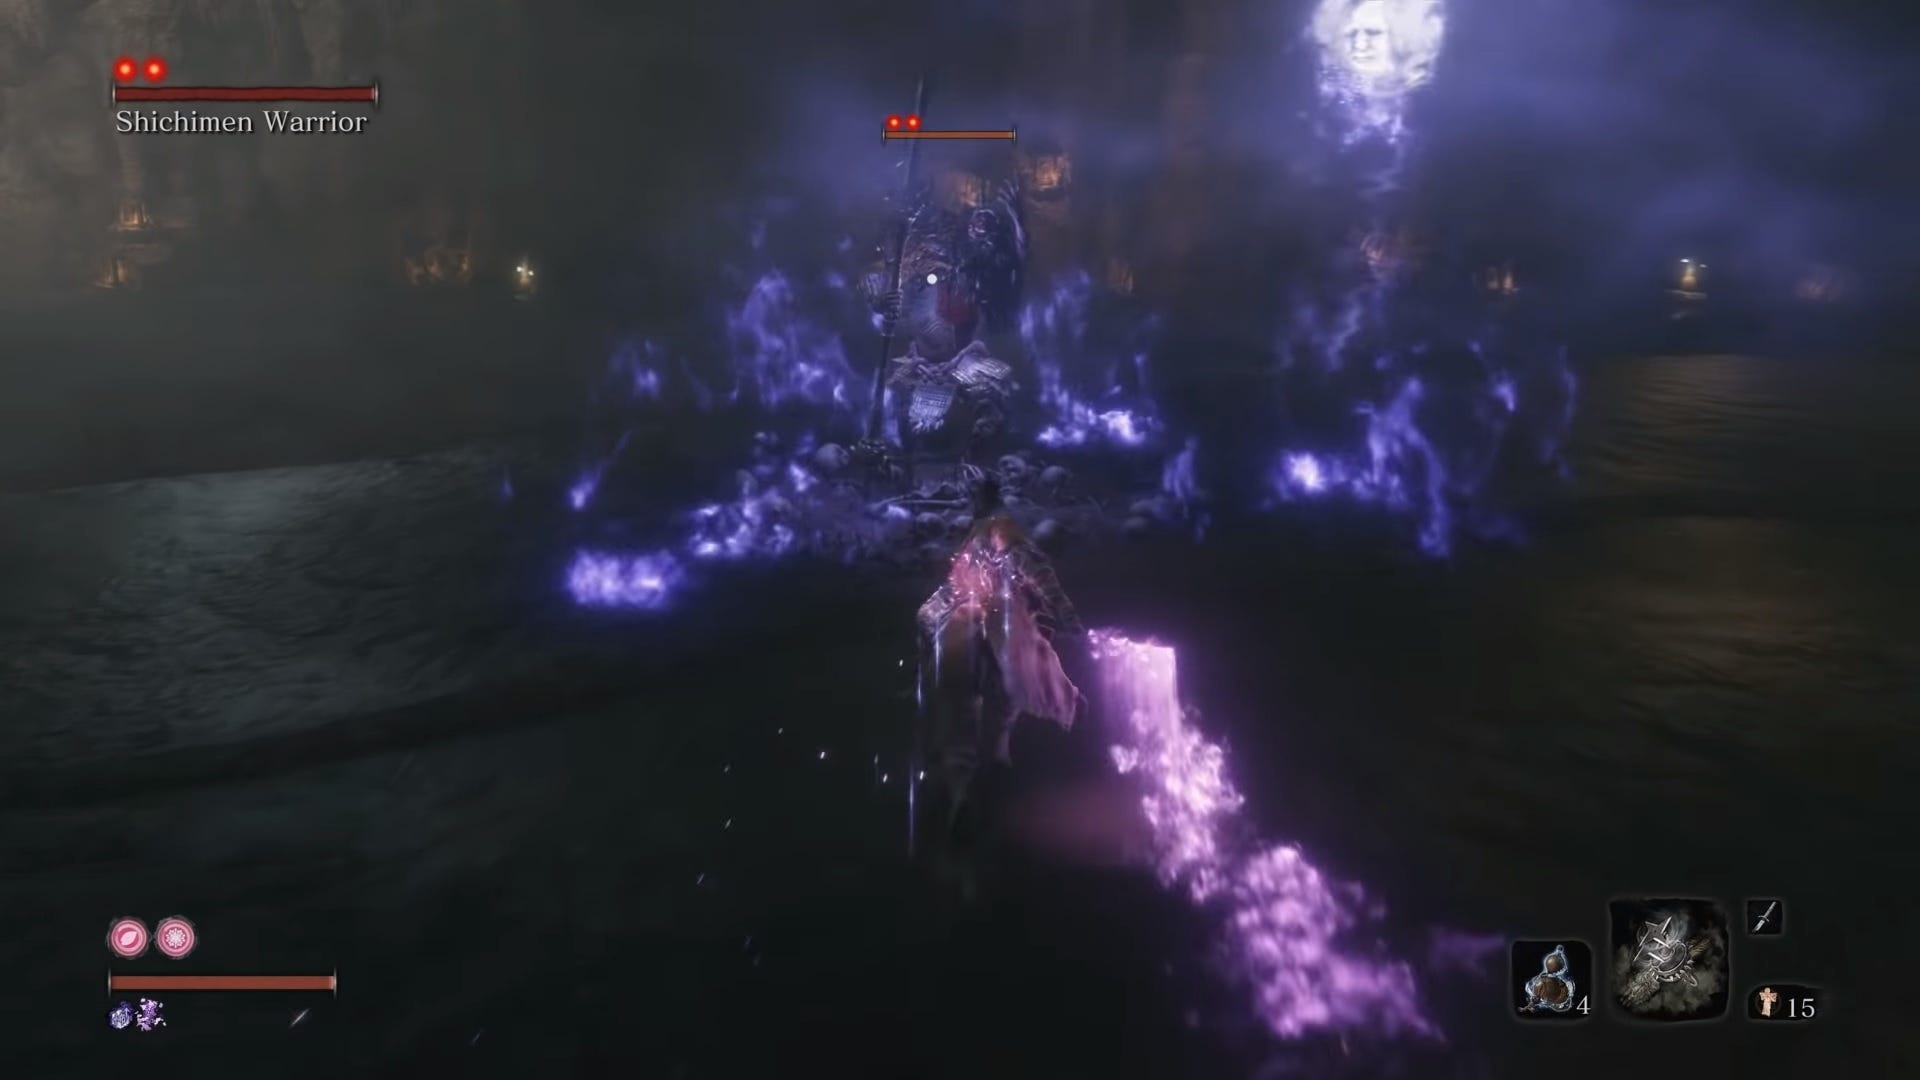

Now that you've had a taste of a boss that uses one of the more annoying status ailments in Sekiro: Shadows Die Twice, it's time we head back to the Abandoned Caves and see what all the purple stuff in the centre is all about. Turns out it's the Shichimen Warrior and by getting too close, you've incurred his wrath.
Those new and old to the library of From Software may wish to know more tips and tricks to get started, as well as some of the more complicated things that can occur while playing. Head to our Sekiro: Shadows Die Twice guide hub for everything you need to know.
There is now a dedicated Sekiro: Shadows Die Twice boss where you can find tips for the many bosses of the game. Head to our previous boss guide - Sekiro: Shadows Die Twice Headless if you want to know more about the first encounter with their nasty status ailment.
Sekiro: Shadows Die Twice Shichimen Warrior guide
In this guide, we will go over the Shichimen Warrior, his attacks and why having both Divine Confetti and Pacifying Agents active make this boss a significantly easier time against terror.

How to kill the Shichimen Warrior
If you have already fought and defeated the Headless man, the same principles apply with this fight. Have both Pacifying Agents and Divine Confetti active at all times. The agent will reduce the amount of terror built up per hit, while Divine Confetti has the lovely side effect of dispelling the magic the Shichimen Warrior uses. The Confetti is pretty much mandatory for this fight. If you need more of the Divine Confetti, I highly recommend heading back to Ashina Castle interior (just before the Genichiro fight) and killing blue samurai as they have a small chance to drop it.
As a magic wielder, his focus is more on sending as much purple stuff at you as possible. However, by swinging your sword, the magic will disappear, leaving him helpless to further attacks. He does have larger balls that he can throw at you, by leaping into the sky. Throw a shuriken to take him out of the sky and interrupt his magic. If the larger balls do appear, attack with the Divine Confetti imbued sword to get rid of them, otherwise they'll definitely hit you and cause a lot of terror damage - which when filled instantly kills you.
Even though he doesn't like using physical attacks, he can occasionally swing his staff, but it's very easy to tell when he's doing this and you can deflect it with ease. The only other thing that you should know is that when he blocks your attack, he'll disappear soon after. Don't follow him when he does this as you won't hit him and it could prove fatal. He'll eventually reappear nearby, a bit like the Crystal Sage from Dark Souls III, before firing a concentrated laser. As soon as you spot him, sprint towards his side to avoid his laser. He'll also throw smaller orbs at you in waves, so just keep running and dodging until you get close.
With two health stocks, he's not too difficult to take down. Your rewards for killing this pesky creature are 786 experience towards your next skill level, and the Ceremonial Tanto - a dagger that when used will convert your vitality into Spirit Emblems. You can head to our previous guide - Sekiro: Shadows Die Twice Headless if you want to know how to defeat the optional boss fight that also uses terror. The next main obstacle is a man who can't die, so find out how to get rid of him in our Sekiro: Shadows Die Twice Armored Warrior guide.