Rainbow Six Siege Maverick: Y4S1 update, what he can do and how to use him
Light 'em up
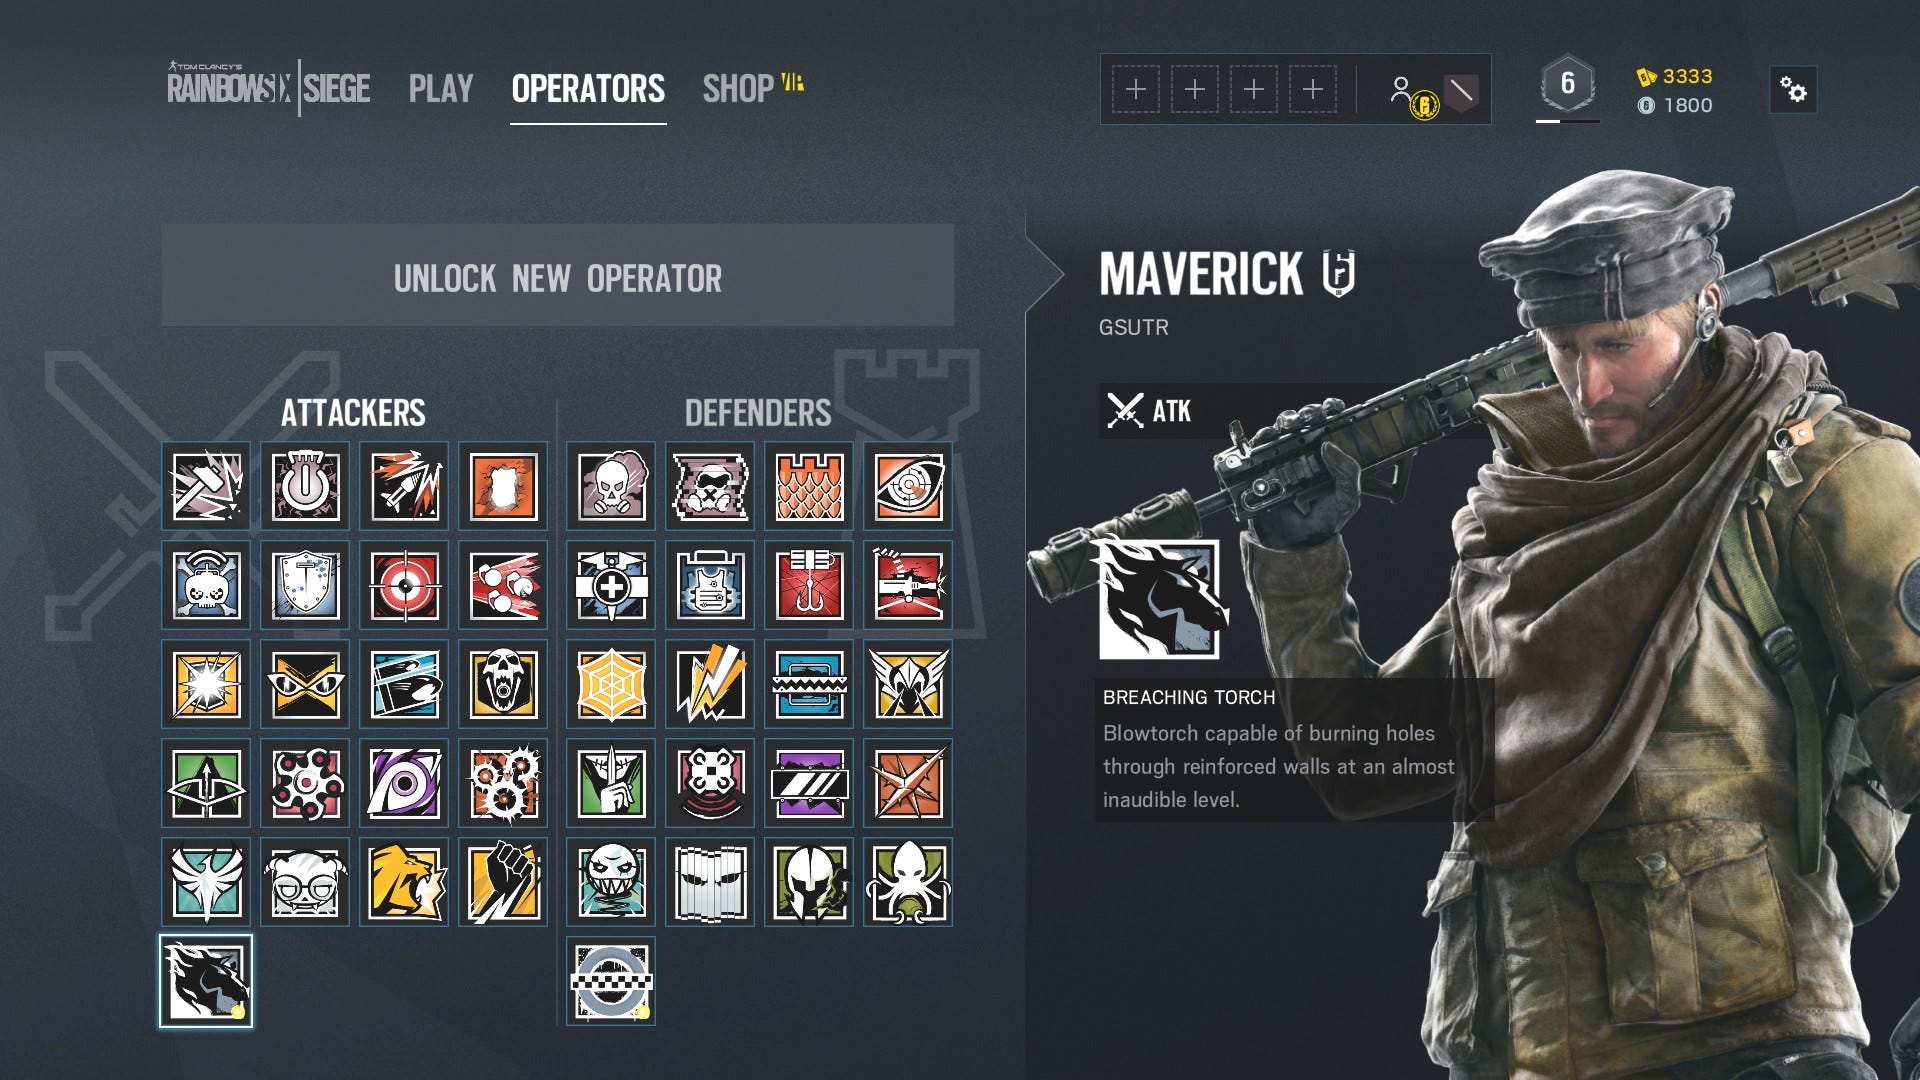

Most breaching attackers in Tom Clancy's Rainbow Six Siege make a lot of noise, but Maverick takes a slightly more stealthy approach. His blowtorch can bore holes into just about anything, but its limited fuel capacity makes it tough to use right. The time it takes to swap between his breaching torch and weapons has increased in Y4S1, so this guide will go over how to use the blowtorch effectively, as well as the stats, weapons, and gadgets that Maverick has to offer.
Maverick operator guide
With Maverick's blowtorch comes a few new possibilities for attacking players, as well as a new thing for defenders to watch out for. You can get some more general tips and tricks at our Rainbow Six Siege guide hub to help even further master your skill with this operator, but the main thing to keep in mind is that there are good ways and bad ways to use his blowtorch.
Maverick's Stats
Armour: 1
Speed: 3
Maverick's Weapon Loadouts
Maverick has access to both the AR-15.50 assault rifle and the M4 assault rifle. Both are powerful options, particularly if you're using a muzzle break and vertical grip attachment for both. It depends on your play style. I personally prefer the single shot power that the AR-15.50 provides, as well as being able to break down walls easily, but the fully automatic M4 is still a good choice. Maverick's secondary weapon is the 1911 TACOPS handgun, which also has good damage, but relatively low capacity.
Maverick's Gadgets
With both stun grenades and claymores, Maverick has some decent options no matter which one you choose. You can burn a hole in the enemy's fortifications, then chuck a stun grenade inside to begin an assault. Alternatively, you can burn a hole and plant a claymore near it, creating a makeshift trap in the process. Either option is viable so it depends on which strategy you'd like to implement.
Maverick's Skill
Maverick's breaching torch is surprisingly versatile as far as getting through enemy defences goes. It can cut through just about anything, from reinforced walls to Castle's fortified barricades. It can even cut through deployable shields. Barbed wire is a bit more cumbersome to deal with however, so it is best just to melee attack it. The main advantage compared to other breaching tools is that it's really quiet, and can also decimate some of the other skills such as Evil Eye, jammers, or traps.
Perhaps the biggest thing that Maverick can do is handle Mira's Black Mirror ability by cutting into the pins from the other side to disengage them, or burrow a small hole underneath it while crouched, then fire a shot at the canister. This allows for assaulting it in the front, which is unique to Maverick.
Another good trick is to do with reinforced walls specifically. While I've not been able to confirm if this is still the case, there was a trick unearthed recently (and highlighted in the video below by Youtube user "coreross") where if the enemy has reinforced a wall, you can take down that reinforced part by tracing the line in a particular way. Note that this doesn't tear down the whole wall, just the reinforcement around the area where you have traced the line. The advantage to this is that you can manipulate this to your advantage, creating a near perfect piece of wall to shoot down enemies with relative safe cover to hide behind.

One thing to keep in mind is that while it is possible for Maverick to create entry holes, that's not the best use for him as it costs a lot of fuel. If you just make small holes, you can create murder holes in all sorts of places - walls, hatches, ceilings, you name it. Above all else though, don't reload the fuel if you're running low. You'll lose the fuel that is left for the rest of the match, so if in doubt, try to efficiently use the gadget where possible.
Another thing is that there isn't a great deal that you can do to impede on Maverick's breaching ability. The biggest drawback is that cutting holes is laborious, taking a long and dedicated effort to cut holes with his gadget. There's also the trick of standing to one side and cutting holes that way, though if they're cutting into a standard wall you can just shoot the sides as bullets go through them. Maverick is much safer when breaching reinforced walls, so the best thing to do is not fortify walls if you know a Maverick is on their team. If you're Castle and find that a Maverick player has cut through your barricade, but not destroyed it, you can take it down and put it back up again to fully restore it to its original form. Finally, it's worth noting that the time it takes to switch to weapons from the SURI Torch has increased, so be careful when you switch between the two.
Should I pick Maverick?
Maverick's guns are very competitive compared to the rest of the roster, but the main thing is that he combines his ability with many others to allow them to be extremely effective. He can fulfil a sneak attacking role to allow for enemies to be distracted by louder breaching players, but he can also counter a lot of the enemy abilities just by using his blowtorch. In fact, his biggest obstacles are that his blowtorch is very slow to use and barbed wire is a bit of a hindrance. A very effective attacker with a huge amount of utility.
So you want to know why taking out the enemy's abilities and traps is a vital thing for Maverick players to consider? You can look at our main Rainbow Six: Siege operators guide which has links to each individual operator, as well as an overview on the more universally useful ones and which ones beginners should consider learning.