Fortnite Storm guide (V8.00) - Fortnite Storm Eye, Storm stats, Storm tips and tricks
Stormchasers rejoice

The Fortnite Storm is one of the battle royale's key ingredients, forcing players into each other's paths as they struggle to stay within the ever-shrinking Safe Zone and remain standing at the end of the match. Anyone who's played even a little bit of Fortnite is likely to have a general familiarity with the Storm's slow conquest across the map, but actually the Storm's inner workings are more complex and interesting than you might expect.
Our fully updated V8.00 Fortnite Storm guide will walk you through everything you need to know about the Storm and Storm Eye, including explanations of its various stages, useful stats to keep in mind during a match, and some pro pointers to help you reach the final circles in one piece.
Over the past month we've put together an entire series of guides covering every aspect of Fortnite's Battle Royale mode, so if you're looking for a broader overview you can take a look at our Fortnite guide. There you can also peruse our other more focused pages on Fortnite week 6 challenges, Fortnite building and editing, Fortnite weapons and stats, and much more. So take a look!
Fortnite Storm tips
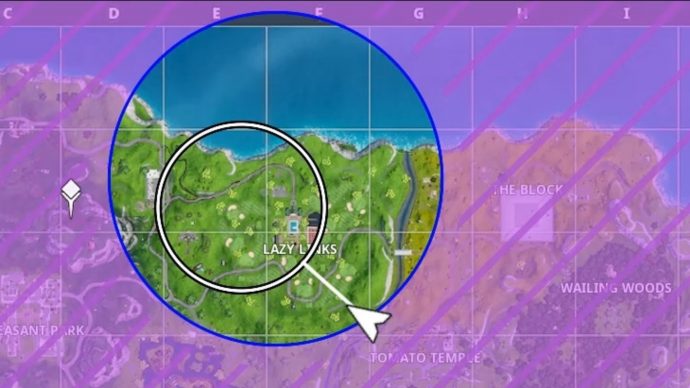
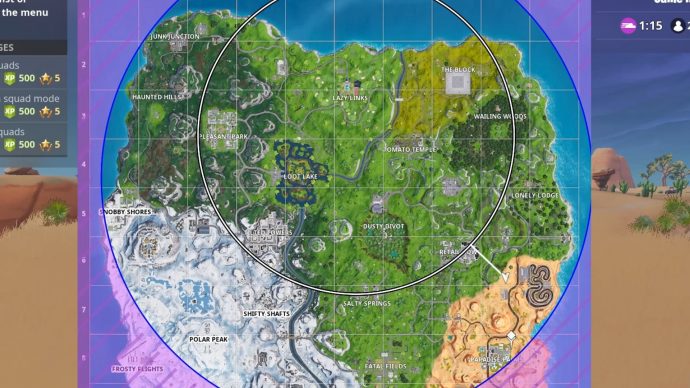
The Storm's position is always shown on the map (and the minimap) throughout the course of a match. The blue circle on the map shows the current Storm location, and the white circle shows where the next Safe Zone will be. Anything outside this white circle will soon be covered by the Storm, so you'll have to keep an eye on the map to avoid taking damage.
If you're outside the next Safe Zone, a white line will appear on the map as an indicator of the most direct path to the Safe Zone. If you're being pushed by the Storm, it's best to follow this path as exactly as possible to minimise the distance you need to travel.
If you're caught in the Storm, you will take damage every second until either you escape the Storm or you die.
Fortnite Storm stats and phases
Each phase of the Storm is comprised of a "wait time" and a "shrink time". During the wait time, the new Safe Zone appears on the map but the Storm does not yet move in, giving players time to move into the next circle. After this wait time, the shrink time begins, during which the Storm shrinks until it reaches the new Safe Zone.
Each new Safe Zone is randomly placed, but later circles are so-called "moving" circles which can be placed outside the current Storm. This prevents players from reaching safety during the wait time, so everyone must move simultaneously during the shrink time and are more likely to run into each other.
Below I've outlined what you can expect from the Storm at each of its phases throughout a standard match. For the purposes of clarity, I've treated the beginning of the timeline (i.e. 0:00) as the moment the Battle Bus finishes its flight path, because this is when the Storm comes into play.
| Storm Phase | Timestamp | Wait Time | Shrink Time | Storm Damage | Storm Behaviour |
|---|---|---|---|---|---|
| 1 | 0:00 | 3 minutes 20 seconds | 3 minutes | 1 per second | Non-moving |
| 2 | 6:20 | 2 minutes | 2 minutes | 1 per second | Non-moving |
| 3 | 10:20 | 1 minute 30 seconds | 1 minute 30 seconds | 2 per second | Non-moving |
| 4 | 13:20 | 1 minute 20 seconds | 1 minute 10 seconds | 5 per second | Non-moving |
| 5 | 15:50 | 50 seconds | 60 seconds | 8 per second | Moving |
| 6 | 17:40 | 30 seconds | 60 seconds | 10 per second | Moving |
| 7 | 19:10 | 0 seconds | 55 seconds | 10 per second | Moving |
| 8 | 20:05 | 0 seconds | 45 seconds | 10 per second | Moving |
| 9 | 20:50 | 0 seconds | 45 seconds | 10 per second | Shrinks to nothing, forcing an end to the match shortly after 21:35 |
Fortnite Storm Eye - Last Circles
As you can see, the final circles are by far the deadliest, with no wait time before moving, and a staggering 10 damage per second. So death will find you very quickly if you aren't properly equipped with fast-acting healing items (sorry, Chug-Jugs!).
It's also imperative during the "moving" circles in particular that you have accrued enough materials to protect yourself as you make the run to the next Safe Zone.
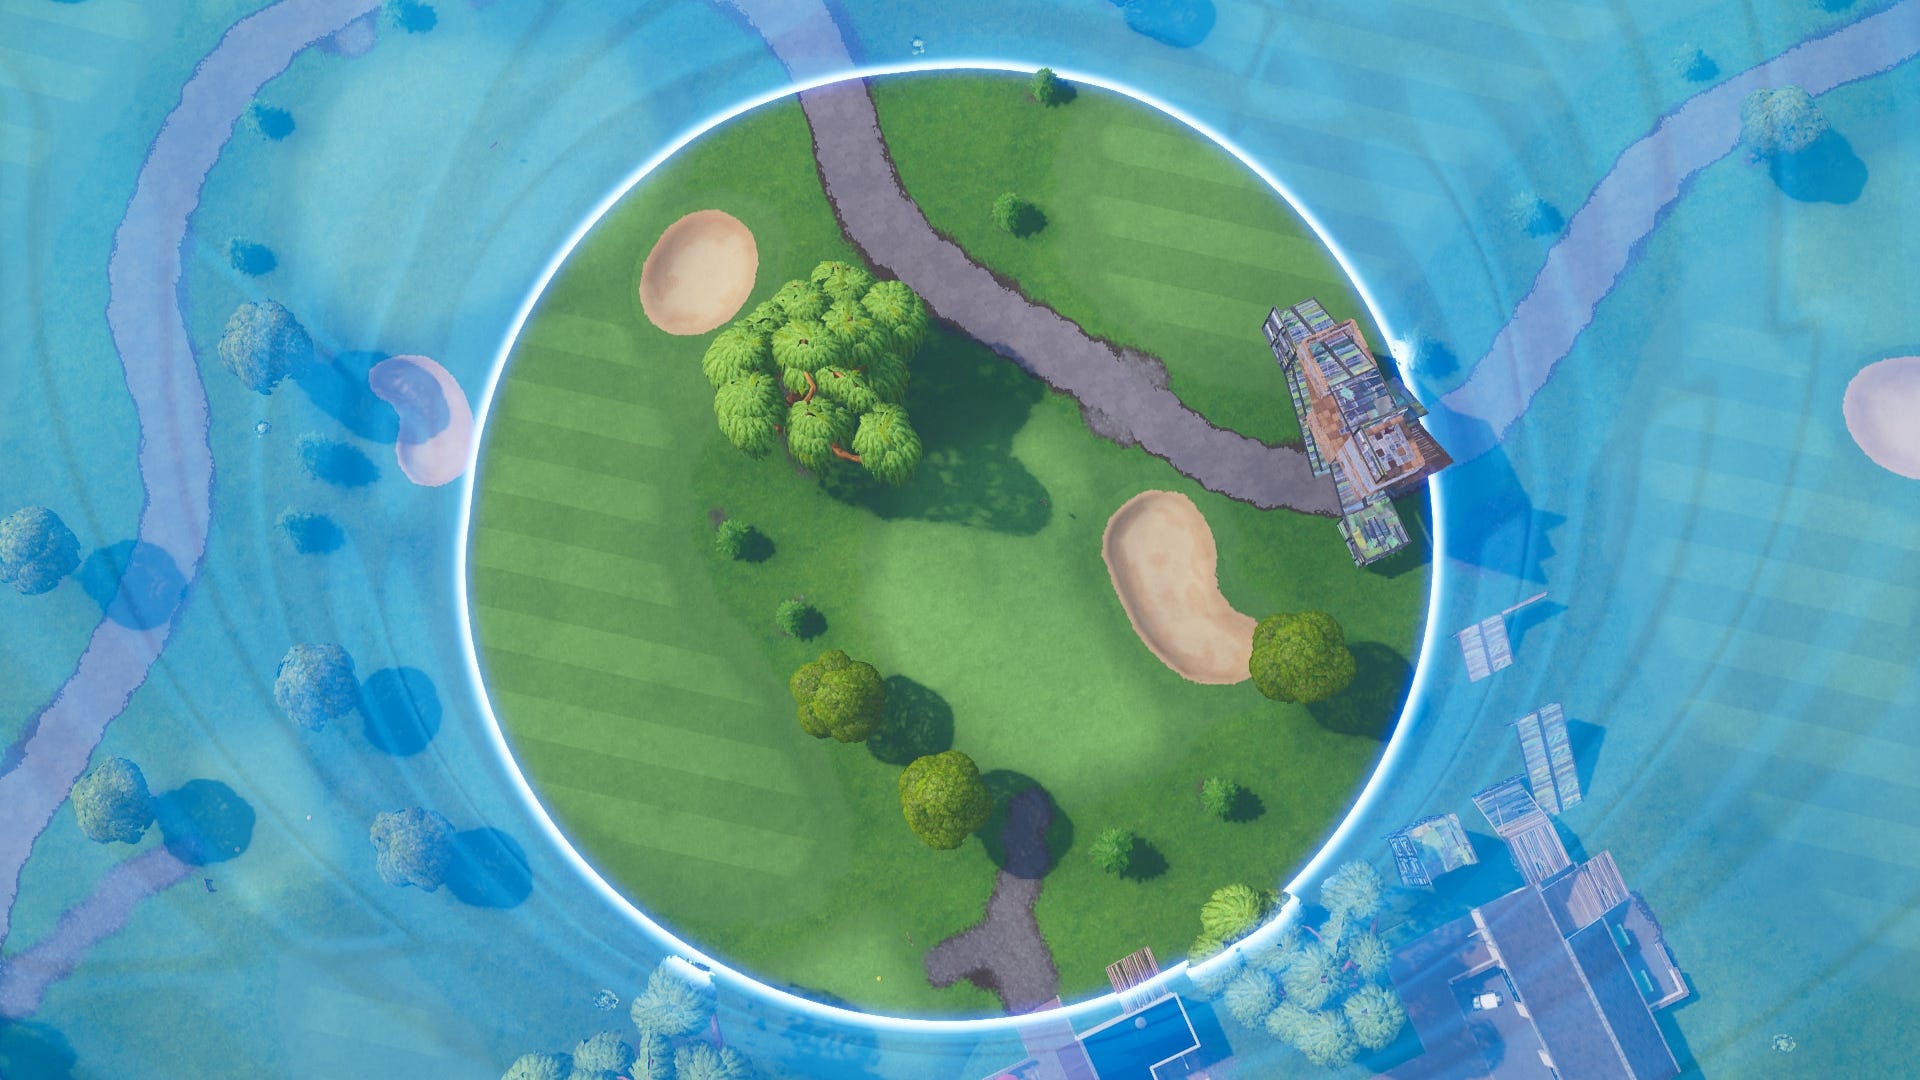
The final circles are also by far the smallest, and it's all but assured that you'll run into nearby enemies aplenty. You'll find most players at this stage will be making good use of their materials to erect 1x1s and other builds to protect themselves from all angles (and it's a good idea to be doing this yourself!).
Below is a gif where you can see in the minimap a new Safe Zone appearing half-outside the existing Safe Zone (that's totally the only reason I'm including this gif in the guide. Nothing to do with that beautifully-timed snipe I pulled off).
Fortnite Storm tips and tricks
Now let's finish off with a few tips and tricks regarding the Storm - not just how to avoid it but also taking advantage of the Storm in order to get the drop on your foes!
- Pay attention to the icons below the minimap. On the right-hand side of your screen, just under the minimap, you'll find a countdown until the end of the current wait time or shrink time, and also an icon displaying the current Storm behaviour. The light blue icon means the "wait time" is active; the purple icon means the "shrink time" is active.
- Play the odd game of Chicken with your opponent. If you're in a build battle with another player, often you'll both find yourselves suddenly in the Storm, taking damage each second. During this time, you have to choose whether to commit to the fight or try to make a run for it. This frequently results in a bit of a game of Chicken, where each player stays put, waiting for the other to make the first move. Of course, this isn't always the best strategy, and winning one fight is not worth it if you die in the Storm a few seconds later; but it's worth assessing the severity of the Storm and whether you have the time and resources to justify letting your opponent make the first move so you can shoot them in the back.
- Early-game Storm damage is not the end of the world. Many new players, when caught outside the Storm, see that their health is ticking down, and they start to panic. This is a mistake. In the first few phases the Storm will only deal 1-2 damage every second, and you'll probably have gathered at least some bandages while looting, so you're probably not going to die anytime soon. So just relax, and keep going.
- Assess whether you're on the "thin" or "fat" side of the circle. If you're outside the Safe Zone, deciding how long to stay before running to the next circle all comes down to how far you must travel. If the new Safe Zone is on the opposite side of the current Safe Zone from you, then you're on the "fat" side of the circle, and not only do you have further to travel but the Storm will move much faster. If you're on the same side of the circle as the new Safe Zone, then you're on the "thin" side, and you'll only have a short distance to traverse with a very slow and easy to outrun Storm.
- Hug the edge of the Storm to look for stragglers. When caught in the Storm, it can be difficult to get a clear view of your surroundings. You can use this to your advantage by staying just on the edge of the Safe Zone, and looking out into the Storm for players still attempting to reach the Safe Zone. Just be prepared to have to wade into the Storm while you sort through their loot afterwards.

That's more or less everything we know about the Storm in Fortnite Battle Royale; hopefully you've learnt a thing or two, and enjoyed your time here. As you probably know, Epic Games are pretty on the ball when it comes to updating Fortnite every week or two, so it might be a good idea to keep this page bookmarked, for easy access to all the latest information on the Storm Circle behaviours and statistics.