Playerunknown’s Battlegrounds guide: tips and tricks to win in PUBG
Feel like chicken tonight
Playerunknown’s Battlegrounds still dominates Steam to this day. With the latest map Vikendi, it still draws in the crowds, much to John's chagrin. It now has four maps, and an expanded weapon set that's got a lot of nuance to it. While its overall popularity may be waning a little in light of some very stiff competition, it isn't a surprise that the game itself is still massively popular: Dumping 100 people onto a map and telling them to scavenge and murder, all in the name of an ethereal chicken dinner. Grabbing that meal ticket won't be easy, so we’ve thrown together a whole bunch of tips and tricks to help you get a taste of that sweet, sweet victory.
Written by Andy Moore and Dave Irwin
Playerunknown's Battlegrounds guide
Newer players that are joining the bandwagon may be wondering how best to get up to speed. Below are some vital tips and tricks that Our set of guides will go through all the weapons available in the game, as well as the maps that are currently available in PUBG.
PUBG guides list
- PUBG guns & weapons- A complete breakdown of all the weapons in PUBG.
- PUBG Erangel - Master the original map with the enclosed tips and drop zones.
- PUBG Miramar - Dominate in the desert map with the best locations for loot.
- PUBG Sanhok - Tips and tricks for surviving the cosiest battle royale map yet.
- PUBG Vikendi - Best places to drop and tips for not getting iced.
Main guide contents
- Essential gear and consumables
- The 'ideal' weapon loadout
- Picking the right landing zone in PUBG
- Using and abusing PUBG's cameras
- ‘Open doors’ and assessing dangerous situations
- Dealing with red zones
- Understanding ‘The Blue’ in PUBG, why it hates you
- Tips to win in PUBG
Essential gear and consumables in PUBG
It’s easy to get bogged down by the overwhelming selection of items you can find suspiciously sprawled out across the evacuated homesteads of PUBG. Like a gunrunner’s Funko Pop collection, there seems to be a never ending supply of weapon attachments, ammo types, and miscellaneous tat just waiting to be liberated by your pilfering hands. Unfortunately space is at a premium, and whilst you can get bigger backpacks to help you hoard a collection of unnecessary optics and quick draw magazines, knowing what to pocket and what to ignore can make the process of trawling for loot much quicker.
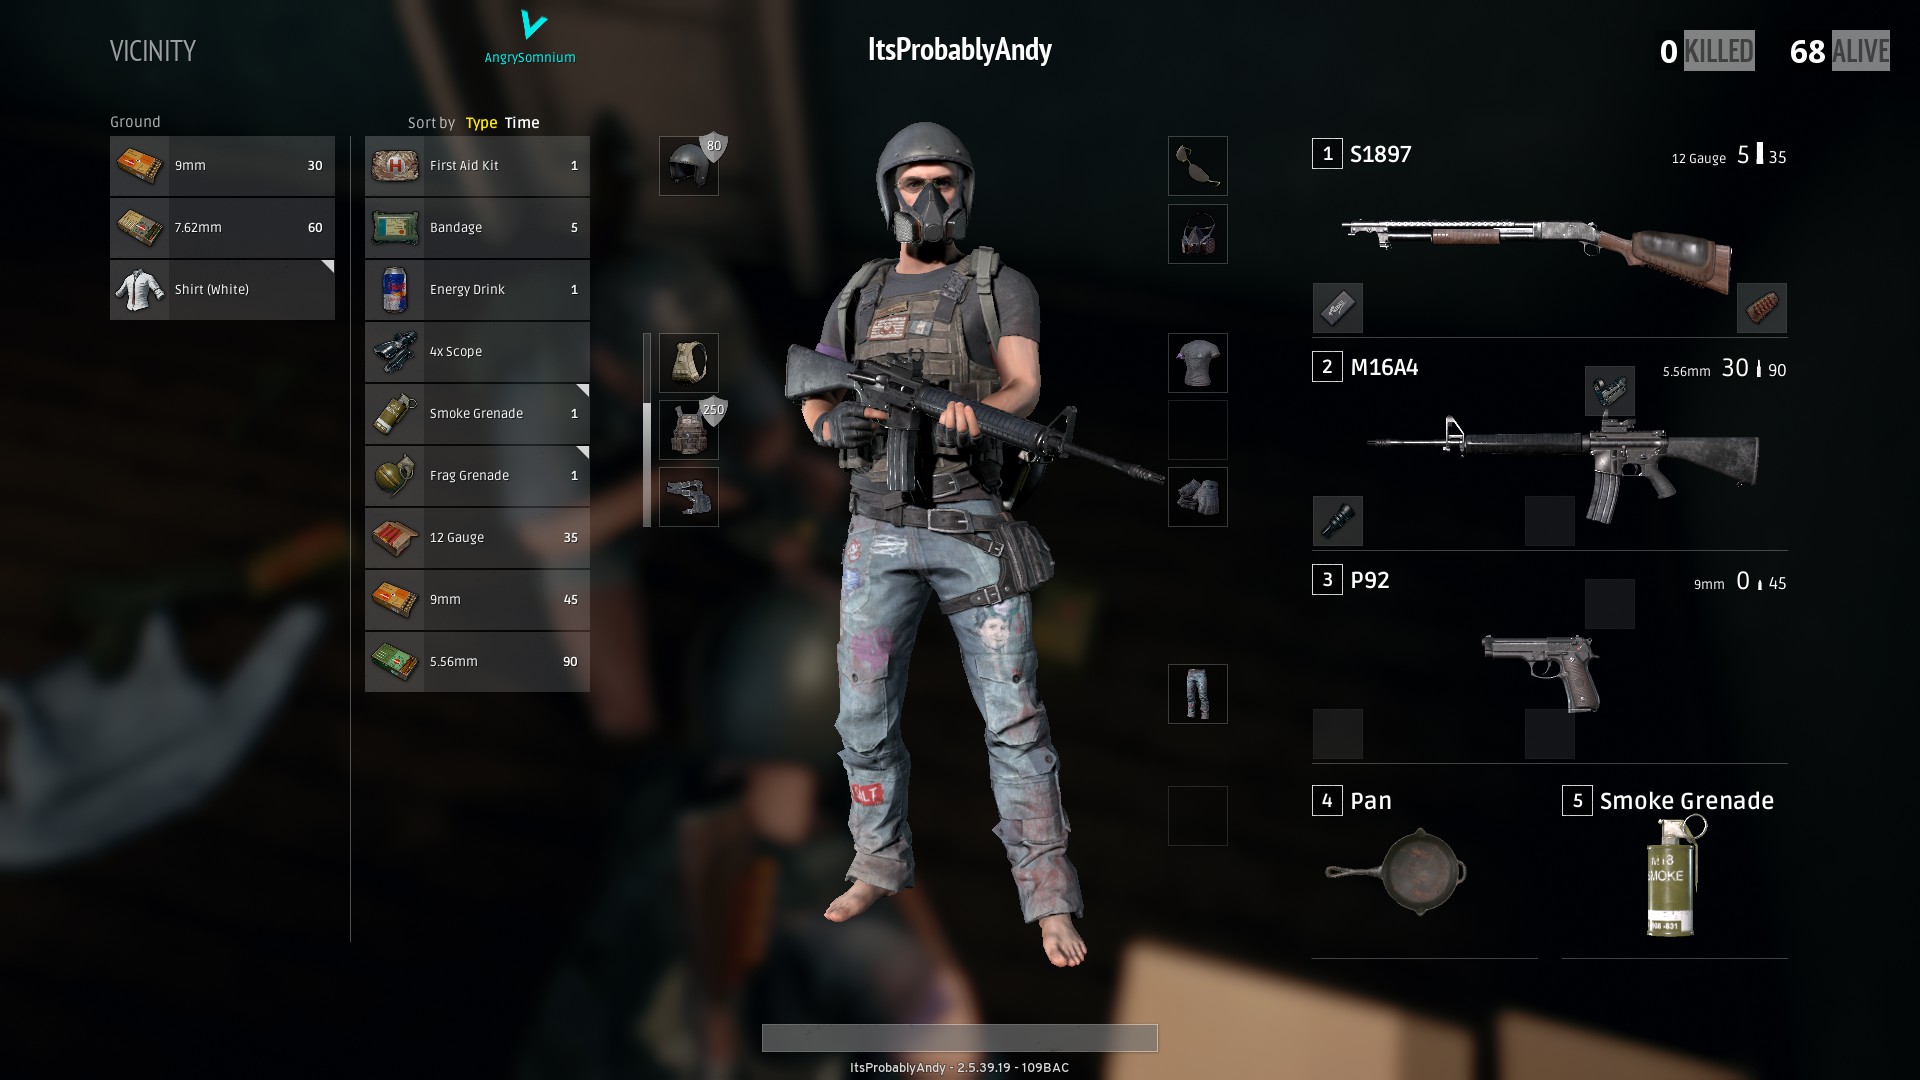
Starting with the basics, you’re going to want guns. That much should be obvious, right? We’ll get to that in the next section. Beyond your collection of murder wands, you’re also going to want to hunt for a full set of armour. Armour comes in the form of a helmet and a police vest, each providing you with a percentage of damage reduction depending on the level of the armour. Thanks to the inquisitive efforts of YouTuber Akadiablo2231, we know that the damage reduction at each level is as follows:
- Level 1 - Provides a 30% damage reduction and can take up to 80 points of damage before it breaks.
- Level 2 - Provides a 40% damage reduction and can take up to 150 points of damage before it breaks.
- Level 3 - Provides a 55% damage reduction and can take up to 230 points of damage before it breaks.
Backpacks also come in three tiers, but instead of providing damage resistance, they offer extra inventory capacity to help you hoard more military debris. All players start the round with 70 capacity, which comes from a base capacity of 20 as well as an additional 50 from the utility belt that each player comes equipped with. This should be enough space for you to carry 30 spare rounds of ammunition, as well as a handful of healing items and the odd weapon attachment. And no, you cannot start the game with less inventory space by removing the utility belt from the main menu. The game will forcefully strap it back onto your waist and silently judge you for being an idiot. Police vests also grant you an extra 50 capacity bringing you up to a total of 120. From here, backpacks provide the following:
- Level 1 - Provides +150 capacity. Enough to carry 60-120 rounds, some healing items, the odd attachment and one or two grenades
- Level 2 - Provides +200 capacity. Enough to carry 120-180 rounds, a healthy stock of healing items, attachments and grenades.
- Level 3 - Provides +250 capacity. Enough to carry an entire ammunition factory around with you. If you fill this up, you have a hoarding problem.
Along with the bullet resistant threads and backpacks that could give Mary Poppins a run for her money, your main focus when scavenging through the households of PUBG should be to acquire healing items, suitable ammunition for your weapons, and any attachments that you can make use of. Healing items are especially vital as you are almost certainly going to take damage from somewhere throughout the course of each round, so be sure to pocket any first aid, med kits, energy drinks, and painkillers whenever you come across them. If you don’t have space, make space.
The ‘ideal’ PUBG weapon loadout
A lot of what happens during your average PUBG match ultimately falls to chance, so to claim that there’s one specific set of guns that you should try and acquire would be pointless. Instead, what you should be trying to do is covering all of your bases. Fights can happen anywhere, so the optimal load-out should include two weapons that allow you to effectively fight both at range and in close quarters.
The most common weapon used when fighting across large distances is the assault rifle. Sniper rifles like the Kar98k and the SKS do exist within the game, but you’re much more likely to stumble across an assault rifle on your travels. If you want to weigh the scales even further in your favour, you should look out for front-end attachments like suppressors or flash hiders that do a great job at concealing your location. Magazine mods are also quite effective, and whilst you can get either an extended or quick draw variant, you should always look for the Ext. quick draw mod which combines to two effects into one modification.
Your secondary weapon is more than likely going to be subject to what’s around. It can be anything from another assault rifle all the way to a pump action shotgun. In an ideal scenario, you should only reach for this gun when you’re storming a house or taking a fight to enemies in close quarters. As such, this gun should be fitted with less extreme optics where possible, like a red dot or holographic sight, so that you can keep an eye on your peripheral vision just in case someone tries to get the jump on you.. If you’re using something automatic, you should also keep this gun set to a higher fire rate too by toggling the firing mode (Press B by default). This will allow you to dish out extra damage in lieu of accuracy, which you won’t need as much when you’re staring into the whites of your opponent's eyes.
Beginning with Sanhok and continuing with Vikendi, there are some weapons that are exclusive to those areas, so be sure to check out our PUBG guns & weapons guide for more information on the best weapons in the game.
Knowing when to take a fight
It may seem counter intuitive at first, but the secret to reliably winning in PUBG isn’t to burst into every firefight you see with reckless abandon. In fact, you should aim to do the opposite. Try to remember that you’re sharing the island with up to 99 other people that desperately want to sacrifice you in the name of a metaphorical chicken. Of course, if you’re feeling bloodthirsty there’s nothing stopping you from wading into the fray, but don’t expect to come out of it unscathed.
Brendan ‘Playerunknown’ Greene himself has gone on record several times saying that the best strategy for staying alive until the end is to let everyone else kill each other first. This seems a little counter-intuitive as your enemies will likely be looting the bodies of their fallen foes. It's also easier said than done, especially when the circles begin to contract and you’re forced to invade the personal space of your island dwelling neighbours. Fortunately there are a few things you can do to tip the scales in your favour.
For starters, landing somewhere less popular should be obvious. Less competition for loot at the start of the game means you can get a foothold without worrying about being clocked by a frying pan from behind. Once you’re kitted out, one of the most practical strategies to playing stealthily is to straddle the border of the blue circle. Whilst this comes with its own risks, most noticeably that the safe zone may spawn too far away from you to reach it in time, deploying this tactic does ensure that your potential threats will almost always be in front of you, allowing you to concentrate on one direction and worry less about being flanked.
When trying to creep and crawl your way to the top spot, you should also be mindful of any sounds around you. Cars are the most obvious example and should act as a clear warning for you to seek cover immediately or run the risk of being mowed down like an extra in a Mad Max fan film. Each person will generate fairly distinguishable footsteps when moving too (including you), and these sounds differ depending on the type of floor that the person is walking across. This can be used to pinpoint the location of any flanking or fleeing assailants if you’re hiding inside a building. Getting used to the minor differences will take some time, but once you learn to recognise and process the various audio cues, you can often predict where potential threats are coming from without ever seeing them.
Picking the right landing zone in PUBG
One of the first and most important decisions you’ll ever make in each round of PUBG is when to jump out of the plane. Picking somewhere quiet and isolated makes those first tentative minutes on the ground much safer, but it’s almost always offset by the lack of gear available to scavenge in your immediate surroundings. Likewise, if you opt to land somewhere with a reputation for spawning decent loot, there’s a good chance you’ll have to duke it out with your neighbours if you want to get your hands on some serious hardware.
The trajectory of the plane is completely random and the angle of the chosen flight path will determine which parts of the map you will be able to access from the beginning of each round. You can see it from the lobby, so it’s often good to plan ahead and have several options in your mind so that you can decide on what areas are viable landing zones. As a rule of thumb, you should try to remember that the three most popular areas people will jump out of the plane at are:
- The very first opportunity: A lot of players think that getting their boots on the ground first gives them an edge over the people landing several miles away from them. No, I don’t get it either.
- The centre of the map: Universally acknowledged as the arena of PUBG, this building is is the most central landmark on the map and boasts some fairly decent gear, but people often land here specifically to brawl.
- Any major city directly under the flight path: If any of the bigger settlements fall directly under the path of the plane, you can guarantee that a hefty portion of the sever populace will be descending upon it like a biblical plague.
So where should you land? Well like so many different aspects of PUBG, this will vary depending on the map, as well as the direction of the plane. There are several areas across each map that can get you geared up though, and whilst some will see more foot traffic than others, keeping these areas in your mind will give you enough options to adapt on the fly. You can find out where the best locations are to land in our map guides below:
Using and abusing PUBG's cameras
If you’re a fan of the default third person game mode in PUBG, then you’re going to need to master the art of abusing the third person camera. No, that’s not a euphemism. With its distant angle, the third person camera can let you peek over obstacles and around corners without risking any of your human meat to any would-be snipers. By doing this, you can effectively scout out dangerous zones and make a more informed decision on your next action by gaining vision of areas you really shouldn’t be able to see.
Whilst these extra degrees of vision are great, you can actually reach even further angles by making use of the free-look option, which defaults to the ALT key. By using free-look, you can often angle the camera further away from your body, allowing you to peek past obstacles and see from more extreme angles to give you a wider range of vision. And if you’re wondering whether this is morally acceptable, worry not. Everyone playing this mode is doing this, and if they aren’t, it will be hard for them to complain about it after you’ve killed them.
‘Open doors’ and assessing dangerous situations
Tracking other players in PUBG isn’t as difficult as you might think. In fact, it can sometimes be as easy and looking at the front door of a house. You see, on the island of Erangel where this bloodbath takes place, every functional door starts off as being closed. It’s not clear whether this strict door-control policy was written into the laws of the land or not, but this does create a handy default that can act as an early warning sign when deciding whether or not to enter a house in search of equipment.
For example, if you were to approach a small settlement and noticed that several of the doors in the area were left open, this should almost always be taken as a warning. The worst case scenario is that the people who got here before you are still in the area, and that they’re about to murder you indiscriminately. Even if the previous trespassers have moved on, it’s still not ideal for you as it’s very likely that they’ve picked the place clean of anything useful. In either scenario, it’s usually a good idea to back away and find a new place to loot instead of risking any spare time looking for scraps that may have been left behind.
Dealing with red zones
After a few games you may notice that a red zone will periodically appear on the map. Any typical person would assume that this means something dangerous and that avoiding it would be the best option, and generally speaking they would be right. However, the reality of the red zone isn’t nearly as imposing as the fear surrounding it.
As a rule, the red zone will appear in a fairly wide area on the map and linger there for upwards of 30 seconds before commencing a bombardment of the area, sporadically dropping bombs that can kill players in one hit. These shells cannot penetrate through houses however, and anyone seeking refuge from the bombardment can seek shelter inside nearby buildings if they feel the need.
The problem with the red zone is that it's scarier than it seems. Fear of being wiped out without a moment’s notice can often throw a wrench in your best laid plans, keeping you suppressed in an area for several seconds throughout the duration. Make no mistake though, the threat of the red zone is real, but its explosive spread is so stretched out and unspecific that the chances of getting hit aren’t very high at all. If you ever find yourself caught in the blast radius, there’s no shame in hiding away from a few seconds, but don’t risk certain death to assailants or an encroaching circle if you get caught short by the red zone.
Understanding ‘The Blue’ in PUBG, why it hates you
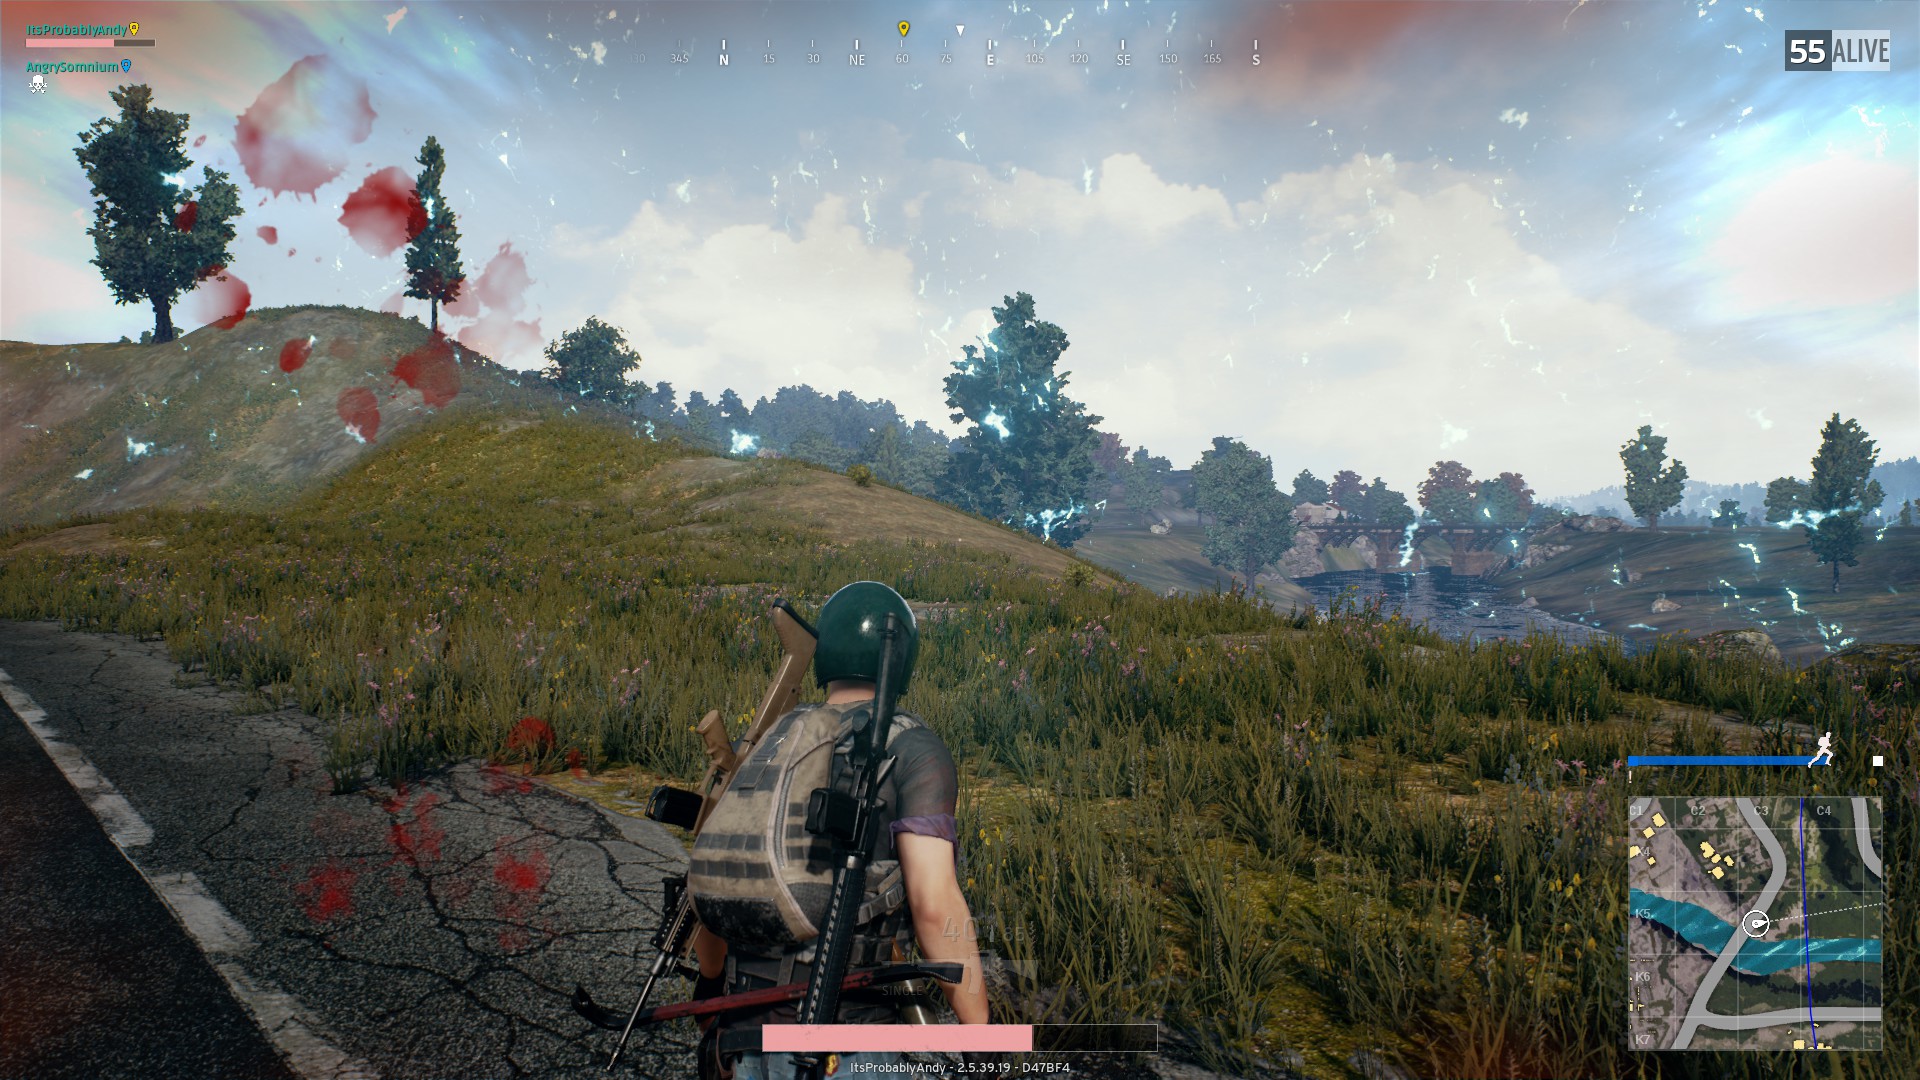
“The Blue” is the true enemy of PUBG. A silent menace, this contracting electrical field is as deadly as it is punctual. Acting as the shepherd for each round of PUBG, the blue circle slowly forces the participants to move closer and closer until eventually only one person is remains. If you want to survive to claim the proverbial chicken dinner of legend, you need to understand how the circle operates, and how to exploit it to your advantage.
Let’s start with the basics, painstakingly researched by YouTuber Fugglet. The blue circle follows a specific set of timings that occur at the exact same intervals in every round. The order is as follows:
- From jumping out of the plane and landing at the earliest possible opportunity, you will have approximately one to two minutes before the first white circle is highlighted.
- Circle 1 - The blue circle will take 5 minutes to contract fully. Players can survive for 4 minutes and 10 seconds from full health inside this circle without healing.
- Circle 2 - The blue circle will take 2 minutes and 20 seconds to contract fully. Players can survive for 2 minutes and 46 seconds from full health inside this circle without healing.
- Circle 3 - The blue circle will take 1 minute and 30 seconds to contract fully. Players can survive for 2 minutes and 5 seconds from full health inside this circle without healing.
- Circle 4 - The blue circle will take 1 minute to contract fully. Players can survive for 1 minutes and 40 seconds from full health inside this circle without healing.
- Circle 5 - The blue circle will take 40 seconds to contract fully. Players can survive for 34 seconds from full health inside this circle without healing.
- Circle 6 - The blue circle will take 30 seconds to contract fully. Players can survive for 20 seconds from full health inside this circle without healing.
- Circle 7 - The blue circle will take 30 seconds to contract fully. Players can survive for 15 seconds from full health inside this circle without healing.
- Circle 8 - The blue circle will contract almost immediately. Players can survive for 10 seconds from full health inside this circle without healing.
In practise, what this means is that the circle will become more and more punishing as the games goes on, so whilst you can shrug off most of the damage in the early stages, being aware of the positioning of the blue and white circles in the later stages of the round is crucial to avoid getting caught out by the electric wall of death. It’s also worth noting that the speed at which the circle contracts can vary wildly depending on how far it has to travel. If a white zone appears towards the edge of the previous zone, then anyone caught on the opposite side will face a much faster blue zone than the other directions as the field attempts to stay relative to the timings and distance it needs to travel..
Tips to win in PUBG
So now that you know the basics, these are a bunch more advanced tactics that can be deployed to get the best chance of winning. Some may be obvious, but others may surprise you. All can be used on any map, so you'll get plenty of chance to try them out.
If you’ve ever watched one of those streaming types play a round of PUBG you may have noticed that whenever they’re hiding behind a tree or looting from a recently deceased corpse, they do a little dance. This simple three step routine might not seem very important at first, but this twinkle-toed feat of theatrical prowess actually serves an important purpose when you’re out in the wild trying to avoid a ranged lobotomy.
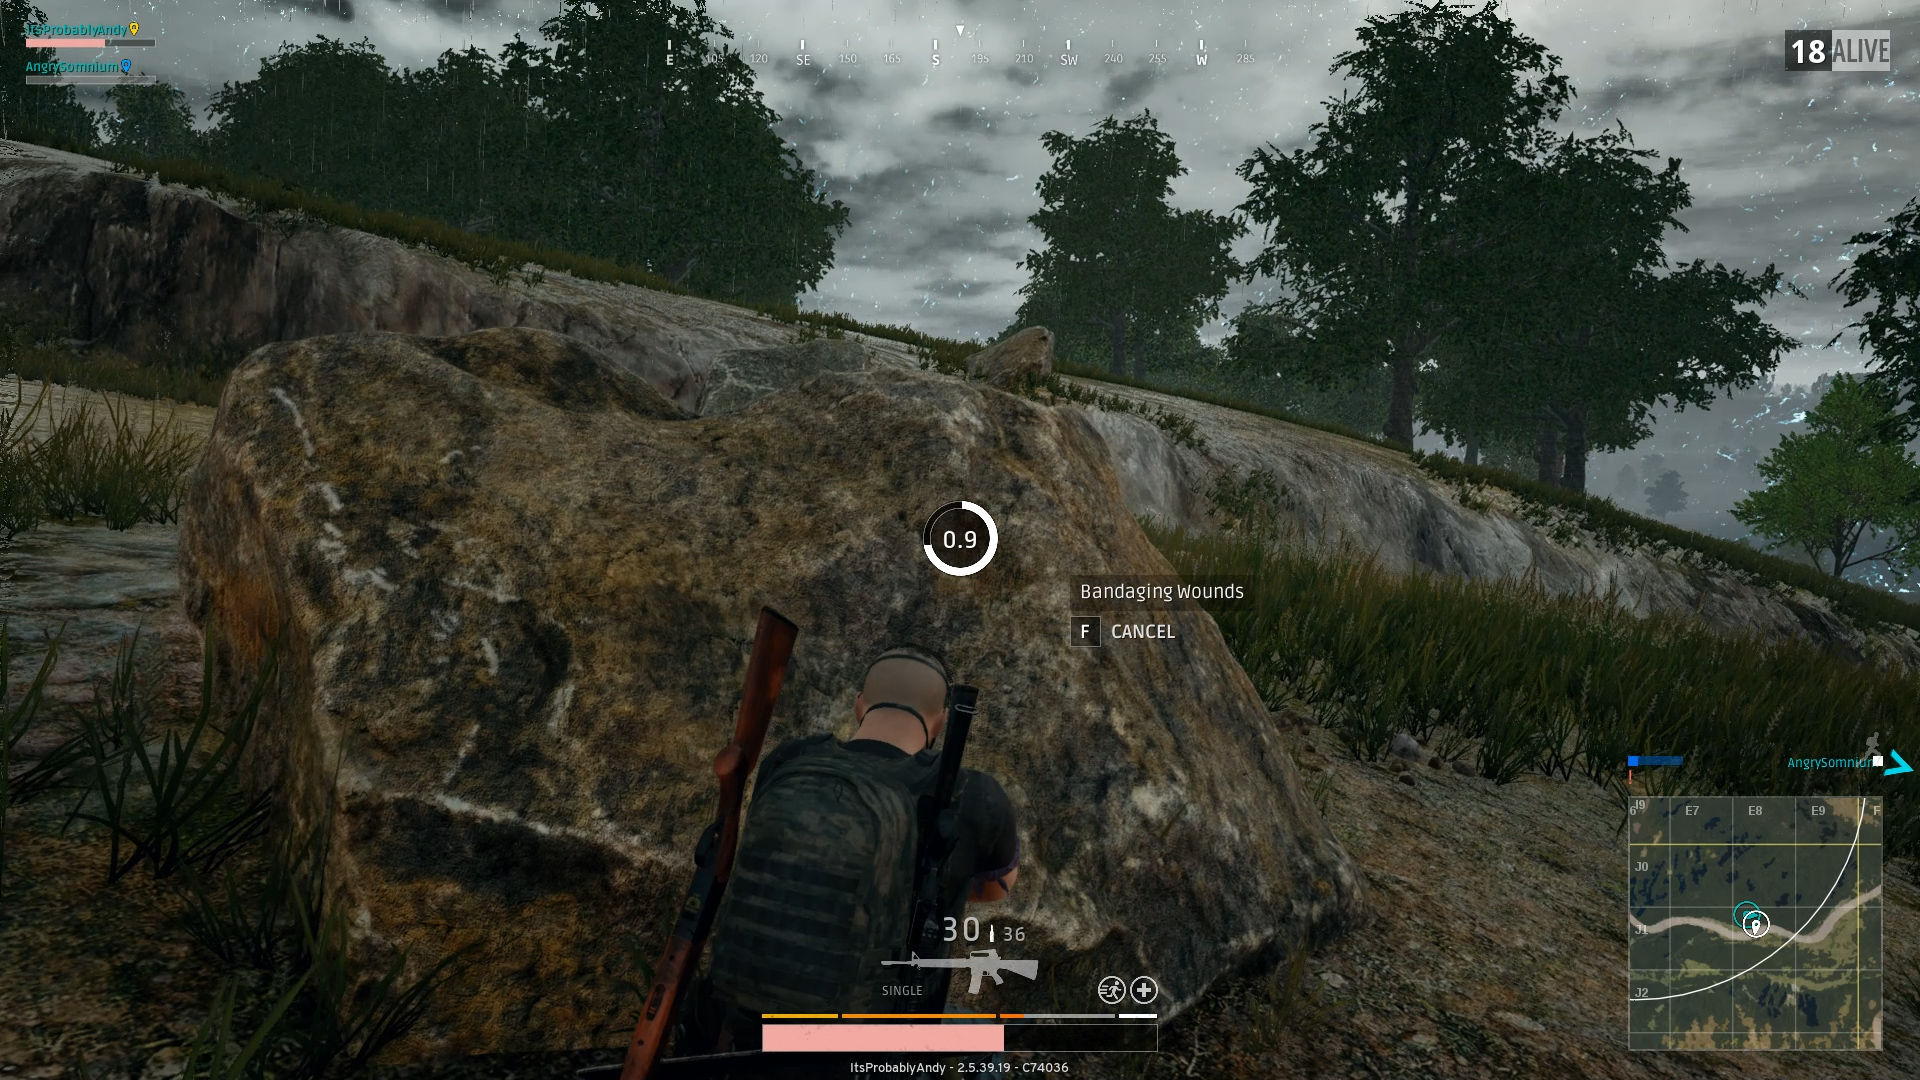
For argument’s sake, let’s call it “The Wiggle”. By doing “The Wiggle” you are effectively creating a moving target for anyone that currently has you focused in their cross-hairs. By using your fancy footwork, you may be able to cause attackers to mistime their shot, giving you time to react to the incoming gunfire and re-position to somewhere safer. “The Wiggle” also fits nicely within the confines of the game’s healing mechanics, as medicine items have to be channelled for several seconds, and moving too far away breaks the effect. Fortunately you can move very slightly from the area you activated the item, so using “The Wiggle” whilst healing is a great habit to get into to help make you less vulnerable when patching up those war wounds.
One of the unwritten secrets hiding in the lexicon of PUBG knowledge is the crouch jump. Much like it does in nearly every other game, crouch jumping in PUBG lets you mount obstacles and access areas you wouldn’t normally be able to reach with your pathetic, human jumping technique. With this supercharged leap in your tool set, you can bypass typical entry points to buildings and flee would-be assailants with ease.
To perform the crouch jump, you need to hit the keys for jump + crouch + forward at the same time. This may sound easy in practise, but the timing of each key press has to be precise, and if you’re trying to do this whilst a Bob Ross lookalike is coming at you with an assault rifle, it’s probably not going to end well for you. Fortunately there is a way to create a key binding that lets you pull off this acrobatic feat reliably.
As detailed by popular streaming chap Summit, head into your keybindings and locate the jump and crouch options. Start by selecting the secondary binding option for jump and then hold down shift and hit space bar. Continue to hold down shift and then do the same for the secondary bind for crouching, and then click on the apply button whilst keeping the shift key pressed down. Once everything is successfully bound, you will have easy and quick access to crouch jumps no matter how stressful the situation.
It’s worth noting that many of buildings scattered across the map have windows that are big enough to jump through if you ever have the urgent need to make a quick getaway. What’s more, you can actually jump through solid windows without breaking them with a crouch jump, adding a whole new and extremely specific superpower to your battle royale skill set.
When playing with a squad, it can sometimes be quite difficult to differentiate between the various sounds in your immediate area. You might be creeping around a highly volatile area when the creek of a floorboard echoes throughout the house, and it’s not always clear whether that sound was the telltale tingle of a flanking assailant or just your pal Chris who sounds like he’s wearing his novelty clown shoes.
To help alleviate this, try and convince everyone in your team to remove their shoes. It may not seem like it, but walking barefoot provides a lighter, more high-pitched cadence than that of a boot. By aligning the pedestrian acoustics of your team, you can help filter out friend from foe much easier, giving you a slight edge when plundering high traffic areas where other players like to linger.
Whilst the blue circle is a force to be reckoned with, it’s not without limitations. By purposefully heading into the outer zones of the blue circle during the early stages of the game, you can often access loot that others have overlooked. If you’re fairly tooled up by this point, heading into the blue can also open up new ways to ambush stragglers desperately trying to reach the safety of the white zone. The opacity of the blue zone can make this a little more difficult to see them, but it can be a viable tactic.
As well as casually picking off helpless souls, camping out on ridges and vantage points in the blue can give you a very good angle on people hiding out near the edge of the barrier. When you open fire, it’s very unlikely that they will realise the shots are coming from outside of the safe zone, and they’re more than likely going to expose themselves because they assume that there wouldn’t be anyone outside in the blue zone.
This tactic is most effective when playing as a squad, and to do it safely you’re going to want to make sure you have the right weapons and scopes to make long range shots, as well as enough ammo and medicine to last the duration of your underhanded murder spree. Securing a vehicle will also make sure that you and your team don’t get done over by an awkward tier 2 white zone location.
Making the most of your medication
Healing in PUBG isn’t as straightforward as it first might seem. There are a couple of items that can be exploited to effectively maximise the amount of health you get back, or to simply help boost your base attributes to give you an edge during combat.
Bandages may not seem very important to the uninitiated survivor. They don’t heal for all that much, it takes longer to get any actual healing out of them in the first place, and the healing they do provide isn’t immediately applied like it is with first aids and med kits. However, these inconspicuous plasters are the most common healing item in the game, and you can actually stretch more health out of each bandage You can stack each application of bandages to get the most out of them.
You may also find items known as boosts on your travels. These items, consisting of painkillers, energy drinks, and the elusive adrenaline shot are all supplements that play an important role when trying to heal back to full health, as every other healing item (excluding the med kit) can only heal you up to 75% maximum. Boosts provide the rest of the difference in the form of healing over time, but they also have another lesser known property.
Depending on how many boosts you use, you can actually increase the healing amount per second, as well as your base run speed. These boosts are tracked with the boost bar, which is represented as four bars found just above your health bar. The bonuses from each level, researched by YouTuber MagnumDopus, shows the effects are as follows:
- Tier 1 - Grants 1% health regeneration per tick.
- Tier 2 - Grants 2% health regeneration per tick.
- Tier 3 - Grants 3% health regeneration per tick + 2.5% movement speed bonus.
- Tier 4 - Grants 4% health regeneration per tick + 6.2% movement speed bonus.
Whilst some of these bonuses might seem quite lucrative in theory, it’s often not worth blowing several boosts all at once to get them. Instead you should try to heal up to 75% with other medicine before taking one boost and conserving your stockpile for any future fights of blue zone damage you might take.
Getting the most from your glide
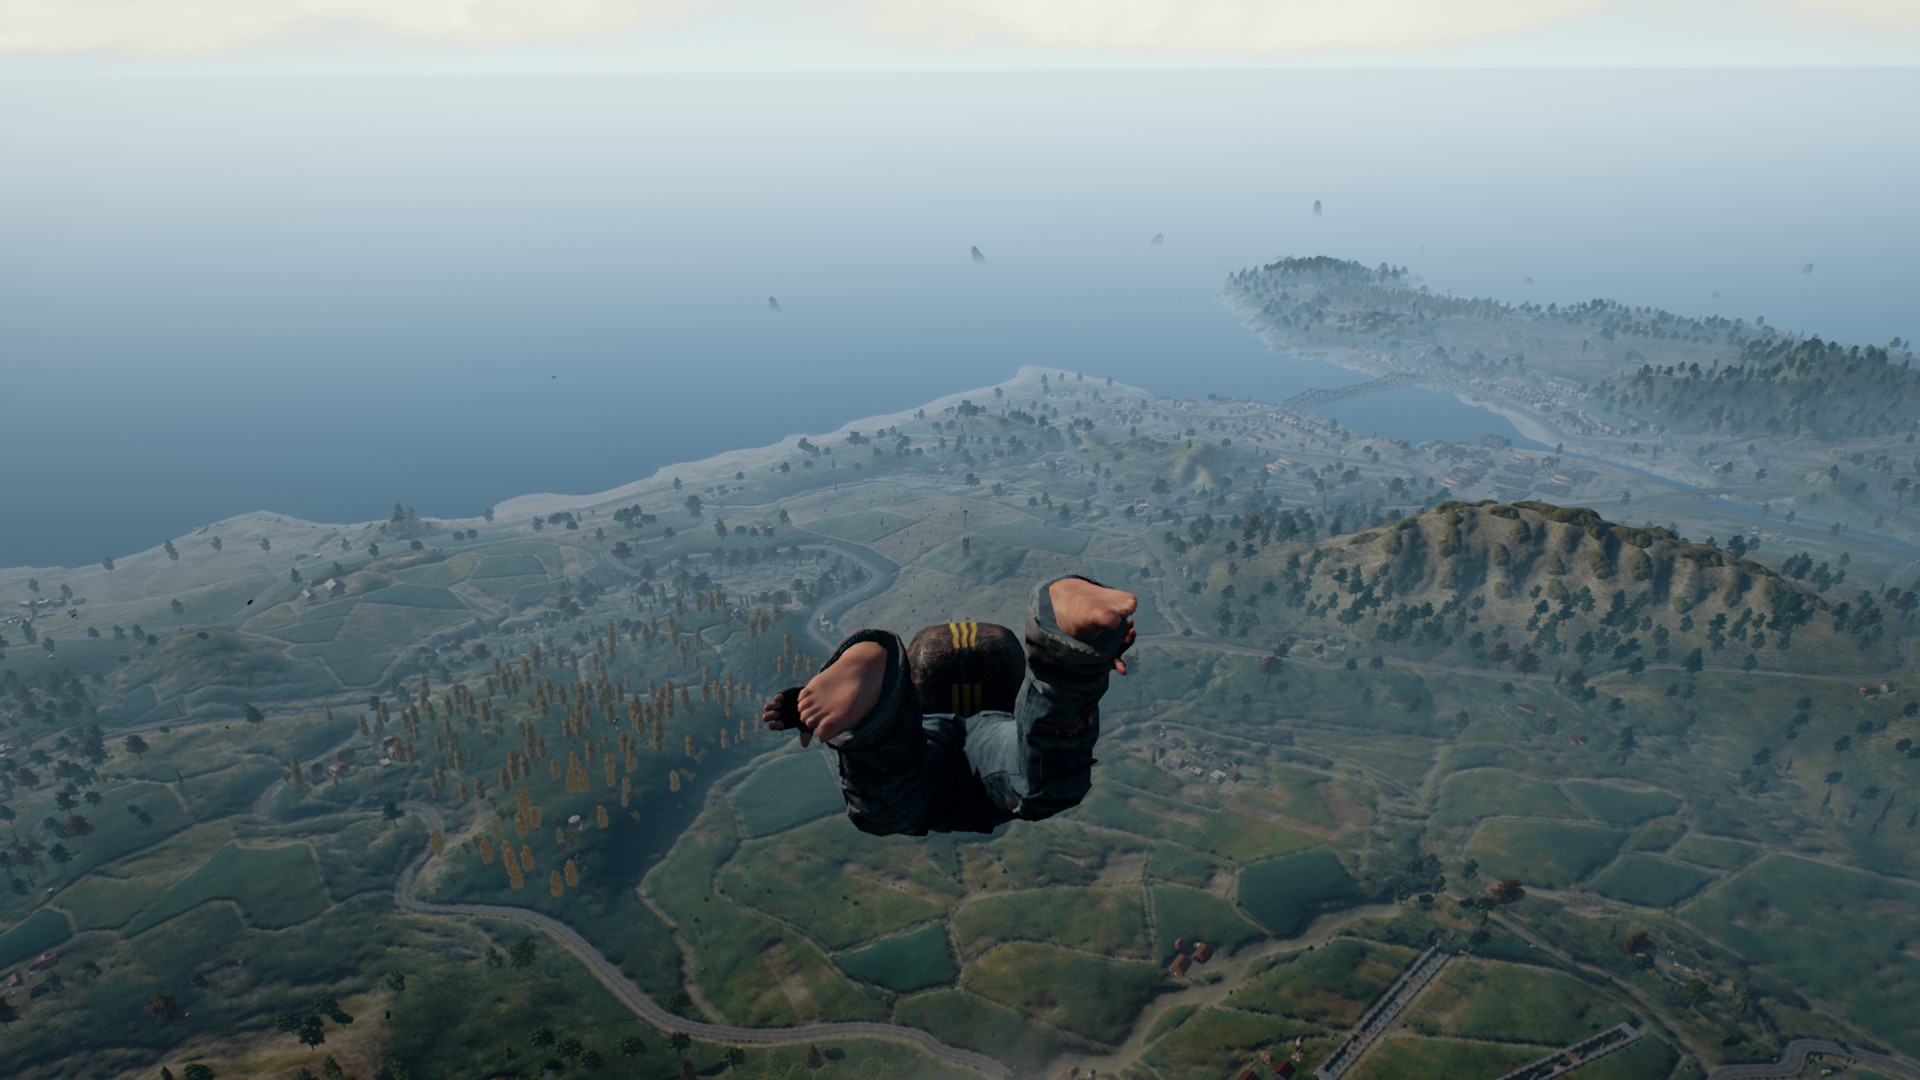
Everyone that has played PUBG has their own base jumping ritual. Some folks believe they can reach the ground faster by taking off clothes in the main menu, thus reducing their own drag factor in the air. Others believe that by twirling their parachute 360 degrees constantly whilst gliding to the ground they can create some sort of vortex that sucks them down faster. Unfortunately, these techniques are 100% useless and will only serve you make you look like a muppet, but the idea of following a routine when falling through the sky can help you reach destinations you may have otherwise thought of as out of reach.
The trick to flying further lies within the technique. As documented by YouTube fellow MagnumDopus, by pulling your parachute as soon as it’s available and then oscillating the angle of your descent forwards and backwards throughout the duration of your flight, you can easily clear much greater distances that you naked neighbours. When trying this myself, I’ve found that the optimal speed that you want to try and maintain is between 20-24 km/h. Not only can this put you well out of the way of any other players, it can also help you reach major cities that will likely be unoccupied, allowing you to gear up in peace.
Holster your weapon to run faster
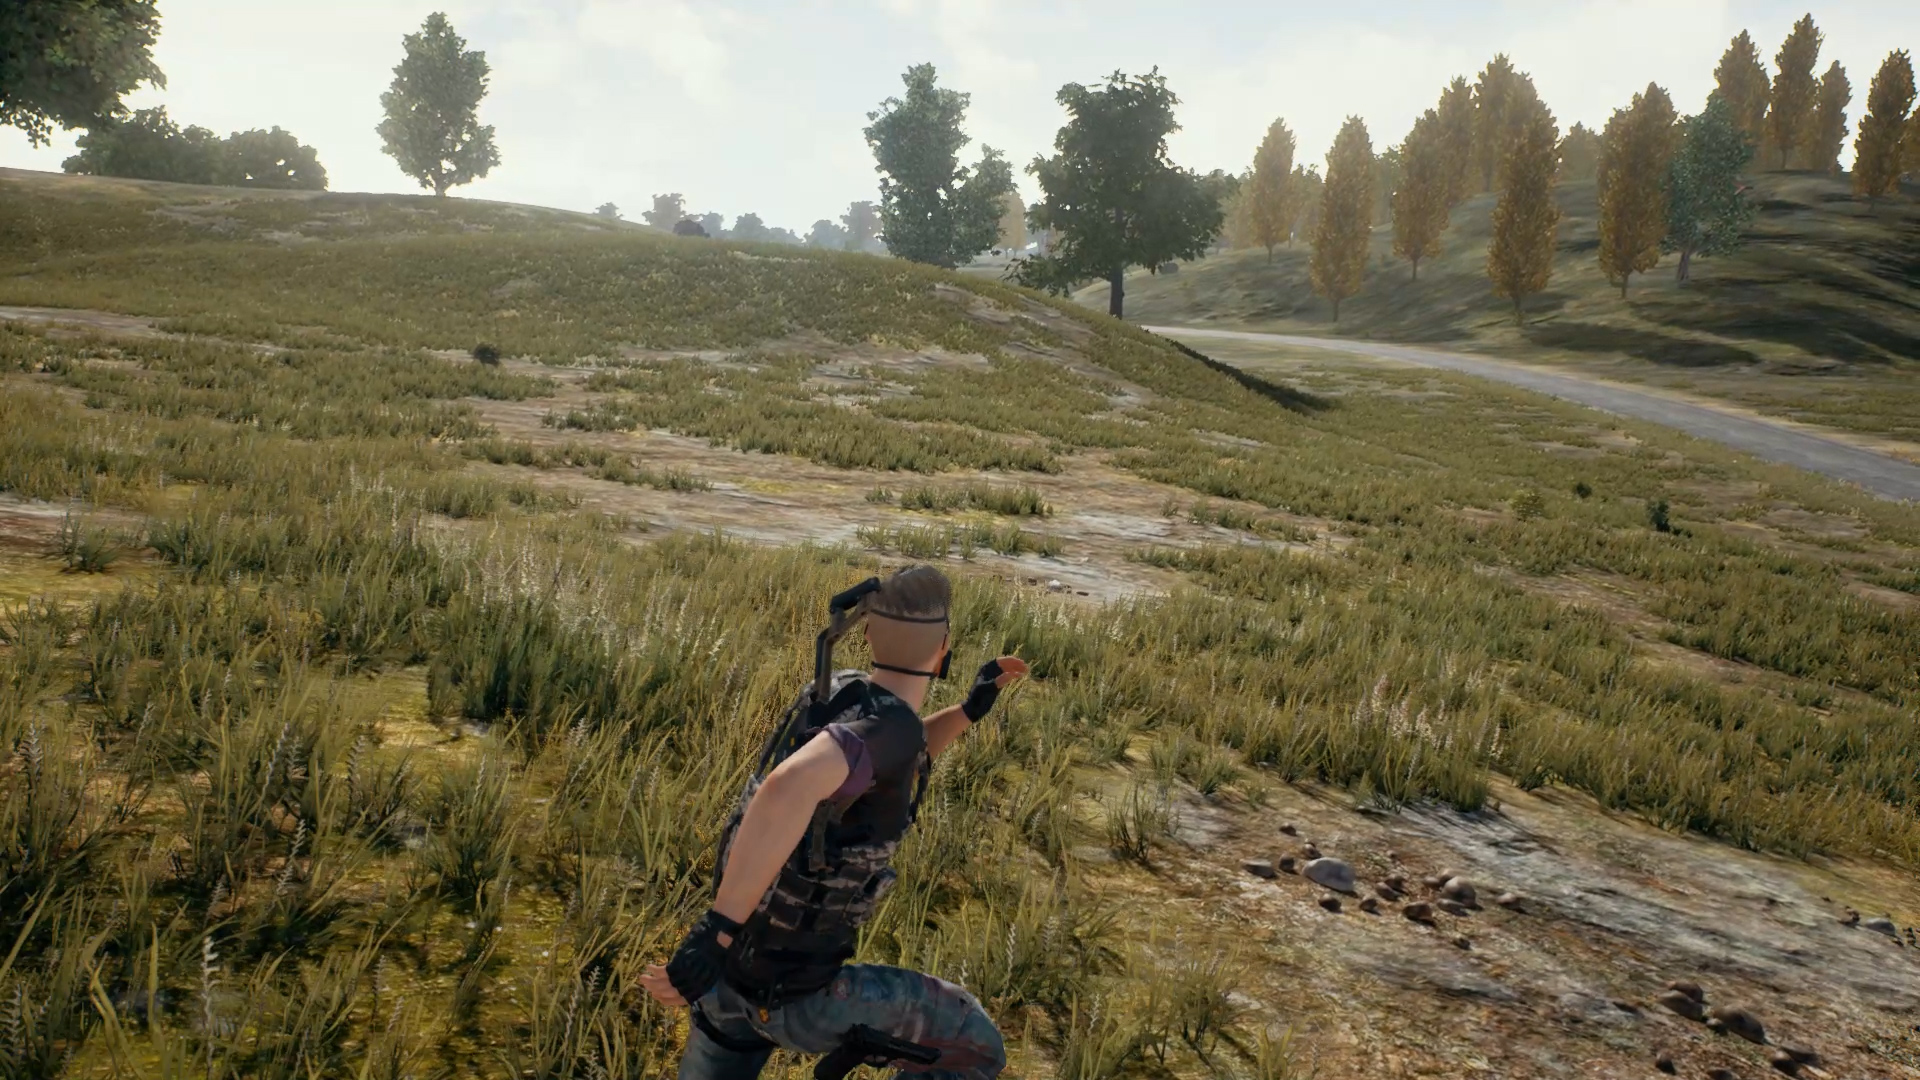
This one is pretty straight forward. If you holster your weapon, you can run faster. It’s so simple, but many people either forget to do it, or simply choose not to. Of course if you’re in the middle of a firefight and you need to shoot someone, putting away your weapon and running wildly in any given direction isn’t the right call. However, sometimes that extra burst of speed can be useful when trying to cross large open fields or areas where snipers are covering.
The speed at which you are slowed down varies depending on what kind of gun you are holding at the time, but a rough estimate puts someone holding an assault rifle at about 4-5% slower than someone who has their gun holstered. When you’re trying to avoid incoming gunfire or throw off someone’s aim, that 5% could easily be the difference between safety or death.
Smoke grenades should never be trusted
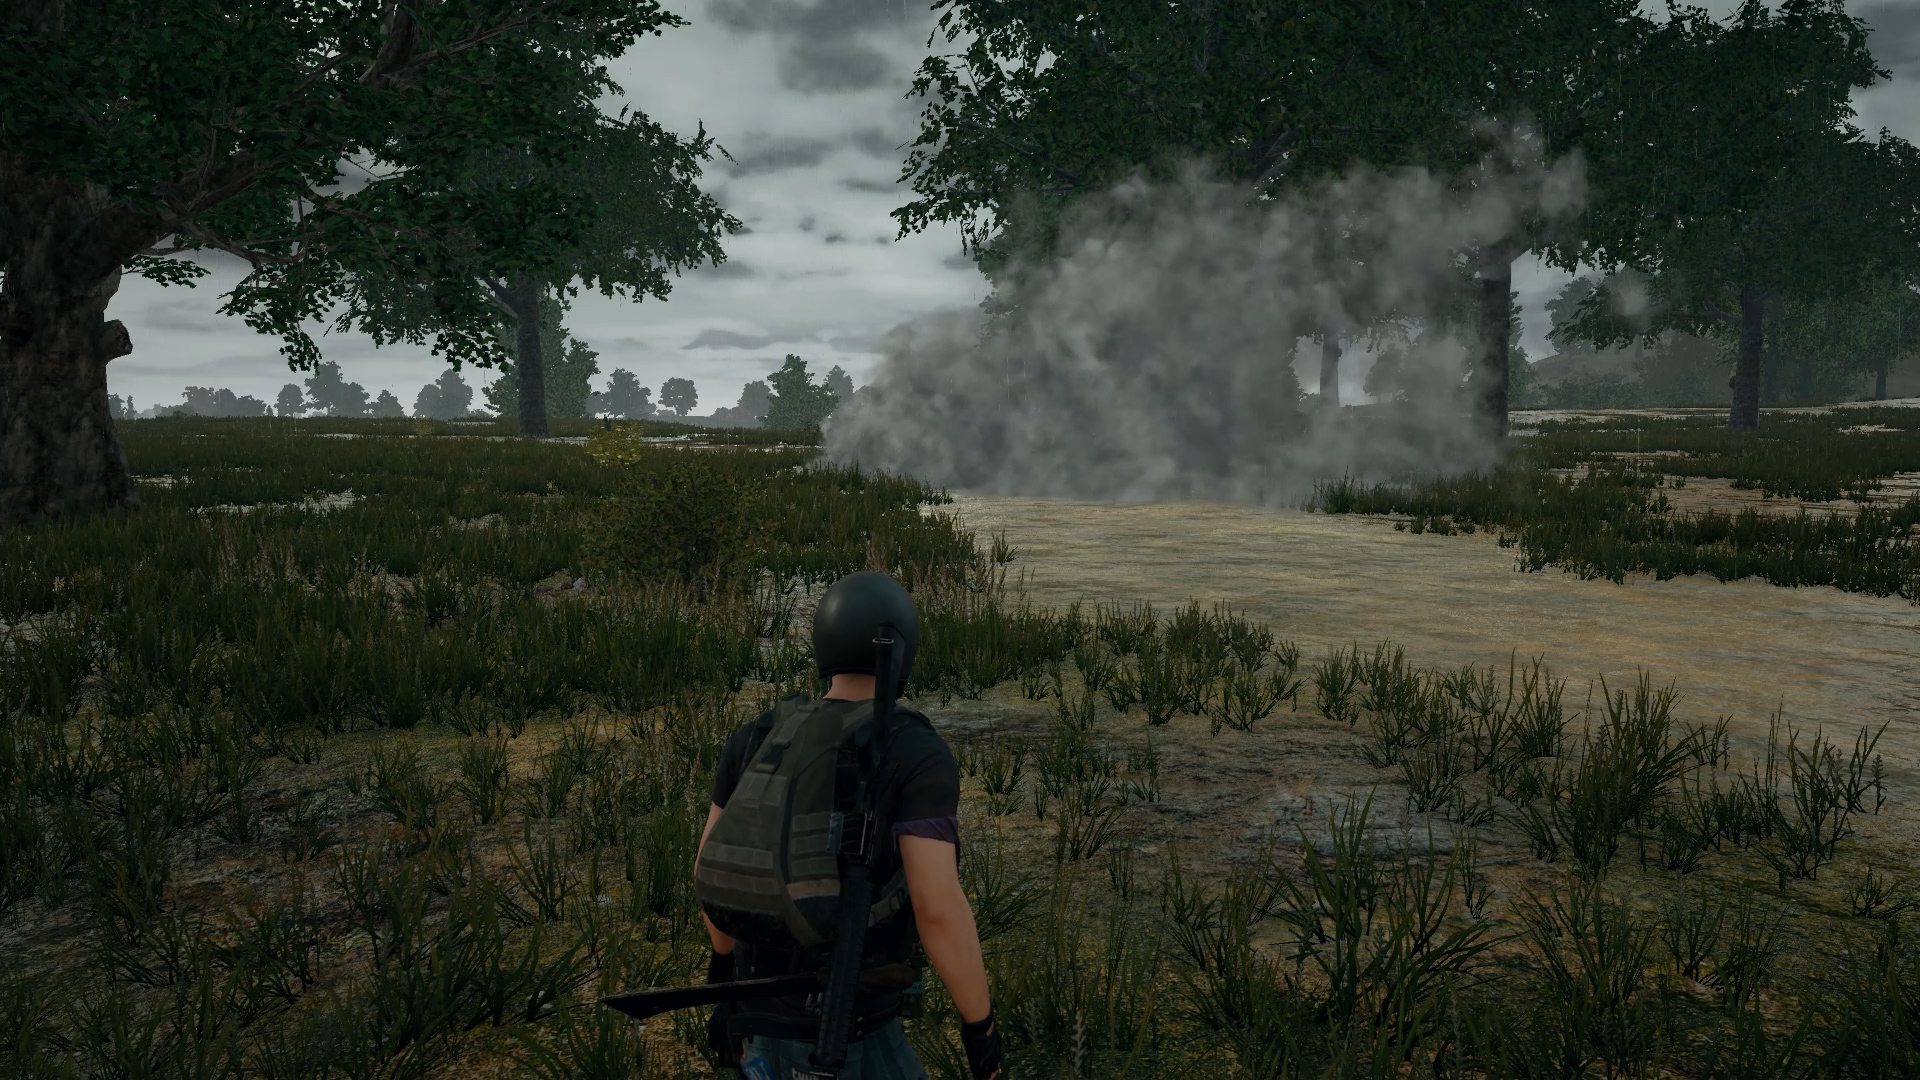
Smoke grenades are useful tools to help you out of a pinch. By throwing down this canned fog, you can create a handy visual blockade that helps you cross between a particularly deadly killing field. On paper, that sounds great. The reality is a little less reliable however, as smoke grenades suffer from some interesting limitations.
Many users have reported that the smoke generated from the smoke grenades is actually generated on the client (your PC) as opposed to the server, which means that the direction and general cover of the smoke that you see might not be the same as what everyone else sees. Whilst the developers have weighed in on this subject, claiming that there are steps in place to help make it consistent for everyone, it seems as though the smoke still isn’t 100% accurate, especially if the attacking party is quite far away from the source of the smoke.
With that rather exhaustive guide, you should be up to speed with everything you need to know about Plunkbat. It may take several games to get your first chicken dinner, but there's no feeling quite like being first in a game where 99 other people have fallen.



.jpg?width=291&height=164&fit=crop&quality=80&format=jpg&auto=webp)
