Monster Hunter: World Lunastra: how to fight it, what is its weakness
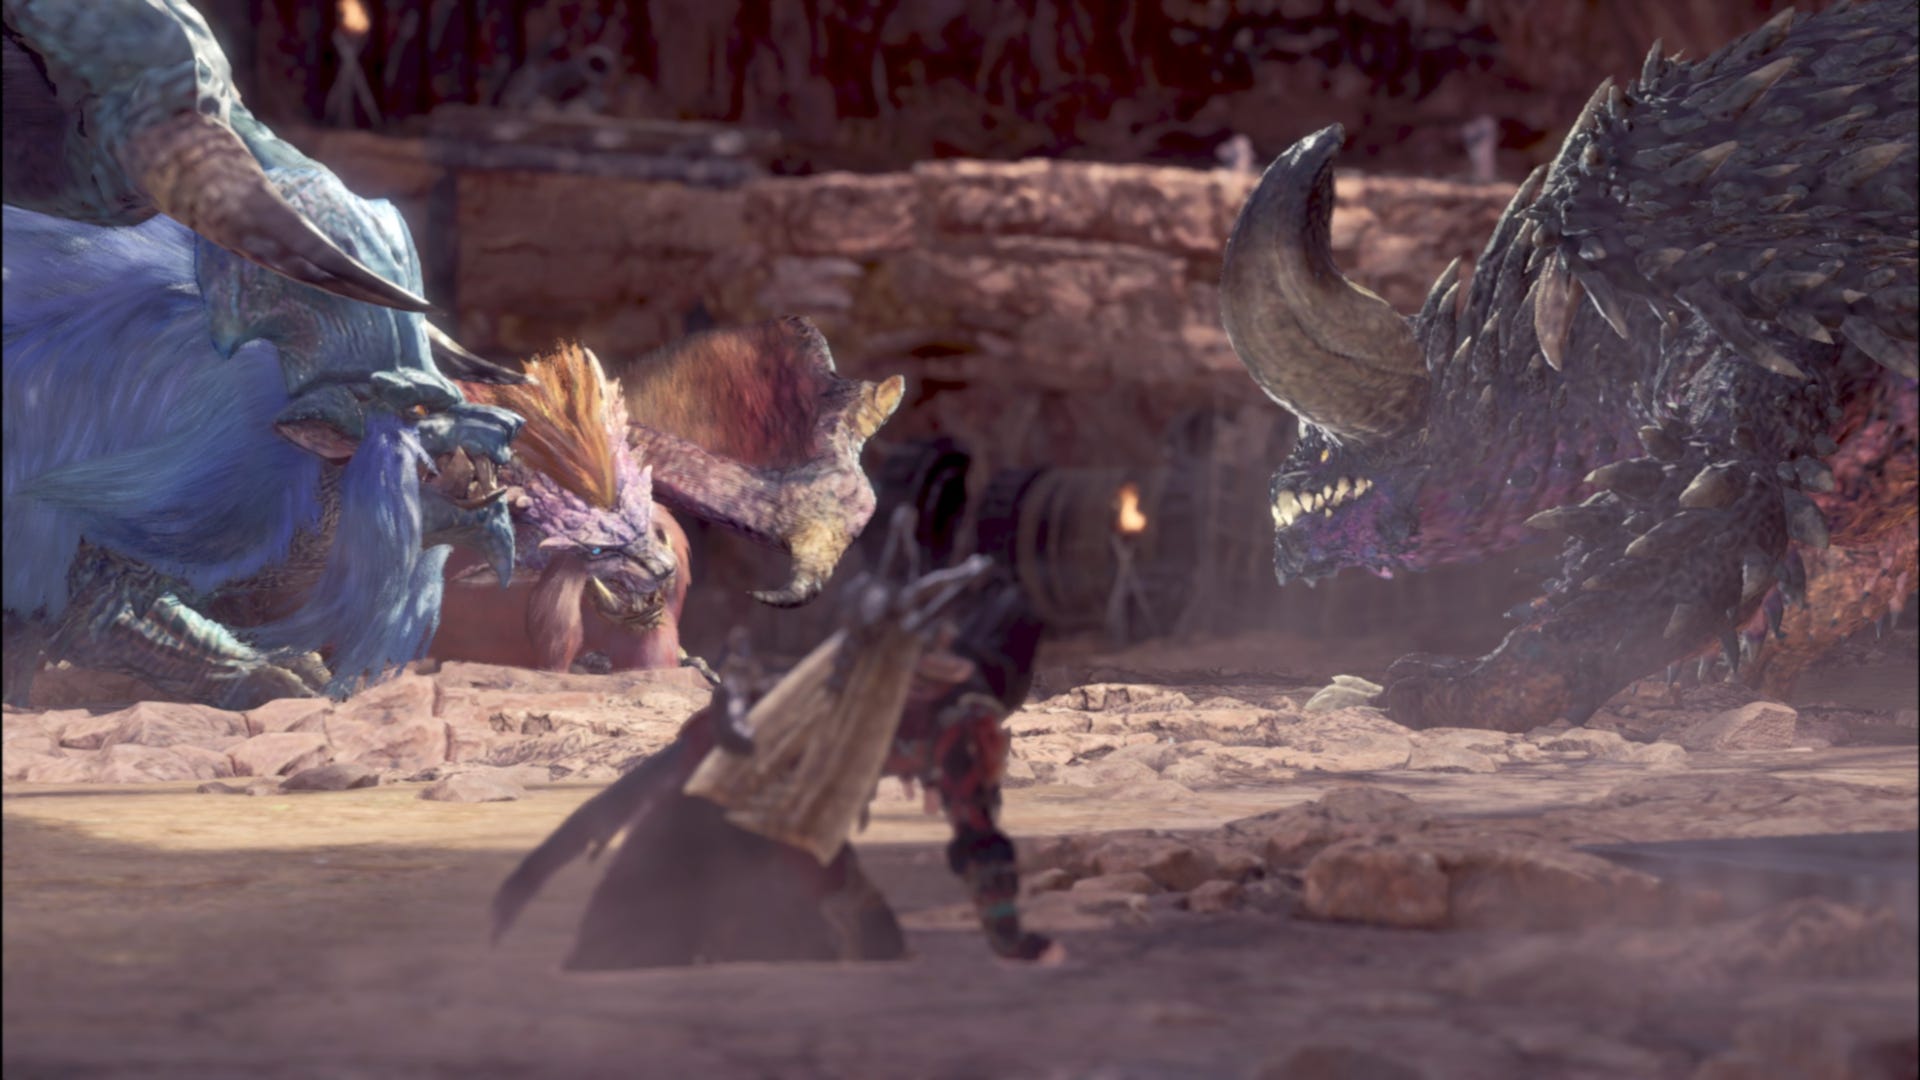

Yet another monster has been introduced to Monster Hunter: World, and this time it is other half of the Elder Dragon power couple - Lunastra. This azure variant on Teostra is more powerful, more prone to erupting into a fiery inferno, and its blue flame patches can have some utterly bizarre interactions with other Elder Dragon attacks. This guide will go over the strengths and weaknesses, as well as all these interactions that you should be aware of going in, while of course keeping your distance.
Monster Hunter: World Lunastra guide
Since you will eventually be fighting two separate Elder Dragons at the same time that don't want to kill each other, you'll need all the help you can get. For those looking to get some more tips on everything from combat to items, head on over to our Monster Hunter World guide hub.
If you are looking for specifically Monster Hunter World Iceborne guides, then we have created a separate guide hub for just expansion stuff. Head over to our Monster Hunter World Iceborne guide to make your start.

Lunastra's weaknesses and resistances
Lunastra has similar weak points and break points to Teostra, but some of the weaknesses have been switched around. Bladed weapons work well on the wings, while blunt weapons and ranged weapons are effective against the face and tail respectively. It also switches the ailment susceptibility of poison with blast, so it's more effective to use blast-based weapons. Stun still affects it well.
Finally, it still features the elemental resistance to fire, but Lunastra is weakest to ice, then dragon. Interestingly, while water is only moderately effective against Lunastra, it's arguably better than using Thunder for a completely unrelated reason, so if your choice is down to either of these two elements, I'd definitely go with the Water weapon over the Thunder one.

Unlocking the Lunastra quest
First and foremost, you'll need to reach Hunter Rank 16. This means you have at the very least completed the main story by defeating Xeno'jiiva and saving the new world. If you're struggling with this baby Elder Dragon, head to our Monster Hunter: World Xeno'jiiva guide to learn more about how to defeat it.
Step 1: Complete the Special Assignment "The Blazing Sun"
Upon first receiving the update, you'll be asked to speak to the Huntsman near the council table. He's indicated by the blue exclamation point on the map in Astera. He'll inform you that Teostra has left the Elder's Recess and has appeared in the Wildspire Waste.
You'll then need to hunt it down, which you can find out more about in our Monster Hunter: World Teostra guide, but the key thing about this fight is that you can use the hills to slide down and leap on it to knock it prone. You can also deal some big damage if you're using dual blades and doing that spinning attack along its back.
Step 2: Complete the Special Assignment "Pandora's Arena"
After killing the Teostra, you'll report into the Huntsman who commends you on your efforts. You'll then hear that another injured Teostra has entered the arena, so you're tasked with killing it once more. However this is not how it turns out.
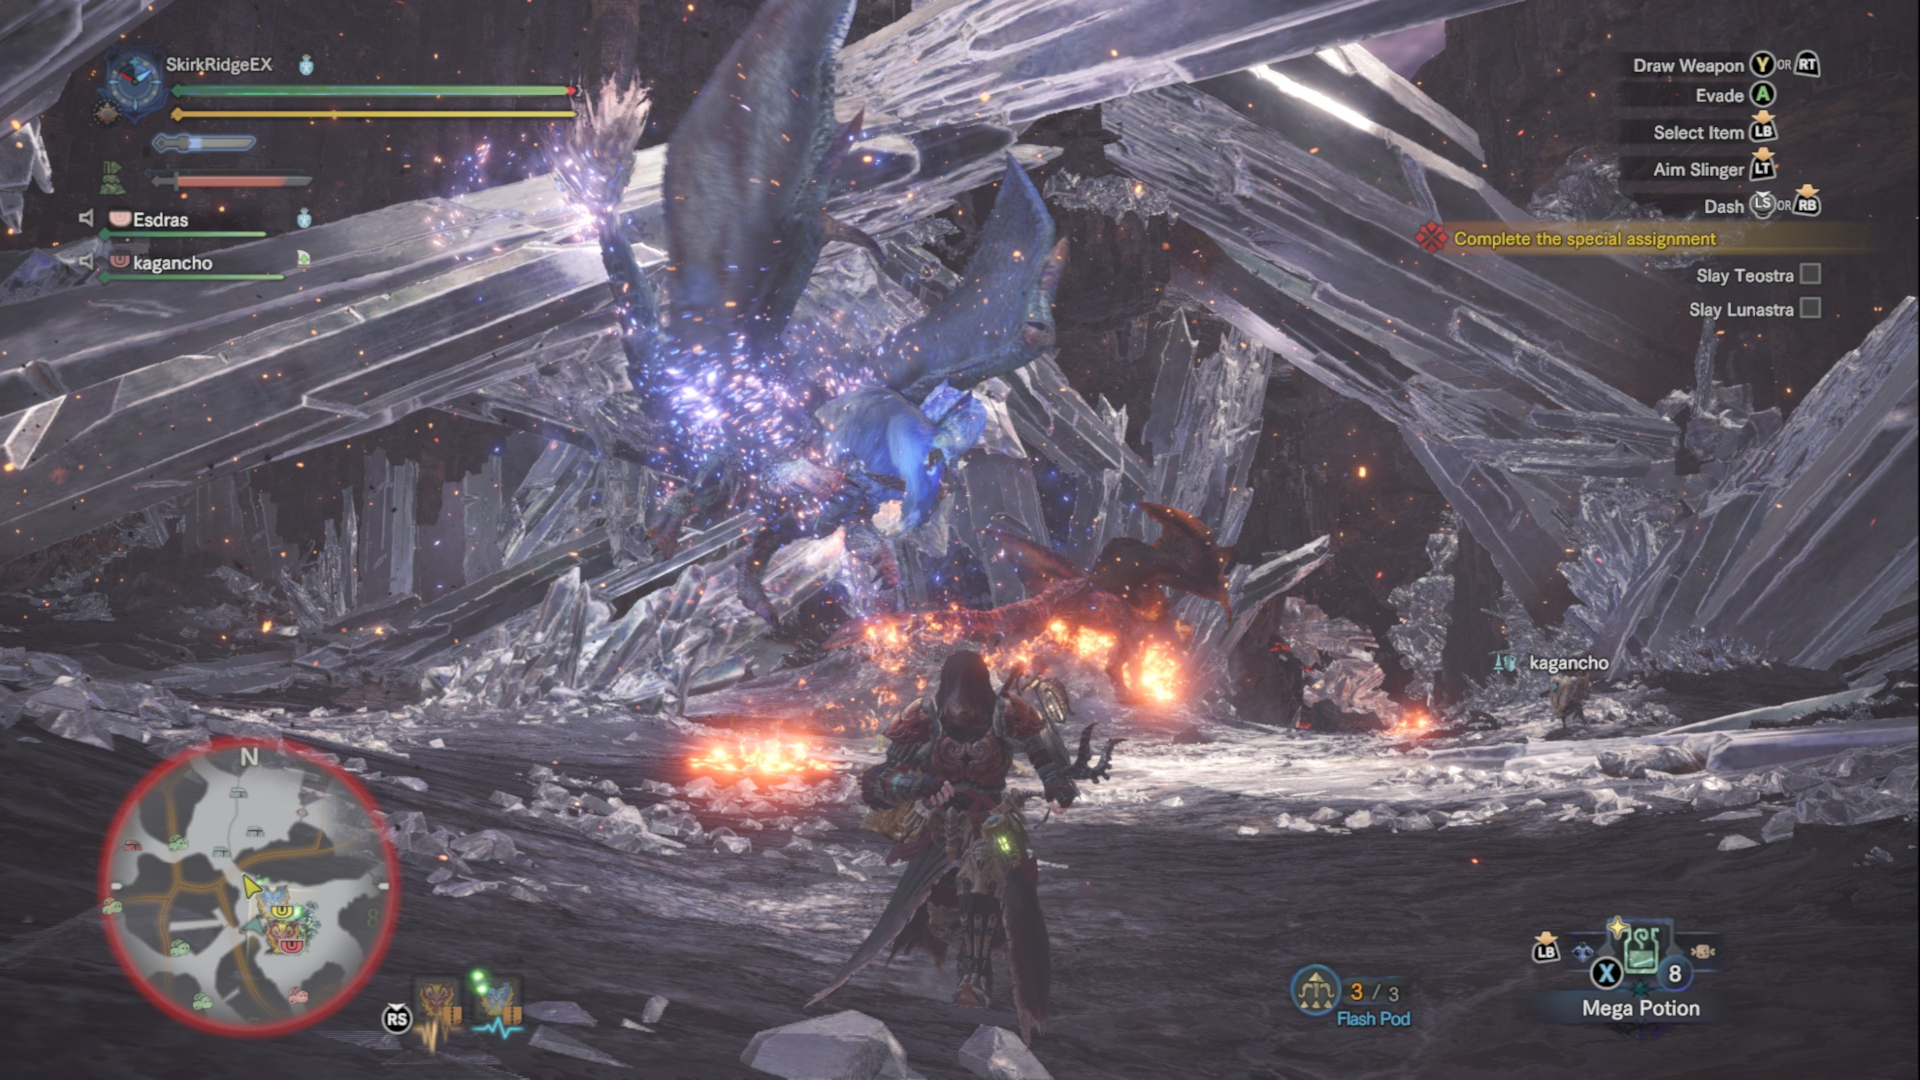
Taking on this mission requires a lot of preparation and luck if you're tackling it solo. You only have 15 minutes to drive away Lunastra from the arena after it successfully repels the Nergigante and allows the injured Teostra to escape. She's a very angry beast, but the location she's in has two traps that can be triggered. One side of the arena has a lever that thrusts two prongs to deal a ton of damage, while the other drops boulders from the ceiling and knocks her prone. It's not really worth going for cannons or ballistae in this fight since Lunastra is just a bit too fast for those to be effective. Once you're done, you'll report into the Huntsman who tells you both Teostra and Lunastra have been located in the Elder's Recess. Once you've finished the mission "No Remorse, No Surrender", locating Lunastra outside of missions should be easier.

How to fight Lunastra
There are some items I would consider mandatory that you take with you if you're taking on Lunastra. Firstly, you should take some Cool Drinks to counter the damage you'll take when it heats up. It's also very much worth taking Astera Jerky as Lunastra's most powerful attack - the Supernova - initially does a fair bit of chip damage that you can fully heal with a single Astera Jerky. Flash pods aren't as useful for interrupting attacks as they are for Teostra. Her Supernova attack will be temporarily interrupted when the flash pod hits, but this is the only real affect as she will just go for it again.
Lunastra has a fair few attacks. Its Supernova is the big one, which it triggers by floating in the air and erupting once to produce flames on the ground and cause an unbearable heat for chip damage, before erupting once more to take down anything in the blast radius. It's certainly more powerful than Teostra's blast, but the chip damage can be healed with an Astera Jerky and there's a way to counter it before it happens: Crystalbursts. Make sure that at some point in this fight you head to the crystal room and pick up some up. This ammunition when it hits Lunastra can interrupt many of her more dangerous attacks from the air.
She also has an aerial charge that can either be dodged or negated with a Crystalburst, as well as vicious tail swipes, pounces, flamethrowers, and bites. Normally it's best to keep your distance and only attack when she leaves herself open, as this ensures you're not vulnerable to any of her more damaging ones. She's very similar to Teostra in this respect, but can do a bit more damage if you get hit.
One very weird thing about Lunastra is to do with its flames that appear on the ground. Let's say you have a fire-based weapon and attack the pockets of flames on the ground. This will make the patch erupt into a blue blaze, which for some inexpiable reason repels ranged weapon shots. Be wary of this if you're using ranged weapons, making sure that you find the gaps in the flames to shoot at Lunastra. Alternatively if you hit the patches with a water-based weapon, they'll disappear, but only if they've not been hit by a fire-based attack first.
Another interaction you should be aware of is when Kushala Daora comes to ruin your day. The tornadoes it produces when it takes to the skies will pick up the ground-based fires, turning an already annoying attack into a column of fire that deals a lot of damage to those that run into it. The only way to get rid of it is to fire a Crystalburst into it, which if you're following the guide to the letter you should be picking up whenever you can. Also be aware that the Turf War with Nergigante will result in an eruption from Lunastra, so keep your distance.
Fighting Lunastra and Teostra in "No Remose, No Surrender"
This Elder Dragon is the first one in the game to have a bond with another Elder Dragon - namely Teostra, as they are mates, so you'll definitely want to recap on how to defeat him in our Monster Hunter: World Teostra guide. Your first proper fight with the Elder Dragon (one where it doesn't flee halfway through at least) will be in the Elder's Recess. Fighting two Elder Dragons, hard ones at that that are working together to ensure your demise, can be very galling at times. My first tip for this is to not do this mission alone. You'll certainly want to fire off an SOS Flare if you're jumping in, or at the very least bring some friends for the ride. More on that in our Monster Hunter: World PC multiplayer guide.
If the two are ever separated, make sure you wail on Teostra first as he's arguably the easier one of the two to take down. Otherwise you'll need to time your attacks very carefully to ensure the other Elder Dragon doesn't blast you with fire attacks while you're not focused on dodging. Since Teostra is very vulnerable to flash pods when it's preparing to erupt, make sure to bring them with you for him. Just don't use them on Lunastra as she will her supernova attack
If you ever see the message on the right hand side that you've obtained 60 research points each for seeing Teostra and Lunastra's bond with each other, run! Run as far away as is physically possible and hope that it's enough. Their Hypernova attack is essentially what happens when a Teostra and Lunastra get... intimate. They do a dance in the air, resulting in a duo of blasts that would easily kill any hunter unfortunate enough to not be wearing a Fireproof Mantle or is out of the blast radius. On top of that, Lunastra's attack keeps going as the flames still litter the landscape and she erupts once more to finish her part of the attack. This is an incredibly rare event,
What materials can I get from Lunastra?
Since Lunastra is an Elder Dragon, you can't capture it. Partnering up with others (as detailed in our To learn more about teaming up with others, you can refer to our Monster Hunter: World PC multiplayer guide) is the way forward. As for how to use the items you can loot from Lunastra, you can either check out our Monster Hunter: World combat guide or our Monster Hunter: World armour guide. In the list below, the stars indicate the frequency in which the item in question will drop, as well as details on whether some items are obtained by breaking a specific part of the monster.
| Item name | Rarity of materials gained from carving | Combat and carving notes | Rarity of materials gained as rewards | Reward notes |
|---|---|---|---|---|
| Fire Dragon Scale + | ***** | Can be dropped. | **** | |
| Lunastra Carapace | **** | **** | ||
| Lunastra Claw + | *** | *** | ||
| Lunastra Horn + | ** | Can be obtained by breaking its head. | N/A | |
| Lunastra Mane | *** | *** | ||
| Lunastra Tail | *** | Obtained by carving its tail. | N/A | |
| LunastraWebbing | ** | Obtained by breaking its wings. | ||
| Lunastra Gem | * | Obtained by breaking its head or carving its tail. 2% carve. 3% tail carve. 1% head break. | * | 6% Silver reward. 13% Gold reward. |
| Elder Dragon Bone | N/A | ** | ||
| Elder Dragon Blood | N/A | ** |
Another Elder Dragon has fallen at your feet and it really is quite the feat to defeat two Elder Dragons at the same time! You can learn more about the previous permanent monster introduced in the free updates from our Monster Hunter: World Deviljho. There is also another elusive Elder Dragon that only appears once in a blue moon, so prepare in advance by looking at our our Monster Hunter: World Kirin guide.