Monster Hunter: World first encounter with Zorah Magdaros: how to survive
To catch a giant.


Upon defeating a massive T-Rex in Monster Hunter: World, the hunters are finally ready to try and capture the main big Elder Dragon - Zorah Magdaros. A plan was put into place where the hunters will initially try to stun it by using cannons and ballistae, before ensnaring it. Unlike the other encounters you have had so far, this is more of an elaborate boss battle that happens over multiple phases. It is possible to lose this fight, so this guide will go through each step to try and ensure you don't perish during this mission.
Monster Hunter: World Zorah Magdaros first fight guide
This fight takes place in three main phases, each of which is book-ended by cutscenes. While nothing you do is particularly tricky, you may find that bringing a friend along for the ride will ensure you stand a better chance and have a lot more fun doing it. Have a look at our Monster Hunter World guide, which also has tips on combat and what to take with you when taking on this gargantuan creature.
If you are looking for specifically Monster Hunter World Iceborne guides, then we have created a separate guide hub for just expansion stuff. Head over to our Monster Hunter World Iceborne guide to make your start.
How to beat the first phase - cannons and ballistae
Before even venturing out, it's highly advisable that you bring a weapon that deals a large chunk of damage, such as a hammer or great sword. Since the second phase of the fight involves hitting a stationary target, you'll want an weapon that can break these quickly. To find out more about what the hammer and great sword can do, as well as the other weapons, head over to our Monster Hunter: World combat guide.
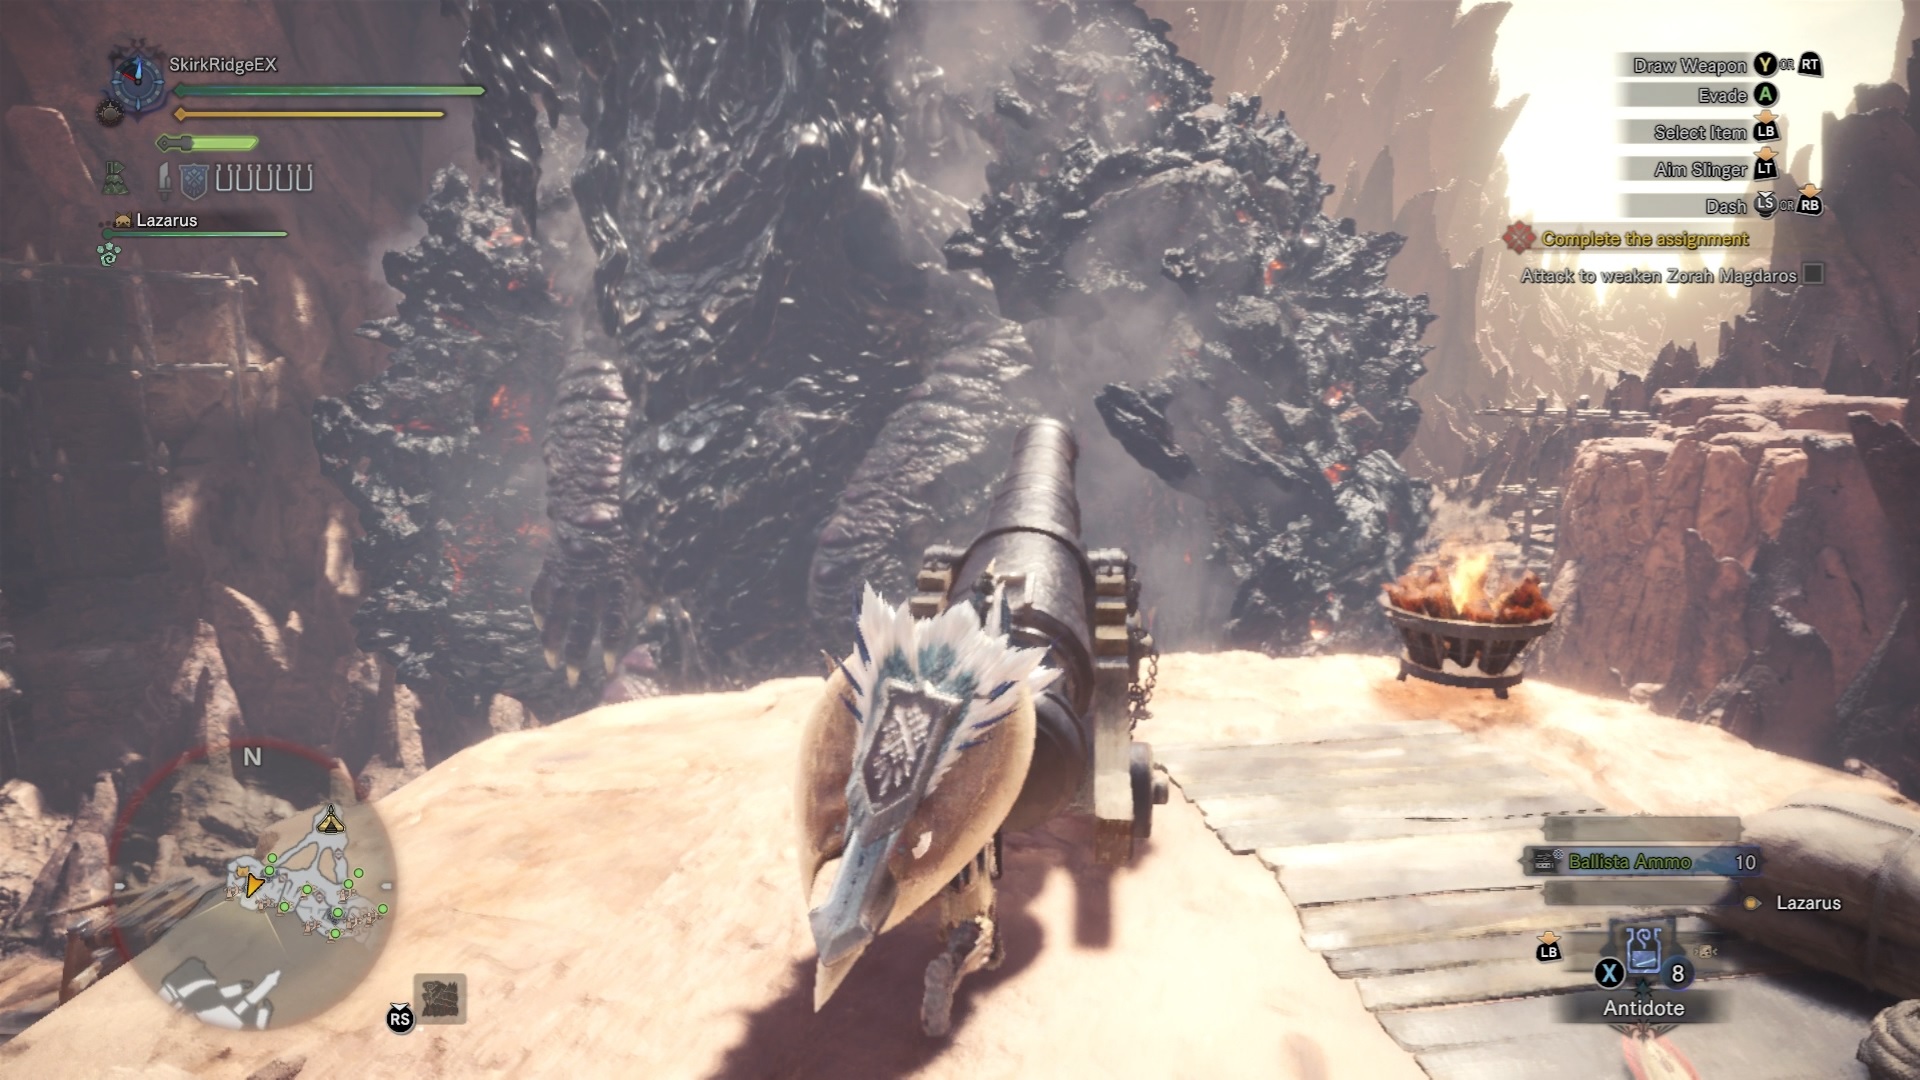
Upon surfacing from beneath the canyon, Zorah Magdaros will begin to walk towards your position. Scattered around the platform are ballistae which are used to deal small chunks of damage and break parts off, while the cannons should really be fired towards the head. Cannons require loading and so the best way to do so is to grab a cannonball from nearby the cannon and load each one into the device. It can hold a maximum of five balls and can deal a significant amount of damage, even causing the beast to stagger on occasion. There are flying drakes that will harass you a little, but you can easily ignore them.
Eventually it will get close to your position and in range to attack. It has a really long attack animation, but it also has colossal range with its claws. If you see it attack your position, run as fast as you can out of the way as it will deal a massive amount of damage to you. You'll also be asked at one point to fire a harpoon into the hulking giant, so head to the point and load the special round into a nearby ballista. If it worked, you should see rope attached to it. Unfortunately it will break free from these eventually and break through the first checkpoint.
The commander will then initiate the "mounting phase" of his plan, so you'll then be prompted to travel to a hitching post to proceed onto the next phase. However before you do, there is nearby to allow you to stock up on healing items. Be sure to do so, then catch a ride to Zorah Magdaros itself.
How to beat the second phase - Zorah Magdaros cores
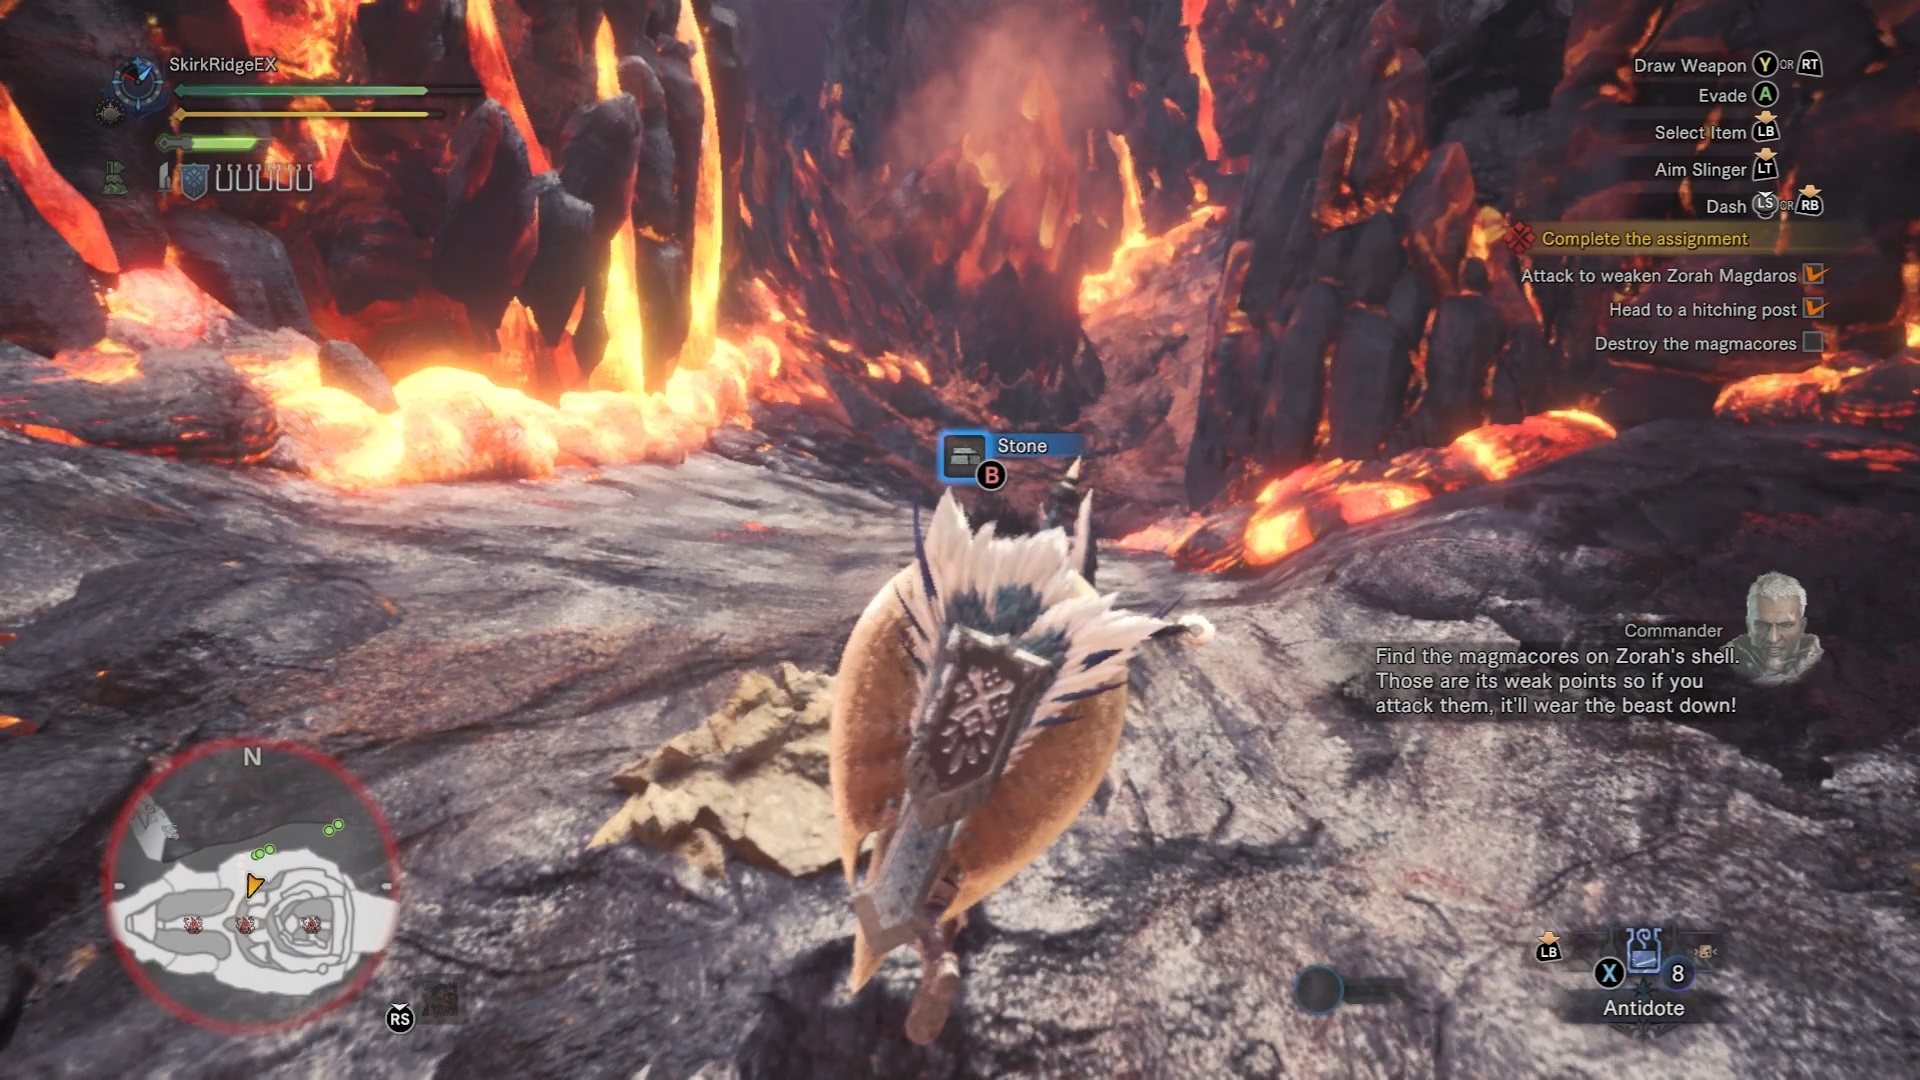
The second phase asks you to destroy three cores and luckily for you, the first one is right in front of you. That said, the area nearby these cores are volatile, with lava bursts happening once every half-minute or so. If you do get caught up in the blast range, you may find yourself on fire. To rid yourself of your burns, just roll three times. Since these are stationary targets, you can wail on these with your biggest, fattest hammer or great sword, but keep an eye out for flare ups. If you want to have a chance of breaking them, make sure you equip water-based weapons and fire resistant armour.
Once you've broken this first core, you can go after the other two. Along the way there are a few mining crops, so be sure to dig these out for rare and valuable items. Both of these cores need you to climb upwards, one into the creature's maw and the other on top of its head. The chambers that house them are enclosed and the cores also erupt with lava every half-minute. Keep at it until you get interrupted by the sudden arrival of a mystery opponent.
How to survive the third phase - A mystery dragon approaches
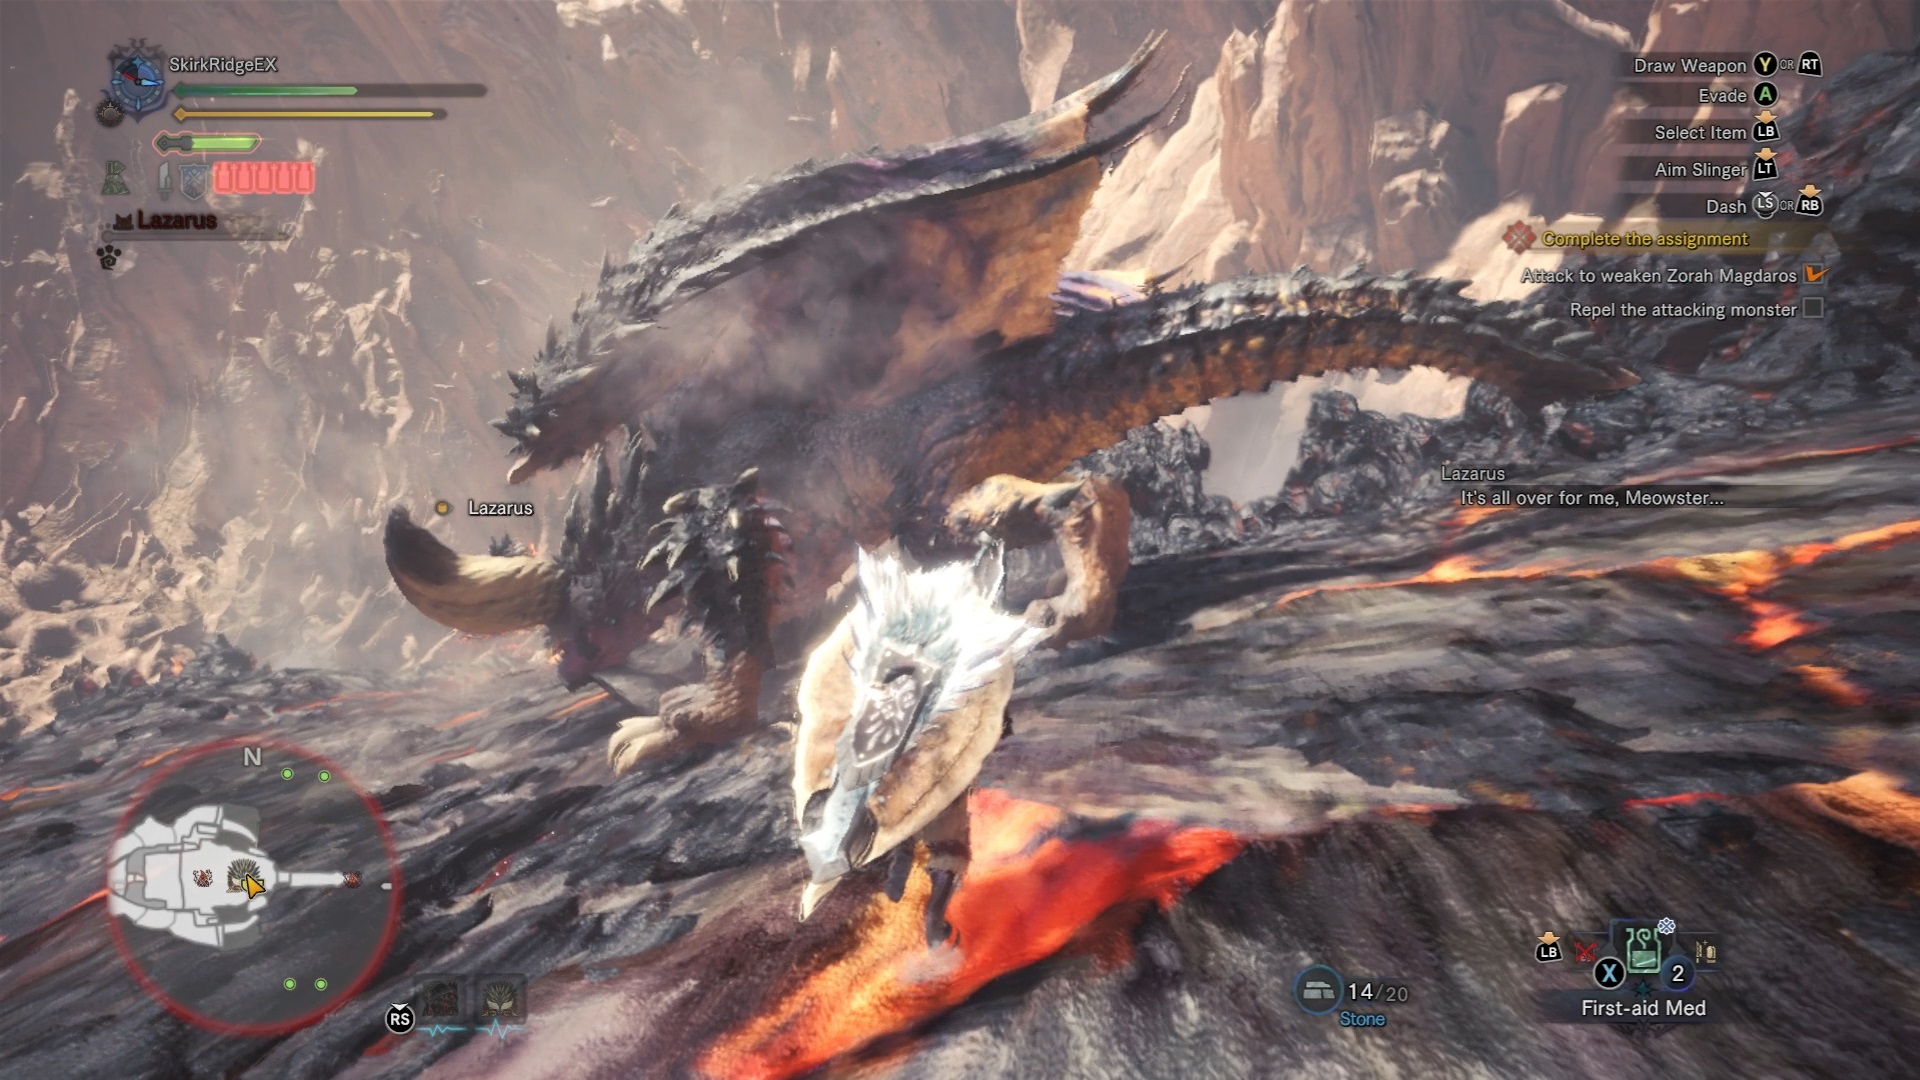
Before you get any ideas, you can't win this phase. The main idea then is to not die at the jaws of this dragon. It has some incredibly fierce attacks that include biting, charging, and a lethal tail slam. You can certainly get a few hits on it and that's encouraged to prompt the other hunters to join you as reinforcements.
Pick your time to hit it carefully and don't get greedy as it can be a very short time before its next attack. If you're in doubt, it's better to just keep out of its way rather than attempt to beat it up some more, as it hits very hard. Having your Palico come into the hunt with its healing skill levelled up a fair bit can make a huge difference, but stock up on healing items for this phase.
Eventually you'll hear a prompt from the commander for reinforcements to join you. A while later and they'll arrive, triggering a cutscene that ends the fight, with Zorah Magdaros still on the loose and the mystery dragon fleeing the scene. With that, this guide is done, but there are plenty of other guides for other specific monsters such as the Monster Hunter: World Anjanath guide. Your next hunt is a far more manageable challenge and is featured in our Monster Hunter: World Tzitzi-Ya-Ku guide.