How to build a PC: the complete step-by-step guide
From choosing parts to installing Windows, here's how to handcraft your own custom gaming rig

Knowing how to build a PC is, at least in the view of this hardware ed, an underrated skill. The single, solitary advantage of buying a pre-built rig is convenience, but if you know (or are willing to learn) how to slap all the parts together yourself, you get to exert far greater control over the specific components in your PC while gaining a greater understanding of how the whole thing works. Not to mention you’ll be saving an absolute bundle of cash, a benefit that’s all the more keenly felt in a cost of living crisis.
Years ago I constructed my first gaming desktop with the help of a step-by-step PC building guide, and now I want to pass on the favour. This complete walkthrough will cover everything you need to know, from making sure your components are compatible to that breath-holding moment of the first boot to Windows. With some light screwdriver work in the middle. And, in addition to the text guides, you can follow along with our new video guides, filmed by myself and Liam over two days in the office. Your build, thanks to not having to do pieces to camera, should only take a casual afternoon.

Just think: by the time you’re done you’ll have built a bespoke gaming PC, one that suits your exact needs and will remind you of your newfound handiness every time you turn it on. It’ll be brilliant, though before you start, I’d recommend looking over the prep guide on this very page. It covers what you’ll need, the best places to acquire your desired PC components, and how to make sure you’re buying the right parts. Or, if you’re already set for hardware and tools, jump right into the step-by-step guide with these links:
Part 1: How to install a CPU
Part 2: How to install a CPU cooler
Part 3: How to install RAM
Part 4: How to install a PSU
Part 5: How to install a motherboard
Part 6: How to install a graphics card
Part 7: How to install an SSD / HDD
Part 8: How to tidy cables, reassemble the case, and connect peripherals
Part 9: How to install Windows 10 or 11
How to build a PC: You will need…
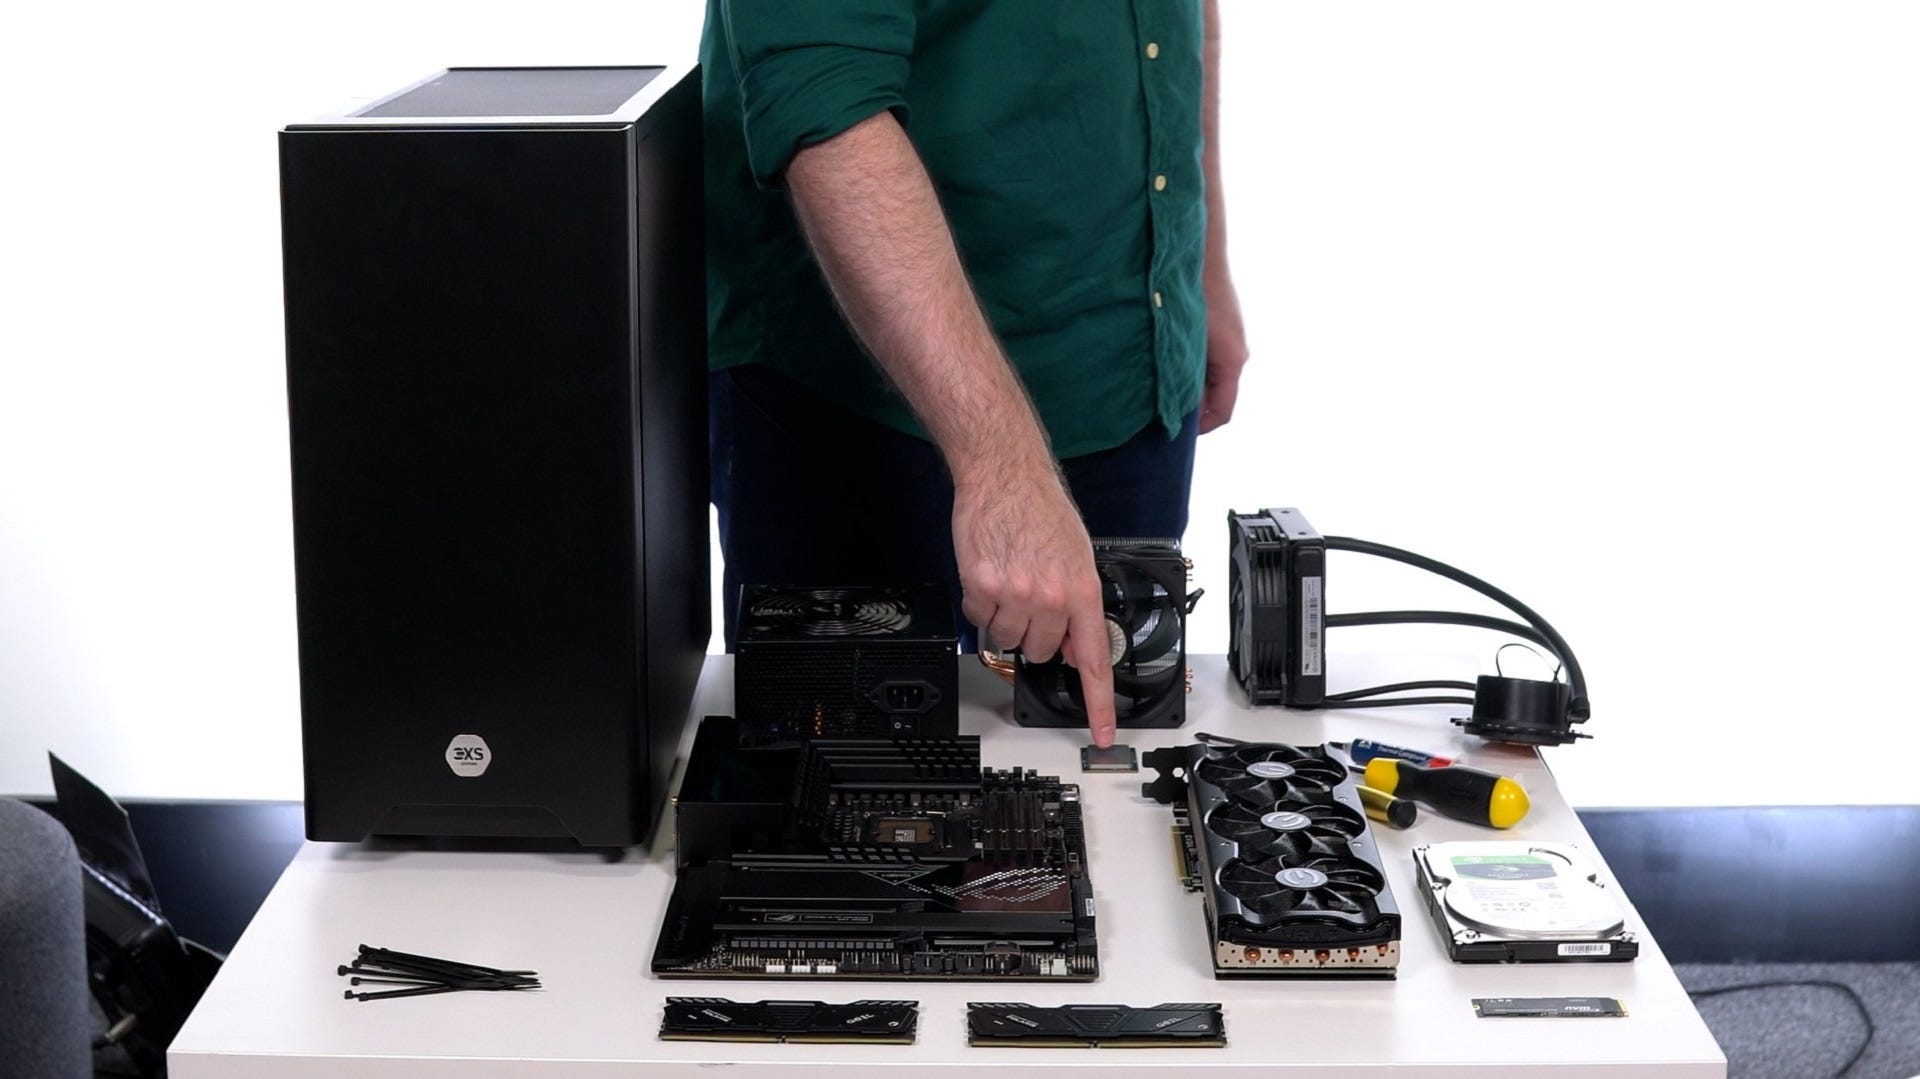
There’s no PC building without PC parts, as well as a few vital tools. Here’s the checklist of everything you’ll need to put your custom rig together:
- PC case
- Motherboard
- CPU
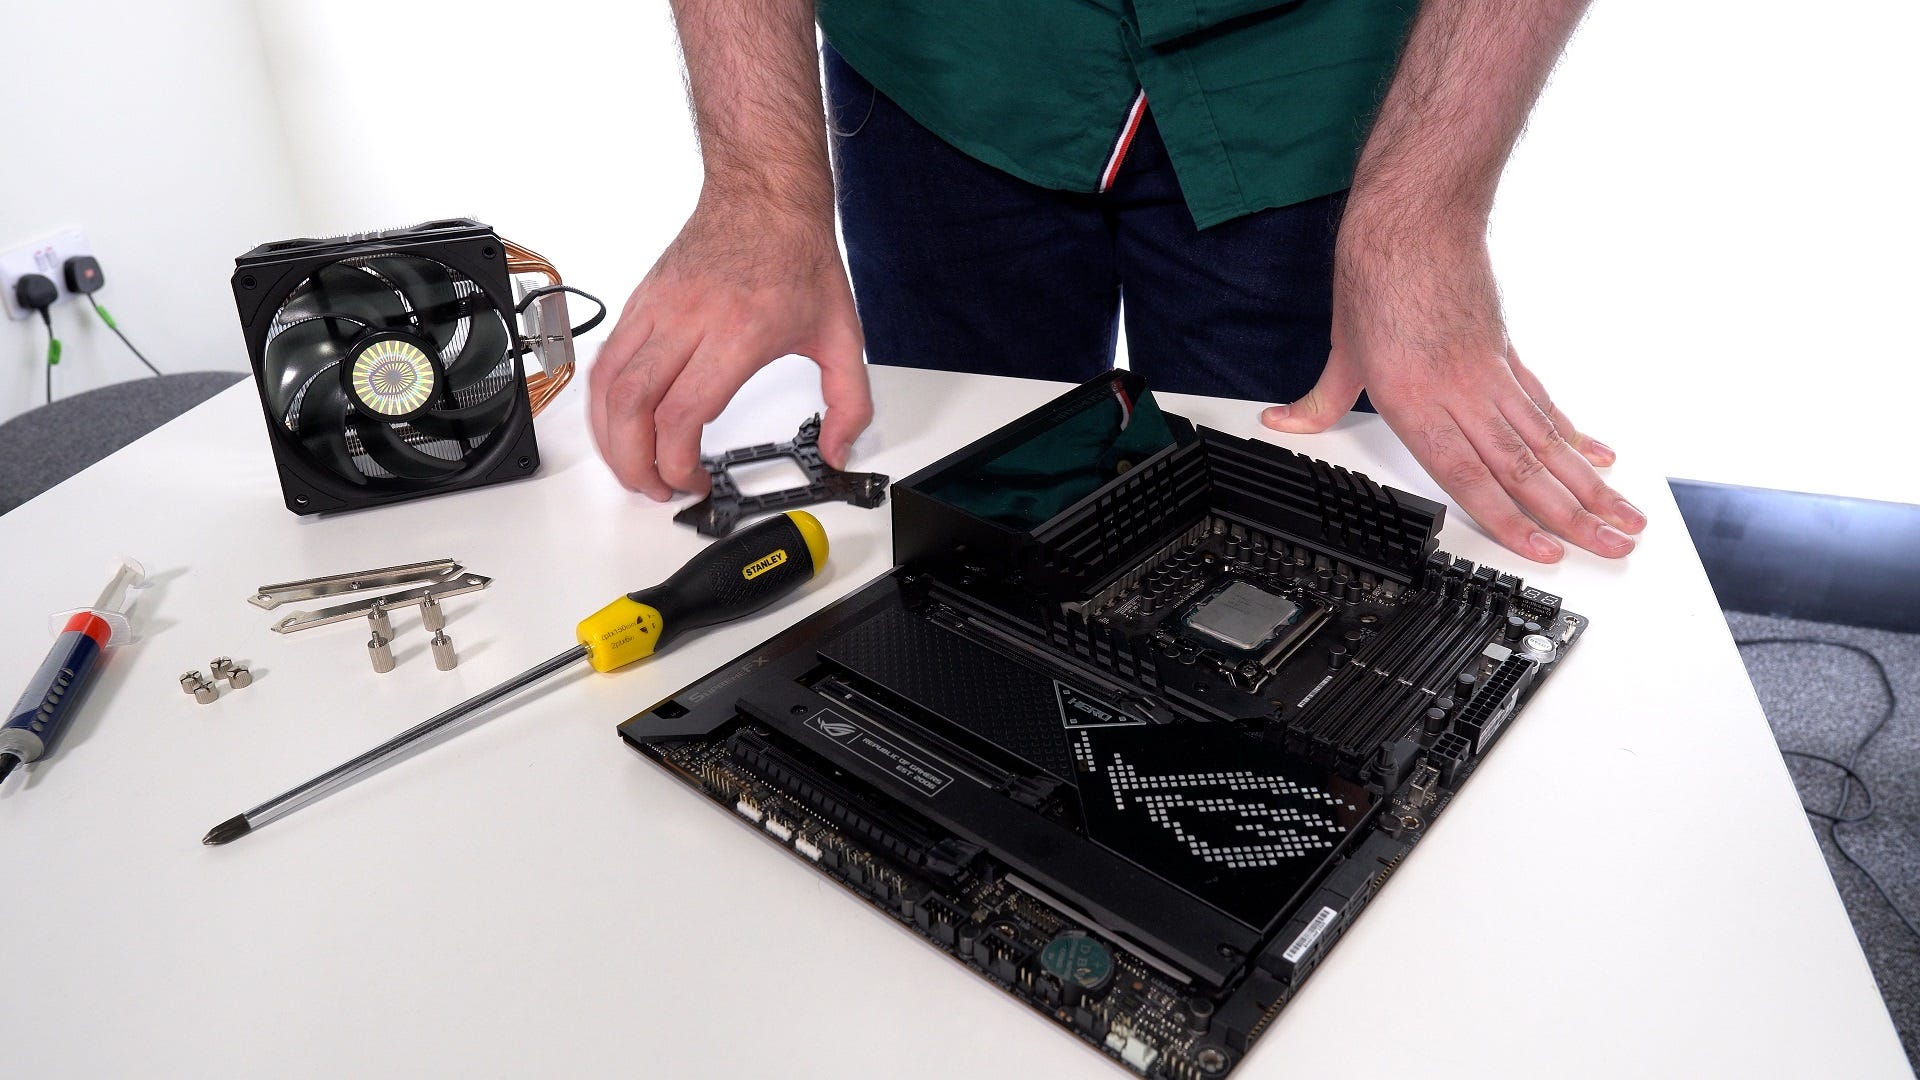
- CPU cooler
- RAM
- Graphics card
- SSD (and/or HDD)
- PSU (i.e. the power supply)
- Windows 10/11 installation media, ideally a USB stick
- Windows 10/11 license/activation key
- Medium crosshead screwdriver
- Small crosshead screwdriver
- Thermal paste
There are a few optional bits as well: you may need a Wi-Fi card, USB dongle, or powerline adapter kit to connect to the Internet, should your chosen motherboard lack onboard Wi-Fi or you can't use an Ethernet cable. I’d also strongly suggest nabbing yourself some cable ties or thin Velcro straps, which will come in very useful for cable management. Also, you'll need a working PC or laptop if you're creating USB installation media yourself; you won't if you're buying a ready-made Windows USB from Microsoft.
If this building malarkey is your first ever foray into PC hardware (welcome!), you’ll also need some peripherals. Have a peep of our best gaming monitor, best gaming mouse, best gaming keyboard and best gaming headset guides for some quality kit, and make sure you’ve got at least the monitor, mouse and keyboard ready to go before you start building. You’ll need all three to install Windows.
How to build a PC: choosing components
One of the reasons why beginners shouldn’t be afraid of PC building is that the physical process – slotting components together, plugging in wires – is actually quite hard to fuck up. However, it is possible to make an expensive mistake before you’ve even picked up a screwdriver, namely by picking parts that aren’t compatible with one another.
To avoid any awkward refund requests, here’s a guide-within-a-guide to what you should keep in mind when choosing your PC’s components.
CPU: You’ll be choosing between Intel and AMD chips, which will in turn determine which kind of motherboard you’ll need. In short, certain CPUs will only work with certain motherboard sockets and chipsets. For instance: if you want an Intel 12th-Gen processor like the Core i5-12600K, you’ll need a motherboard with the LGA 1700 socket and one of the following Intel chipsets: Z690, H670, H610, B660, W680, or Q670.
Since some CPUs come with a compatible cooler in the same box, your choice of chip could also save you the expense of buying a separate cooler as well. These “stock” coolers are rarely as effective as a good third-party model, though, so it’s usually better to invest in a different cooler unless you’re on a very tight budget.
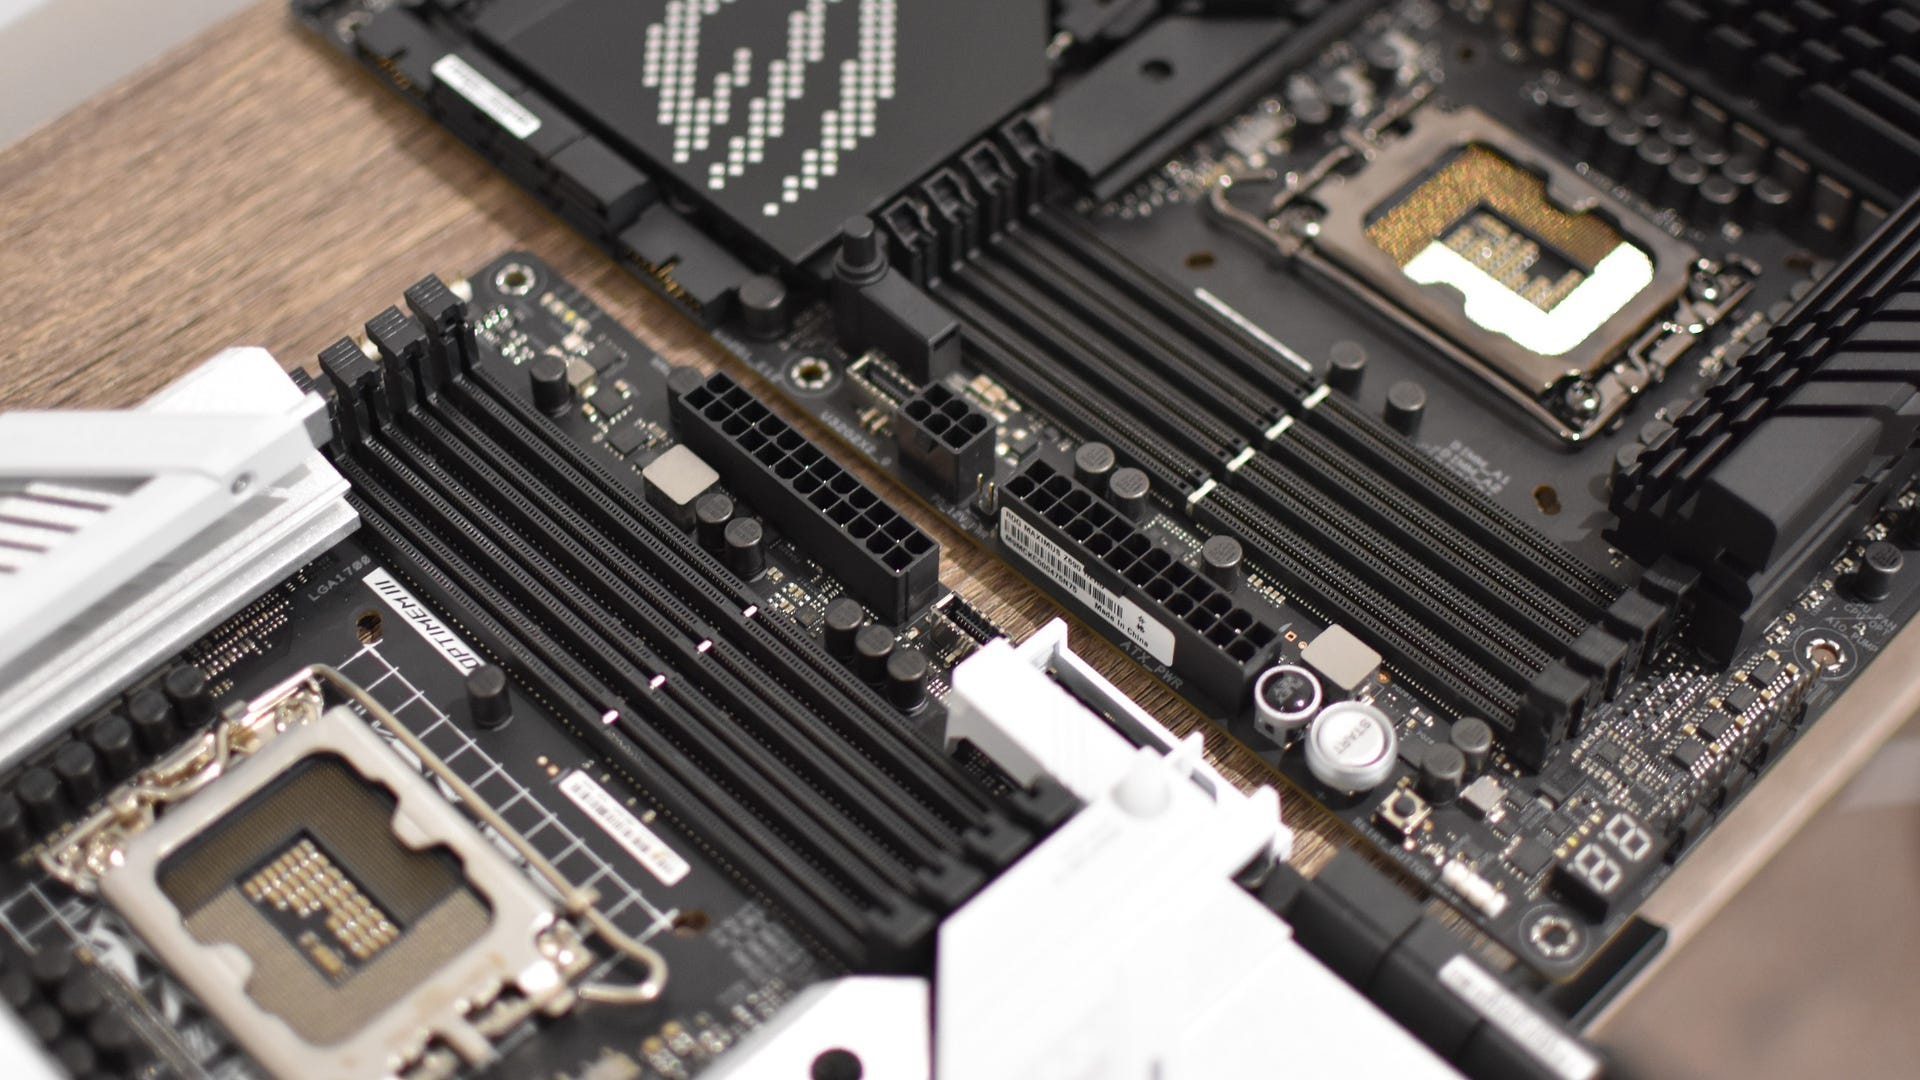
Motherboard: Just as the CPU determines which motherboards you can use, the motherboard determines… quite a lot, actually. Want loads of storage? Make sure you get a board with plenty of M.2 slots and SATA connectors, into which you can plug SSDs and hard drives. Want to add an RGB lighting kit? Look for mobos with 5V and 12V RGB headers. Most importantly, you should check whether the motherboard supports DDR4 or DDR5 RAM: you can’t put DDR4 RAM into a DDR5 slot, and vice-versa, so you’ll have to match the motherboard to the type of memory that you buy.
Case: It’s also essential to make sure your case is big enough for your chosen motherboard. The most common "mid-tower" PC case form factor is usually enough for standard-sized ATX motherboards, but if you’re splashing out on a premium EATX mobo, you may also need a bigger case. Likewise, if you’d actually prefer a compact case, it’s likely you’ll need to search for a smaller motherboard form factor, like microATX or mini-ITX.
Ultimately, you can choose whatever suitable case you want. It’s your eyes that will be clapping on it every day. Still, there are certain practical benefits to taller/wider chassis designs: they tend to include more pre-installed case fans, for better cooling, and they’ll also have more room to mount the radiators for all-in-one (AIO) CPU watercoolers. Bigger cases also have more space for chunky CPU air coolers and longer graphics cards, so keep that in mind if you want a monster GPU like the RTX 4090. If you’re unsure if something will fit, check the dimensions of your preferred components against the "clearance" specs of the case.
RAM: As above, you mainly just need to make sure the memory type you’re buying – probably DDR4 or DDDR5 – is compatible with the motherboard you want. Currently, DDR4 is cheaper and roughly as fast, but DDR5 is likely be become quicker and more affordable as manufacturers continue to develop it.
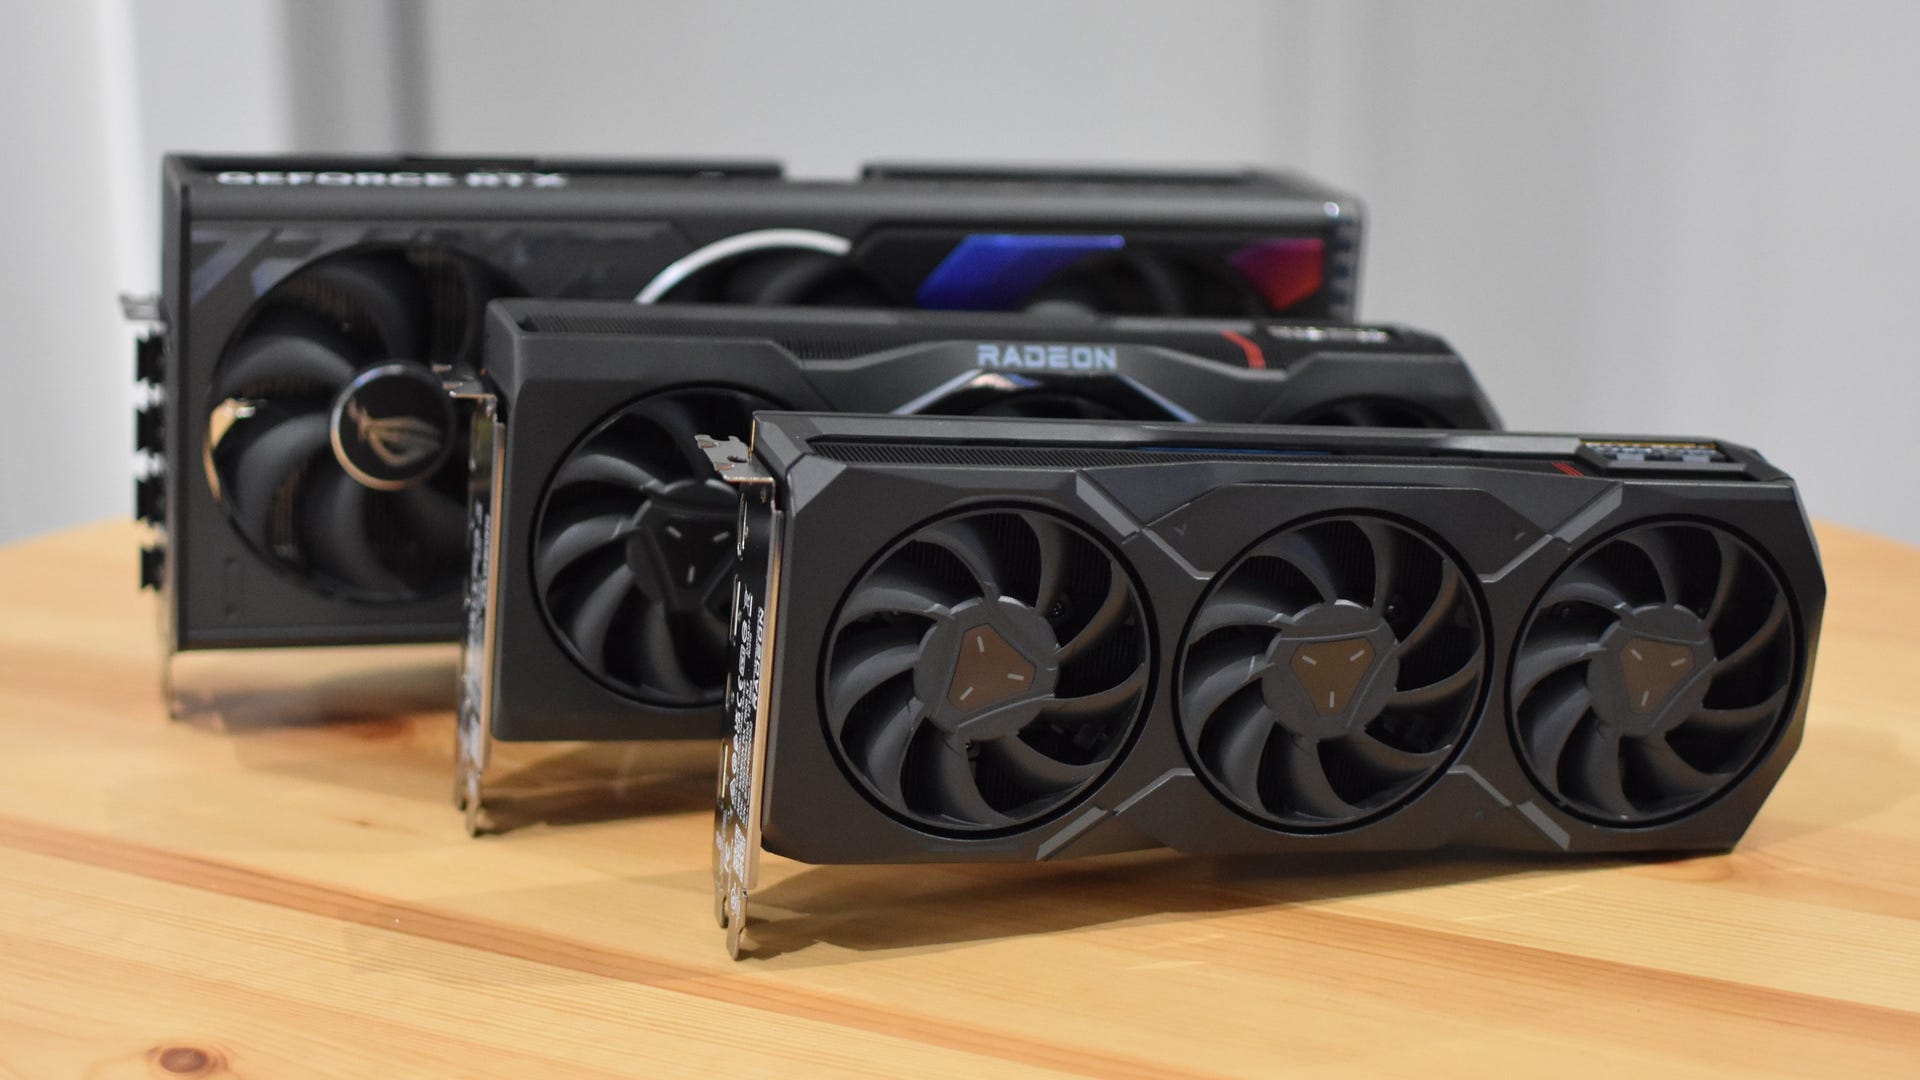
GPU and PSU: Graphics cards don’t have such stringent compatibility requirements as CPUs, so you only need to make sure that they have enough a) space in the case and b) power from the PSU. GPU manufacturers will usually list the recommended total PSU wattage for their cards, and for performance’s sake, that’s advice worth taking. An example: Nvidia recommends a 650W PSU for the RTX 3070, so while you shouldn’t need even more watts than that, trying to cheap out with a 500W PSU could cause performance problems.
Storage: These days, and although we'll cover them later in this guide, I don’t think it’s even necessary to include massive (but slow) mechanical hard drives in the average gaming PC. A single 1TB SSD provides ample space with superior speeds, and may be cheaper than you think. For the best performance, get an NVMe SSD rather than a SATA-based drive, and slot it into an M.2 slot on your motherboard. Any mobo worth buying will have at least one of these slots.
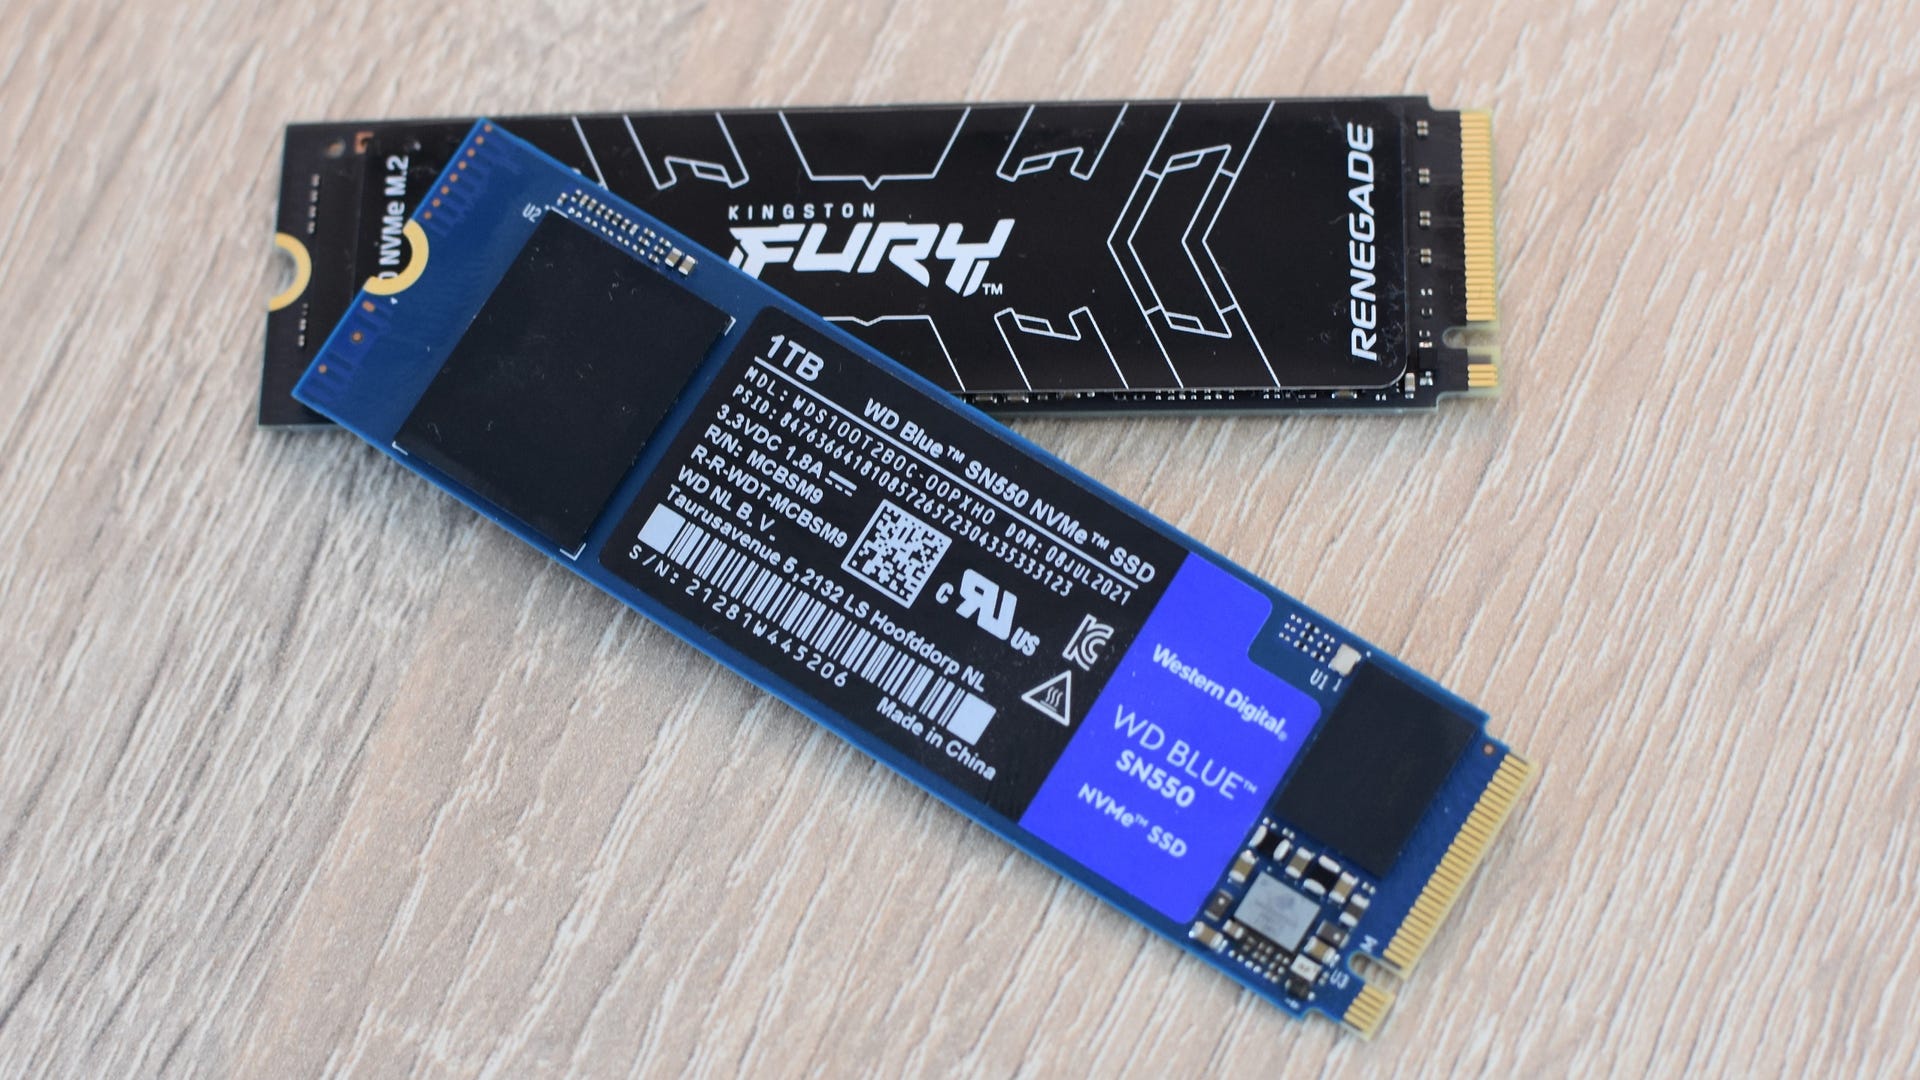
There’s still one compatibility question with these SSDs, though: PCIe 3.0 or PCIe 4.0? SSDs that use the older PCIe 3.0 standard will work with a wider range of systems, as newer motherboards with M.2 slots that support PCIe 4.0 will be backwards-compatible with 3.0 as well. Nonetheless, PCIe 4.0 SSDs are much faster, so it can be worth paying for them if you have the budget. You’ll just need to make sure that both your motherboard and CPU have PCIe 4.0 capability, which shouldn’t be unusual if they’re from the past couple of years.
OS: Don’t tell any Linux fans I said this, but if you just want an everyday gaming PC, Windows remains your best choice of operating system. As for which version, that’s your call: Windows 10 will possibly be more familiar, and lacks some of the more esoteric system requirements of Windows 11, but then the newer version has some gaming-focused features that 10 lacks. If you can’t choose, consider installing Windows 10 first, as this will leave you’re the option of updating to 11 at a later date.
For the easiest possible OS installation, get it on a USB drive. You can buy ready-to-go Windows 10 and Windows 11 USBs that come with the required license, or – provided you have access to another computer – you can download the Windows 10 or Windows 11 installation tools and house them in a USB drive you already own, turning it into Windows installation media. If you go this route, you’ll need to buy a license/activation key separately.
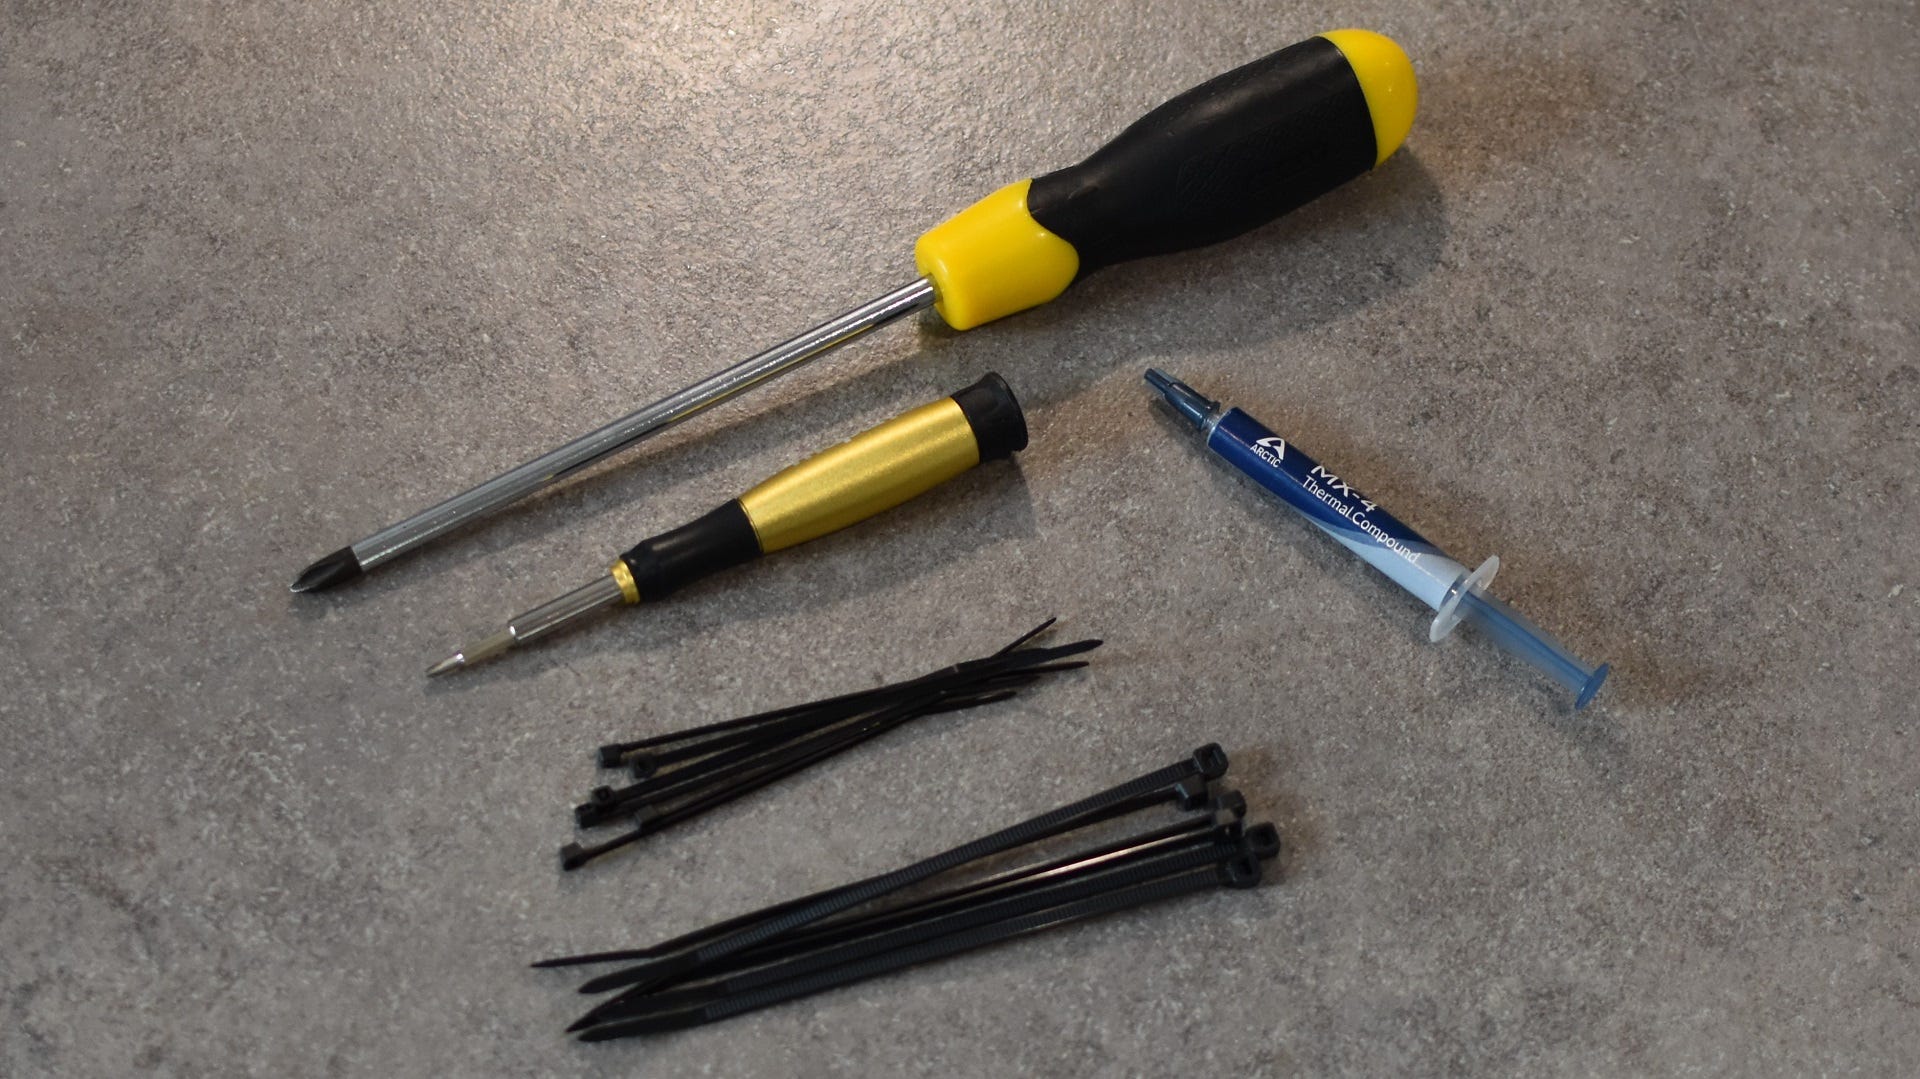
Tools: A single medium (or large-ish) crosshead screwdriver will be enough for most, if not all the screw-spinning tasks that building a PC involves. It’s fine to use a magnetic tipped screwdriver, but stay away from the power tools – you don’t want to crack your motherboard by twisting a screw too tight. You may also need a much smaller crosshead screwdriver for installing M.2 SSDs, unless your motherboard uses a tool-less locking mechanism for M.2 slots. But even then, the M.2 slots might have heat spreading covers that need a dinky screwdriver to remove first.
Finally, get a little tube of thermal paste, which is a gloopy grey compound that facilitates heat transfer between the CPU and its cooler. A lot of coolers come with pre-applied thermal paste, but it’s good to have some extra to hand, and for future CPU or cooler upgrades and maintenance. The same goes for cable ties: you should get a small handful included with your case, but you can buy more for a pittance, and they're perfect for tidying up thickets of PSU cables.
How to build a PC: dealing with static electricity
Static can indeed be a risk to exposed computer parts, specifically when it’s discharged into delicate circuitry. And there’s no shortage of equipment you can buy to keep the kiss of Zeus away from an in-progress PC build: anti-static wristbands, anti-static work mats, even ionising air guns that literally shoot the static off surfaces.
Is any of it actually necessary, though? I’d argue it is not, so long as you take reasonable care to prevent static electricity building up in the first place. And even then, a lot of shared 'wisdom' about the risks of electrostatic discharge borders on paranoia. No, you will not shoot Force Lightning into the case if you build it while standing on carpet. Just wear shoes. It’s fine.
Instead of burning even more money on anti-static tools, then, you can just employ some common sense preventative measures:
- Standing on carpet isn’t dangerous, but don’t have your case or components on the floor, rubbing directly onto it. Build on top of a table or countertop, ideally wooden.
- Wear loose-fitting cotton clothing, not static-friendly wool or polyester.
- Most importantly, ground yourself by touching something metal (and conductive) before you start building. Do this several times again throughout the process, and you won’t give static electricity a chance to build up on your body.