How to install a CPU
Give Intel and AMD chips a new home


What better place to start building a PC than by giving it a brain? Thus begins the first, pleasantly easy, step: learning how to install a CPU. Don’t be discouraged by the importance of this particular part of your soon-to-be desktop, as while installing a CPU is best done with a delicate touch, it takes mere moments.
That said, the process can vary slightly depending on which specific CPU model you’re installing. For instance, Intel and AMD Ryzen 7000 CPUs are secured in their socket by a hinged metal cover – but if you’re here to find out how to install a CPU from AMD’s older Ryzen range, you’ll find it instead plops into a moveable socket that locks the chip in place by sliding to the side. This guide will cover both approaches, mind, so you’ll be covered regardless.
Installing the CPU is also one of several PC building steps that I recommend completing on the motherboard before you go about installing the latter in the case. This mainly just makes things generally easier – you have more space and light to work with outside of the case, and when the time comes, you can simply fit the mobo with components like the CPU and RAM already attached to it. If you’re nervous about setting your motherboard down on a hard desk, you can use the box it came in as an improvised workbench.
Now, onwards…
How to install a CPU

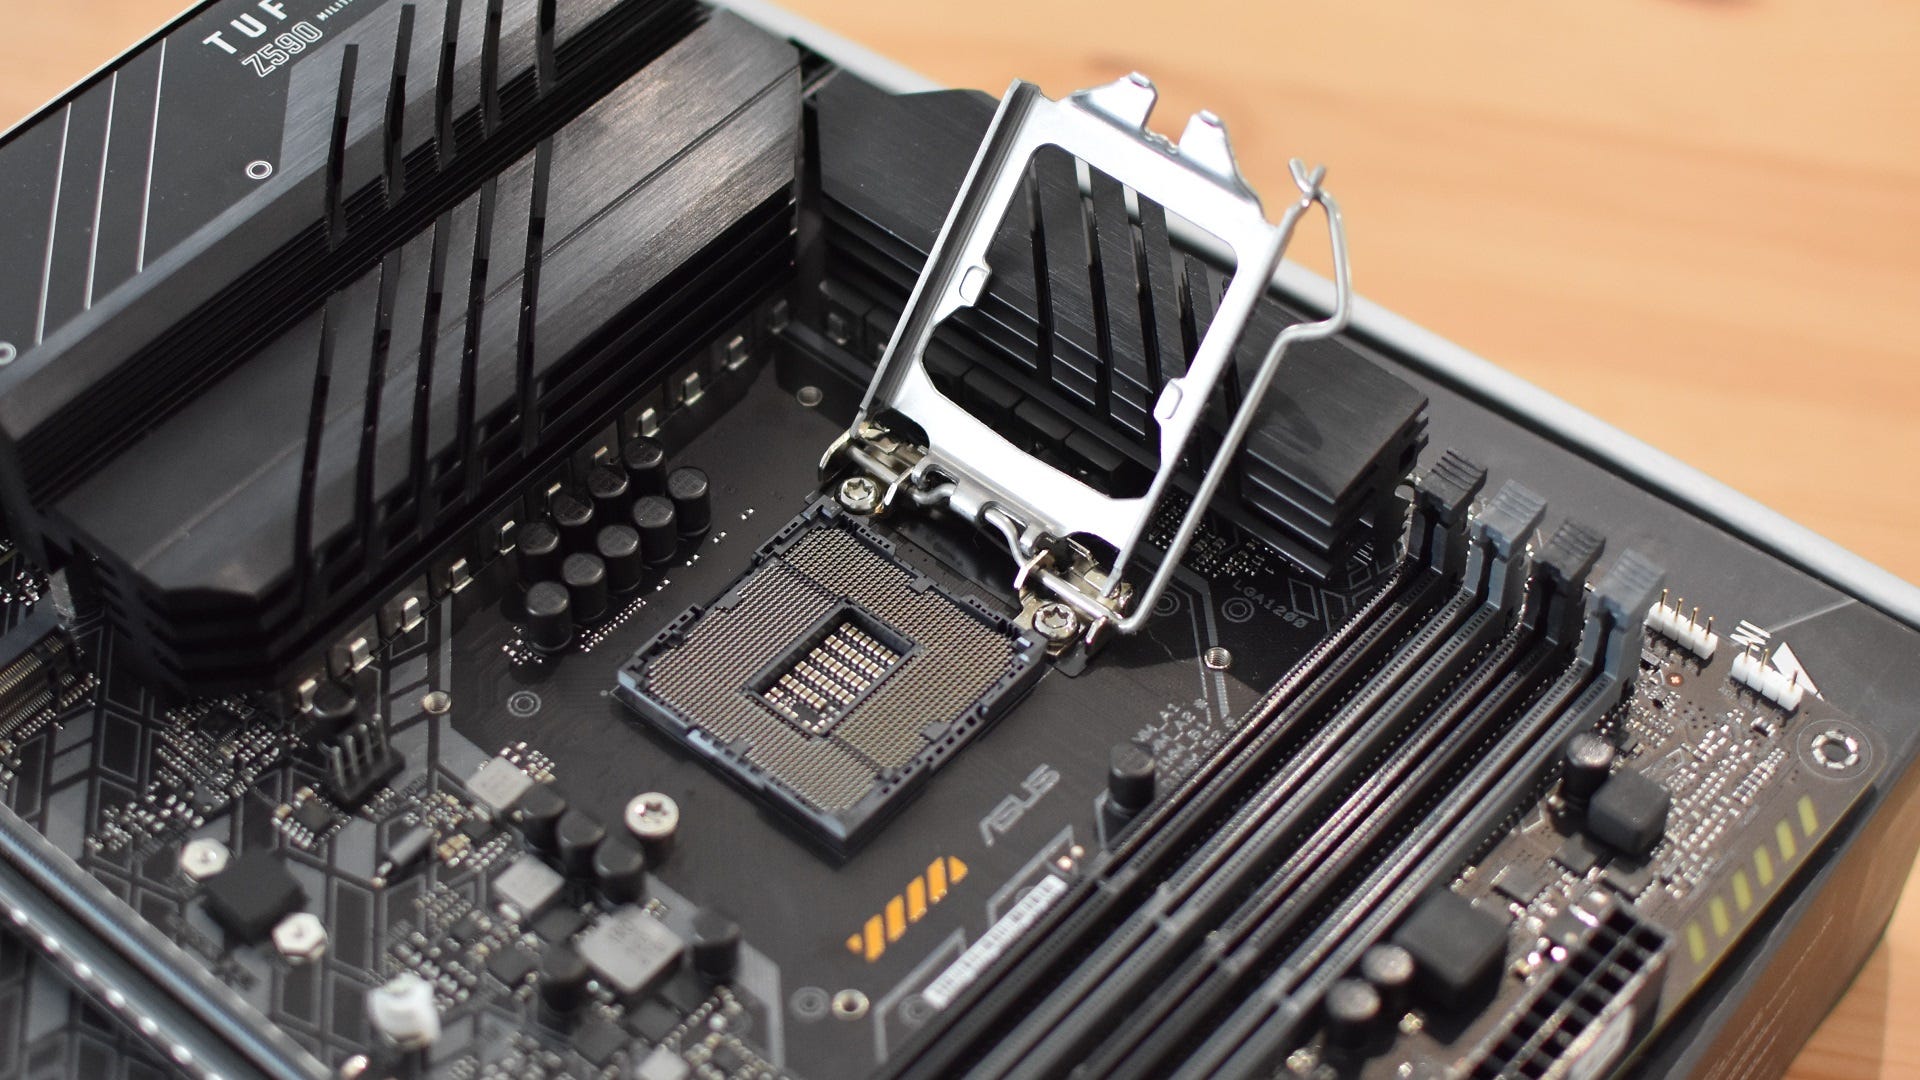
Step 1: Remove the plastic cover from your motherboard’s CPU socket – you can’t miss it, there’s only one and it’s CPU-sized – and lift the little metal lever next to it. For Intel sockets and the AM5 sockets used by Ryzen 7000 chips, this will release a frame-like metal cover from its locked position – lift this up so it’s no longer obscuring the socket.
On motherboards that take older AMD CPUs, lifting the arm will instead cause the plastic section of the socket to slide sideways. Not by much – less than a few millimetres – but be sure to lift the arm all the way up anyway.
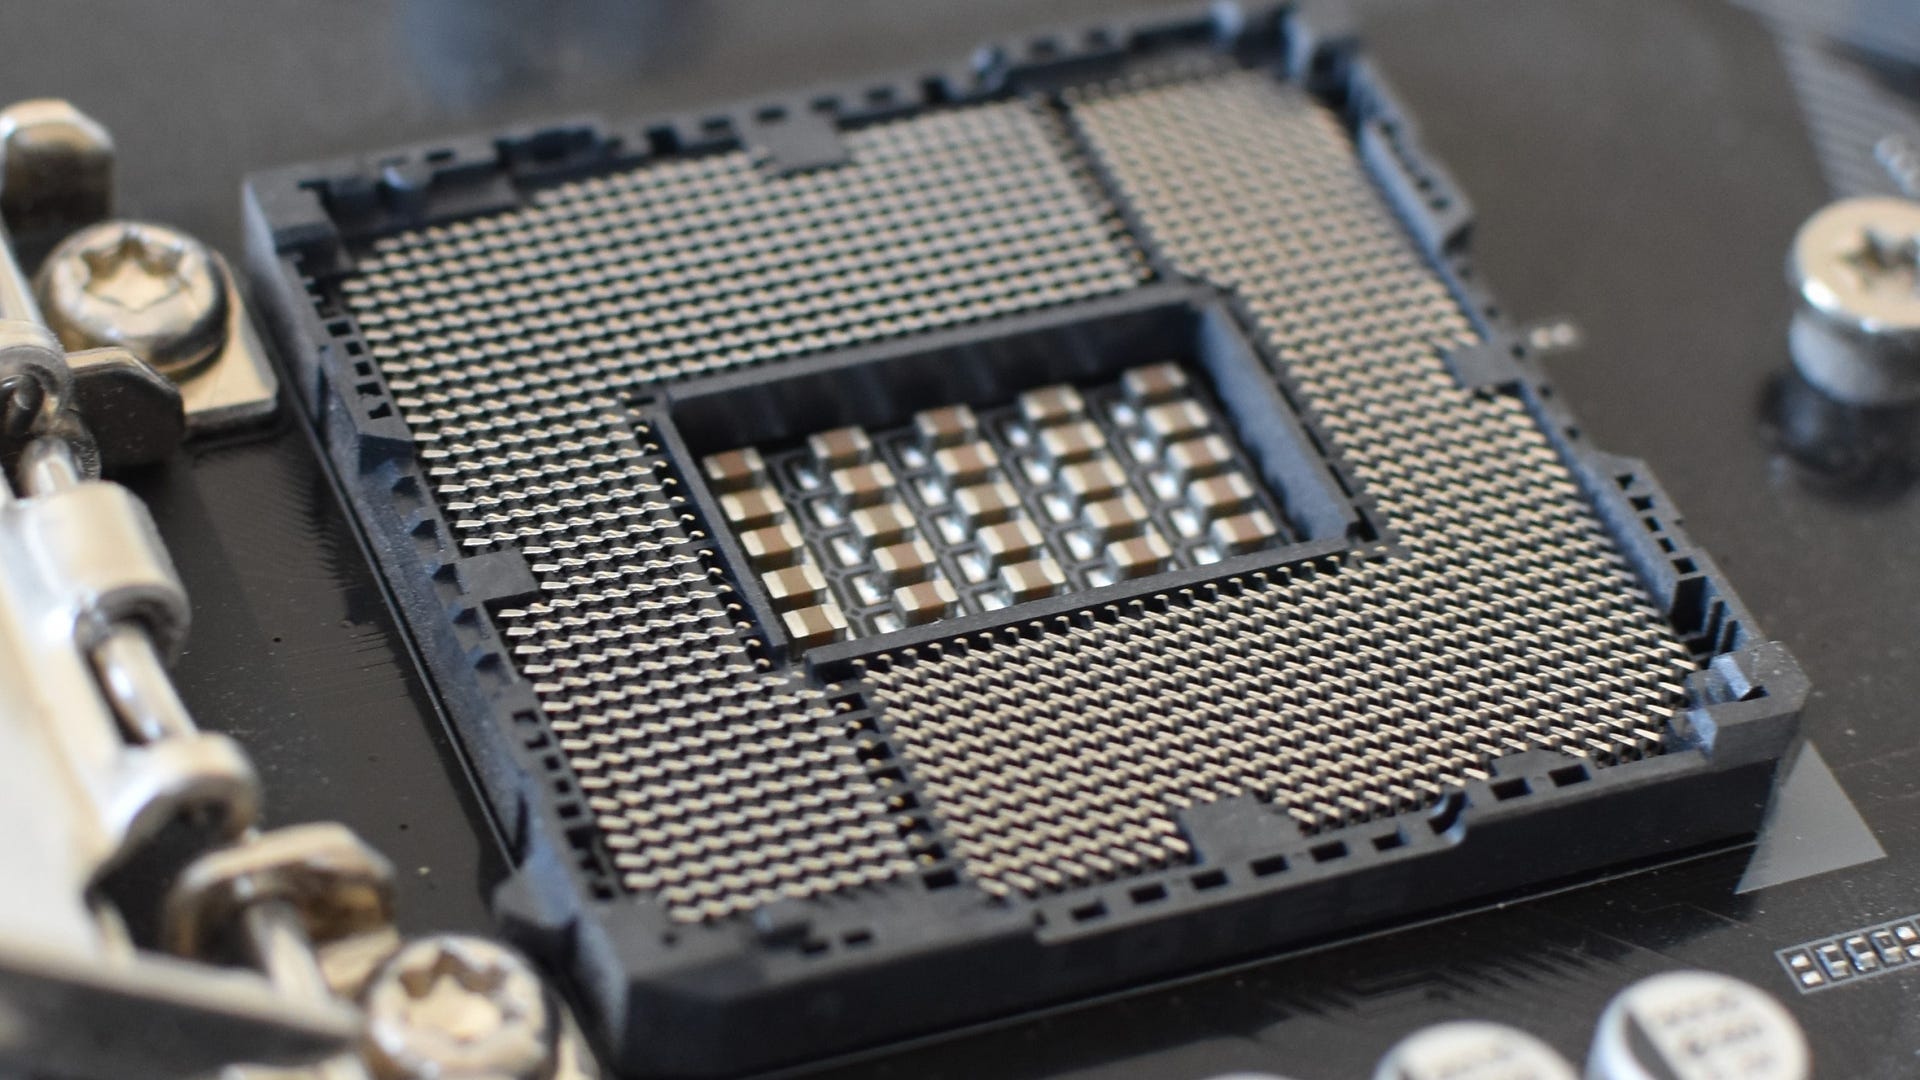
Step 2: The socket and the CPU are now ready to get to know each other. But you can’t just dunk the CPU in at any orientation. For Intel or Ryzen 7000 models, look for little notches around the edges of the CPU, then line them up with the small protrusions around the edge of the socket, so you know it’s going in the right way. Ryzen 7000s also have a little golden triangle in one corner, which should align with a triangle next to one of the socket corners. Once it's lined up, gently insert the processor so that it’s lying completely flat.
Older Ryzen CPUs don’t have these notches, so instead, line up the pins on the underside of the chip with the holes in the motherboard socket. You can tell if you’ve got the correct orientation because the pins should drop fully into the holes without resistance, leaving the CPU sitting perfectly flush with the socket.

Do not, for the love of all that is good in the world, try to force the CPU into the socket if it doesn’t slot in easily. Especially on pre-Ryzen 7000 AMD chips, as those pins on the underside can bend or even snap if you take too heavy a hand. And if even one pin isn’t straight, the whole CPU can’t be properly seated in its socket, rendering it kaput unless you can carefully un-bend the pins back to straightness (more on this below).
Intel and Ryzen 7000 chips have flat contact plates underneath, so the CPUs themselves aren’t at the same kind of risk, though you should treat both components with care regardless. There are still pins to avoid damaging: they’re just in the motherboard socket, not on the processor.

Step 3: Now that the CPU is sat in its socket, and you’ve sat through a safety lecture, all that’s left to do is secure the processor in place. For Intel/Ryzen 7000 CPUs, lower the metal cover back down to its starting position. Then, do the same with the metal lever. As you push the lever down and slip it back into its latch, you should feel the metal cover press down more firmly on top of the CPU, holding it in place.
It’s even easier with older AMD CPUs, as you just have to push down and secure the lever. This will move the socket back into its starting position, securing the CPU from within. If it feels like there’s a lot of resistance on the lever, double check that the chip is oriented correctly and that it’s sitting completely flat – trying to force the lever will bend the pins if the CPU is in the wrong position, but if you’re got it right, just keep pushing and it’ll be fine.

Right, that’s your first PC component installed! We’re not done with the processor yet, as the next stage of our PC building guide covers how to apply thermal paste and install a CPU cooler, but the chip itself is in place and secure.
How to install a CPU: can you fix bent pins?
Yes! Well, yes if the damage isn’t too severe.
I don’t think many folk will contest that AMD made a design upgrade in taking the contact pins off the Ryzen 7000 series and putting them in the socket instead, Intel-style; having them poking out on a part of the CPU you’re likely to handle when installing it was always a recipe for accidental bending. Especially since if even one pin was out of alignment, the chip wouldn’t seat fully into the socket, halting installation in its tracks.
However, for the spectacularly unlucky (or clumsy), it’s still possible to bend the pins in a socket as well. The good news is that whether you’re dealing with wonky pins on a CPU or on the motherboard, all might not be lost, and your system may still work just fine if you can push them back into alignment. To do this, take something thin, but made of a tough metal like steel. Tweezers, small screwdriver heads, even sewing needles could work. Then, and with the utmost care, use it to push any bent pins back into the intended position.
I know from (mildly panicked) experience that this rough-sounding fix can potentially work perfectly. However, it also has the capacity to go wrong, so you should really take your time making sure you adjust each pin on the first try. If you bend it the wrong way, or overcorrect, then try to bend it again, you’ll weaken it to the point it may snap. Look for twisting or discolouration on the pin; these are telltale signs it’s about to break.
Should the worst happen, and a pin is permanently lost, there’s not much you can really do beyond acquiring a replacement CPU/motherboard. If you’re obscenely fortunate, it might be that the broken pin isn’t actually used in day-to-day operations, and you can install it anyway with no ill effects. Much more likely, though, is that you’ll see serious problems, ranging from your PC crashing to the CPU dying outright. My best advice is to avoid this situation altogether by treating your new components with the care they deserve.