Using FPGAs
Creating digital circuits has never been easier. Gone are the days of hundreds of wires and discrete logic gates on a breadboard. Thanks to FPGAs, you can now stuff your entire circuit into a single chip. Read on to learn how they work and how you can create your own complex digital circuits with relative ease.
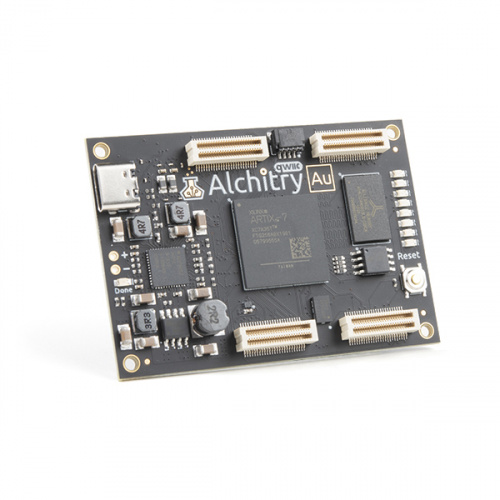
Our partners at Alchitry teach the basics of digital electronics and FPGAs.
What exactly is an FPGA?
FPGA stands for Field Programmable Gate Array, which isn’t helpful in understanding what they are or do but we had to get that out of the way. FPGAs are a class of devices known as programmable logic (sometimes called programmable hardware). An FPGA itself is an integrated circuit that is "field-programmable" — meaning that it is configured by the consumer after being manufactured.
An FPGA device on its own doesn’t do anything, however, an FPGA can be configured to do just about anything. The true benefit of FPGAs are that nothing physically changes with configuration - all the changes are done digitally. Essentially, you are using text-based operations to create hardware interactions. These configurations are RAM-based, so they can be reconfigured many times over. In the FPGA world, we call these configurations digital circuits.
Why use an FPGA?
Maybe a better question is, "Should I choose to use a microprocessor or create a custom digital circuit design with an FPGA device?"
Programming languages like Arduino or Python are used a lot, and resources are easy to find and understand. The same isn't quite true for how to create designs for FPGAs. Writing traditional code is often easier to create complex behavior and to change how something is implemented. On the flip side, FPGAs benefit from being implemented to be far more efficient in processing time and precise timing. While traditional programming executes operations in a sequence (one operation after another), FPGAs executes operations with parallelization (multiple operations at once).
A very high level example is writing a simple loop that turns an LED on after pressing a button. With a traditional microcontroller, the processer implements the code by consecutively reading the state of the pin then updating the state of another pin based off the state of the button. An FPGA cuts out the need to check pin statuses and the processor power those checks require - an FPGA simply connects the button and the LED as a dedicated digital circuit.
Due to the simplicity of the code in this example, very little processing power is used, so you probably wouldn't notice the end result being any different between a traditional microcontroller and using FPGA. However, the more complex your code is, the more processor power it consumes as it sequentially makes its way through all the checks and balances of your operations. This is where FPGAs shine. Since operations run in parallel, those operations can all happen simultaneously. FPGA is like having many hands to fetch a single item concurrently as opposed to one hand to fetch the same amount of items one after another.
Still with us? Ok, great. Way back in 2013, a SparkFun engineer wrote a blog - So you want to learn FPGAs? - that outlines some of the struggles he encountered as a very experienced programmer trying to use FPGAs. It's a good read, and the comments lend some insight as well.
The good news is that the FPGA barrier of entry has shrunk, and SparkFun has partnered with the experts at Alchitry to lend a helping hand. If we've piqued your interest, we recommend the following "How Does an FPGA Work?" tutorial, and the subsequent geting started tutorials to get your feet wet.
How Does an FPGA Work?
July 30, 2020
The What, How, Why, and When of Field Programmable Gate Arrays, aka FPGAs

Getting Started with FPGAs
Now that you’re familiar with the basic ideas behind FPGAs, it’s time to start working with them. We’ve put together a guide to programming, as well as a great introductory FPGS project to get you started.
Programming an FPGA
July 30, 2020
Come look at the basics of working with Field Programmable Gate Arrays.
First FPGA Project - Getting Fancy with PWM
July 30, 2020
An initial project using Alchitry's onboard FPGA to manipulate PWM
External IO and Metastability
July 30, 2020
Why external signals can cause metastability and how to use constraint files to manage this
Products
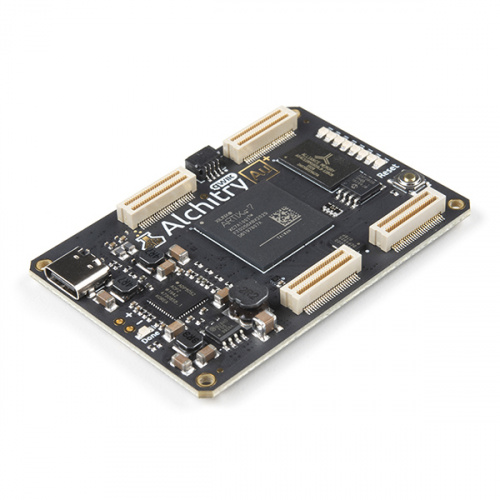
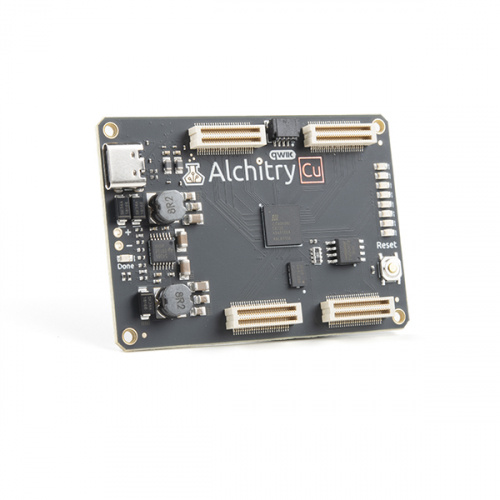
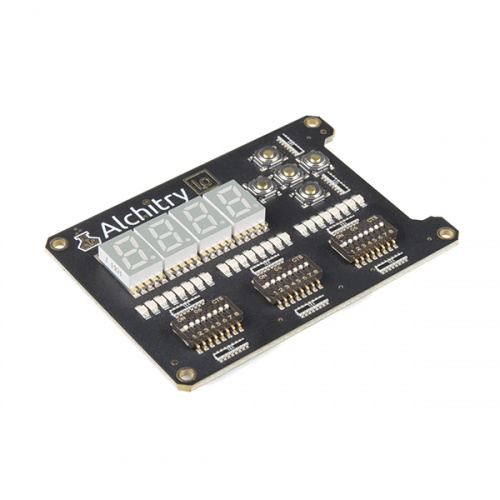
As with any technology, FPGA hardware comes in many shapes and sizes to fit the specific needs of your project. Below we have listed a few of our favorite boards.

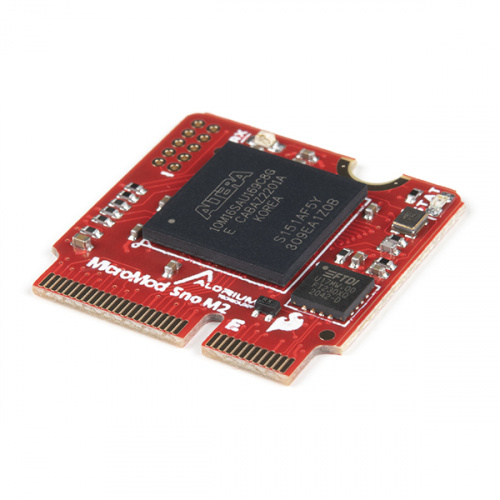
Making the Power of FPGA More Accessable
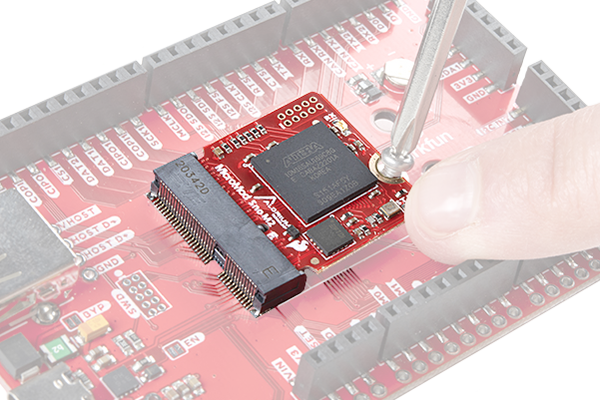
Use the MicroMod Alorium Sno M2 Processor board with any of our MicroMod Carrier Boards!
- Programmagle with Arduino
- FPGA Performance
- Compact MicroMod Form Factor
See the Alorium Sno Processor Board
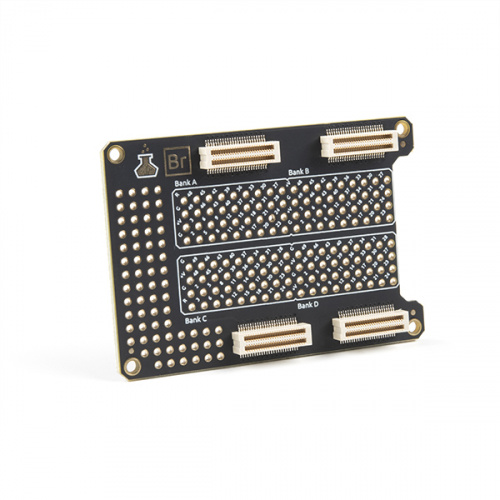
MicroMod is a solderless, modular interface ecosystem that uses the M.2 standard to mix and match your choice of processor with specific Function Boards or stand-alone Carrier Boards.
Projects
The ClockClock Project
October 8, 2020
Tell the time with this fantastic Alchitry project using clocks to make a clock!